Odoo’s Point of Sale system is incredibly flexible, and that’s one of the reasons developers love working with it. But as you build custom features or tweak user experiences, you’ll often face a situation where you need to override an existing POS component.
In Odoo 19, this process has become cleaner and more structured thanks to OWL (Odoo Web Library), which powers the POS frontend. Let’s go through how you can override a component step-by-step.
Instead of rewriting the whole thing, Odoo lets you patch or extend the existing components, keeping your changes modular and upgrade-safe.
Step 1: Identify the Component You Want to Extend
All POS components live under the @point_of_sale namespace. For our example, we’ll work with the ControlButtons, it is the main screen where users select products and manage their cart.
We can import it like this:
import { ControlButtons } from "@point_of_sale/app/screens/product_screen/control_buttons/control_buttons";Step 2: Create a Custom Module and JS File
In your custom POS module (let’s say pos_delete_orderline), create a new file inside static/src/js/
for example:
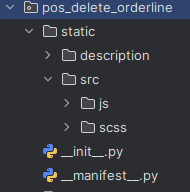
This is where we’ll override the ControlButtons component.
Step 3: Patch the ControlButtons to Add a “Remove All” Button
Now let’s extend the ControlButtons using Odoo’s patch method:
import { ConfirmationDialog } from "@web/core/confirmation_dialog/confirmation_dialog";
import { ControlButtons } from "@point_of_sale/app/screens/product_screen/control_buttons/control_buttons";
import { patch } from "@web/core/utils/patch";
import { _t } from "@web/core/l10n/translation";
//Patching ControlButtons
patch(ControlButtons.prototype, {
//    delete function
   async onClearLines() {
       var order = this.pos.getOrder();
       var lines = order.getOrderlines();
       if (lines.length) {
           this.dialog.add(ConfirmationDialog, {
               title: _t("Clear Orders?"),
               body: _t("Are you sure you want to delete all orders from the cart?"),
               confirm: () => {  lines.filter(line => line.getProduct())
               .forEach(line => order.removeOrderline(line)); },
               confirmLabel: _t("Clear"),
               cancel: () => {},
               cancelLabel: _t("Cancel"),
           });
       }else{
           this.notification.add(_t("No Items to remove."), { type: "danger" });
       }
   }
})
This patch adds a new method called removeAllLines() which clears all products from the order and updates the UI.
Step 4: Add a Button to Trigger the Function
To make the button appear on the POS screen, we need to extend the QWeb template for ControlButtons.
Create an XML file under static/src/xml/ (for example, product_screen_button.xml) and add:
<?xml version="1.0" encoding="UTF-8"?>
<templates id="template" xml:space="preserve">
   <!-- Template for adding clear all button in pos -->
   <t t-name="pos_delete_orderline.ControlButtons"
      t-inherit="point_of_sale.ControlButtons" t-inherit-mode="extension">
       <xpath expr="//SelectPartnerButton" position="after">
          <button class="control-button btn btn-light text-bg-danger rounded-0 fw-bolder"
                  t-on-click="() => this.onClearLines()">
              <i class="fa fa-eraser"/>Clear All
          </button>
       </xpath>
  </t>
</templates>
Here, we’ve added a Remove All button right before the Customer button in the POS interface.
Step 5: Load Your Files in __manifest__.py
Now tell Odoo to load both the JS and XML files in the POS assets:
'assets': {
   'point_of_sale._assets_pos': [
       'pos_delete_orderline/static/src/app/control_buttons/control_buttons.js',
       'pos_delete_orderline/static/src/app/control_buttons/control_buttons.xml',
       'pos_delete_orderline/static/src/scss/style.scss',
   ],
},
Once your module is ready, upgrade the module in Odoo and reload your POS session.
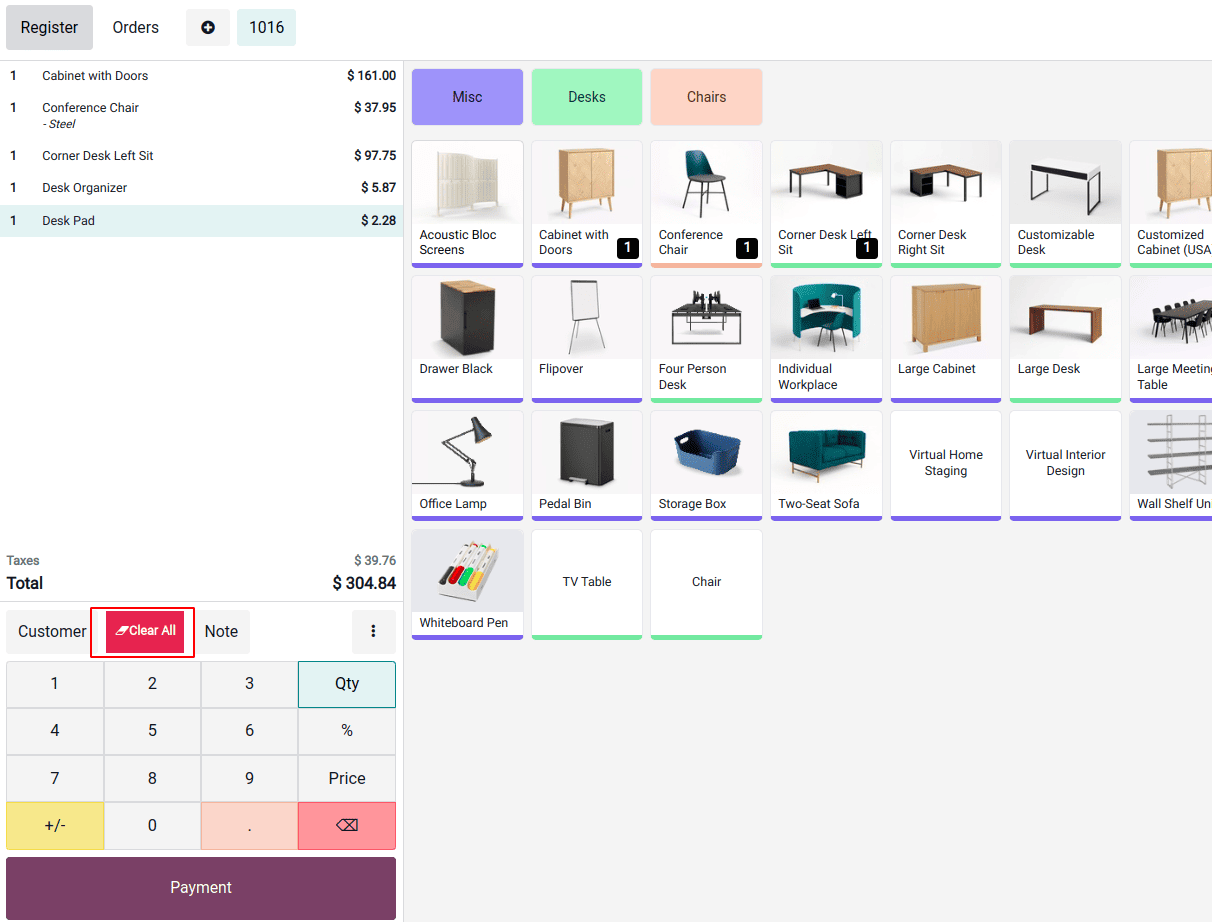
When you click the “Clear All” button, a confirmation popup appears asking if you really want to remove all items. Once confirmed, the entire cart is emptied.
Using the patch() method and QWeb template extensions, you can seamlessly add or modify functionality without touching core code.
To read more about How to Override a Component in Odoo 18 POS, refer to our blog How to Override a Component in Odoo 18 POS.