Wizards is very helpful for developing a good user experience. Interactive sessions are critical in all businesses. Wizards in Odoo 17 give interactive sessions to improve the user experience.
Transient models or abstract models can be used to create wizards. Except for data storage, this provides the functionality of a model class. Database persistence is permanent in transient and abstract models. Database tables are created for them, and the records in these databases are preserved until they are explicitly removed.
A wizard is a model that extends the class Transient Model rather than a model. The class TransientModel extends models and reuses all of its existing mechanisms in the following ways:
1. Wizard data is not permanent; it is automatically deleted from the database after a certain period.
2. All users have complete access to wizard data.
3. Wizard records can refer to either regular or wizard data via many2one fields, but regular data cannot refer to wizard data via a many2one field.
To get started, we need to create a transient model class for the wizard. Create a wizard directory in your module as well.
from odoo import fields, models
class WhatsappSendMessage(models.TransientModel):
   """This model is used for sending WhatsApp messages through Odoo."""
   _name = 'whatsapp.send.message'
   _description = "Whatsapp Wizard"
   user_id = fields.Many2one('res.partner', string="Recipient")
   mobile = fields.Char(related='user_id.mobile', required=True)
   message = fields.Text(string="message", required=True)
Don't forget to include the model in the security file and provide the necessary rights.
Next, we must create a view for that wizard to open. Wizards should always be opened as ir.actions—act_window data. A menu item or button action defined in Python or XML code can initiate the wizard action.
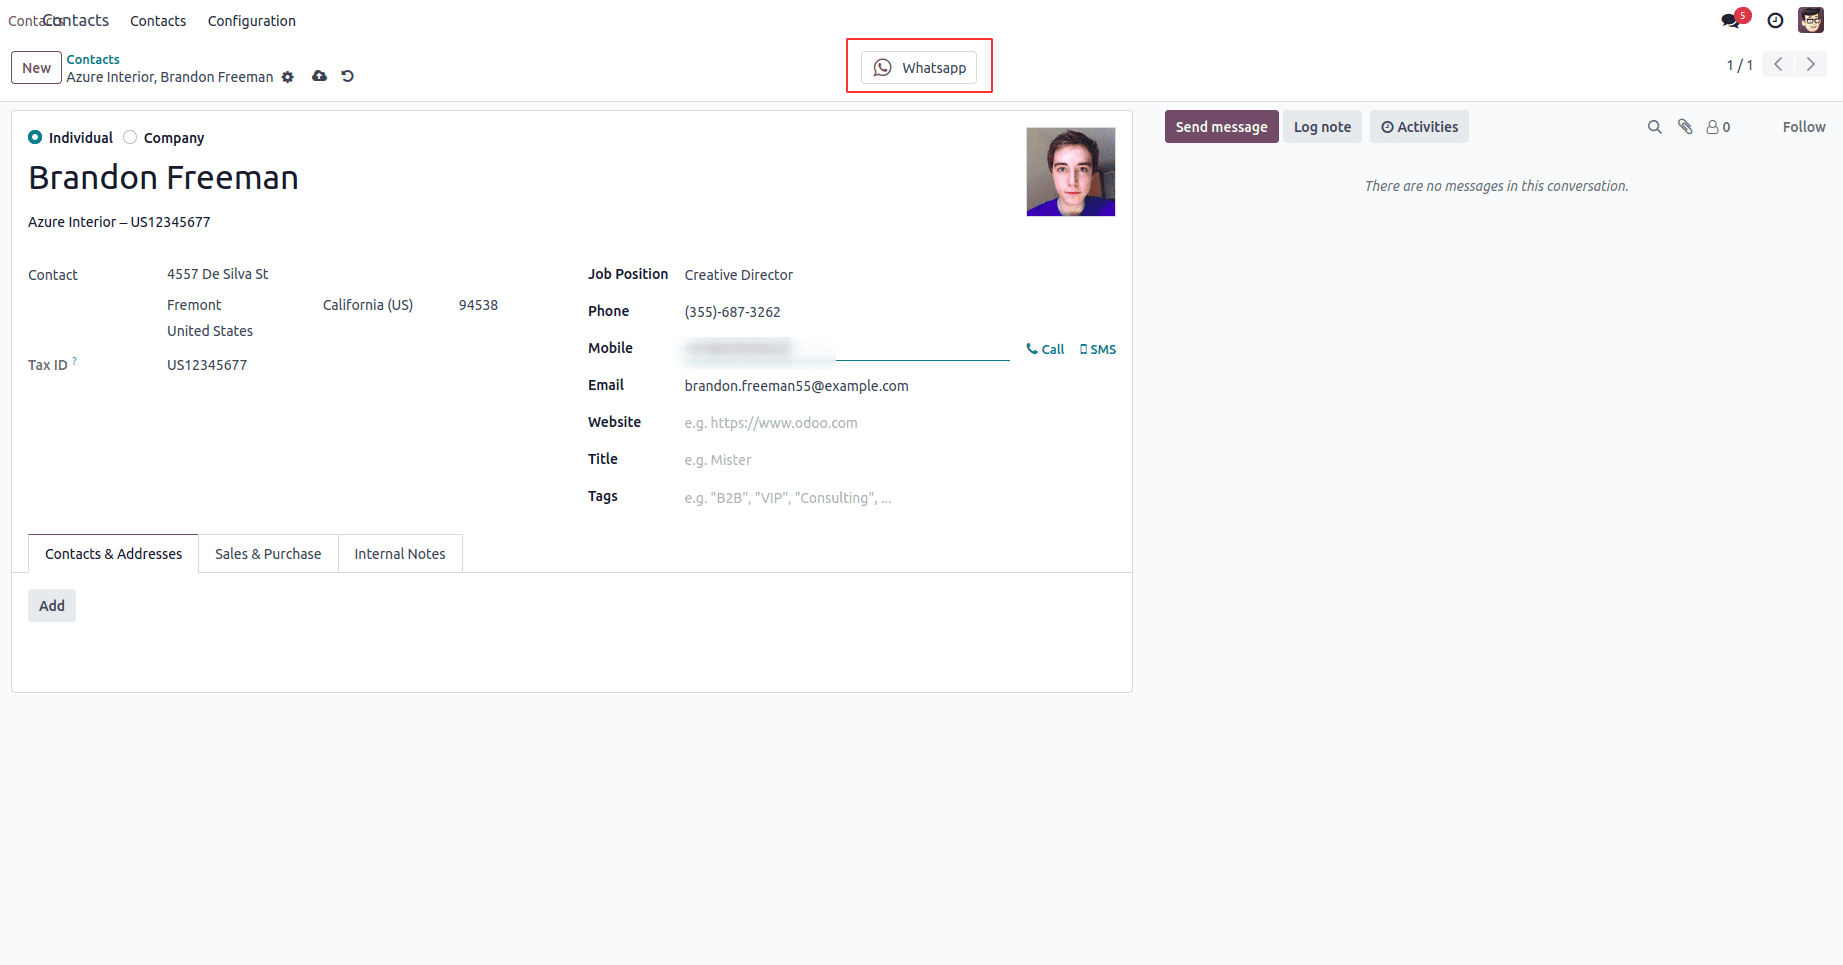
We can make a button action to open a wizard. We may use the code below to do this.
<?xml version="1.0" encoding="UTF-8" ?>
<odoo>
   <!-- Define a new view to extend the res.partner form view -->
   <record id="view_partner_form" model="ir.ui.view">
       <field name="name">res.partner.view.form.inherit.whatsapp.redirect</field>
       <field name="model">res.partner</field>
       <field name="inherit_id" ref="base.view_partner_form"/>
       <field name="arch" type="xml">
           <!-- Add a WhatsApp button to the partner's form view -->
           <xpath expr="//div[@name='button_box']"
                  position="inside">
               <div class="oe_button_box" name="button_box">
                   <button name="action_send_msg" string="Whatsapp"
                           type="object"
                           class="oe_stat_button" icon="fa-whatsapp"/>
               </div>
           </xpath>
       </field>
   </record>
</odoo>
This XML code extends the res.partner form view in Odoo by adding a button for sending messages. The button is inserted into the existing button_box section of the form view.
name= name of the function.
type="object": Indicates that the button triggers an Odoo object action.
After that, we can add a function to the Button.
def action_send_msg(self):
   """This function is called when the user clicks the
    'Send WhatsApp Message' button on a partner's form view. It opens a
     new wizard to compose and send a WhatsApp message."""
   return {'type': 'ir.actions.act_window',
           'name': _('Whatsapp Message'),
           'res_model': 'whatsapp.send.message',
           'target': 'new',
           'view_mode': 'form',
           'view_type': 'form',
           'context': {'default_user_id': self.id}, }
type: Specifies the type of action, which is opening a window.
name: Sets the name (title) of the window.
res_model: Specifies the model associated with the window.
target: Indicates that the window should be opened in a new tab or window.
view_mode: Specifies the view mode for the window.
view_type: Specifies the type of view.
context: Passes a context to the new window.
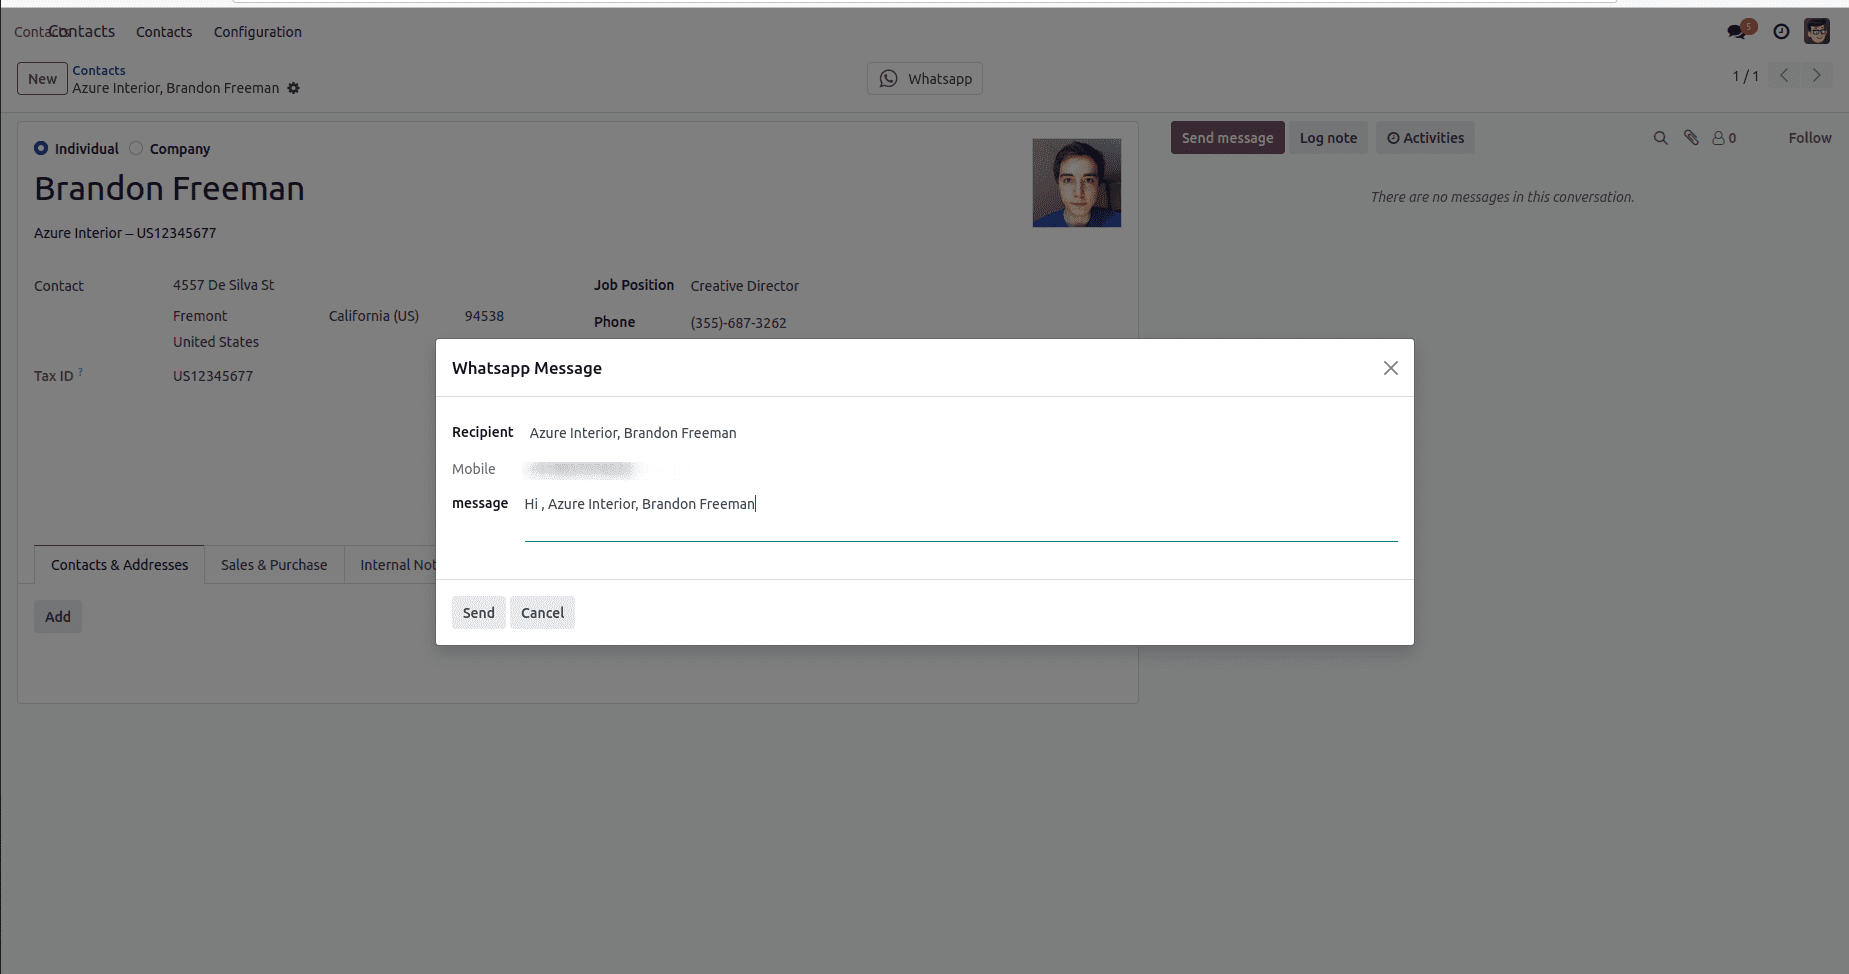
Next, we need to create a view to display the wizard. We can apply the following code to do this.
<?xml version="1.0" encoding="UTF-8" ?>
<odoo>
   <!-- Odoo View Definition for Whatsapp Message Form -->
   <record id="whatsapp_send_message_view_form" model="ir.ui.view">
       <field name="name">whatsapp.send.message.view.form</field>
       <field name="model">whatsapp.send.message</field>
       <field name="priority" eval="8"/>
       <field name="arch" type="xml">
           <form string="Whatsapp Message">
               <group>
                   <field name="user_id"/>
                   <field name="mobile"/>
               </group>
               <group>
                   <field name="message"/>
               </group>
               <footer>
                   <button name="action_send_message" string="Send" type="object"/>
                   <button name="cancel" string="Cancel" special="cancel"/>
               </footer>
           </form>
       </field>
   </record>
</odoo>
On the view, we can simply provide the name model as well as the fields that show on the view. The view is generally represented by the model ir.ui.view.
This is how we could create a wizard in Odoo 17.
To read more about Create & Manage Wizard in the Odoo 16, refer to our blog How to Create & Manage Wizard in the Odoo 16