Calendar views in Odoo are used to display records based on date and time fields in a visual, schedule-based layout. They are commonly used for managing meetings, tasks, events, leaves, appointments, and other time-dependent activities.
This blog explains how to create a Calendar View in Odoo 19 using a simple custom module example.
Understanding Calendar View in Odoo
A calendar view allows users to see records arranged by days, weeks, or months. Each record appears as an event on the calendar based on its start and end date fields. Users can interact with these events directly from the calendar interface.
Calendar views are especially useful when:
- Records depend on start and end dates
- Scheduling and planning are required
- A visual overview is more effective than list or form views
Before creating a calendar view, make sure:
- A custom module is created
- The model contains at least one Datetime or Date field
Step 1: Create the Model
First, define a model that contains the required date fields. A calendar view needs a start date field and optionally an end date field.
from odoo import models, fields
class CustomEvent(models.Model):
    _name = 'custom.event'
    _description = 'Custom Calendar Event'
    name = fields.Char(string='Event Title', required=True)
    start_date = fields.Datetime(string='Start Date', required=True)
    end_date = fields.Datetime(string='End Date')
    description = fields.Text(string='Description')
The start_date field is mandatory for the calendar view to function correctly. The end_date field is optional but recommended for better visualization.
Step 2: Define the Calendar View
Next, create the calendar view using XML.
<odoo>
    <record id="view_custom_event_calendar" model="ir.ui.view">
        <field name="name">custom.event.calendar</field>
        <field name="model">custom.event</field>
        <field name="arch" type="xml">
            <calendar
                string="Custom Events"
                date_start="start_date"
                date_stop="end_date">
                <field name="name"/>
                <field name="description"/>
            </calendar>
        </field>
    </record>
</odoo>
In the calendar view, there are several attributes available, such as date_start and date_end. Let’s go through them one by one.
- date_start: Field used as the event start date
- date_stop: Field used as the event end date
- string: Title displayed on the calendar view
Step 3: Create an Action Window
To display the calendar view in Odoo, it must be linked to an action.
<record id="action_custom_event" model="ir.actions.act_window">
    <field name="name">Custom Events</field>
    <field name="res_model">custom.event</field>
    <field name="view_mode">calendar,list,form</field>
</record>
The view_mode includes a calendar so that the calendar view is available by default.
Step 4: Add a Menu Item
Finally, add a menu item to access the calendar view from the Odoo interface.
<menuitem id="menu_custom_event_root"
          name="Custom Events"/>
<menuitem id="menu_custom_event"
          name="Calendar"
          parent="menu_custom_event_root"
          action="action_custom_event"/>
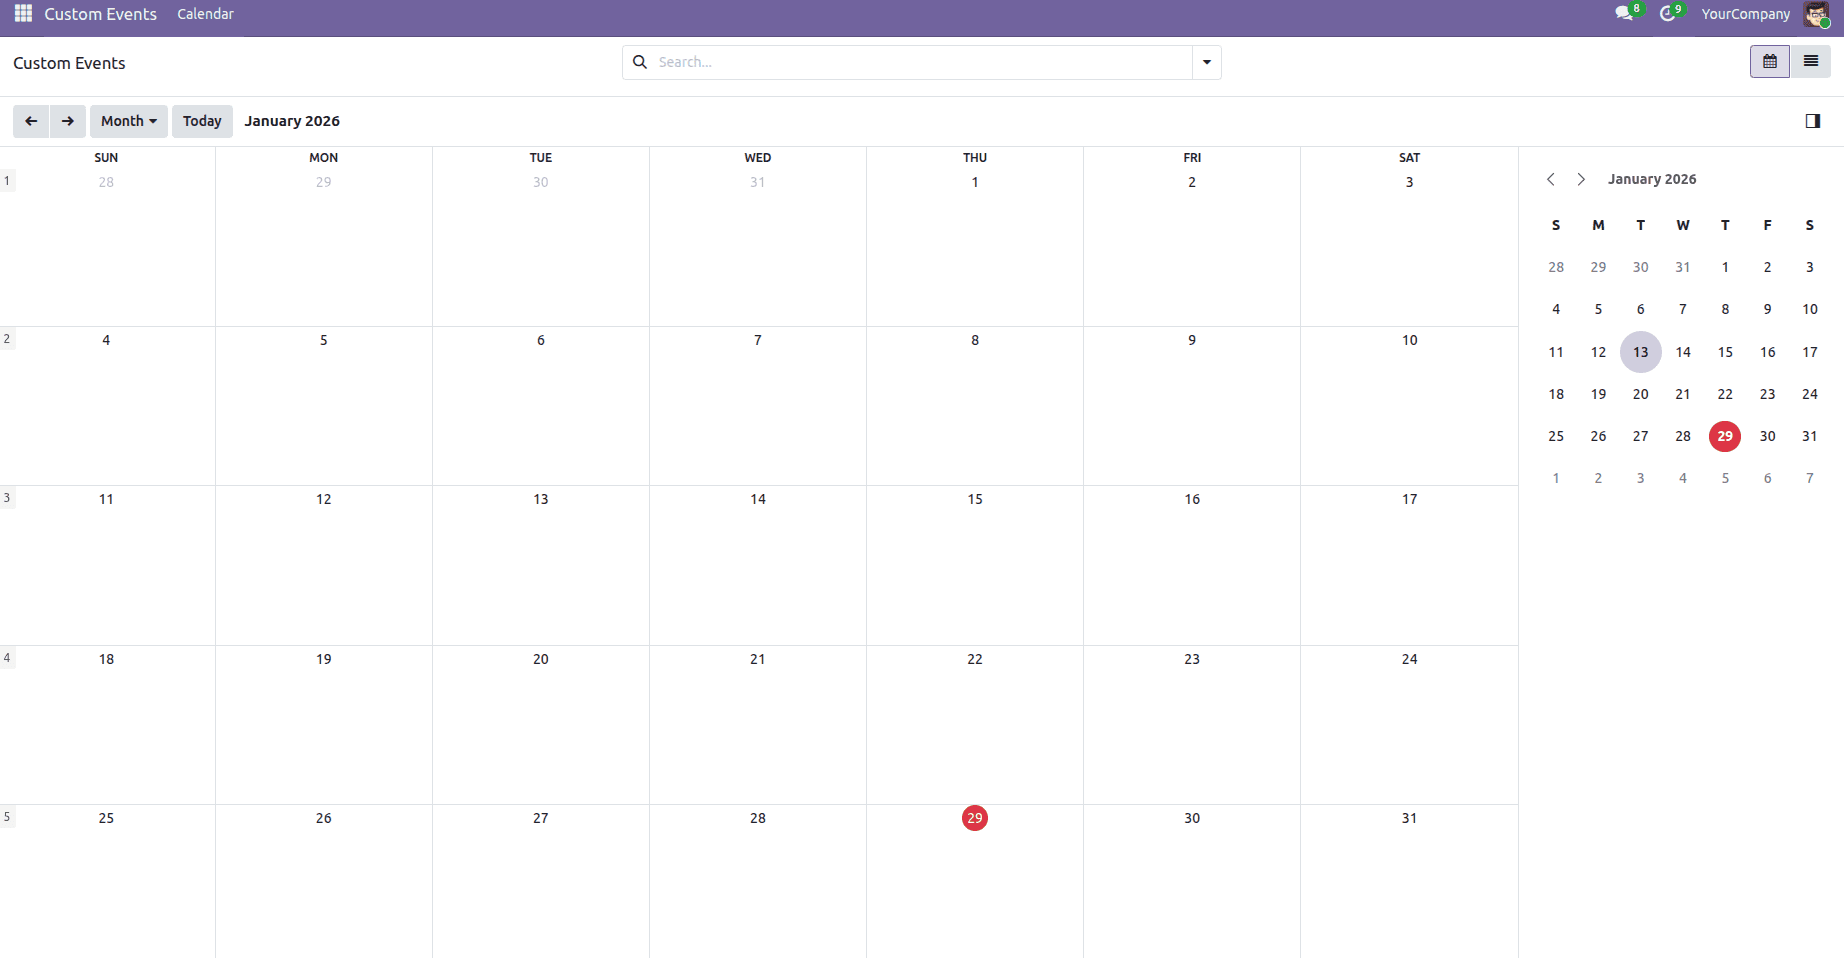
After updating the module, the calendar view will be accessible from the menu.
- Calendar views support drag and drop, allowing users to change event dates directly from the UI.
- Filters and groupings can be applied from the search view.
- If only a Date field is used instead of Datetime, events will appear as all-day events.
- Calendar views can also be color-coded using additional attributes such as color.
Calendar views in Odoo 19 provide a clear and interactive way to manage time-based records. By defining the appropriate model fields, creating a calendar view XML, and linking it through actions and menus, you can easily integrate scheduling functionality into your custom modules.
This approach can be extended to various business scenarios such as task planning, appointment scheduling, and resource management.
To read more about How to Create Calendar View in Odoo 18, refer to our blog How to Create Calendar View in Odoo 18.