Views are crucial in business because they reveal the business object in the user interface. There are a variety of views in Odoo, including list, form, kanban, calendar, pivot, and cohort views. Each view helps the user efficiently sort the data and will control all of the user's operations.
A pivot view is a feature commonly found in data analysis and reporting tools that allows you to manipulate and summarize data in a flexible manner. It enables you to transform tabular data into a more meaningful format by rearranging and aggregating it based on different dimensions and measures. The pivot view allows for analyzing and summarizing data in a tabular format, providing insights into the relationships between the specified fields.
In this article, we'll talk about Odoo 16's pivot view, which allows users to filter data and publish the filtered report as an xlsx report.
The user can filter data in the pivot view depending on a particular field. Also can sort the data using this view. The following image is an example of pivot view.
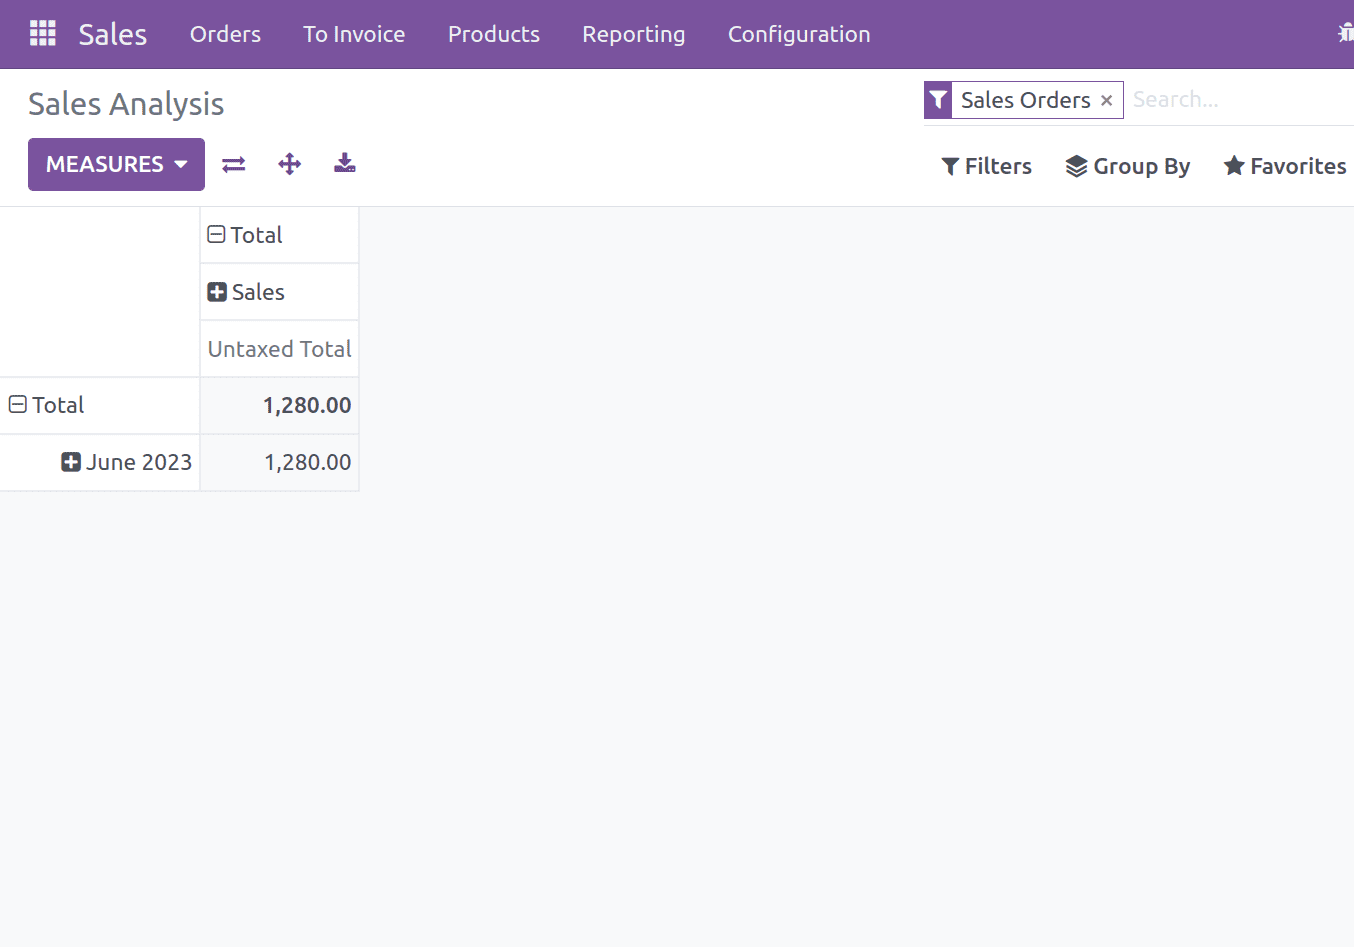
The + button next to the Measure button in the above pivot report will display all the model-related information. The vast amount of data will be summarized as you choose the field to sort by. After selecting any one of the fields from the list, you will get a sorted report based on the field.
Here is the code for creating a pivot view; however, before using it, you must first construct a model and the pivot view's fields. Here I created a model ‘hospital.lab.test’ with fields test_name, patient_lead, price, and tax_id.
class HospitalLabTest(models.Model):
   _name = 'hospital.lab.test'
   _inherit = ["mail.thread", "mail.activity.mixin"]
   _description = 'Laboratory Test'
   _rec_name = 'test_name'
   test_name = fields.Char('Test',help=”Test name”)
   _sql_constraints = [
       ('name_uniq', 'UNIQUE (test_name)', 'Test name should be    unique!')
   ]
   patient_lead = fields.Integer(help='Time delay to publish test results')
   price = fields.Monetary('Price', help="Price of lab test")
   tax_id = fields.Many2many('account.tax',help=”Tax”)
In order to construct a view for pivot view, we must add an XML file for window action,give model=”ir.actions.act_window”.Add res.model, which is hospital.lab.test .Afterward, add view_mode with pivot ,so that the data is displayed in a pivot view.
<record model="ir.actions.act_window" id="action_laboratory_test">
   <field name="name">Laboratory Test</field>
   <field name="res_model">hospital.lab.test</field>
   <field name="view_mode">tree,form,pivot</field>
   <field name="help" type="html">
       <p class="o_view_nocontent_smiling_face">
           Create Laboratory
       </p>
   </field>
</record>
After that, we must specify the model ir.ui.view and create a record for the pivot view. After that, add the module's field name and model name. Add the <pivot> tag to add the desired fields to the pivot view. Here, type denotes the kind of field, whether it appears in a row, column, or measure.
type=”row” - Represent the horizontal axis of the pivot table.
type=”col” - Represent the vertical axis of the pivot table.
type=”measure” - Measure fields contain the data that is aggregated or summarized in the pivot table.
The below code defines a pivot table with the title “Lab Test Analysis” based on the ‘hospital.lab.test’.It arranges the data in a pivot table with “test_name” and “tax_id” fields are row fields,”patient_lead” as a column field, and price as measure field.
<record id="test_pivot_view" model="ir.ui.view">
   <field name="name">test.lab.test.pivot.view</field>
   <field name="model">hospital.lab.test</field>
   <field name="arch" type="xml">
       <pivot string="Lab Test Analysis">
               <field name="test_name" type="row"/>
               <field name="patient_lead" type="col"/>
               <field name="price" type="measure"/>
               <field name="tax_id" type="row"/>
       </pivot>
   </field>
</record>
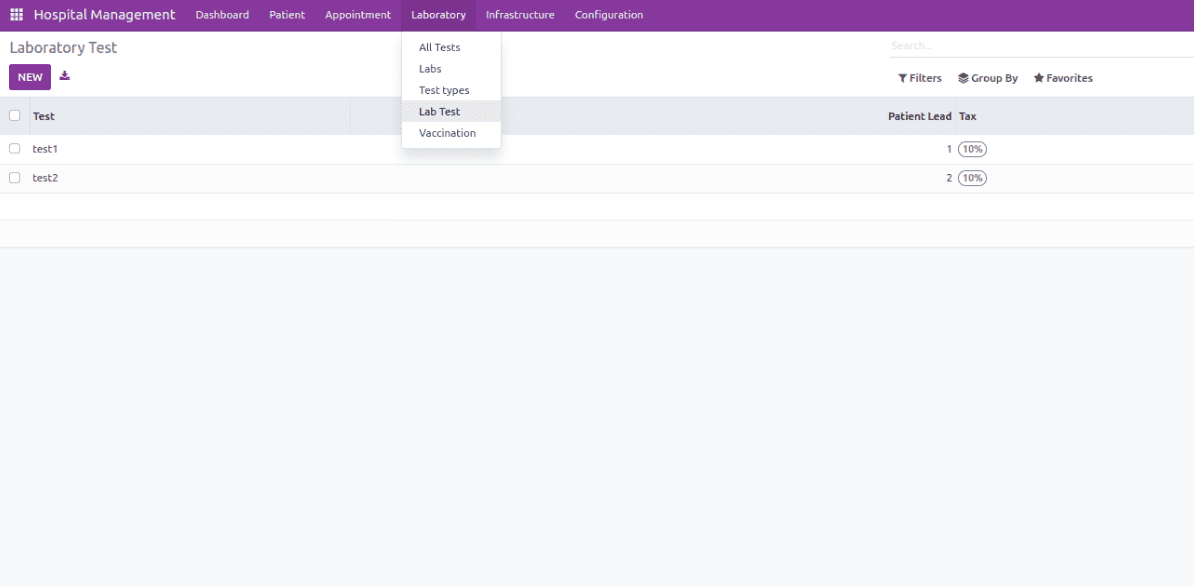
After all, give this file in manifest, install the module, and open the Lab Test menu. Here we can see the lab test records created in this module in the list view.
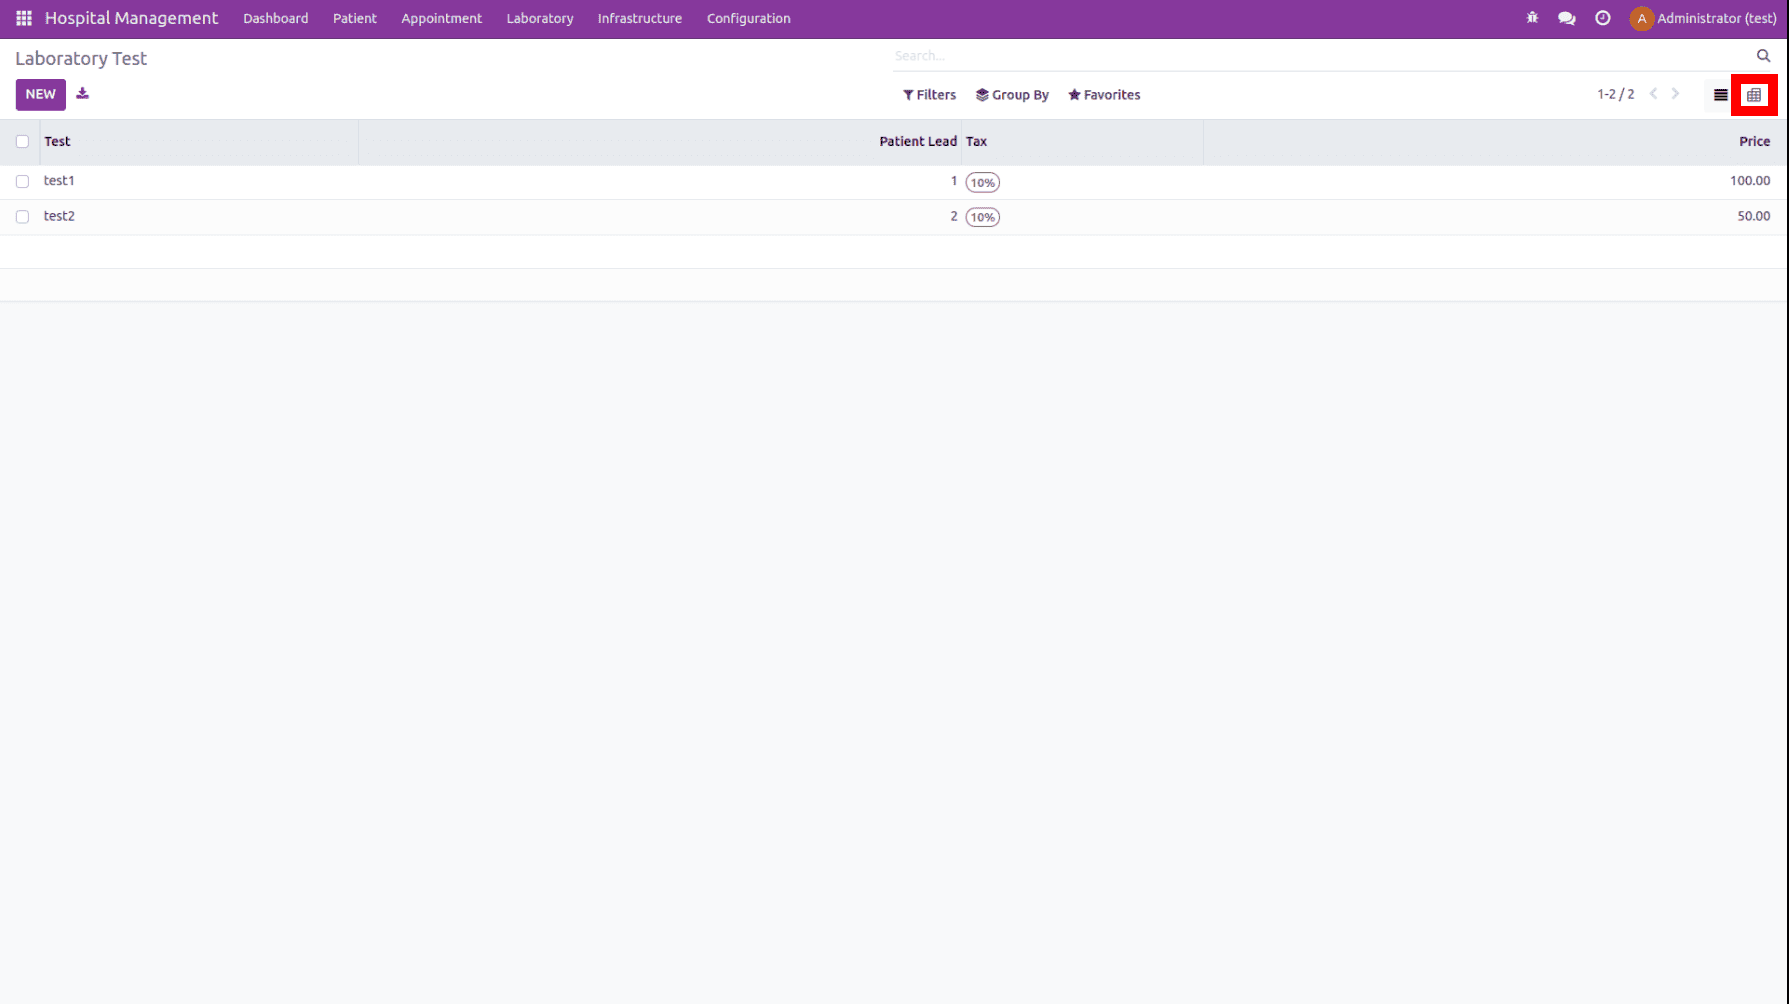
Click on the pivot view icon marked in the image below, and you can see the pivot table with filtered records.
The below image shows the pivot view based on the created fields in our model. Here we can arrange the data as we need it.

We can download the pivot table report in XLSX format from this view. Click on the arrow button.
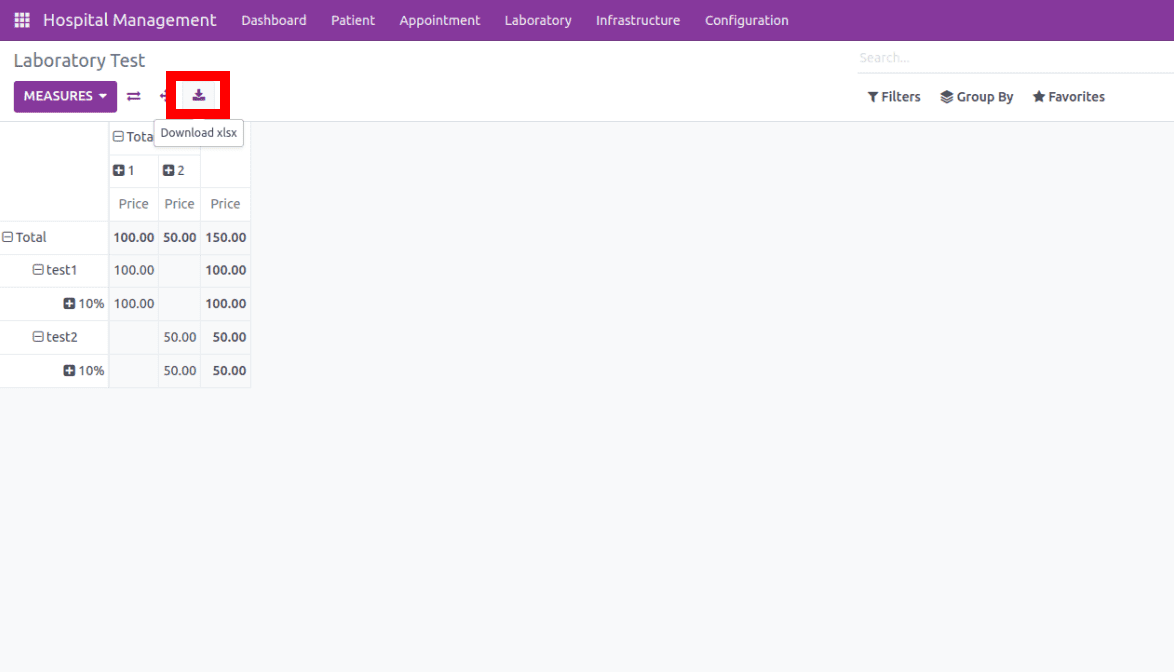
This is how we create pivot view in Odoo 16 and download the xlsx report of pivot view.