In any business management software, ensuring that the right users have the appropriate access to data and functionality is critical for maintaining security and operational efficiency. Odoo 18 provides a robust mechanism to control access through Security Groups and Access Rights, allowing administrators to define who can view, modify, or delete data across different modules. Proper management of user access ensures data integrity, confidentiality, and efficient collaboration within the system.
In this blog, we will walk through the process of creating custom security groups, assigning access rights, and managing user permissions effectively in Odoo 18.
First, inside our custom module, we create a folder called security, where we will define security access and the security groups.
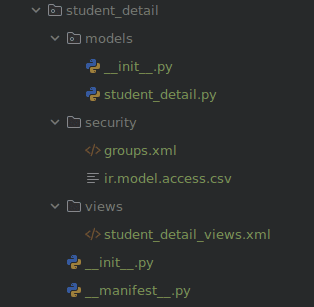
In the file ir.model.access.csv, we can define the access for all the models.

Here id,name,model_id:id,group_id:id,perm_read,perm_write,perm_create,perm_unlink are the column names of the model ir.model.access. Every record inside this file will be added in this model. The id for this record is access_student_detail, name is the access.student.detail, and the next one is the model name which is model_student_detail. Model name is defined by following model_ and then the model name where dot is replaced by underscore. The next one is the group, where we can add any group if we want to restrict the access of this model to any group. Here, we have left it empty without adding the id of any group so that every group can access this model. The next four numbers represent the permissions to read, write, create and delete respectively. Number 0 means particular permissions will be denied for that group.
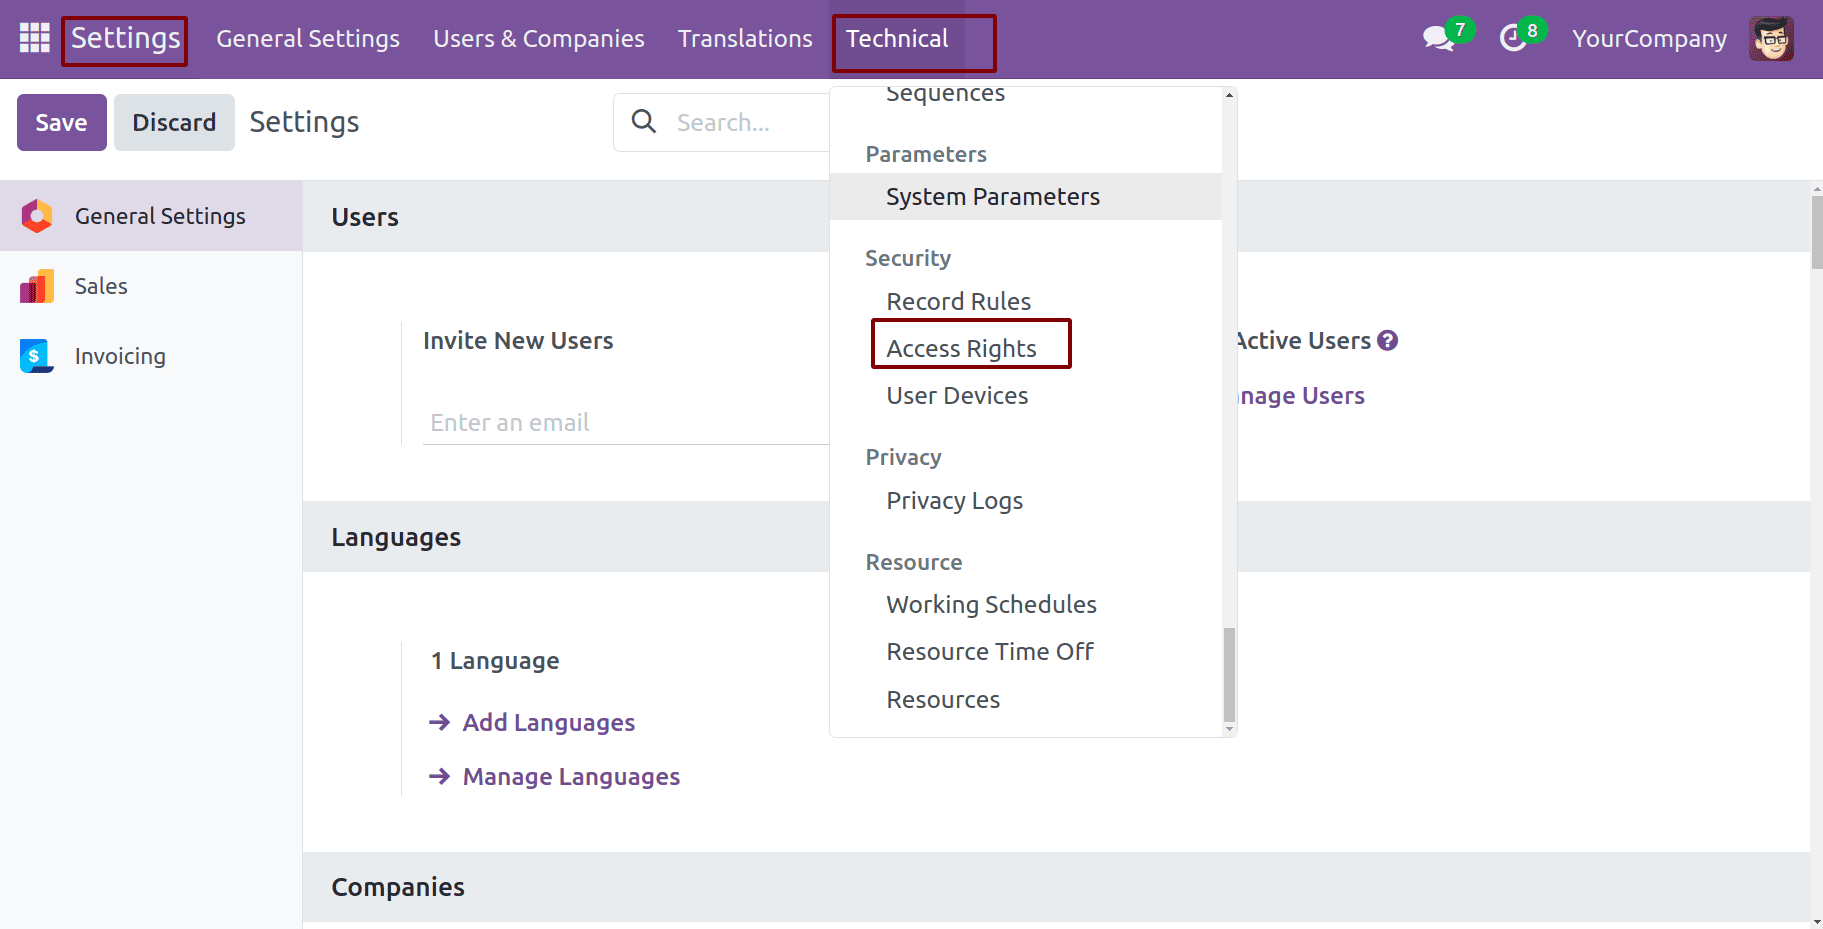
Once defined, you can view access rights via the UI under Settings > Technical > Access Rights.
In the figure below we can see the access right we created for the model student detail.
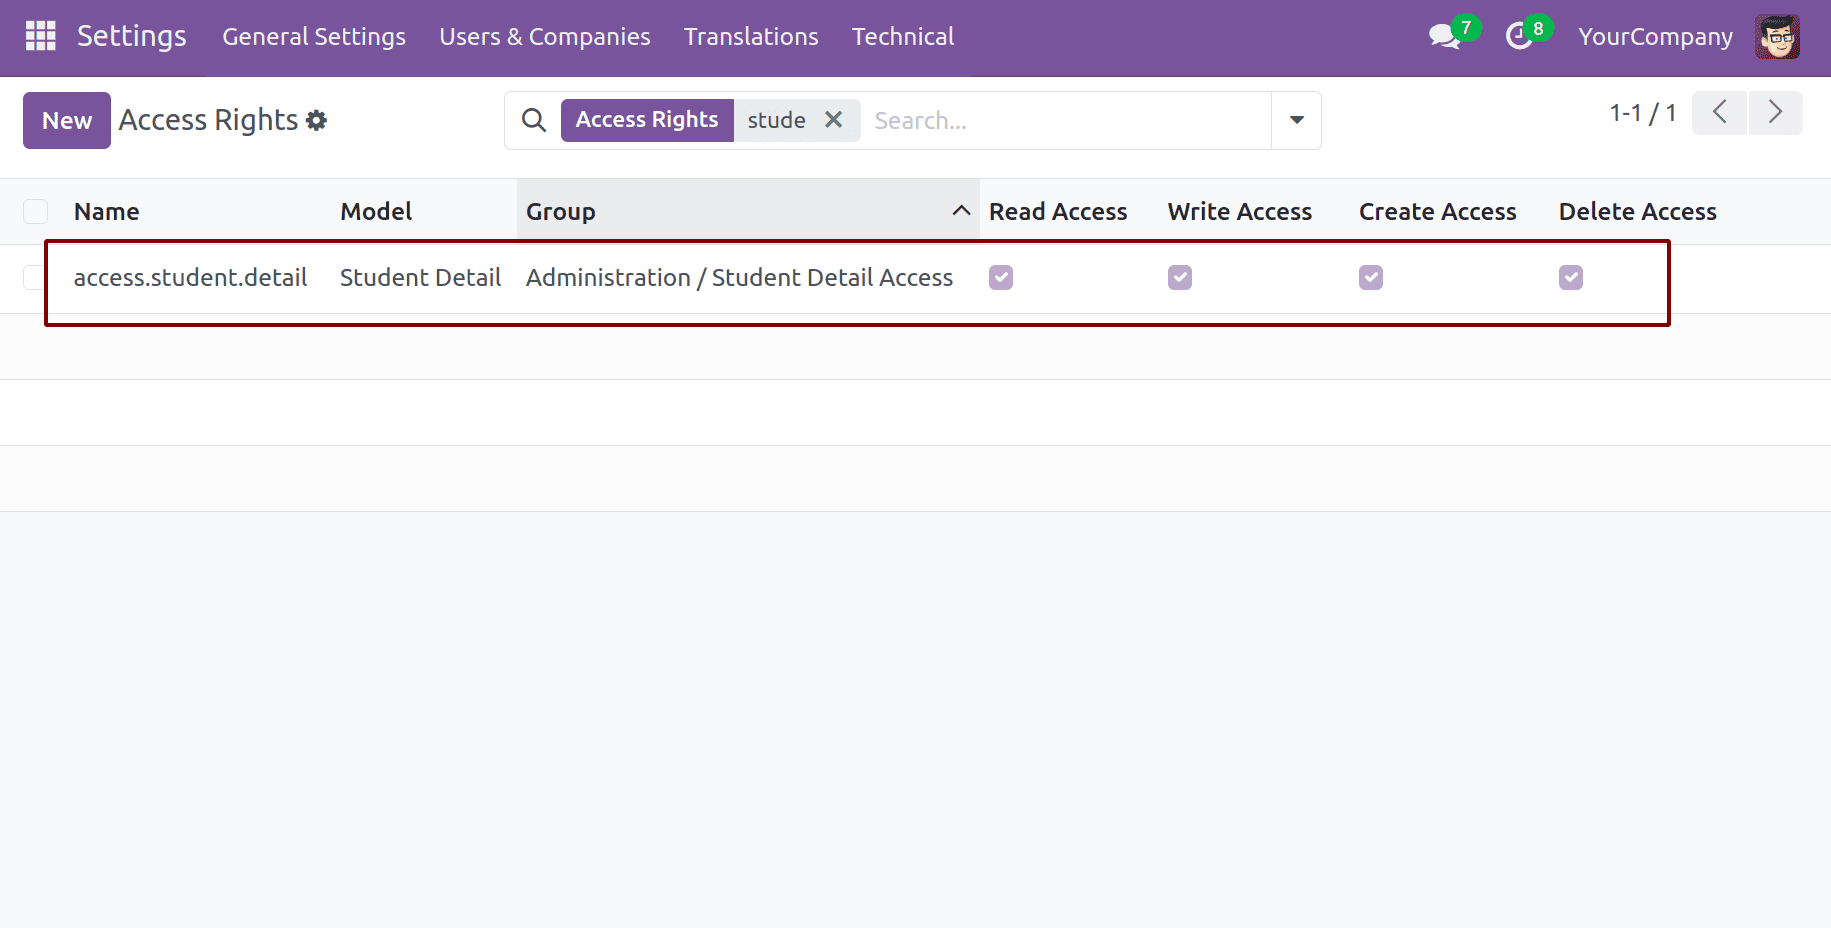
Since no group is added for this access rule, every user (both admin and regular users) can access this model. The figure below shows that both the admin and user can see the model student.detail.
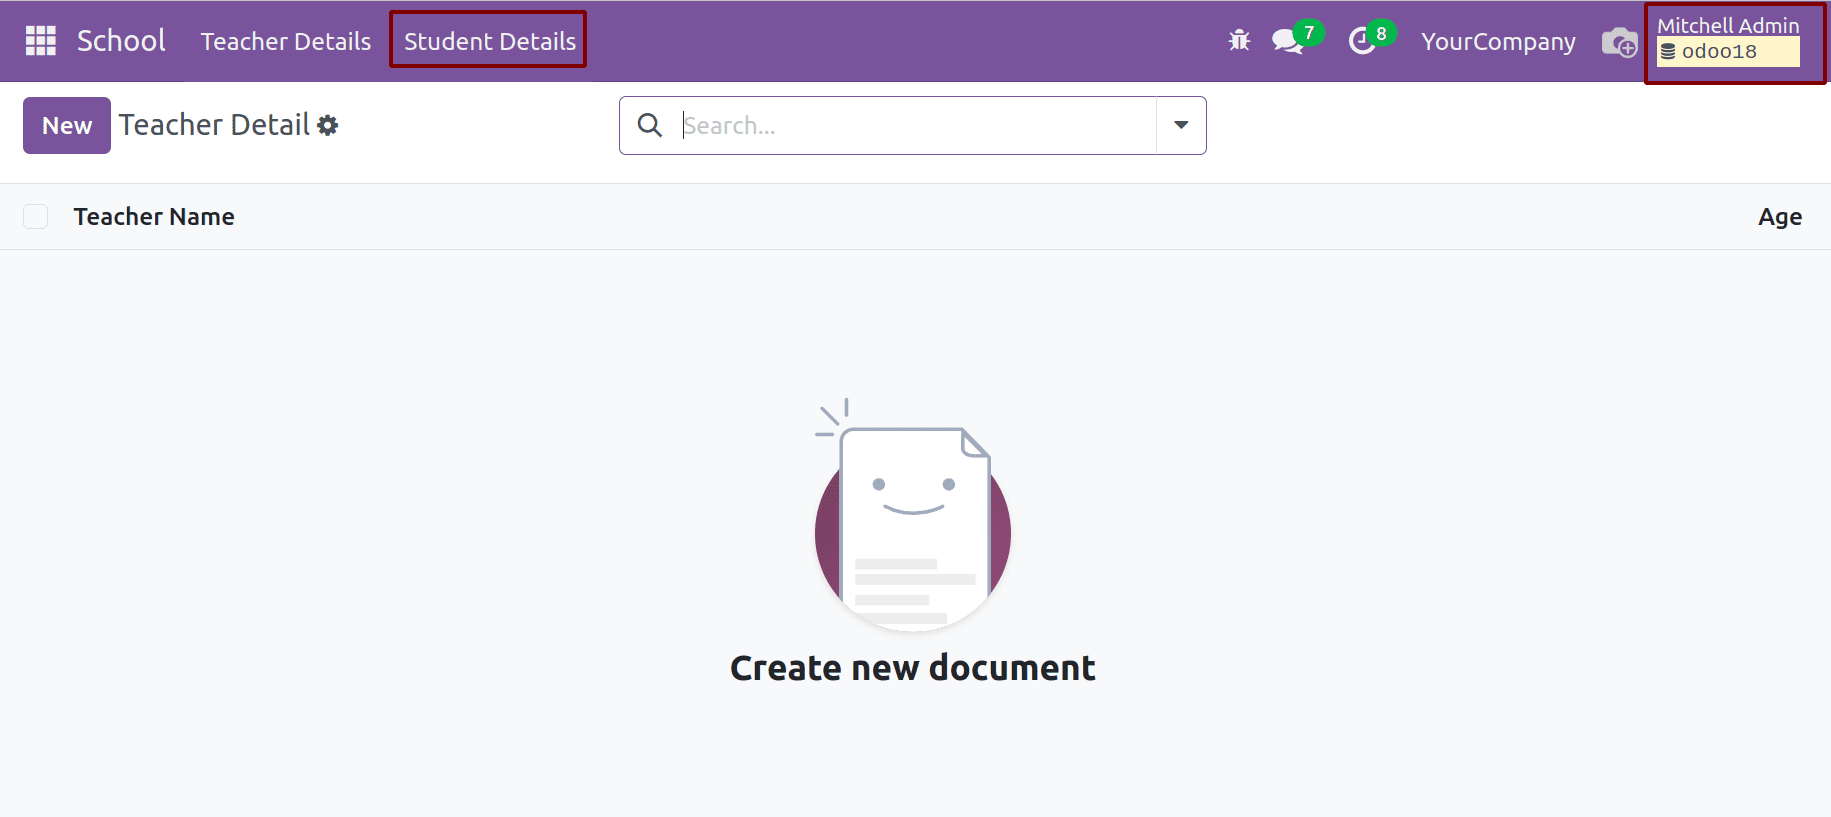
If we log out and log in as Marc demo, we can see the model Student Detail.
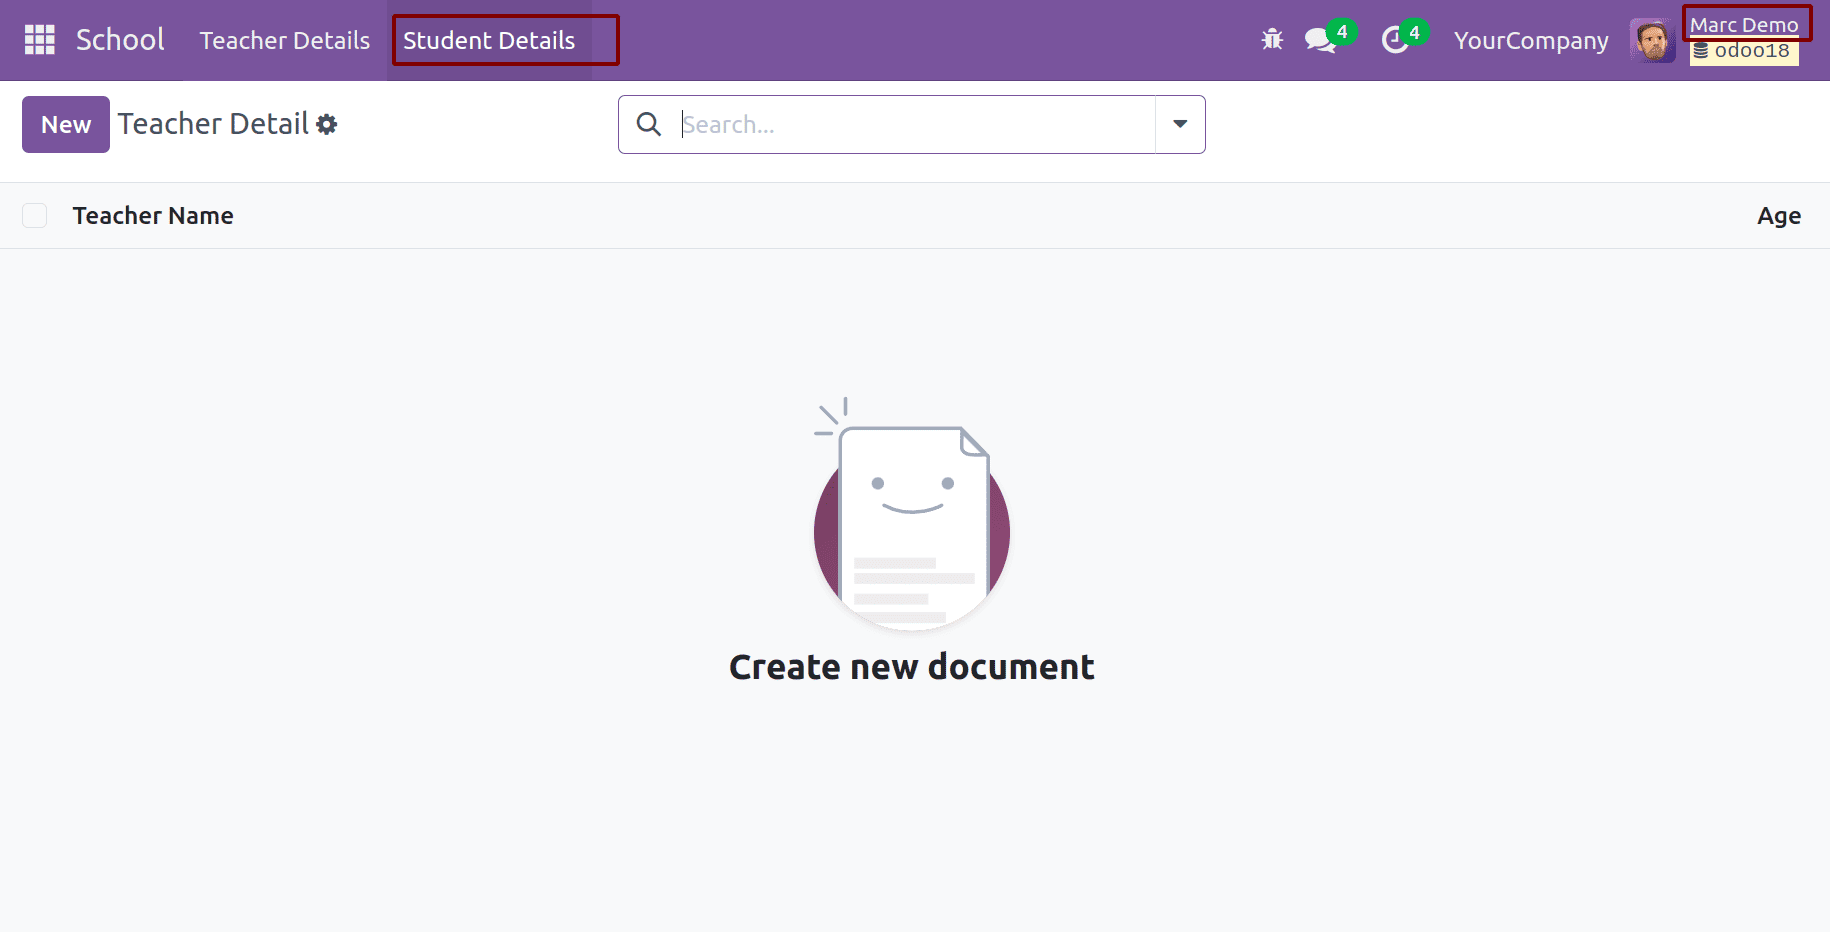
Since in the access right, group id is not provided, this model can be accessed by anyone. In order to restrict the model to a particular group, let’s create a security group.
<?xml version="1.0" encoding="UTF-8"?>
<odoo>
   <data>
       <record model="res.groups" id="student_group_manager">
           <field name="name">Student Detail Access</field>
           <field name="category_id"      ref="base.module_category_administration_administration"/>
       </record>
   </data>
</odoo>
We assign this group to the Administration category.
After creating the security group, we can add this inside the manifest file.
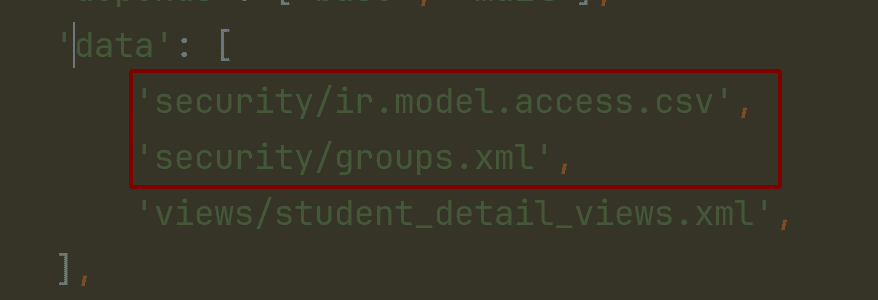
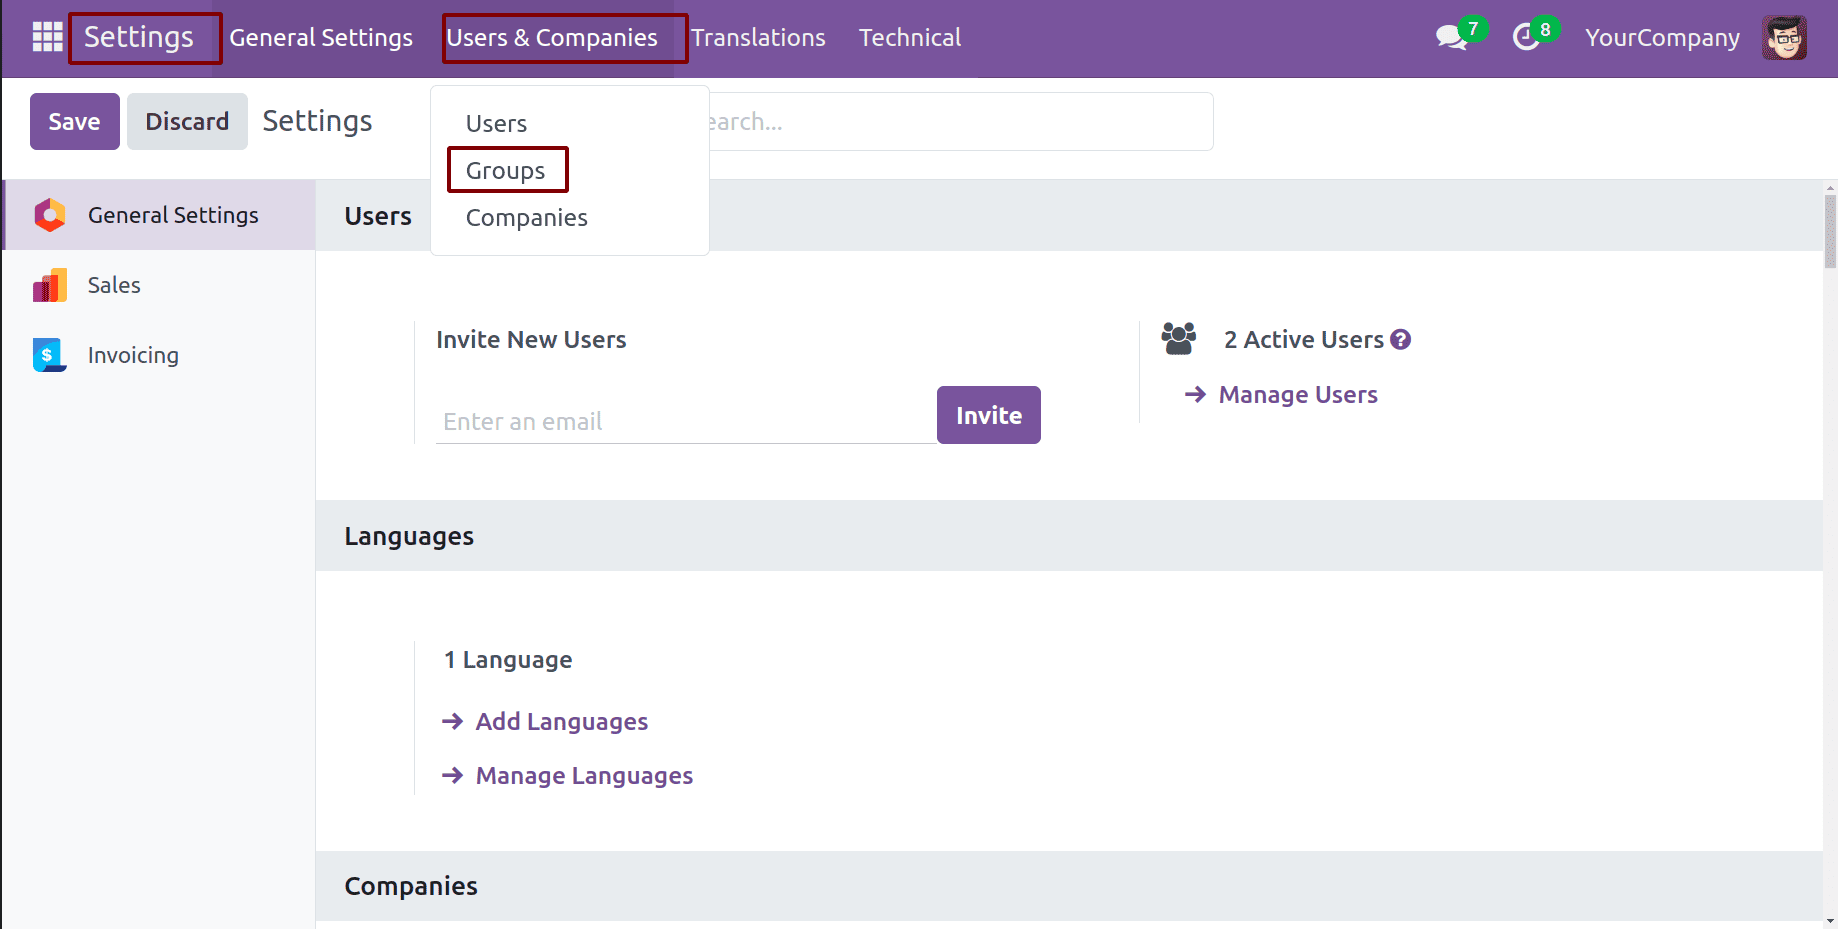
To assign users to this group, go to Settings > Users & Companies > Groups and search for the group Student Detail Access.
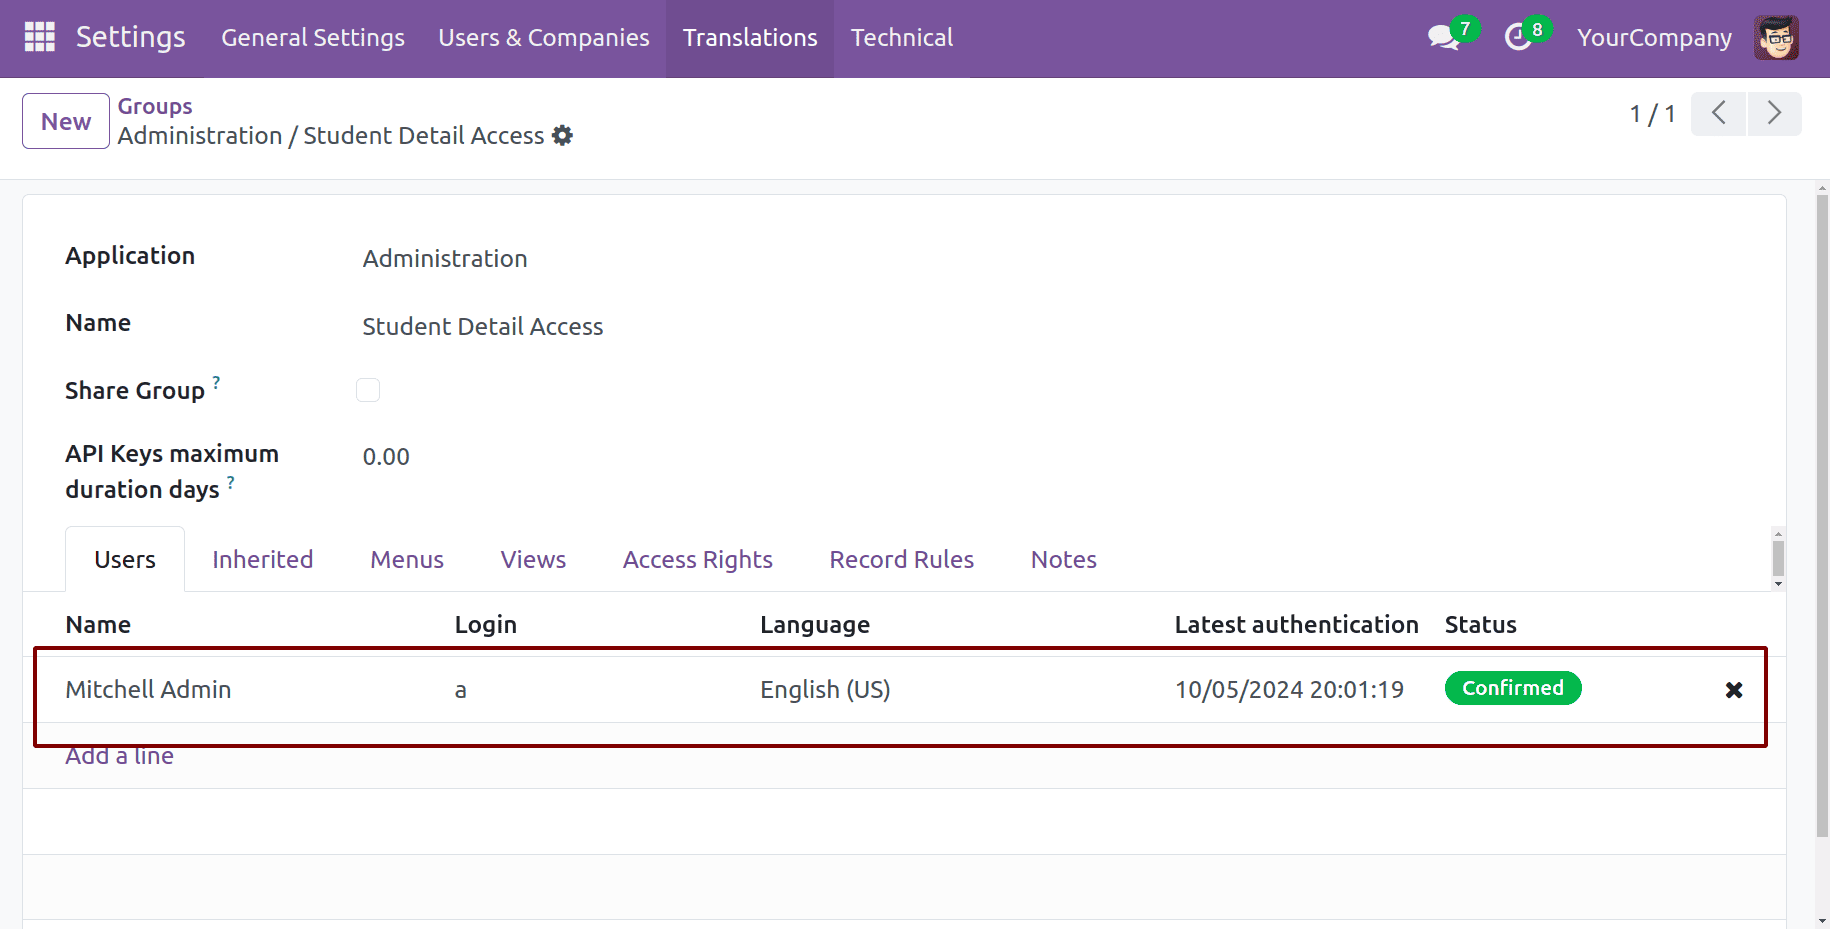
In the form view of the group, you can add users under the Users tab.
Now that the security group has been created and users assigned, we need to restrict the model access to this group. In the ir.model.access.csv file, update the access rule to include the group.
id,name,model_id:id,group_id:id,perm_read,perm_write,perm_create,perm_unlink
access_student_detail,access.student.detail, model_student_detail,student_group_manager,1,1,1,1
After adding the group to the access rule, the model student.detail should still be visible to Mitchell Admin who belongs to the group.
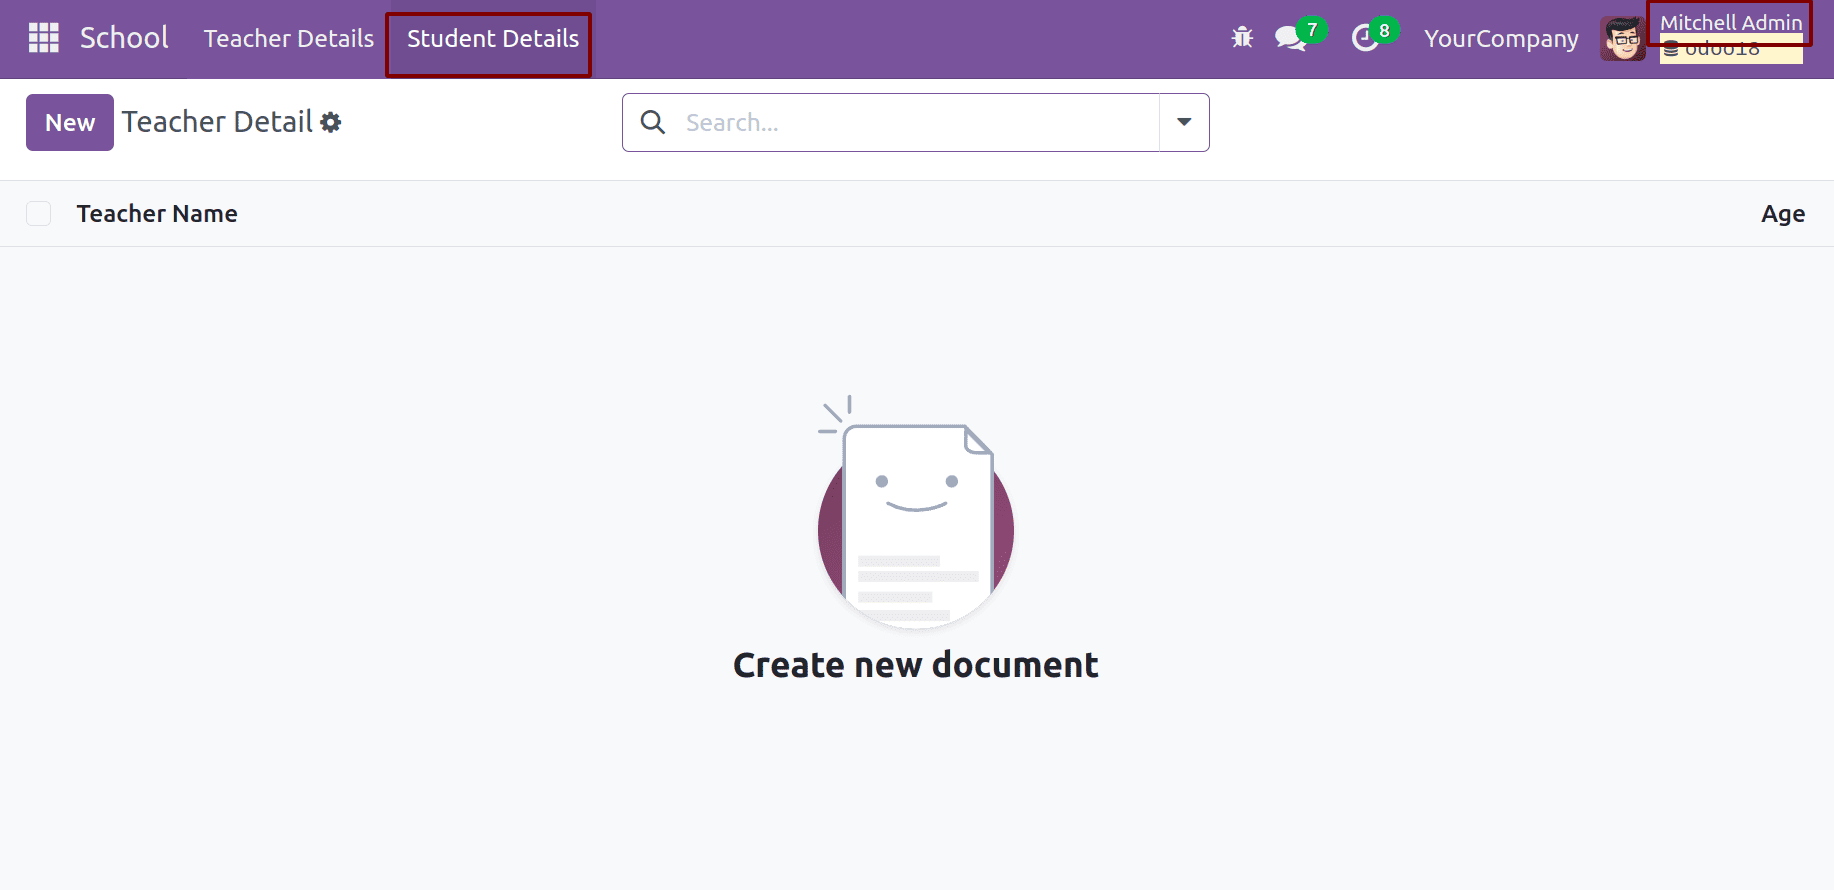
Now we can log in as Marc Demo, a user who is not included in the student_group_manager group. Now, the model student.detail should not be visible to this user, as access is restricted to the group members.
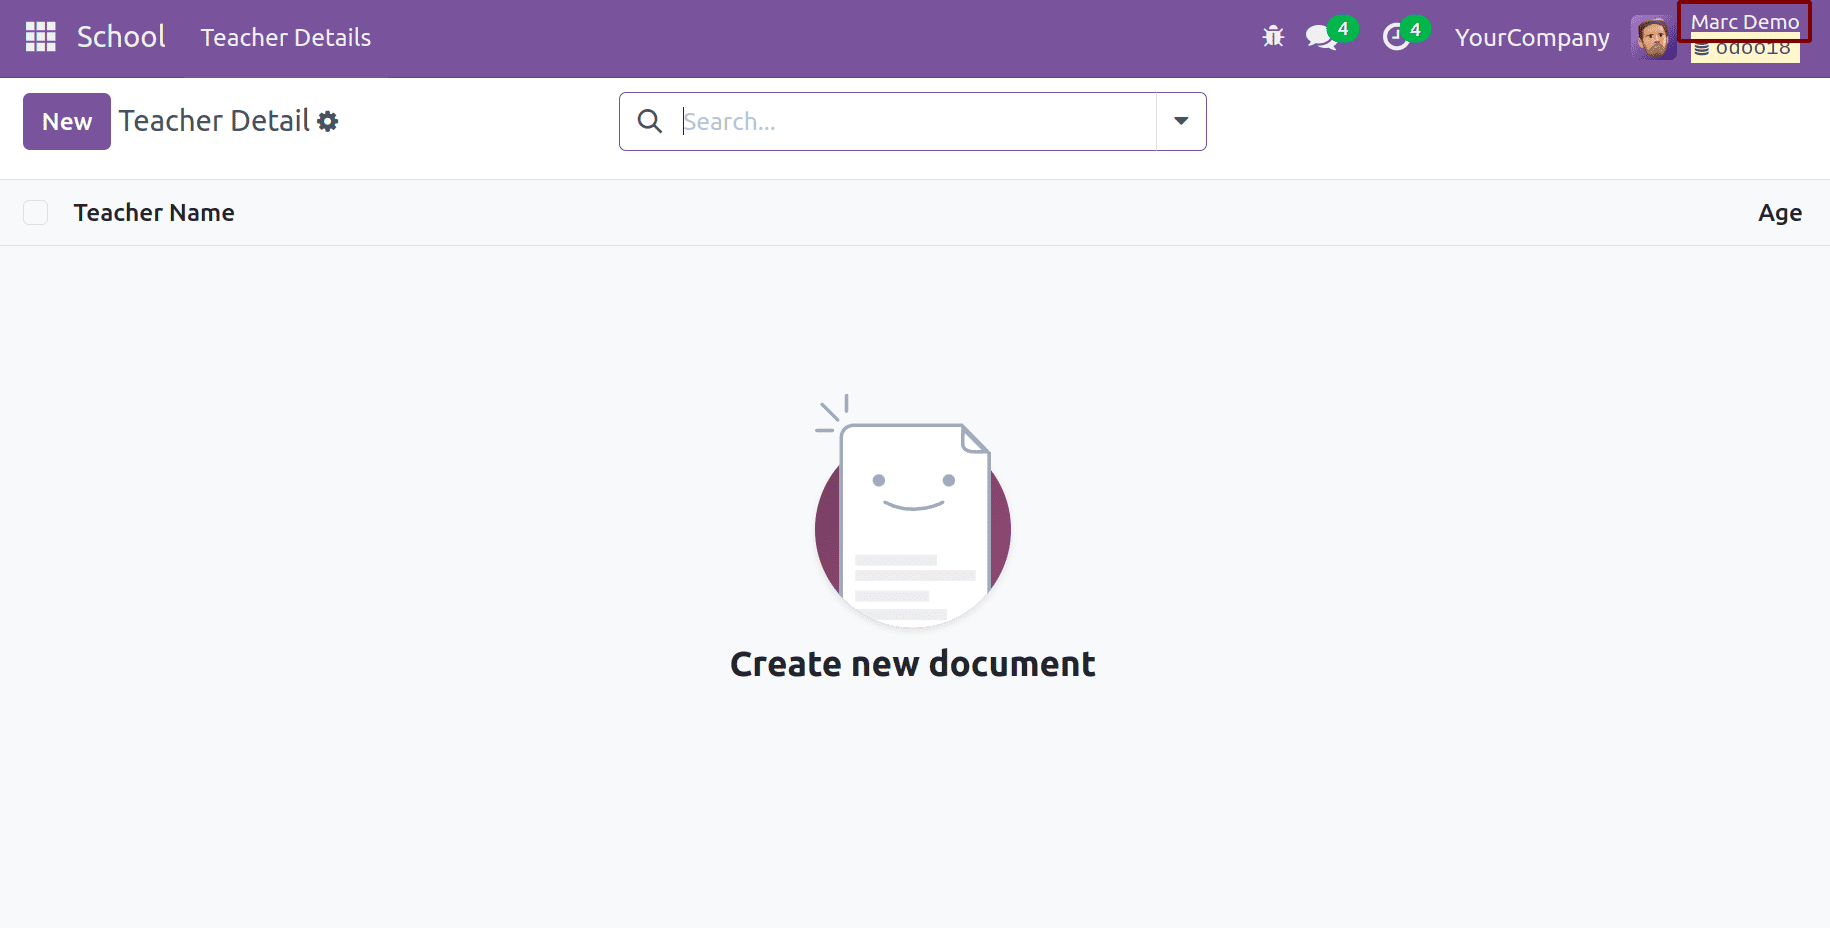
The model is not visible to this user.
Managing access rights through security groups in Odoo 18 is a critical aspect of ensuring that the right people have the appropriate permissions. By defining access rules and associating them with security groups, you can tailor user access to match your organizational needs. In this guide, we’ve walked through creating custom security groups, assigning users, and restricting access based on defined roles.
To read more about How to Create Security Group & Manage Access Rights in Odoo 17, refer to our blog How to Create Security Group & Manage Access Rights in Odoo 17.