In Odoo 18, displaying notifications to users in the backend interface is easy and powerful. Whether it's for a successful update, warning, or error, Odoo provides both Python and JavaScript ways to notify users with rich formatting.
Why Use Notifications?
Using display_notification allows you to provide immediate, non-intrusive feedback to users. Rather than using pop-up dialogs or logging messages, notifications provide a more seamless way to inform users. They enhance the user experience, particularly during common actions like saving data, confirming operations, or triggering automated tasks.
Supported Notification Types
Odoo notifications can show in various styles:
* success – Green background, for successful actions.
* warning – Yellow background, for cautionary messages.
* danger – Red background, for errors or failures.
* info – Blue background, for general information.
Displaying Notifications via Python
You can return a display_notification action from a server method (usually triggered by a button or automation rule).
Example
from odoo import models, api
class ResPartner(models.Model):
_inherit = 'res.partner'
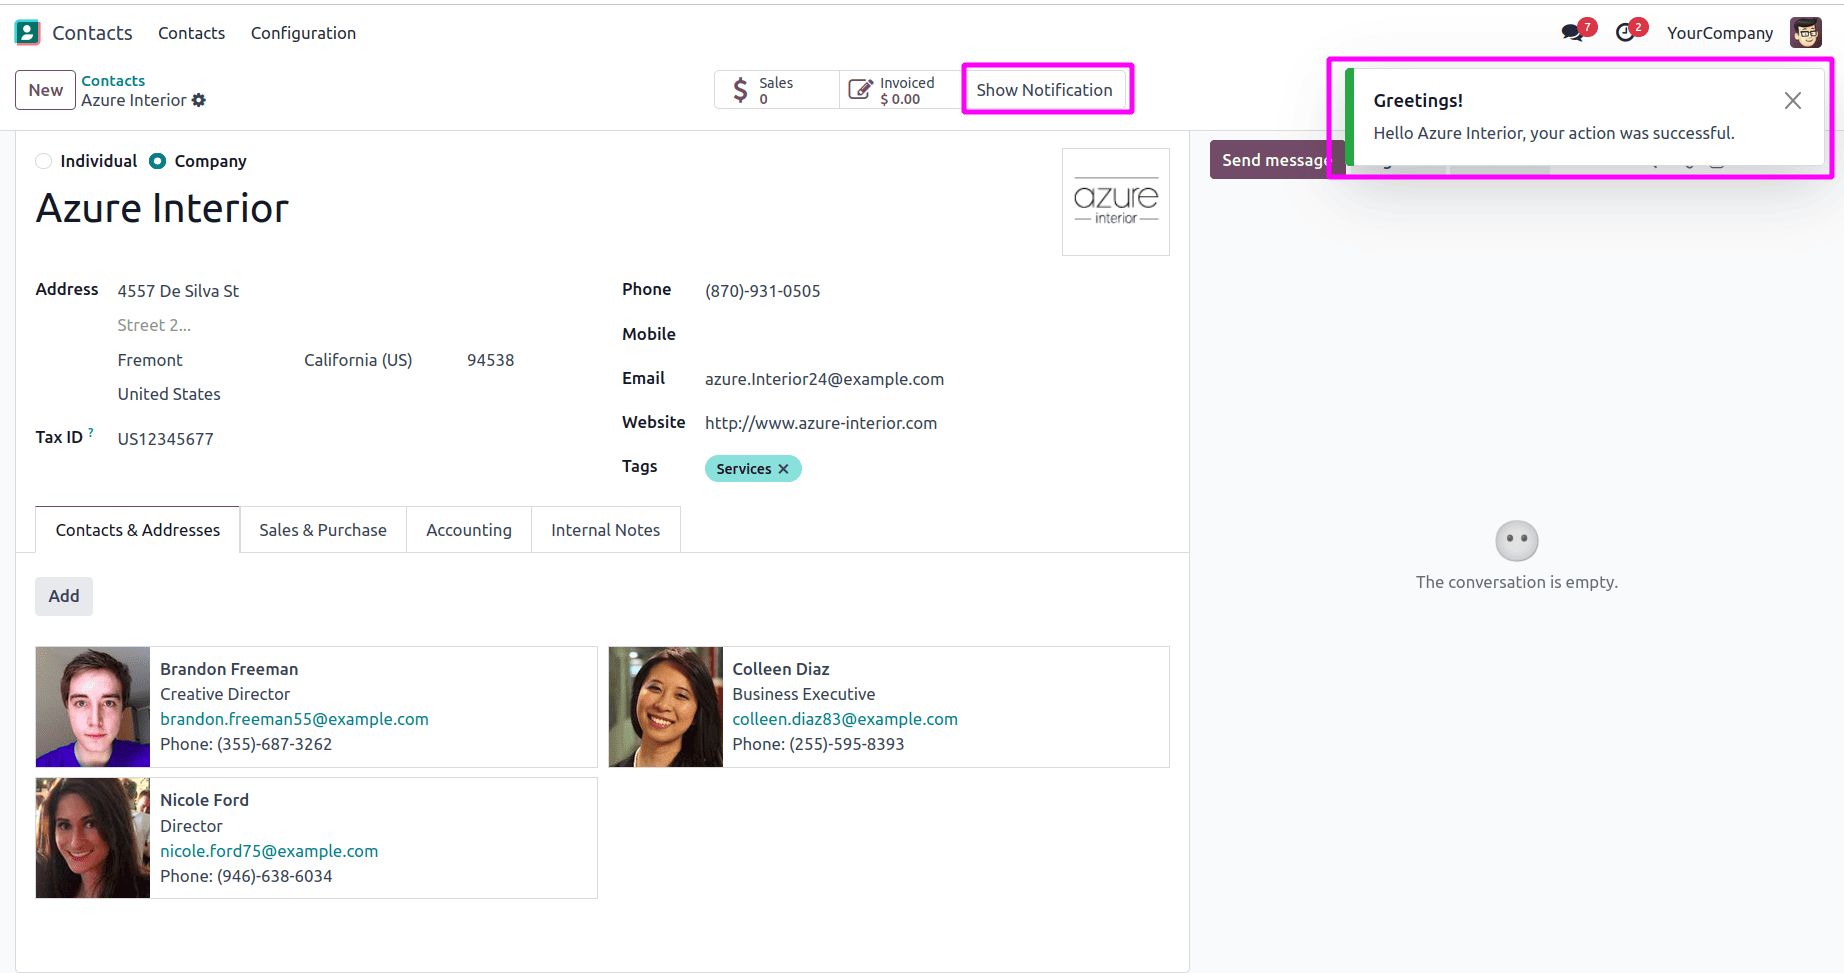
def action_notify_user(self):
return {
'type': 'ir.actions.client',
'tag': 'display_notification',
'params': {
'title': 'Greetings!',
'message': f'Hello {self.name}, your action was successful.',
'type': 'success',
'sticky': False
}
}
Parameters
* type: Must be 'ir.actions.client' – this tells Odoo it’s a frontend action.
* tag: 'display_notification' – special tag to trigger Odoo's notification system.
* params: A dictionary containing the actual notification content.
* params.title: Optional – title of the notification.
* params.message: Main content of the message shown to the user.
* params.type: One of success, warning, danger, or info – affects color and icon.
* params.sticky: If True, the message stays until the user closes it. The default is False.
<?xml version="1.0" encoding="UTF-8"?>
<odoo>
    <record id="view_partner_form_notification" model="ir.ui.view">
    <field name="name">res.partner.notification.button</field>
    <field name="model">res.partner</field>
    <field name="inherit_id" ref="base.view_partner_form"/>
    <field name="arch" type="xml">
        <div name="button_box" position="inside">
            <button name="action_notify_user"
                    type="object"
                    class="btn-primary"
                    string="Show Notification"/>
        </div>
    </field>
</record>
</odoo>
This adds a Notify button to the partner form view. When clicked, it triggers the Python method and shows the success notification.
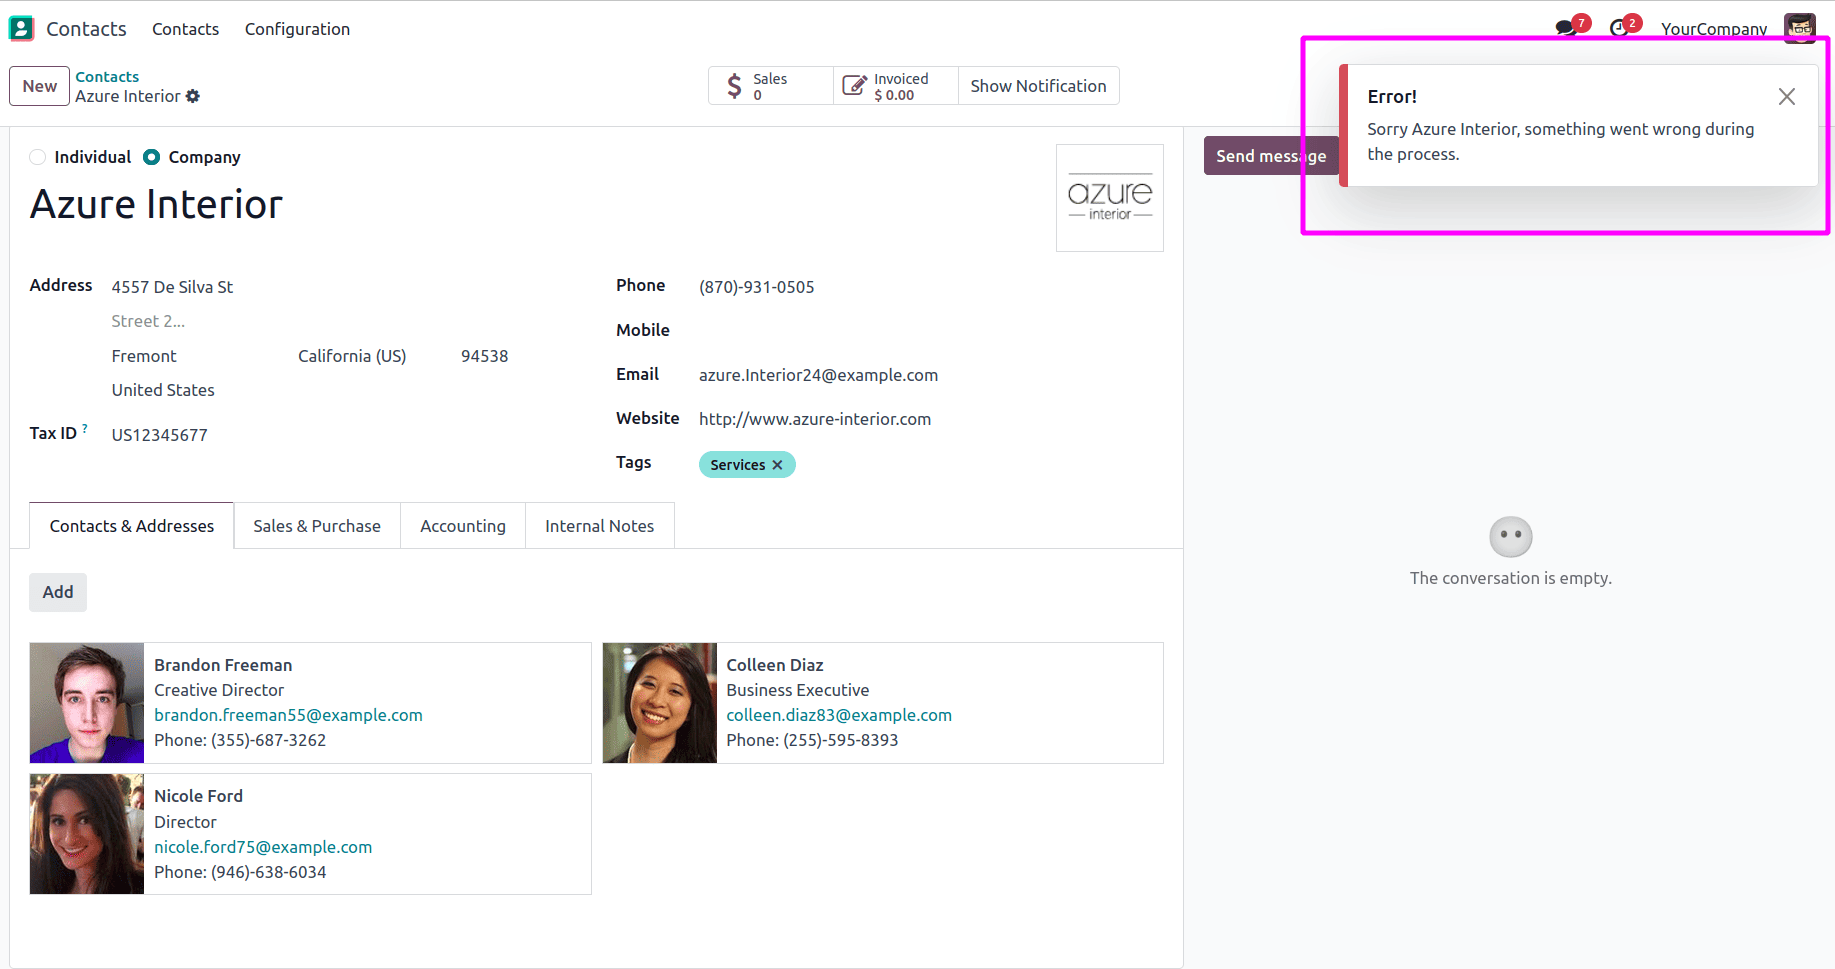
For showing the errors we can use the function as follows.
return {
    'type': 'ir.actions.client',
    'tag': 'display_notification',
    'params': {
        'title': 'Error!',
        'message': f'Sorry {self.name}, something went wrong during the process.',
        'type': 'danger',
        'sticky': True
    }
}
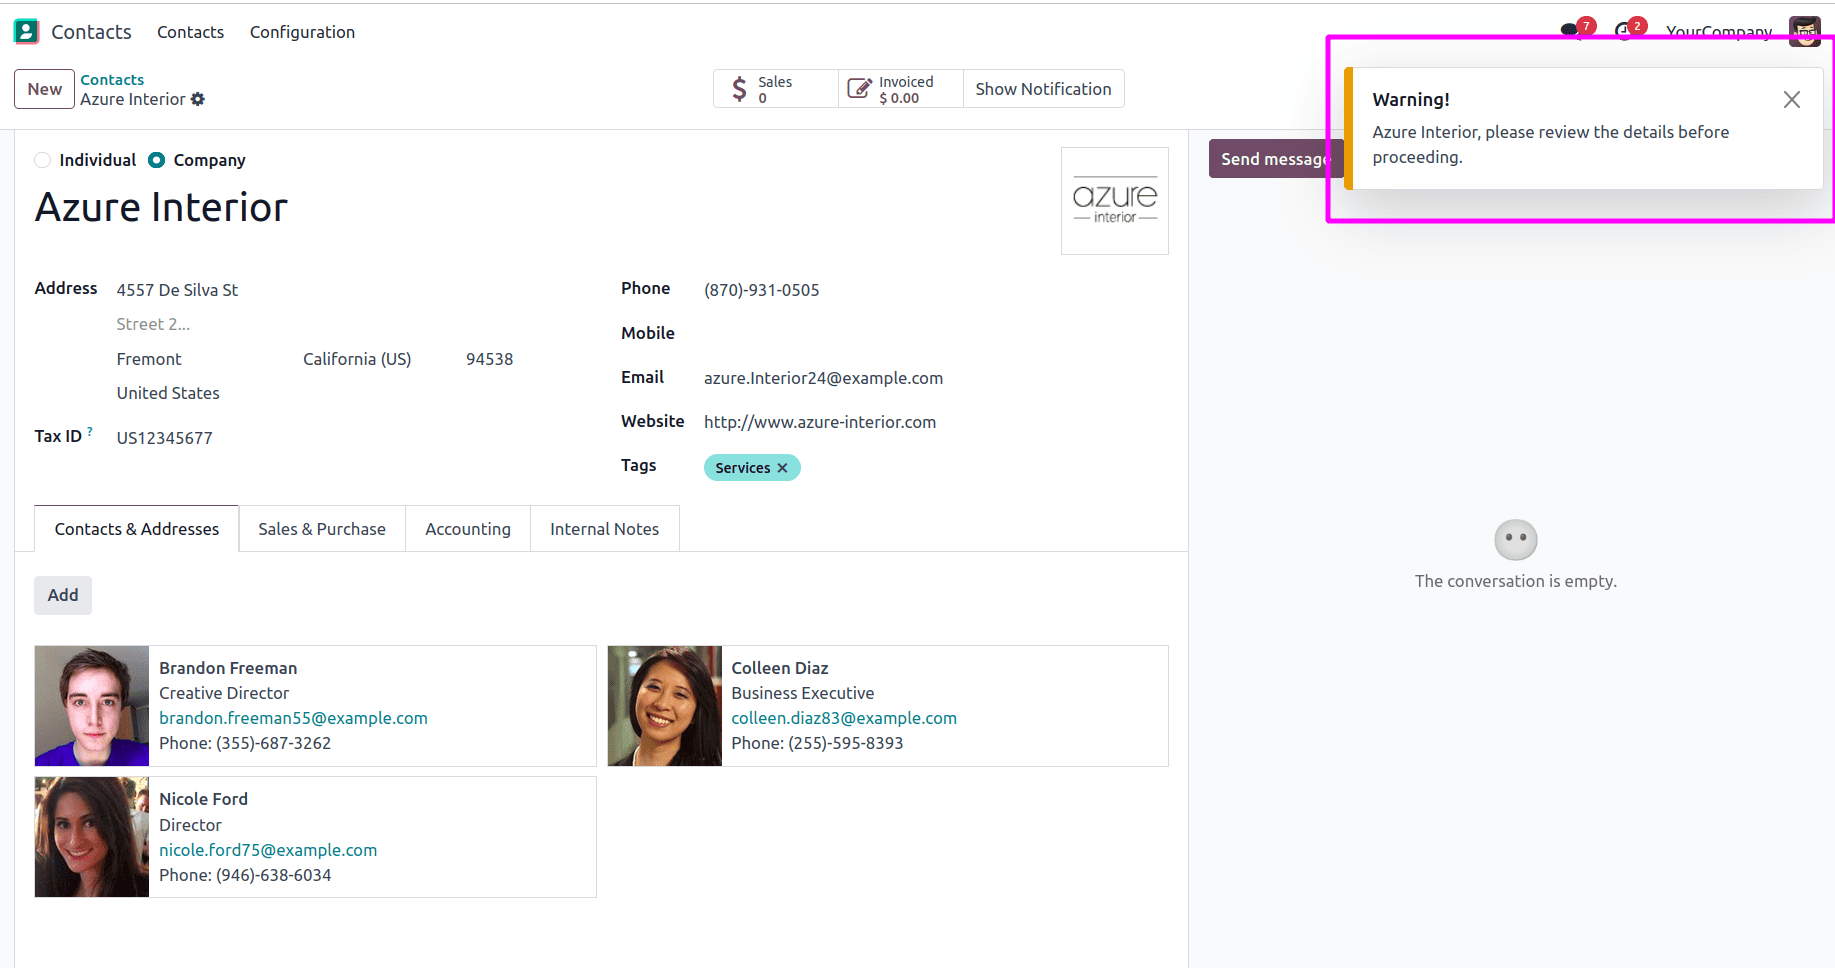
For showing the warning we can use the code below.
return {
    'type': 'ir.actions.client',
    'tag': 'display_notification',
    'params': {
        'title': 'Warning!',
        'message': f'{self.name}, please review the details before proceeding.',
        'type': 'warning',
        'sticky': False
    }
}
And it will result as follows.
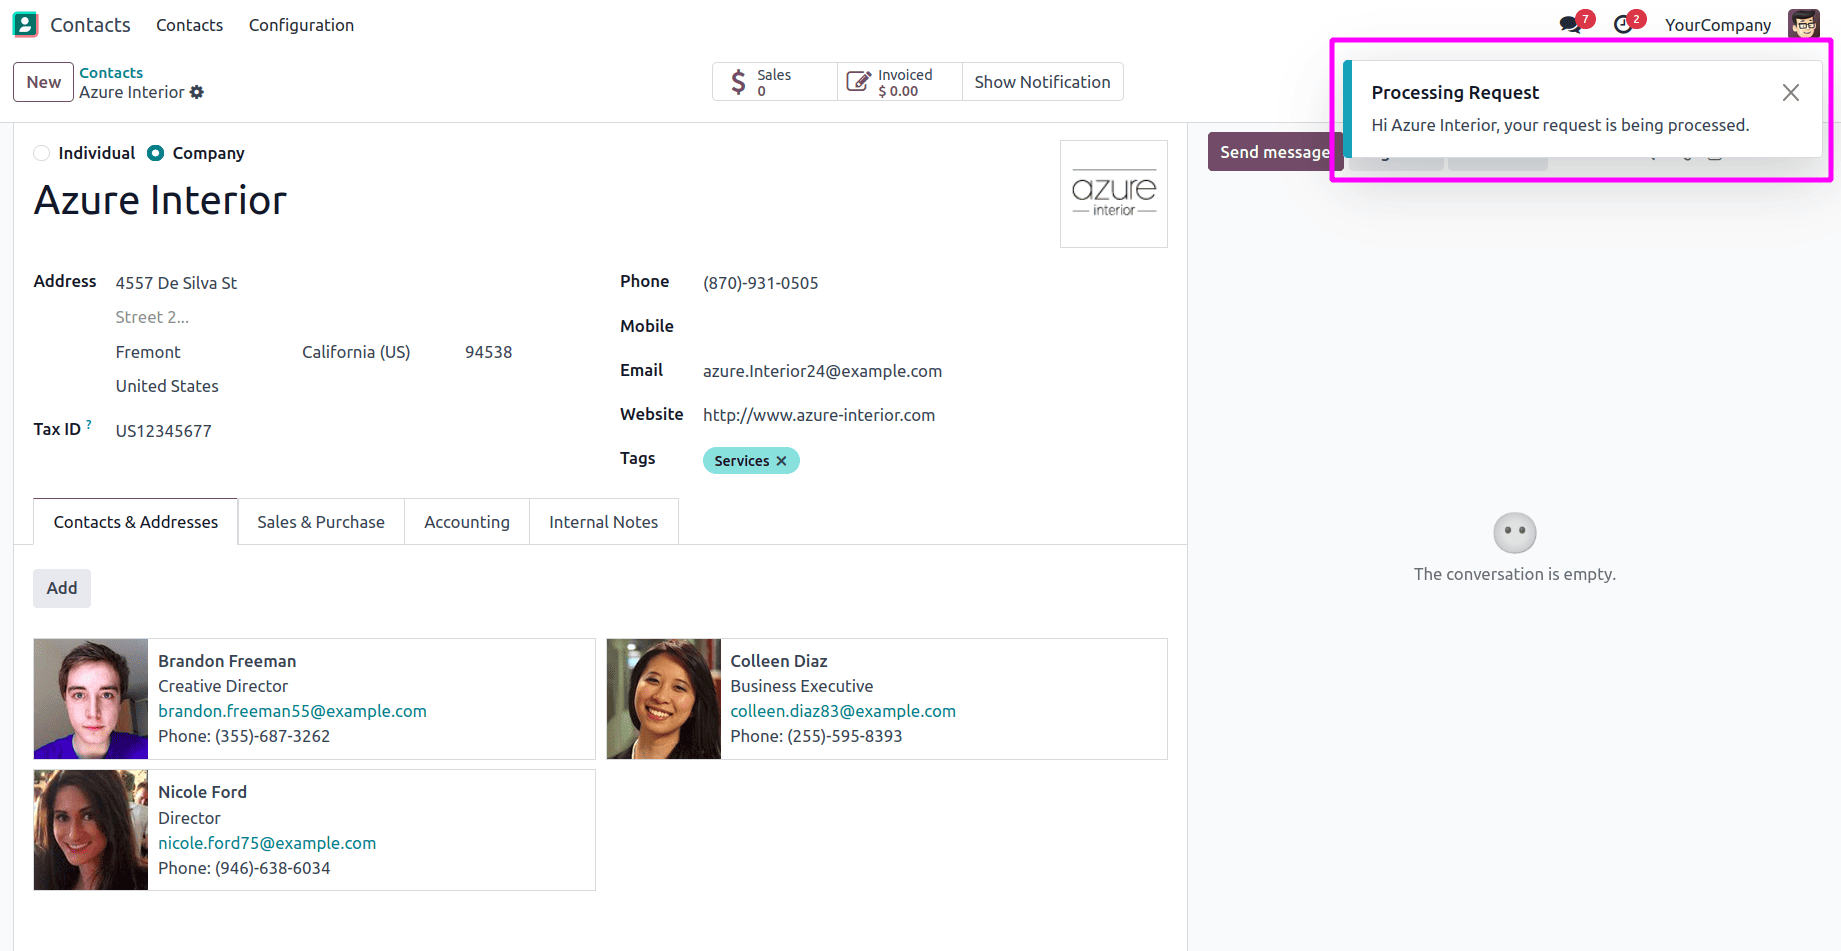
Now let's see how to show general information using info type.
return {
    'type': 'ir.actions.client',
    'tag': 'display_notification',
    'params': {
        'title': 'Processing Request',
        'message': f'Hi {self.name}, your request is being processed.',
        'type': 'info',
        'sticky': False
    }
}
Upon clicking the button it shows as follows.
Show Notifications via JavaScript
If you want to show a notification based on frontend logic (like clicking in a custom widget), use the Notification Service in JavaScript.
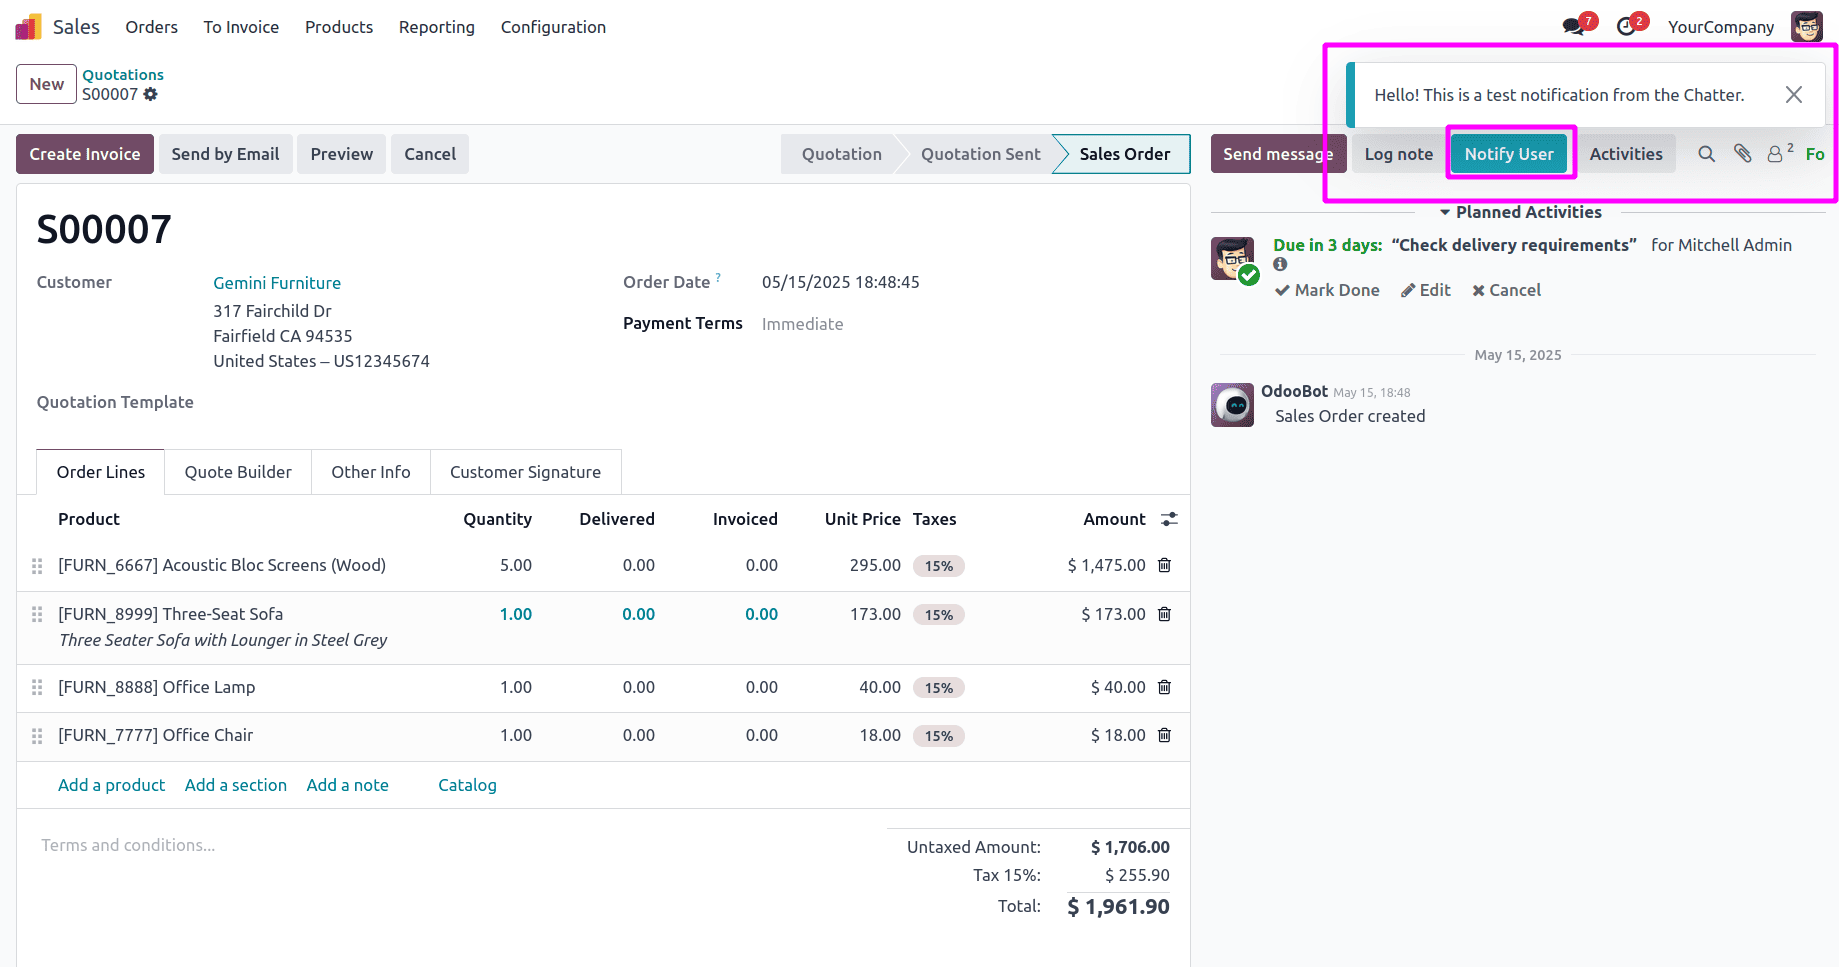
For example, let's add an example button in the chatter.
<?xml version="1.0" encoding="UTF-8"?>
<templates>
   <t t-name="custom_chatter_extension" t-inherit="mail.Chatter" t-inherit-mode="extension">
       <xpath expr="//*[contains(@class, 'o-mail-Chatter-activity')]" position="before">
           <button class="btn btn-info text-nowrap me-2"
                   t-att-class="{'my-2': !props.compactHeight }"
                   data-hotkey="shift+n"
                   t-on-click="notifyUser">
               <span>Notify User</span>
           </button>
       </xpath>
   </t>
</templates>
Now let's add the function upon clicking the button.
/** @odoo-module **/
import { patch } from "@web/core/utils/patch";
import { Chatter } from "@mail/chatter/web_portal/chatter";
import { useService } from "@web/core/utils/hooks";
import { _t } from "@web/core/l10n/translation";
patch(Chatter.prototype, {
    setup() {
        super.setup();
        this.notification = useService("notification");
    },
    notifyUser() {
        this.notification.add(_t("Hello! This is a test notification from the Chatter."), {
            type: "info", // 'success', 'warning', 'danger', or 'info'
            sticky: false,
        });
    },
});
Notifications are a lightweight and user-friendly way to improve your custom Odoo modules. Whether you're giving success feedback, alerting users of a failed process, or guiding them with useful information, this feature helps streamline user experience with minimal code.
With the combination of Python and JavaScript support, you can embed notifications into virtually any part of your Odoo app — giving users instant feedback and improving usability across the board.
To read more about How to Create Display Notification in Odoo 17, refer to our blog How to Create Display Notification in Odoo 17.