Snippets, in the context of Odoo, refer to modular and reusable components that facilitate the construction and customization of web pages. These building blocks empower users to craft visually appealing and dynamic web content effortlessly. In this blog post, we will delve into the details of creating and utilizing options for snippets in Odoo 17, which allows users to customize and extend the functionality of the snippets on their Odoo website.
Snippet options in Odoo 17 refer to the ability to add customizable elements to snippets on your website. These elements can include text, images, buttons, and more, providing a way for users to tailor their website content to suit their specific needs. This feature is particularly useful for businesses looking to create a unique and engaging online presence.
Step 1: Setting Up Your Odoo Environment
Before we begin, ensure that you have Odoo 17 installed and configured on your server.
Step 2: Creating a New Snippet Option
To create a snippet option, you'll need to define it in your custom module. Start by creating a new module or using an existing one. In this example, let's assume you have a module named 'custom_website.'
Open your module's manifest file (custom_website/manifest.py) and add the following code:
{
    'name': 'Custom Website Module',
    'version': '1.0',
    'depends': ['website'],
    'data': [
        'views/snippet.xml',
    ],
    'installable': True,
    'application': False,
}
Create a new XML file to define a snippet to which we are going to add options:
<?xml version="1.0" encoding="utf-8"?>
<odoo>
<template id="custom_snippet" name="Custom snippet">
   <section id="snippet_selector" class="container">
       <div class="container">
           <div class="custom-snippet-container">
               <div class="custom-snippet-item">
                   <p>snippet content goes here</p>
               </div>
               <div class="custom-snippet-item">
                   <p>snippet content goes here</p>
               </div>
               <div class="custom-snippet-item">
                   <p>snippet content goes here</p>
               </div>
               <div class="custom-snippet-item">
                   <p>snippet content goes here</p>
               </div>
           </div>
       </div>
   </section>
</template>
</odoo>
Now that you've defined the snippet, let's add it to the snippet blocks in the website editor. For that, we have to inherit 'website.snippet' and add our snippet:
<?xml version="1.0" encoding="utf-8"?>
<odoo>
<template id="snippet_example" inherit_id="website.snippets" priority="8">
   <xpath expr="//div[@id='snippet_effect']//t[@t-snippet][last()]"  position="after">
       <t t-snippet="custom_website.custom_snippet"/>
   </xpath>
</template>
</odoo>
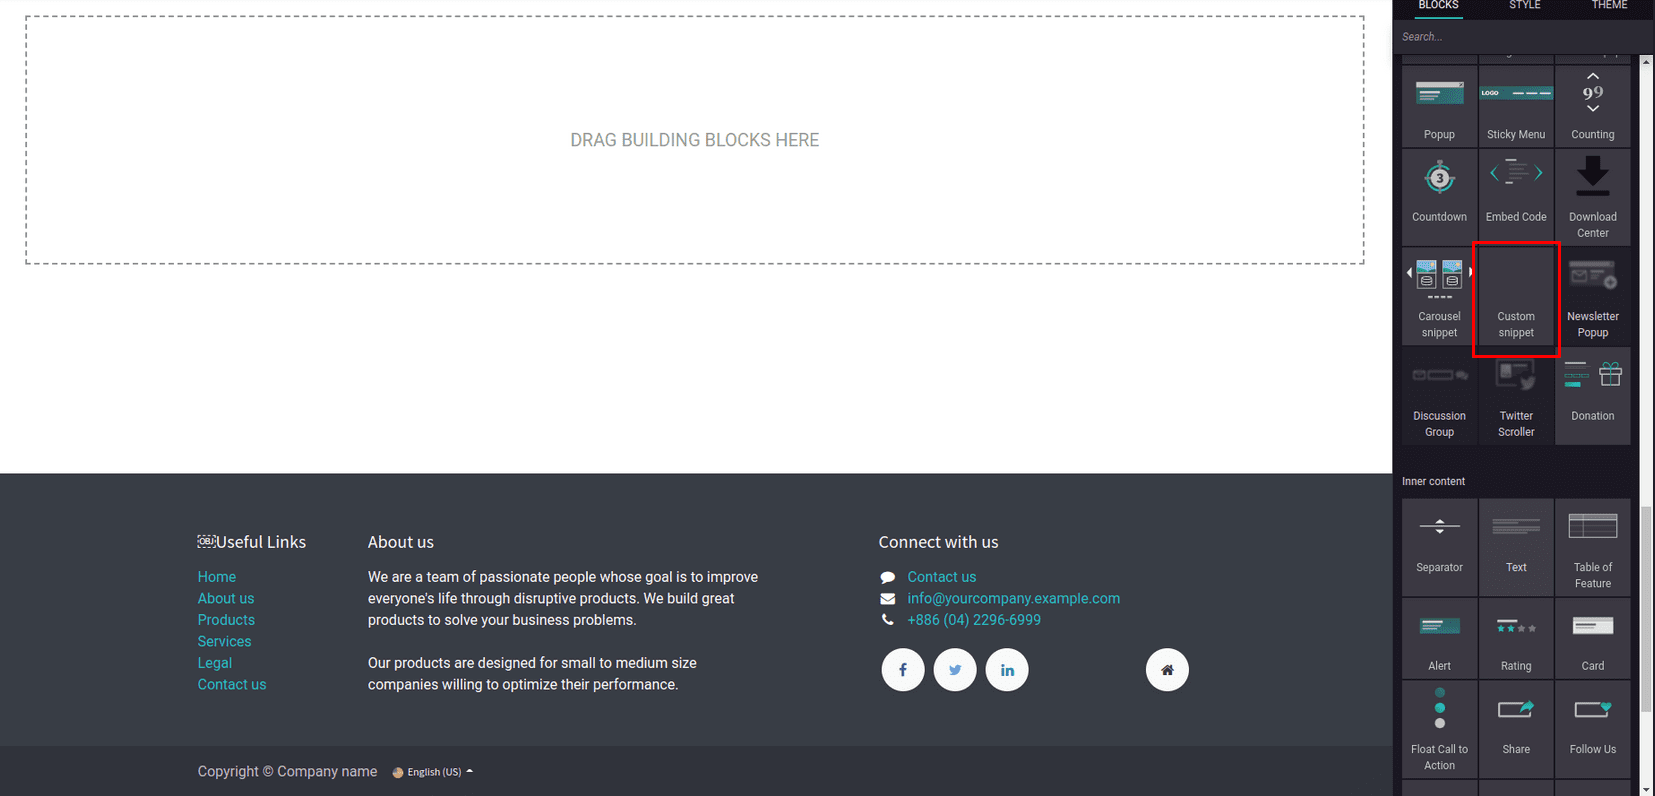
Now lets update the module to see out custom snippet among snippet blocks.

Here we can see our custom snippet.
Now let's add options to our snippet, for that lets create another xml file. For that we have to inherit the website.snippet_options template.
<?xml version="1.0" encoding="utf-8"?>
<odoo>
<template id="custom_snippet_options" inherit_id="website.snippet_options">
  <xpath expr="." position="inside">
      <div data-selector="#snippet_selector" data-js="CustomSnippet">
          <we-row string="Item">
                   <we-button data-add-item="true" data-no-preview="true" class="o_we_bg_brand_primary">Add Item</we-button>
               </we-row>
      </div>
  </xpath>
</template>
</odoo>
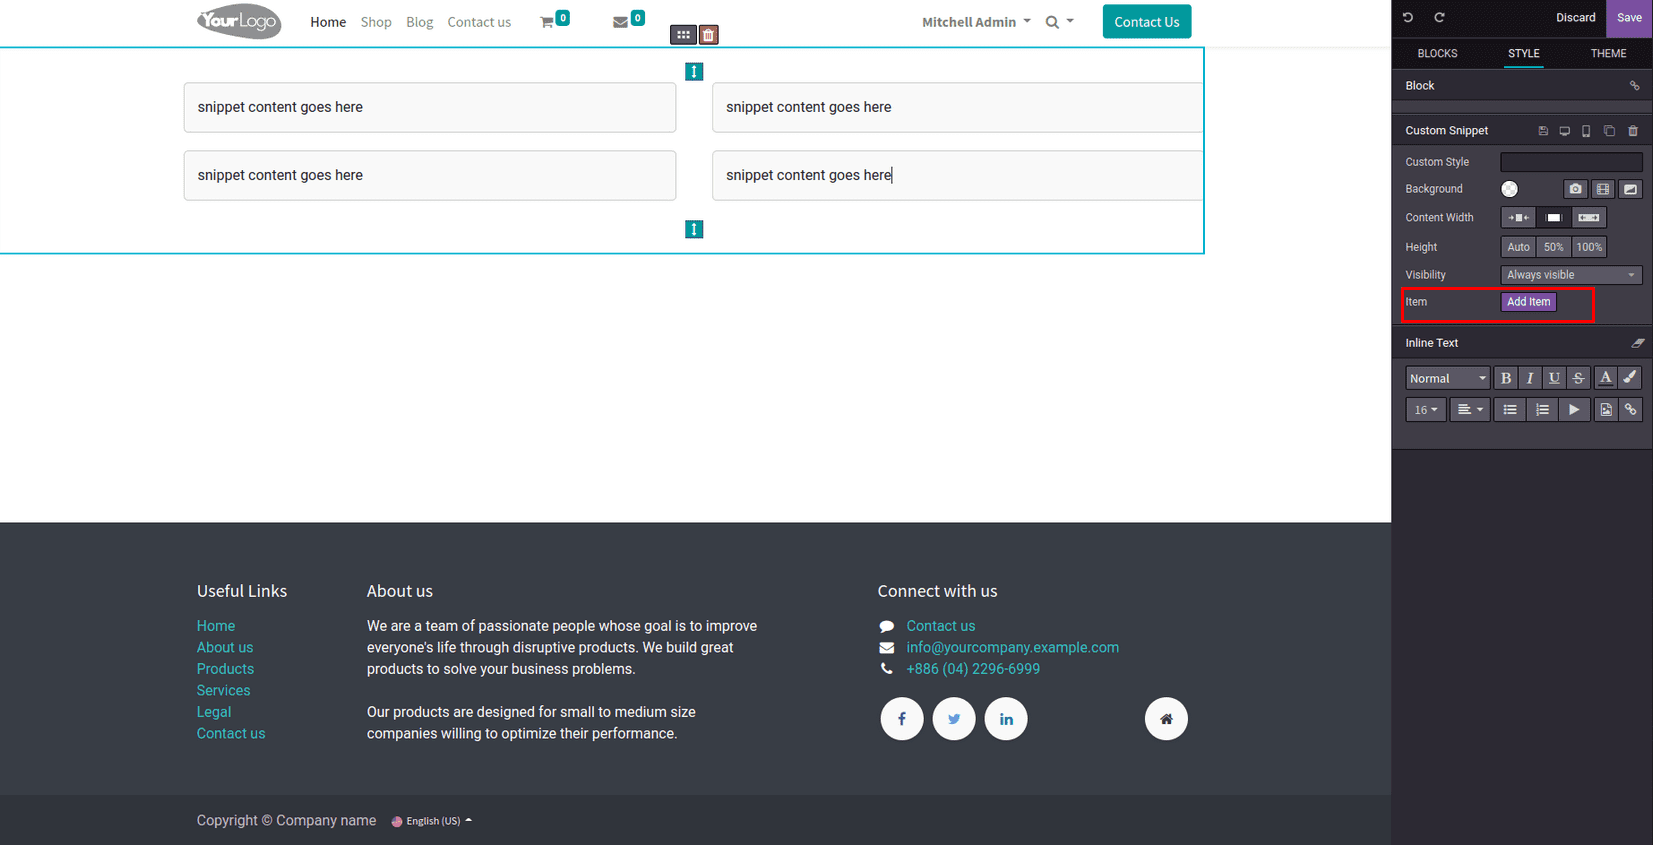
Now we can see the option we created, but we’ve only created the button, we have to add its functionality. For that, lets create a javascript file and add a function for that option by extending the class ‘options’:
/** @odoo-module **/

import options from "@web_editor/js/editor/snippets.options";


options.registry.CustomSnippet = options.Class.extend({


   addItem: function(previewMode, widgetValue, params) {

       // Log information about the last container
       var lastImageContainer = $('.custom-snippet-item:last', this.$target);

       // Attempt to clone and log the cloned element
       var cloneImage = lastImageContainer.clone();

       // Attempt to append the cloned element
       $('.custom-snippet-container', this.$target).append(cloneImage);
   },
});
And then we have to add this js file to the manifest under ‘web.assets_frontend’.
{
   'name': 'Custom Website Module',
   'version': '1.0',
   'depends': ['website'],
   'data': [
       'views/snippet.xml',
   ],
   'assets':
       {'web.assets_frontend':
            ['custom_website/static/src/js/options.js']
        },
   'installable': True,
   'application': False,
}
Like I’ve mentioned above, our custom class ‘CustomSnippet’ is assigned to the snippet option using data-js attribute. Here the function fetches the last snippet item and clones it using the clone() method. And append it to the parent container, that's how we add more items to the snippet. This function is called by the ‘data-add-item’ attribute given in our snippet option. Now let’s see how it works:

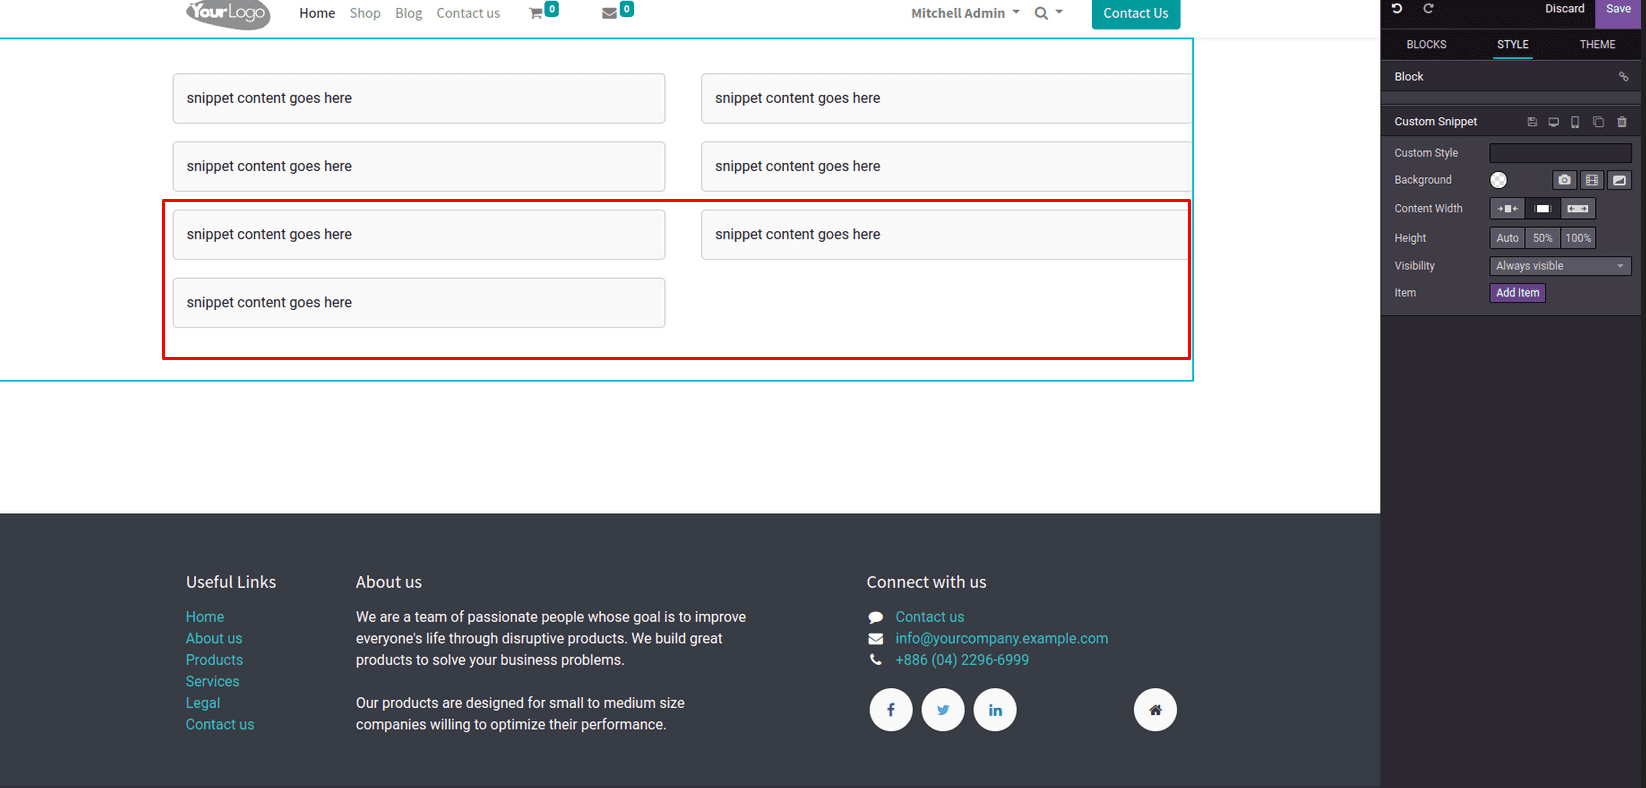
We can see by clicking on the add item option multiple times, the snippet items have also multiplied. Don’t forget to add our js file to the manifest.
Now you've successfully created a snippet option in Odoo 17 and applied it to a snippet on your website. This powerful feature allows for endless possibilities in customizing your online presence. Experiment with different options, explore additional functionality and elevate your website to new heights.
To read more about How to Create a Snippet in Odoo 17, refer to our blog How to Create a Snippet in Odoo 17.