The details of customers and employees are stored easily using the Odoo 15 Contacts module. Most people keep the details of specific individuals on their smartphones or in books. Sometimes, it may be hard to search for a contact quickly. Odoo 15 Contacts module resolves your worries to secure a contact detail fastly. On the other hand, a business environment plays a significant role in saving employees' contacts. It is possible to record the opportunities, subscriptions, sales, meetings and purchases of a particular contact using the Odoo ERP system. All these activities manage smoothly through the Odoo 15 Contacts dashboard.
This blog helps you know about Opportunities and Meetings in the Odoo 15 Contacts module.
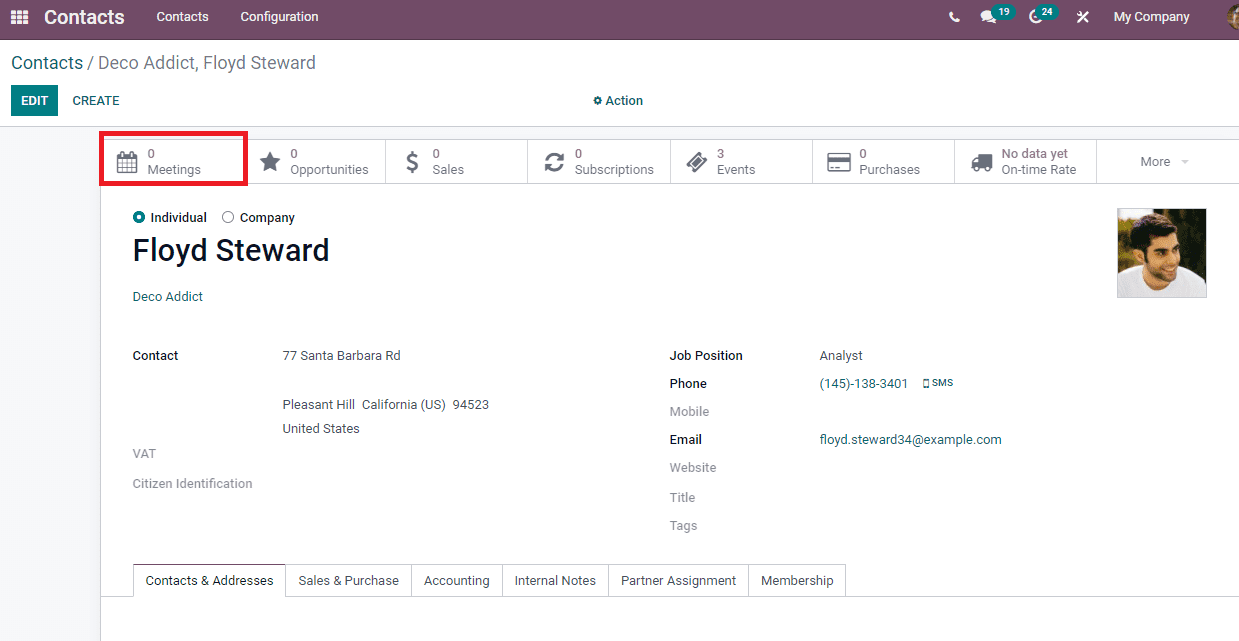
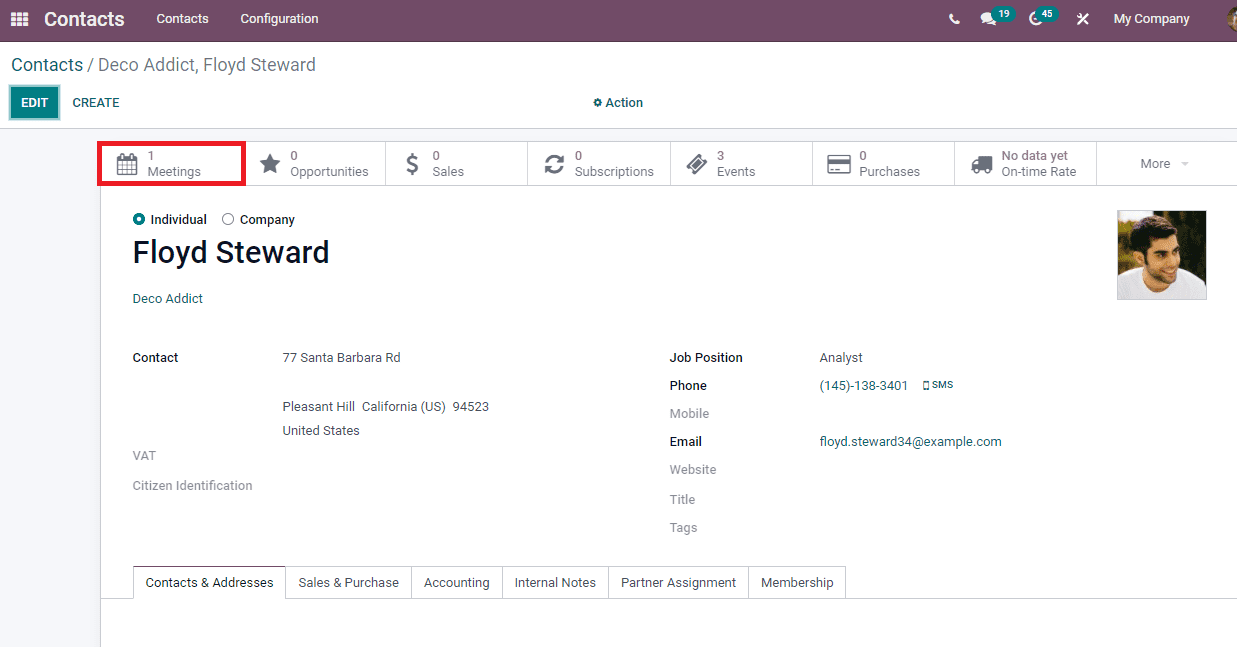
Users can view some basic menus at the top after creating a new contact in the Odoo 15 Contacts module. These include Sales, Meetings, Subscriptions, Opportunities, Purchases, Events, and more aspects. Let's look at the detailed view of some of this sub-menus.
Meetings
You can see the Meetings menu after creating a new Contact from the Contacts window, as depicted below.
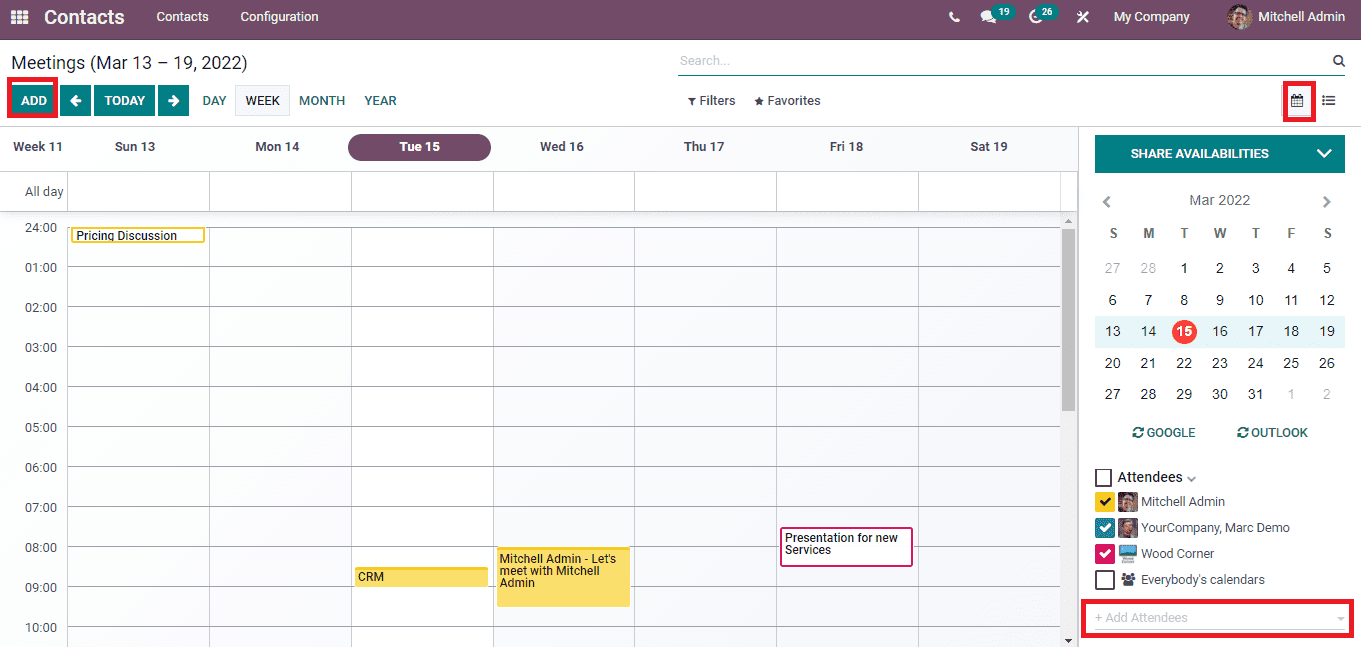
Select the Meetings menu, and the list of scheduled meetings are visible in the new window. In the Calendar view, you can view the meetings based on Day, Month, Week and Year. The right part of the window depicts the Calendar and Attendees' information. We can add more attendees by clicking on the + icon at the bottom of the Attendees section. Add icon ensures to generate a new meeting with more attendees, as depicted in the screenshot below.
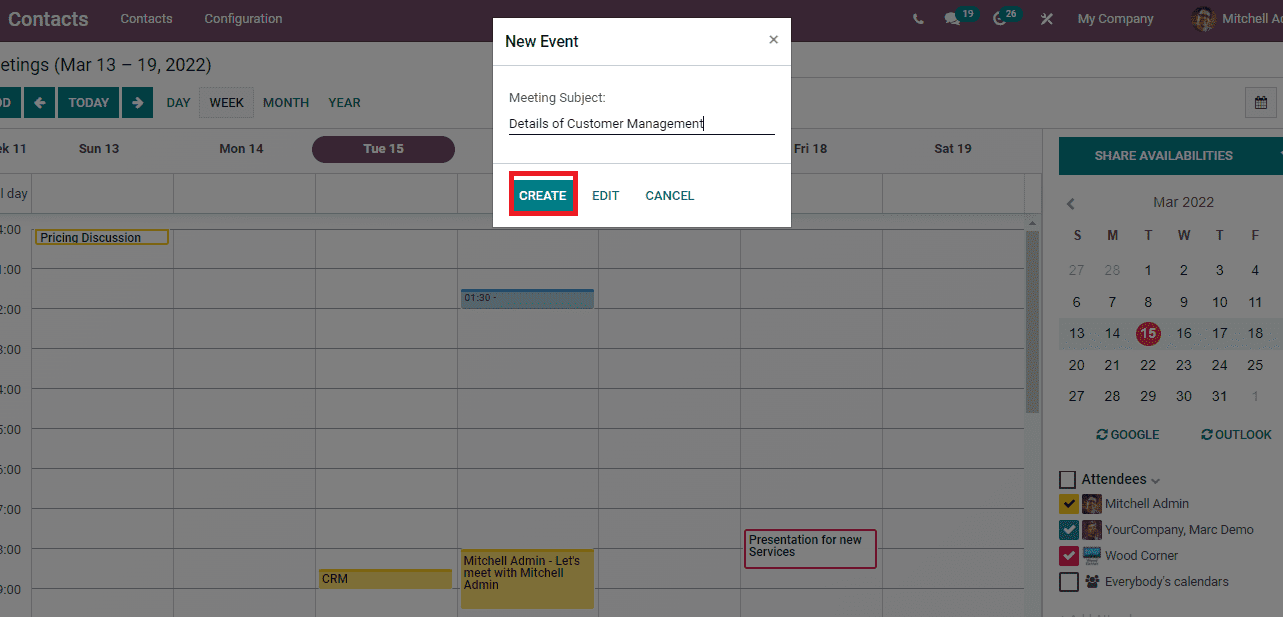
You can also develop an event by clicking on a particular date. In the New Event window, enter the meeting subject and select the Create icon displayed in the screenshot.
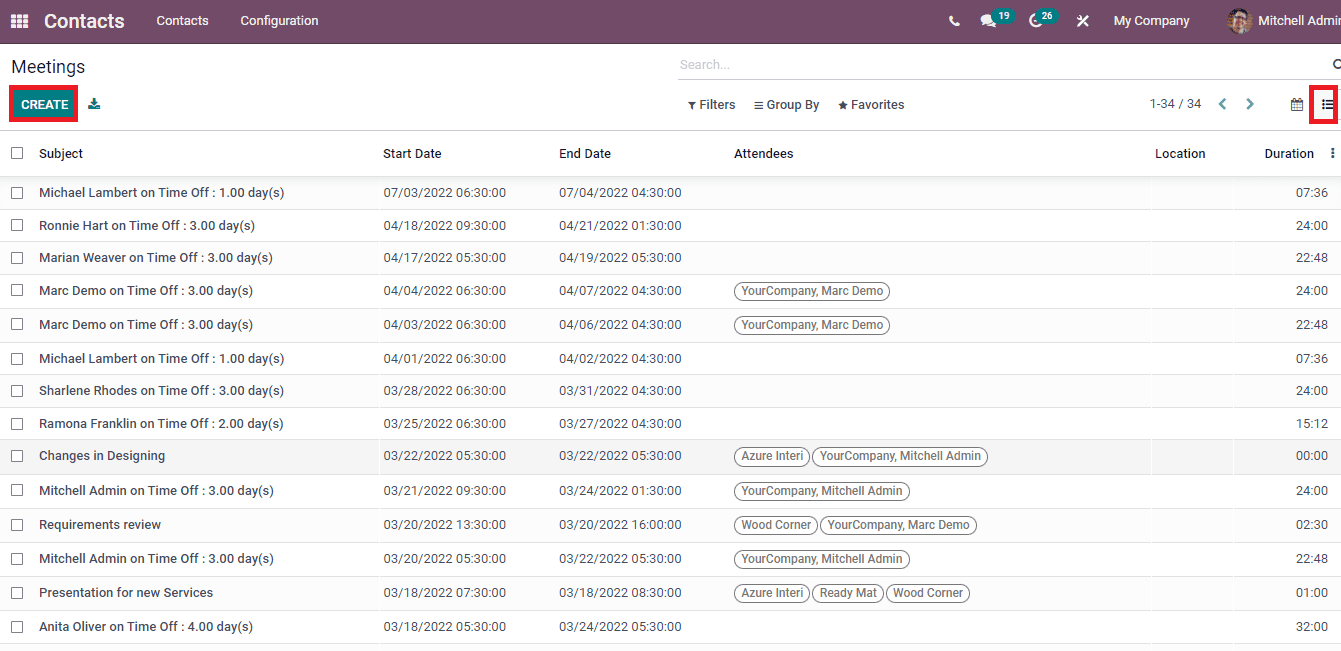
We can view the created event on the Calendar along with other activities. Moreover, users can access the list of meetings from the List view of the Meetings window. Here, the details such as Subject, End Date, Location, Start Date, Attendees, and Duration are visible in the window.
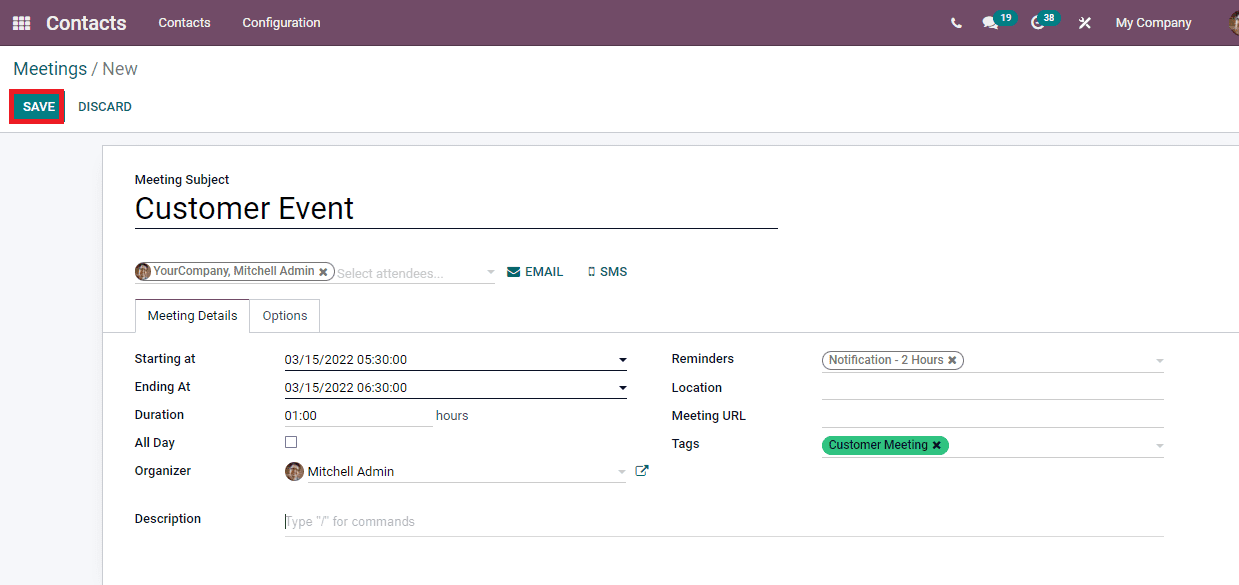
The Create icon in the Meetings window assists to create a new meeting. A new Meeting page opens before you after selecting the Create button. Here, enter your Meeting Subject and choose Attendees from the drop-down menu. It is necessary to send Emails and SMS for attendees regarding the event. Inside the Meeting Details tab, you can enter significant information regarding the meeting. Add the event's start date inside Starting at the option and stop date of an event on the Ending at section. Next, set the Duration for your event and choose the Organizer. Enabling the All Day option led to removing the date sections inside the Meeting Details tab. Reminders are the notification sent to attendees related to the meeting, and you can choose it as Email/SMS/more aspects. After that, enter the Location of the event and Meeting URL. Later, you can apply tags suitable for your meeting from the Tags option.
In the end, add information about the meeting inside the Description option. A new screen appears before you after selecting the Email option to contact attendees, as depicted below.
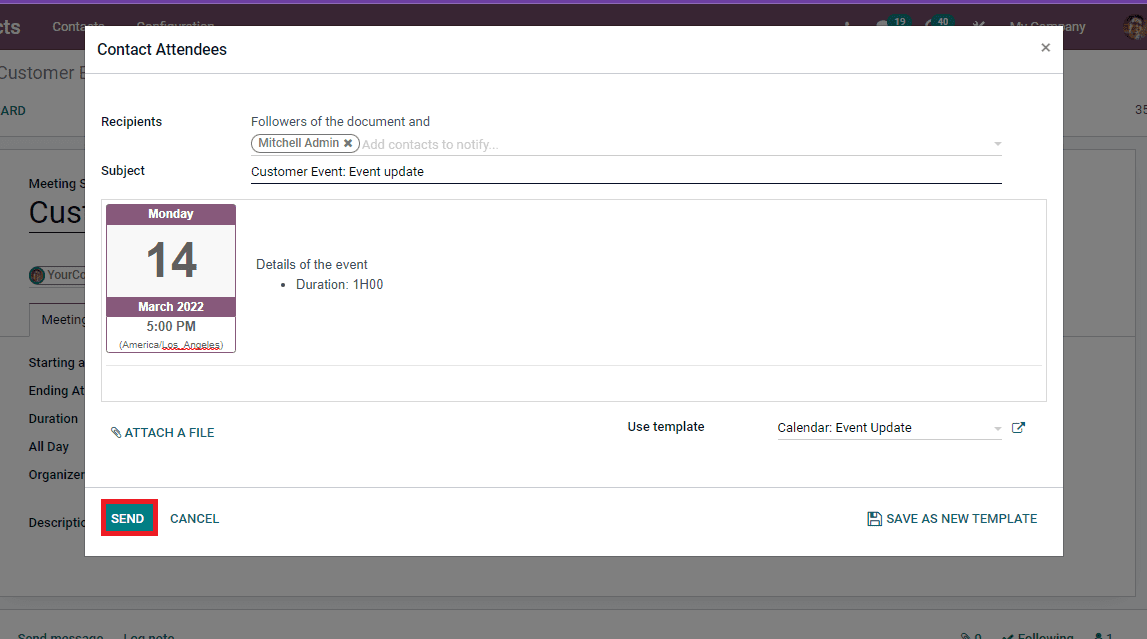
Here, you can add the contacts inside the Recipients option to notify about events. Apply the Meeting Name in the Subject section, and you can add details of events inside the box. We can Use a Template for the Email and attach files regarding events using the Attach a File button. Select the SEND icon after adding all these details.
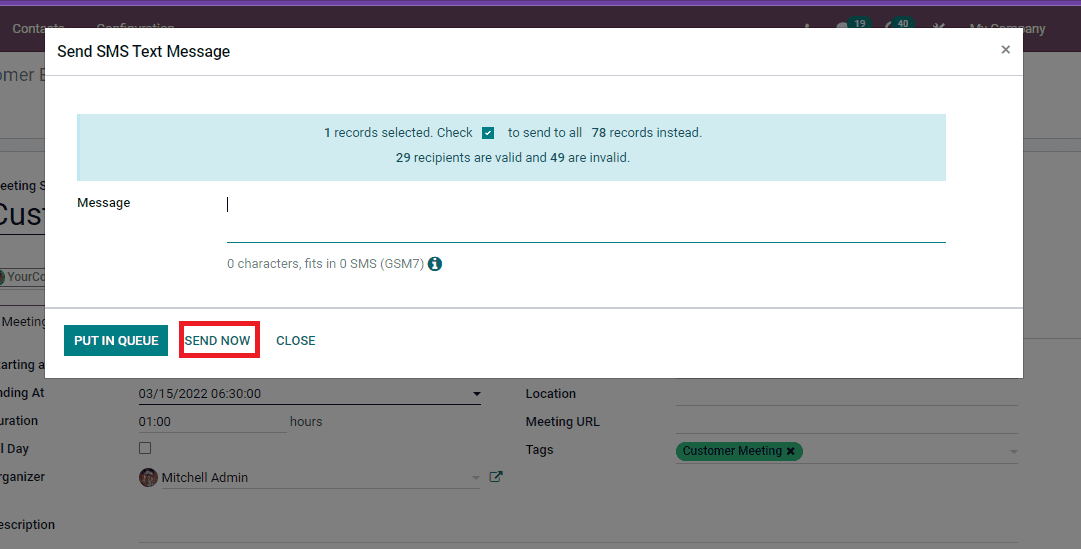
A Send SMS Text Message window opens after clicking on the SMS button. You can add the Message and select SEND NOW button to reach the event message for attendees, as displayed in the screenshot below.
The Options tab of the Meetings window contains a Recurrent option, and you can make the meeting repeat in several intervals. Add the number of repeating recurrences inside the Repeat Every, and we can choose it based on day, month, year or week. You can enable the days in a week after selecting the Week option from the Recurrence section, as shown in the screenshot below.
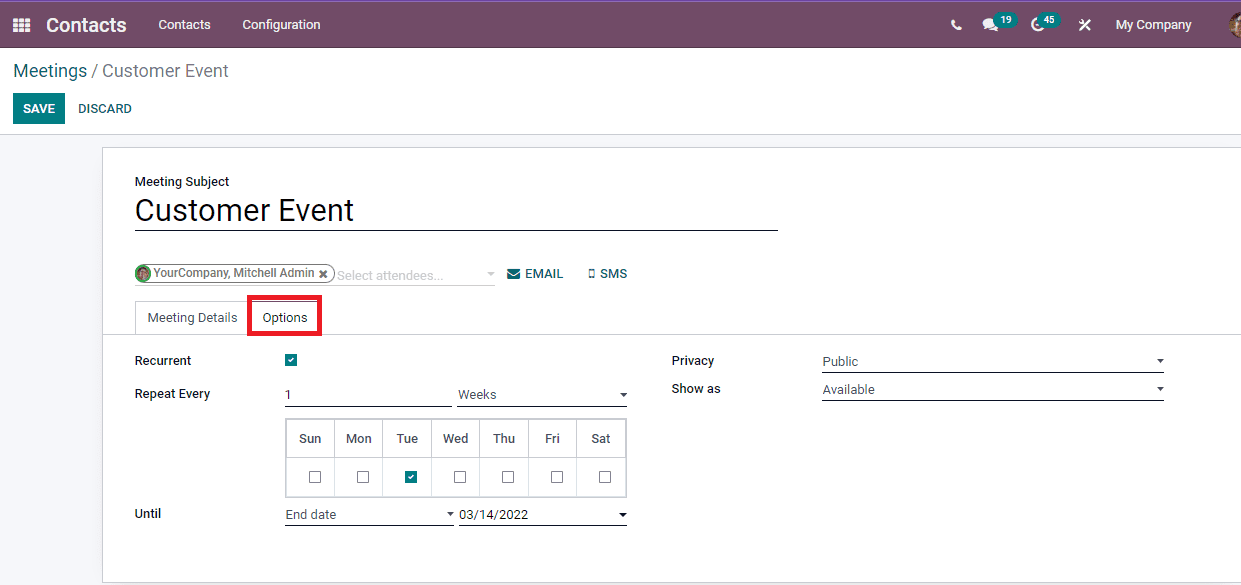
You can set the Day of Month for an event by enabling the Month option, and users can set the repetition number until the End date, forever or a specific day inside the Until option. Privacy options assist with the visibility of events based on public, private or only for internal users. You can Show as Availability for a meeting or Busy for the unavailability at the meeting time. Select the Save icon after adding all information regarding your meeting. Users can see the scheduled meeting inside the Contacts window, as depicted in the screenshot below.
Opportunities
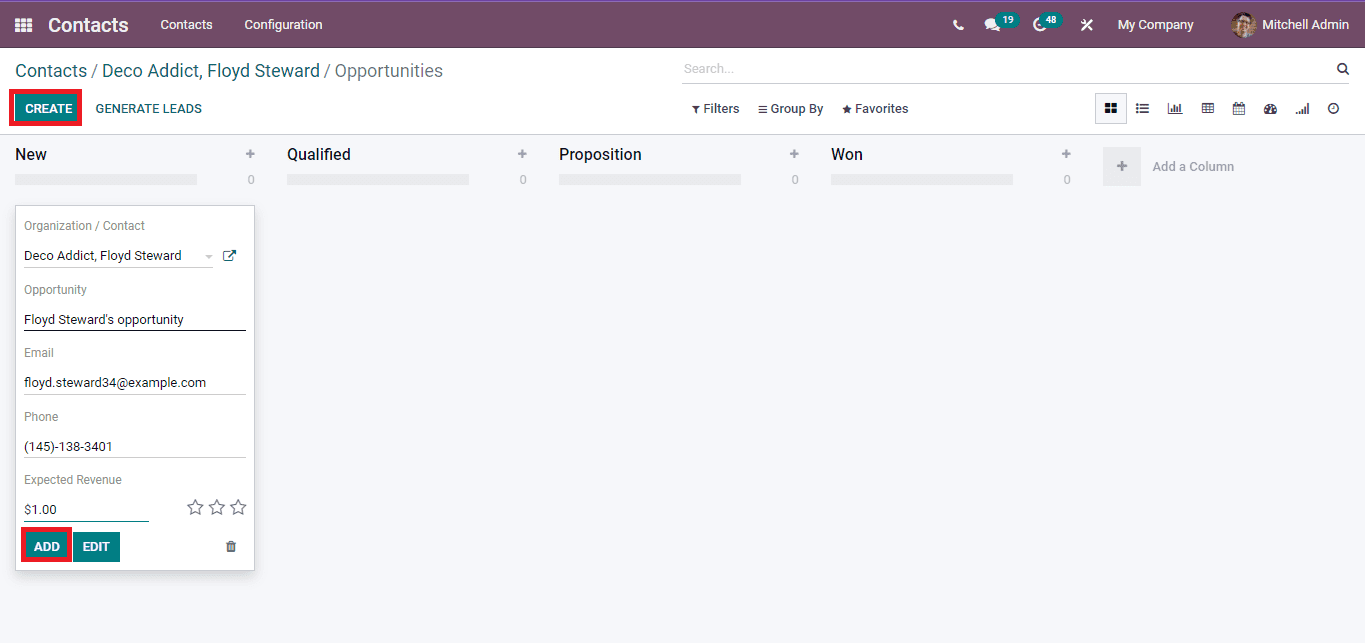
Click on the Opportunities menu in the Contacts window, and a new window opens before the user. You can develop Opportunities using the Create icon in the window. After clicking on Create icon, enter the linked partner in the Organization/contact option. Later, add the Opportunity Name, Phone, Email and Expected revenue. Select the Add button to generate a new Opportunity, as portrayed in the screenshot below.
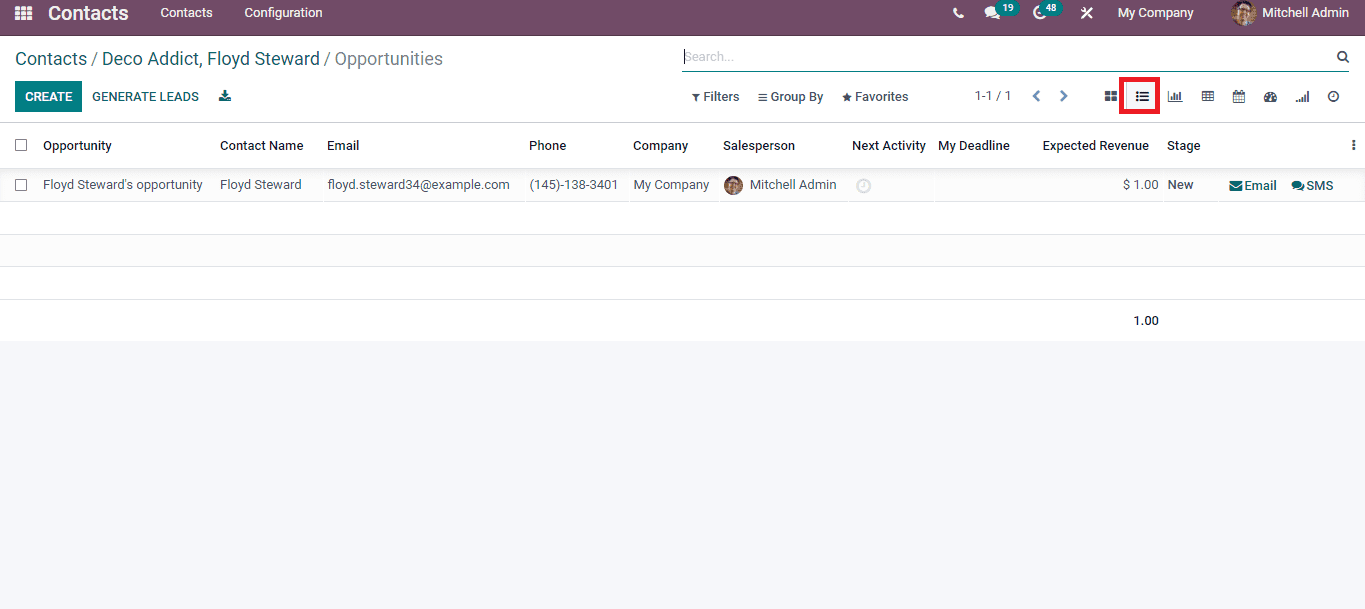
In the Kanban view, the Opportunities are arranged in various stages, such as New, Proposition, Won, Qualified, and more. The list view of the window shows the Contact Name, Salesperson, Opportunity, Phone, Stage, Next Activity, Expected Revenue and Company information denoted in the screenshot below.
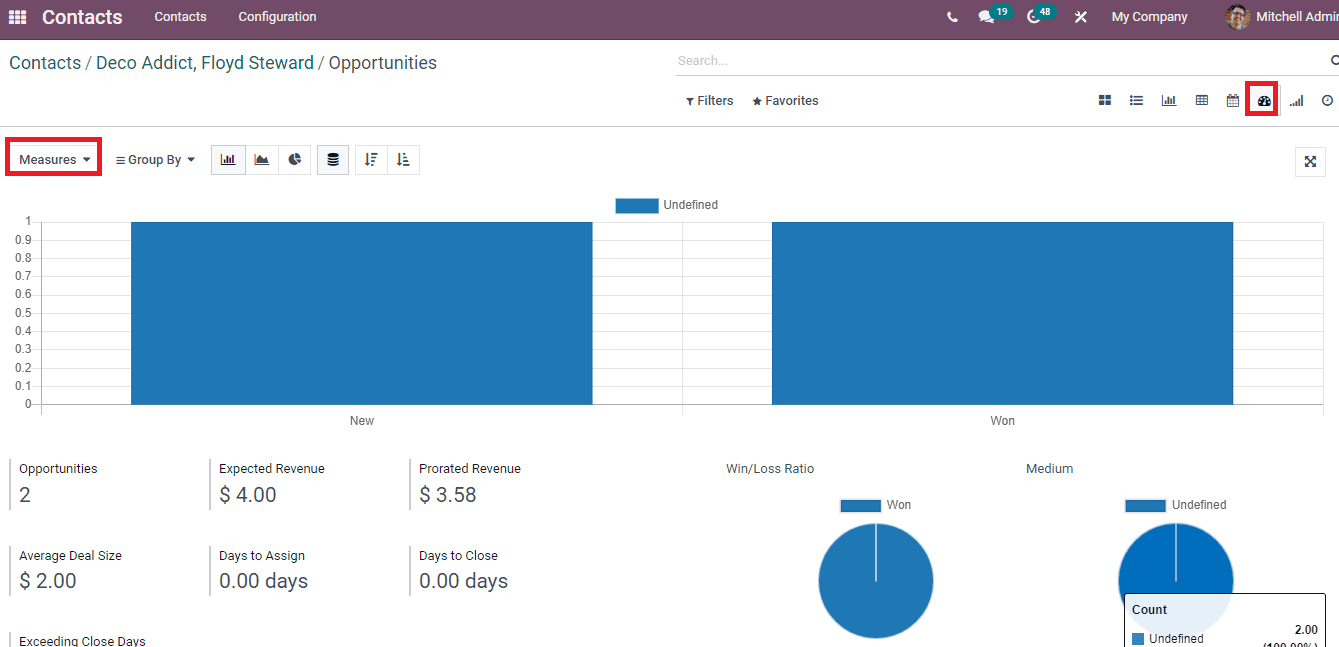
The dashboard view of the Opportunities window depicts the graphical, pivot and cohort view of existing opportunities data. You can see the Stages on X-axis and Count on the Y-axis of graphical representation of the Opportunity data. Users can access the rate of Expected Revenue, Average Deal Size, Prorated Revenue, Days to Close, Total Opportunities, and Days to Assign inside the dashboard. At the right end, you can see the Count of Win/Loss ratio and Medium in a circular format. We can apply several measures into the graph such as Probability, Bounce, Days to Assign and more values using the Measure icon.
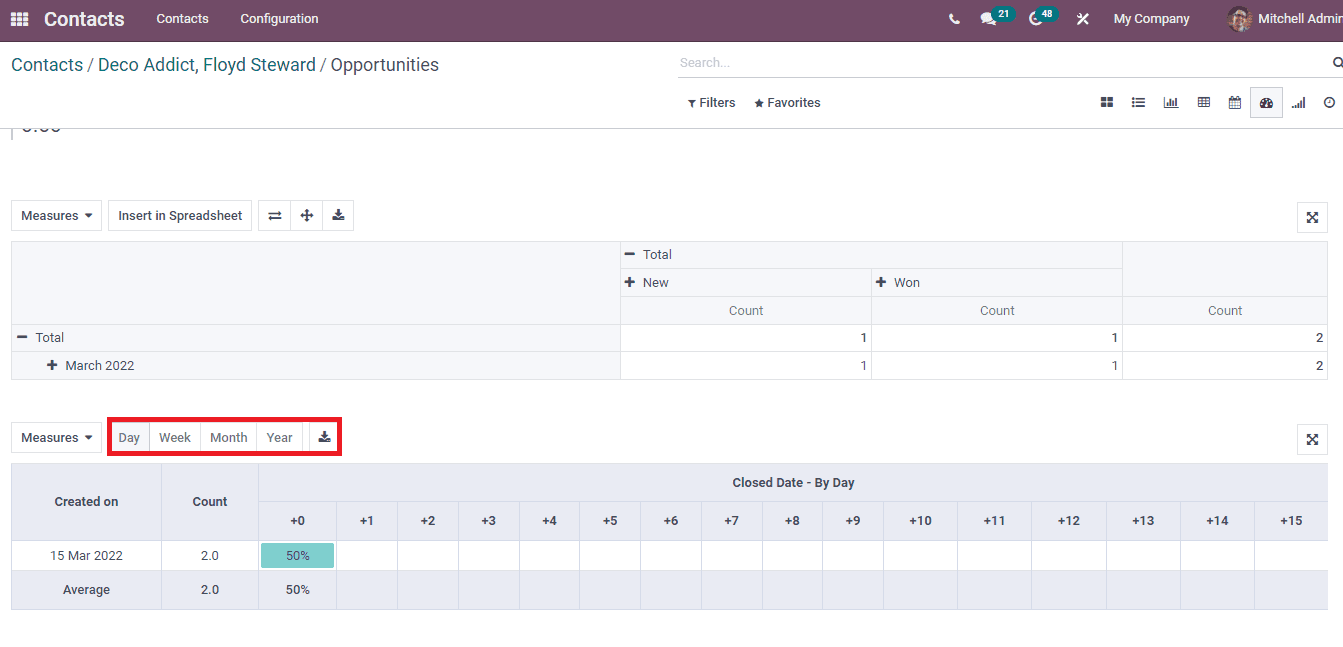
The Pivot table at the end of the dashboard depicts the total Count of Opportunities on a specific date. On the Cohort view, we can see the average count in a particular period, and you can view the Closed date based on month, day, year and week.
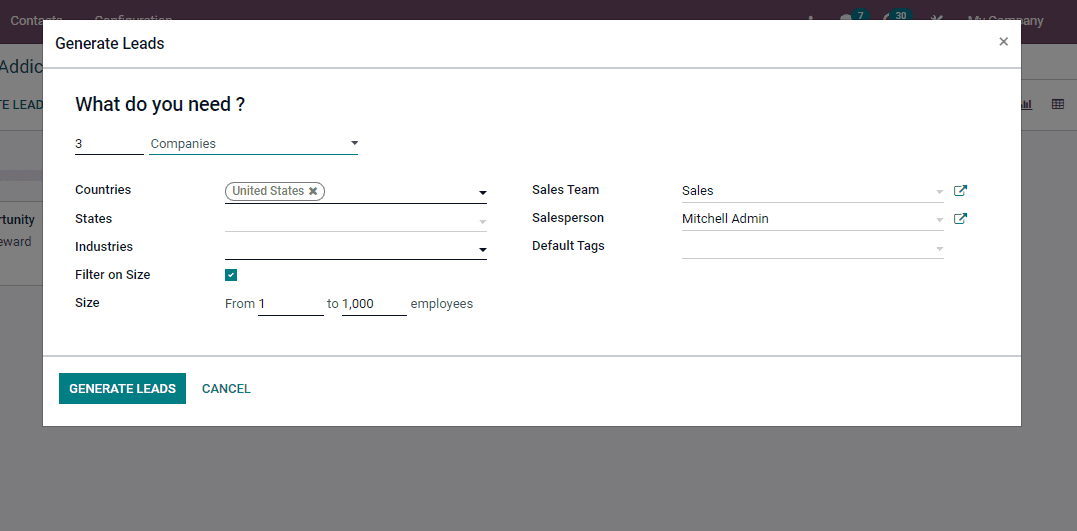
You can develop leads using the Generate Leads icon in the Opportunities window. A new Generate Leads window opens after clicking on the Generate Leads icon. Here, you can add the number of Companies/Companies and their contacts. Apply the name of countries in the Countries option and states inside the States field. Later, select the Industries, SalesTeam and Salesperson. You can add Default Tags related to leads and activate Filter on Size assist to enter the size of employees in your firm.
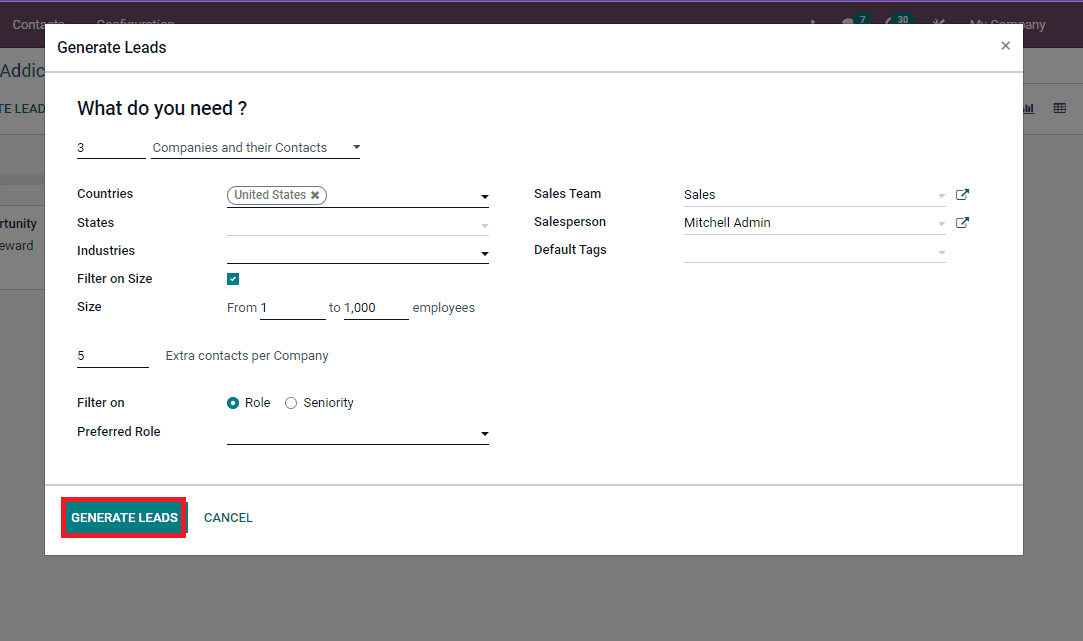
By choosing Companies and their Contacts, you can add Extra contacts per company at the end. It is possible to Filter based on Role or Seniority. Select your preferred role or seniority according to the Filter you choose. After that, click on the Generate Leads icon, as illustrated in the screenshot below.
The Odoo 15 Contacts module helps to schedule meetings for specific contacts. Users can create Opportunities and generate leads using the Opportunities menu inside a particular contact. Hence, Odoo 15 Contacts module manages the Opportunities and Meetings scheduled by a specific individual.