An event is described as a change in an object’s state. Interaction of javascript with HTML is handled using events that occur when the user or the browser manipulates a page. On adding javascript code along with the HTML, js react over the events and allows the execution. This process is known as Event Handling. Therefore, js handles the HTML events using Event Handlers. There are different types of events such as onclick, keydown, keyup, focus, load, etc.
Mouse events – These are the events that happen based on the mouse
onclick – When the user clicks on an element.
onmouseover - On placing the cursor over the element.
onmouseout - When the user moves the cursor out of the element.
onmousedown - On pressing the mouse over the element.
onmouseup - On releasing the mouse over the element.
onmousemove – When the user moves the mouse.
Keyboard events - These events take place based on the keyboard.
Onkeydown – This happens when the user presses a key.
Onkeyup – happens on releasing the key
Form events
onfocus - This happens when the user focuses the mouse on an element
onsubmit – This occurs when the user submits the form
onblur – When the focus of the mouse is away from the form element
Onchange – When the value or modification has been done on an element
Window/Document events
onload – This happens when the browser completes the loading of the page.
onupload – when the user leaves the current webpage, the browser unloads it.
Onresize – This happens when the user resizes the browser window
Now let’s see how we can write an event.
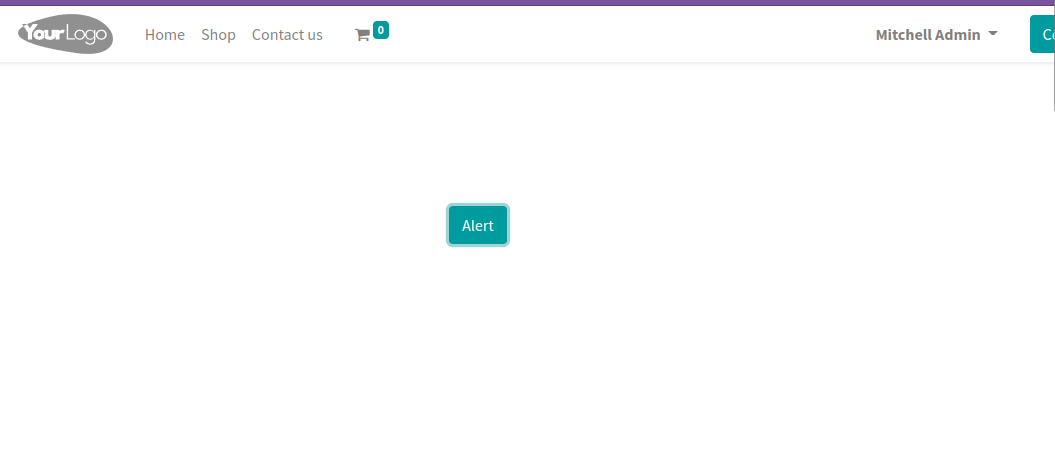
Let’s see how we can use an onclick event for that we will be creating a button, and on clicking that button let's create an alert message.
First of all, let’s create a controller. From the controller let’s render the template. During rendering, we can also pass the values which we want in the template.
from odoo import http, _
from odoo.http import request
class OnclickExample(http.Controller):
@http.route(['/testing'], type='http', auth="public", website=True)
def onclick_example(self,, **kw):
return request.render("event_module.example_onclick ")
For that, let's write an XML file.
<?xml version="1.0" encoding="utf-8"?>
<odoo>
    <template id="example_onclick" name="onclick">
        <t t-call="website.layout">
            <div class="example_event">
                <button class="btn btn-primary alert_onclick">Alert
                </button>
            </div>
        </t>
    </template>
</odoo>
Here, we have created a template with id as example_onclick and have added a button named Alert. In the button we have created a class named alert_onclick, we will be writing an onclick event for this class. And we have added another class example_event to use as a selector while writing js code.
Now let’s write the js code for the onclick event.
odoo.define('event_module.example', function (require) {
"use strict";
var Dialog = require('web.Dialog');
var core = require('web.core');
var _t = core._t;
const publicWidget = require('web.public.widget')
publicWidget.registry.websiteEvents = publicWidget.Widget.extend({
selector:'.example_event',
events: {
'click .alert_onclick': '_alert_onclick',
},
_alert_onclick: function (ev) {
Dialog.alert(self, _t("Alert on clicking the element"), {
title: _t('onclick'),
});
},
})
});
Here in the code, we have the required dialog, core, _t in order to create an alert and write the alert message and title. We have extended the public widget. After extending we have written a selector. In the selector, we have given a class name, which means we can write events for all the classes and ids coming under the corresponding class.
Then in events, we can write the events i.e., the click written inside the events indicates which event has to take place. The ‘.’ after the click event indicates that it is a class. If it is an id we can use ‘#’. ‘alert_onclick’ is the class of the element. And ‘_alert_onclick’ is the function name. As we can see that the function’s name is ‘_alert_onclick’ in the code.
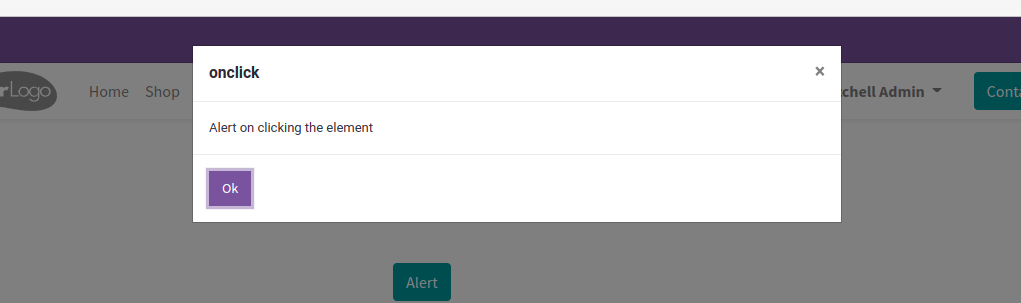
Inside the function, we have added a Dialog alert in order to pop up a dialog alert on clicking the button. As shown in the below image.
This is how we can write events in js.