MongoDB, a NoSQL document-oriented database, stands out for its flexibility and JSON-like document storage, making it a popular choice for applications demanding high performance and scalability. MongoDB comes in two flavors: Community Edition, which is freely available and open-source, and Enterprise Edition, which offers enhanced features and support.
This tutorial delves into the installation process of MongoDB Community Edition on Ubuntu 22.04 and equips you with the fundamentals of MongoDB usage through the mongosh shell.
Install MongoDB Community Edition on Ubuntu
Step 1: Import the public key used by the package management system
From a terminal, install gnupg and curl if they are not already available:
sudo apt-get install gnupg curl
Step 2: To import the MongoDB public GPG key from https://pgp.mongodb.com/server-7.0.asc, run the following command:
curl -fsSL https://pgp.mongodb.com/server-7.0.asc | \
sudo gpg -o /usr/share/keyrings/mongodb-server-7.0.gpg \
--dearmor
Step3: Create a list file for MongoDB
This list file /etc/apt/sources.list.d/mongodb-org-7.0.list specifies the MongoDB repository details for package management on Ubuntu.
echo "deb [ arch=amd64,arm64 signed-by=/usr/share/keyrings/mongodb-server-7.0.gpg ] https://repo.mongodb.org/apt/ubuntu jammy/mongodb-org/7.0 multiverse" | sudo tee /etc/apt/sources.list.d/mongodb-org-7.0.list
Step4: Reload the local package database
Issue the following command to reload the local package database:
sudo apt-get update
Step5 : Install the MongoDB packages
To install the latest stable version, issue the following
sudo apt-get install -y mongodb-org
Run MongoDB Community Edition
ulimit Considerations
Many operating systems based on the Unix architecture impose restrictions on the utilization of system resources by individual processes. These limitations have the potential to adversely affect the performance of MongoDB, necessitating appropriate adjustments. Refer to the UNIX ulimit Settings documentation to determine the recommended configurations tailored to your specific platform.
Configuration File of MongoDB
The MongoDB official package encompasses a configuration file (/etc/mongod.conf) where settings, including specifications for the data and log directories, come into effect during startup. In the event of modifying the configuration file while the MongoDB instance is active, a restart is required for the changes to be applied.
What is Mongosh?
Mongosh is the MongoDB Shell, a JavaScript-based interactive shell that allows you to connect to and manage your MongoDB databases. It is a powerful tool for performing a wide range of tasks, including:
* Connecting to MongoDB databases: Mongosh can connect to both standalone MongoDB servers and replica sets.
* Querying and manipulating data: Mongosh can be used to query and manipulate data in your MongoDB databases. You can use the shell to insert, update, delete, and find documents.
* Managing databases and collections: Mongosh can be used to manage your MongoDB databases and collections. You can use the shell to create, drop, and list databases and collections.
* Executing administrative commands: Mongosh can be used to execute administrative commands against your MongoDB databases. This includes commands for backup, restore, and replication.
How to use Mongosh
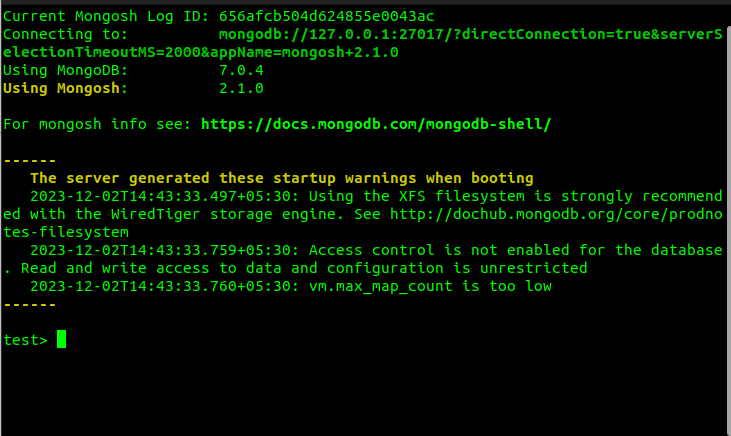
After installing mongodb in your system you will be able to use mongosh you can start it by running the following command:
mongosh
This will start the mongosh shell and connect you to the default MongoDB server running on localhost.
If you want to connect to a different server, you can specify the hostname and port number using the following command:
mongosh mongodb://<hostname>:<port>
Once you are connected to a MongoDB server, you can start using mongosh to query and manipulate data. Mongosh uses a JavaScript-like syntax, so you should be familiar with JavaScript if you want to use the shell effectively.
Here are some examples of mongosh commands:
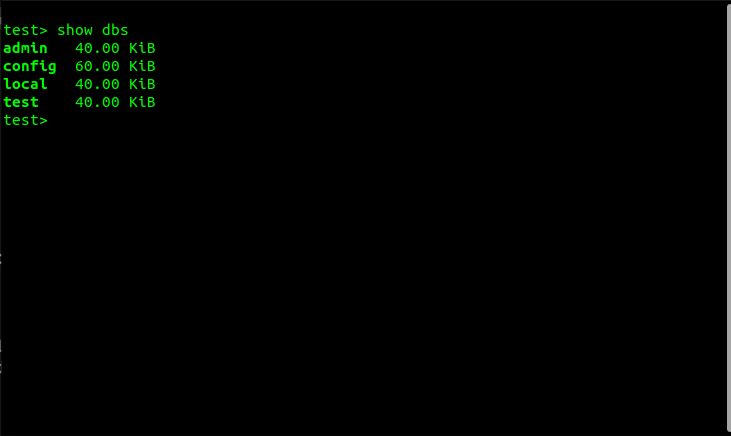
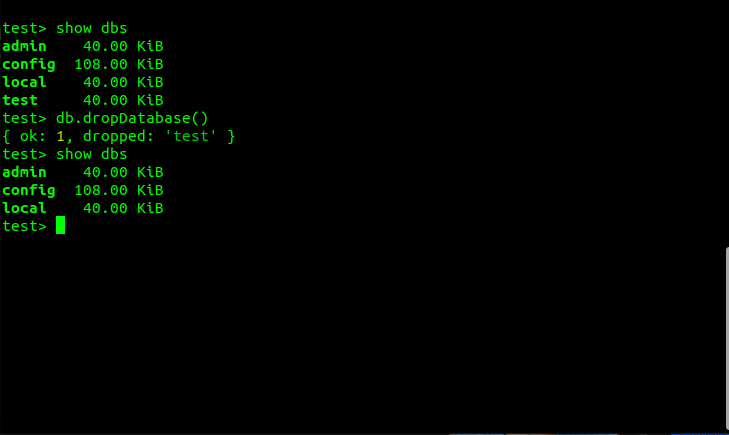
List all databases
show dbs
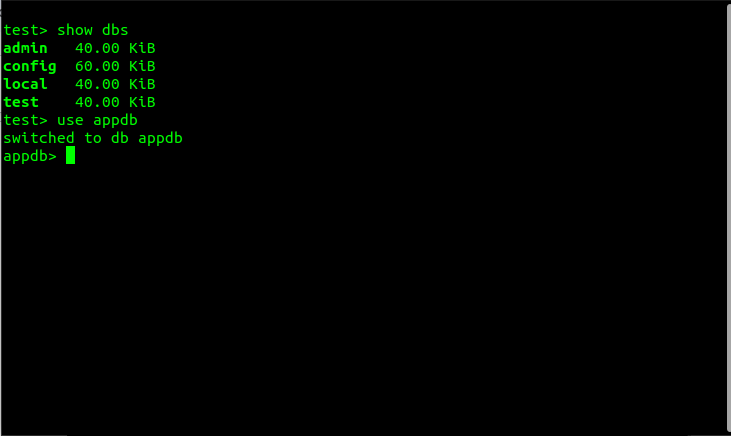
To create a new db or use an existing one
use appdb
This command will switch the appdb database if the database doesn't exist it will create one.
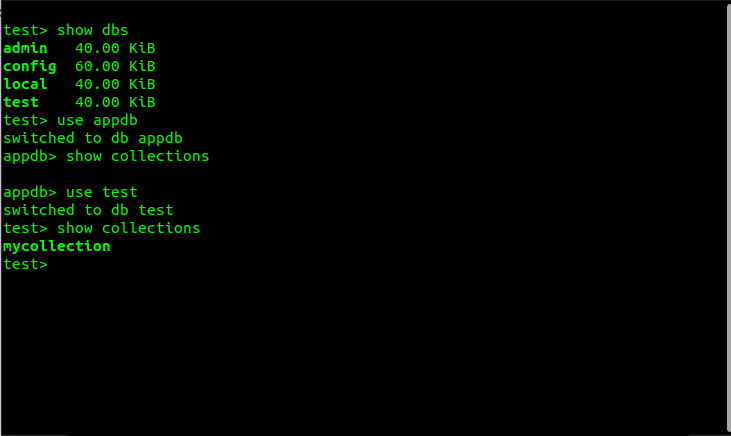
To show collections in a database
The collections are similar to the table in SQL to view all the collections in the current database:
show collections
To Delete a database
db.dropDatabase()
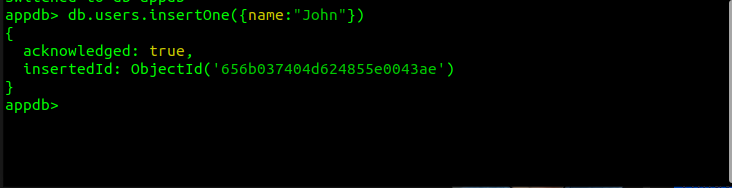
Inserts a new document into collection
db.users.insertOne({name: "John"})This command inserts a new document into the users collection in the appdb database. The document has one field, name, with the value John.
To retrieve all the documents in a collection
db.users.find()
This command retrieves all documents stored within the users collection of the appdb database. It essentially acts as a read operation, extracting the entirety of the data held within that specific collection.

This comprehensive guide has thoroughly illustrated the installation of MongoDB Community Edition on Ubuntu 22.04 and equipped you with the essential skills to navigate MongoDB using the mongosh shell. MongoDB's versatility and power make it an excellent choice for a wide range of applications.
To read more about protecting an Odoo Server with Fail2Ban configuration, refer to our blog How To Protect An Odoo Server With Fail2Ban Configuration