The payment of invoices is often the hardest process for most companies. Few customers in a firm should do a lengthy and unreliable accounting process, and they take a long time for payment. By running follow-ups for payment weekly, ensure to reconcile all bank statements. So, there will not be necessary to send an email/letter to a customer who is already paid. Using Follow-up actions, Odoo ERP software helps users send appropriate reminders and identify late payments. A company can set up the payment terms accurately in Odoo 16 Accounting.
This blog mentions the process of following payments periodically in the Odoo 16 Accounting.
It is possible to remind customers about their payments using payment follow-ups in Odoo 16. You can manage the Follow-up Reports, Payments, levels, and more in the Accounting application of Odoo 16. Let’s see the procedure for configuring the Payment follow-up levels, reports, etc., in Odoo 16.
To Define a Payment Follow-up Level in the Odoo 16 Accounting
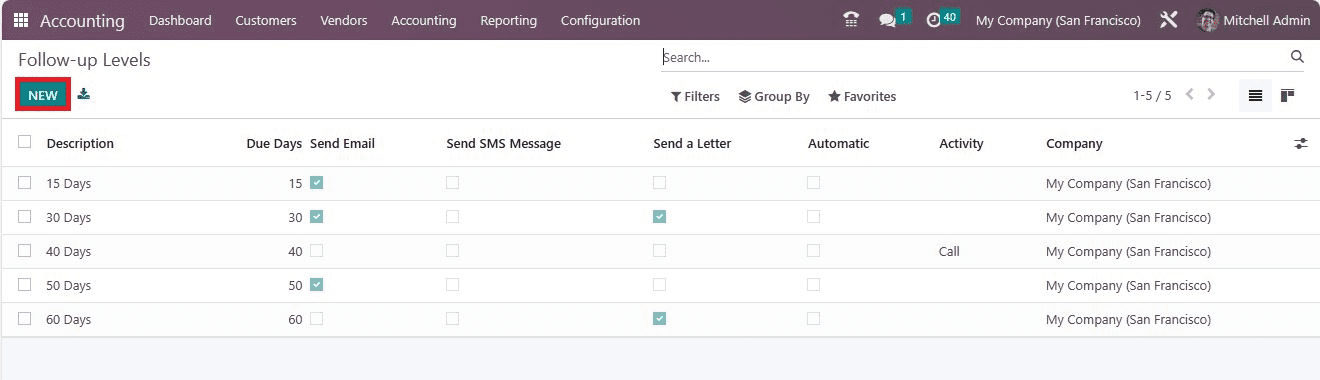
Go to the Follow-up Levels menu inside Configuration to design a new follow-up level. By default, we can view various follow-up levels' actions. Details include Due days, Automatic, Company, Send a Letter, Automatic, etc. Click the NEW icon in Follow-up Levels to develop a new one, as marked in the screenshot below.
Apply the Description as the First Reminder Email. Enter the day count past due to occur actions in the Reminder option, as mentioned in the screenshot below.
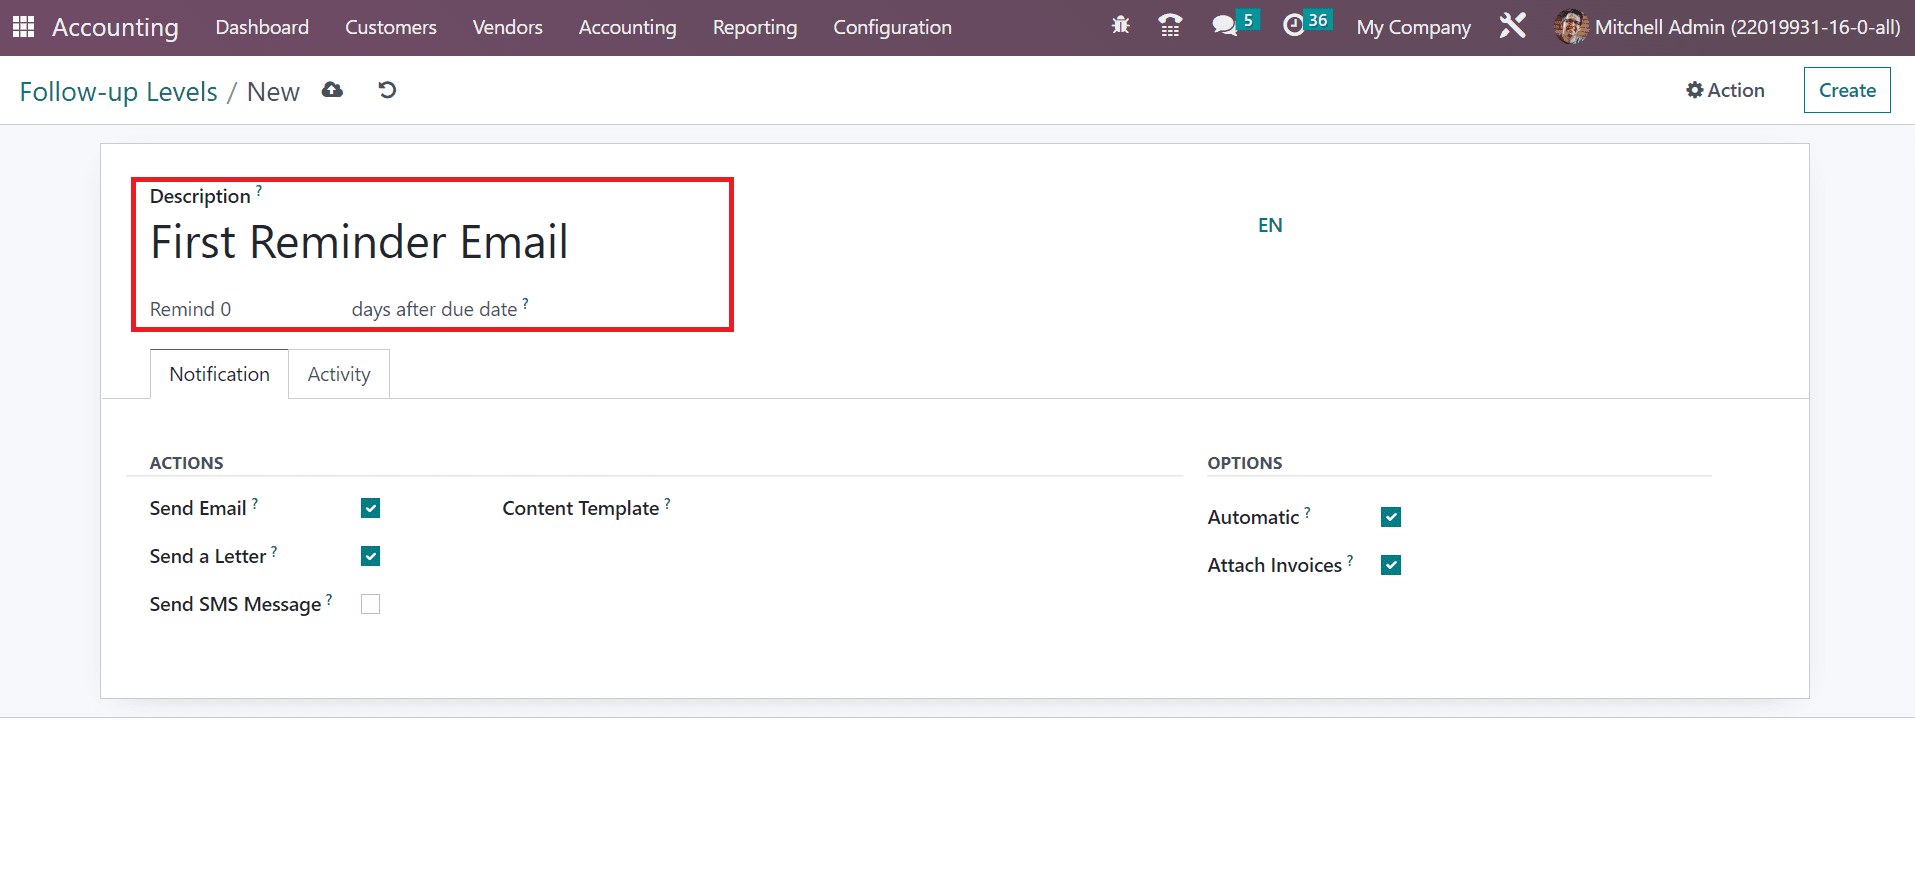
It is possible to send a message to customer's email when processed after enabling the Send Email option inside the ACTION section. By activating Send a Letter option, we can forward a physical letter to the customer's address. Users can send an SMS text message to the phone number of customers once activate the Send SMS Message under the Notification tab.
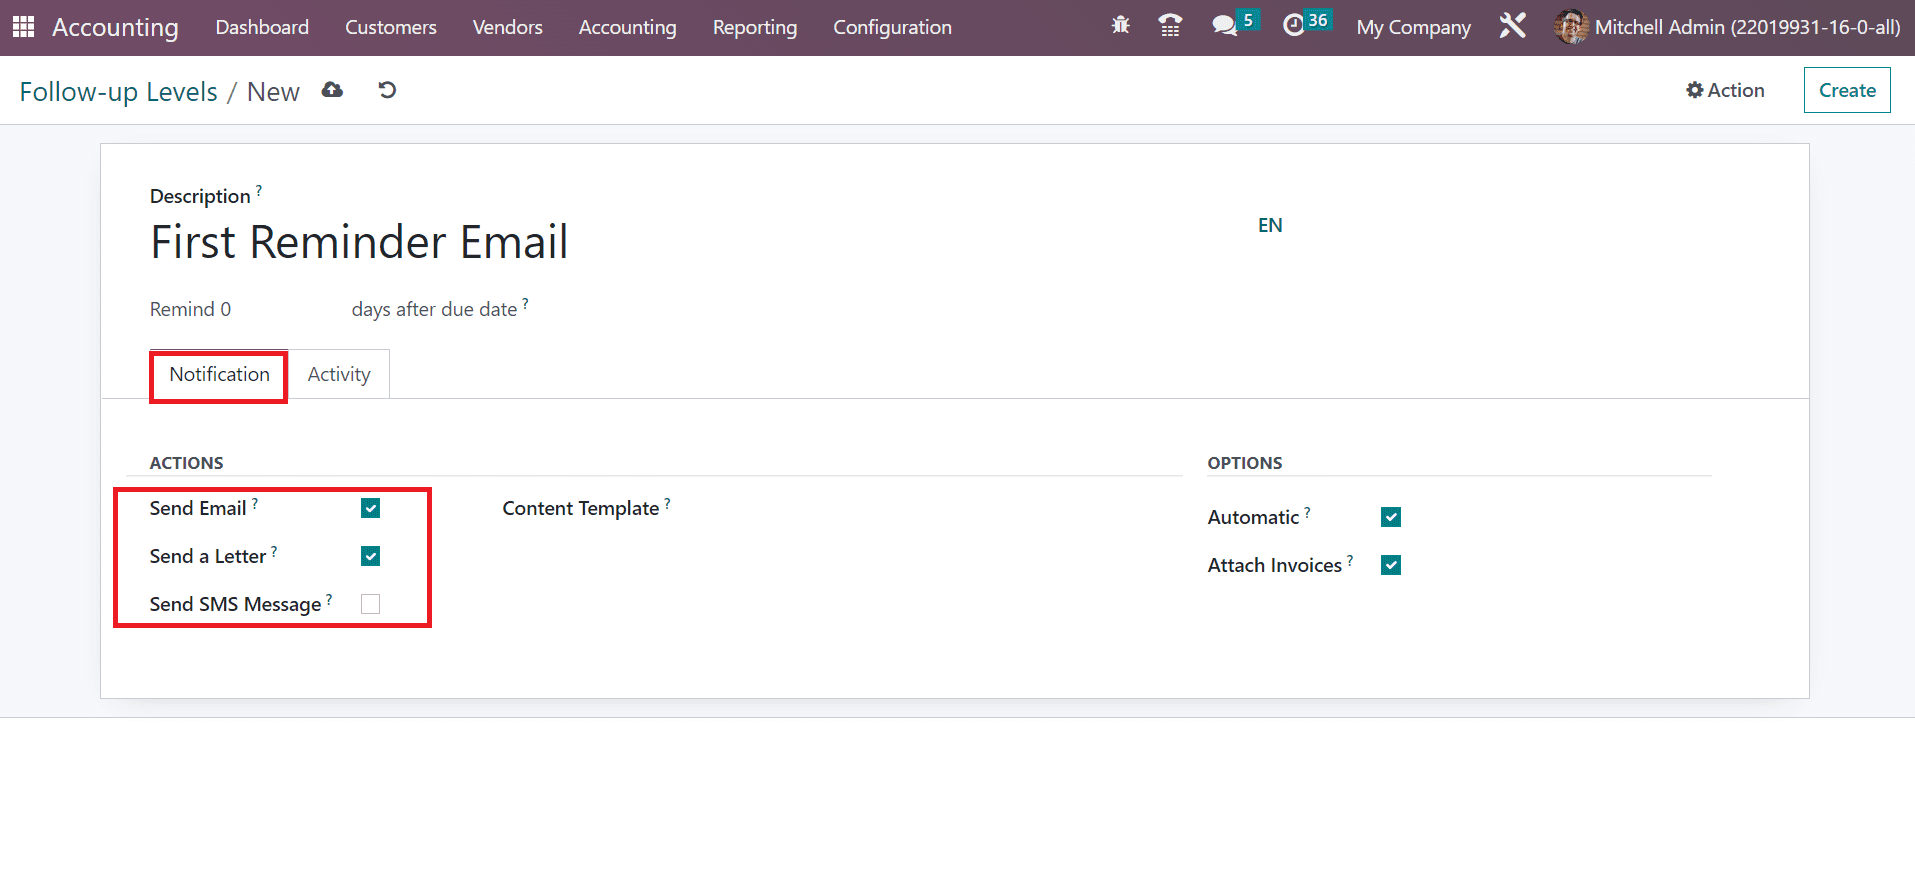
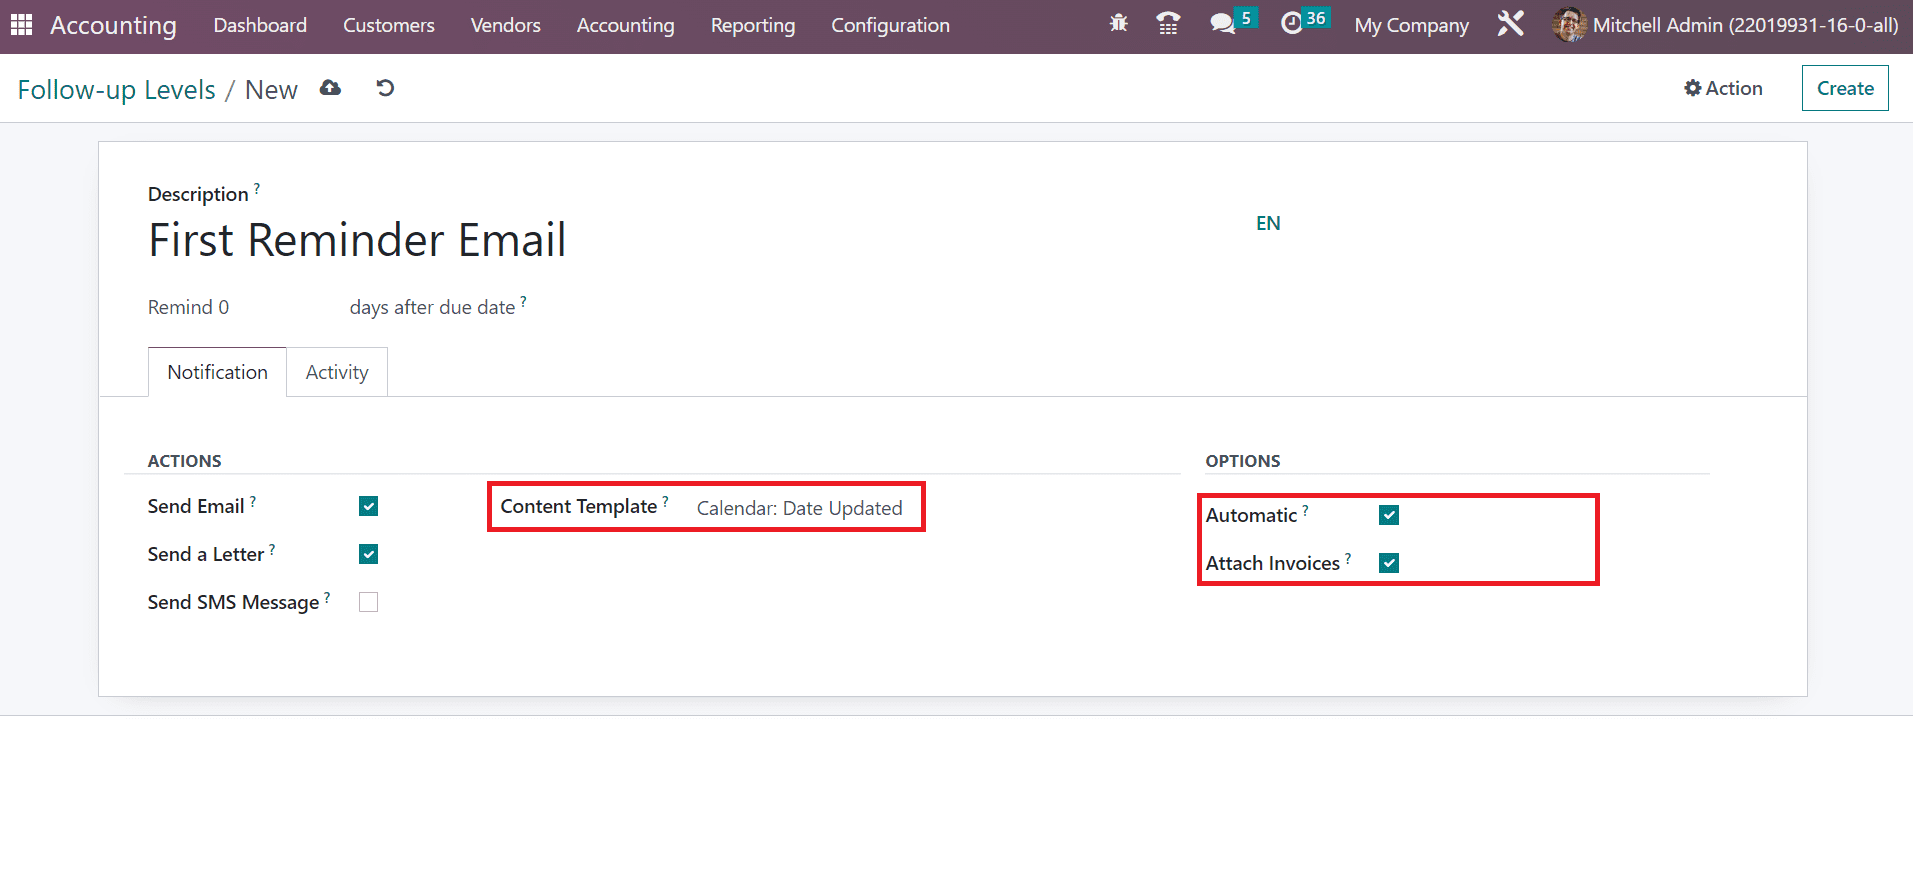
You can pick a mail template for the follow-up level within the Content Template field. Below the OPTIONS section, you can activate the Automatic option to remove the Manual action and Print a letter. Moreover, we can attach open invoices pdf with created follow-up notice by enabling the Attach Invoices option as presented in the screenshot below.
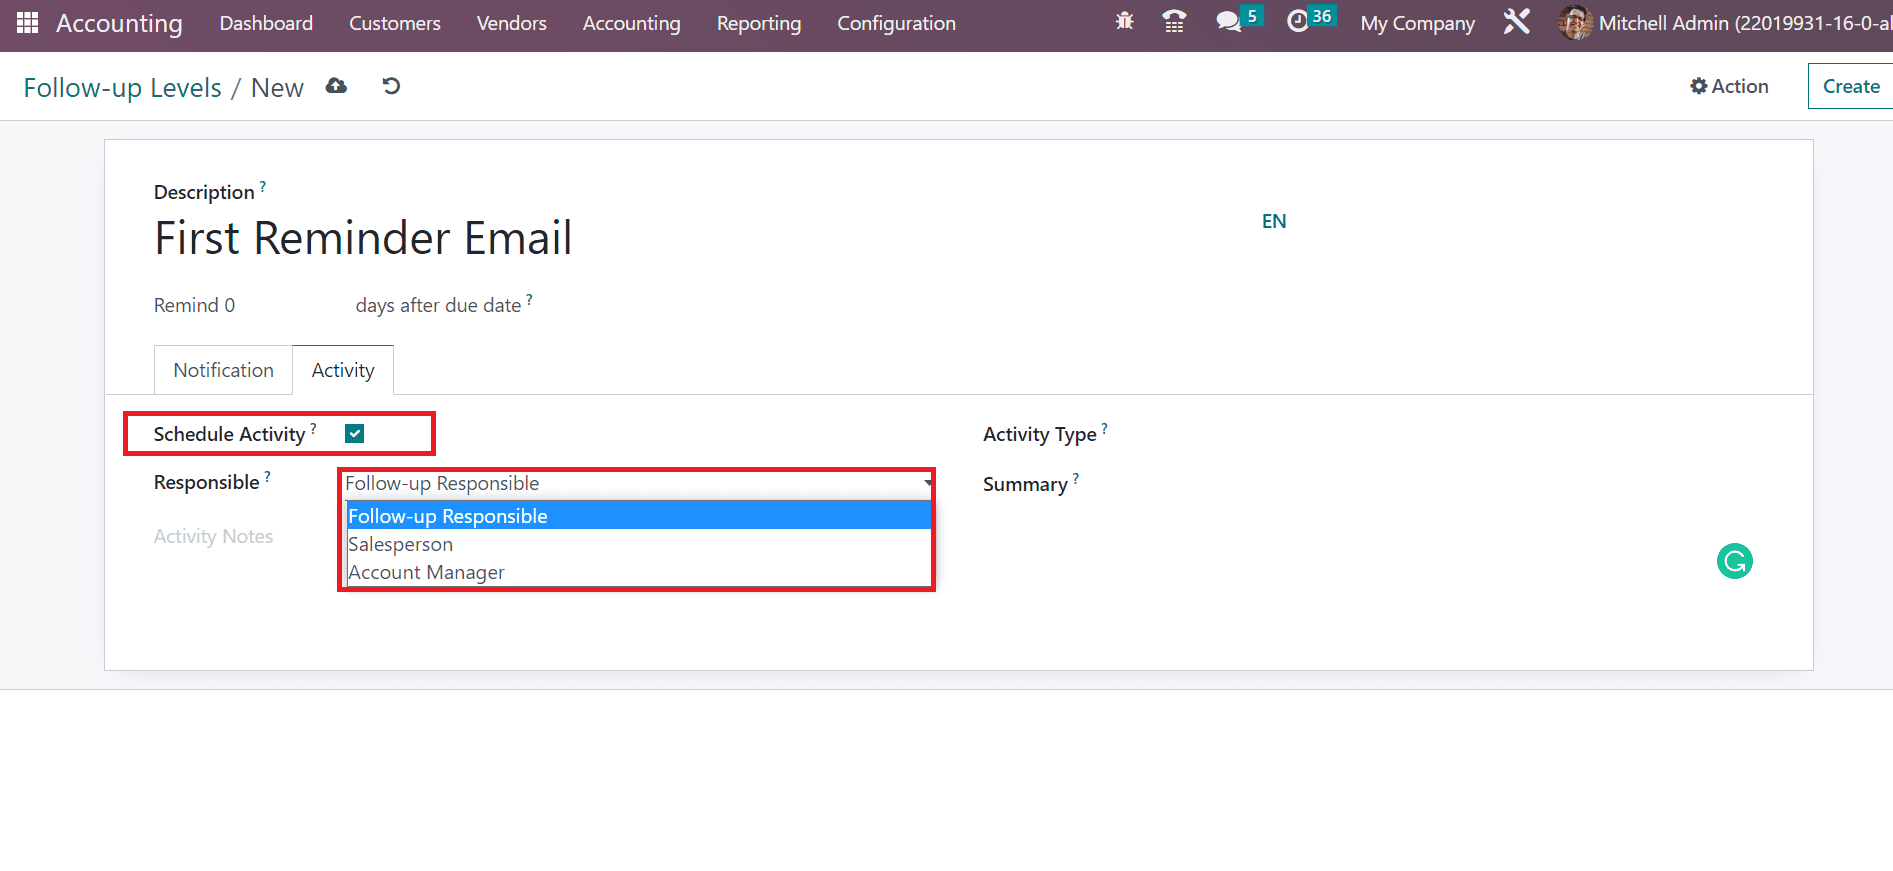
For creating a new activity, enable the Schedule Activity option under the Activity tab. Once activated the Schedule Activity field, a Responsible option appears to you. It is possible to choose the responsive person to schedule the activity within the Responsible field. The responsible one is classified into three such Account Manager, Follow-up Responsible and Sales Person, as defined in the screenshot below.
We can choose the category of activity in the Activity Type field. Additionally, mention a short description of your activity in the Summary field.
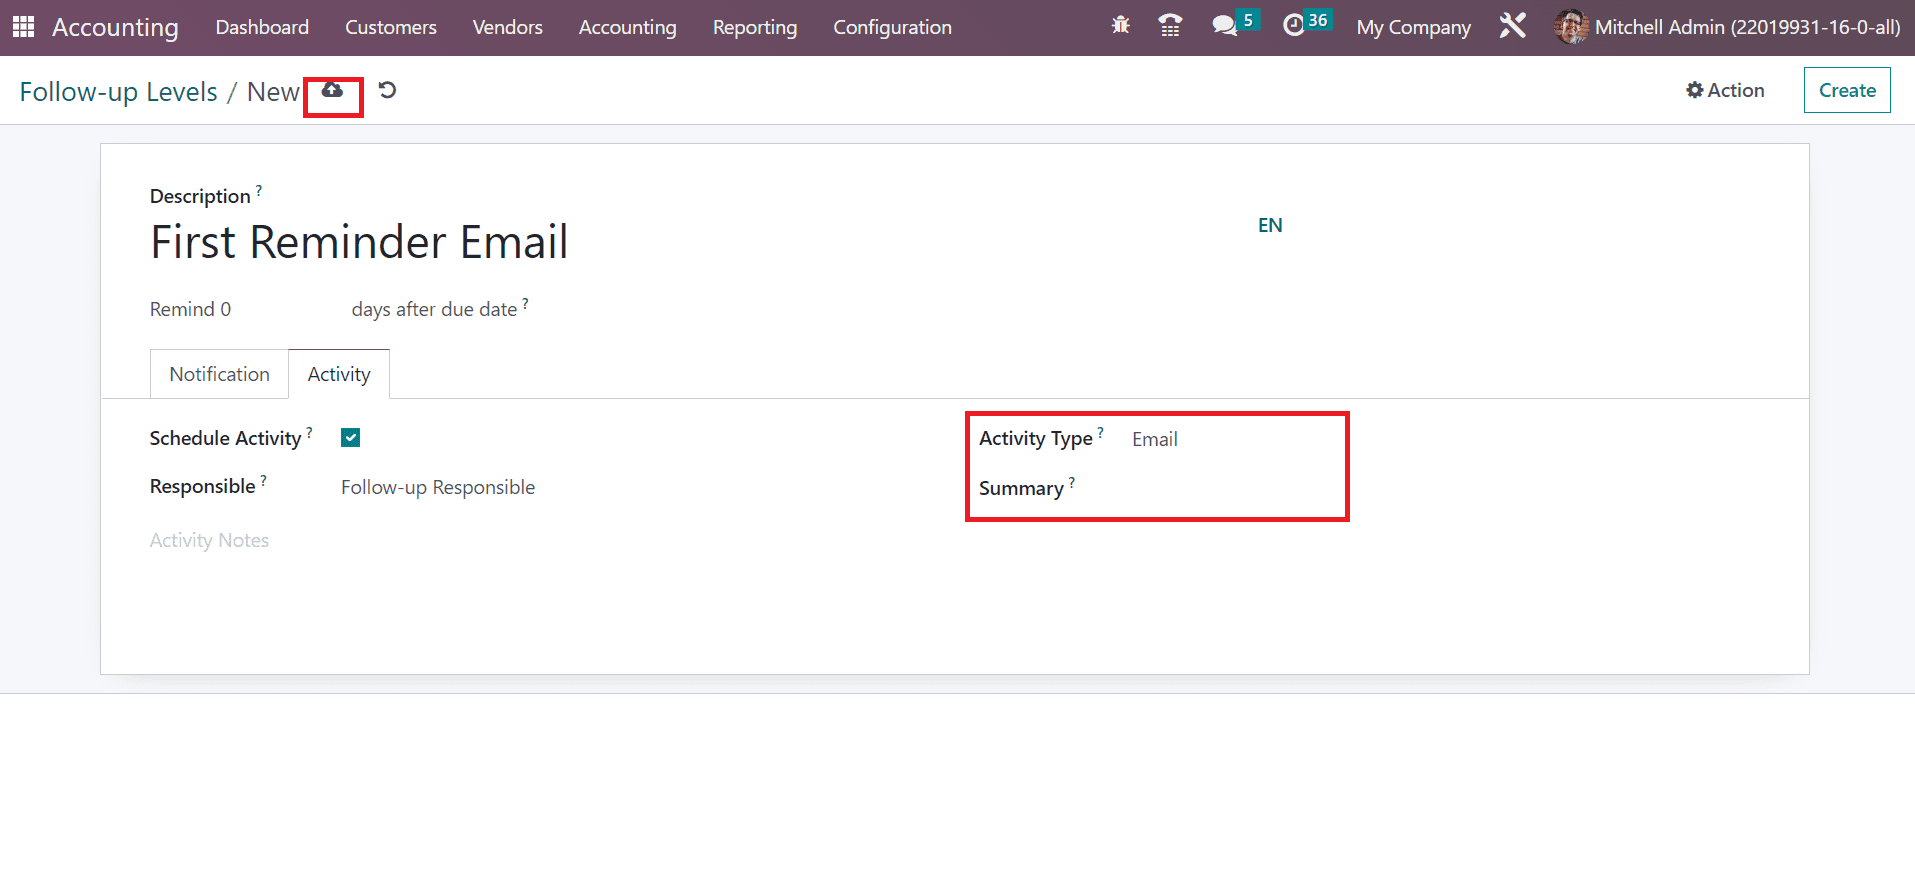
Click the save manually icon once applying all the details about the follow-up level. So, we can easily design a follow-up level for payment in the Odoo 16.
To Check Out a Follow-up Report in the Odoo 16 Accounting
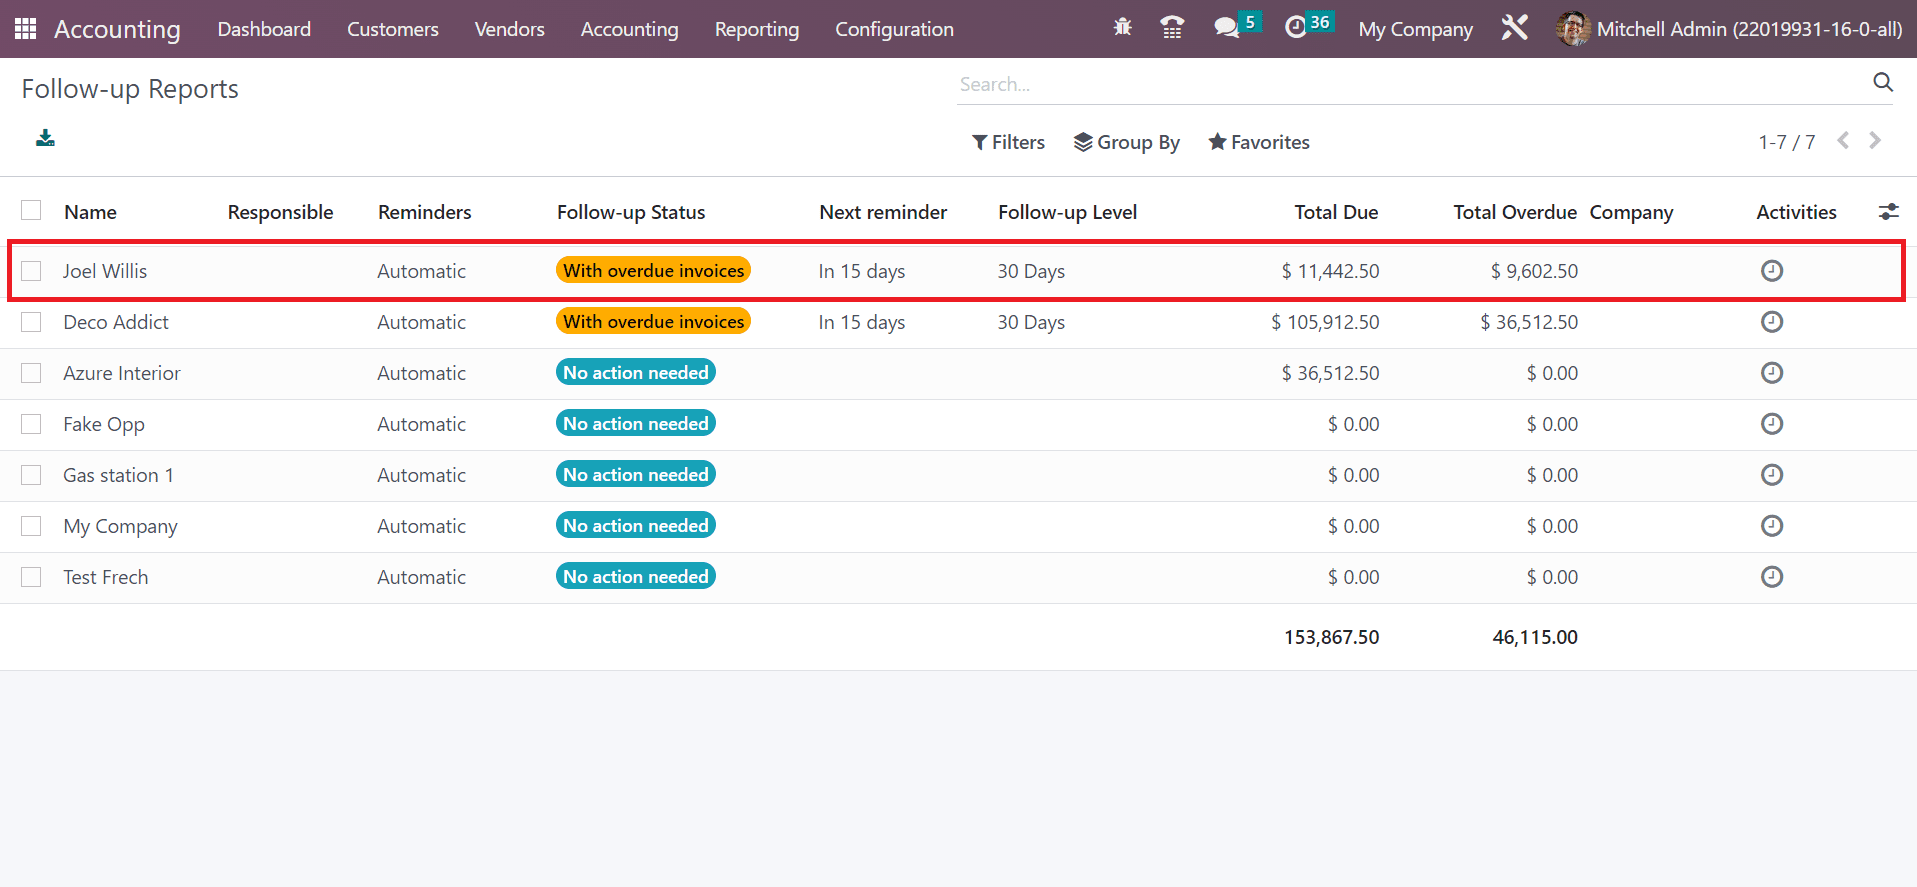
Go through the Customers tab in the Accounting module and select the Follow-up Reports menu. You can acquire a list of all overdue invoices in follow-up reports, showing details such as Name, Reminders, Follow-up level, Activities, etc. Pick one of the follow-up reports to check out further changes, as cited in the screenshot below.
On the open page, you can view details such as the Next reminder date, customer, and other reminders. In the end, we can access open invoices for customers. If the due date is red means the payment due date is passed and the invoice is late for payment. The open invoices are not late yet, but a reminder always displays on the opening if the due date is black. If you don’t want to include it in your email on your communication, you can enable the Exclude from follow-ups option and not include it afterward.
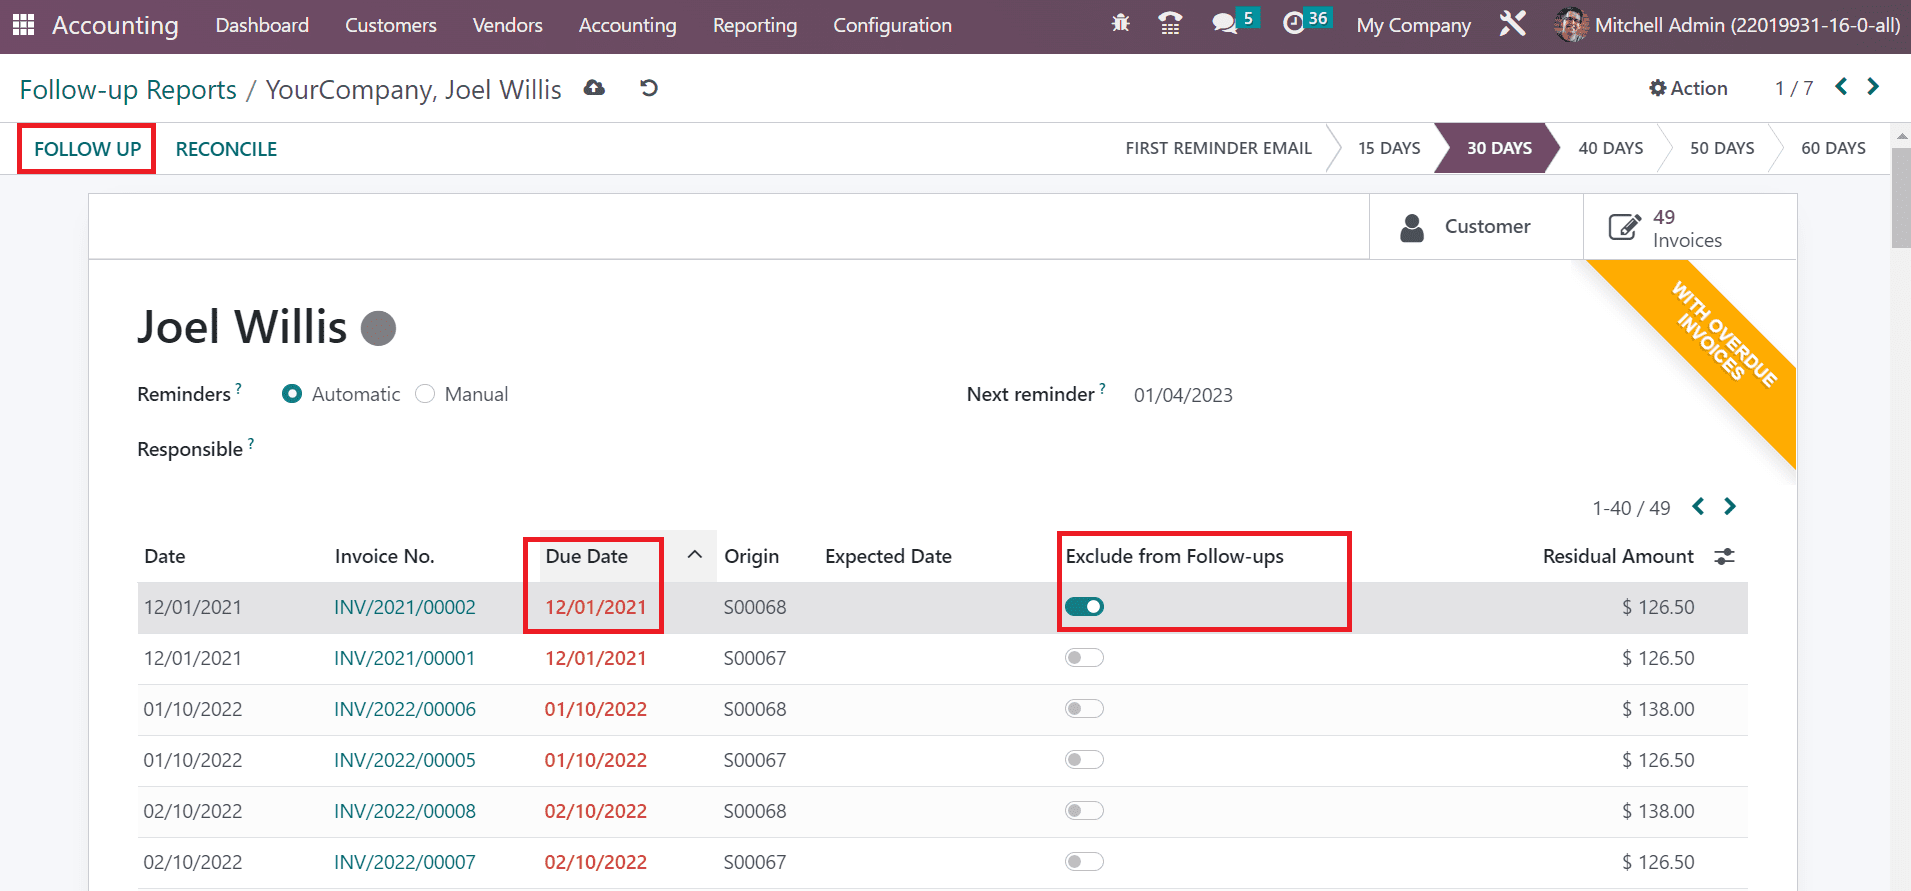
By selecting the Follow UP icon, your report payment will be follow-up easily. Users can forward reminder emails as batches from the Follow-up Reports screen. For that purpose, select your needed reports to process and press the Action icon.
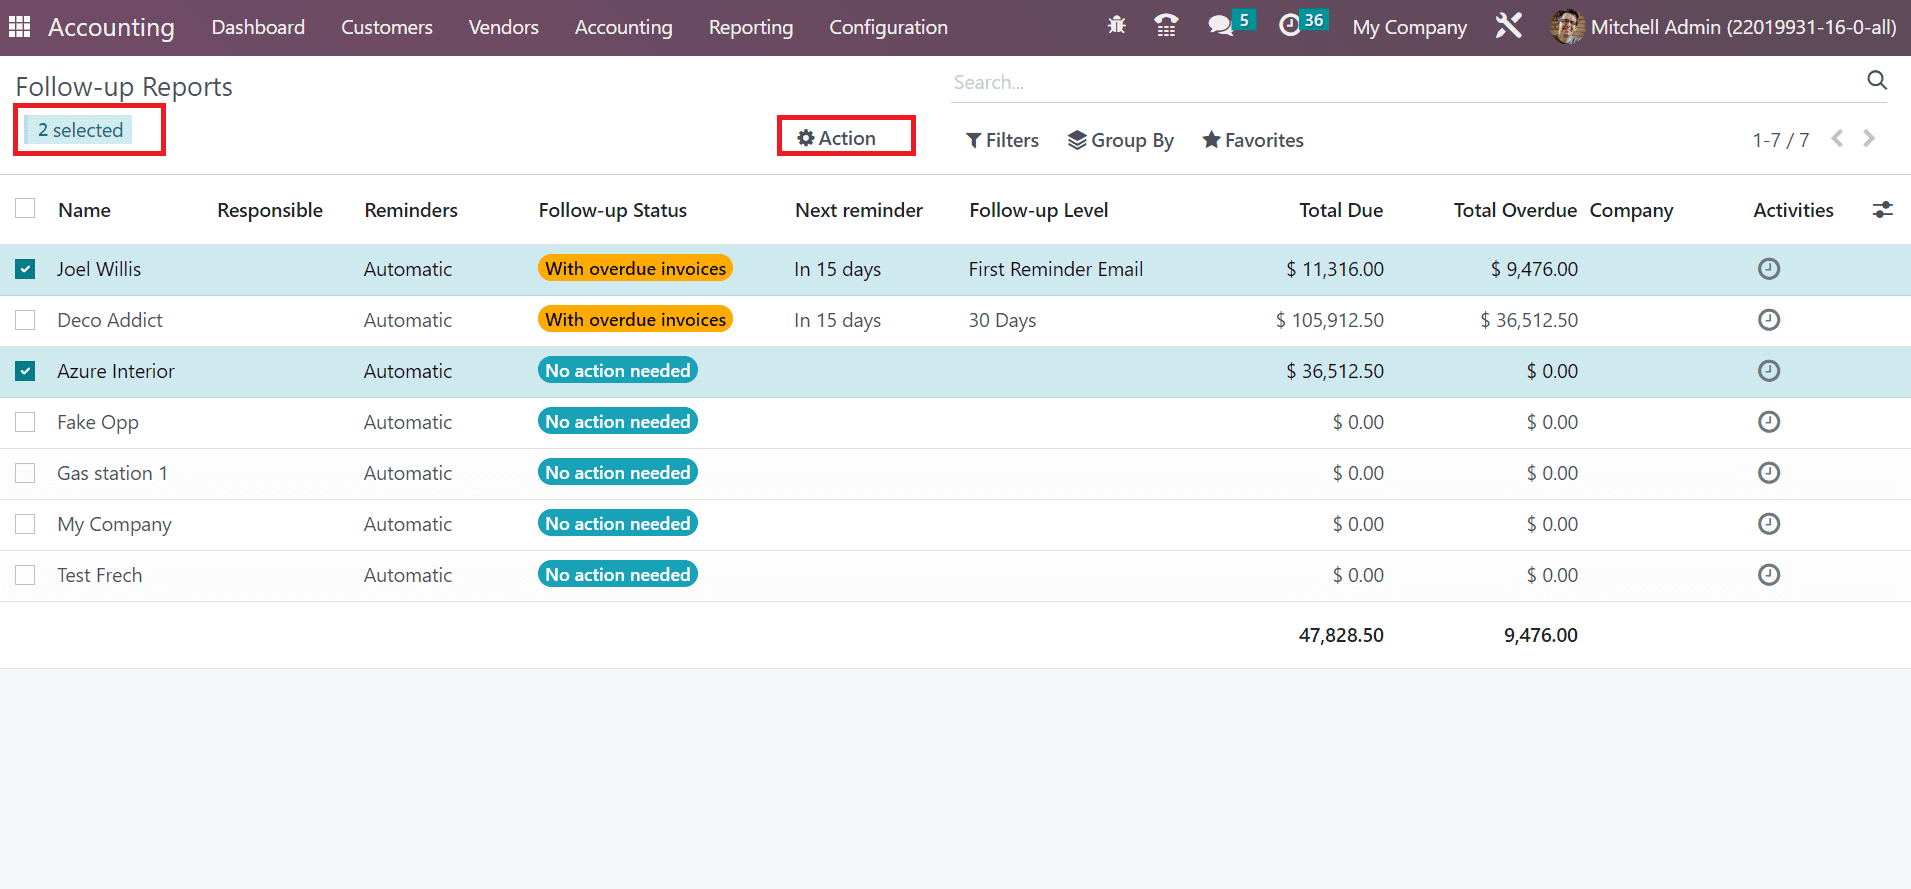
Choose the Process Automatic Follow-ups menu under the Action tab, as denoted in the screenshot below.

So, we can send reminders in batches through this step in Odoo 16 Accounting.
To Formulate a Customer Payment in the Odoo 16 Accounting
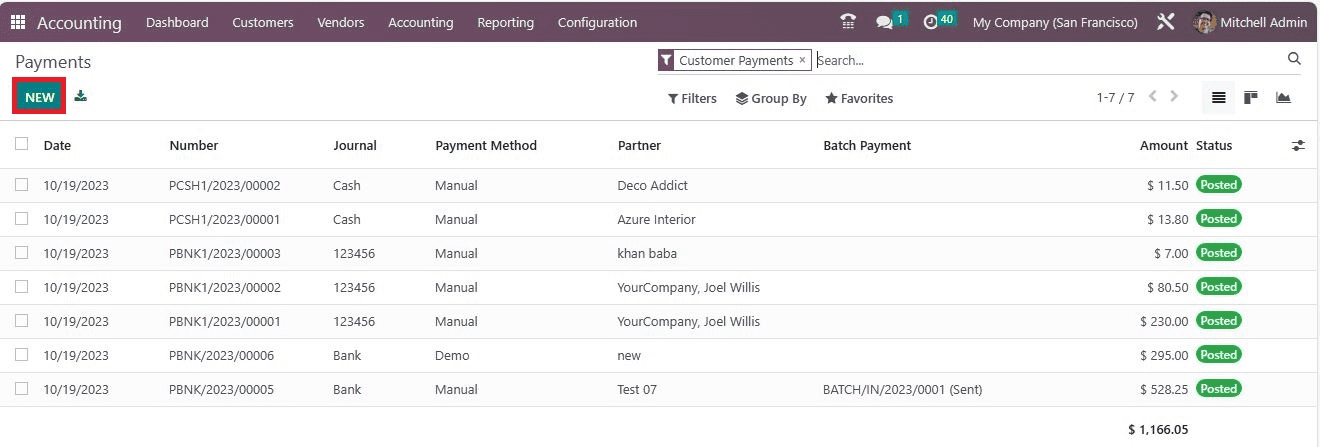
The payments for a customer are made easy with the Payments feature used in the Odoo 16. You can configure the Payments menu from the Customers tab, and a list of each payment data is acquirable separately. We can view information such as Number, Partner, Amount, Status, and more. Click the NEW icon to design a new customer payment in the Odoo 16.
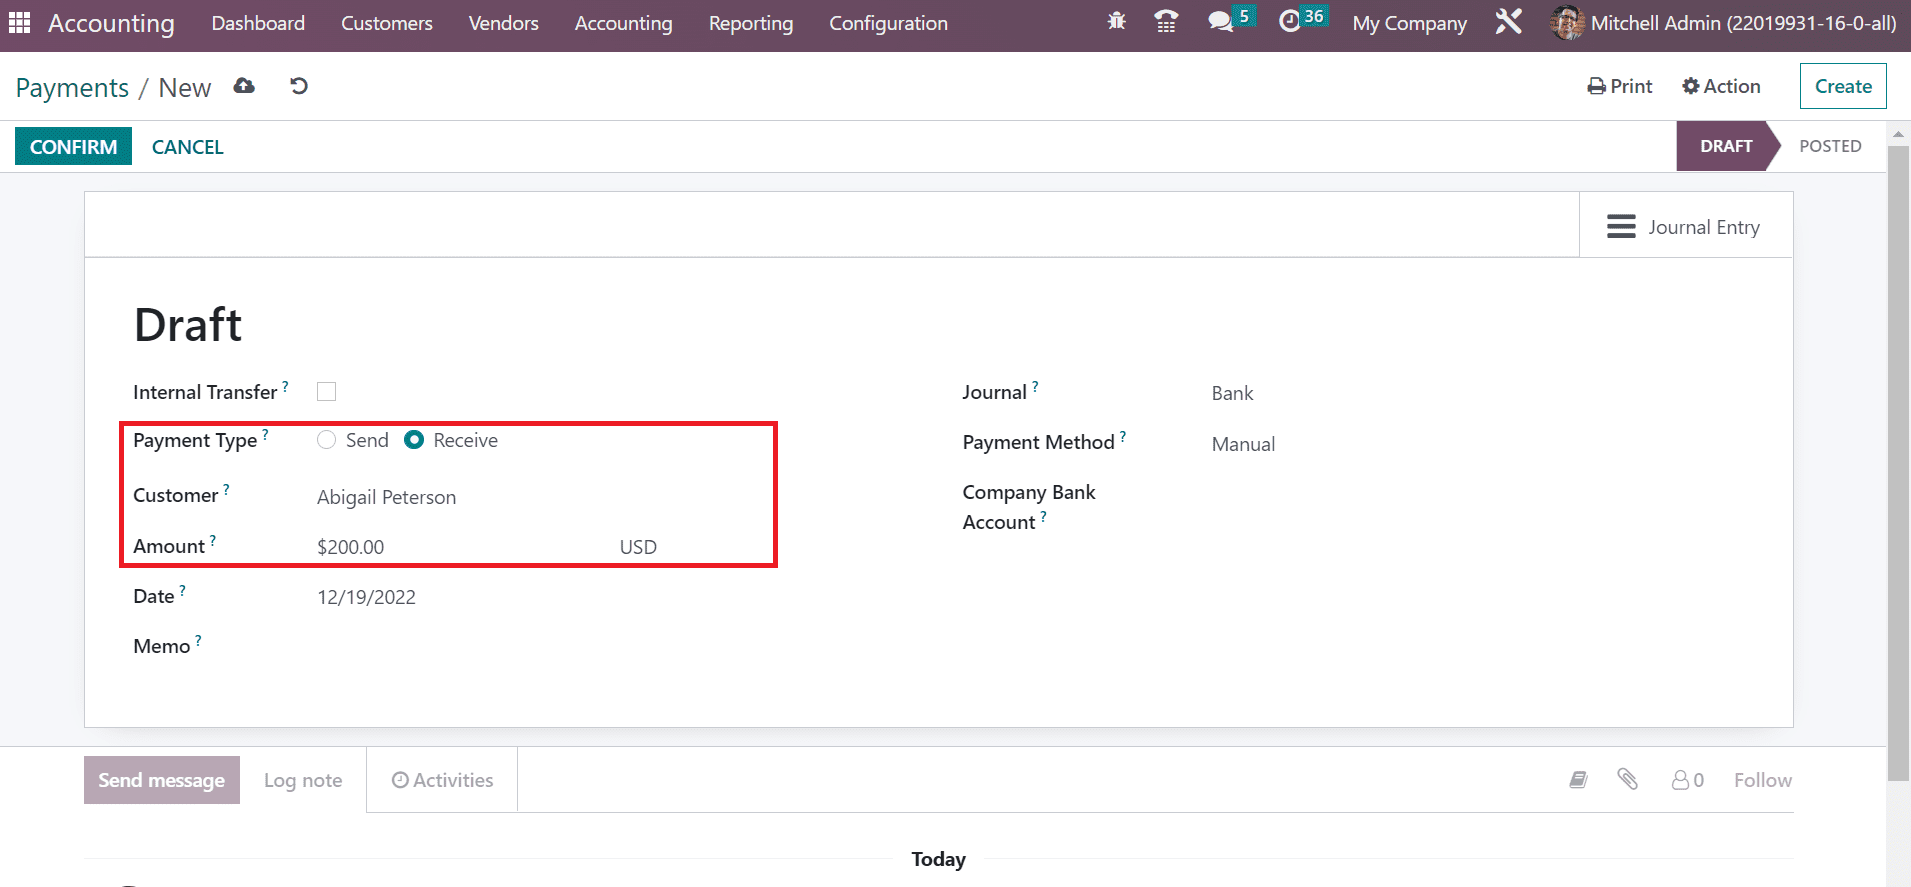
On the new page, the user can set the type of payment as Receive or Send. We choose the Receive option in the Payment Type field. Furthermore, add the name of the partner in the Customer field. Later, you can mention the amount to receive in the Amount option, as figured in the screenshot below.
Apply the final date of payment in the Date option. Also, select the particular journal related to payment as Bank in the Journal field.
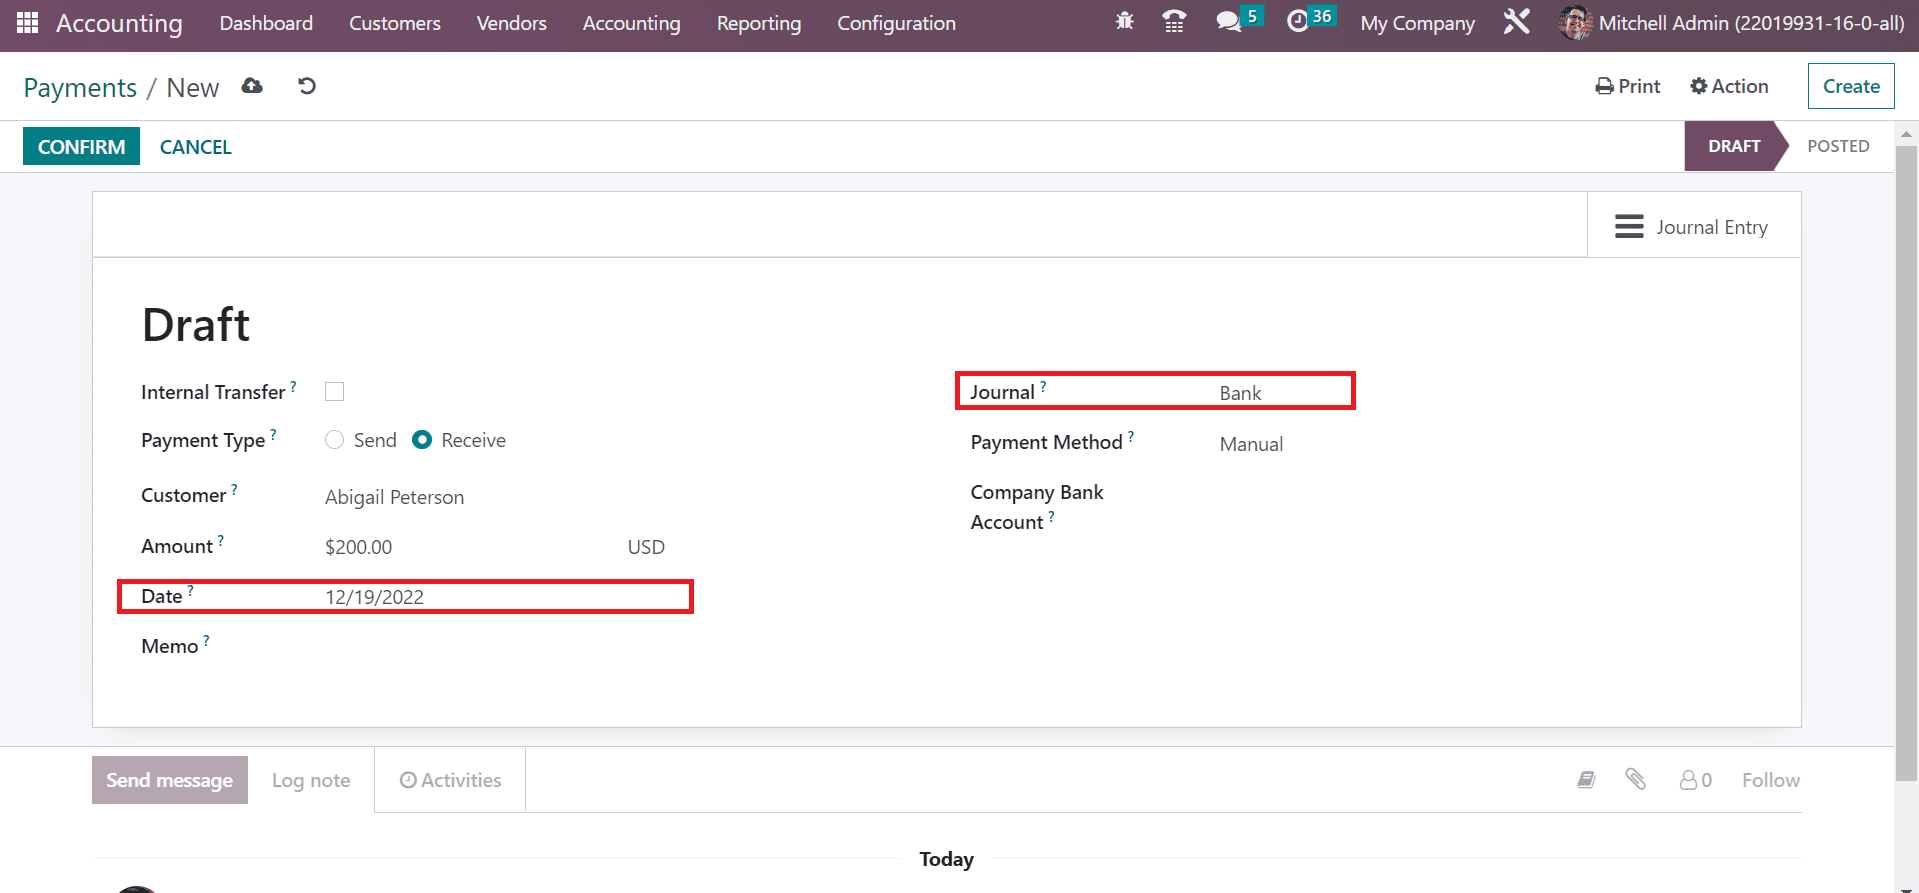
Next, you can set the method of payment as Batch Deposit, Manual, Cash, etc. We selected the Manual option in the Payment Method field. After adding the payment method, choose your bank account in the Company Bank Account field as demonstrated in the screenshot below.
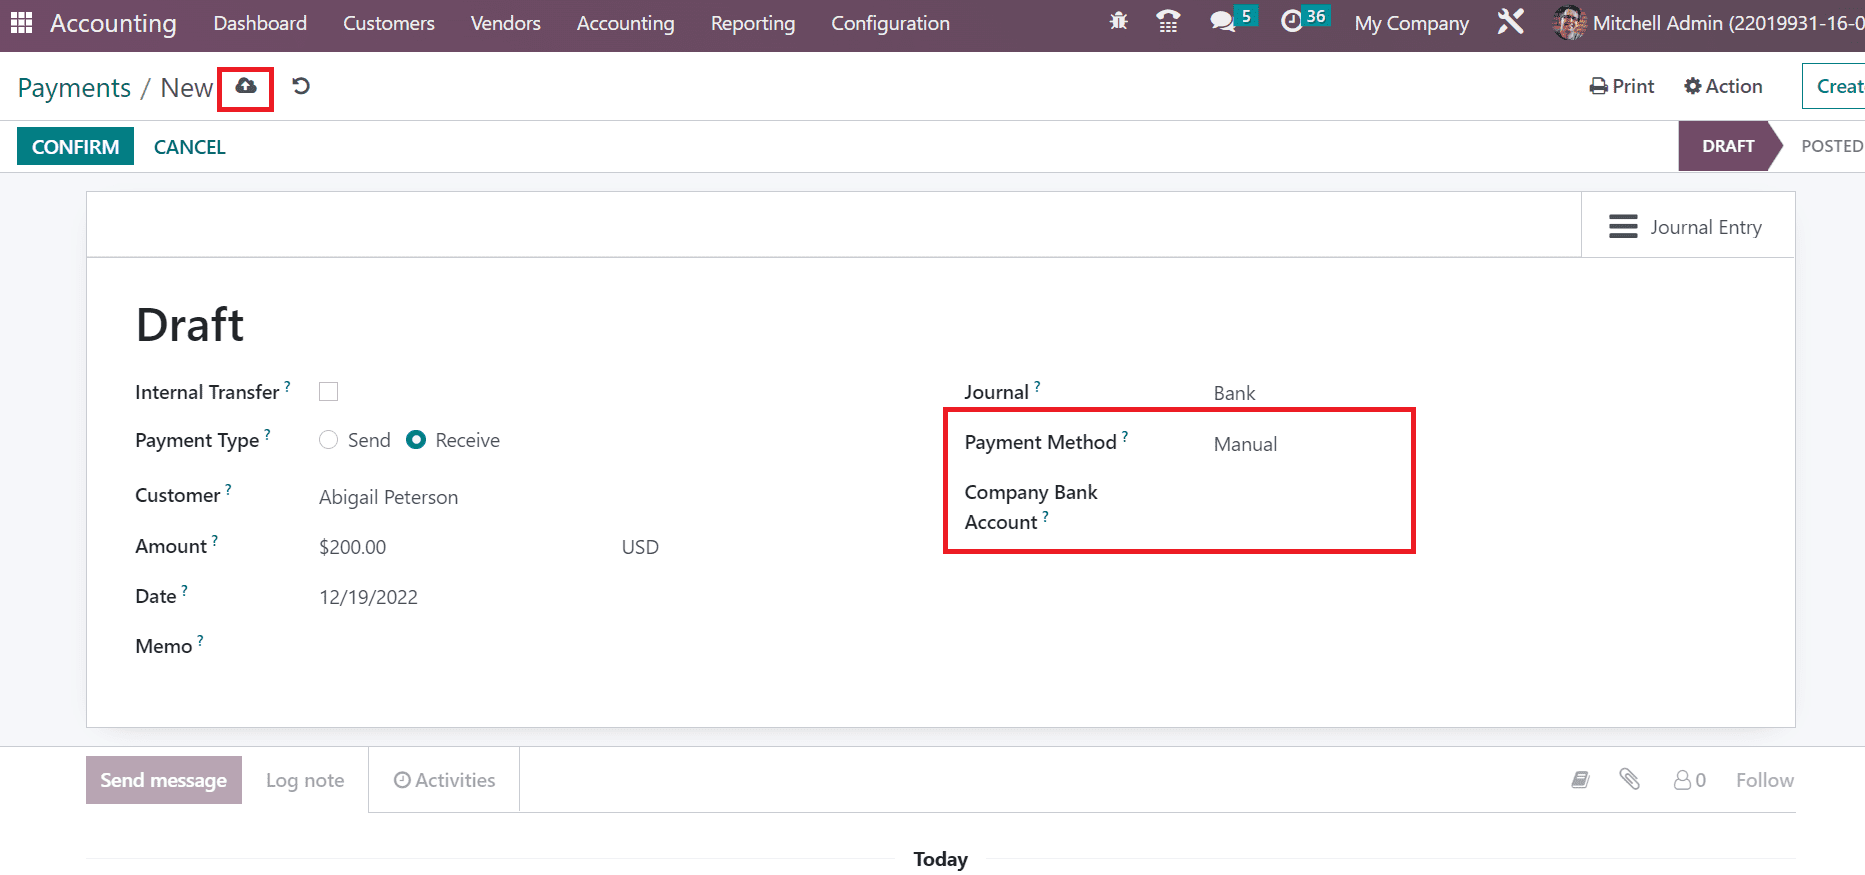
Choose the save manually button once specifying each data of payment. Press the CONFIRM icon to post the payment after saving the data.
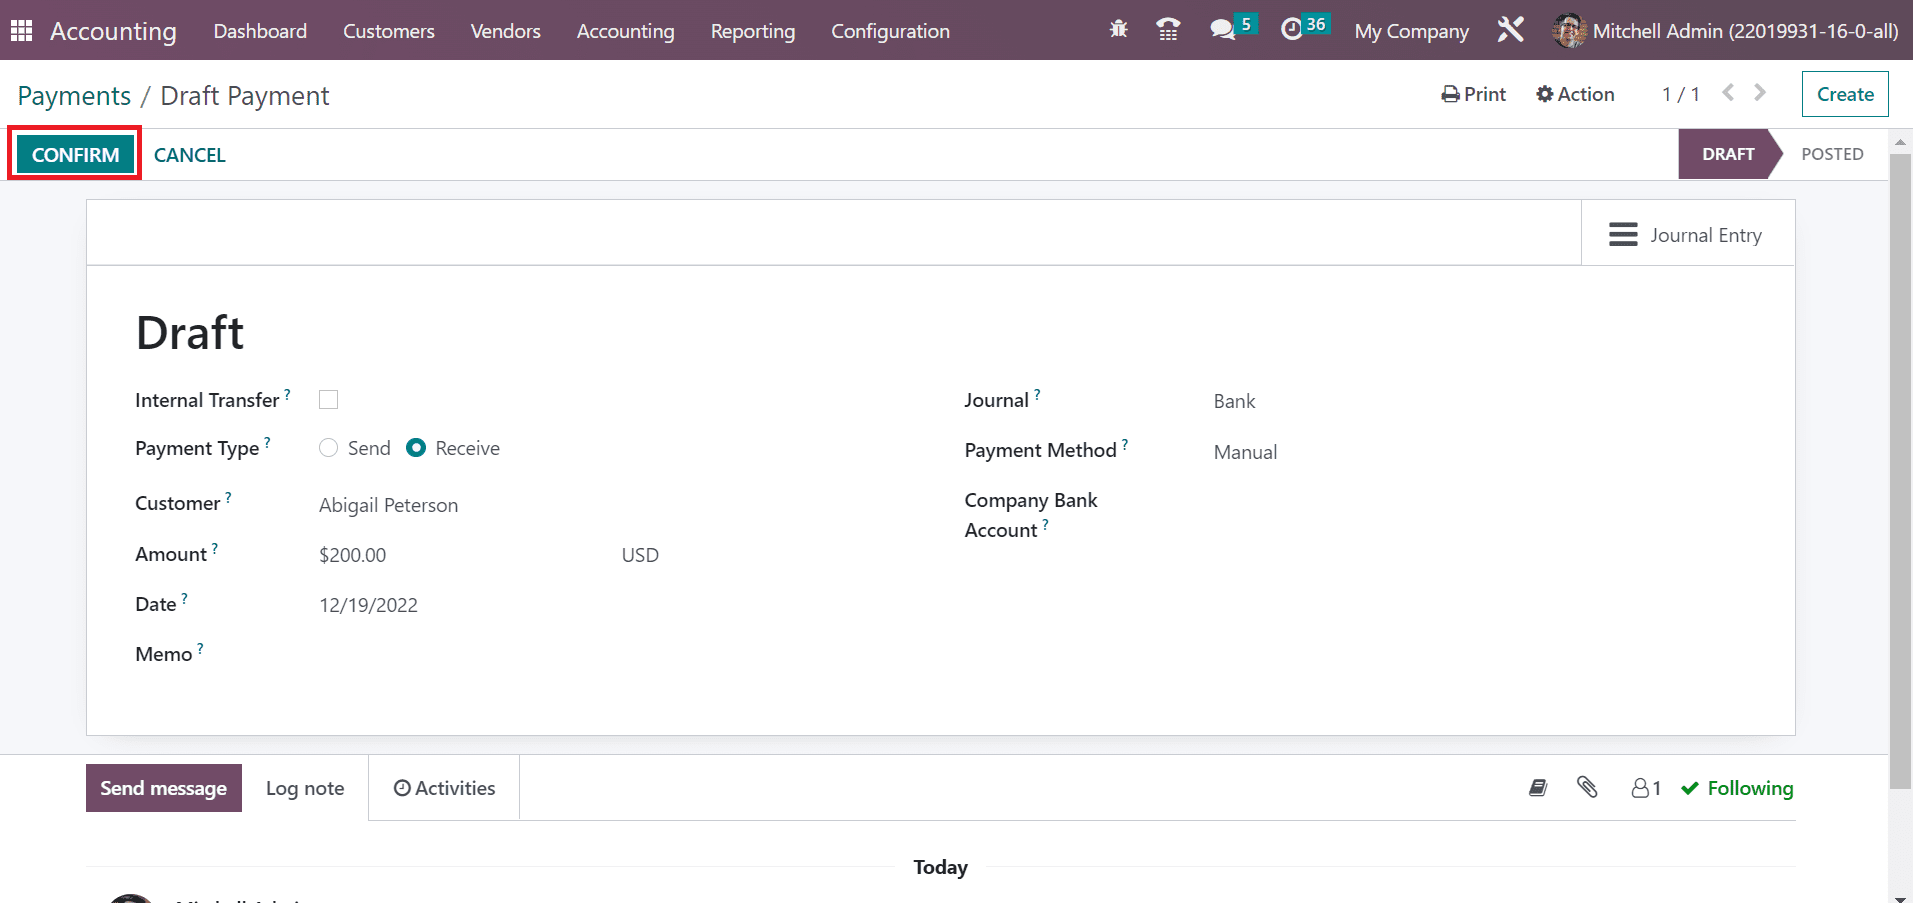
Hence, we can quickly validate a customer payment in the Odoo 16 Accounting.
The Accounting module of Odoo 16 enables users to create follow-up payments and analyze the reports easily. You can manage all payments for customers and vendors within one step. It enriches business productivity and workflow efficiency.
To read more about adding new payment acquirers in Odoo 16, refer to our blog How to Add New Payment Acquirers in Odoo 16