Calculating sales tax in each address of the US is made possible through TaxCloud integration. Managing taxes in the US is very challenging, and TaxCloud helps keep track of commodities exempt from sales tax. Several factors occur when calculating taxes in the US, including the location of seller, customer, price, nature of good, invoice date, and more. Additionally, each State needs its completion under several conditions. TaxCloud is one of the services that assist in overcoming all the mentioned issues above. The calculation of accurate tax in every city, State, and particular jurisdiction in the United States is easy using TaxCloud. By imparting Odoo 16 Accounting module, it is possible to compute tax rates of US ZIP codes using the TaxCloud feature in your company.
This blog provides the steps to compute tax rates based on US ZIP codes in a TaxCloud within the Odoo 16 Accounting.
We can register a business in each State using TaxCloud, which helps to file taxes according to your respective states. Time-saving is an essential factor when running a TaxCloud feature on your system. Using Odoo 16 Accounting module, computation of tax rated within the TaxCloud segment made easy.
To Configure TaxCloud in Odoo 16 Accounting
TaxCloud is affordable to member states with automated compliance. On the other hand, a fee of 0.125 % of gross sales to file your taxes in the 25 non-member states. TaxCloud also guarantees to take care of indemnification from state audit liability. We must develop a free account on the TaxCloud website to compute tax rates in Odoo 16. Sign in with your Odoo account in TaxCloud and access the necessary credentials concerning TaxCloud. After creating an account in TaxCloud, go to Odoo 16 Accounting module. Select the Settings menu in the Configuration tab, and you can view the TaxCloud field below the Taxes section as described in the screenshot below.
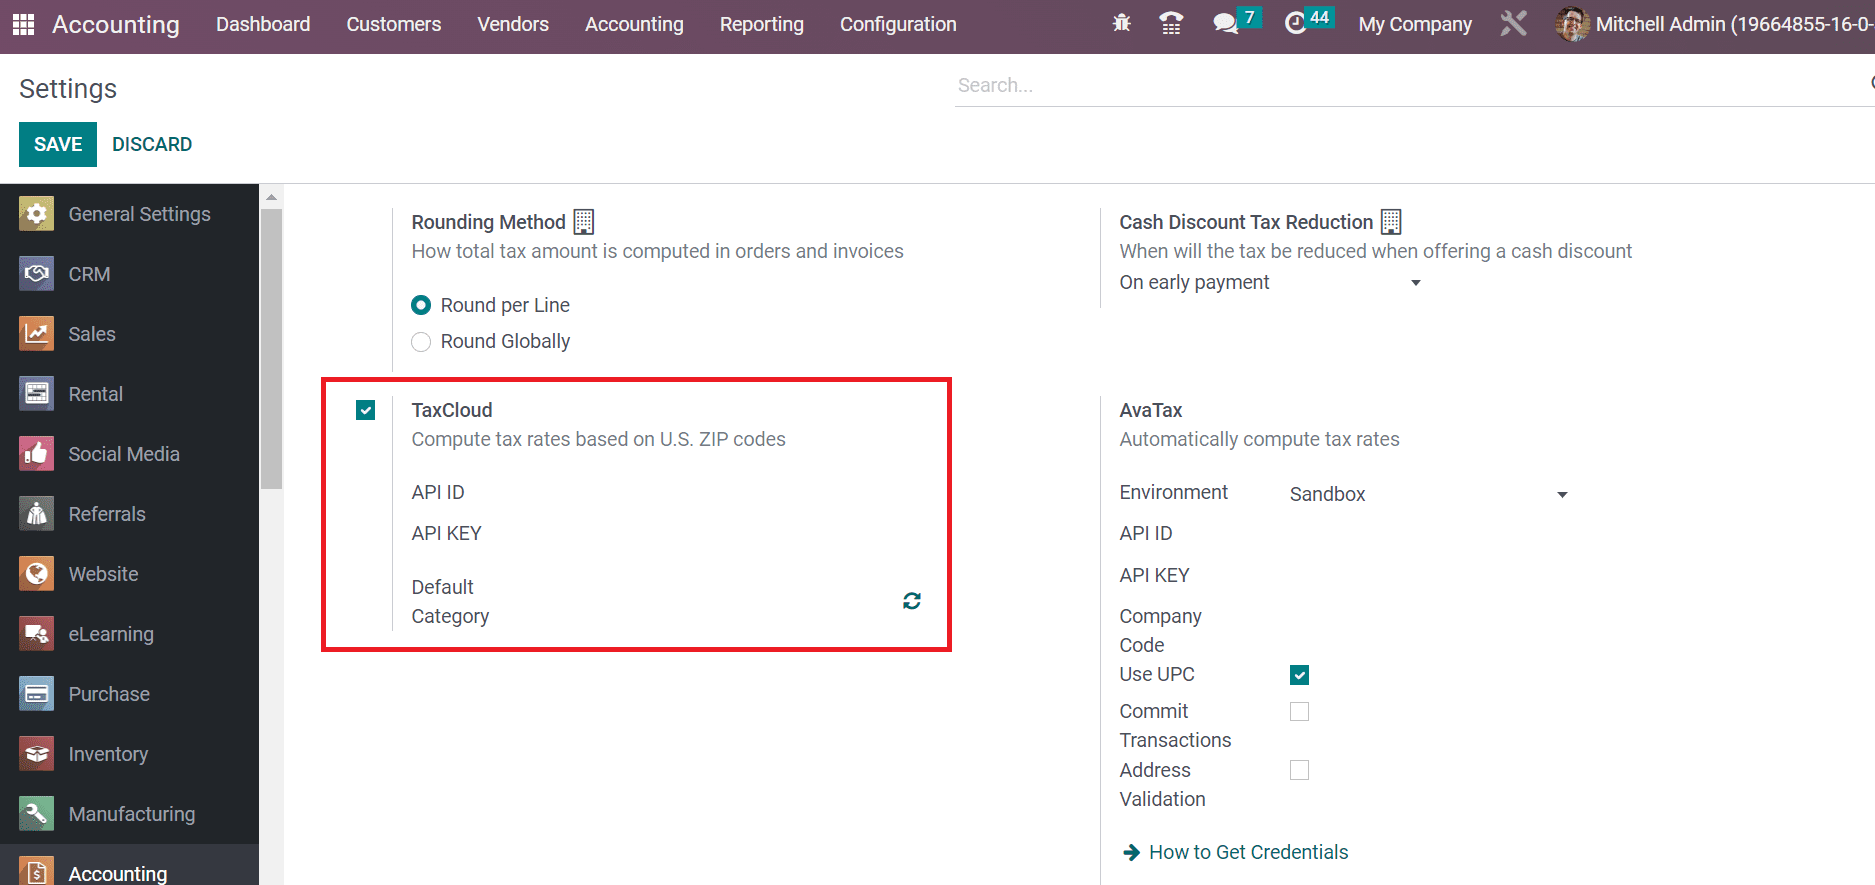
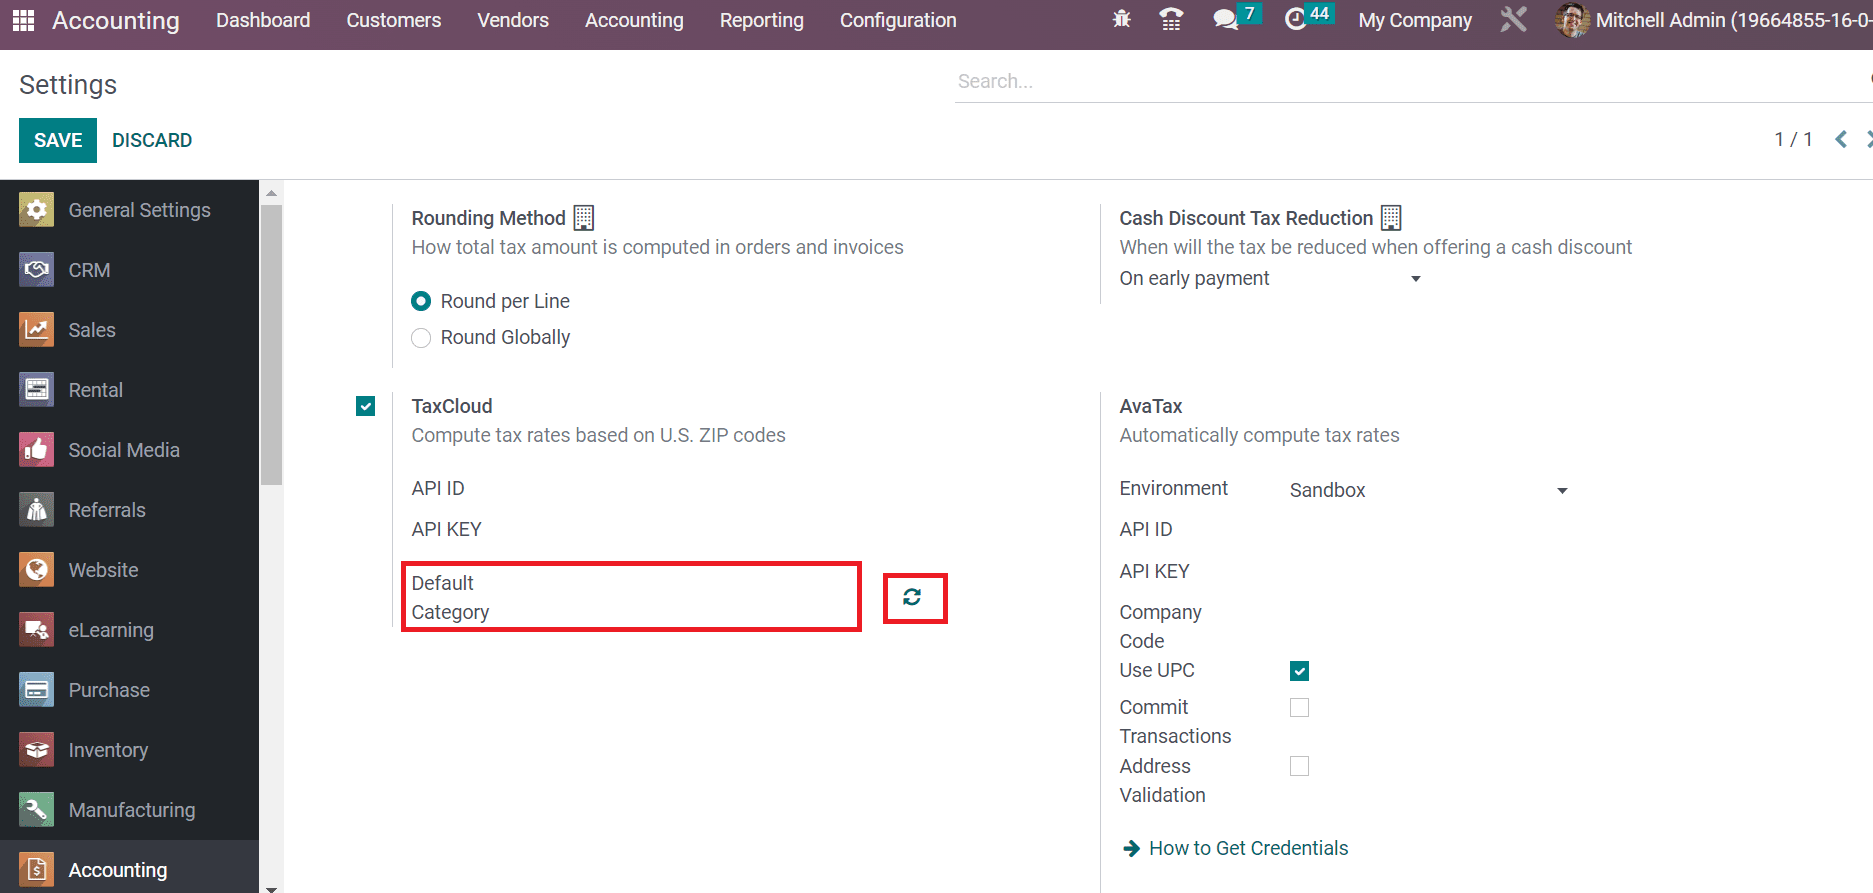
You can compute tax rates per US ZIP Codes by enabling the TaxCloud field. Users can apply the TaxCloud credentials within the API ID, and the API KEY option means to authenticate a user. It is possible to import TIC product categories from a TaxCloud by clicking on the refresh icon near to Default Category field, as marked in the screenshot below.
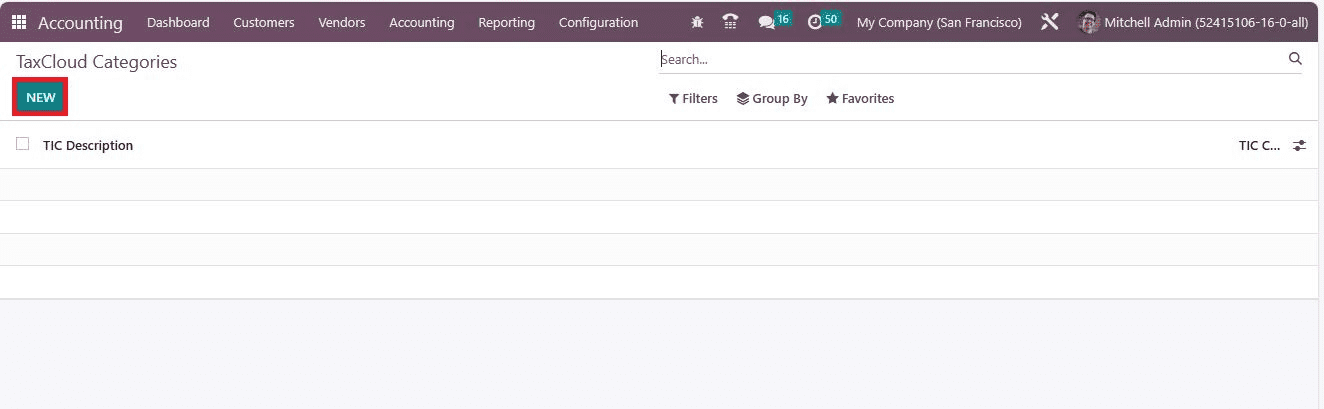
We can develop a TaxCloud category by selecting the TaxCloud Categories menu inside the Configuration tab. Click on the NEW icon to establish a new Taxcloud category, as mentioned in the screenshot below.
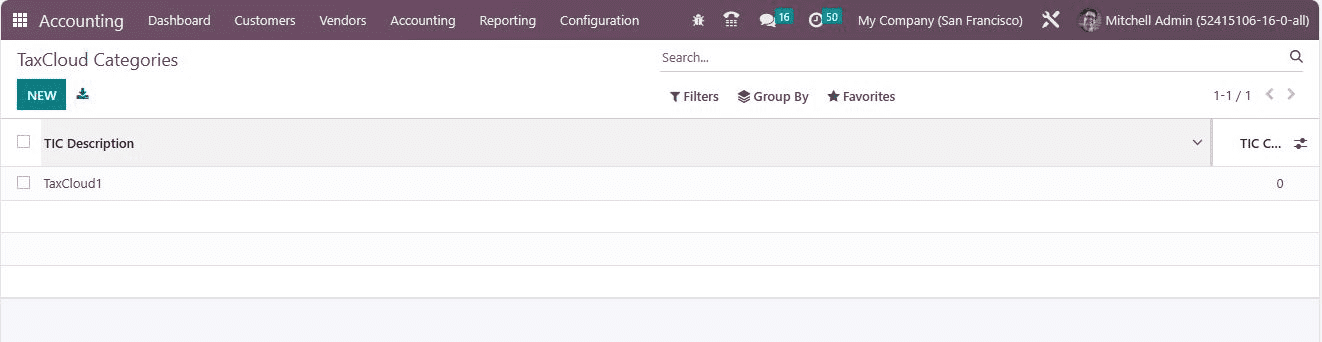
An open space appears to you and adds the TIC Description or TIC Code regarding your TaxCloud Category, as specified in the screenshot below.
Now, move to the Settings window and choose your created TaxCloud Category from the Default Category option in the TaxCloud field, as defined in the screenshot below.
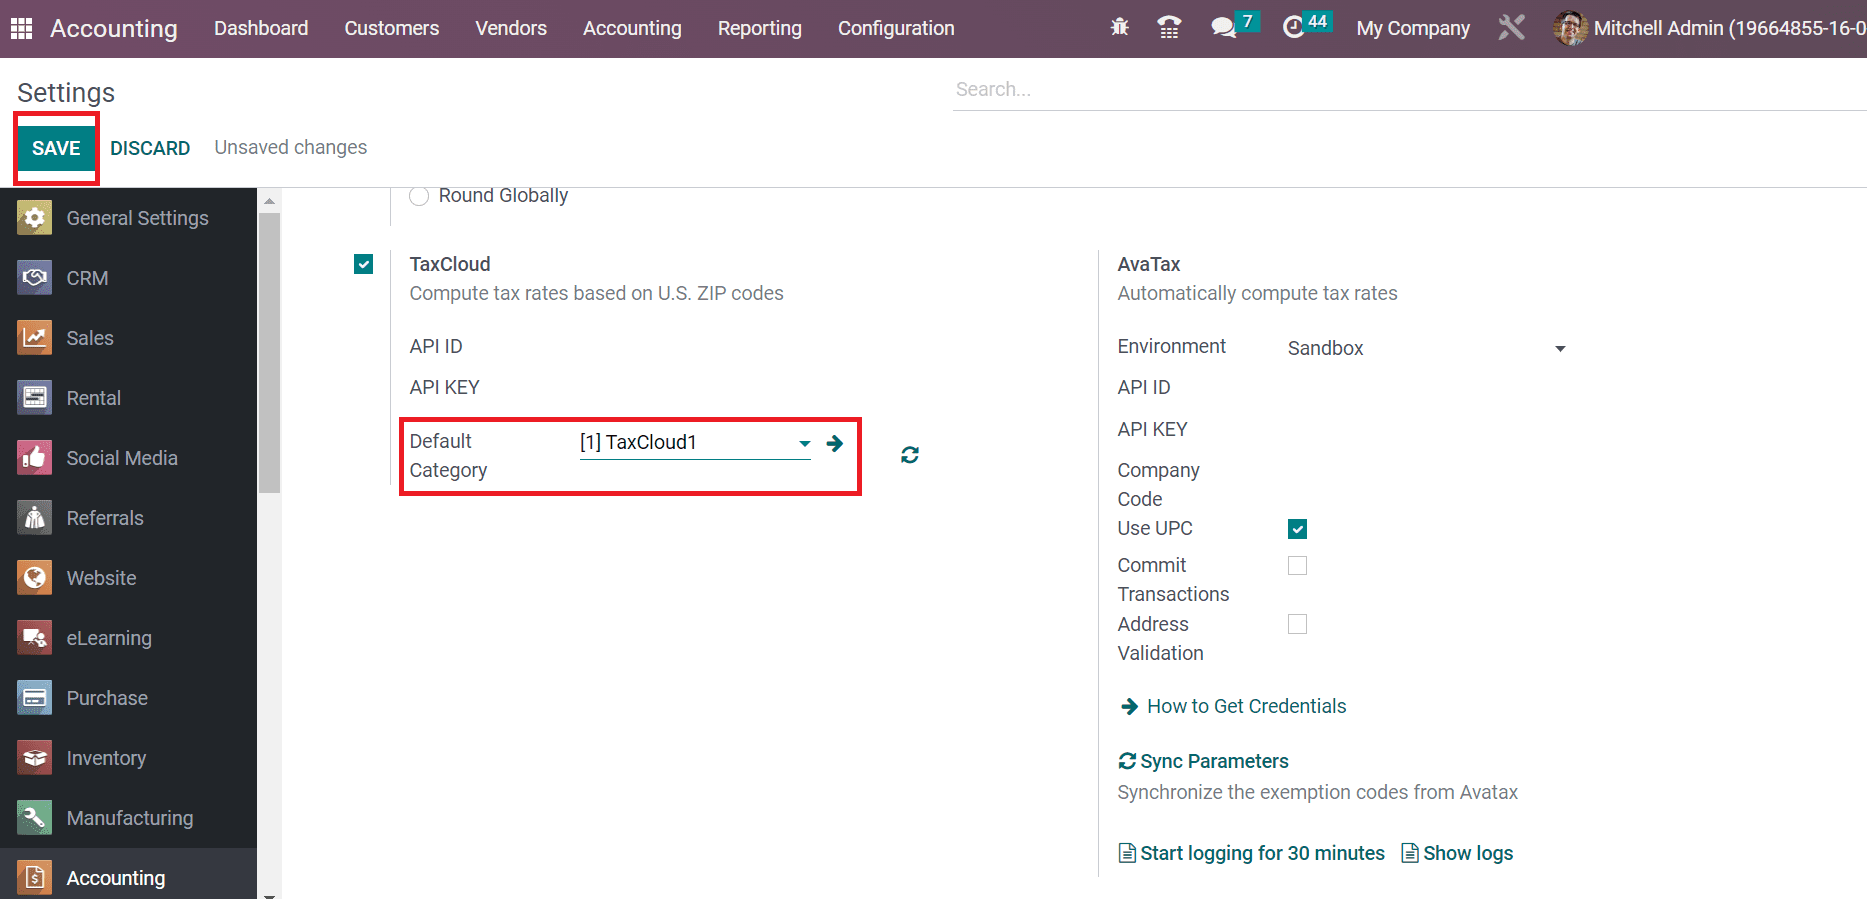
After making necessary changes in the Settings window, select the SAVE icon, as cited in the screenshot above. So, the TaxCloud feature is activated in Odoo 16 Accounting module.
How to Calculate Sales tax in Odoo using Fiscal Positions?
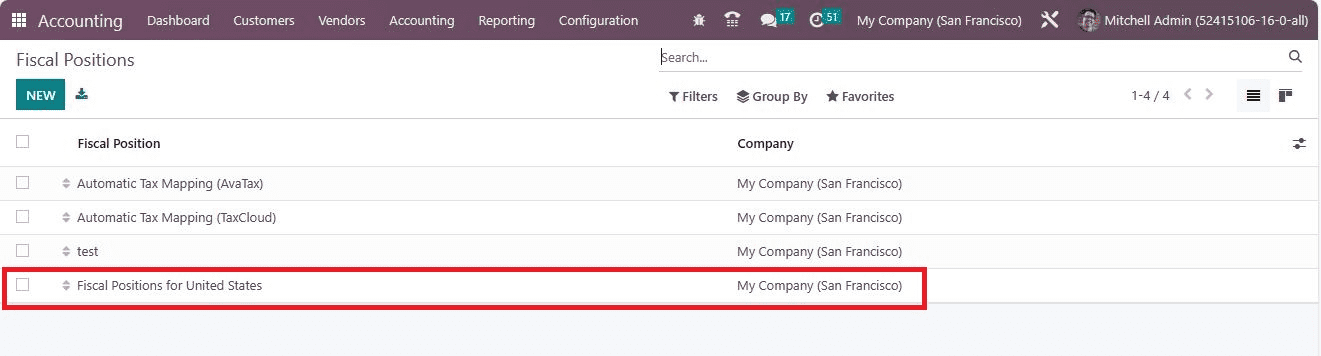
Based on Fiscal Positions means accounting or tax mapping, we can configure sales tax in Odoo 16. Users can develop a financial position for the United States after downloading TaxCloud. It is eays to configure the detecting Odoo automatically when customers use their fiscal positions. For that, click the Fiscal Positions menu in the Configuration tab of Odoo 16 Accounting. A list of all created fiscal positions is viewable to the user, as presented in the screenshot below.
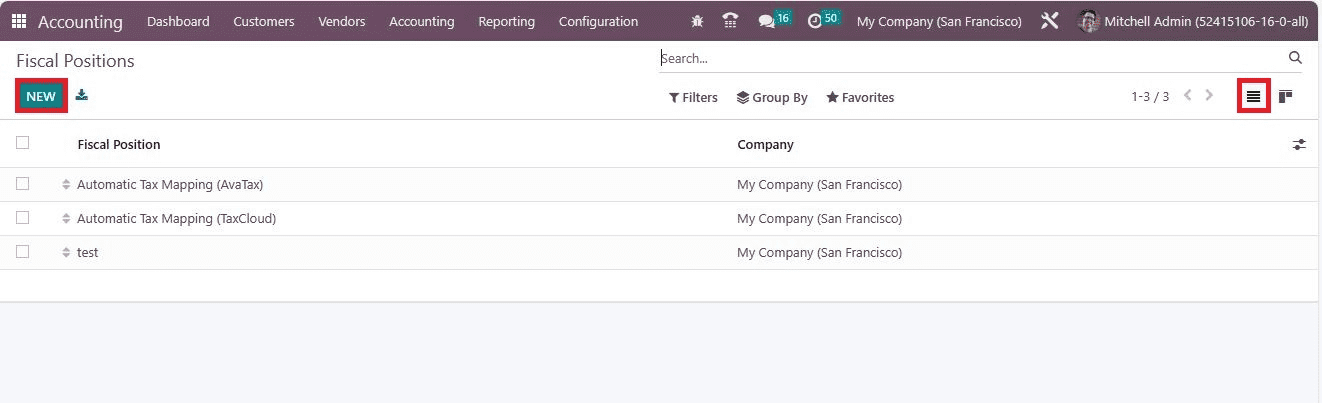
In the List view, the user can see details such as the company's name and fiscal position. To develop a new budgetary position, click the NEW button in the Fiscal Positions window, as cited in the above screenshot. In the new screen, enter the Fiscal name Position for the United States within the Fiscal Position field as displayed in the screenshot below.
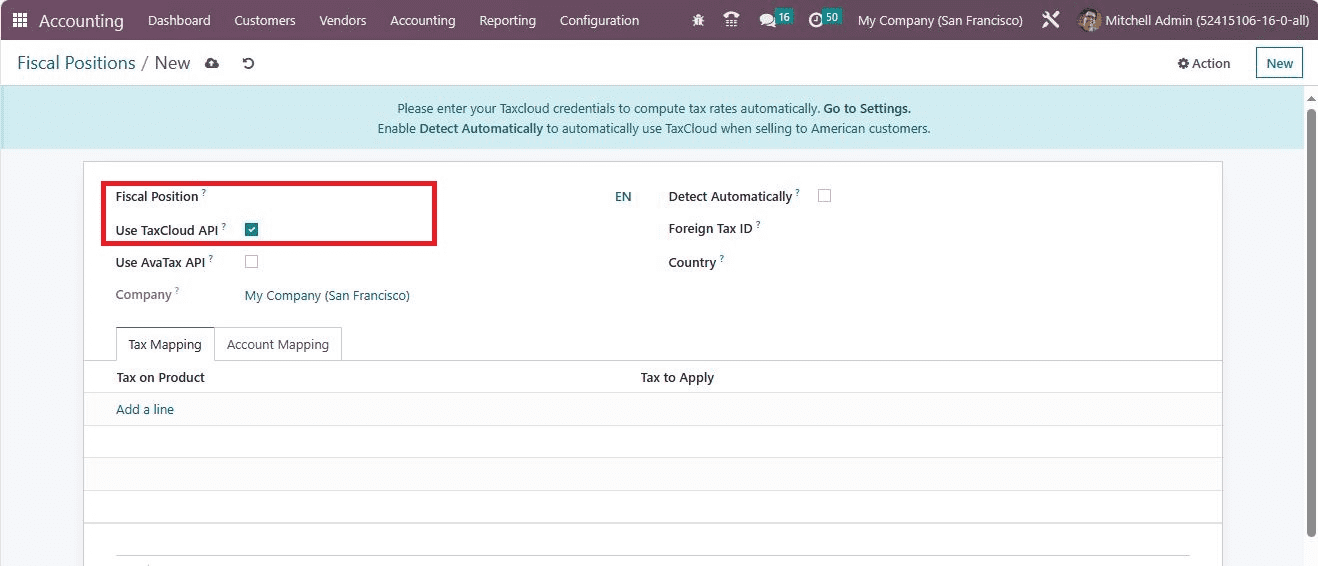
For activating the tax cloud feature in the fiscal position of the US, enable the Use TaxCloud API option, as indicated in the screenshot above. Moreover, we can set fiscal positions automatically in a sales order by allowing the Detect Automatically field.
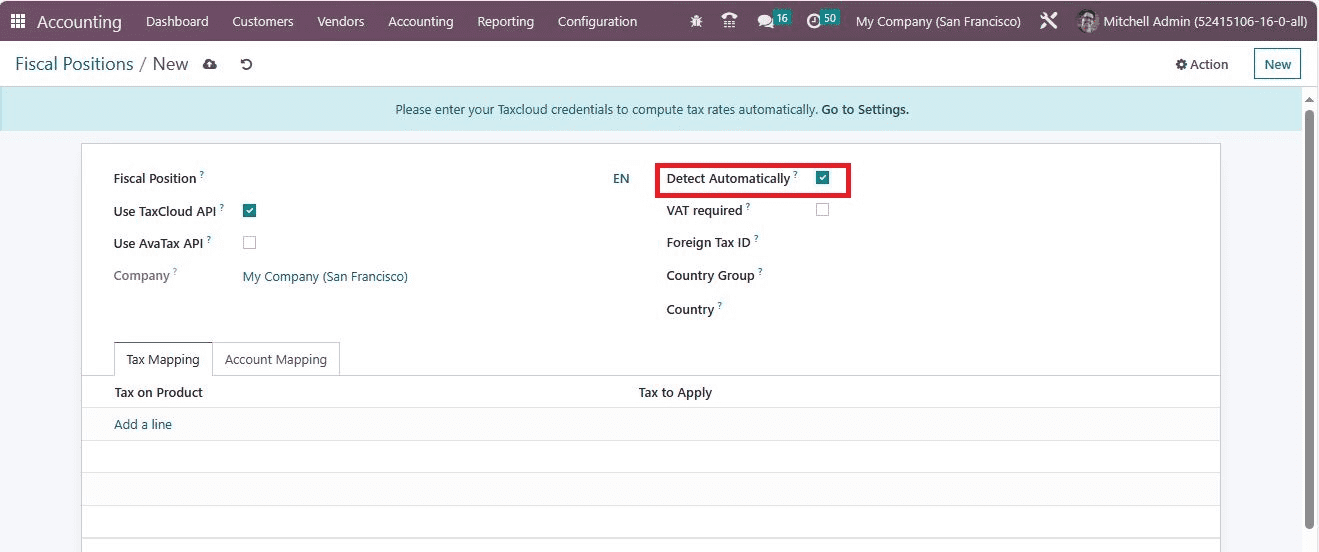
You can enable the VAT Required field if the partner has a VAT number. Also, specify the company tax id based on fiscal position region in the Foreign TAX ID field.
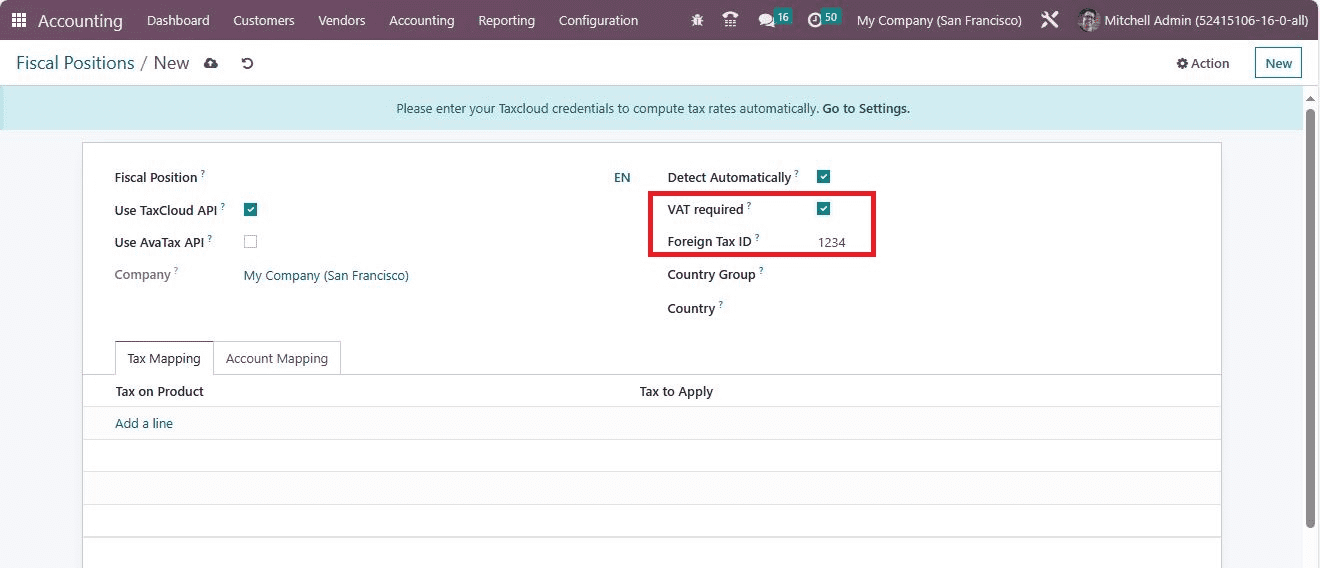
Next, the user can specify the country groups concerning the original Country within the Country Group field. Additionally, set your Country as the United States in the Country option.

Afterward, choose the necessary Federal States regarding the United States in the Federal States field. Press the Save icon after entering essential information about the fiscal position.
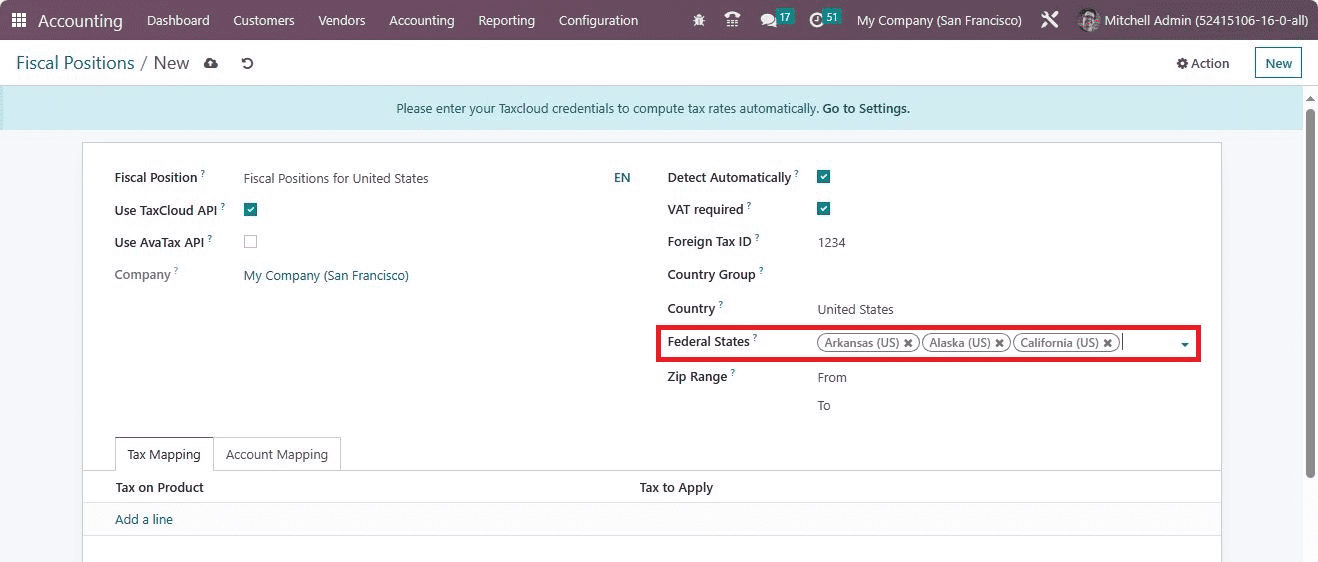
The created fiscal position for the United States is visible to the user in the Fiscal Positions window.
Hence, the setting of the fiscal position is set automatically on the web order, sales order, and invoice after choosing the US as the customer country. Now, let's see how to apply the created fiscal position on an invoice in the Odoo 16 Accounting module. Choose the Invoices menu inside the Customers tab, and a list of all created invoices is accessible to you. Select the CREATE button in the Invoices window to generate a new one.
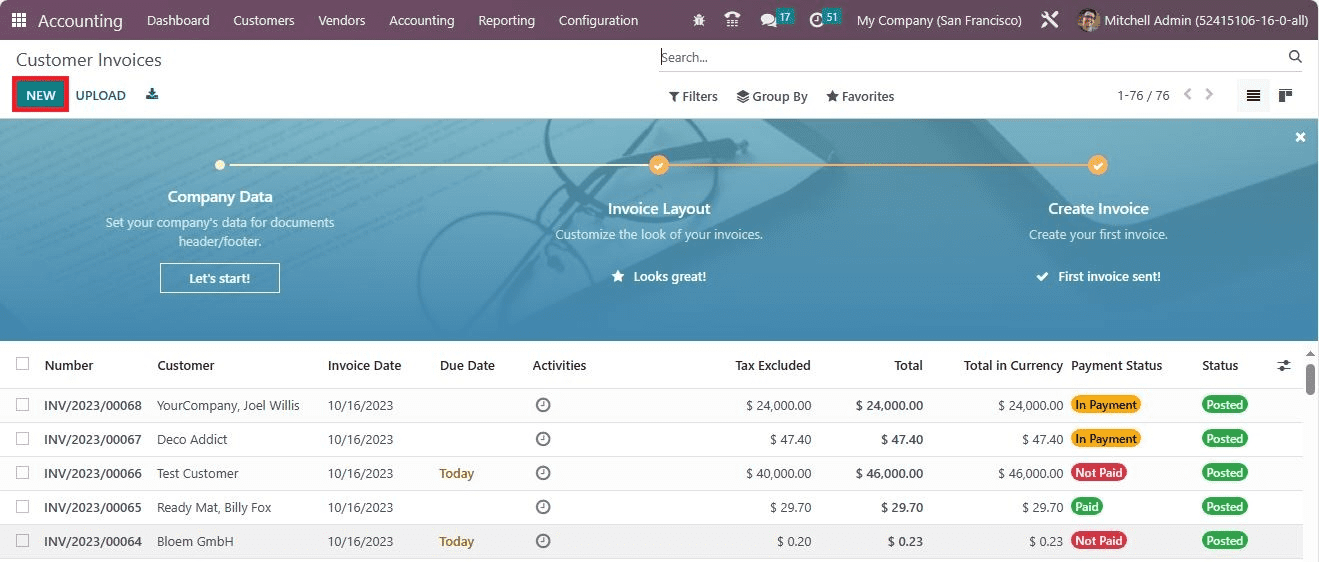
In the new screen, pick your customer, and the invoice number is automatically viewable in the Customer Invoice field. Later, set your last date of invoice in the Due Date field and mention your journal.
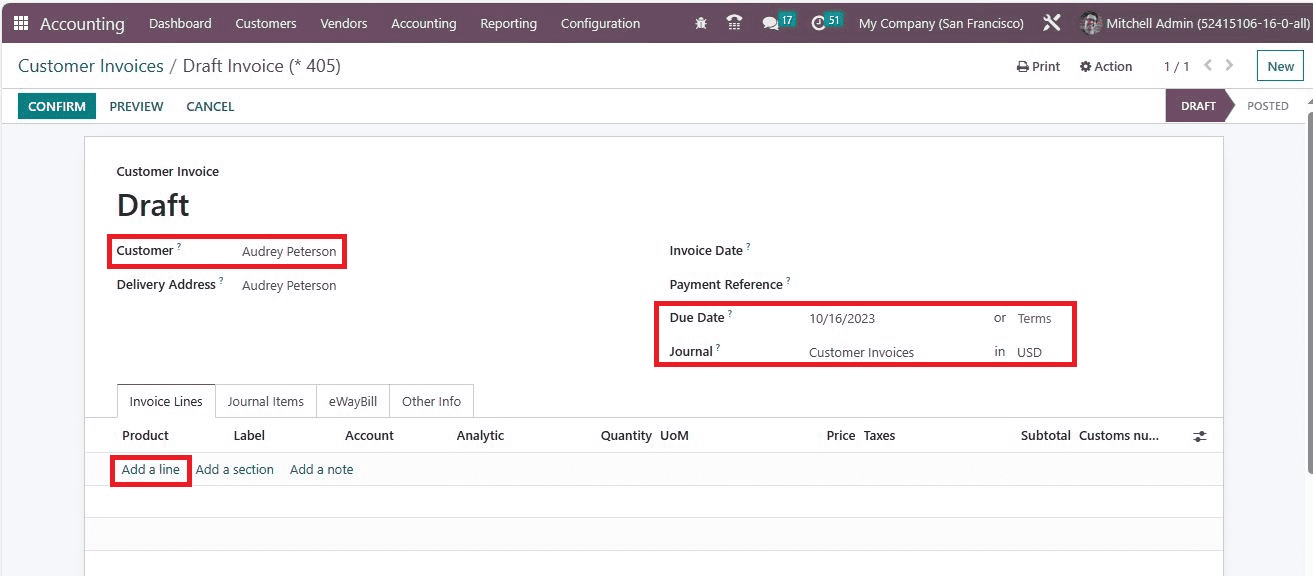
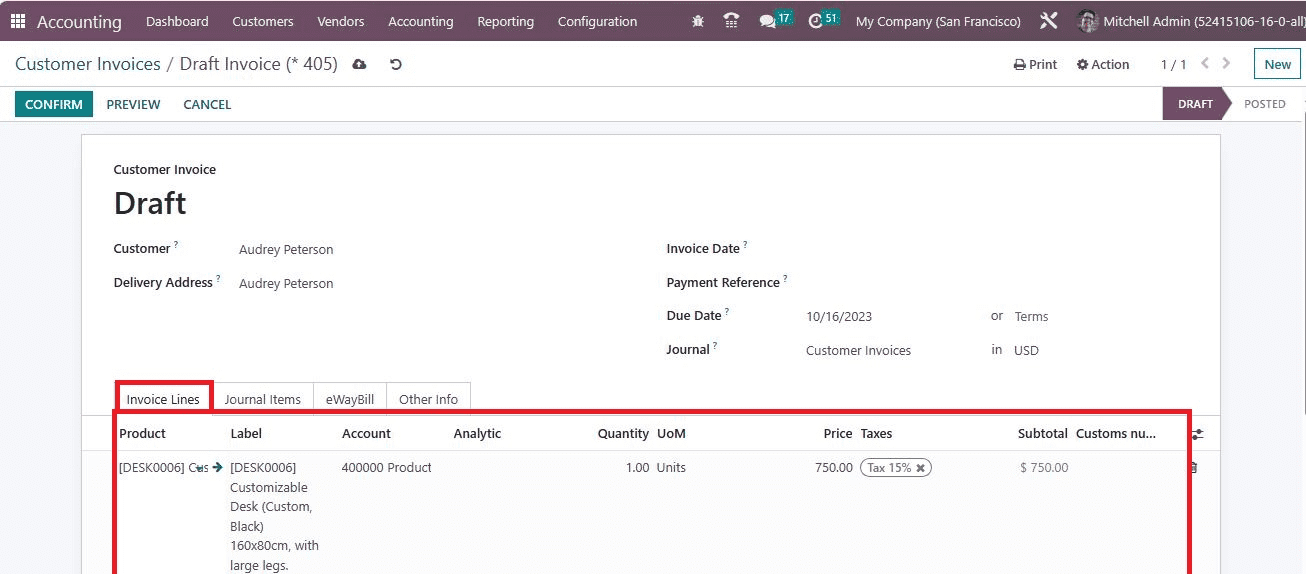
Select the Add a line option to apply a new product for the customer. Your chosen product is visible inside the Invoice Lines tab, along with quantity and price.
Below the Other Info tab, users can manage the fiscal position inside the ACCOUNTING section. Fiscal positions use to adapt accounts and taxes for a specific customer or invoices. Users can access the created Fiscal Position for the United States in the Fiscal Position field as defined in the screenshot below.
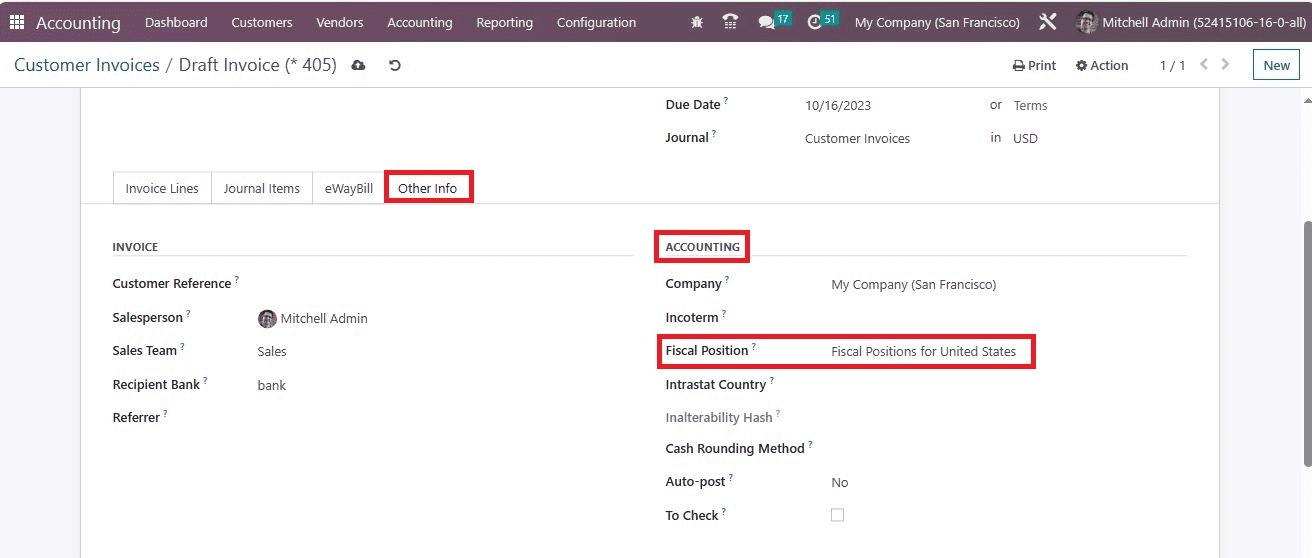
After applying essential details, save your changes in the Invoices window. Hence, it is easy to mention the fiscal position on a customer invoice.
Computation of tax rates using TaxCloud was activated easily with the support of the Odoo 16 Accounting module. Users can also set Fiscal Positions related to the US and apply them to a customer invoice. The tax rates calculation on a specific location of an organization is made eays with the help of Odoo ERP software.
To read more about configuring taxes with Odoo 16 accounting app, refer to our blog How to Configure Taxes With Odoo 16 Accounting App