Creating a Contact Form on your company website to collect customer contacts is an easy process with the guidance of the Odoo ERP system. We already discussed the benefits of the Website Building System that Odoo offers for its users in many of our earlier blogs. Using the Odoo Website Builder, a user can effortlessly create a contact form on the Website by creating a Contact Us page. Odoo enables you to use adequate building snippets to customize your Contact Page. With the help of these snippets, you can provide a Contact Form for your customers. You can use this contact form for multiple purposes such as to record queries and issues, generate leads/opportunities, create helpdesk tickets, gather customer contact information, and collect job applications.
This blog will discuss how to use the contact form on the Website Contact Page to create new customer contacts.
Website building is no longer a difficult task with the help of Odoo 15. Few basic knowledge about website building and designing is more than enough to create an excellent website for businesses using Odoo. The advanced building blocks will simplify all processes of a website building. Using these blocks, you can create a Contact Page and provide a Contact Form on your website for customers. While creating the contact form, you can set its function as create contact which will help you to collect the contact information of the customer in your system. By doing so, Odoo will automatically record the details of the customer in the Contact module.
First, let’s take a look at how to create a contact form on the Odoo website. From your Odoo Website module, you can use the ‘Go-To Website’ button from the Ecommerce dashboard which will direct you to the homepage of the selected website. If you have already created the Contact Page on your website, then you can go to that page without any delay. If your website doesn’t own any Contact Us page, then you can create a new page by checking the blog, EASY STEPS TO CREATE A CONTACT US PAGE ON THE WEBSITE WITH ODOO 15 from our website.
After creating the Contact Us page, you can go to the Dynamic Content tab of the Blocks where you can find the snippet for Form.
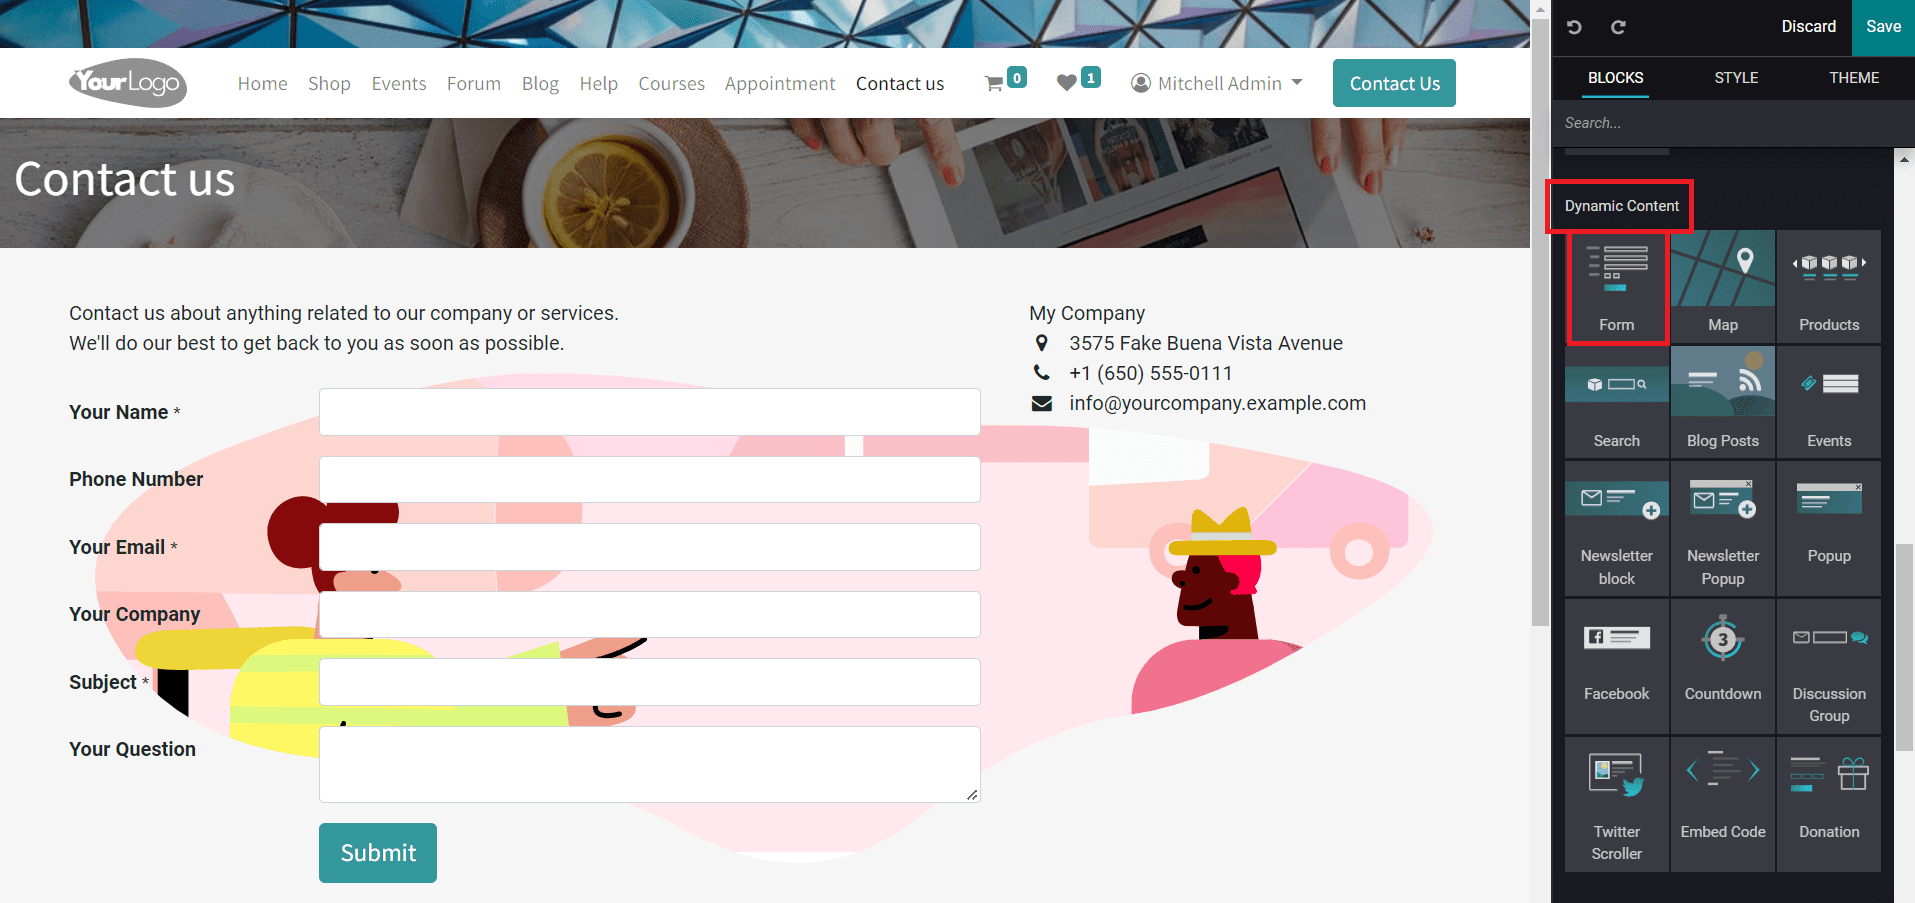
Drag the Form snippet from the blocks and drop it in the right position on your Contact Us page. The snippet can be edited with the help of the Style tool. You can customize the form by adding or removing fields, changing background color or image, and adjusting the width and height of the form.
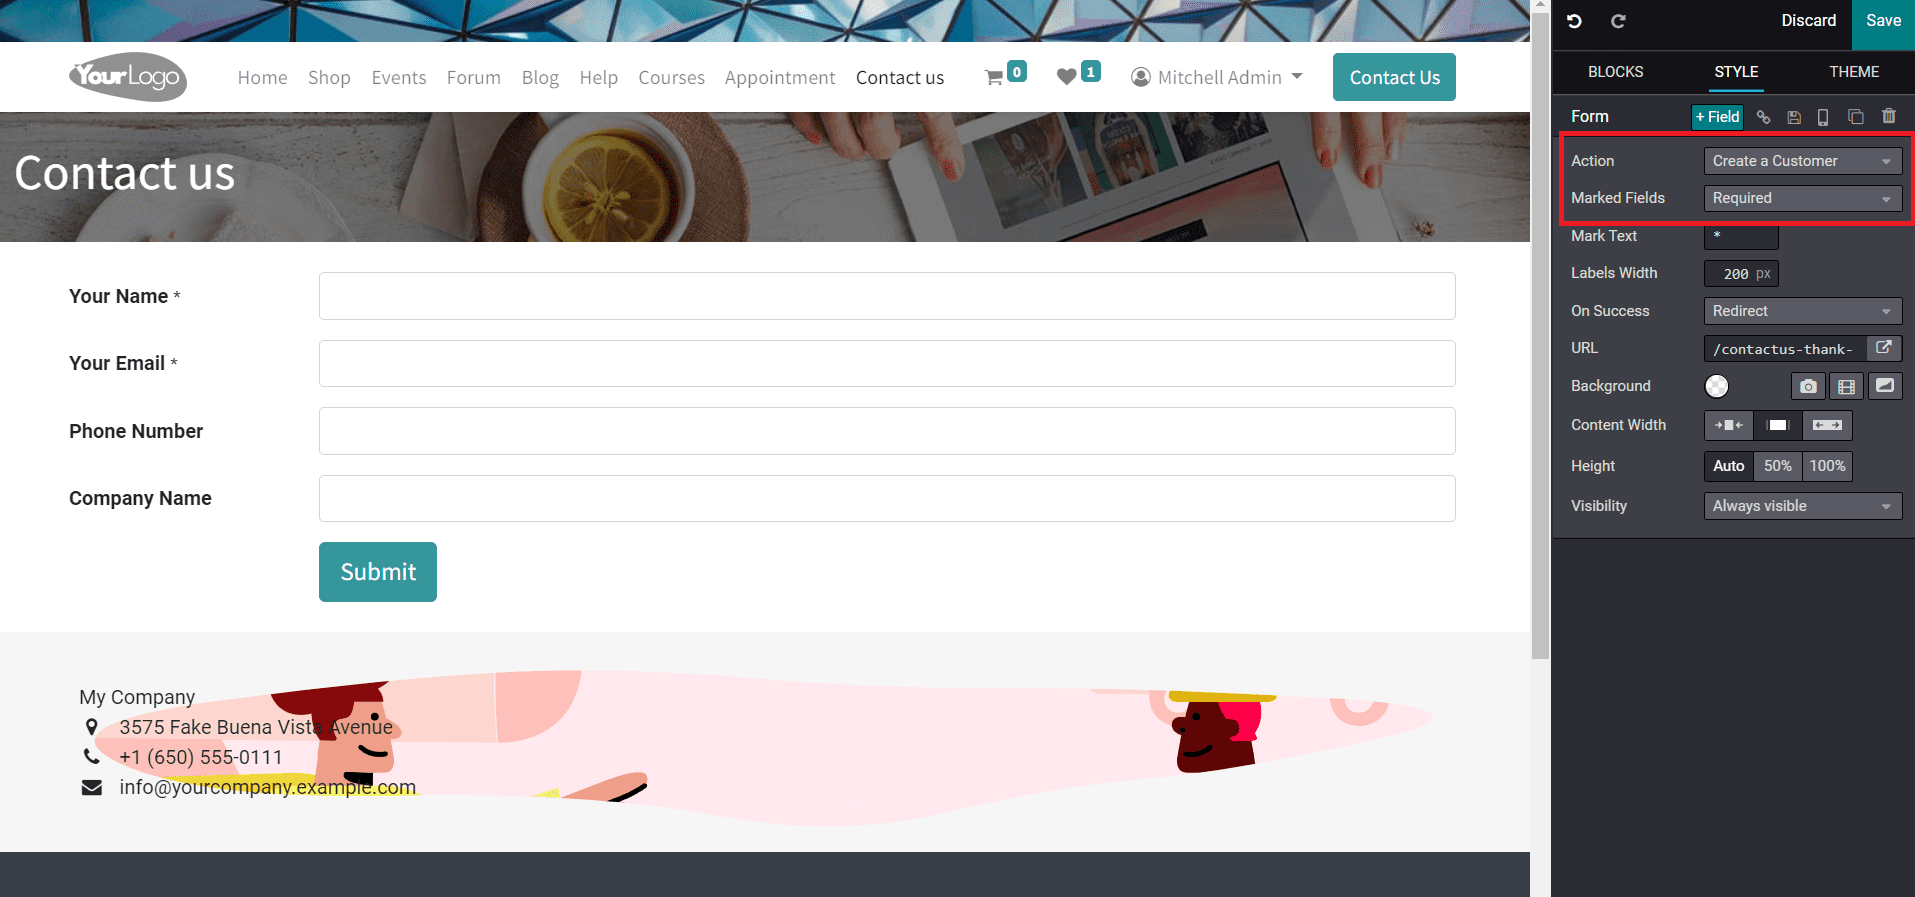
Just like we mentioned earlier, you can use this form for various purposes. You can define the function of this form in the Action field. Here, we are creating this contact form to create customers from the website. So, you can select the Create a Customer option in the Action field. As soon as you select this option, the default model of the form will change. It includes the fields to collect the Name, Email, Number, and Company Name of a customer. If you want to gather more details from your website visitors, you are allowed to add more fields using the ‘+Field’ button from the Style field.
In the Marked field, you can select required or optional fields to mark. The symbol that specifies the marked field can be mentioned in the Mark Text. Adjust the label width of the form in the given field. After submitting the form, you can redirect the customer to another page or show a message to them. This can be decided using the On Success field. If you want to redirect the customer to another page on your website, you can select the Redirect option and mention the URL of the page in the given fields.
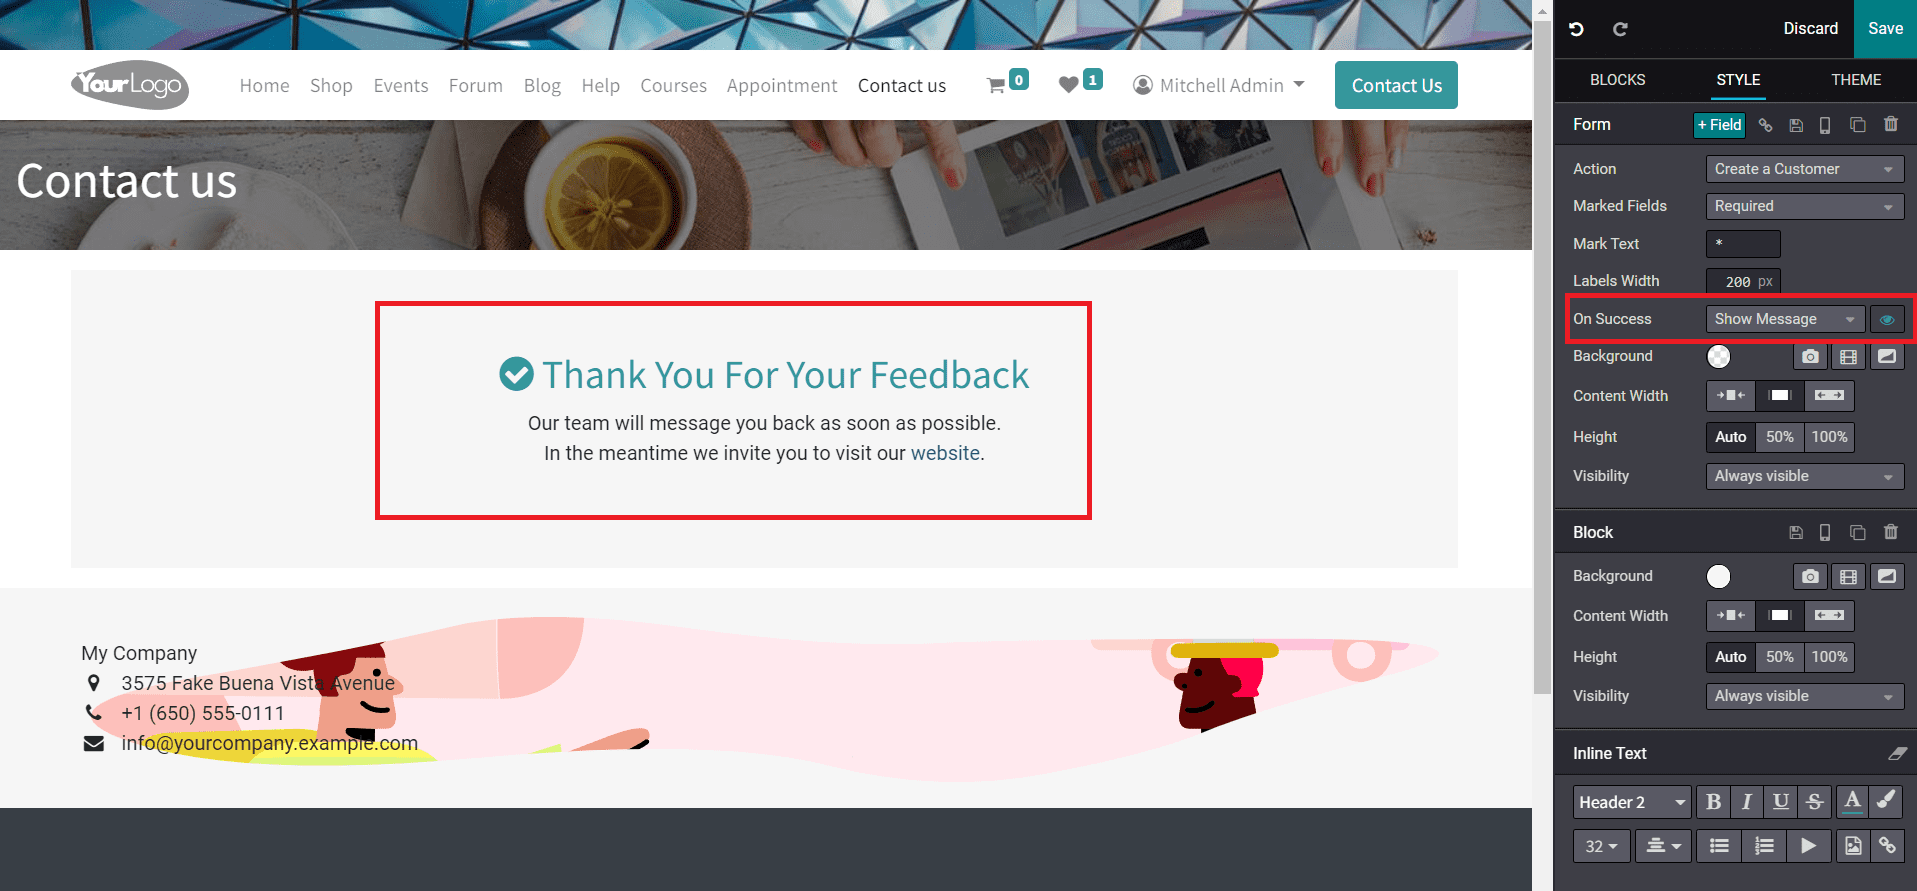
In order to show a message to your customer, something like a confirmation message about your submission, you can select the Show Message option. Along with this option, you will get an icon to edit the content of the message as shown in the image above.
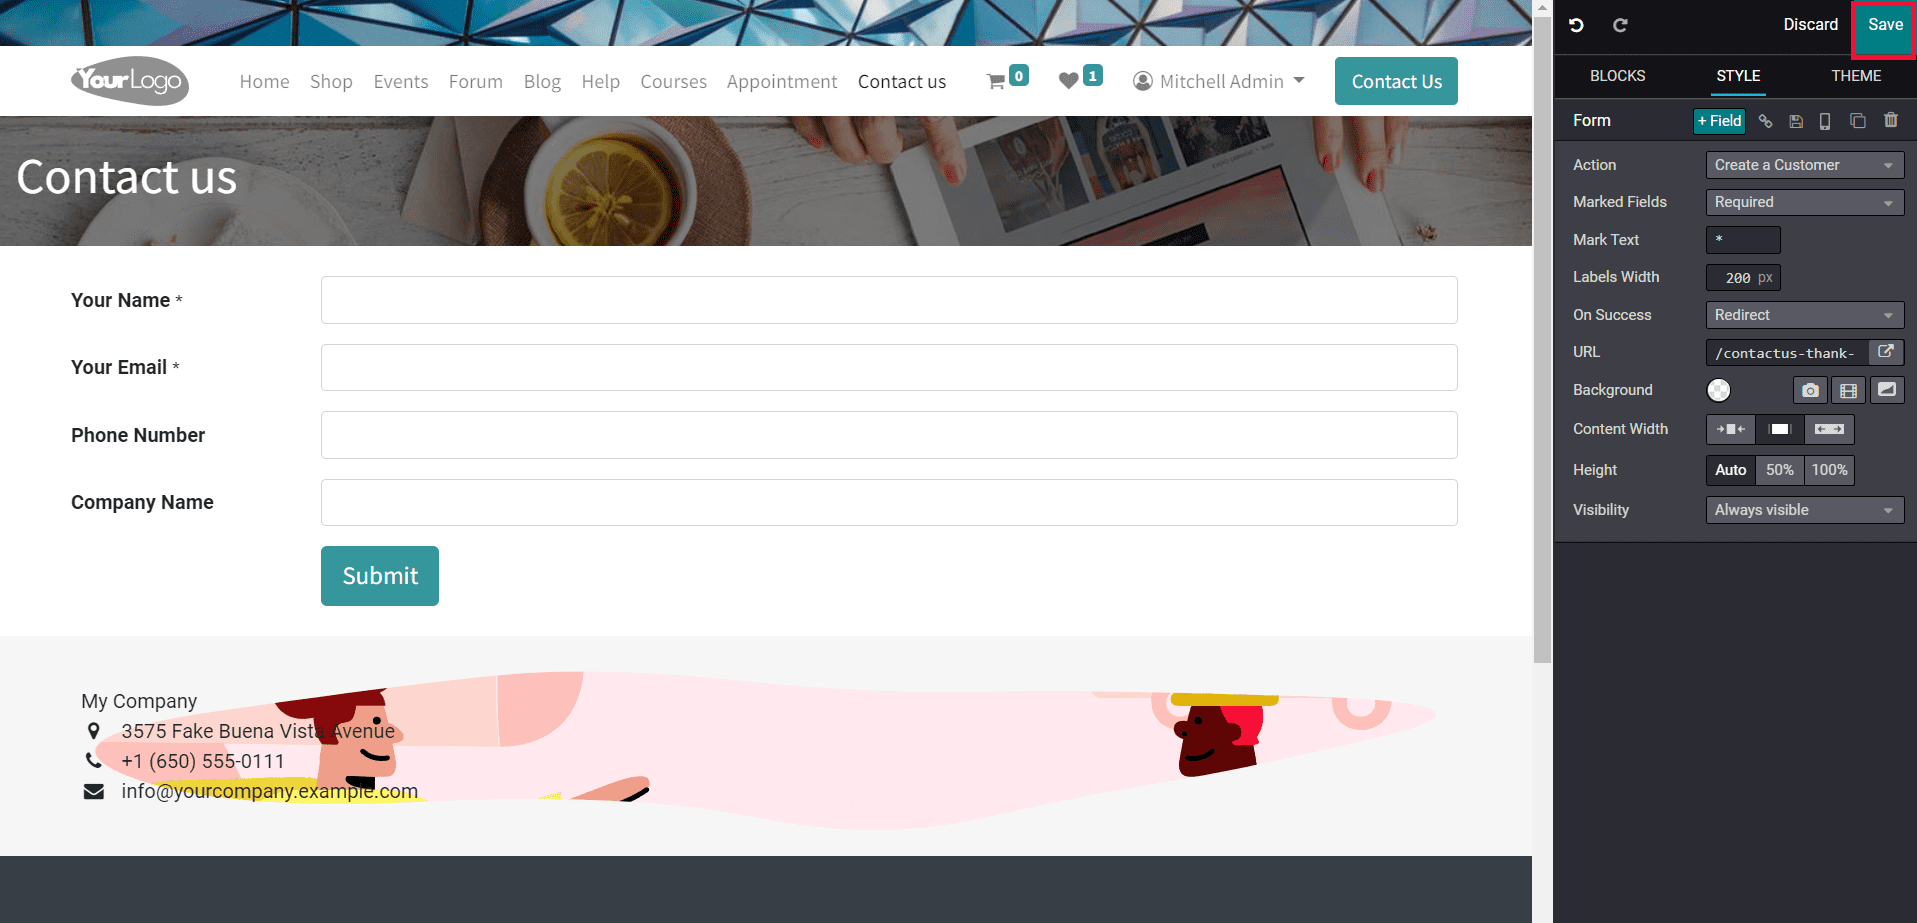
After creating the Contact Form as per your requirements, you can now click on the Save button as highlighted in the image below in order to add the new Contact Form to your webpage.
Now, the customers will be able to get the Contact Form on the Contact Us page when they visit your website. They can provide the asked information in the specified fields of the form as shown in the screenshot below and click the Submit button.
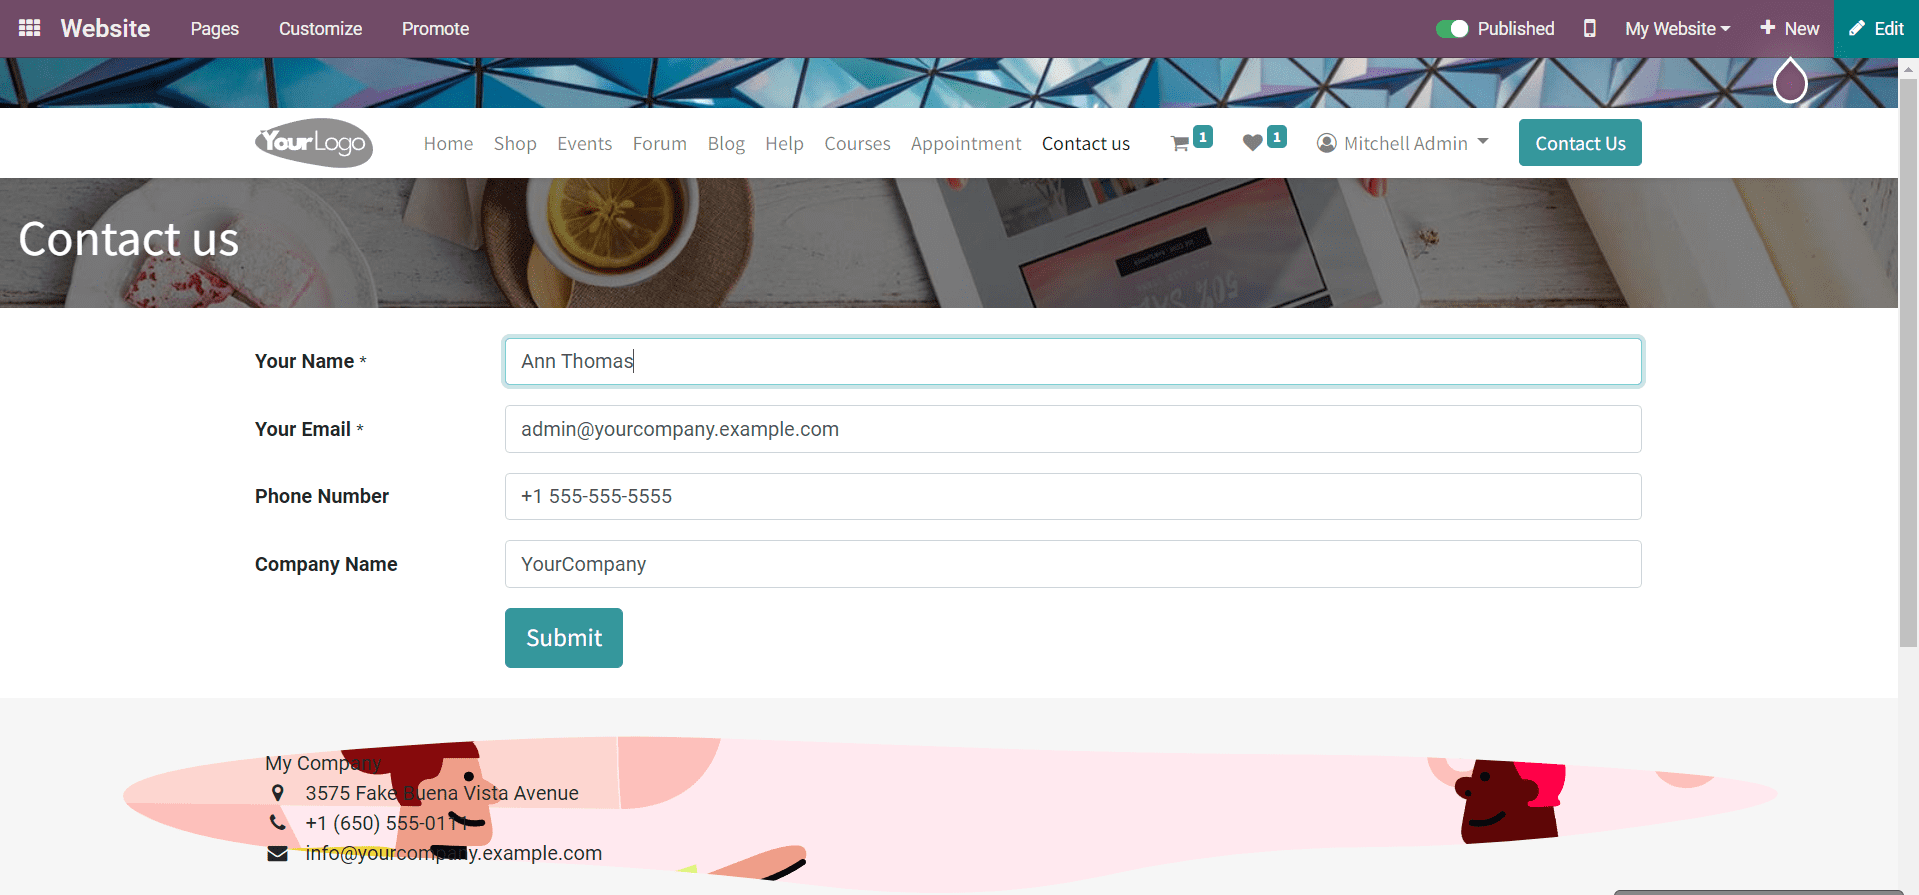
Once they click on the Submit button, Odoo will create a record of the respective customers in the Contact module. Let’s check this through an example. Imagine a customer named Ann Thomas completed the Contact Form on your website. She can now click on the Submit button to submit her response. You can check the details of this customer in the Contact module because Odoo automatically created a record based on her response in the backend.
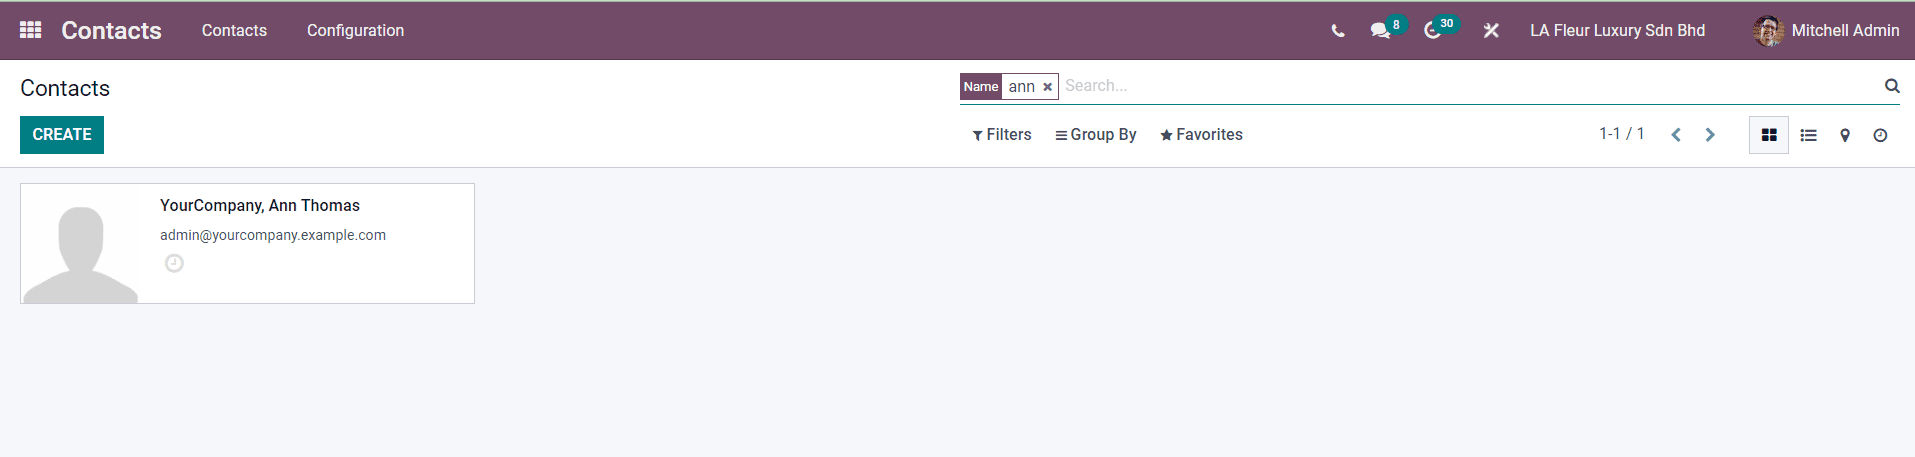
Select the Contact module from the main dashboard of Odoo. Odoo will direct you to the dashboard of the Contact module which contains the list of all saved contacts. You can find the newly saved records of Ann Thomas among these as shown in the image below.
Using the given information, you can contact them.
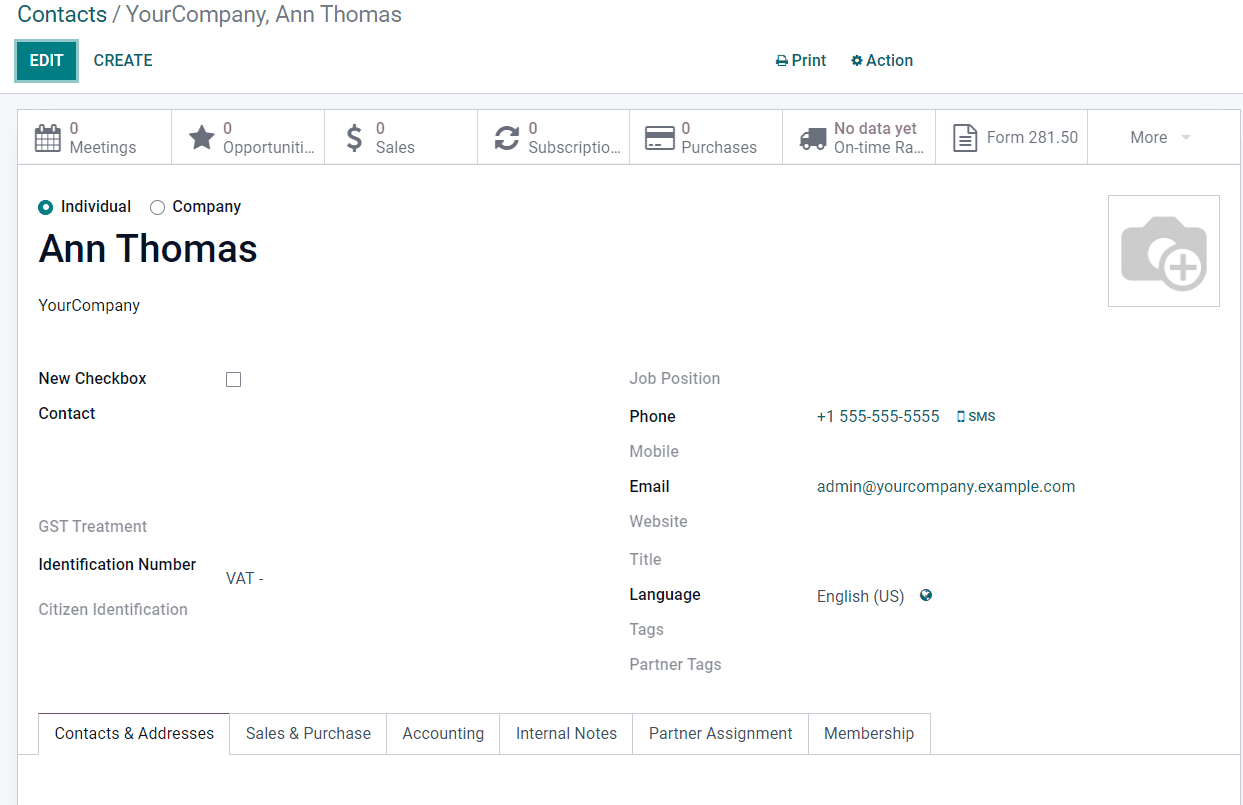
You can add more details about the customer in the contact record based on the progress of your business relationship with them. These contacts will be helpful for marketing programs. With the help of the Contact Form, it is possible to collect many such contacts from your website.