Odoo’s Marketing automation acts as a software platform for streamlining, automating and measuring the marketing tasks and workflows. This allows the end user to be more efficient in work via increasing the revenue and transforming themselves to a powerful marketing team.
Marketing automation in odoo creates automatic and targeted marketing campaigns. The feature helps in automating the workflows and thereby scale the business. It crafts simplified end-to-end customer journeys, design engaging email campaigns and the required email templates in minutes. Simply saying it automates much more than just emails. One can trigger any kind of action in marketing automation that demands the streamline of the workflow.
Overview of Marketing Automation in Odoo
Put your marketing process on autopilot
Let the repetitive task be performed for you.
NOT just marketing. Automate throughout Odoo.
Save money. Save time.
Steps to be followed for setting up the campaigns
Target your audience with advanced filters.
Build convenient email templates for impressing the target with our tools.
Put everything in a precise schedule.
Now we can go through a simple example to check how marketing automation works in Odoo.
We can discuss AUTOMATED AND TARGETED EMAIL MARKETING CAMPAIGN.
Firstly install the Marketing Automation app from the menu Apps.
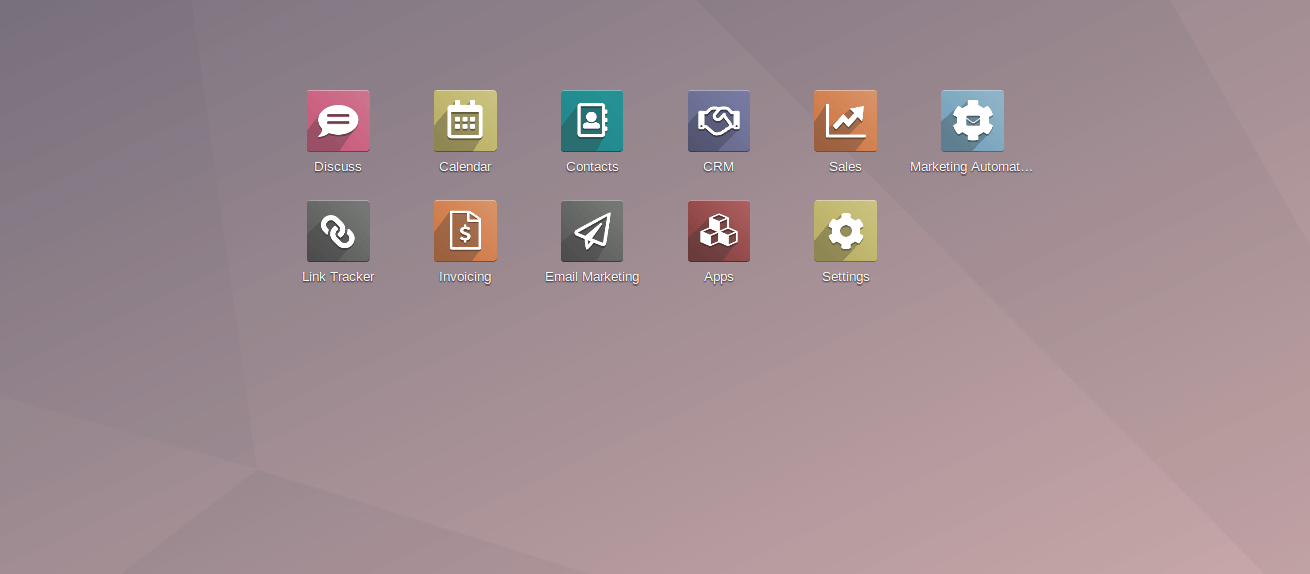
By clicking on the icon, marketing automation will lead to a page which shows the created campaigns, its status, and options for creating and configuring new campaigns.
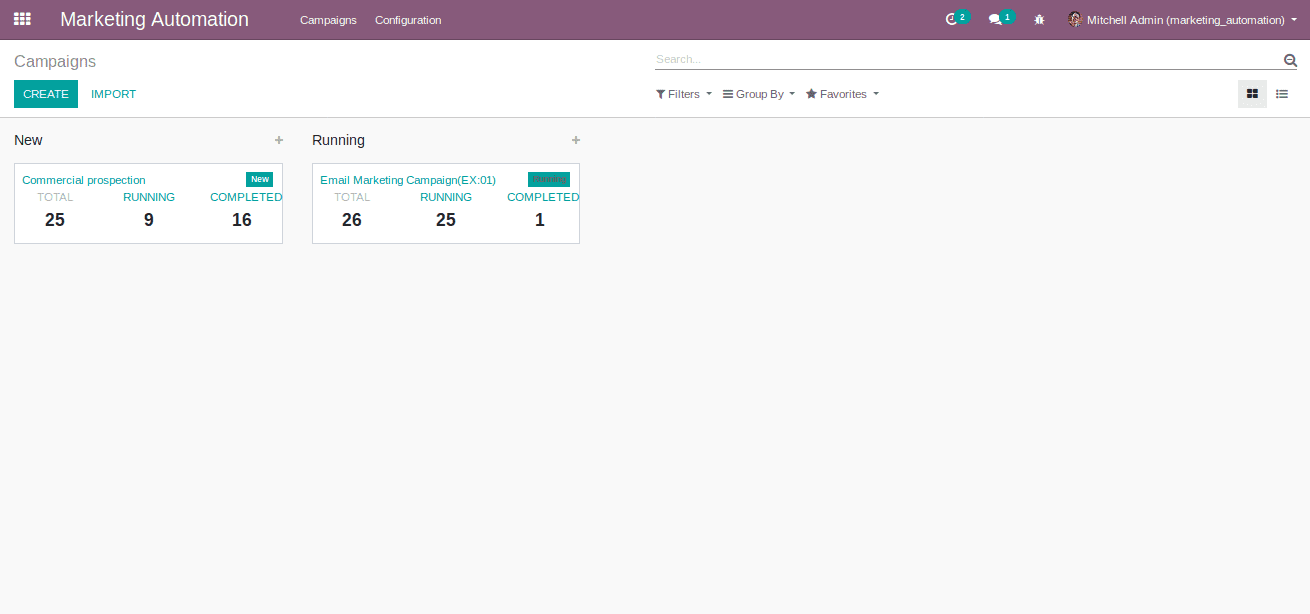
By a quick view, one can see the name of the campaign and total, active and completed number of participants who is a part of that campaign.
Now we can start configuring a campaign.
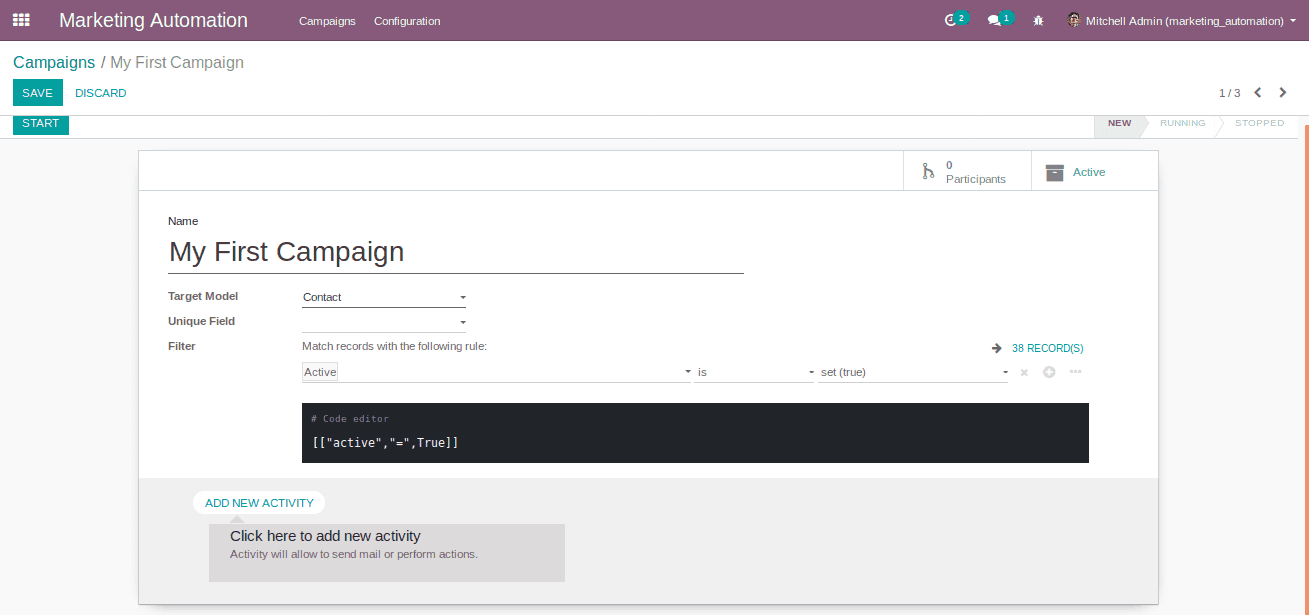
1. Name: The name of the campaign.
2. Target Model: The model that wants to be targeted(in this example it is ‘Contacts’).
3. Unique Field: If we want to target any specific field of the model, then we can select the field from here and this is not a mandatory field(In this example there are no unique fields).
4. Filter: We can add many advanced filters from here which enables real-time filters. Here I add a filter, which in my case the model contacts and I want the contacts of customers. So I set the filter to ‘is a customer is set(true)’. The filters i.e. the contacts list can be seen in the python code of the filter.
5. Add a new activity: By clicking on the option, one can create multiple activities that should be included in our campaign.
Next, we can configure the activities.
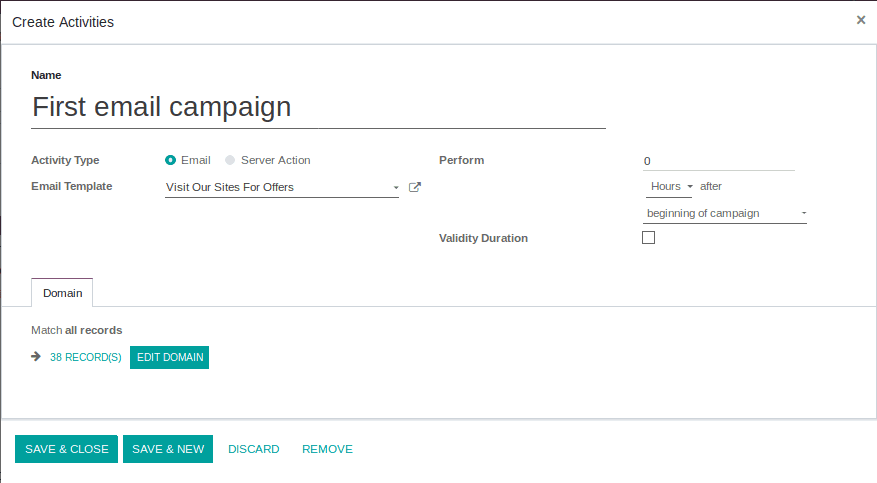
1. Name : The name of the activity.
2. Activity Type: Whether it is an Email or Server action.
3. Email Template: The Email template that is used for the activity.
4. Perform: Here one can schedule the action period of the activity.
5. Validity Duration: If we have any validation for the activity, then we can enable this option and configure it.
6. Domain: If we want to add any filtration to this activity, then we can add the domain from here.
Configuring Email Template
By clicking on the link button on the email template selection field, one can create and configure the email template.
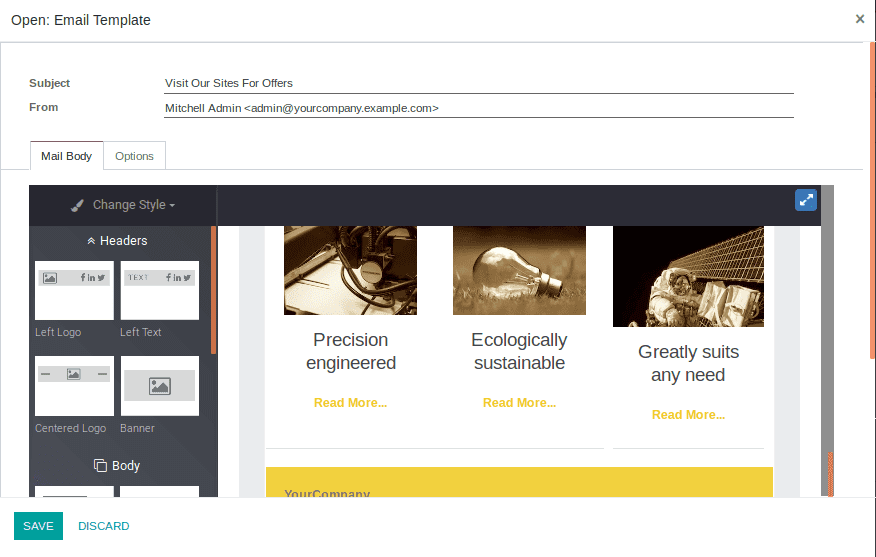
The above picture contains the mail body which one can customize via drag and drop of required building blocks.
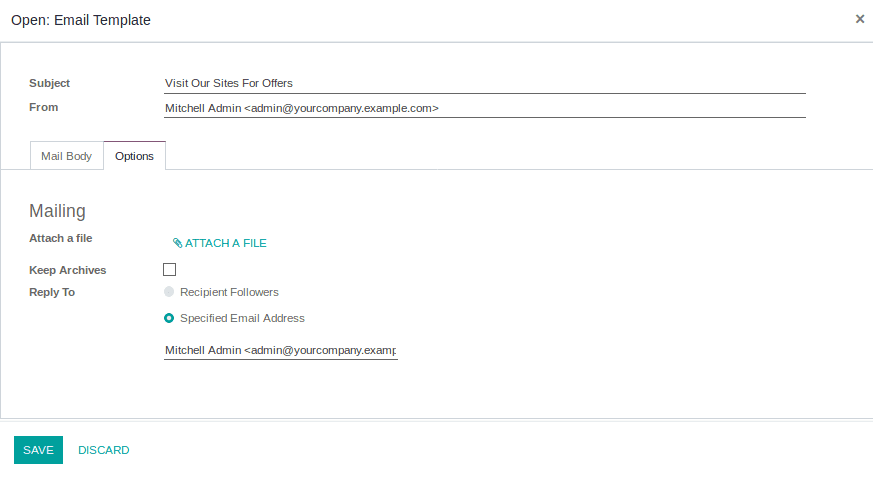
The above picture shows the other configuration of the email templates.
By save & exit the form, our activity will be created and scheduled.

Now, one can schedule more activity for our campaign.
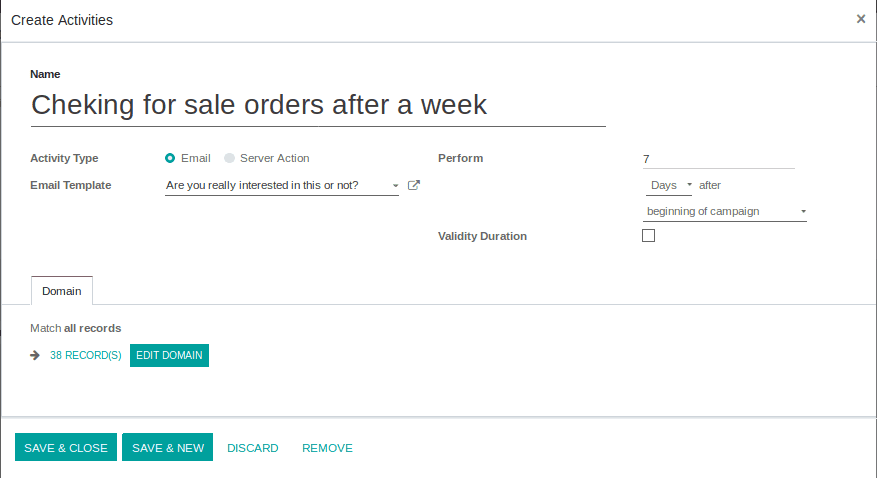
Here we are adding on the filter for checking the customer which has no sale orders.

And now our second activity too scheduled.
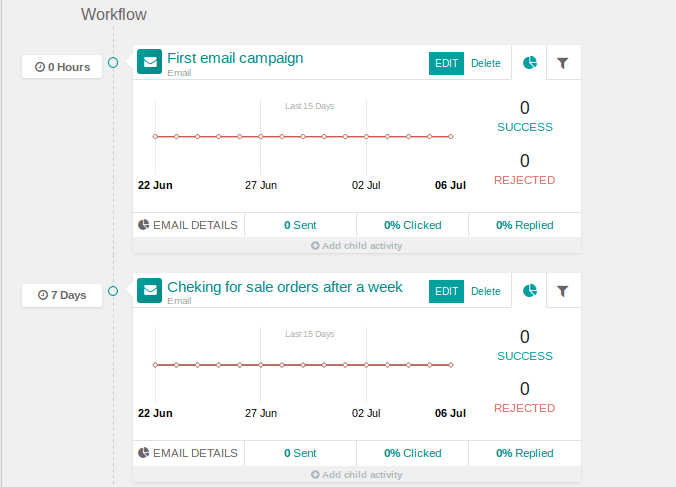
This activity sent the email to the customers which have no sale order after 7 days of the beginning of the campaign.
There is also an option available to create child activity for the main activity.

Here the child activity creates if
1. Mail opened
2. Mail Not Opened
3. Mail Replied
4. Mail Not Replied
5. Mail Clicked
6. Mail Not Clicked
7. Mail Bounced
And also an option for creating a new activity independent of conditions.
By clicking on the button ‘Start’ our campaign will start working.

After that, there appears an option for
1. Launch a Test
2. Stop
3. Generate Participants
4. Execute Activities
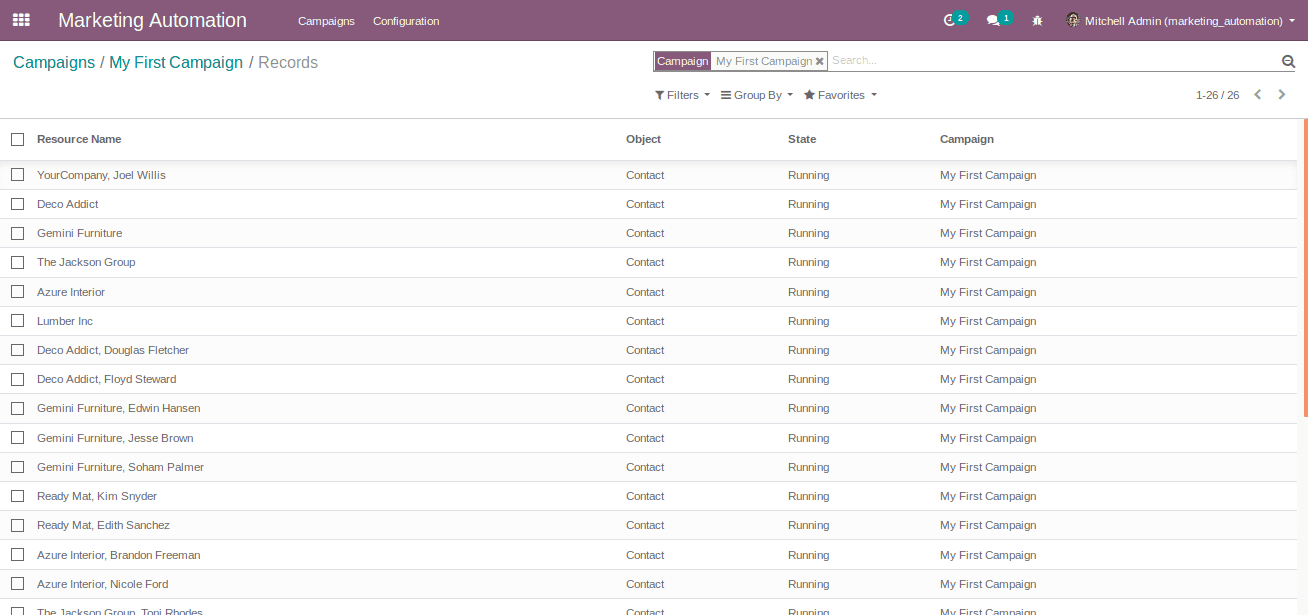
By clicking on ‘Generate Participants’ the participants are created and one can view them by clicking the button “Participants” in the form.

The Participants are
While taking a participant we have the below options.
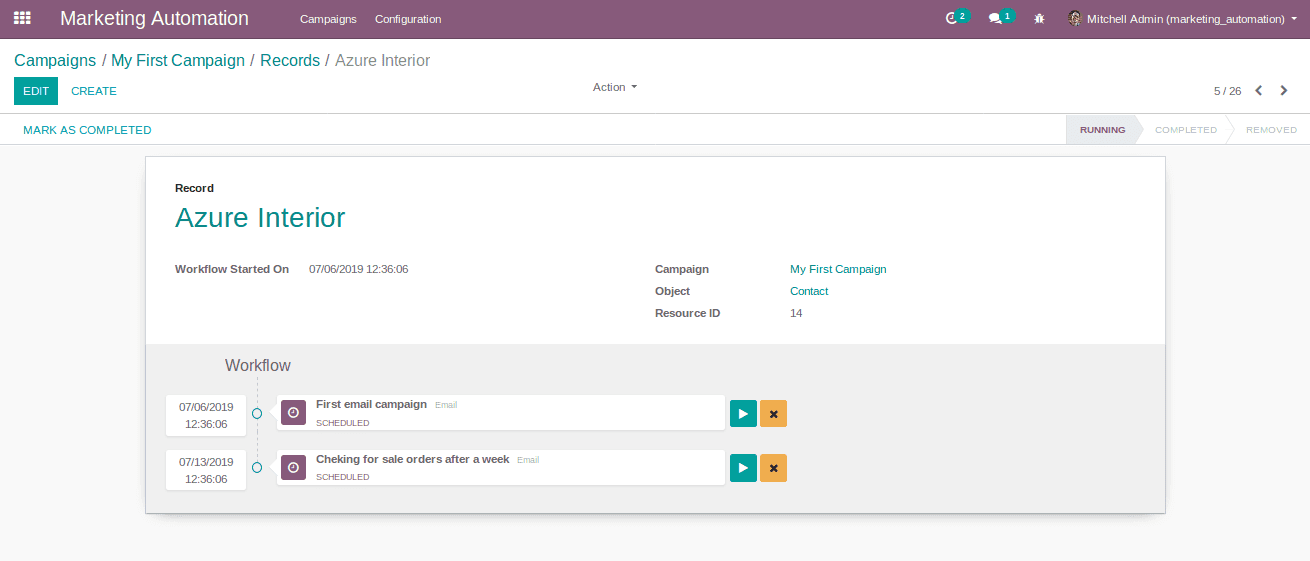
We can see that the activities are scheduled for this participant. If we want to run the activity immediately for this participant, then click on the play button of the required activity.
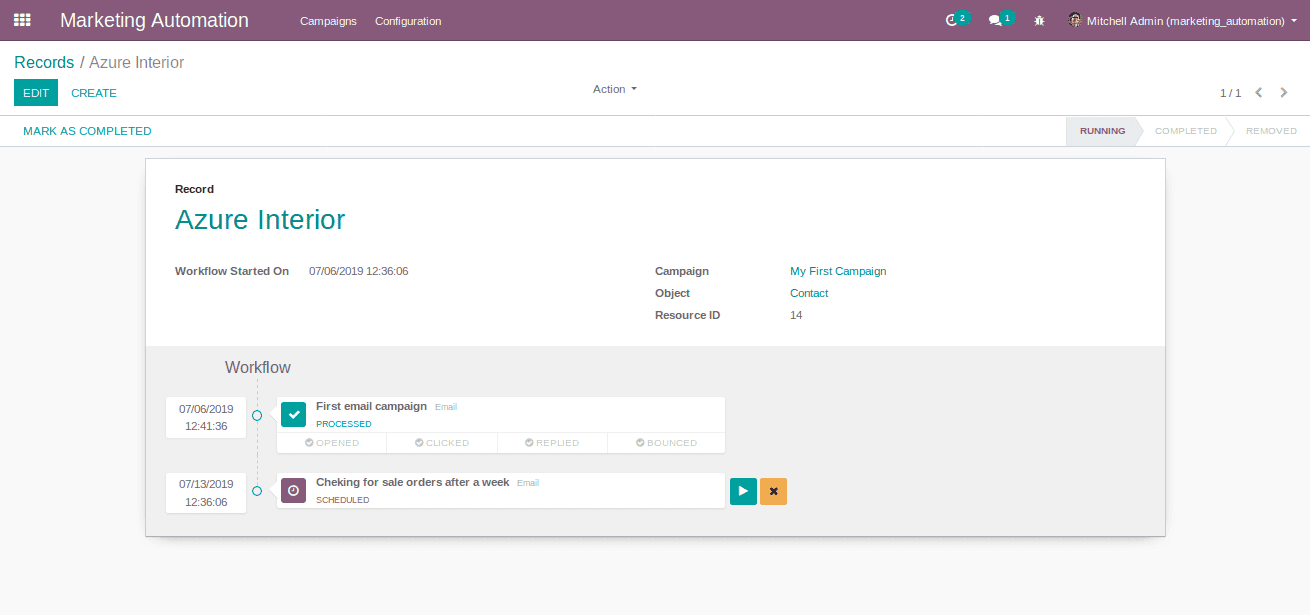
Then the activity will show the status as Proceed.
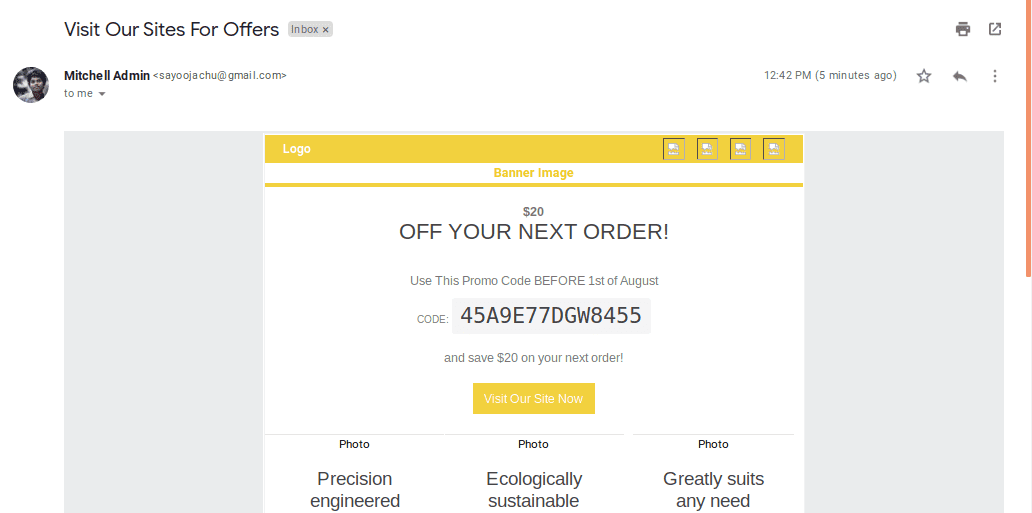
From participant side, it will receive a mail like above.
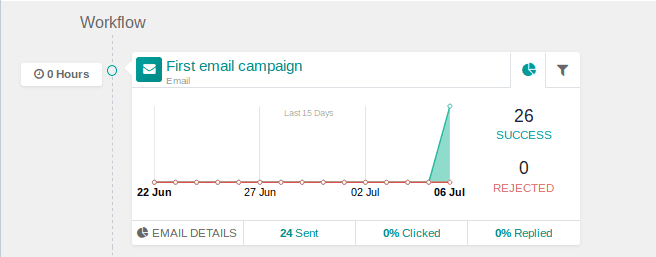
Click on the button “Execute Activities” in campaign form for executing activities for all participants.And we can view the real-time status of the activity.
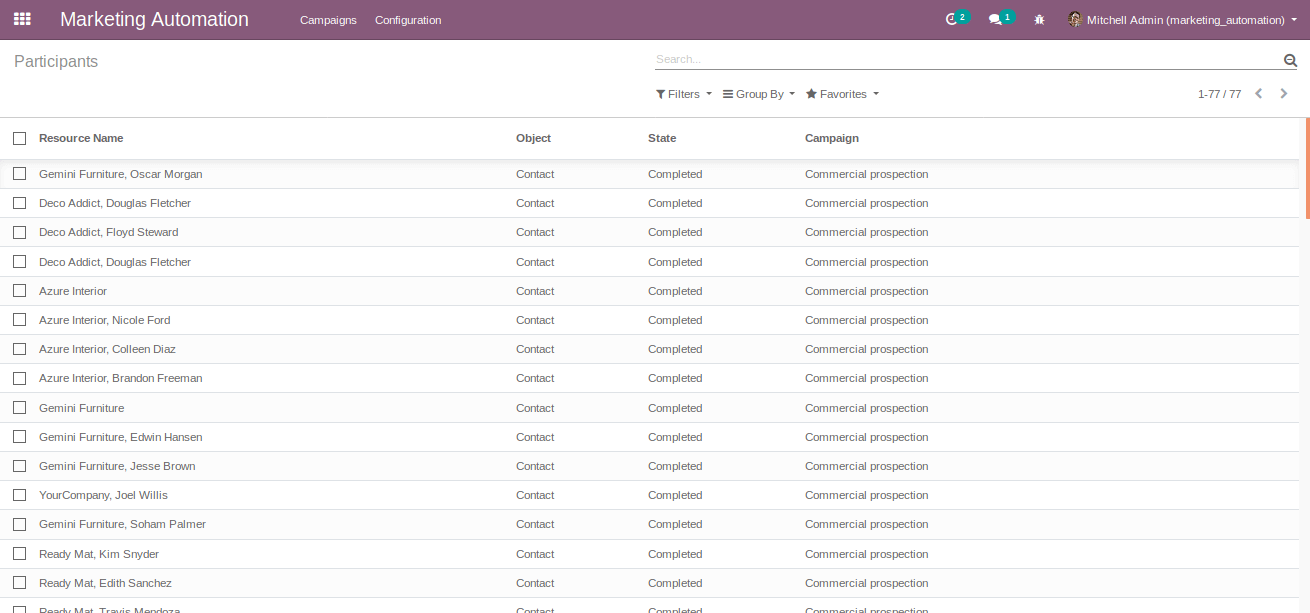
Go to Configuration --> Participants, we can see the participants and the status of the campaigns in which the participants are involved.
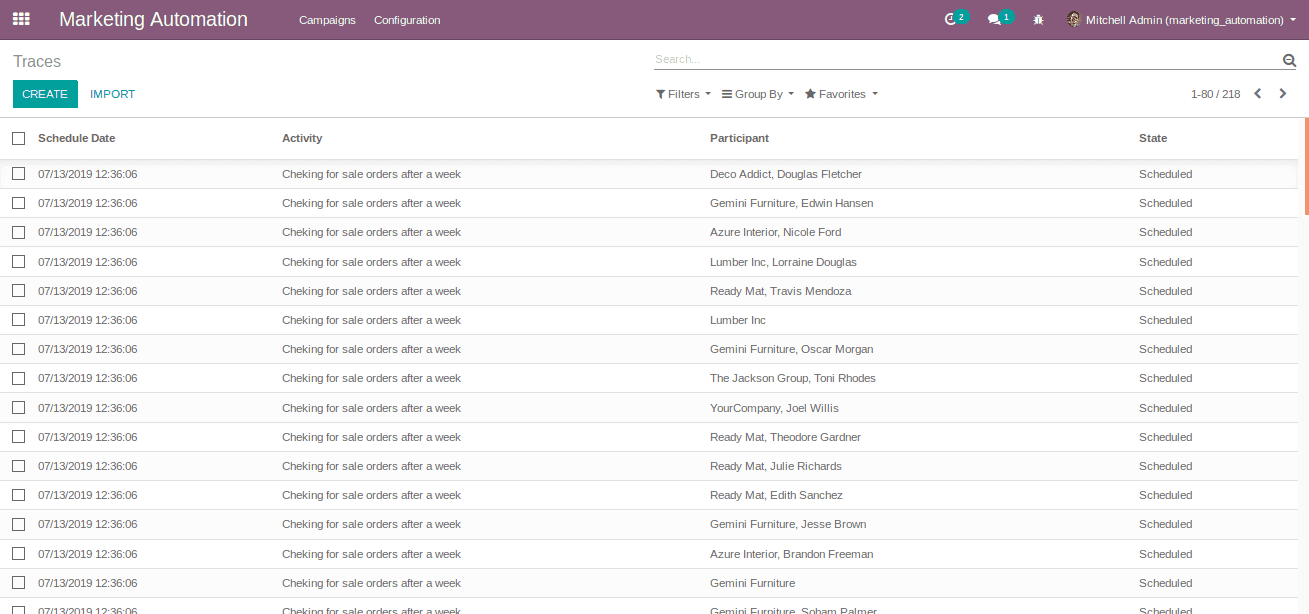
Go to Configuration --> Traces, We can see the activities and status of activities along with the participants.
