Marketing automation application of Odoo 13 caters as a software platform that altogether navigates, auto function and computes marketing activities and workflows. This enables the user to operate more efficiently by increasing revenue and to become a successful marketing team.
Marketing automation creates marketing campaigns automatically. Therefore, the workflow is automated and thus, the business sees a boom. It designs streamlined end-to-end client relationships, develops interesting email campaigns and email templates. We can create any form of marketing automation action that demands workflow streamlining.
What Marketing Automation of Odoo does?
* It keeps the marketing process on automatic mode.
* It does recurring tasks for us.
* It's fully automated marketing.
* Saves money and time.
For successful campaigns, we have to target our audience with advanced filters. We have to design the most convenient email templates to impress the targeted audience. Our schedules must be precise.
Automated and targeted email marketing campaigns
First of all, we shall install the module “Marketing campaign”.
When we open the application we shall see the created campaigns, also we have an option for creating new campaigns there.
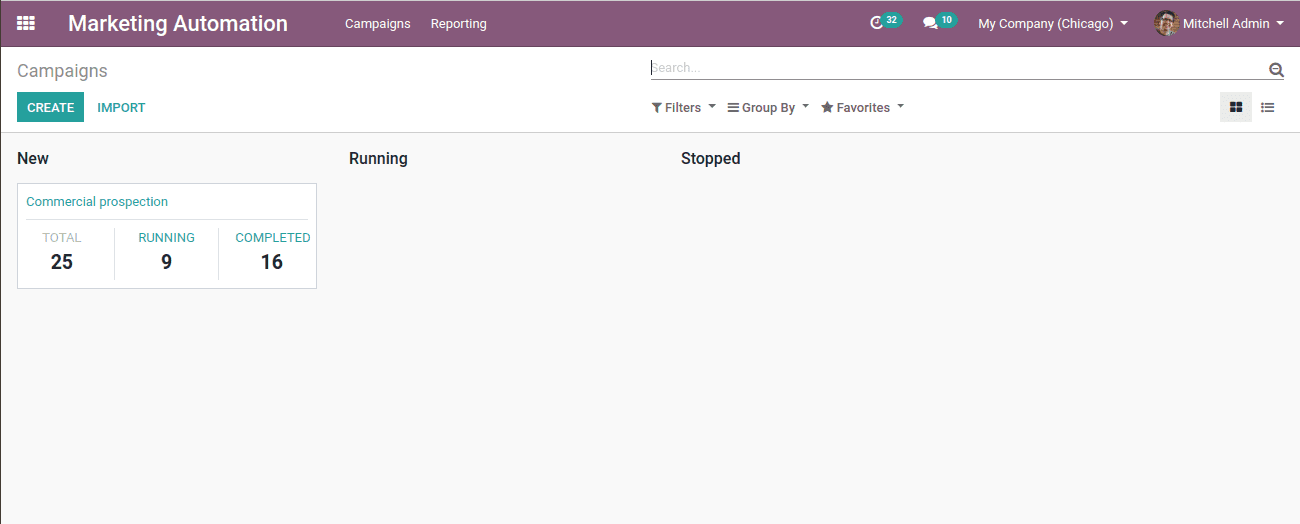
Here we shall see the campaigns, its name, its status, total running stages, and completed ones. Also, we can see the option to create a new campaign and configuration of it.
Let’s try generating a new campaign.
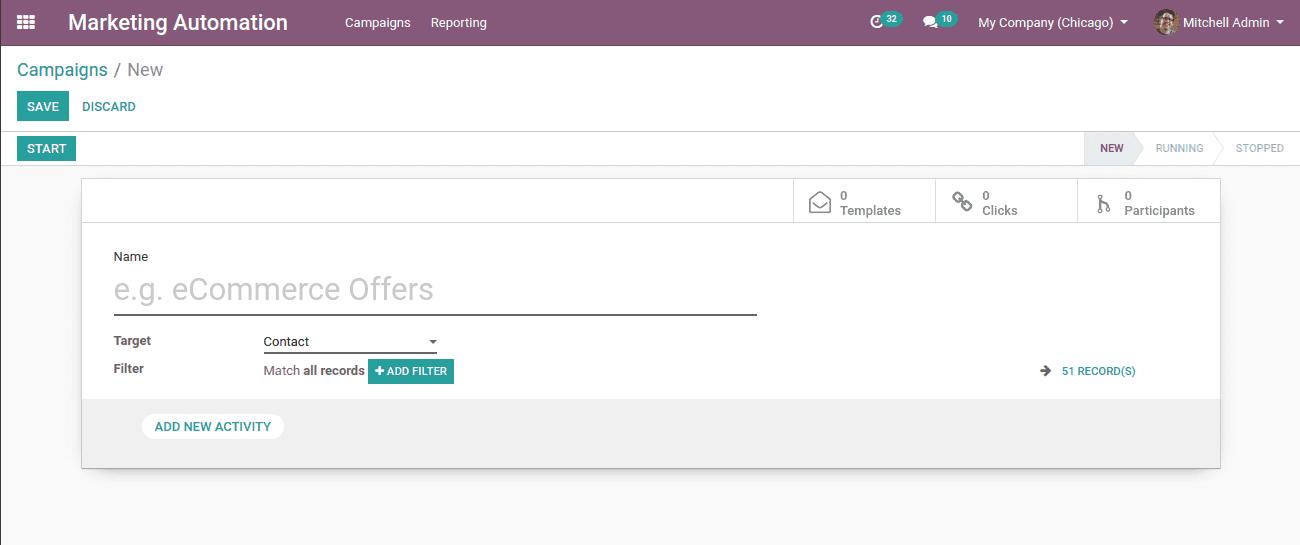
This is the form of generating a new campaign. Here we shall fill the necessary details, like,
Name: Name of the campaign
Target: The targeted models. Here, already a sample is set as ‘contacts’.
Filter: Here we have some advanced filters for real-time. Here the model we set is ‘contacts’ and if we want to filter the customer location or contact, we have to set the filter in such a way like, ‘Customer location is set (true)’.
Add new activity: If we click on “add new activity” we will get a new pop up window of creating activities.
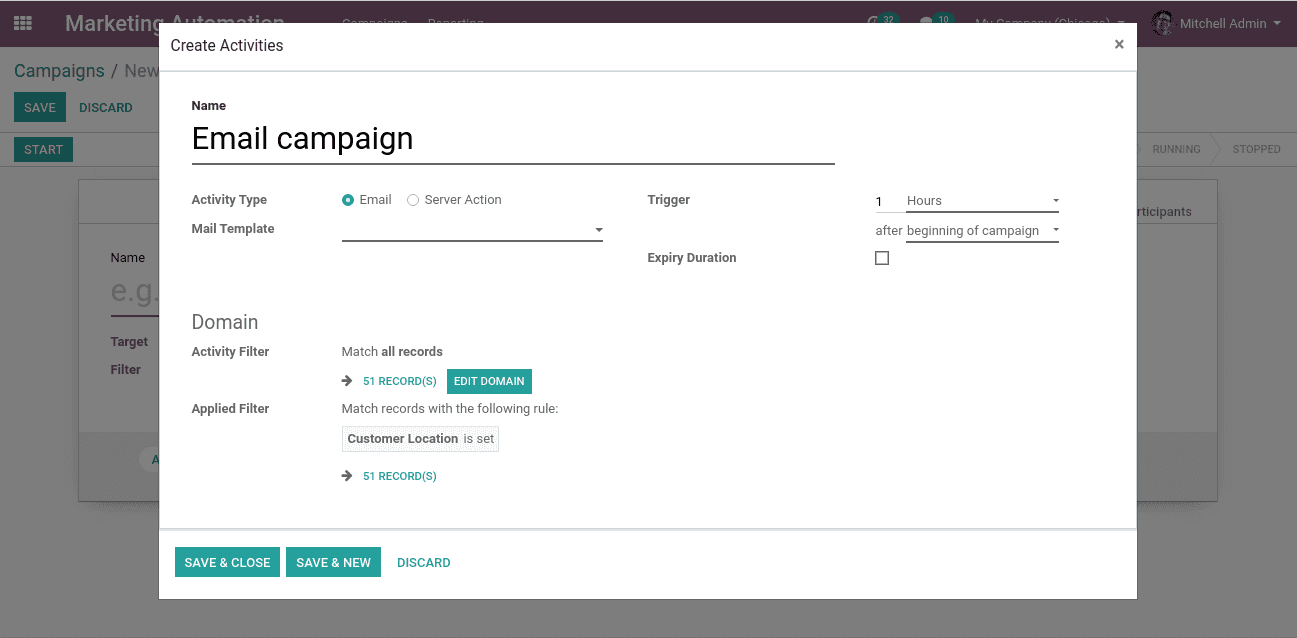
Here we shall configure the activities
Here we have,
Name: Name of the activity
Activity type: We shall mention the activity type, Email or Server action.
Mail template: The mail template for the activity has to be created.
Trigger: We shall mention the period of action.
Expiry duration: If we need to set expiry for this activity we shall tick the option.
Domain: Here we shall add filters to this activity if needed.
Email configuring
Click on the Email template option, now a dropdown list will appear. There we can create and edit a new mail template if needed.

Here we shall give the ‘Subject’ and ‘Send from’ details.
Here we can select any template as we wish.
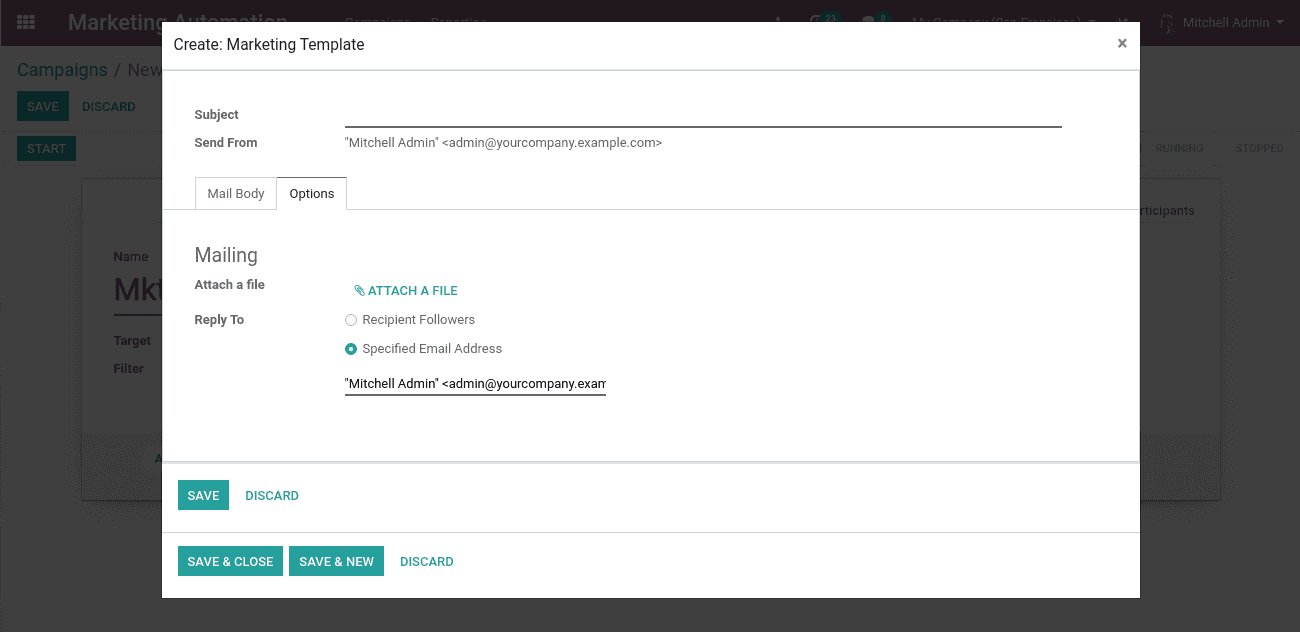
Here we can attach files if we want. Also, we can select the reply option. These are the other options for email configuration.
Now let’s save it and click on save and close, then our activity is all set.
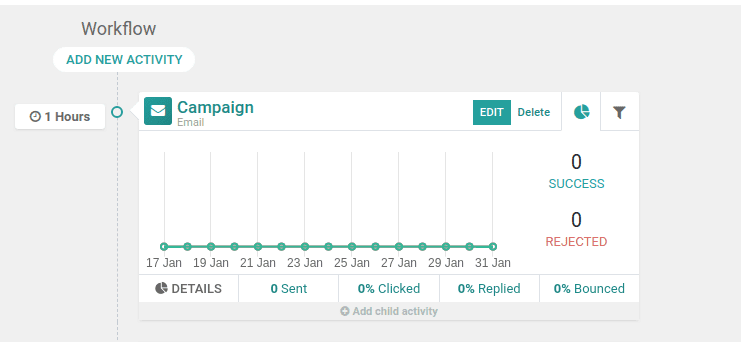
Now if we want to set more activities for our campaigns we can set it by clicking on the “Add new activity” button there.
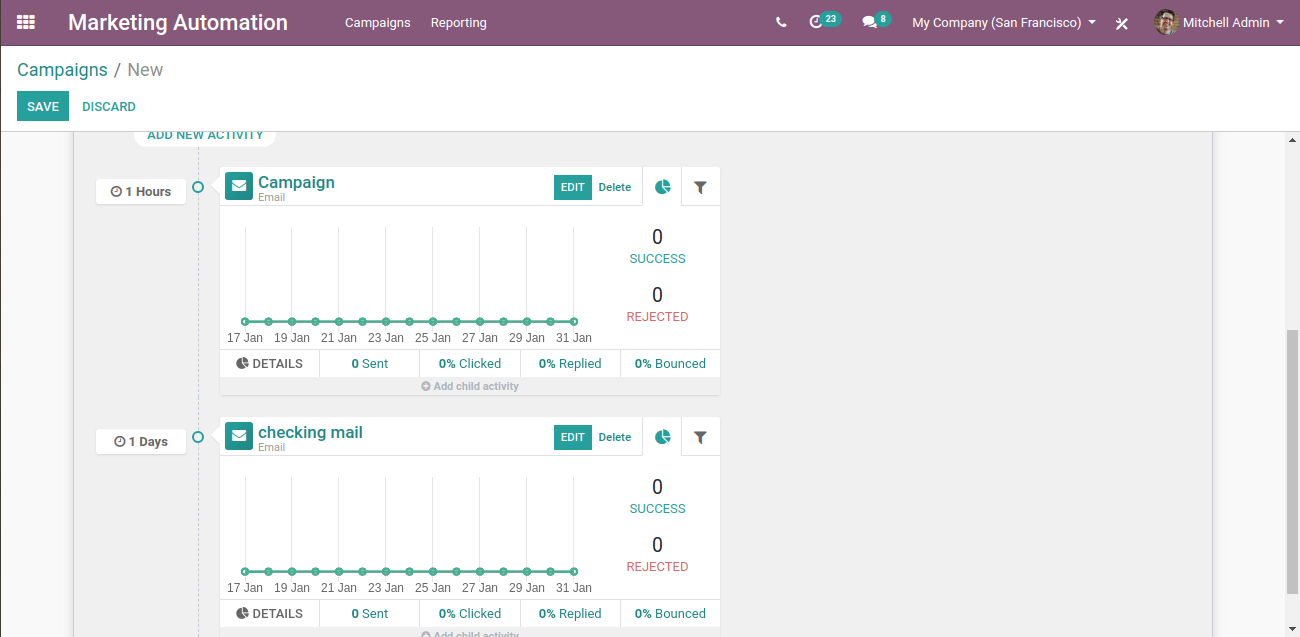
Now we have scheduled the second activity also.
If we want, we can edit the activities by clicking on the “Edit” button.
Here we have created a ‘checking mail’ to be sent after 1 day of the campaign.
We also have the option to assign ‘child activity’ as the main activity.
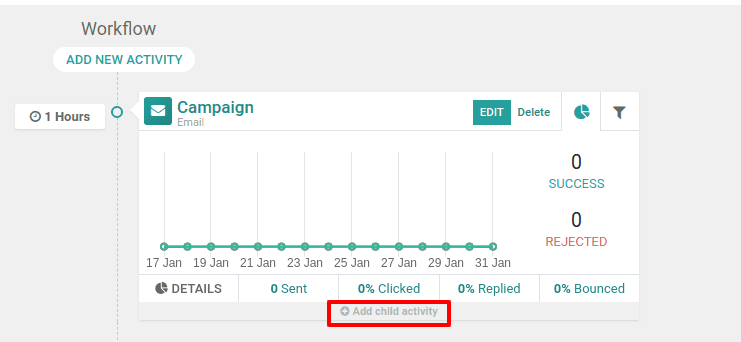
When we click on it, a drop-down bar will appear to create child activity.

Here we have these options;
Add another activity
Mail opened
Mail not opened
Mail replied
Mail not replied
Mail clicked
Mail not clicked
Mail bounced
After saving all these, we shall click on the “Start” button. Then our campaign starts working.
After the campaign starts we have the option to “Stop”, “Launch a test”, “Generate Participants” and “Execute activities”

Click on “Generate participants” to have participants for campaigns.
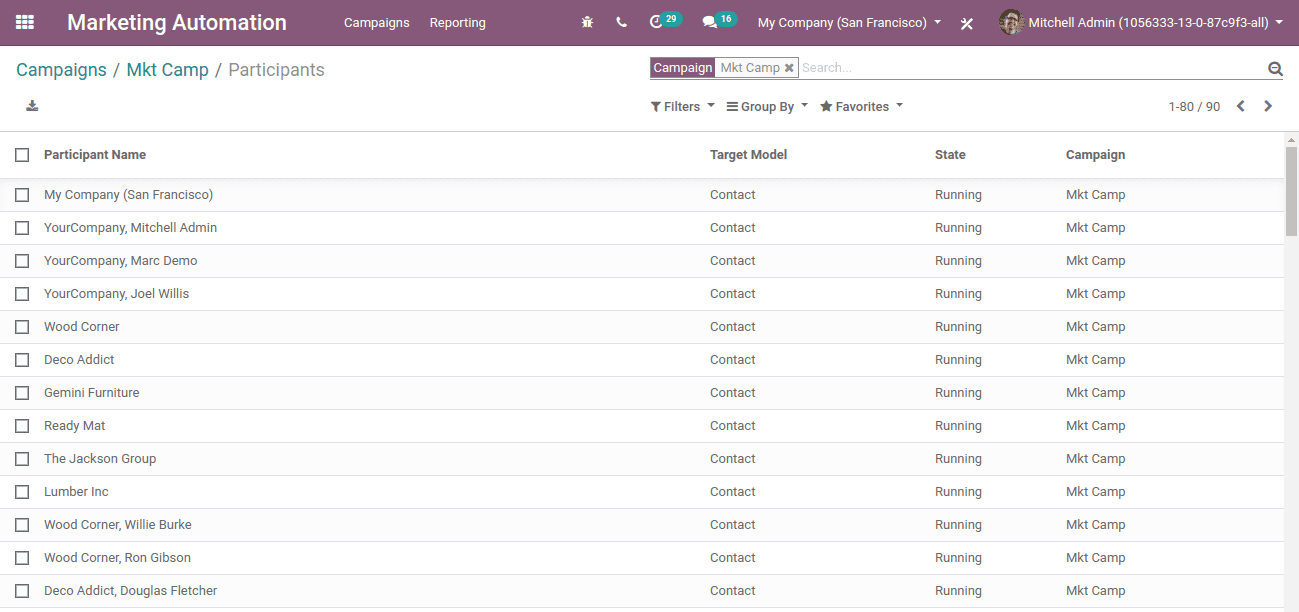
We shall see the participants of the campaign in the smart tab.

Here we are able to see the participants.
Now when we click on any participants we get below options.
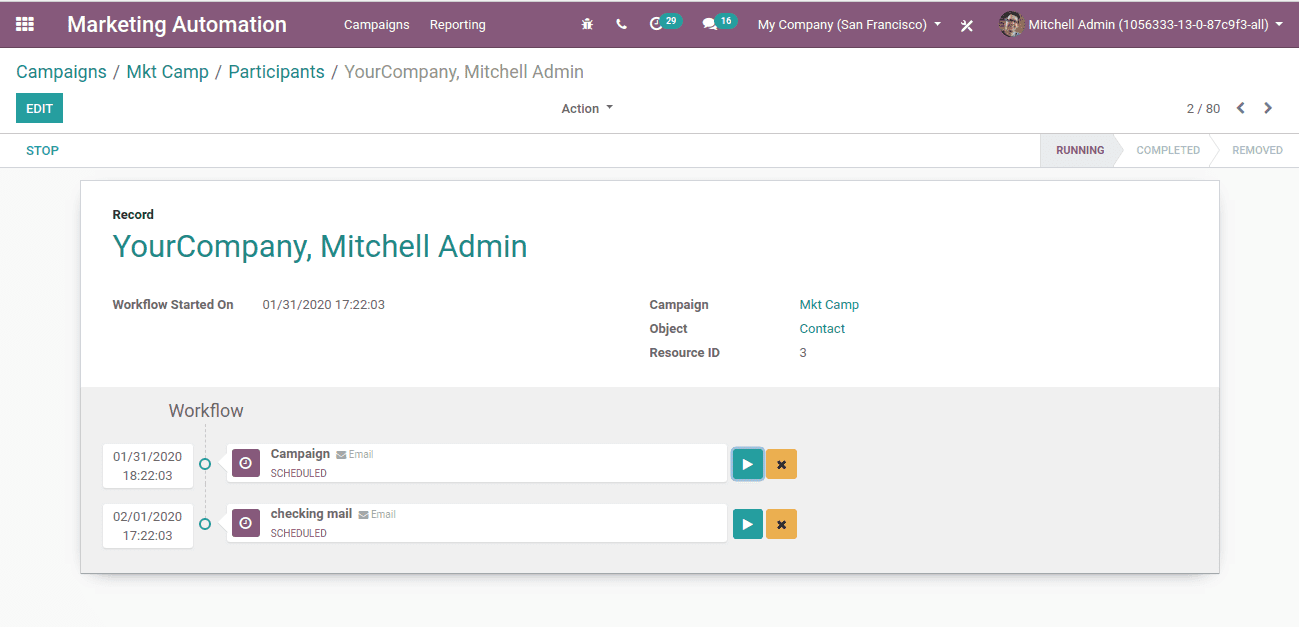
Here we can see the activities that are set for the participants. We can run these activities manually for the participants just by clicking on the play button.
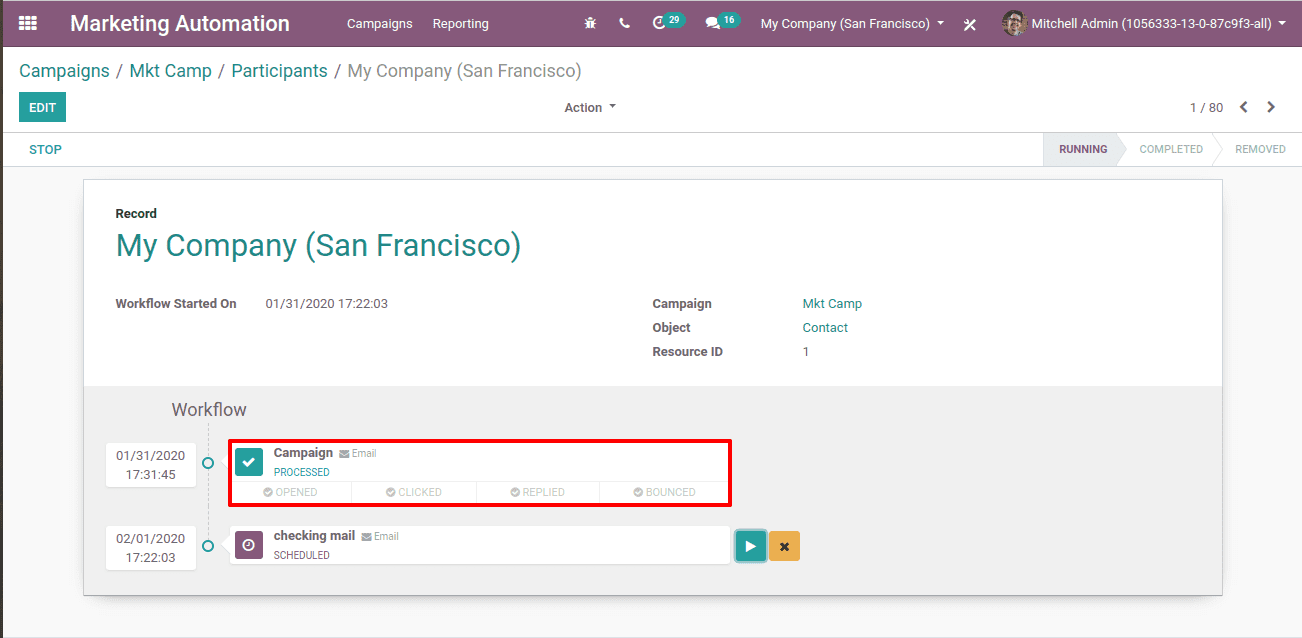
Then the status of the activity will be Proceed.
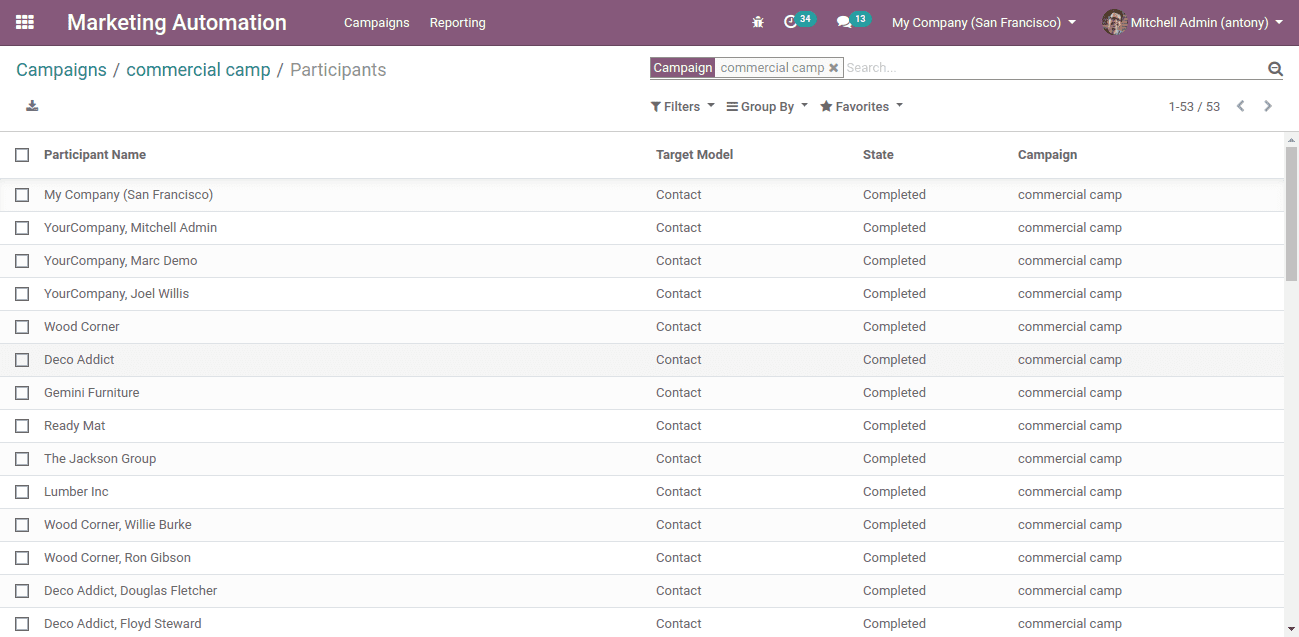
Now let’s click on the “Executive Activities”. When we click on it, all the activities will be executed for all the participants.
Now when we take the participants we shall see the campaigns which the participants participated in and it’s status as completed.
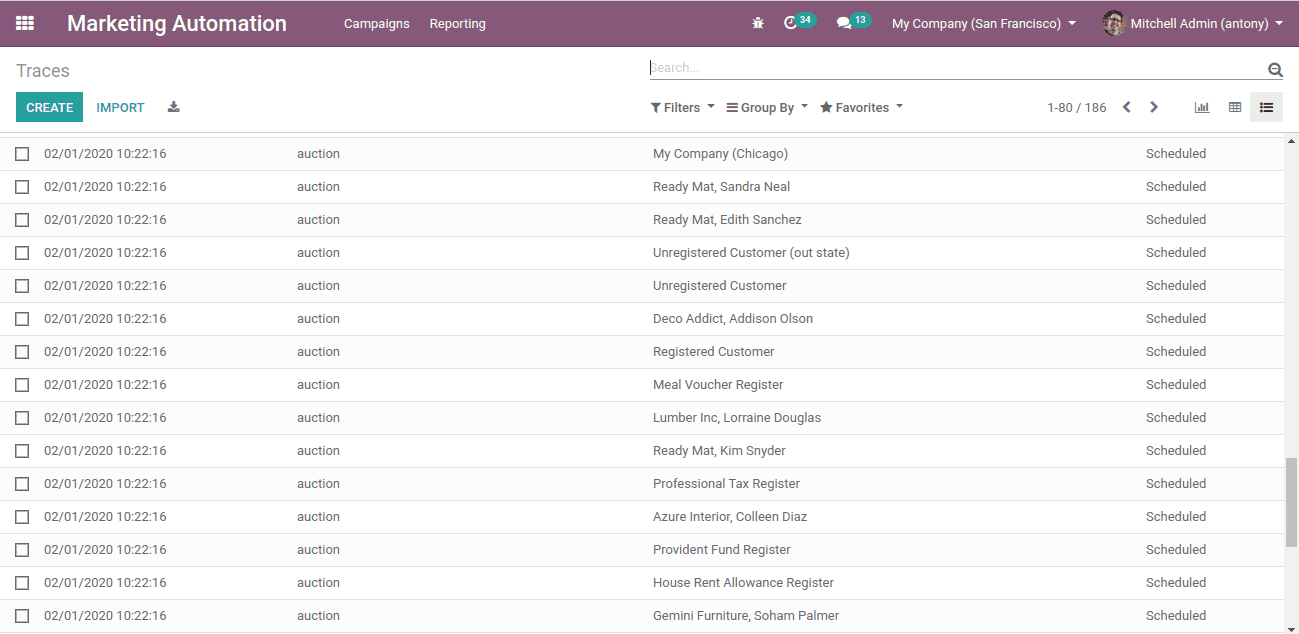
Also when we go to the Reporting -> Traces we can see the status as “Scheduled” for the activities.
So this is all about Marketing Automation in Odoo 13.