Odoo has a flexible way to define menu, sub-menu, and actions. The main attraction is that one can create a menu and sub menu from code as well as UI, which makes Odoo more user-friendly.
A user can directly create a menu and sub-menu from the UI. In this blog, we are going to discuss how to create a menu, sub-menu, and action from code as well as how to set it from UI.
We start by creating a menu from XML. ie, from code
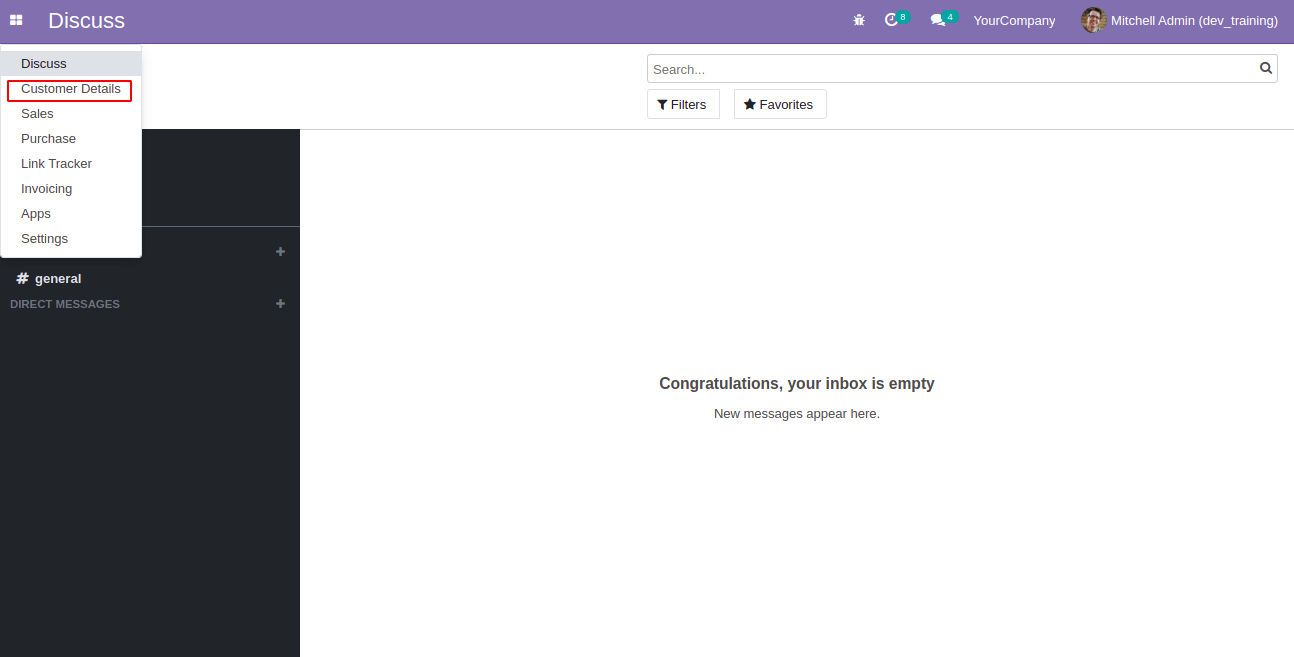
Here I create a module for customer details report so I am going to create a menu and submenus for customer details report. So we will create a menu for customer details.
We add the menu item in the views?customer_details_views.xml file
<menuitem id="menu_customer_details"
            name="Customer Details"
            sequence="2"/>
This is the main menu.
id - id of the menu.
name - the name of the menu which is to be displayed.
sequence - sequence in which the menu has to appear.
A menu will appear only in the view if it has an action or if any of the sub menus has action.
In this example, we are adding a sub-menu so, action is added for the sub-menu.
<menuitem id="menu_customer_details_main_reports"
         name="Reports"
         parent="menu_customer_details"
         sequence="0"/>
The above code is to create a sub-menu for the main menu id= menu_customer_details. To create a sub-menu, a parent main menu will be required. Here the parent menu is menu_customer_details.
<menuitem id="menu_customer_details_report"
         name="Customer Details Report"
         parent="menu_customer_details_main_reports"
         action="action_customer_details_report"
         sequence="0"/>
Here I created a sub-menu menu_customer_details_report for the menu menu_customer_details_main_reports. In this case, the parent menu is menu_customer_details_main_reports. Also, we define an action for this sub-menu. Action has to be defined before creating the menu item.
To view the menu, the menu or any of the sub menus should have action.
Next, we are going to define action,
<record id="action_customer_details_report" model="ir.actions.act_window">
   <field name="name">Customer Details Report</field>
   <field name="res_model">customer.details</field>
   <field name="view_mode">tree,form</field>
   <field name="view_id" ref="customer_details_tree"/>
   <field name="help" type="html">
       <p class="o_view_nocontent_smiling_face">
           Generate Customer Details
       </p>
   </field>
</record>
Here comes the action,
name - the name of action.
res_model - model in which we are going to create the menu
view_mode - different view modes. This mode has to be defined above the action. Here it is tree and form. In this case, we need a tree and form a view.
view_id - default view that has to load when the corresponding action is called. This is relevant only if there is more than one view mode.
help - Help message that will appear when there is no data in the model
When we define the menu,sub-menus, and action for the corresponding model. Let us check in the UI,
This is the main menu we created for Customer Details.
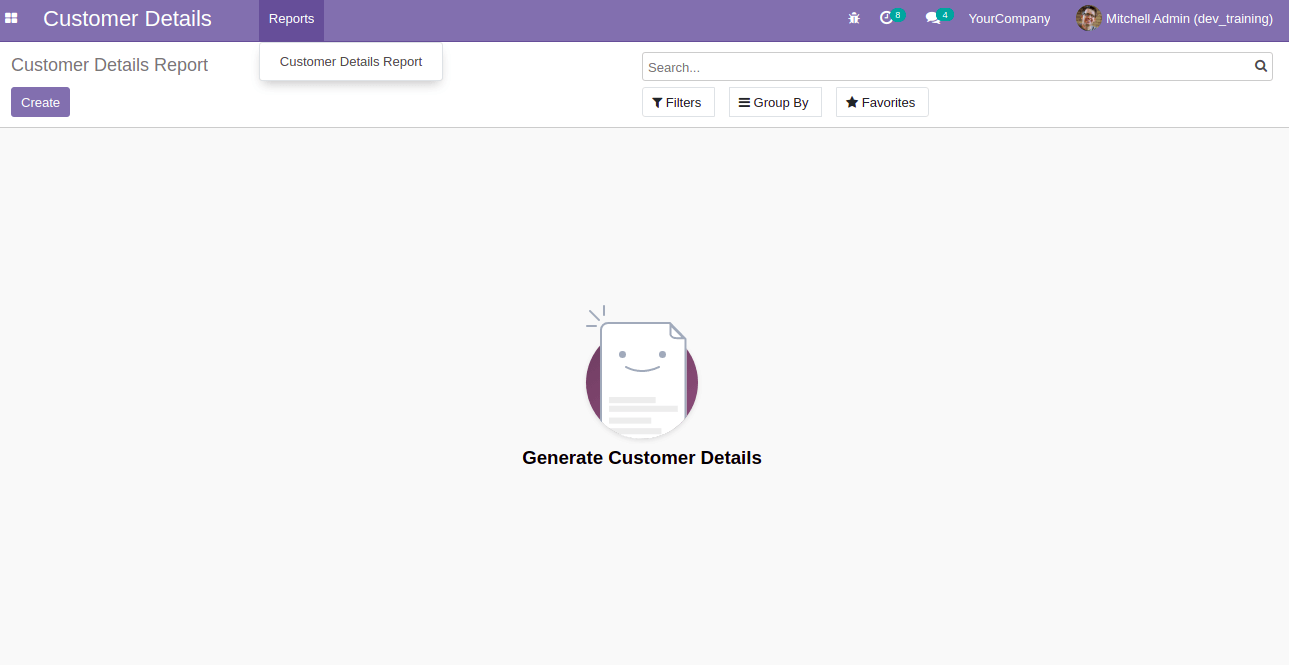
Here we have sub-menu Reports and Customer Details Report. This is how we create a menu, sub-menu, and actions from code.
Now let's check how to create a menu or sub-menu from the UI.
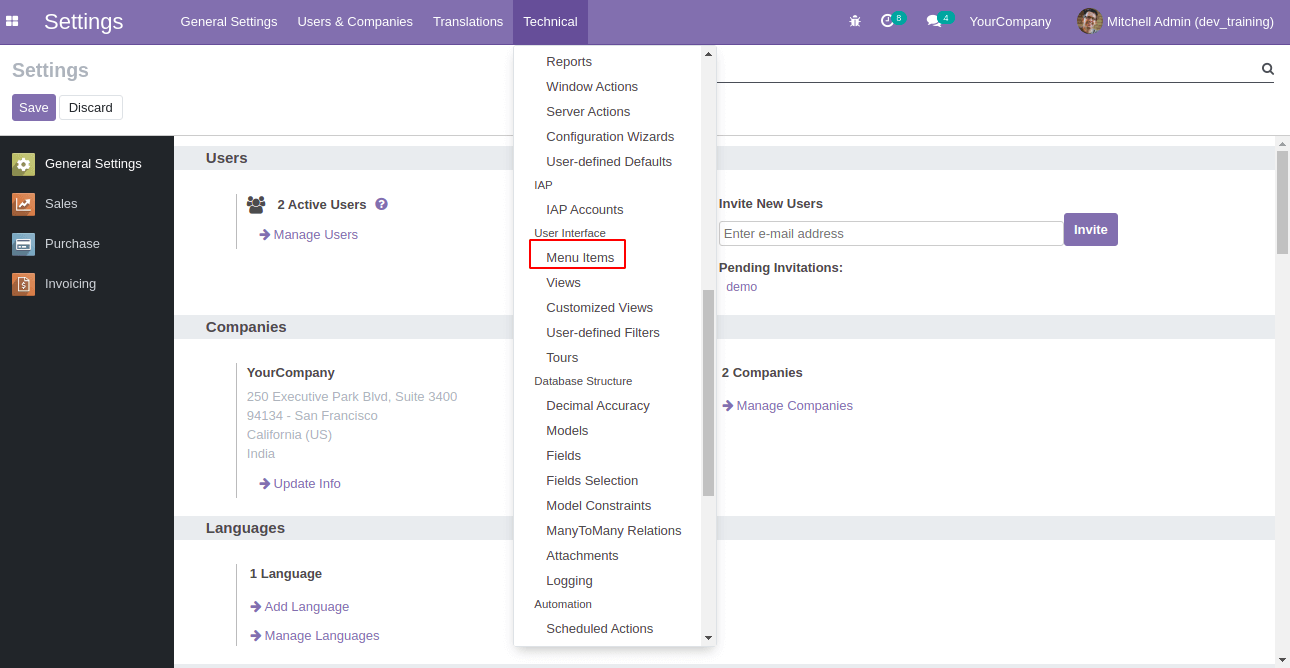
In the developer mode, Go to>Settings>Technical>User Interface>Menu Items
To create a menu,
Go to > Menu Items > Create

Here we are going to create a menu for the sales,
Menu - Name of the menu
Parent Menu - Parent menu if any
Sequence - sequence in which the menu has to appear.
Action - we have to choose ir.action.act_window so that another field appears in which we can choose the respective action that has to be called on clicking the menu. In this example, I will give the action only for the sub-menu.
Access Rights - If we need to give access only to a particular user group, we can add access rights.
Submenus- If we need to add a sub-menu for the menu, we can add it here,
Here I have added a sub-menu,
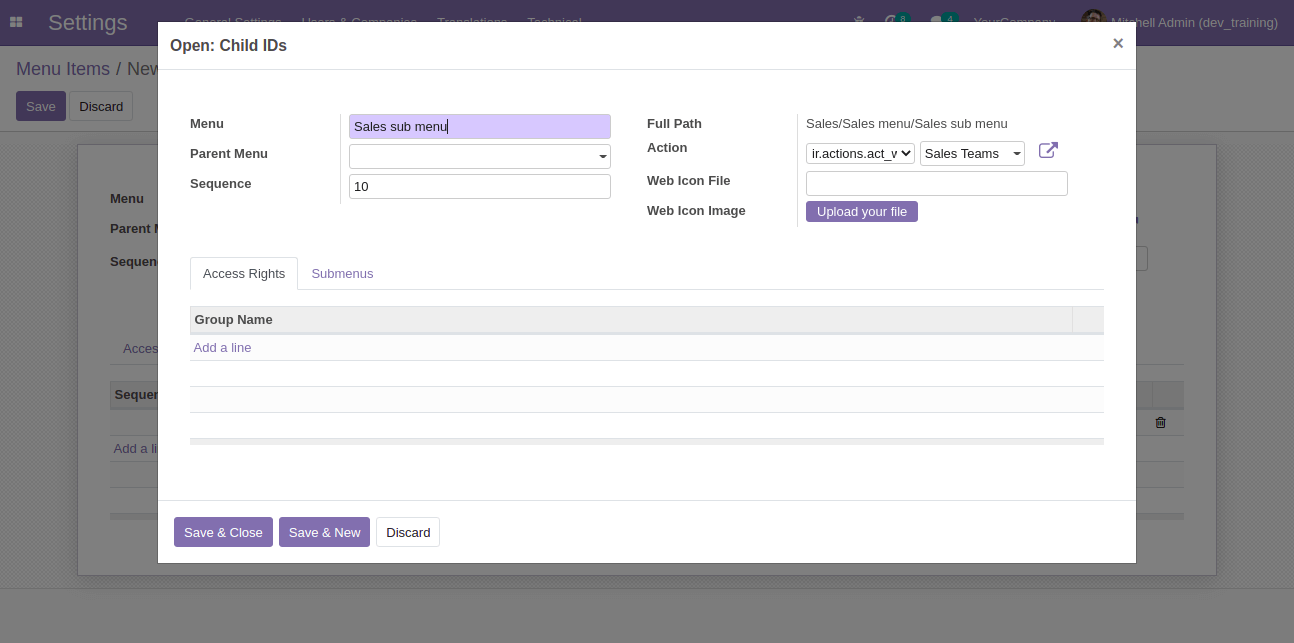
We have to give names, sequences, actions,s, etc. The only name is the required field. One can give access rights and add sub menu if needed. Since we create a sub-menu from the main menu, we don't need to mention the parent, it will fetch them automatically.

Here appears the Sales menu and Sales sub-menu in the Sales module. This is how we create a menu and sub-menu from UI
Watch Video: