In this blog, let’s have a look at computed values in Owl 3, an upcoming feature that can be used in Odoo 20. It is a new feature available in the latest version of Owl to make your UI components more reactive to client interaction. A computed value is a lazily evaluated derived value that tracks the dependencies and automatically recomputes the value when the corresponding dependency.
The computed value is read-only by default, and to make it writable, we have to provide a set function. Computed values are built on signals and other reactive reads. In this blog, let’s see how to implement computed values in custom development.
Let’s create a module named custom_client_action, a custom component, a simple multiplication calculator that computes the result using the input value provided by the user through client interaction.
First, let’s create the calculator component, add 2 input signals, and implement the computed property by importing it.
Create your multiplication_calculator.js file inside the static/src/js directory.
import { Component, signal, computed } from "@odoo/owl";
import { registry } from "@web/core/registry";
export class MultiplicationCalculator extends Component {
   static template = "custom_client_action.MultiplicationCalculator";
   setup() {
       this.input = signal(0);
       this.input2 = signal(0);
       this.result = computed(() => this.input() * this.input2());
   }
}
registry.category("actions").add("multiplication_calculator", MultiplicationCalculator);
Create the multiplication_calculator.xml template of your component inside your static/src/xml directory.
<templates xml:space="preserve">
   <!-- Component view -->
   <t t-name="custom_client_action.MultiplicationCalculator">
       <div class="container py-5">
           <div class="row justify-content-center">
               <div class="col-md-6">
                   <div class="card shadow-sm">
                       <div class="card-body p-4">
                           <h3 class="text-center mb-4">
                               Multiplication Calculator
                           </h3>
                           <!-- First Number -->
                           <div class="mb-3">
                               <label class="form-label">
                                   First Number
                               </label>
                               <input
                                   type="number"
                                   class="form-control"
                                   t-model="this.input"
                                   placeholder="Enter first number"
                               />
                           </div>
                           <!-- Second Number -->
                           <div class="mb-4">
                               <label class="form-label">
                                   Second Number
                               </label>
                               <input
                                   type="number"
                                   class="form-control"
                                   t-model="this.input2"
                                   placeholder="Enter second number"
                               />
                           </div>
                           <!-- Multiplication -->
                           <div class="text-center mb-4">
                           </div>
                           <!-- Result -->
                           <div class="alert alert-primary text-center mb-0">
                               <div class="text-muted">
                                   Result
                               </div>
                               <div class="fs-2 fw-bold">
                                       <t t-out="this.result()"/>
                               </div>
                           </div>
                       </div>
                   </div>
               </div>
           </div>
       </div>
   </t>
</templates>
Create the client action and the menu binding the action inside the views directory of your module.
<?xml version="1.0" encoding="utf-8"?>
<odoo>
       <!-- Client Action: for your calculator component -->
       <record id="action_calculator" model="ir.actions.client">
           <field name="name">Calculator</field>
           <field name="tag">multiplication_calculator</field>
           <field name="target">current</field>
       </record>
       <!-- Menu item wired to the client action -->
       <menuitem
           id="menu_custom_dashboard_root"
           name="Calculator"
           action="action_calculator"
           sequence="100"
       />
</odoo>
To make the computed value writable, provide a custom set function as implemented below.
this.input = signal(3);
const result = computed(() => 3 * this.input(), {
 set: (value) => this.input.set(value / 3),
});
this.result(); // returns 9
this.result.set(6); // sets s to 2
this.input(); // returns 2
this.result(); // returns 6
To view the custom UI component created, click on the calculator menu and interact with it to see the calculated result from the Owl 3 computed.
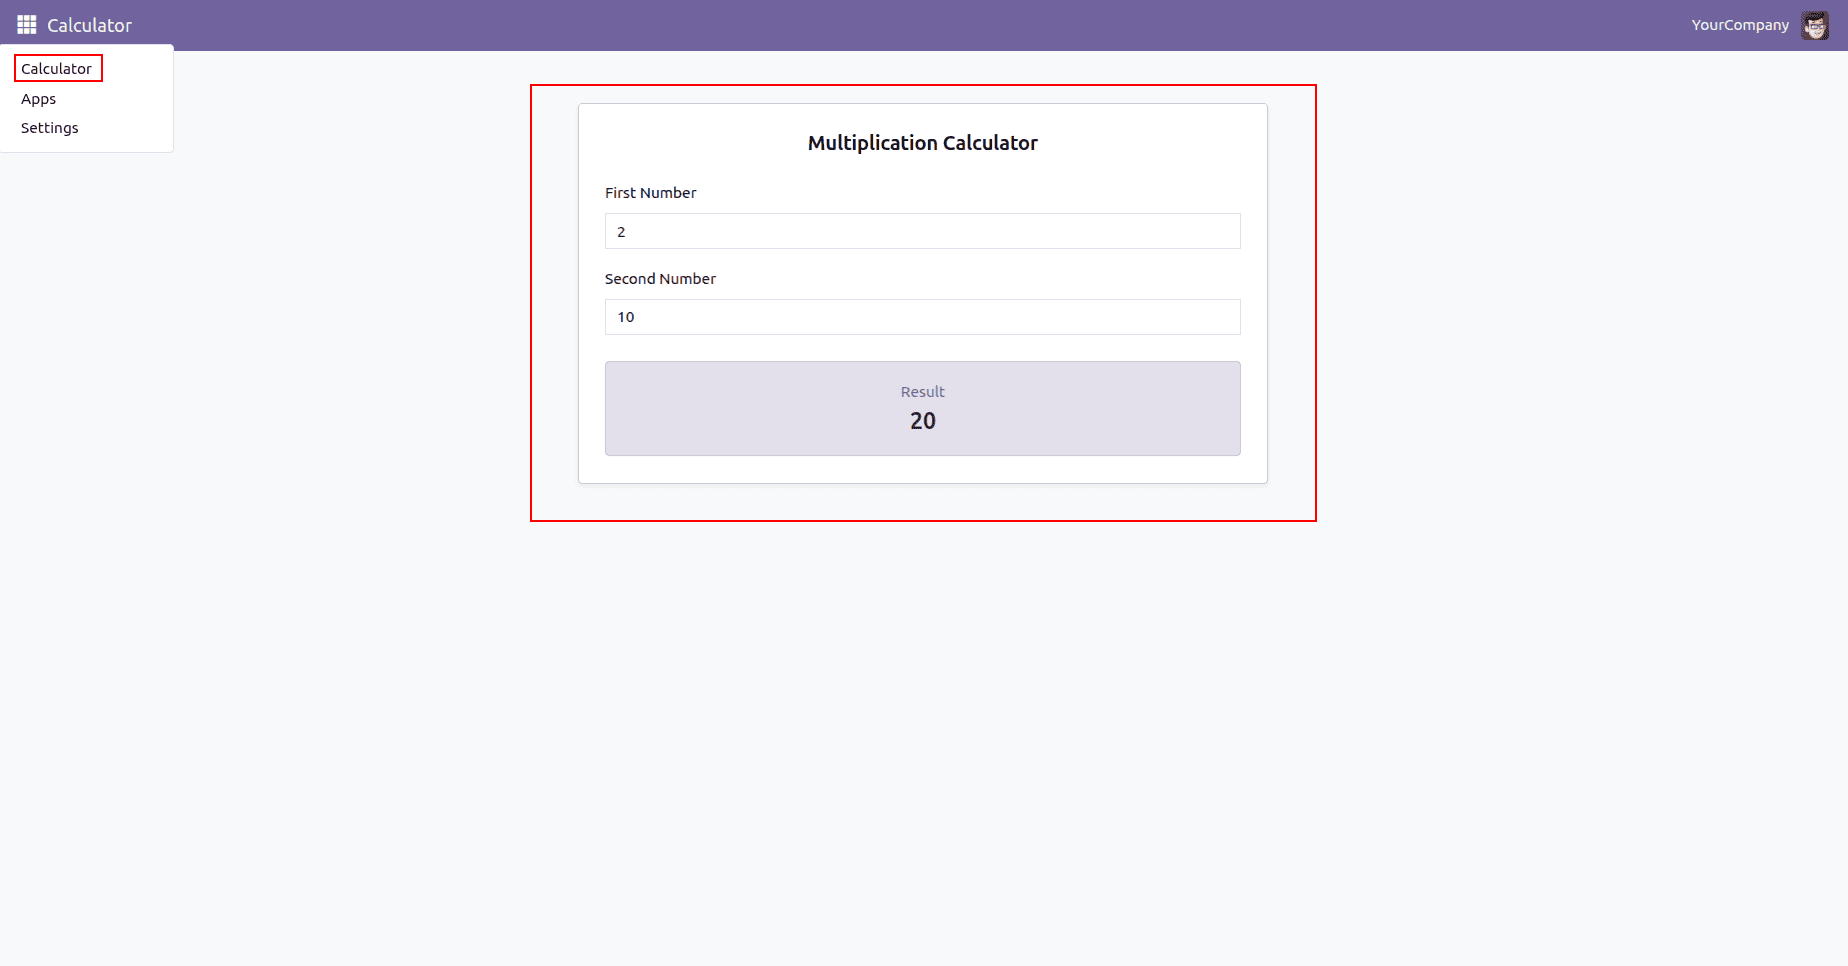
In this blog, we have discussed a practical implementation of the computed method in Owl. Using this feature, you can make your custom development and handle your business scenario much easier and minimise the amount of code.
To read more about Introduction to Signals in OWL 3: An Upcoming Feature in Odoo 20, refer to our blog Introduction to Signals in OWL 3: An Upcoming Feature in Odoo 20.