Odoo ERP is known for its functional richness and versatility. The open source ERP bags many uncompromising highlights that meet any business needs, be it a small or large scale enterprise.
Odoo Repair Management Module is one among the thousands of Odoo modules. It showcases the functionality of propelling product reparation. It is one of the most adaptable modules under Odoo, which triggers for fixes/redesign works of broken or damaged products/assets. The module takes the details of the damaged product and tracks it throughout the reparation stages.
Under the module, soon after the repairing request gets confirmed, one can efficiently propagate for product repair and track their reparation stages. Utilizing the module, one can acquire complete details pertaining to the product reparation.
Let us see how it performs.
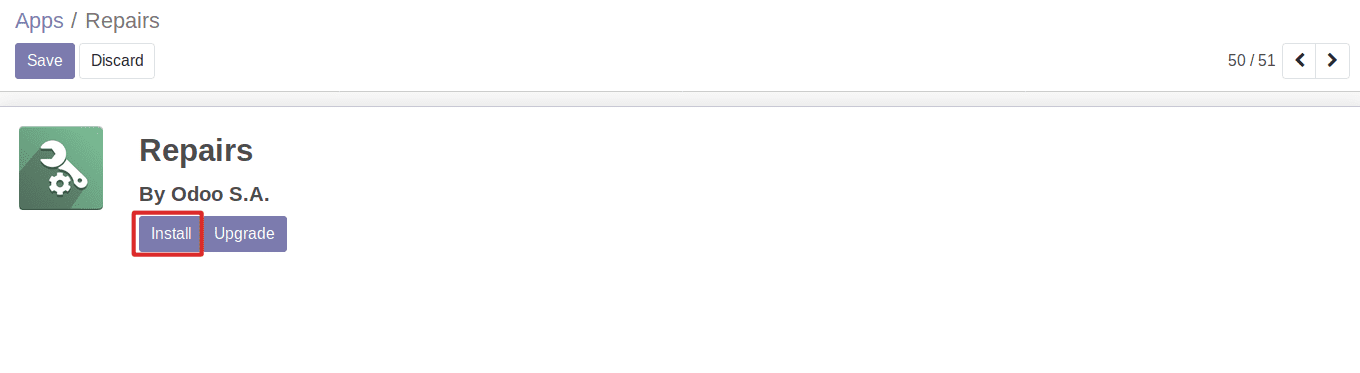
Firstly, install the Repair Module.
One can install the Repair Module from Odoo Apps.
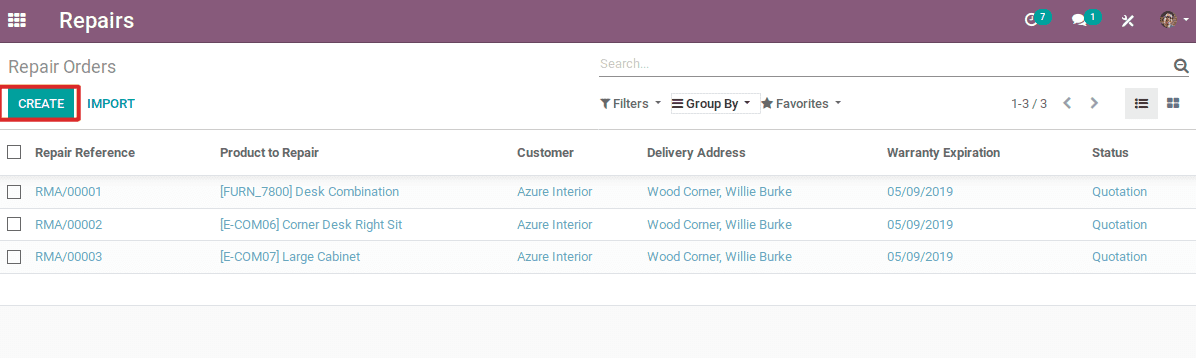
After installation, one can request for a repair order, when a product or an asset reports any damage.
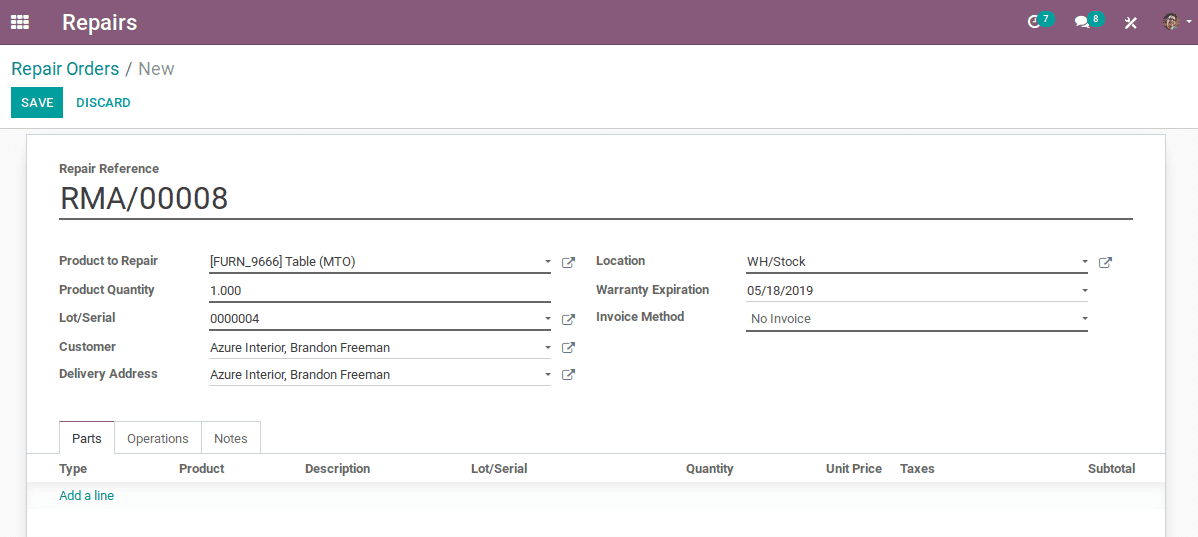
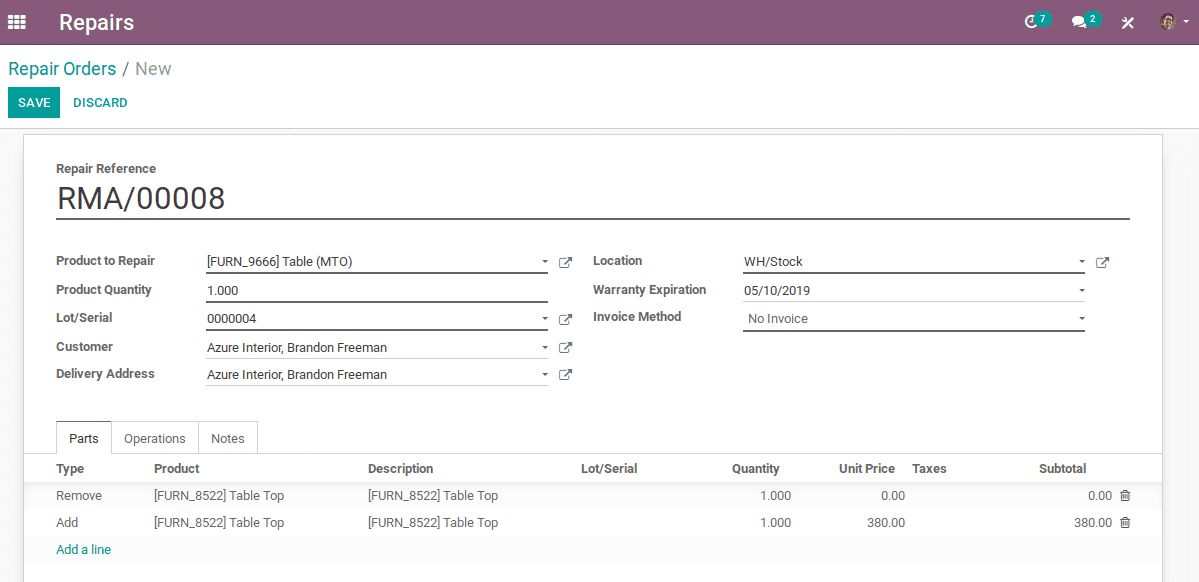
Under the Repair Order, one can add several details like the product name, the quantity of the product, lot/serial number of the product and so forth. One can also set up the customer, delivery address, and product location under repair order. One can also add the warranty expiration underneath.
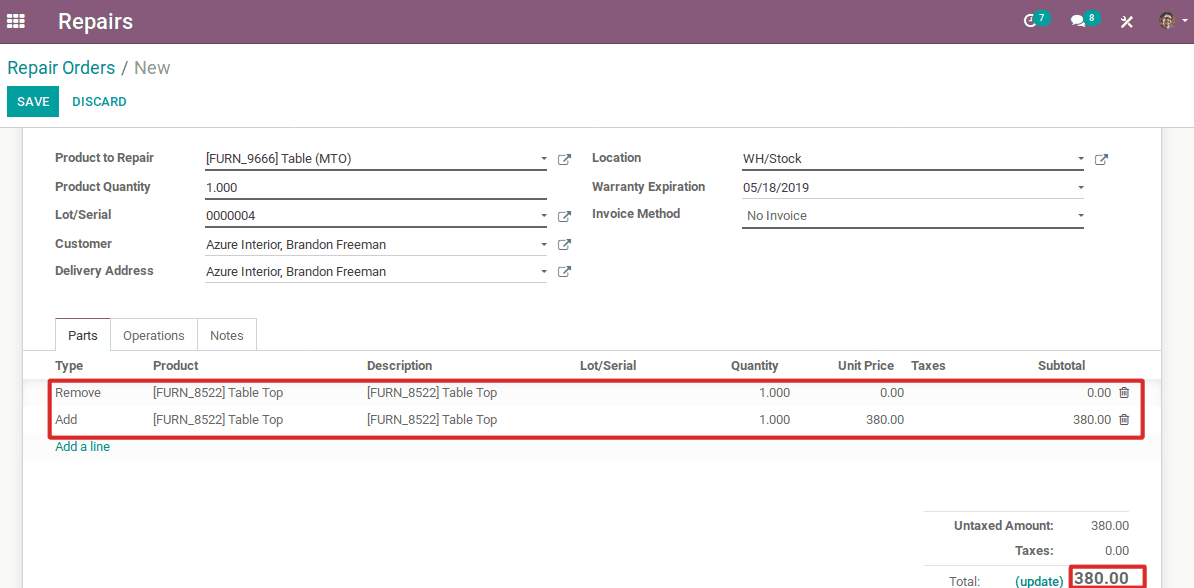
Under the repair order, one can also add or remove products. For example, let's assume the defective product is a table. Here, one can easily remove the damaged/broken table top and parallelly replace the damaged, with a new table top.
In this session, the subtotal will be the price of the added parts.
Type: Under the field, one can specify the operation type- adding or removing of product parts.
Product: Under the field, one can specify the product part name which you are adding or removing.
Description: Description of the desired product.
Lot/Serial: The numbers are used for identifying the product. The lot numbers are used for identifying the particular batch of products, whereas serial numbers identify each product.
Quantity: Quantity of the product.
Unit Price: Unit price of the product.
Taxes: Here, one can include the product tax.
Sub Total: Total price of the added products.
There are different invoice methods used in repairing module.
1) No invoice
2) Before Invoice
3) After Invoice
No Invoice:
No invoice method is meant for products that come along with warrantied service or free service.
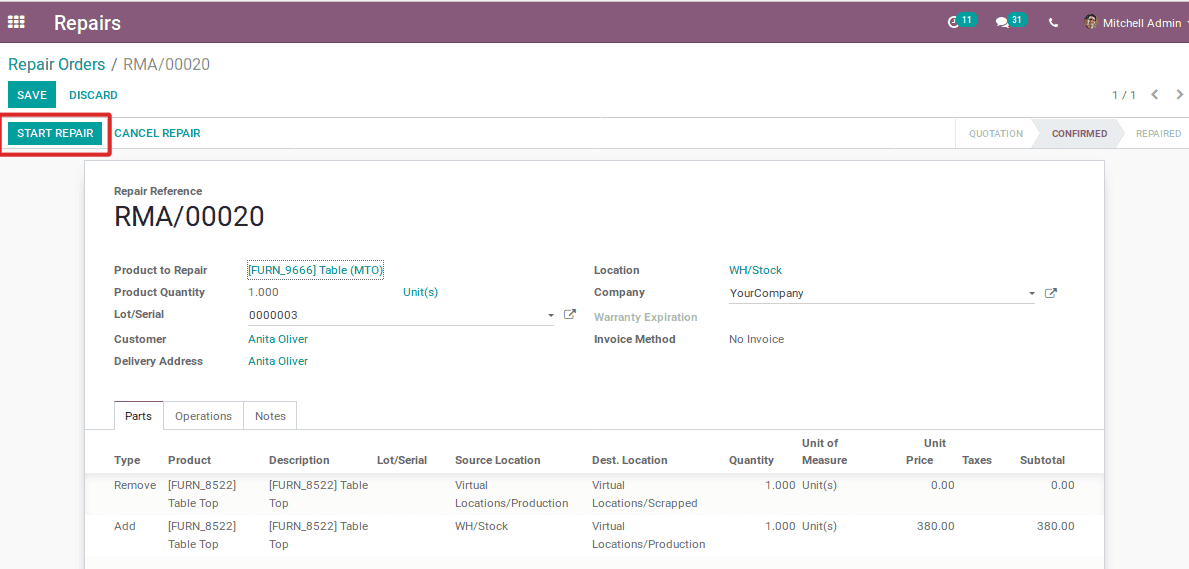
Here one can choose the invoice as “no invoice”. The request is as follows:
Upon the confirmation of the order, the repairing gets started.
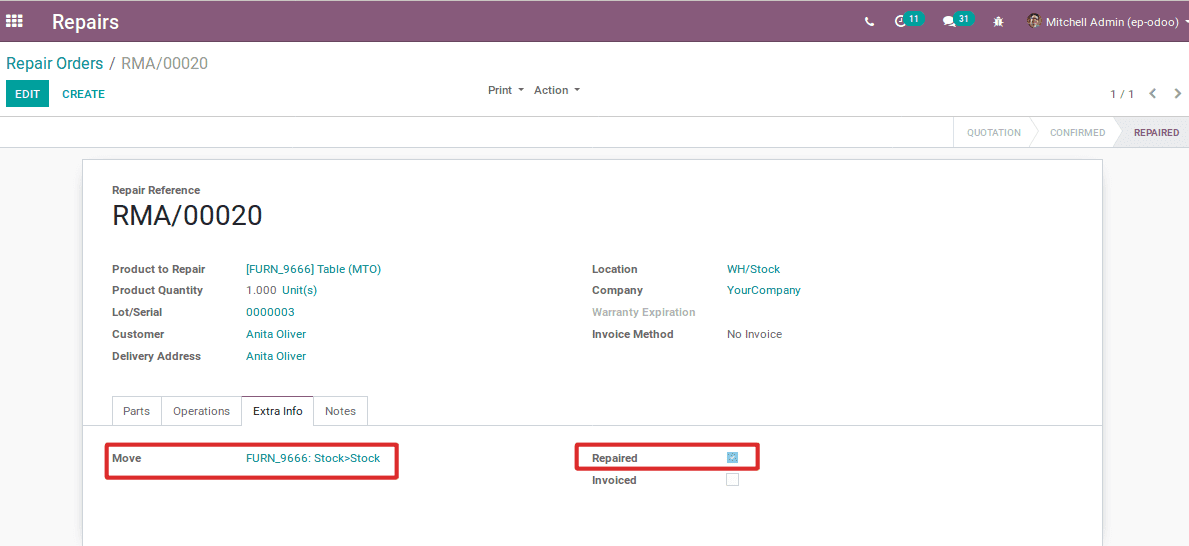
After the product gets repaired, the stock moves are denoted in the “extra info” field. And also the repaired option will be automatically ticked.
Before Invoice:
Secondly, one can choose the invoice as “Before Repair”. The request is as follows:
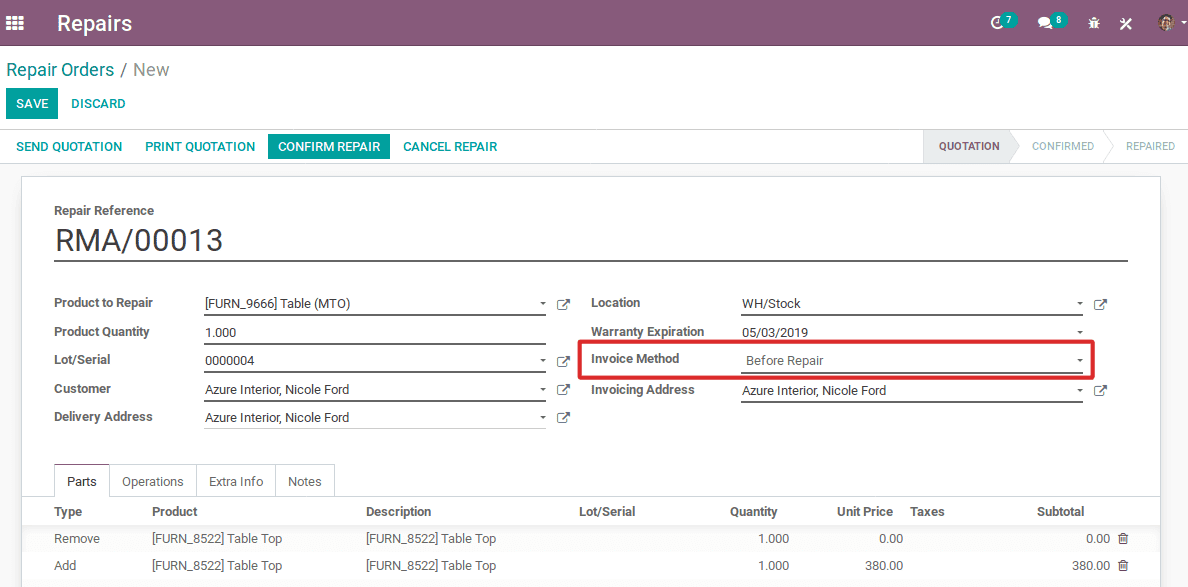
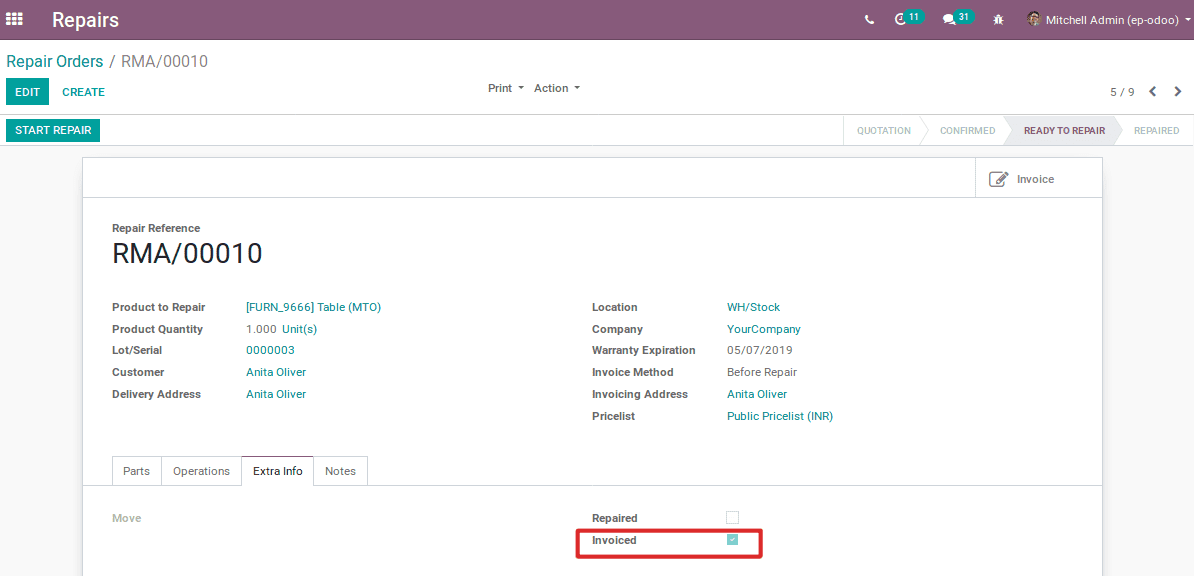
After repairing order gets confirmed, the reparation order will be invoiced.
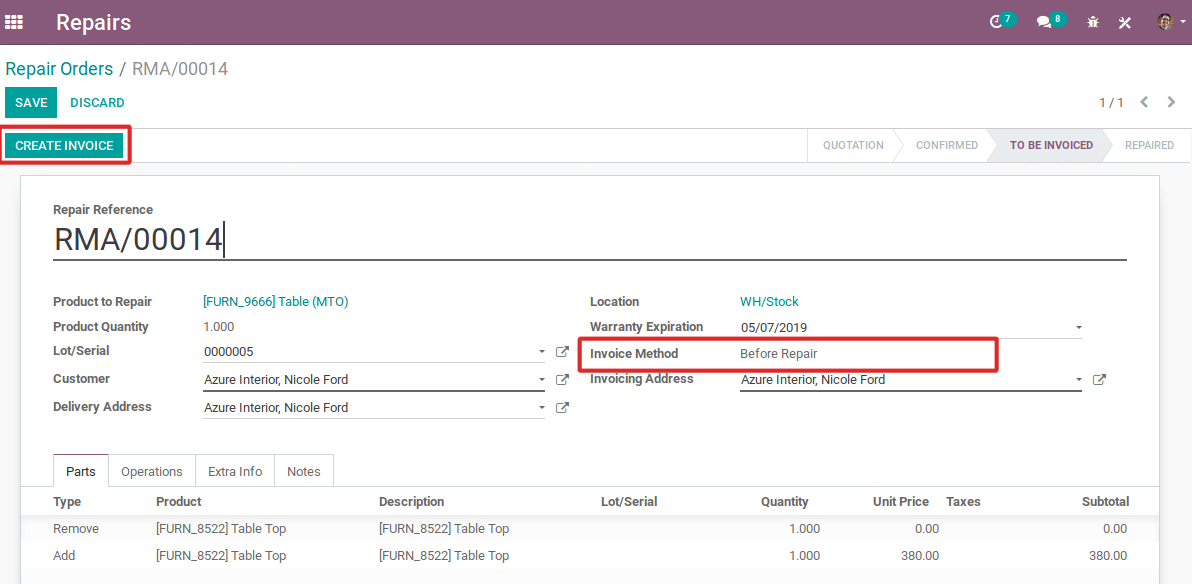
Once the invoice is created, in the extra info tab, one can see the checked invoice.
After Invoiced:
Thirdly, one can choose the invoice as “After Invoice”. The request is as follows:
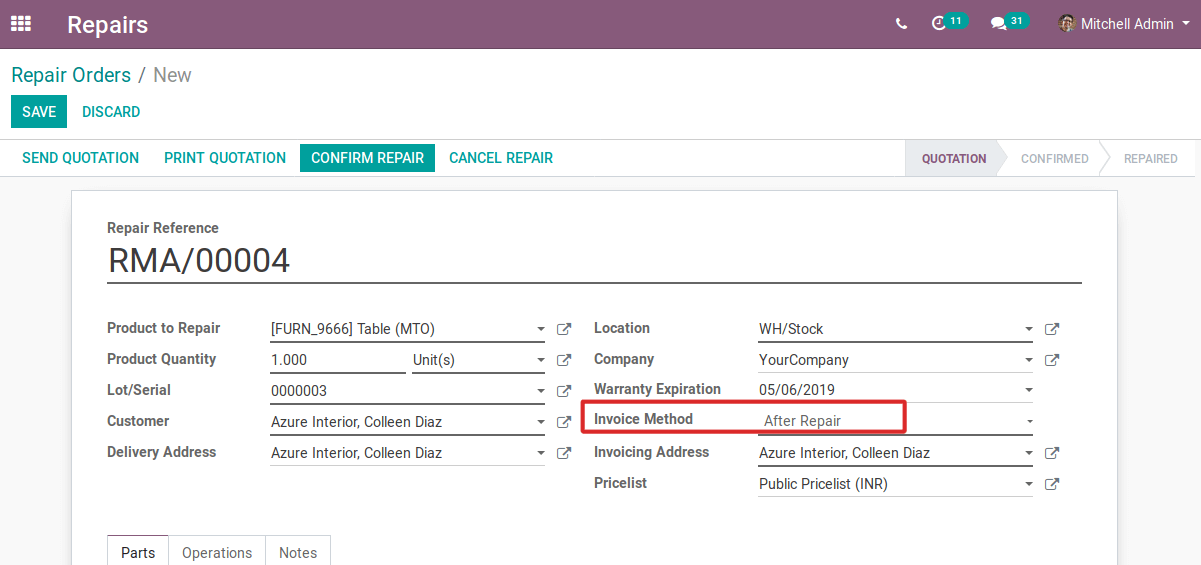
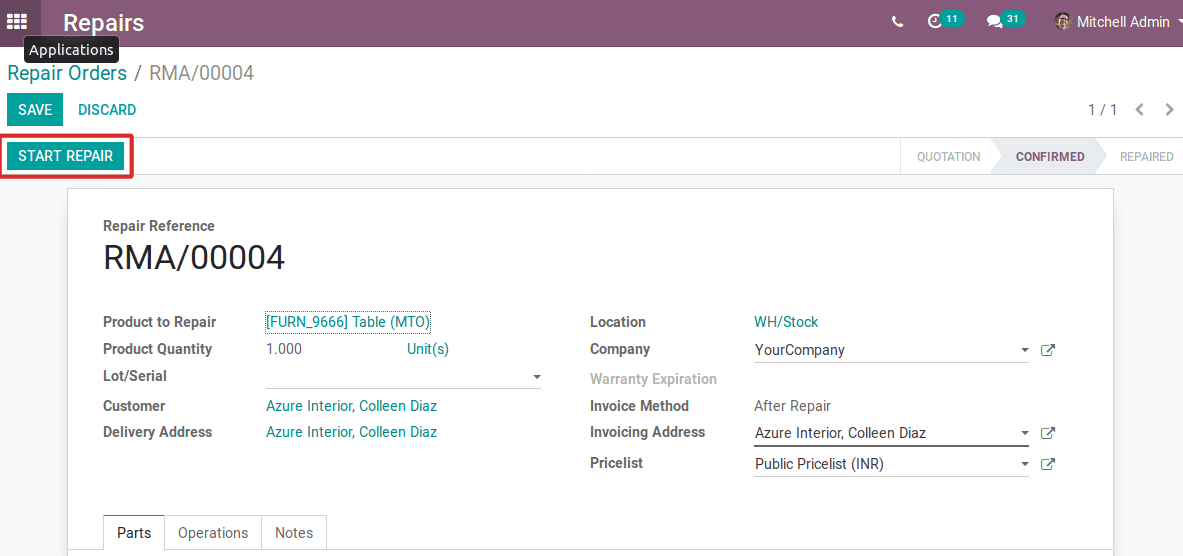
One can choose the invoice method as “After Repair”. Later one can add the invoicing address and can choose a price list for the selected customer. Then confirm the repair order.
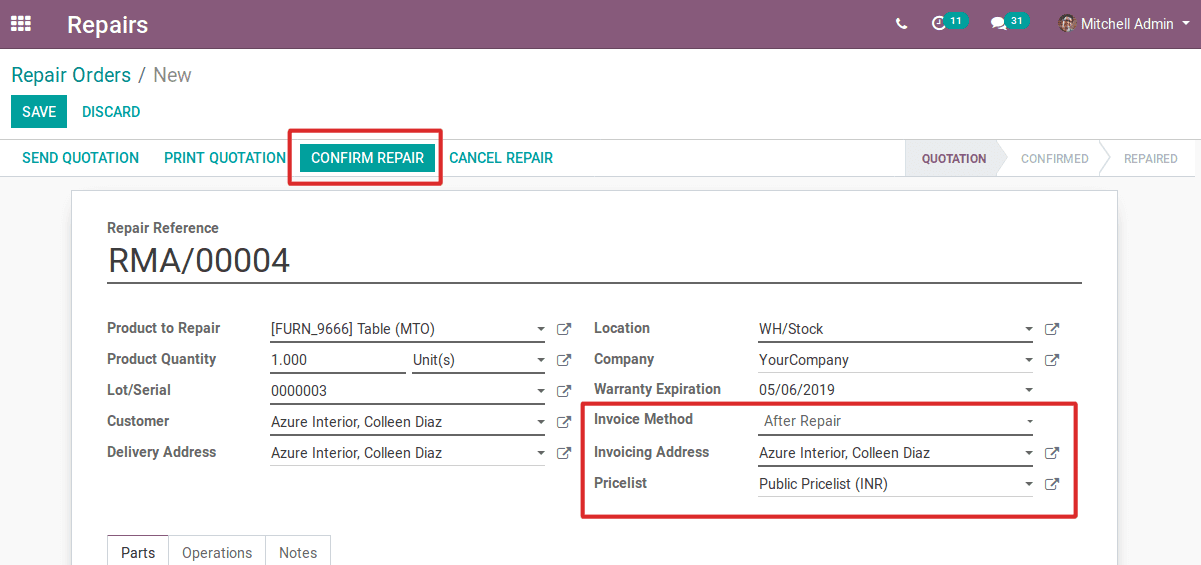
After confirmation, the session will move to “Start Repair”. And the status gets changed to confirmed.
Upon successfully accomplishing the repair task, one can click the button End Repair.
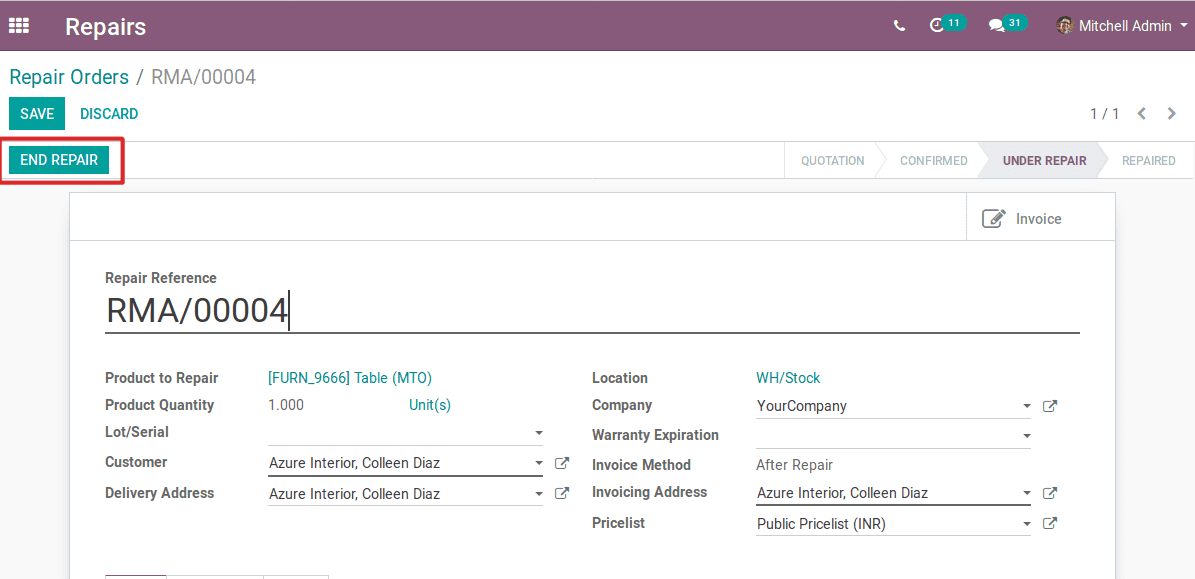
When the product is under repair, the status will be “under repair”. Click the end repair when reparation is complete.
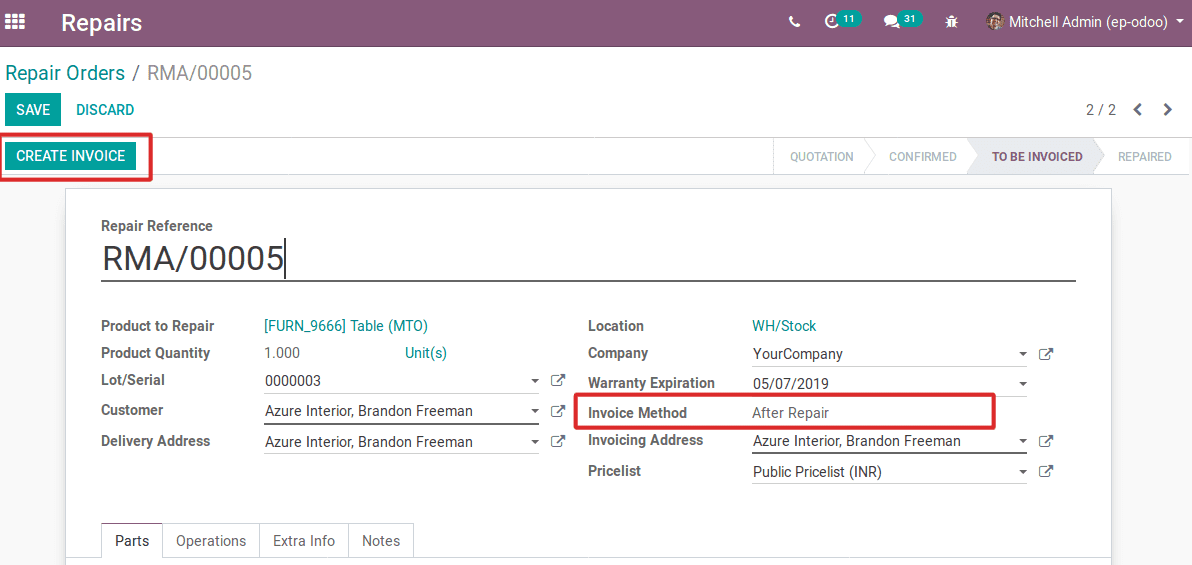
One can choose the invoice method as “After Repair”, so after the end repair, one can create the invoice. And the status gets changed as to be invoiced.
After the invoice, the status will be repaired. And one can validate the invoice.
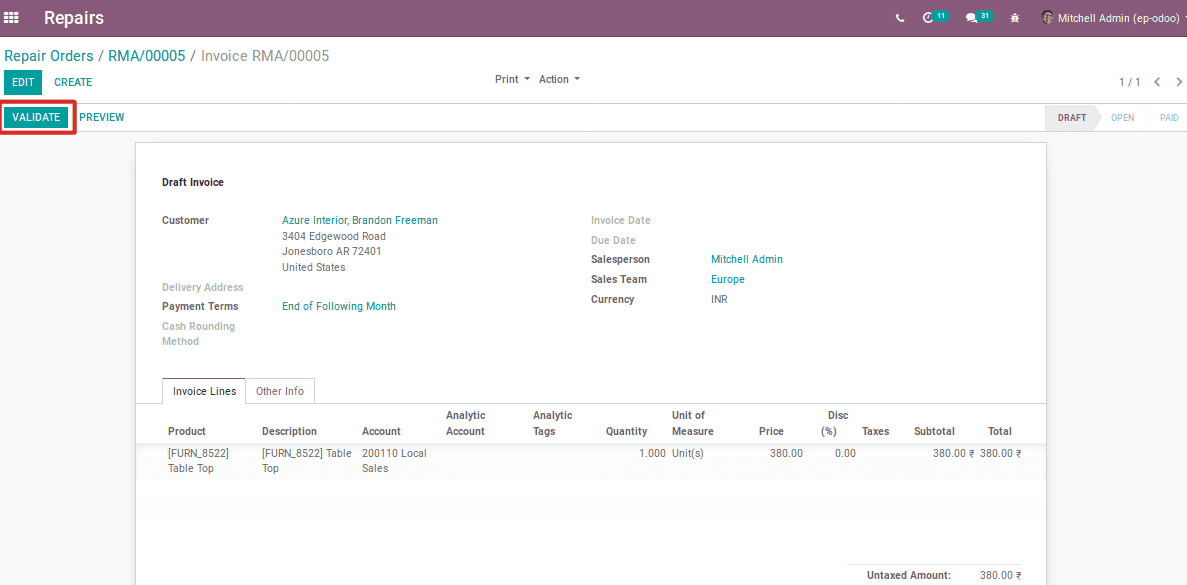
Followed can register the payment.
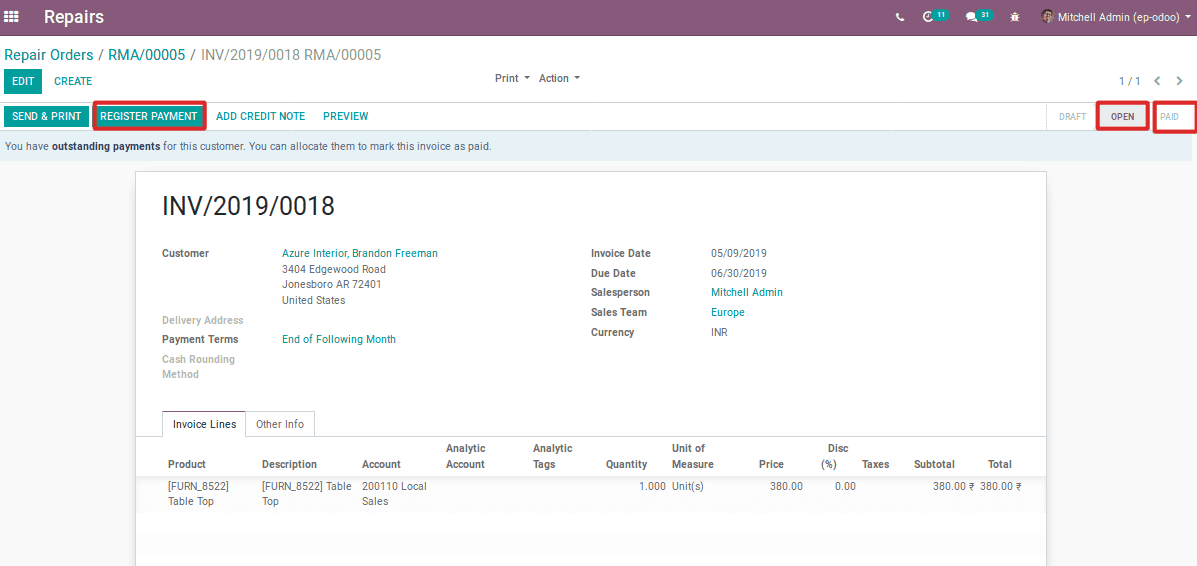
During this time the status will be open. After the payment registration, the status will be paid.
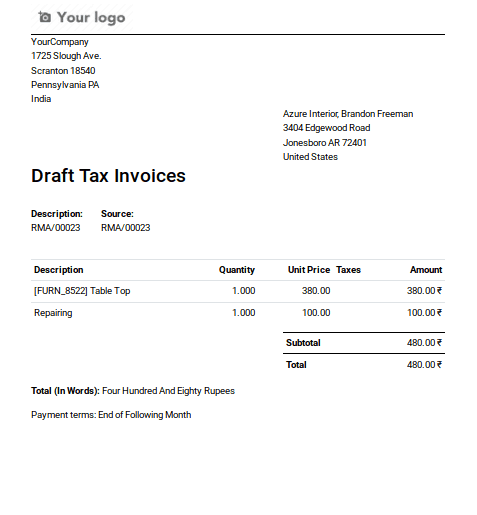
Under this repairing module, one can add some operations as well.

The repairing service charges can be added to this operation. The total price will be calculated in the invoicing.
This is how the repair management module performs the task.