Reactive OWL Component
The goal of reactivity is to provide a simple way to manipulate the state, in such a way
that the interface will be automatically updated according to state changes. OWL
supports automatic update of the user interface through the hooks. By updating the
hooks, a component’s UI will be automatically updated when a change occurs for the
internal state of the component. In the following example, we will update the message in
the component based on the user actions.
Making our OWL component reactive by performing the following steps,Import the useState
hook,
const { Component, useState } = owl;
First we need to define the component as follows:-
class Counter extends Component {
    static template = xml`
        <div class="bg-info text-center p-2">
            <i class="fa fa-arrow-left p-1" style="cursor: pointer;" t-on-click="onPrevious"> </i>
            <b t-esc="messageList[Math.abs(state.currentIndex%4)]"/>
            <i class="fa fa-arrow-right p-1" style="cursor: pointer;" t-on-click="onNext"> </i>
            <i class="fa fa-close p-1 float-right" style="cursor: pointer;" t-on-click="onRemove"> </i>
        </div>`
 }
Next adding the constructor() method for the component and initializing some variables
inside the constructor() method.
constructor() {
 super(...arguments);
 this.messageList = [
     'Hello World',
     'Welcome to Odoo',
     'Odoo is awesome',
     'You are awesome too'
 ];
 this.state = useState({ currentIndex: 0 });
}
Inside the component class, we need to define the methods for handling the user’s click
events. Here the events are onPrevious() and onNext(). They are added as given below:-
onNext(ev) {
    this.state.currentIndex++;
}
onPrevious(ev) {
    this.state.currentIndex--;
}
Add the js file to assets inside the manifest file,
'assets': {
   'web.assets_backend': [
       '/owl_test/static/src/js/owl_test.js',
   ],
}
While considering the above given example, first we imported the useState hook from the
OWL.The useState is used to handle the state of the component. Then we defined the
component template. On the template, we have added a message and two arrows, a right
arrow, and a left arrow near the message. Inside the component, we added the constructor
method, which will be called when an instance of the object is created. Inside the
constructor, we have initialized a list of messages to a variable messageList. Then we
added the state variable using the useState hook. This will make our OWL component
reactive. When a change is made to the state will make the UI will also updated. In the
example we have added the currentIndex inside the hook, when a change for the
currentIndex happens, also the UI is updated. The methods onNext() and onPrevious() are
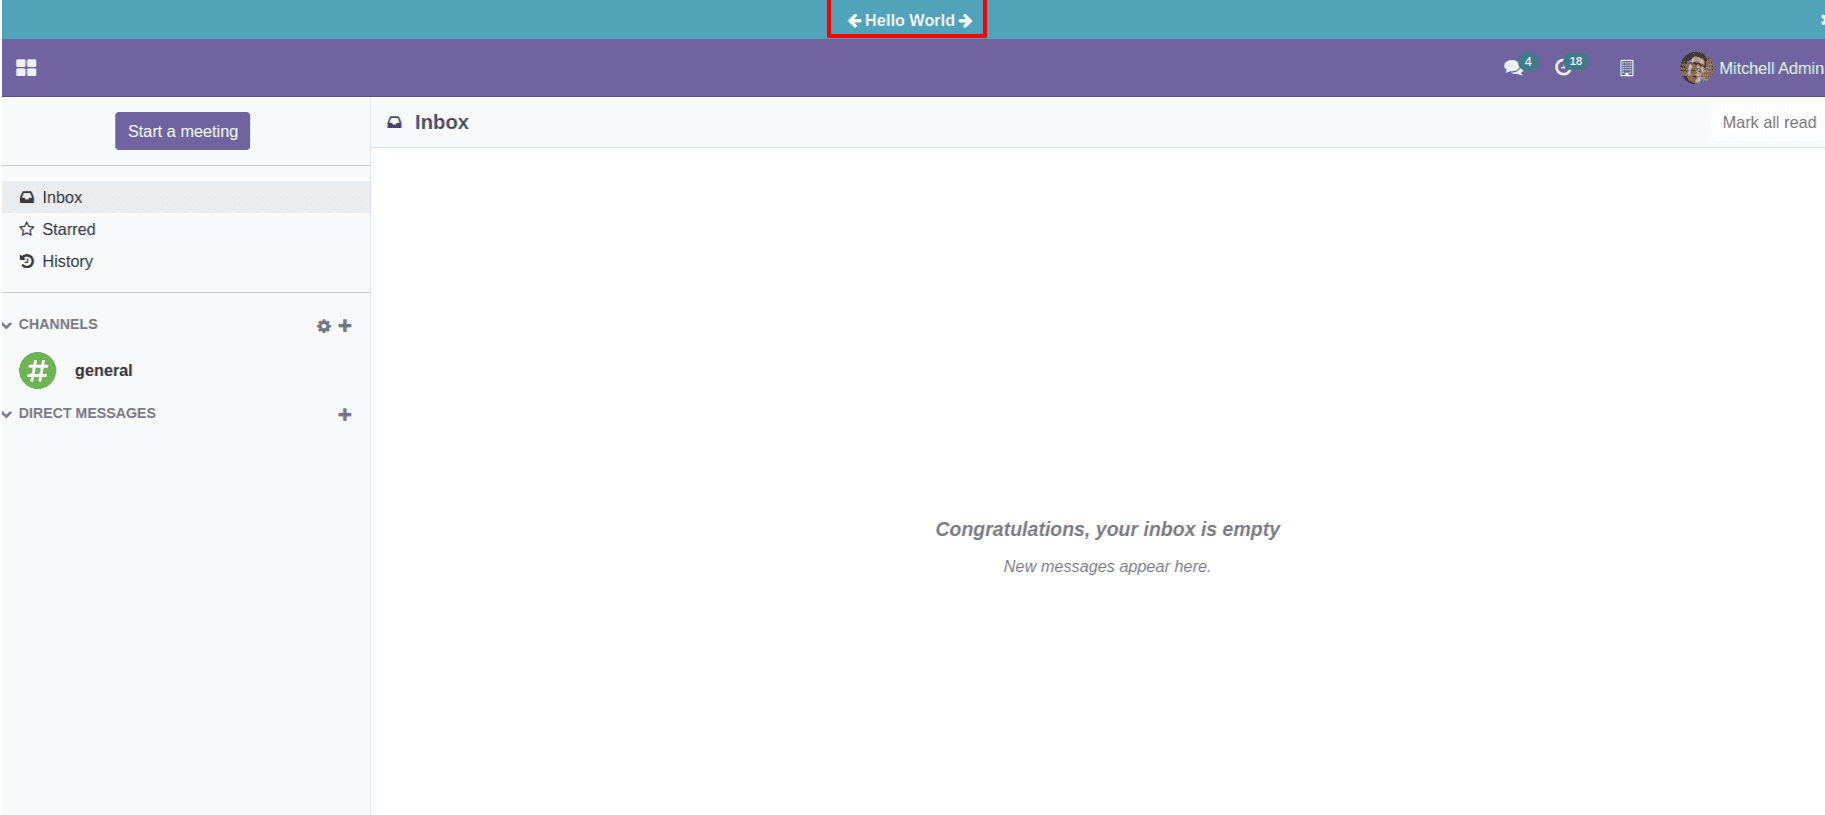
used to update the state variable, and make the UI updated. The output of the above code
is as given below:-
When clicking on the arrows, the methods will be called according to the t-on-click
defined for them. And updating the messages accordingly.