Incoming email setup in Odoo allows seamless integration between your
email account and the system. Once configured, emails will be
directly received within Odoo. To set this up, go to Settings >
Technical > Incoming Mail Servers. Click on the New
button to open the configuration window, as shown below.
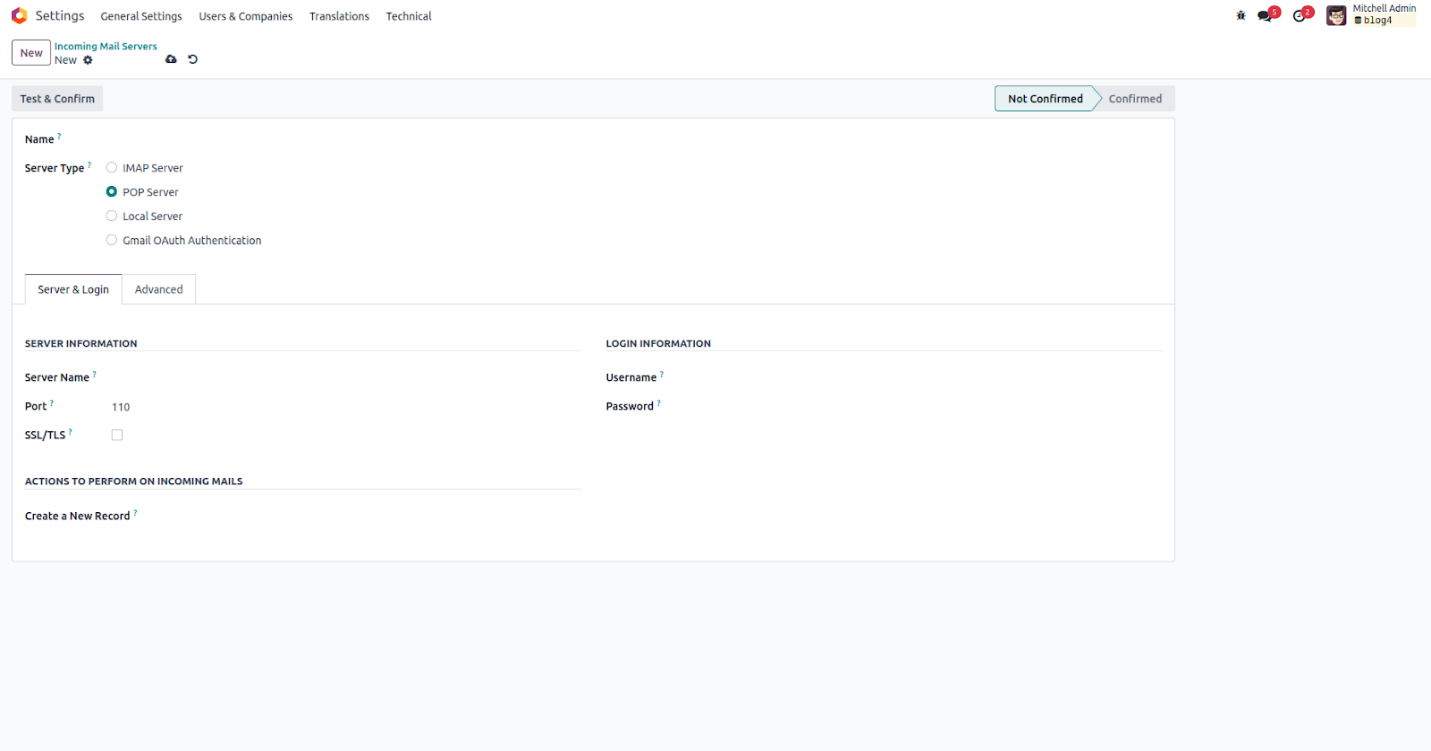
Let’s go over the key fields required when setting up an incoming
mail server in Odoo:
- Name: Assign a clear and identifiable name to the mail
server for easy reference.
- Server Type: Choose the type of server where the emails
are hosted. Options include POP, IMAP, local server, and Gmail
OAuth authentication. POP is one of the most frequently used
types.
- Server Name: Enter the hostname or IP address of the
email server.
- Port: Specify the port number used by the email server.
- SSL/TLS: Enable this to use secure, encrypted
connections. Common ports are 995 for POP3S and 993 for IMAPS.
- Username: Provide the email address that will be used to
fetch incoming messages.
- Password: Input the password associated with the given
email address.
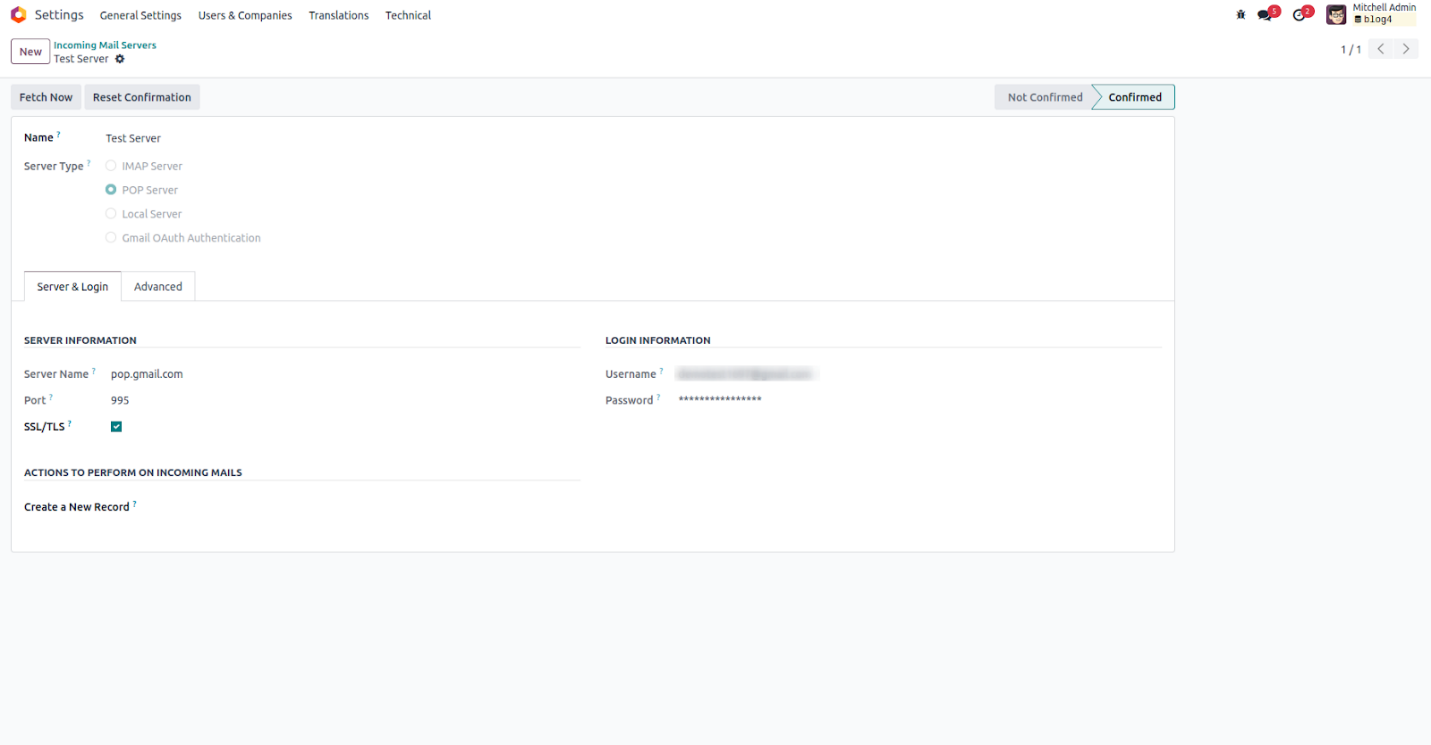
After filling in the required details, click the Test &
Confirm button to validate the credentials. If successful,
the system status will change to Confirmed. If not, an error
message will appear indicating a login issue.