Configuring outgoing mail in Odoo is a simple process that enables
reliable and efficient communication, which is vital for a company’s
operations and marketing efforts. Outgoing mail servers are
responsible for sending emails from the system, making them
essential for tasks like email marketing and general correspondence.
To set up an outgoing mail server, go to Settings > Technical >
Outgoing Mail Servers. Then, click the New button to open the
configuration window.
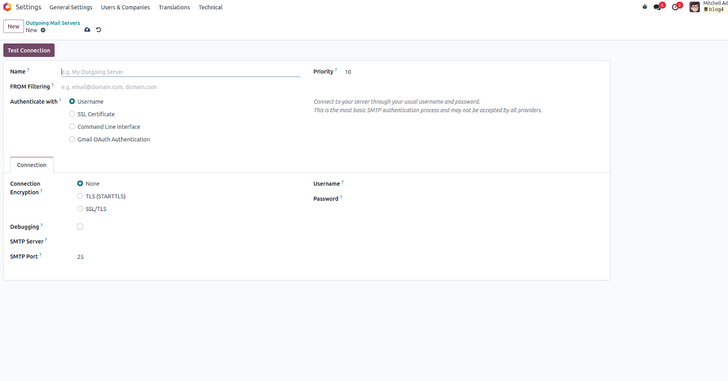
Let’s review the key fields involved in setting up an outgoing mail
server in Odoo:
- Name: Assign a recognizable name to identify the outgoing
mail server.
- From Filtering: Define the specific email address or
domain allowed to use this server for sending emails.
- Priority: Determines which server is used when no
specific one is selected. Lower values indicate higher priority
(default is 10).
- Authenticate With:Select the authentication method. You
can either provide a username (optionally with an email) and
password for SMTP login, or use SSL certificate authentication,
including both the certificate and private key.
- SMTP Server: Enter the address of the SMTP server
responsible for sending emails.
- SMTP Port: Provide the port number associated with the
SMTP server.
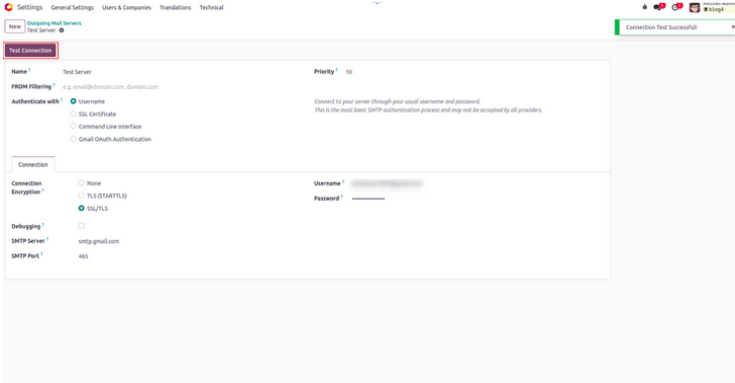
Once all necessary information is entered, click the Test
Connection button to verify the setup. If the test is
successful, you will see the message "Connection Test
Successful", confirming that the outgoing mail server is
properly configured.
If authentication fails, specific error messages may appear. For
example, when testing a Gmail account, you might receive a warning
such as "Invalid Credentials (failure) [AUTHENTICATION
FAILED]". In such cases, enabling access for less secure
apps can serve as a workaround.
Email configuration in Odoo is an important feature that allows users
to send emails directly to customers from within the system. The
setup process is designed to be simple and easy to follow.