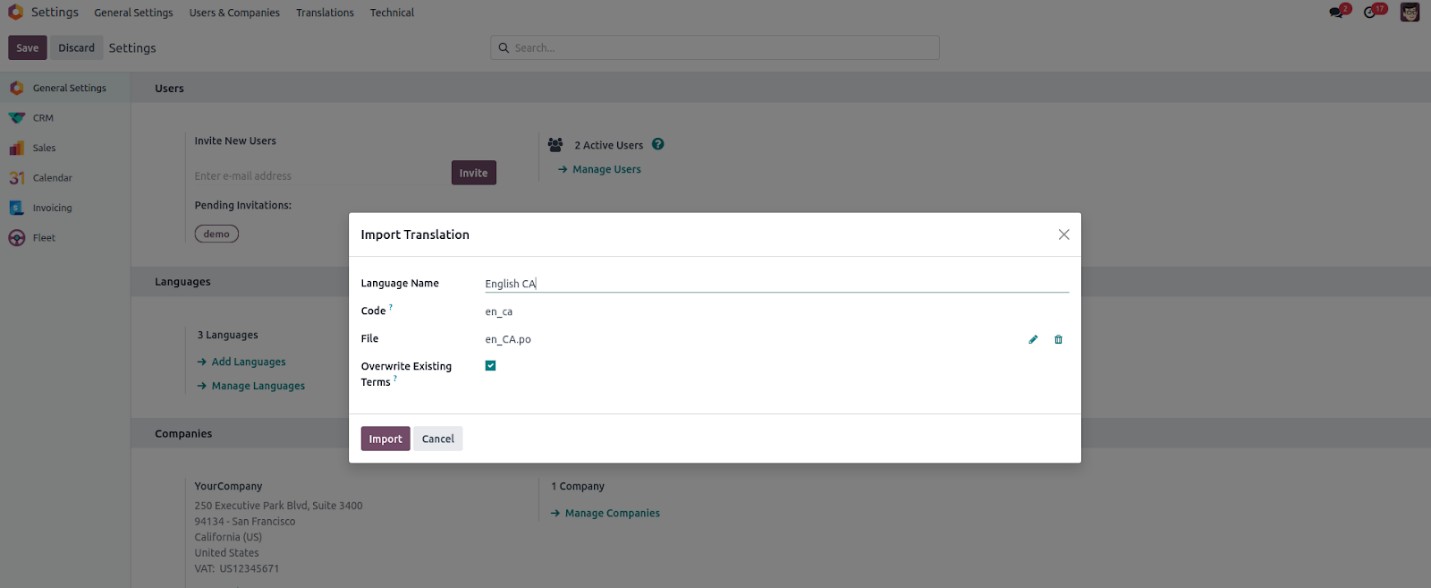
To begin importing translations, go to Settings > Translations >
Import Translations. This opens a wizard specifically for importing
translation files. In the wizard, you can select the language name,
language code, and the translation file to upload. Accepted file
formats include .csv, .po, and .pot. There is also a checkbox to
specify whether existing translations should be overwritten. To
complete the process, click the Import button.
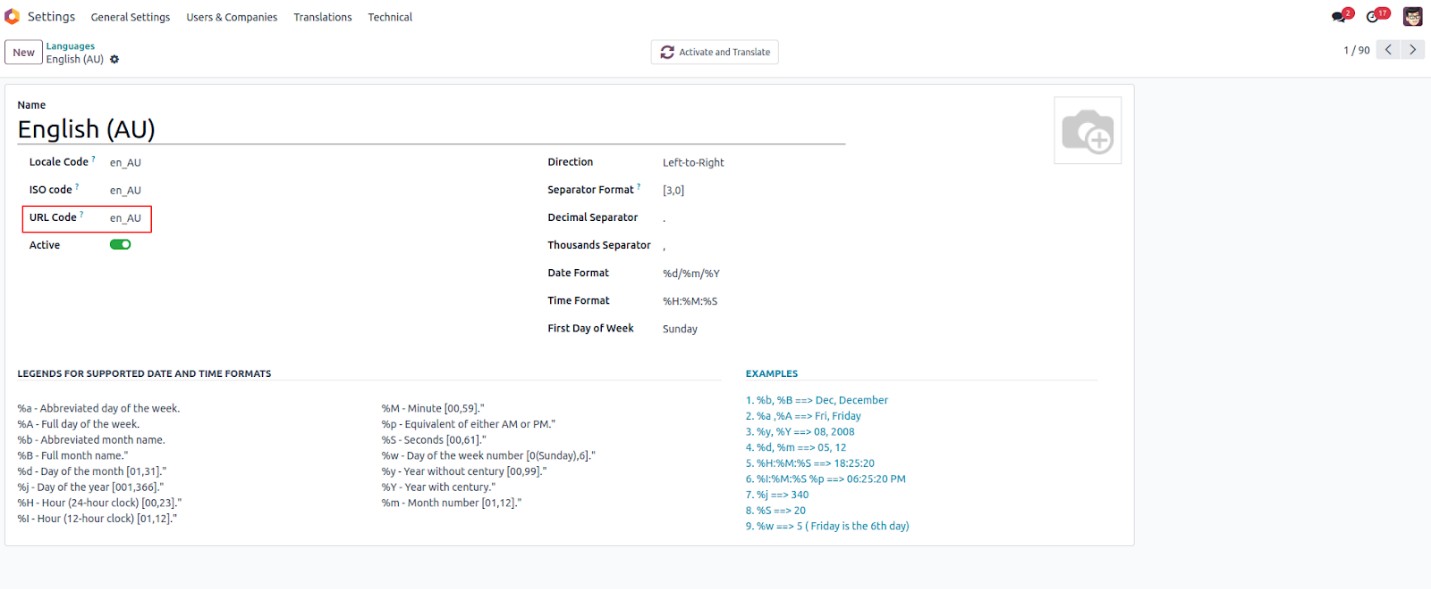
Custom language URL code for website
The URL code for languages can be configured in the Languages section
under Settings > Translations > Languages. Typically, this is done
using the ISO code or a combination of the language and country
codes.
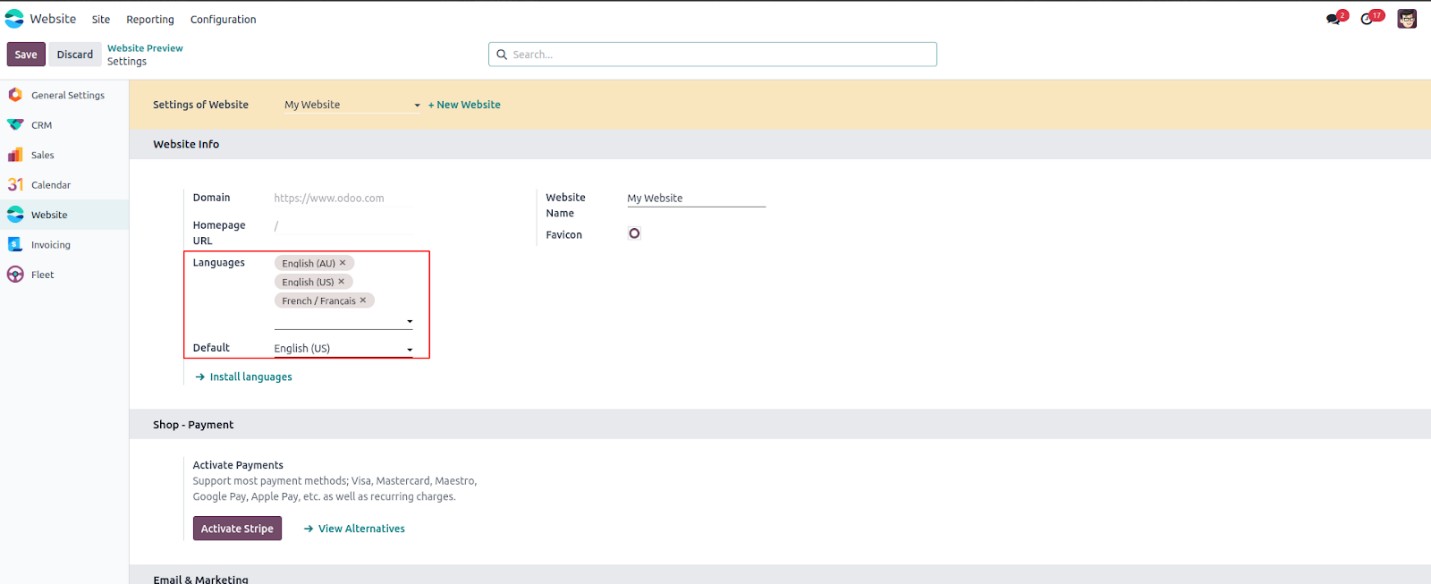
Supported languages can be added to your websites by accessing the
Website Settings. To do this, navigate to the Settings option
located under the Configuration section of the Website application.
In the Language section within these settings, you can choose which
languages will be available on the website and set one of them as
the default language. Keep in mind that only languages marked as
active can be included in the website’s language options.
The default language configured for the website will be the first
language that loads when users access the site. However, multiple
options are available to change the website’s language based on user
preferences or other criteria.

You can change the language of a webpage by using the language's URL
code. By adding the URL code immediately after the base URL, the
page will be displayed in the chosen language.
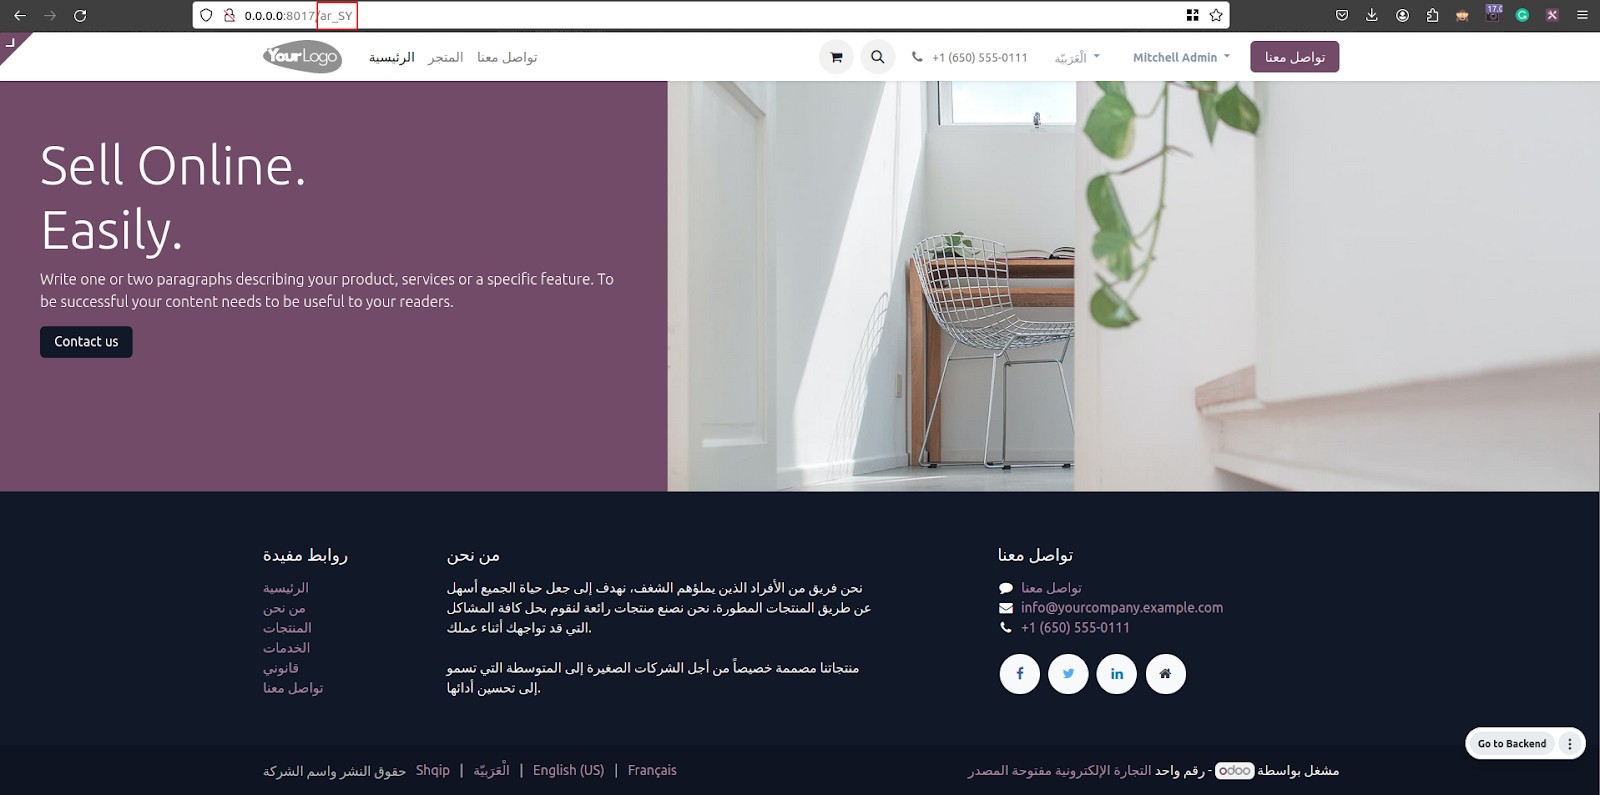
Users are free to operate the platform in the language of their
choice, offering a personalized and flexible experience.