The Odoo IoT Box, powered by a Raspberry Pi, serves as a bridge
between Odoo ERP and external hardware devices such as printers and
scanners. To enable smooth integration and operation, these devices
must be connected to the IoT Box using either WiFi or an Ethernet
cable.
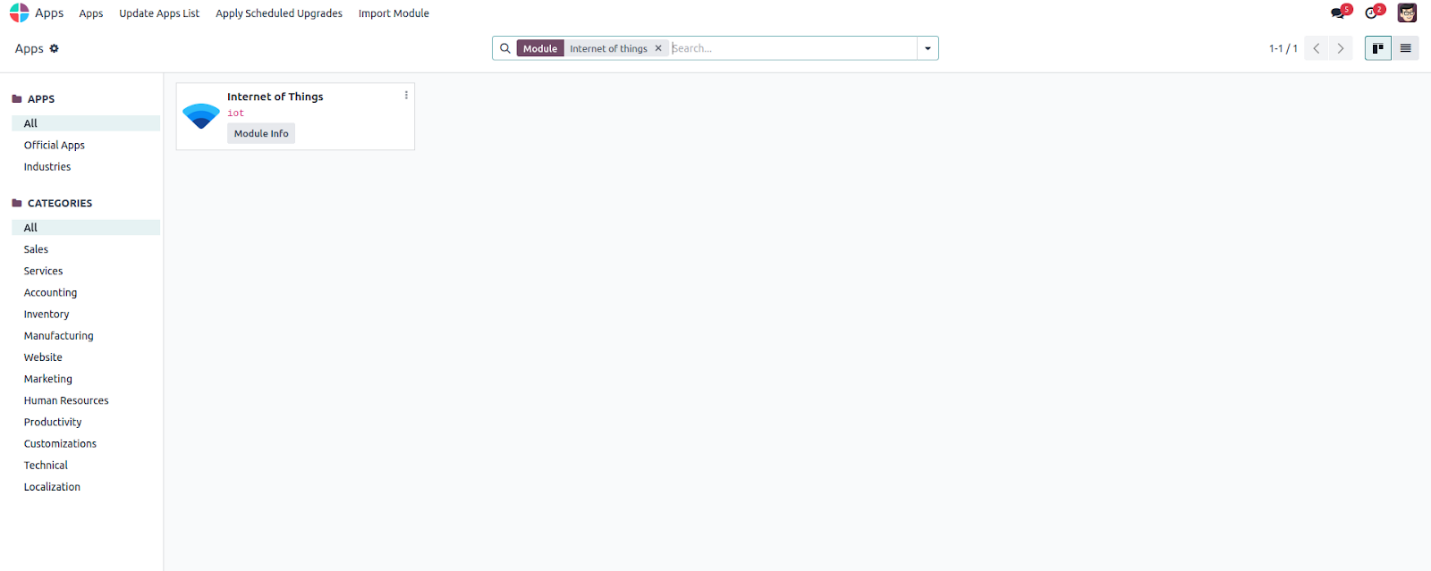
Open the IoT application from the main dashboard to see the list of
IoT Boxes currently connected to the system.
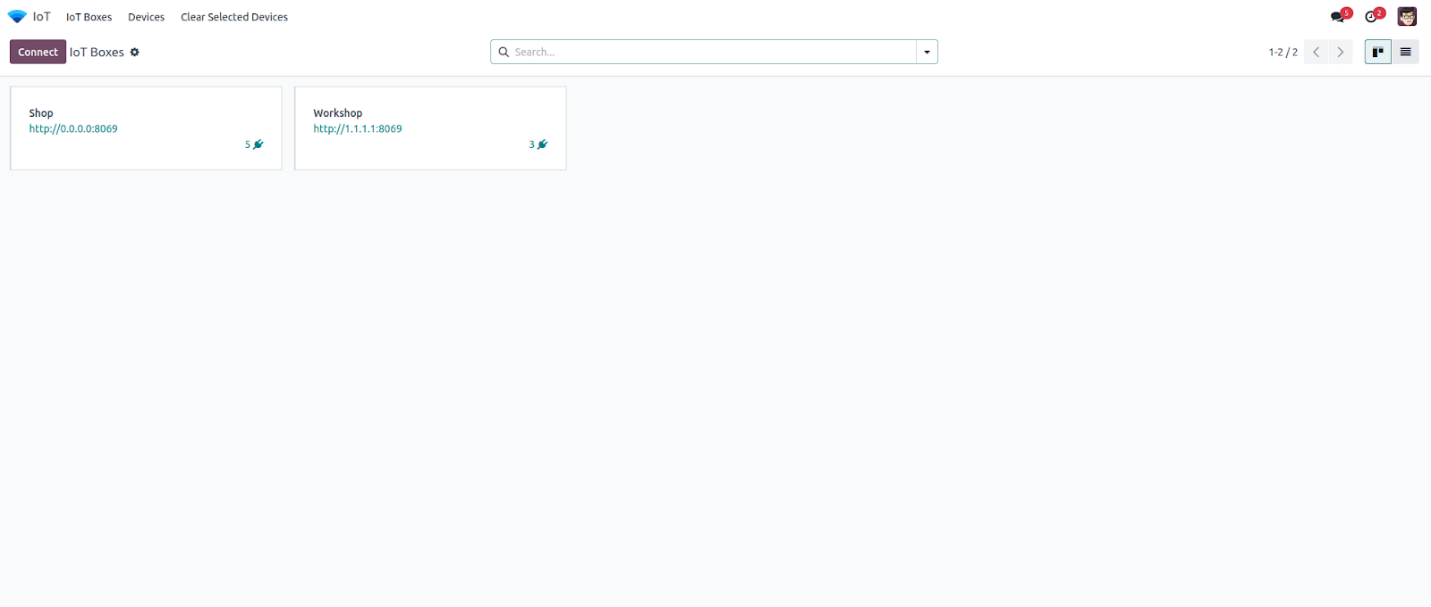
To connect a new IoT Box, you can choose between Ethernet or WiFi.
Begin by connecting all necessary devices to the IoT Box and turning
it on.
For an Ethernet setup, establish the connection by entering the
pairing code, which will either appear on a screen or be printed by
a receipt printer connected to the IoT Box.

Enter the given pairing code into the popup window that appears after
clicking the Connect button on the IoT module dashboard.
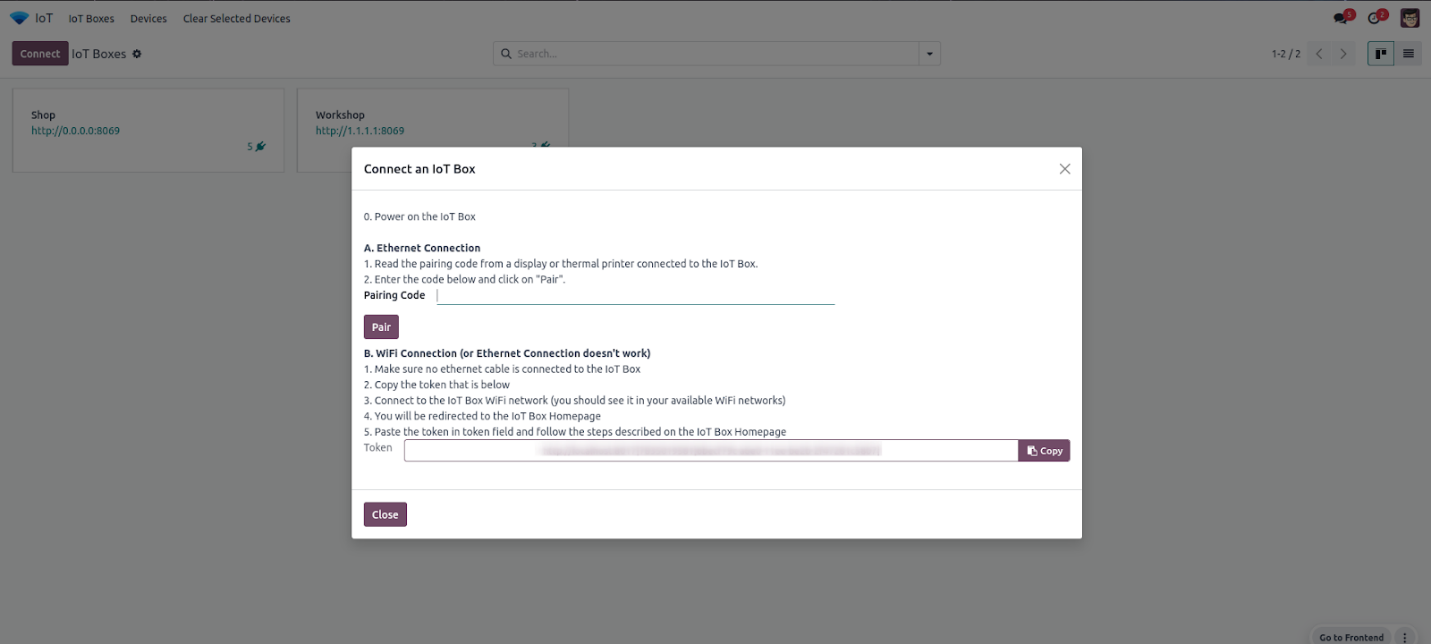
The initial setup process is the same for a WiFi connection. Before
turning on the IoT Box, ensure all devices are properly connected.
Then, click the Connect button to retrieve the pairing token.
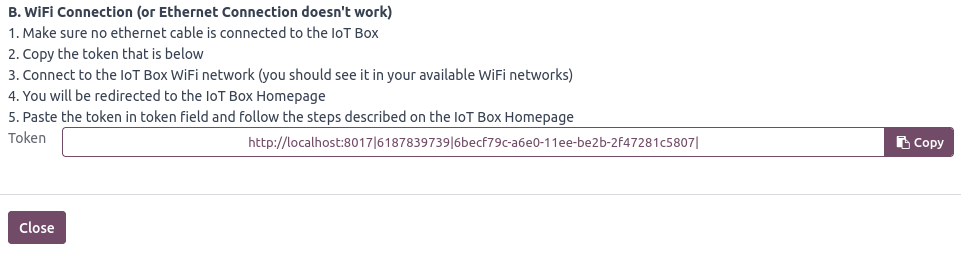
Verify that the computer is not using an Ethernet connection and is
instead connected to the IoT Box’s WiFi network.

Once connected, you’ll be redirected to the IoT Box homepage. If the
redirection doesn't occur, you can manually access it by entering
the box’s IP address in your browser. Then, paste the token into the
Server Token field and provide a name for the IoT Box to
easily identify it later.