Builds are essential for evaluating server performance, as they help
test how new changes behave. A successful build confirms that the
changes introduced are error-free. A red status indicates a failed
build, while a yellow status signals a partial success or warning.
In contrast, a green status reflects a fully successful build. If
needed, the rebuild option allows you to rerun a specific branch,
enabling further modifications or corrections.
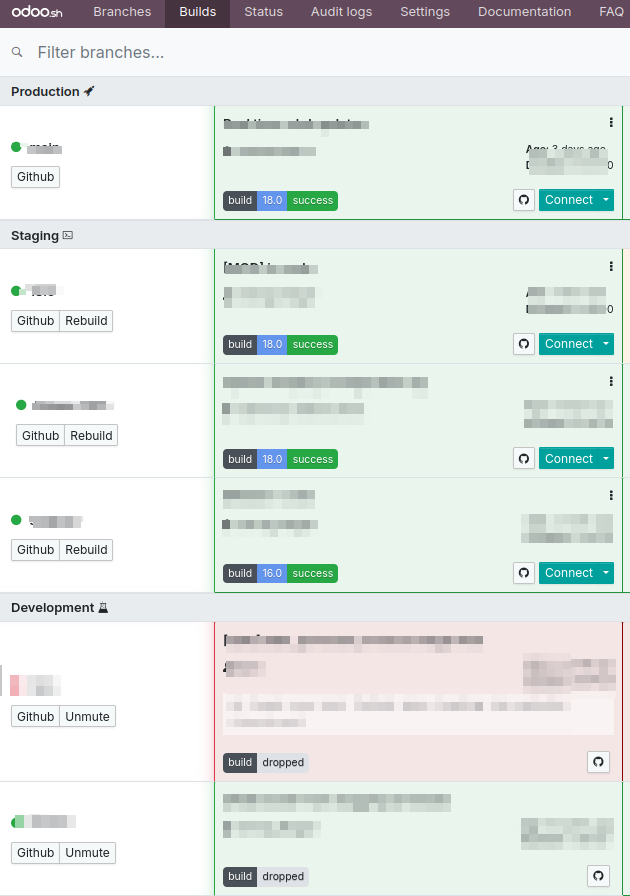
A rebuild is initiated using the latest commit from the branch. The
GitHub icon allows you to review the changes that have been made. To
connect to a specific build, use the Connect button. The Connect
dropdown also provides the option to connect as a different user via
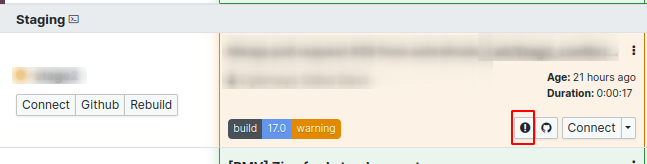
the "Connect As" feature. To view any warnings related to a build,
click the warning icon shown below.
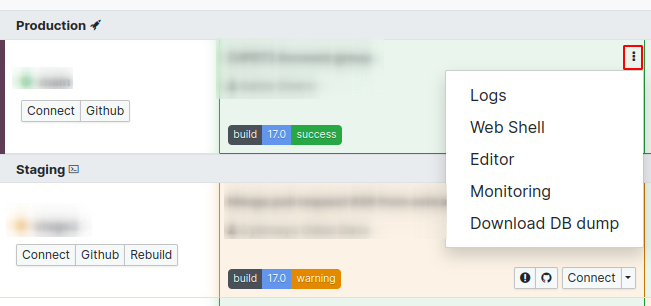
The three-dot menu in the build section offers access to additional
build options.
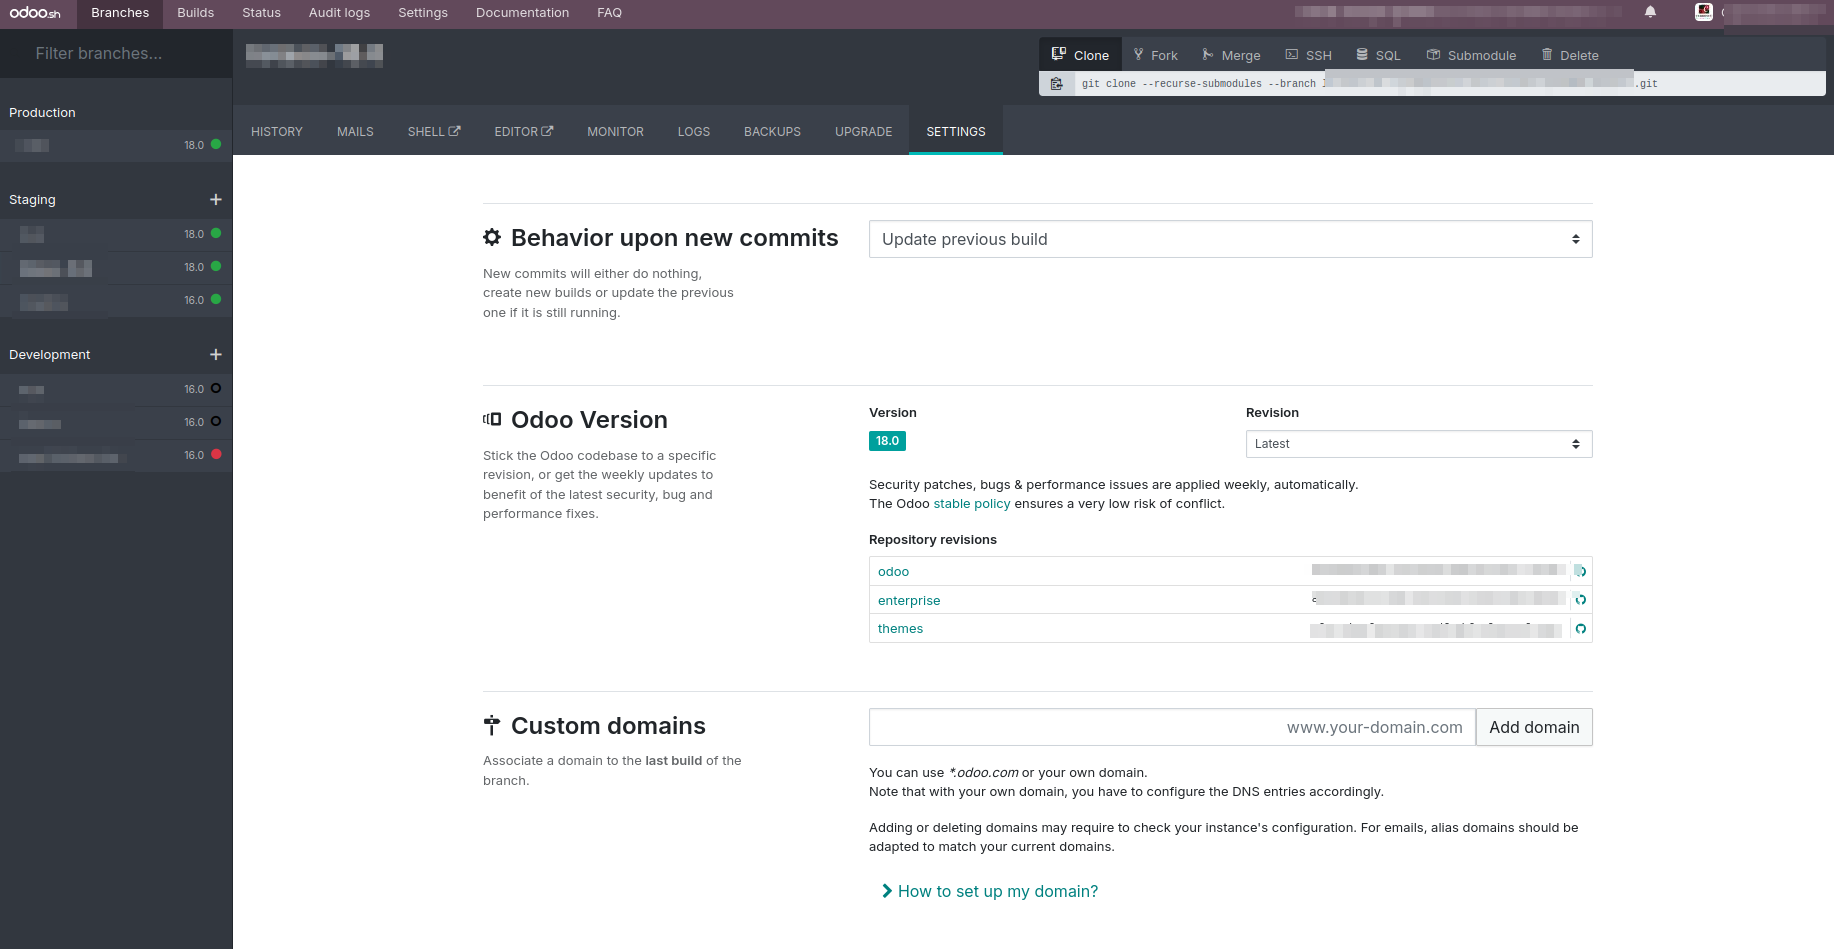
You can customize build behavior through the settings of each branch.
Specifically, you can configure the branch to either update the
existing database with every commit or generate a new one.
History:
This section displays a chronological record of builds, commits, and
test results. If a build is successful, the database can be accessed
using the Connect button.
Mails:
This section shows the emails that have been sent. Development and
staging branches allow for test email delivery, while the production
branch sends real emails to recipients.
Shell :
This feature provides terminal access, allowing the use of Linux
commands. You can connect to the Postgres database and run SQL
commands. Use the Plus icon on the sidebar to open multiple terminal
sessions.
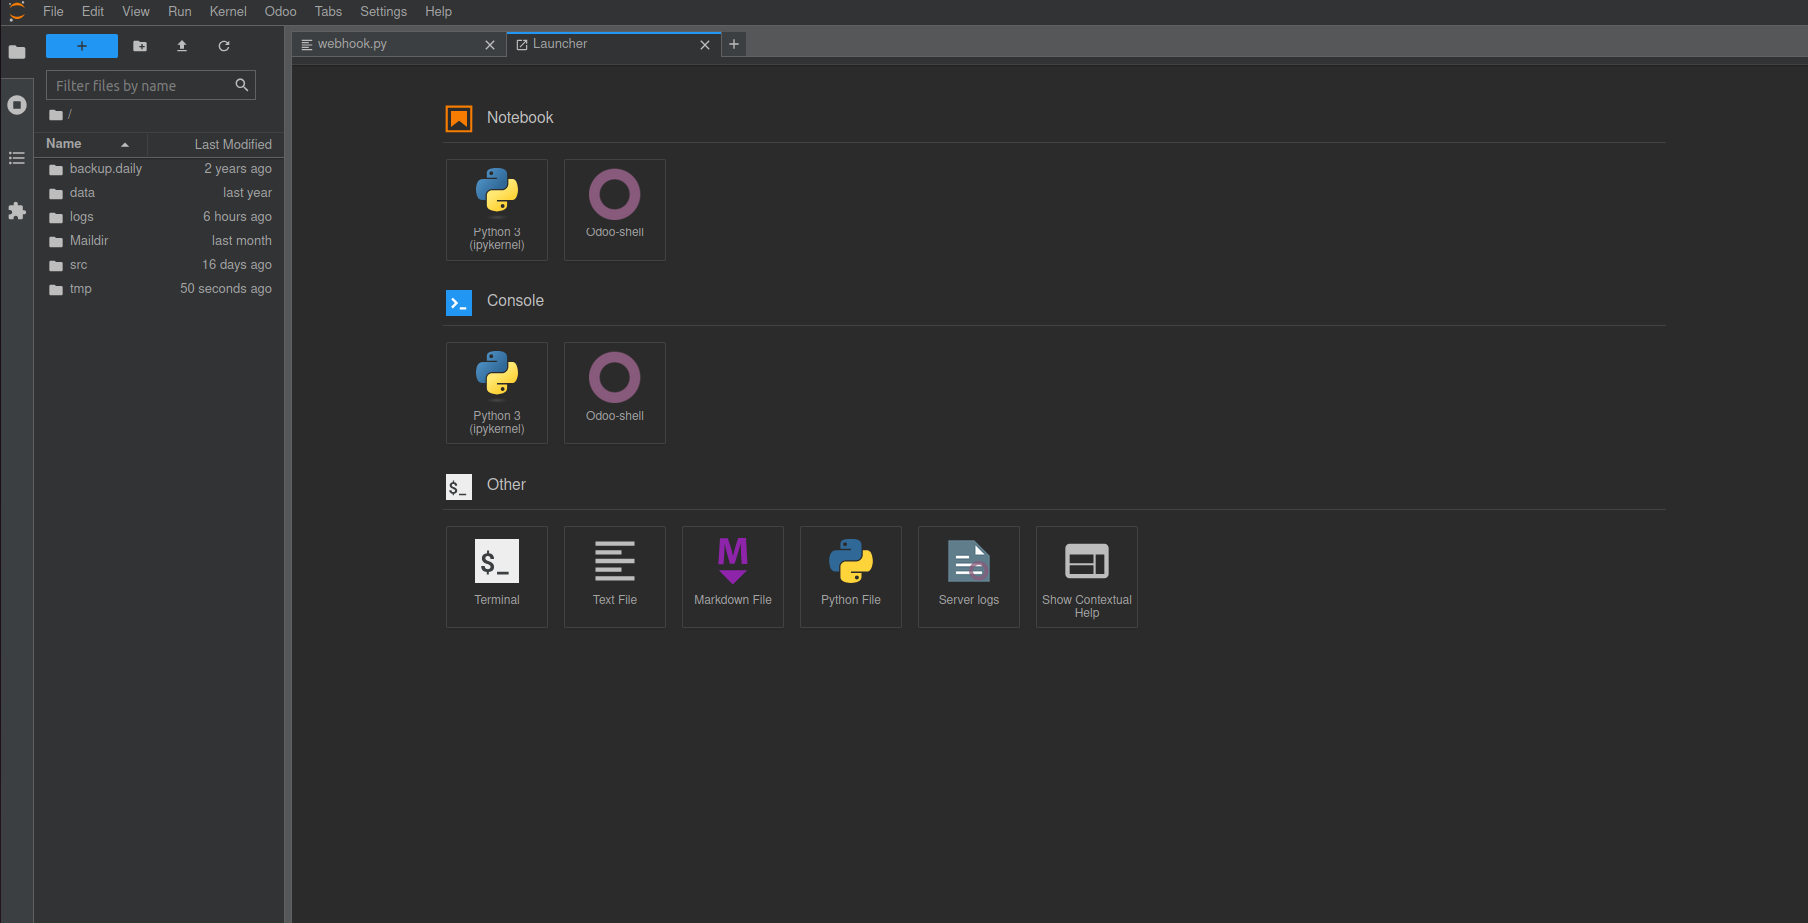
Editor:
The Editor is a powerful tool for modifying source code. It also
supports the creation of notebooks and provides access to both
Python 2 and Python 3 consoles, along with other useful features.
The Odoo source code is located at /home/odoo/src. To make changes,
navigate to the target file by double-clicking through the folder
structure. After editing, save your changes using the Ctrl + S
shortcut or via the File menu. Make sure the Python script is
properly saved. Odoo automatically detects changes to its files, so
there's no need to manually restart the service. If the changes
affect a specific module and require an update, you can use the
following command:
odoo-bin -u module_name --stop-after-init
Alternatively, you can connect to Odoo and select "Upgrade the
current module," or navigate to the "Server Logs" section within
Odoo to directly access the logs.
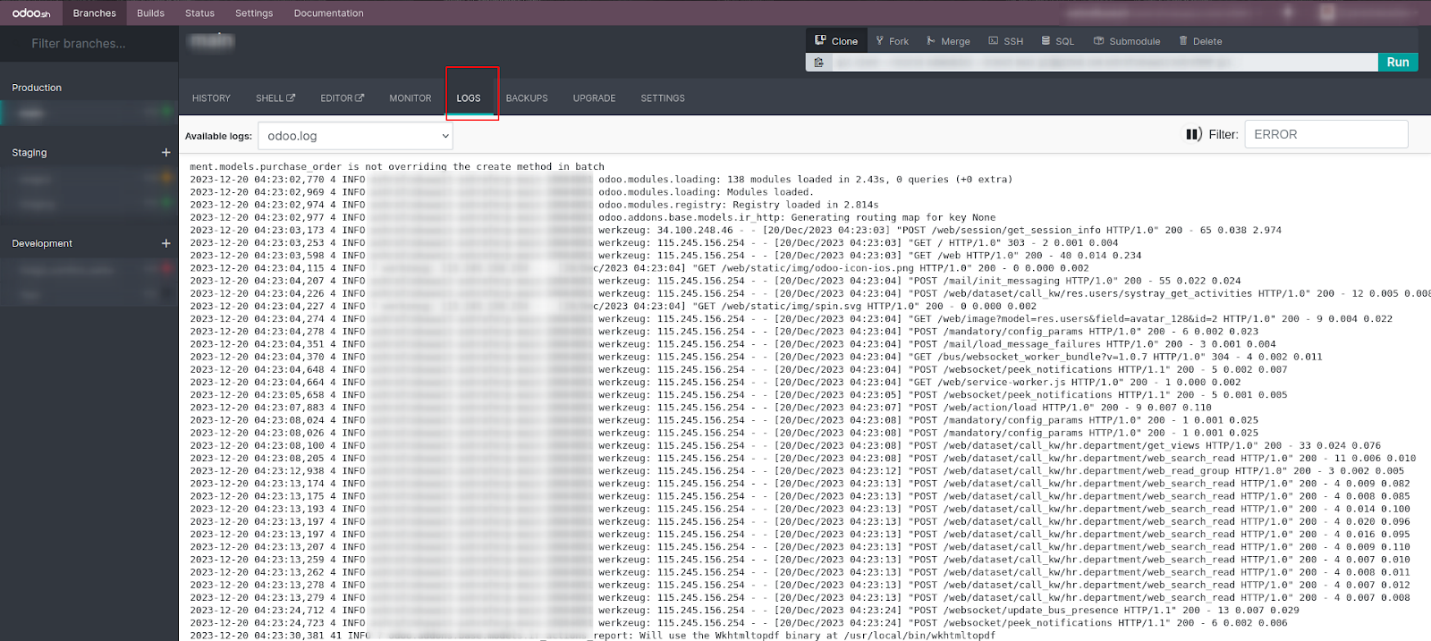
The log viewer provides access to various log files, each with its
own purpose:
- install.log: Captures logs related to module
installations, including those from automated test cases.
- pip.log: Records logs for Python packages installed via
the requirements.txt file.
- odoo.log: The main access log for Odoo, useful for
monitoring system access and diagnosing production errors.
- update.log: Contains logs for automatic updates triggered
when a module with a new manifest version is uploaded.
Additional logs, such as jupyter-log, are also available for
reference.
To make reviewing log content easier, use the filter option to narrow
down the displayed entries.