Interactive user interface components are those that react to user
actions such as clicks, hovers, or form submissions. In the example
below, we illustrate this by adding a click event to a component. A
button will be created, and a specific function will be assigned to
execute when the button is clicked, allowing the component to
respond dynamically to user interaction.
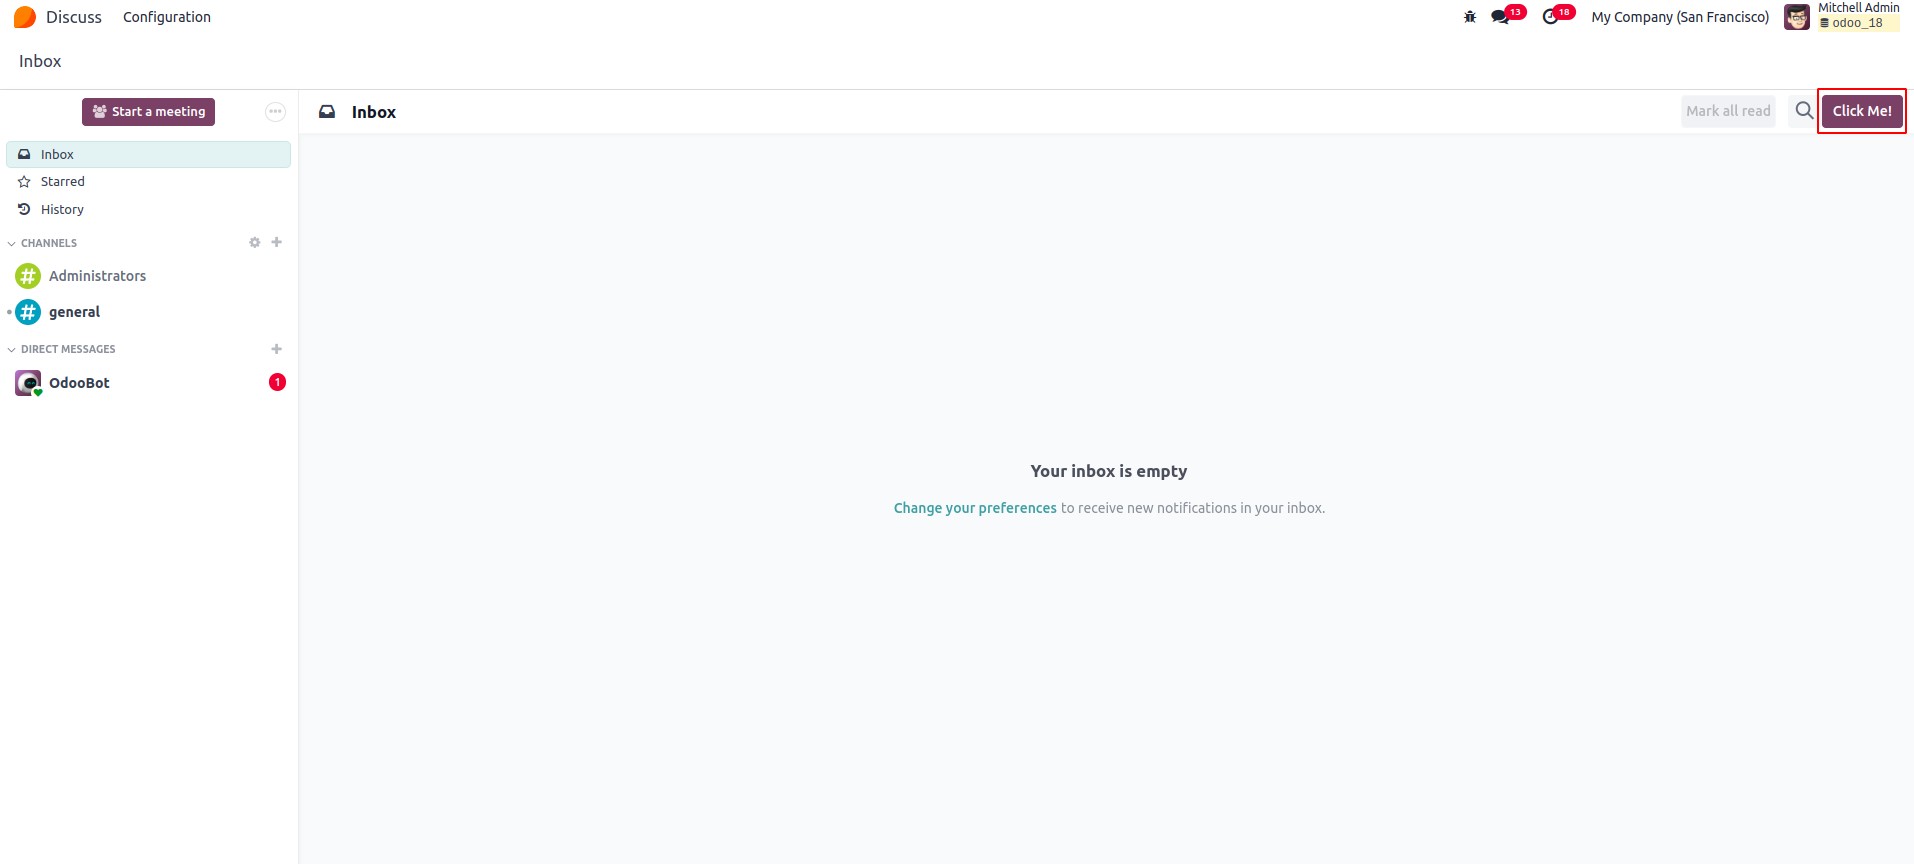
Modify the mail.Discuss template to include a custom button within
the Discuss header.
<?xml version="1.0" encoding="UTF-8"?>
<templates xml:space="preserve">
  <t t-name="Discuss" t-inherit="mail.Discuss" t-inherit-mode="extension">
     <xpath expr="//div[hasclass('o-mail-Discuss-header')]" position="inside">
         <div>
            <button type="button" class="btn btn-primary" t-on-click="onClickButton">
                Click Me!
            </button>
        </div>
     </xpath>
  </t>
</templates>
Create a new JS file to modify the Discuss component, adding an
onClickButton method that opens a confirmation dialog.
                       /** @odoo-module **/
import { Discuss } from "@mail/core/public_web/discuss";
import { patch } from "@web/core/utils/patch";
import { useService } from "@web/core/utils/hooks";
import { _t } from "@web/core/l10n/translation";
import { ConfirmationDialog } from "@web/core/confirmation_dialog/confirmation_dialog";

patch(Discuss.prototype, {
    setup() {
        super.setup(...arguments);
        this.dialog = useService("dialog");
    },

    onClickButton() {
        this.dialog.add(ConfirmationDialog, {
                title: _t("Success"),
                body: _t("The button clicked!!"),
            })
    },
});
Ensure the JS and XML files are loaded in your custom module’s
assets.
                       'assets': {
        'web.assets_backend': [
           'custom_module_name/static/src/js/discuss.js',
           'custom_module_name/static/src/xml/discuss.xml'
       ]
    },
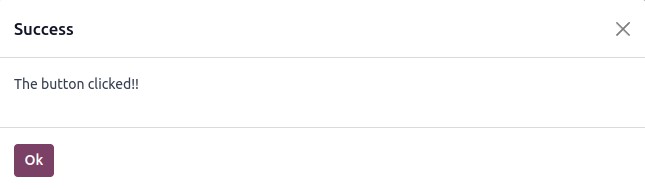
The result will appear as follows:
When the button is clicked, a dialog appears.
To handle a click event, the method name can be assigned as the value
of the t-on-click attribute. This method should then be defined
within the component itself. The syntax for declaring the event
within the component is as follows:
t-on-click="method name"