In Odoo 18, security groups are used to control user access across
different models and views. These groups are defined in XML and CSV
files within the module’s security/ directory, and the paths must be
declared in the module's __manifest__.py file.
In your module’s __manifest__.py file, include your security
definitions like this:
'data': [
   'security/ir.model.access.csv',
   'security/account_security.xml'
  ]
Here’s how you define a security group for "Student" in a school
management module:
<odoo>
    <record id="school_management_student" model="res.groups">
        <field name="name">Student</field>
        <field name="category_id" ref="school_management.school_management_access"/>
        <field name="implied_ids" eval="[(4, ref('base.group_user'))]"/>
    </record>
</odoo>
Field Details:
- id: Internal XML ID for referencing (e.g., in access
rules).
- name: Display name of the group.
- category_id: A category header for organizing groups .
- implied_ids: This group inherits the permissions of
listed groups (e.g., base.group_user).
Creating a Module Category
You should define the category for your group using the
ir.module.category model:
<odoo>
    <record model="ir.module.category" id="school_management_access">
        <field name="name">School Management</field>
    </record>
</odoo>
This helps organize your group under a named section in the group
configuration UI.
Use a CSV file to specify which groups have access to your models.
For example:
id,name,model_id/id,group_id/id,perm_read,perm_write,perm_create,perm_unlink
access_test_model,access_test_model,model_test_model,school_management.school_management_student,1,0,0,0
In the ir.model.access.csv file, the group_id/id column refers to the
name of the group defined earlier in the security group
configuration. This assigns the specified access rights to that
group for the given model.
Once you have defined your security groups and set up access rights,
you can manage and view these groups directly from the user
interface. To do this, you first need to enable Developer Mode. Once
activated, navigate to Settings → Users & Companies → Groups. This
section displays all the groups that exist within the system,
including those created through your custom modules.
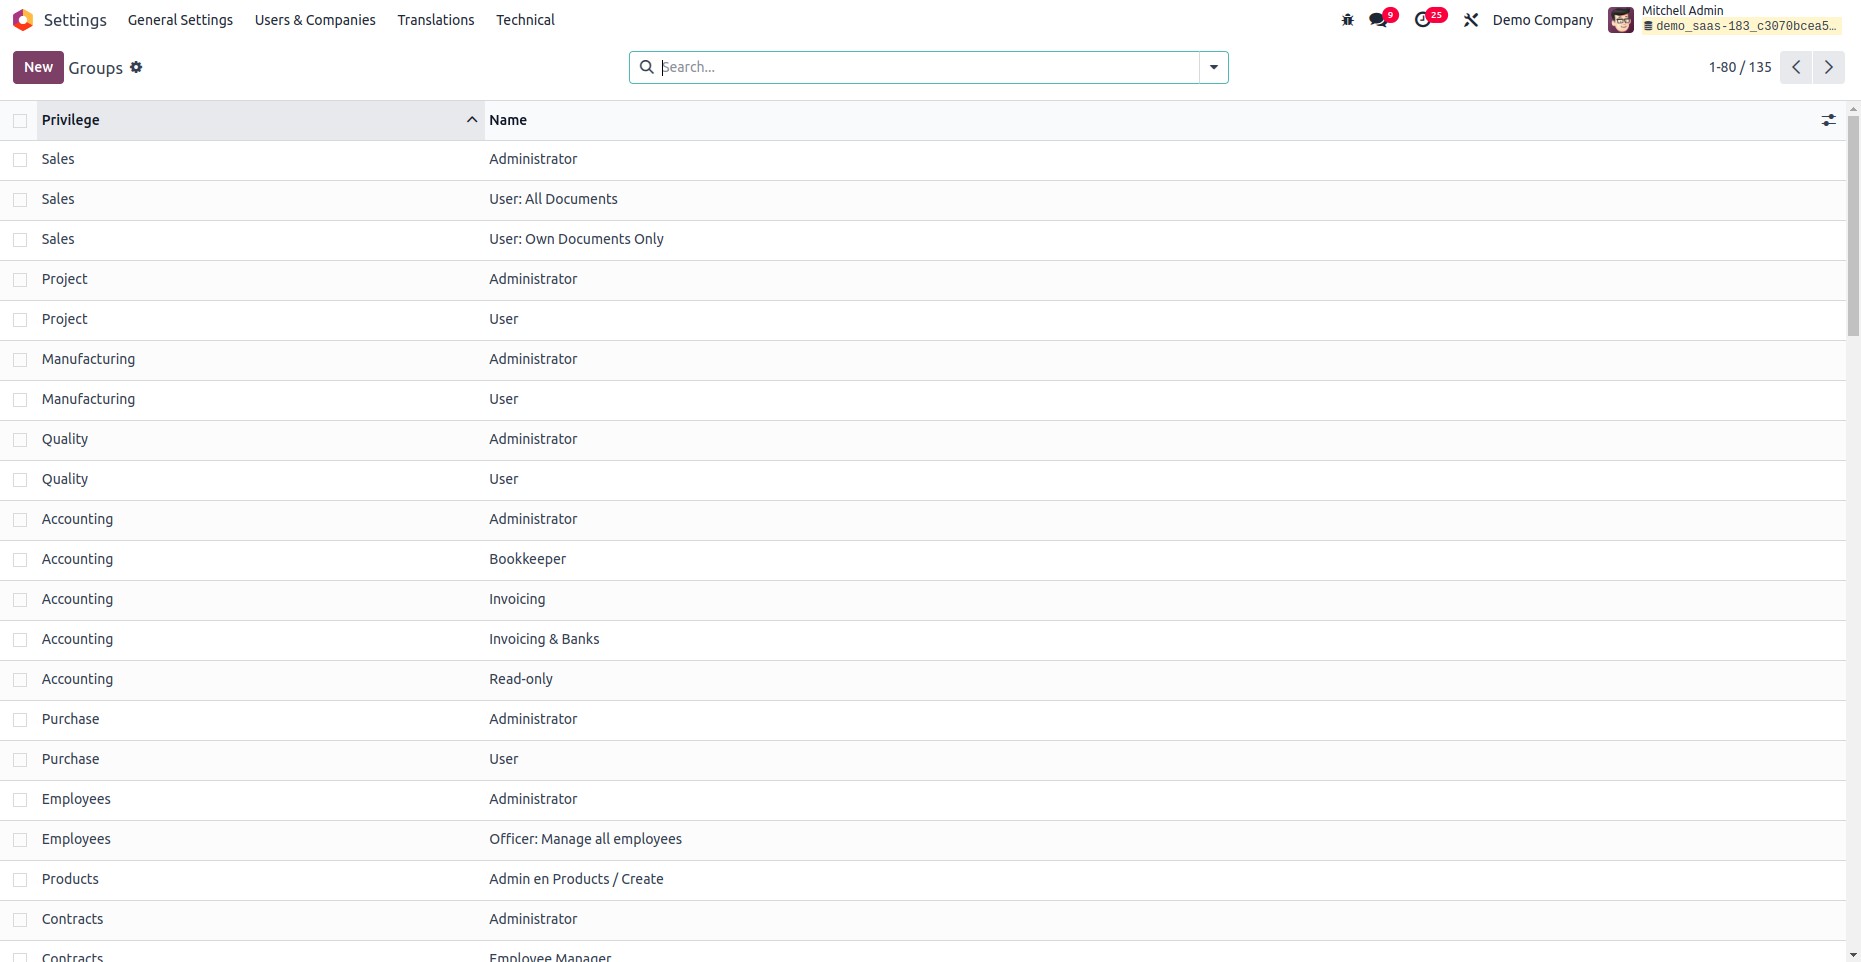
From here, you can create new groups or edit existing ones. To create
a new group, click the "New" button. This opens a form view as
illustrated below:.

Step 1: Define the Model
Below is an example of a simple model for managing hospital patient
records:
from odoo import models, fields

class HospitalPatient(models.Model):
    _name = "hospital.patient"
    _description = "Hospital Patient"

    name = fields.Char(string="Name", help="Name of Patient")
    age = fields.Integer(string="Age", help="Age of Patient")
    email = fields.Char(string="Email", help="Email of Patient")
    phone = fields.Char(string="Phone", help="Phone of Patient")
    state = fields.Selection([
        ('draft', 'Draft'),
        ('confirmed', 'Confirmed'),
        ('cancel', 'Canceled')
    ], string="State", readonly=True, help="Status of the patient record")
This model defines the structure for storing patient data such as
name, age, contact details, and current state.
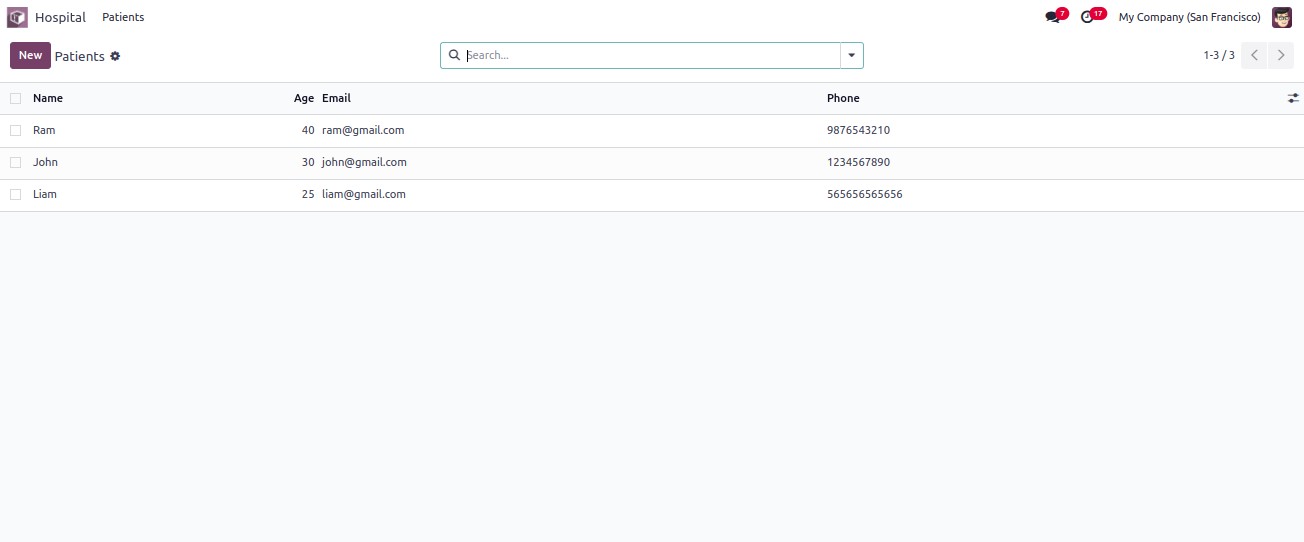
Step 2: Define the List View in XML
Once the model is ready, the next step is to define how it appears in
the list view:
<record id="hospital_patient_view_list" model="ir.ui.view">
    <field name="name">hospital.patient.view.list</field>
    <field name="model">hospital.patient</field>
    <field name="arch" type="xml">
        <list>
            <field name="name"/>
            <field name="age"/>
            <field name="email"/>
            <field name="phone"/>
        </list>
    </field>
</record>
- <list>: This is the root tag for a list view.
- <field name="..."/>: These tags define which
fields are displayed in the list and in what order.
This view allows users to see a grid-style table of patients, making
it easier to scan through records quickly.