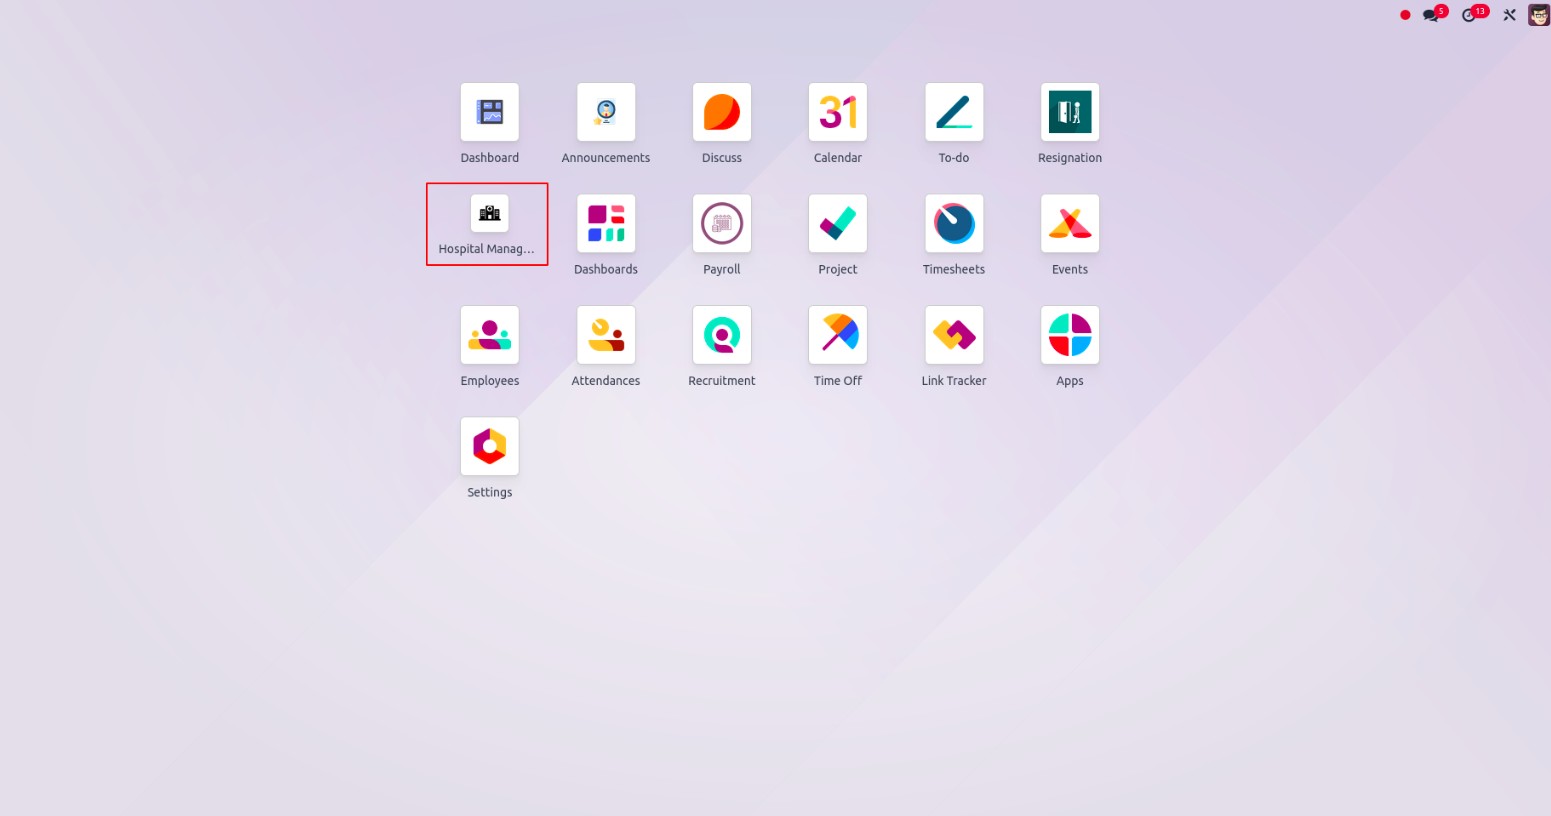
Odoo provides two methods for page navigation: using the user
interface or by configuring menus through code. Menu definitions and
their actions are typically added via XML files, which should be
placed in the views folder.
Menu
In Odoo, the
For example:
    <menuitem id="hospital_menu_root" name="Hospital Management" sequence="25"
web_icon="hospital_management,static/description/icon.png"/>
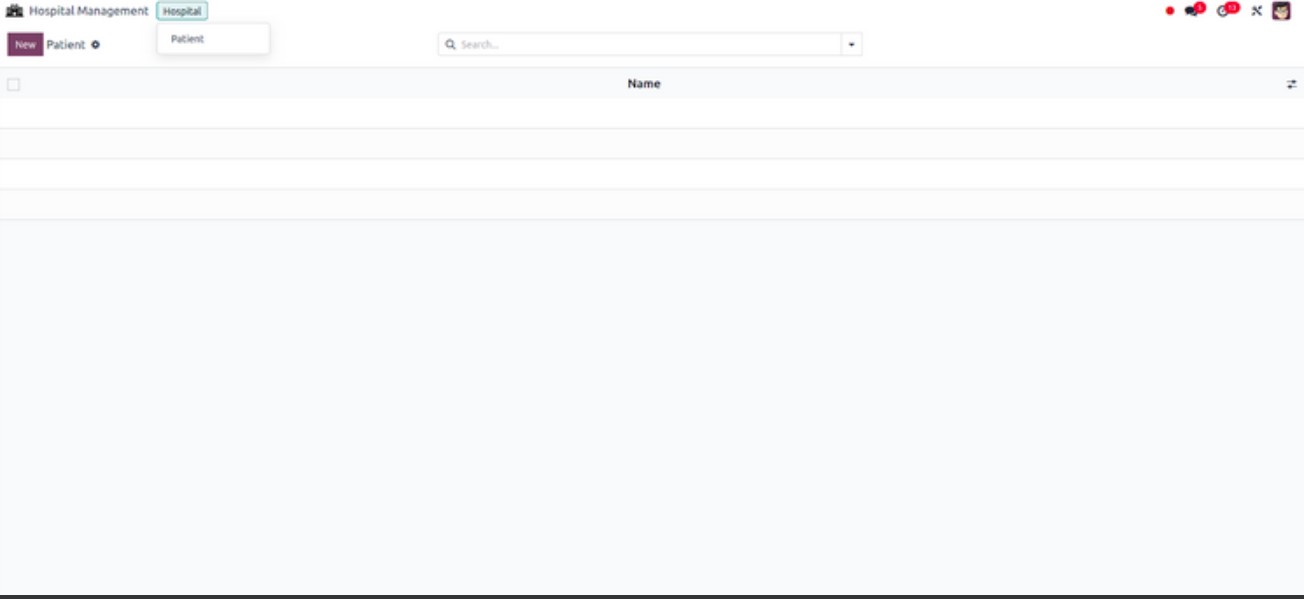
Sub Menu
In Odoo, creating a submenu requires associating it with a parent
menu. Submenus are linked to main menus, forming a hierarchical
structure that helps organize the navigation system.
For Example
<menuitem id="hospital_menu_hospital" name="Hospital" parent="hospital_menu_root"/>
<menuitem id="hospital_patient_menu" name="Patient"
          parent="hospital_menu_hospital" action="hospital_patient_action"
          sequence="2"/>
Two submenus are defined. The primary menu contains a submenu for
Hospitals, which further includes a Patients option. The Patients
submenu is connected to an action, and selecting it will display the
associated view or process.
Defining the action is the next crucial step, as either the main menu
or its submenus must be connected to an action to make their content
accessible.
For Example
<record id="hospital_patient_action" model="ir.actions.act_window">
    <field name="name">Patients</field>
    <field name="res_model">hospital.patient</field>
    <field name="view_mode">list,form</field>
    <field name="help" type="html">
        <p class="o_view_nocontent_smiling_face">No patients found. Let's create one!</p>
    </field>
</record>
- name: Specifies the name of the action linked to the
menu.
- res_model: Indicates the model connected to the menu.
- view_mode: Defines the display modes for the action. In
this example, both "tree" (list view) and "form" (detailed form
view) are included.
- help: Contains an HTML snippet that provides user
guidance or additional information. In this case, it displays
messages when no patient records are available.
Menus from UI
To create and modify menus and submenus via the user interface, go to
Settings > Technical > User Interface > Menu Items. Make sure that
developer mode is activated to access this feature.
- Menu: The title of the menu.
- Parent Menu: The main menu under which this item will be
nested.
- Sequence: Determines the display order of the menu item.
- Action: Defines the action to be triggered when the menu
is selected.
- Access Rights: Used to control visibility by restricting
menu access to specific user groups.
- Submenus: Additional menu items can be added here to
expand the navigation. Once the form is saved, the menus will
appear within the respective module.
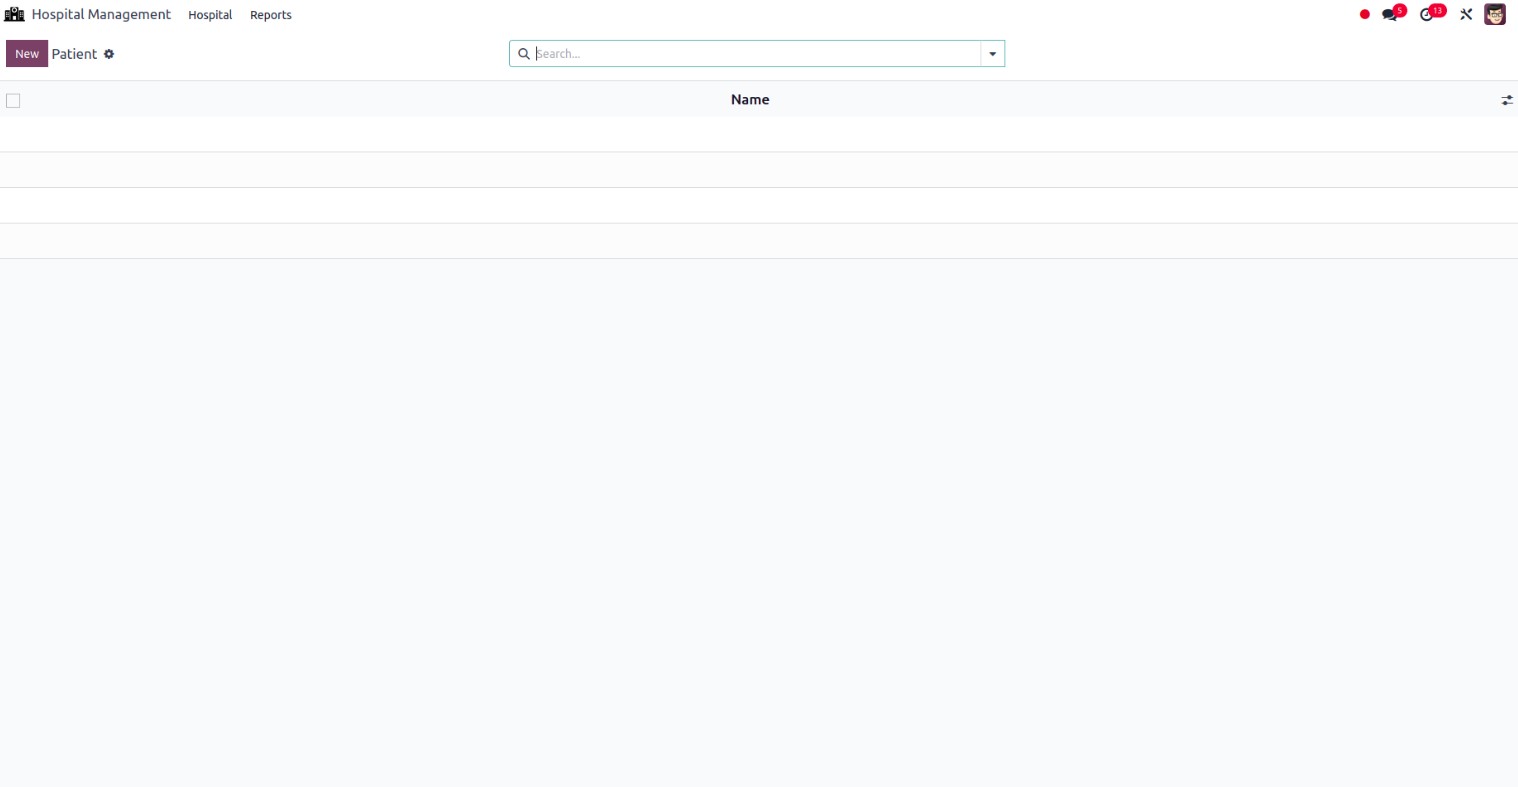
The "Reports" menu was recently added, illustrating that new menus
and submenus can be easily created using the user interface.