Odoo provides various types of buttons. Form buttons are placed
within form views and are used to trigger specific actions when
clicked. Another commonly used type is the smart button, which is
typically used to display and access related records from other
models directly within the current view.
Form Buttons
<record id="hospital_patient_view_form" model="ir.ui.view">
   <field name="name">hospital.patient.view.form</field>
   <field name="model">hospital.patient</field>
   <field name="arch" type="xml">
       <form string="menu">
           <header>
               <button name="action_confirm" string="Confirm"
                       class="oe_highlight" type="object"/>
               <field name="state" widget="statusbar"/>
           </header>
           <sheet>
               <group>
                   <group>
                       <field name="name"/>
                       <field name="age"/>
                   </group>
                   <group>
                       <field name="email"/>
                       <field name="phone"/>
                   </group>
               </group>
           </sheet>
       </form>
   </field>
</record>
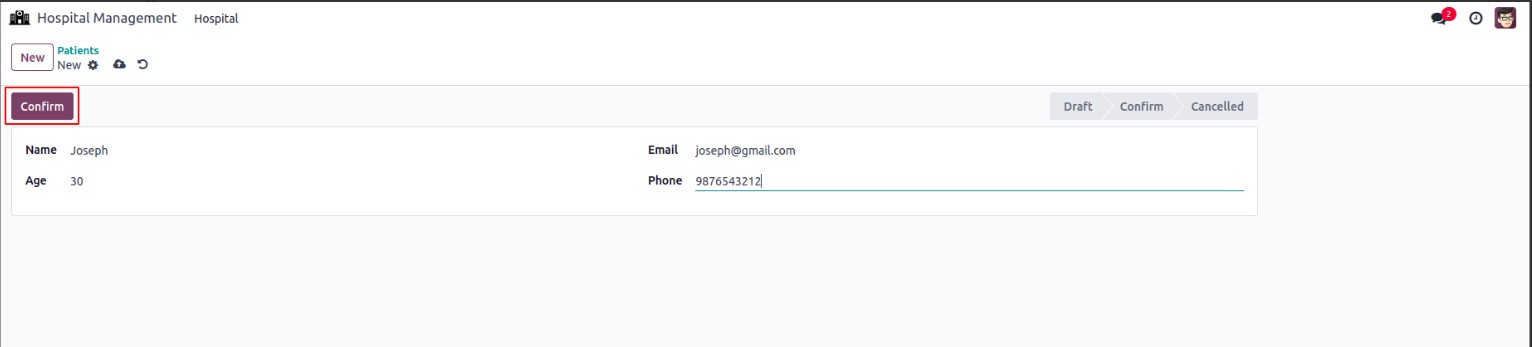
In this case, a form view is first defined. Within the form view, a
button of type object is added, linked to the method action_confirm.
The corresponding function, also named action_confirm, should be
defined in the Python file for the related model.
def action_confirm(self):
    self.write({'state': 'confirmed'})
Defining this function is crucial to avoid errors. The preview of the
button is provided below.
Odoo also provides action-type buttons, which are designed to trigger
specific actions when clicked. These buttons are especially useful
for opening wizards or initiating particular processes directly from
the form view.
For example:
<record id="hospital_patient_view_form" model="ir.ui.view">
   <field name="name">hospital.patient.view.form</field>
   <field name="model">hospital.patient</field>
   <field name="arch" type="xml">
       <form string="menu">
           <header>
               <button name="action_confirm" string="Confirm"
                       class="oe_highlight" type="object"/>
               <button name="%(action_add_patient)d" string="Book Appointment" type="action" class="oe_highlight"/>
               <field name="state" widget="statusbar"/>
           </header>
           <sheet>
               <group>
                   <group>
                       <field name="name"/>
                       <field name="age"/>
                   </group>
                   <group>
                       <field name="email"/>
                       <field name="phone"/>
                   </group>
               </group>
           </sheet>
       </form>
   </field>
</record>
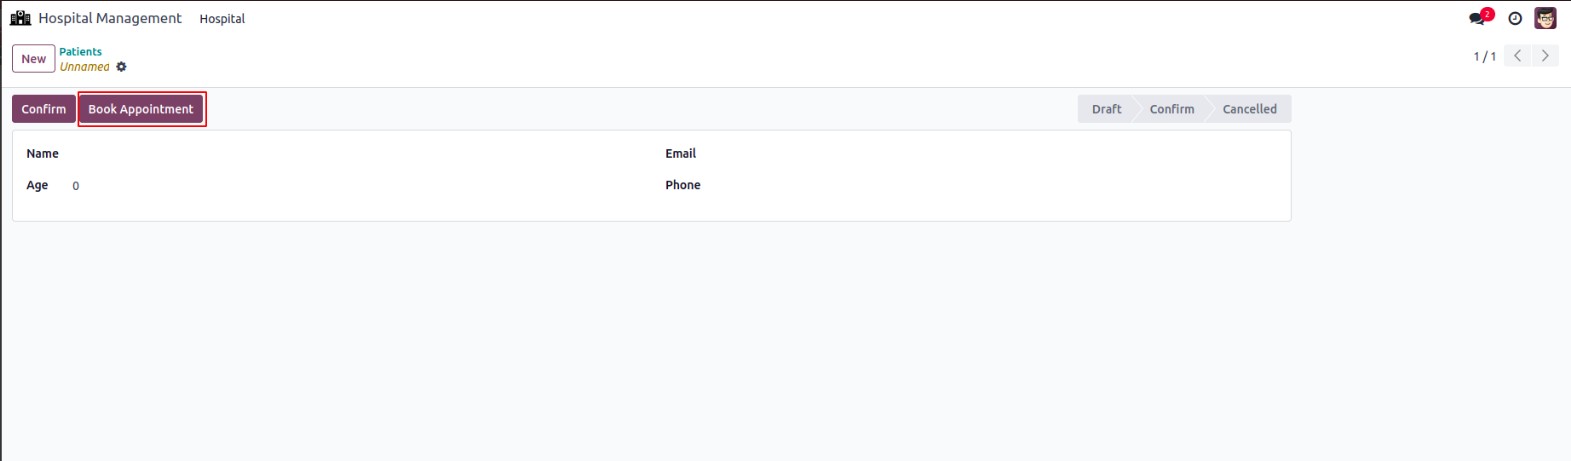
Next, you need to configure the action that will be triggered upon
clicking the button.
 <record id="action_add_patient" model="ir.actions.act_window">
    <field name="name"> Book Appointment </field>
    <field name="res_model">patient.booking </field>
    <field name="view_mode">form </field>
    <field name="target">new </field>
 </record>
The following image illustrates the updated view with the newly
configured button and its associated functionality.
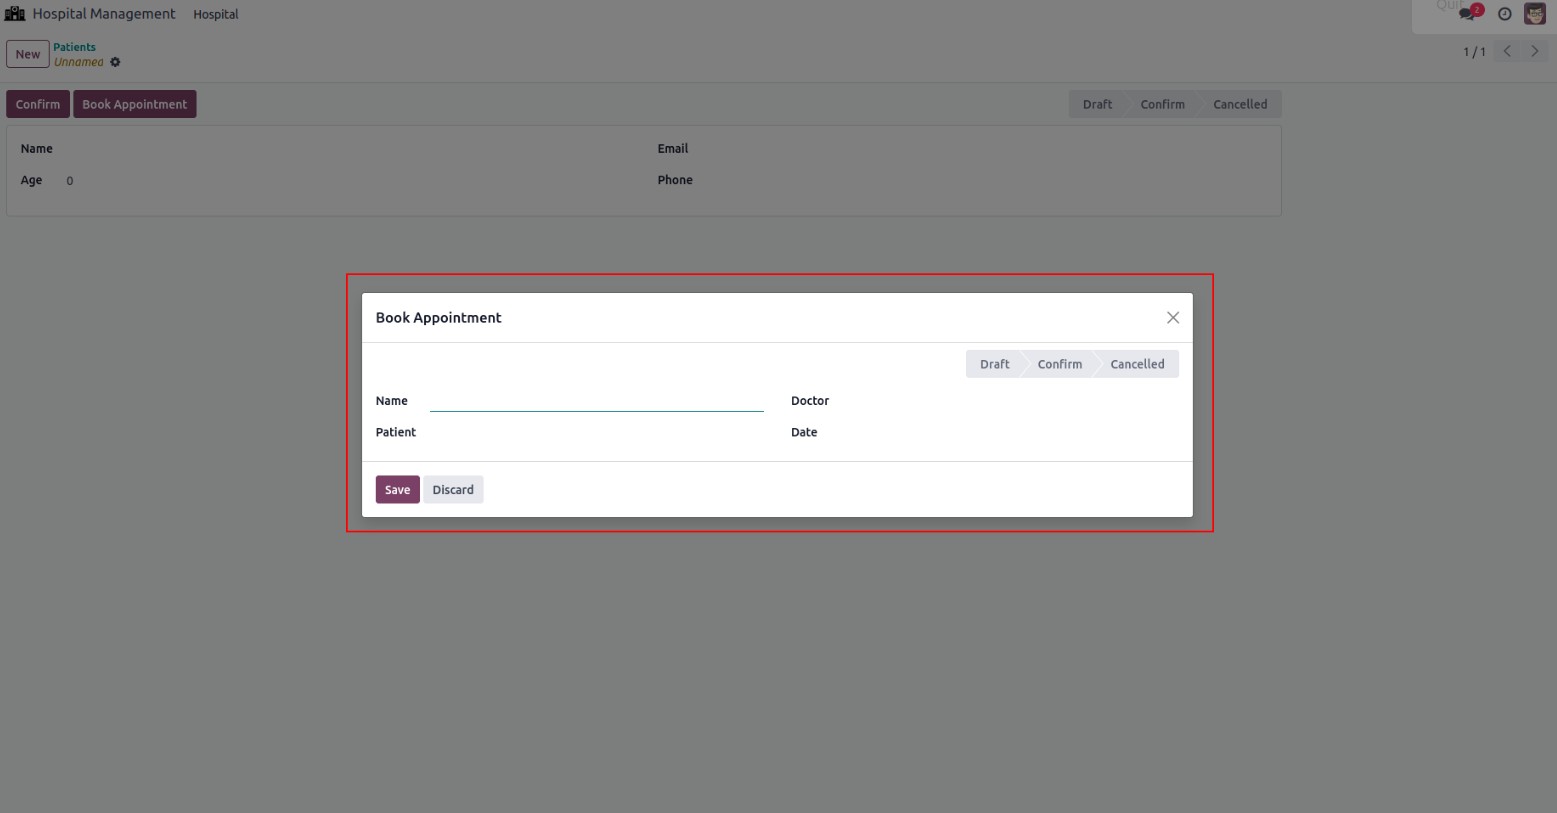
When the button is clicked, a wizard will appear, as demonstrated
below.
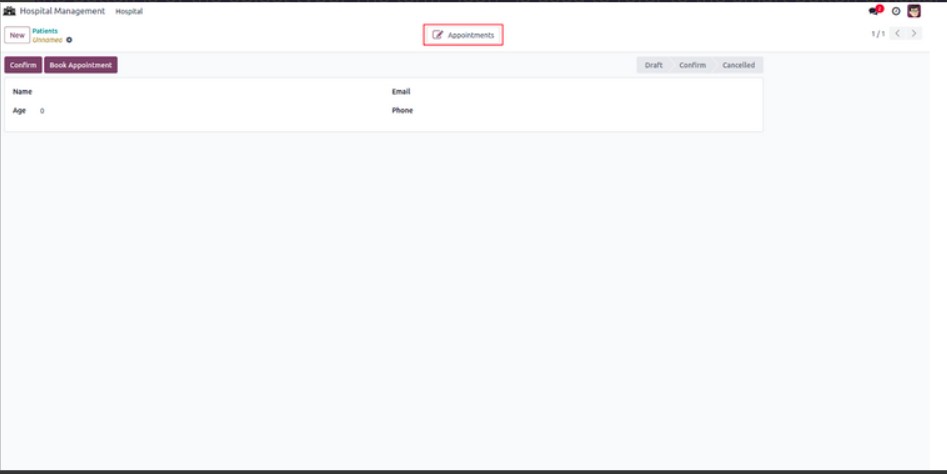
Smart Button
In Odoo, smart buttons are defined within form views and have the
ability to access all records linked to that specific form.
<record id="hospital_patient_view_form" model="ir.ui.view">
   <field name="name">hospital.patient.view.form</field>
   <field name="model">hospital.patient</field>
   <field name="arch" type="xml">
       <form string="menu">
           <header>
               <button name="action_confirm" string="Confirm"
                       class="oe_highlight" type="object"/>
               <button name="%(action_add_patient)d"
                       string="Book Appointment" type="action"
                       class="oe_highlight"/>
               <field name="state" widget="statusbar"/>
           </header>
           <sheet>
               <div class="oe_button_box" name="button_box">
                   <button class="oe_stat_button" type="object"
                           string="Appointments" name="show_appointments"
                           icon="fa-pencil-square-o">
                   </button>
               </div>
               <group>
                   <group>
                       <field name="name"/>
                       <field name="age"/>
                   </group>
                   <group>
                       <field name="email"/>
                       <field name="phone"/>
                   </group>
               </group>
           </sheet>
       </form>
   </field>
</record>
A smart button is added to the form view, which requires a function
of the same name to be created due to its object type. The smart
button's appearance is controlled using the 'icon' attribute.