In Odoo 18, dynamic snippets continue to play a key role in building
interactive and data-driven website elements. Unlike static snippets
(which display fixed content), dynamic snippets automatically update
their content based on live data from the backend. This is
especially useful for elements like product listings, latest blog
posts, upcoming events, etc.
With the updated website builder in Odoo 18, dynamic snippets are
better integrated into the frontend, offering a seamless visual
experience and improved loading efficiency using Odoo’s new frontend
architecture.
How to Create a Dynamic Snippet
To create a dynamic snippet, you'll need:
- A Python controller to fetch and return the data.
- An XML template for the HTML structure of the snippet.
- A JavaScript file to handle frontend rendering and data loading.
- Updates to your module’s manifest file to register assets and
views.
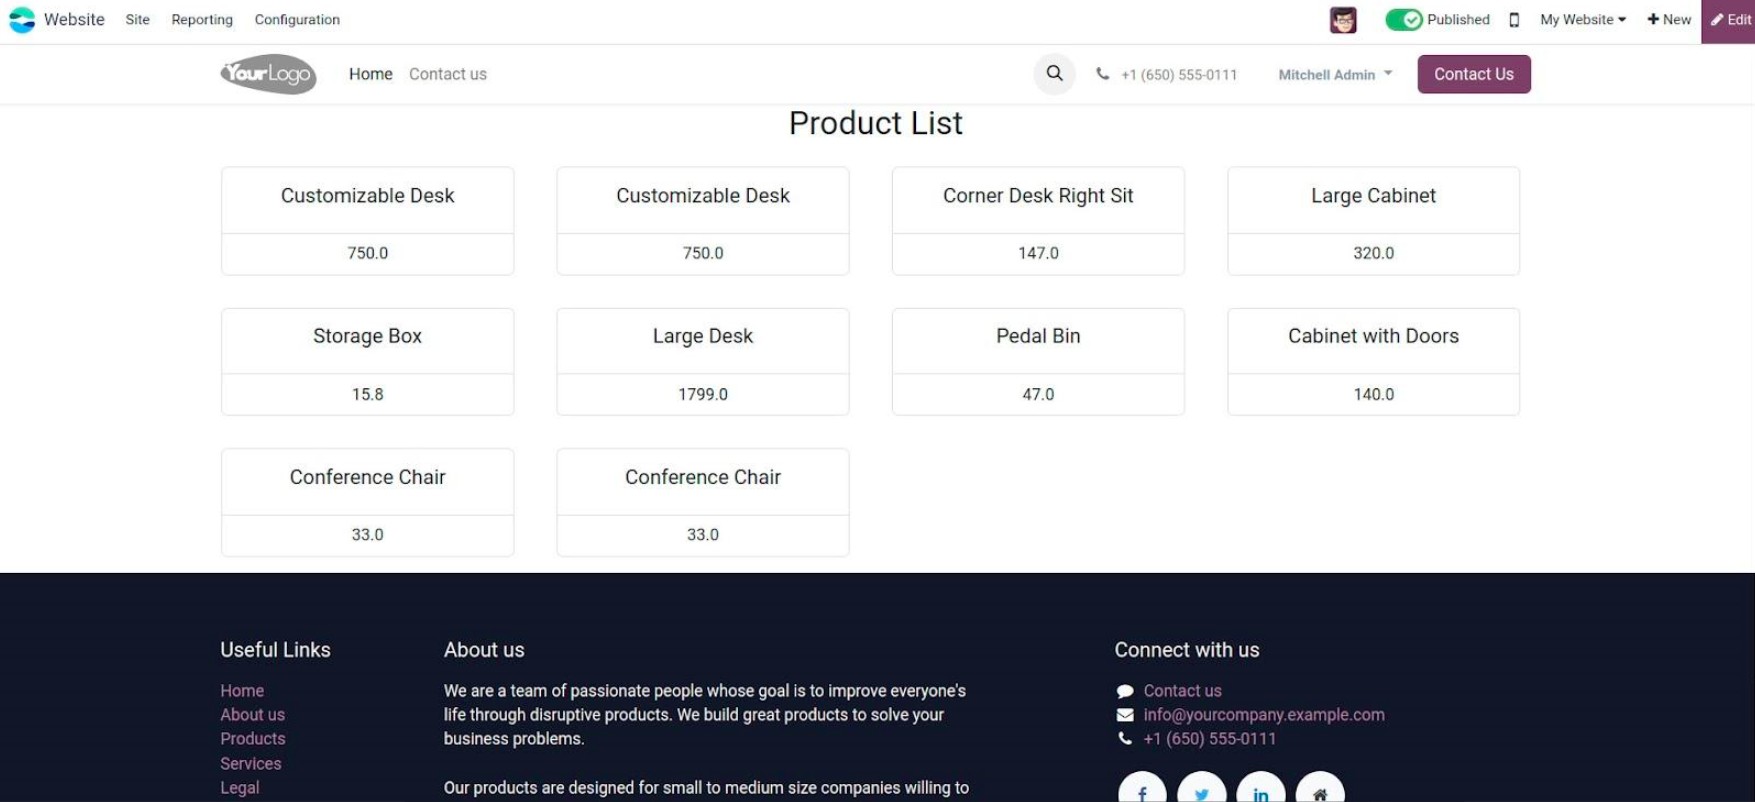
Let’s walk through the process using a practical example — displaying
a list of 10 products dynamically on the website.
1. Create the Controller (Python)
In your custom module, define a controller to fetch product data:
                       from odoo import http
from odoo.http import request

class ProductList(http.Controller):

    @http.route('/product/list', type='json', auth='public', website=True)
    def product_list(self):
        products = request.env['product.product'].sudo().search([], limit=10)
        product_data_list = []
        for product in products:
            product_data_list.append({
                'product': product.name,
                'price': product.list_price,
            })
        return {'data': product_data_list}
2. Define the Snippet Layout (XML)
Create an XML template for the dynamic snippet. Save this as
views/dynamic_snippet_template.xml:
<?xml version="1.0" encoding="utf-8"?>
<odoo>
    <template id="product_list" name="Dynamic Snippet">
        <section class="container dynamic_snippet">
            <h3 class="text-center">Featured Products</h3>
            <div class="row o_dynamic_snippet_content">
                <!-- Content dynamically inserted by JS -->
            </div>
        </section>
    </template>
</odoo>
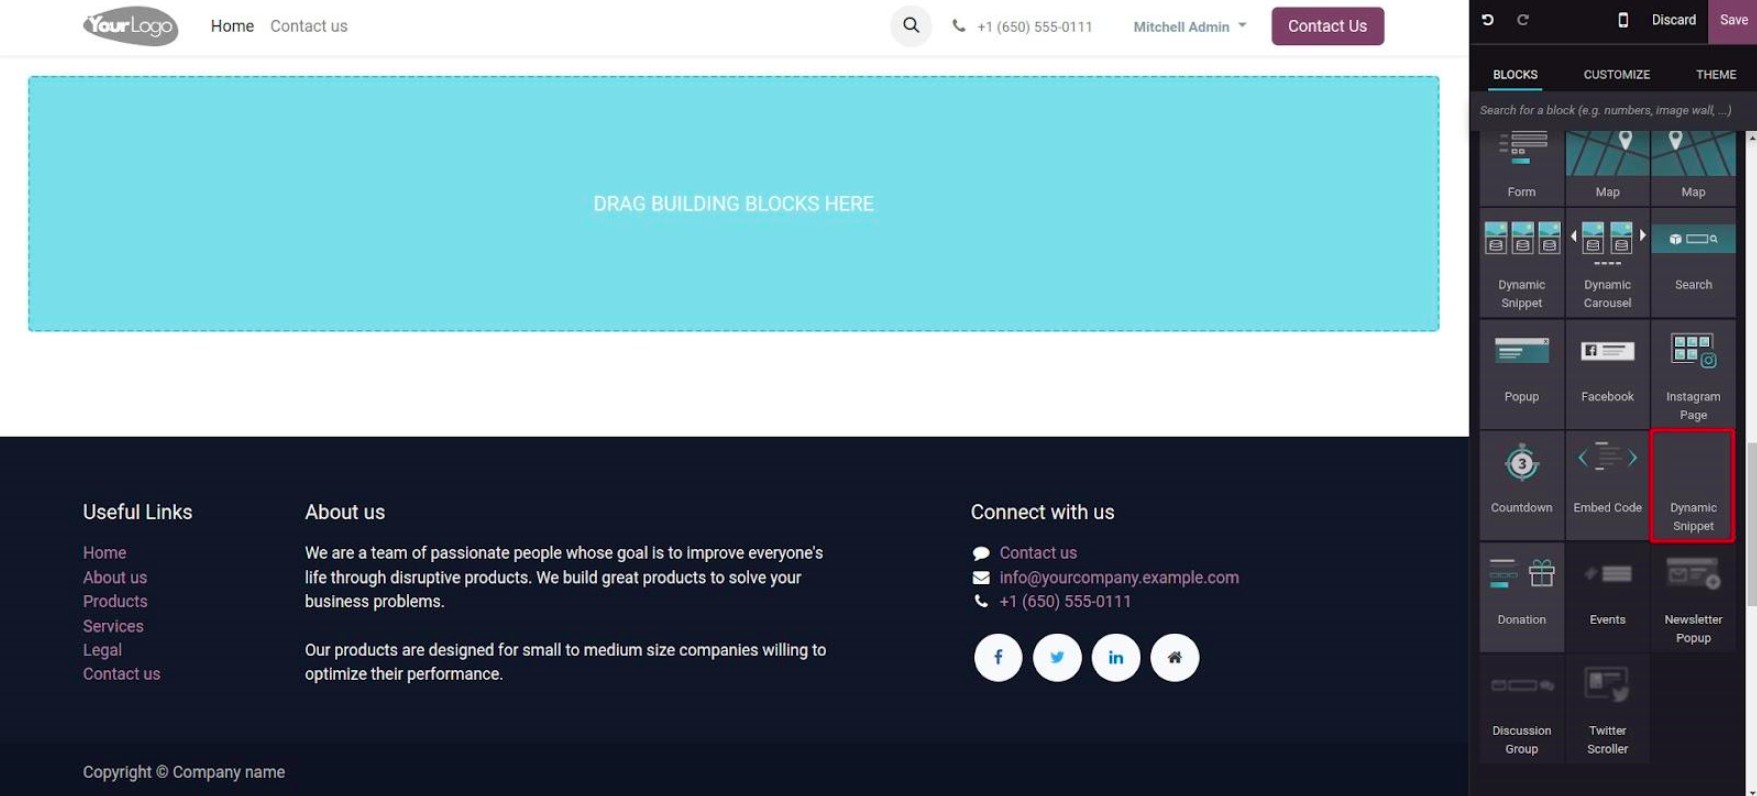
3. Register the Snippet in the Snippet Panel
Add this file as views/dynamic_snippet.xml to place your snippet in
the Dynamic Content section:
<?xml version="1.0" encoding="utf-8"?>
<odoo>
    <template id="dynamic_snippets" inherit_id="website.snippets" name="Dynamic Snippet Registration">
        <xpath expr="//div[@id='snippet_dynamic']//t[@t-snippet][last()]" position="after">
            <t t-snippet="your_module_name.product_list"/>
        </xpath>
    </template>
</odoo>
4. Create the JavaScript File
Now, use JavaScript to fetch the data and inject it into the snippet.
Save this as static/src/js/dynamic_snippet.js.
/** @odoo-module **/

import publicWidget from "@web/legacy/js/public/public_widget";
import { jsonrpc } from "@web/core/network/rpc_service";

publicWidget.registry.DynamicSnippet = publicWidget.Widget.extend({
    selector: '.dynamic_snippet',
    start: function () {
        const container = this.$el.find('.o_dynamic_snippet_content');
        jsonrpc('/product/list', {}).then((result) => {
            container.empty();
            result.data.forEach(product => {
                const card = `


                                ${product.product}
                                ₹ ${product.price}


                    `;
                container.append(card);
            });
        });
    }
});

export default publicWidget.registry.DynamicSnippet;
5. Update __manifest__.py
Make sure your files are properly registered:
'assets': {
    'web.assets_frontend': [
        'your_module_name/static/src/js/dynamic_snippet.js',
    ],
},
'data': [
    'views/dynamic_snippet_template.xml',
    'views/dynamic_snippet.xml',
],
Once your module is installed or upgraded, follow these steps: Go to
Website ➤ Edit, Find your snippet under the Dynamic Content section,
Drag and drop it onto the page.