Continuous Integration (CI) and Continuous Delivery (CD) have become essential practices for modern software development teams. Whether you're working on a small personal project or managing deployments in a large enterprise, automation can save time, reduce human error, and improve software quality. One of the most widely used tools in this space is Jenkins, an open-source automation server that helps teams build, test, and deploy applications efficiently.
But installing Jenkins manually on a local machine or server can sometimes be tedious—configuring Java versions, setting up paths, handling updates, and resolving system-level dependencies. That’s where Docker makes things dramatically easier. By containerizing Jenkins, you can spin up a fully functional CI/CD environment within minutes, without worrying about complex configurations or compatibility issues.
This beginner’s guide will walk you through how you can set up your own Jenkins environment using Docker—even if you’re completely new to both tools.
Before setting up Jenkins inside a container, the first step is to install Docker on your system. Docker provides an official, user-friendly platform that includes everything you need to build, run, and manage containers.
To install Docker, visit the official Docker website
Verify installation by running:
docker --version
Before integrating Jenkins into your CI/CD workflow, it’s helpful to have a simple application to work with. For this guide, we’ll create a basic Node.js Express application and run it inside a Docker container. This gives you a realistic project to test your Jenkins pipeline later.
Setting Up a Simple Express App Using Docker
Start by creating a new directory for your application:
mkdir express_app
cd express_app
Initialize a Node.js project and install express.
npm init -y
npm install express
Now, create a simple index.js file inside.
import express from "express";
const app = express();
const port = 5000;
// Simple controller returning a greeting
app.get("/", (req, res) => {
  res.json({ message: "Hello from Express !" });
});
app.listen(port, () => {
  console.log(`Server running on http://localhost:${port}`);
});
Now go to the automatically created file package.json and make sure that the ‘type’ is ‘module’ inside the JSON.
"type": "module",
Now we can create a simple Dockerfile file inside.
# Use official Node.js LTS image
FROM node:alpine
# Create app directory
WORKDIR /app
# Copy package files and install dependencies
COPY package*.json ./
RUN npm install
# Copy the rest of the application
COPY . .
# Expose port 3000 for the app
EXPOSE 5000
# Command to run the application
CMD [ "node", "index.js" ]
Now we can build the docker image using:
docker build -t express_app .
Now we can run the app using:
docker run -d -p 5000:5000 express_app:latest
Once the container is running, open your browser and go to http://localhost:5000. You should see the JSON response from your Express controller, confirming that everything is working correctly inside Docker. This simple application will later be built, tested, and deployed automatically using Jenkins in your CI/CD pipeline. Now you can stop the container using container id.
To get the container id run
docker ps
Then, using the container id we can stop the service
docker stop <container_id>
After testing, we need to push the code to a GitHub repository.
Setting Up Jenkins
Now that our Express application is containerized and tested locally, the next step is to set up Jenkins so we can automate the build process. Jenkins itself can be run inside a Docker container, making the setup extremely simple and consistent across environments.
Start by pulling the official Jenkins Long-Term Support (LTS) image from Docker Hub:
docker pull jenkins/jenkins:lts
Now we can start the jenkins on port 8080 using:
docker run -d -p 8080:8080 jenkins/jenkins:lts
You can go to http://localhost:8080, and you will see the screen below
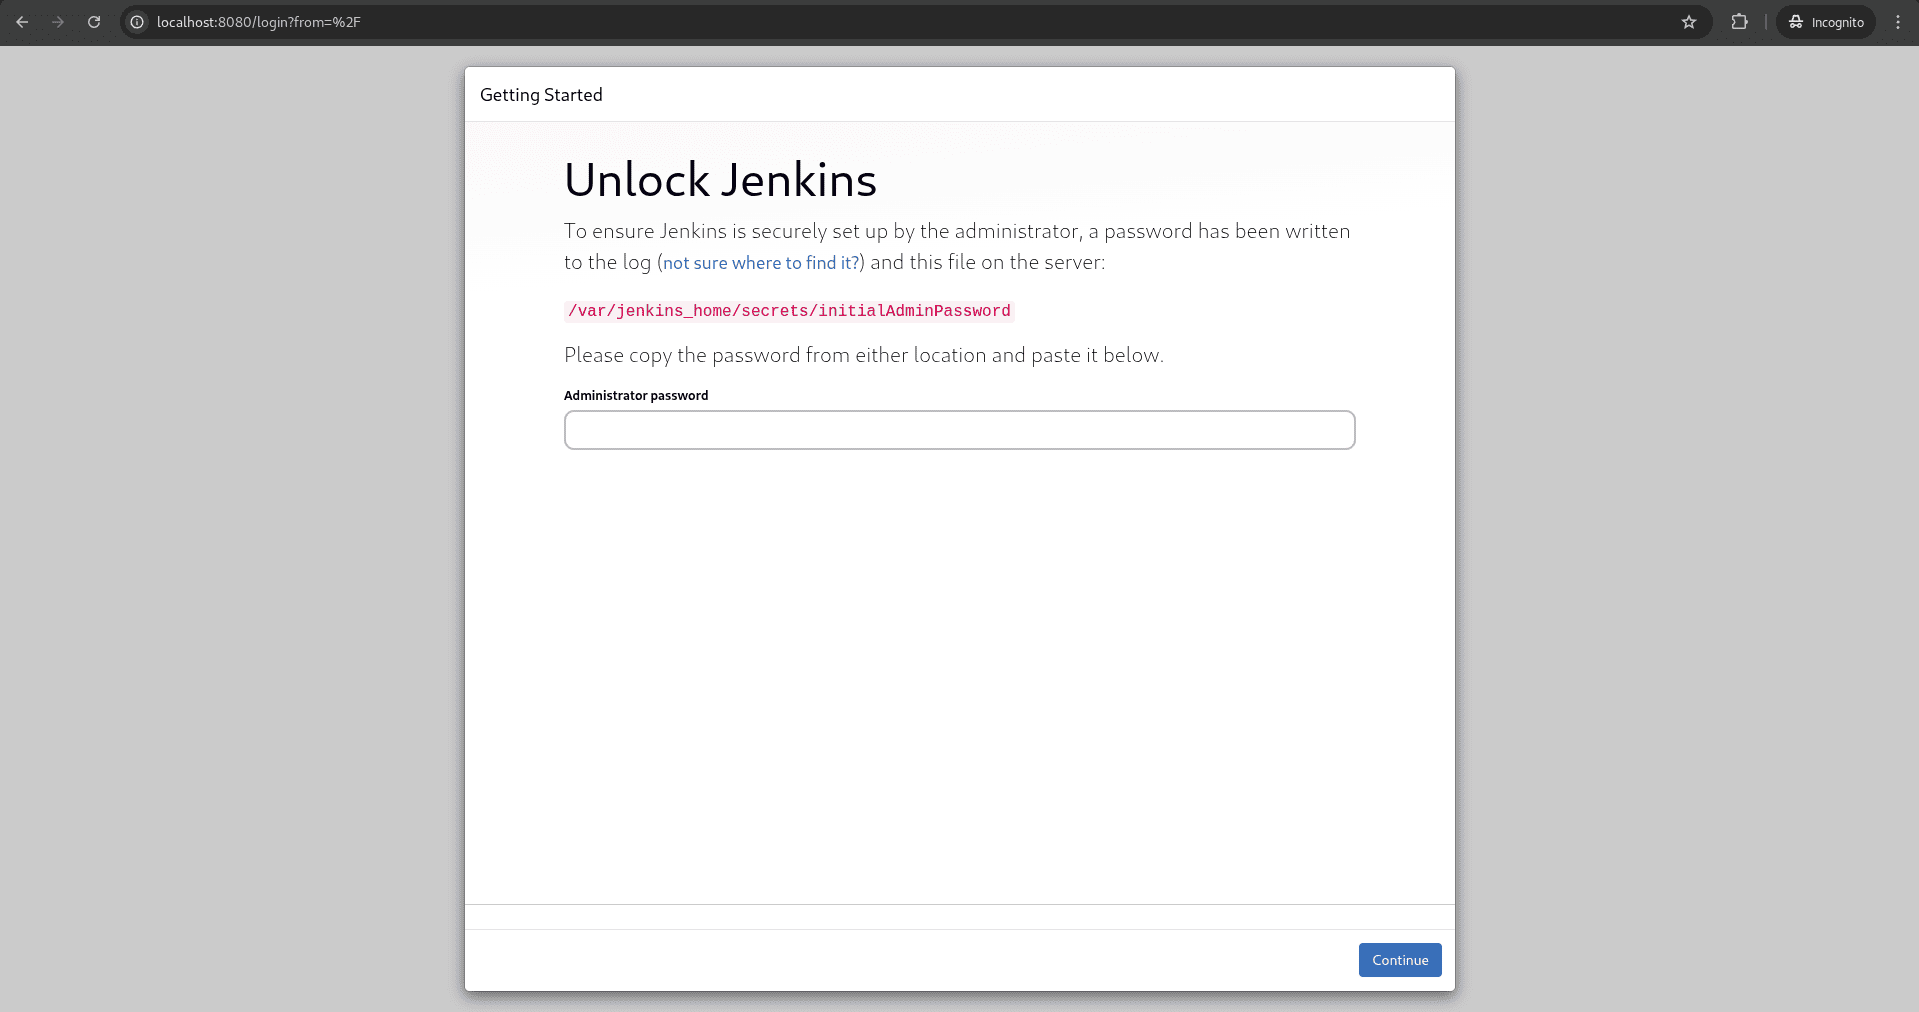
You can get this password by running
docker exec -it <container name> cat /var/jenkins_home/secrets/initialAdminPassword
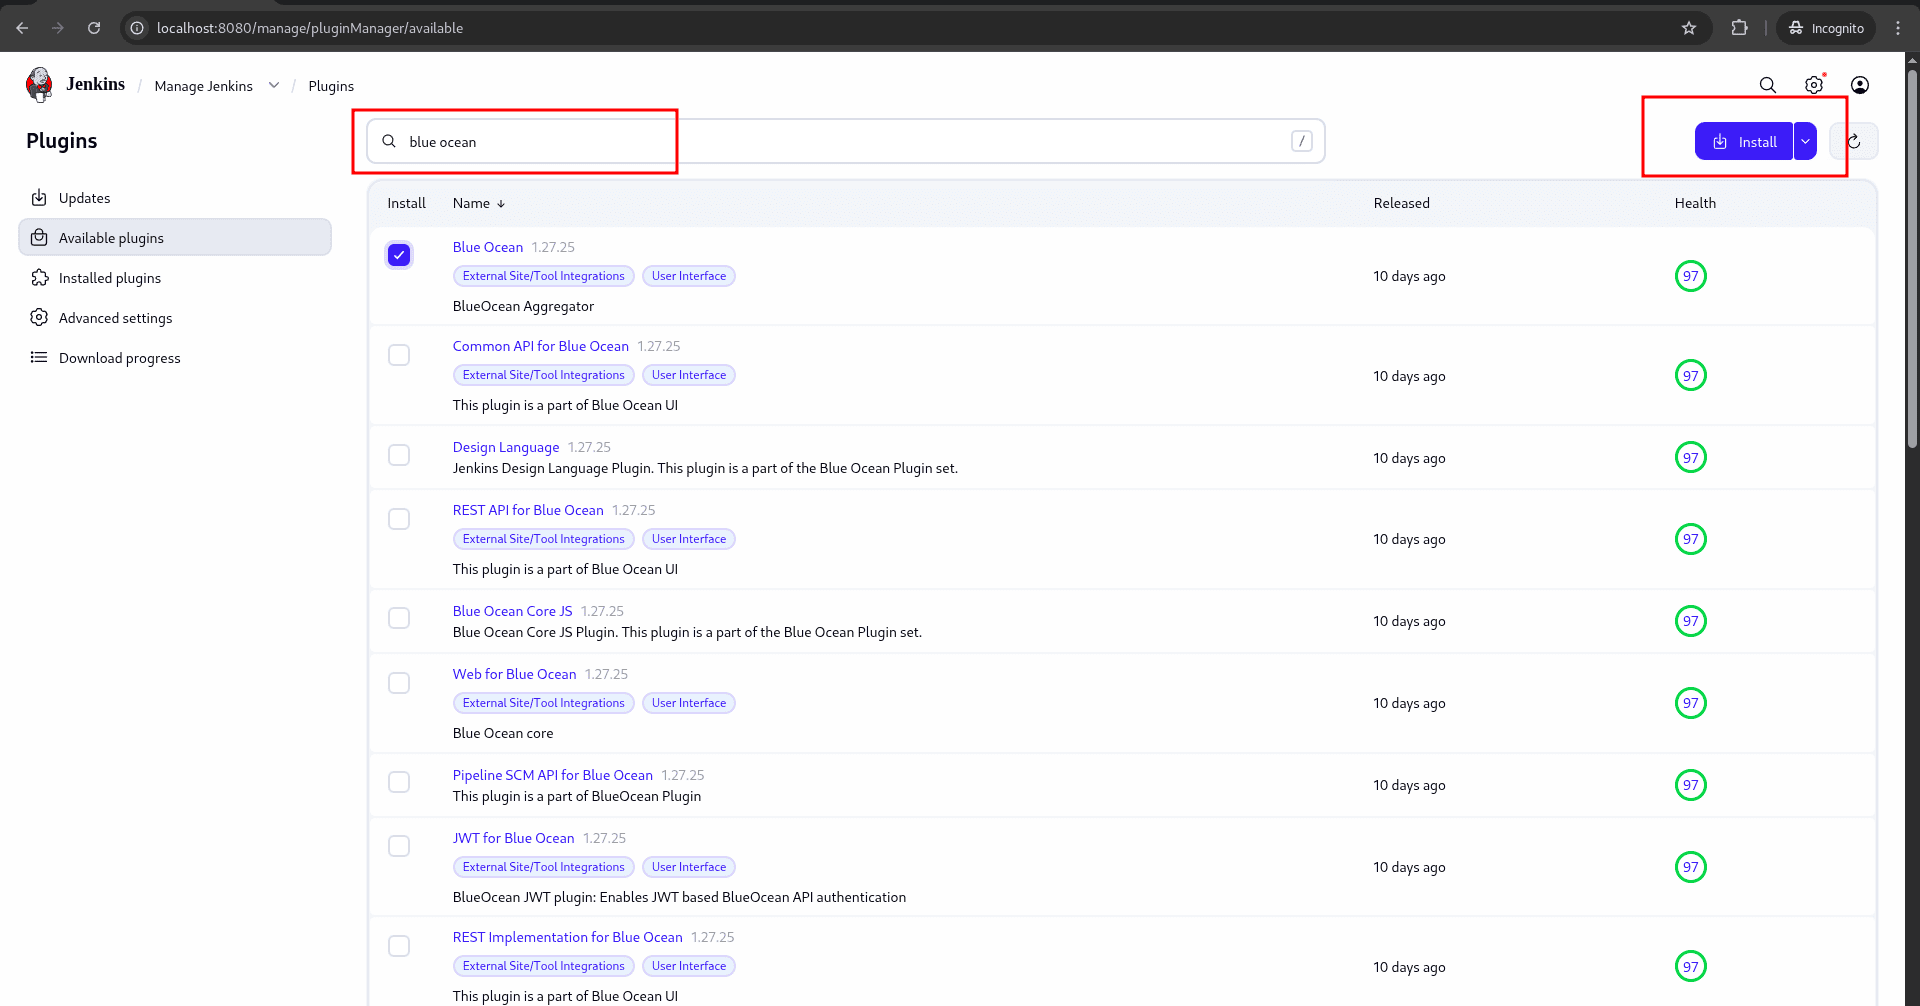
After the basic credentials setup, we can install ‘Blue Ocean’ plugin for Jenkins from the page shown below
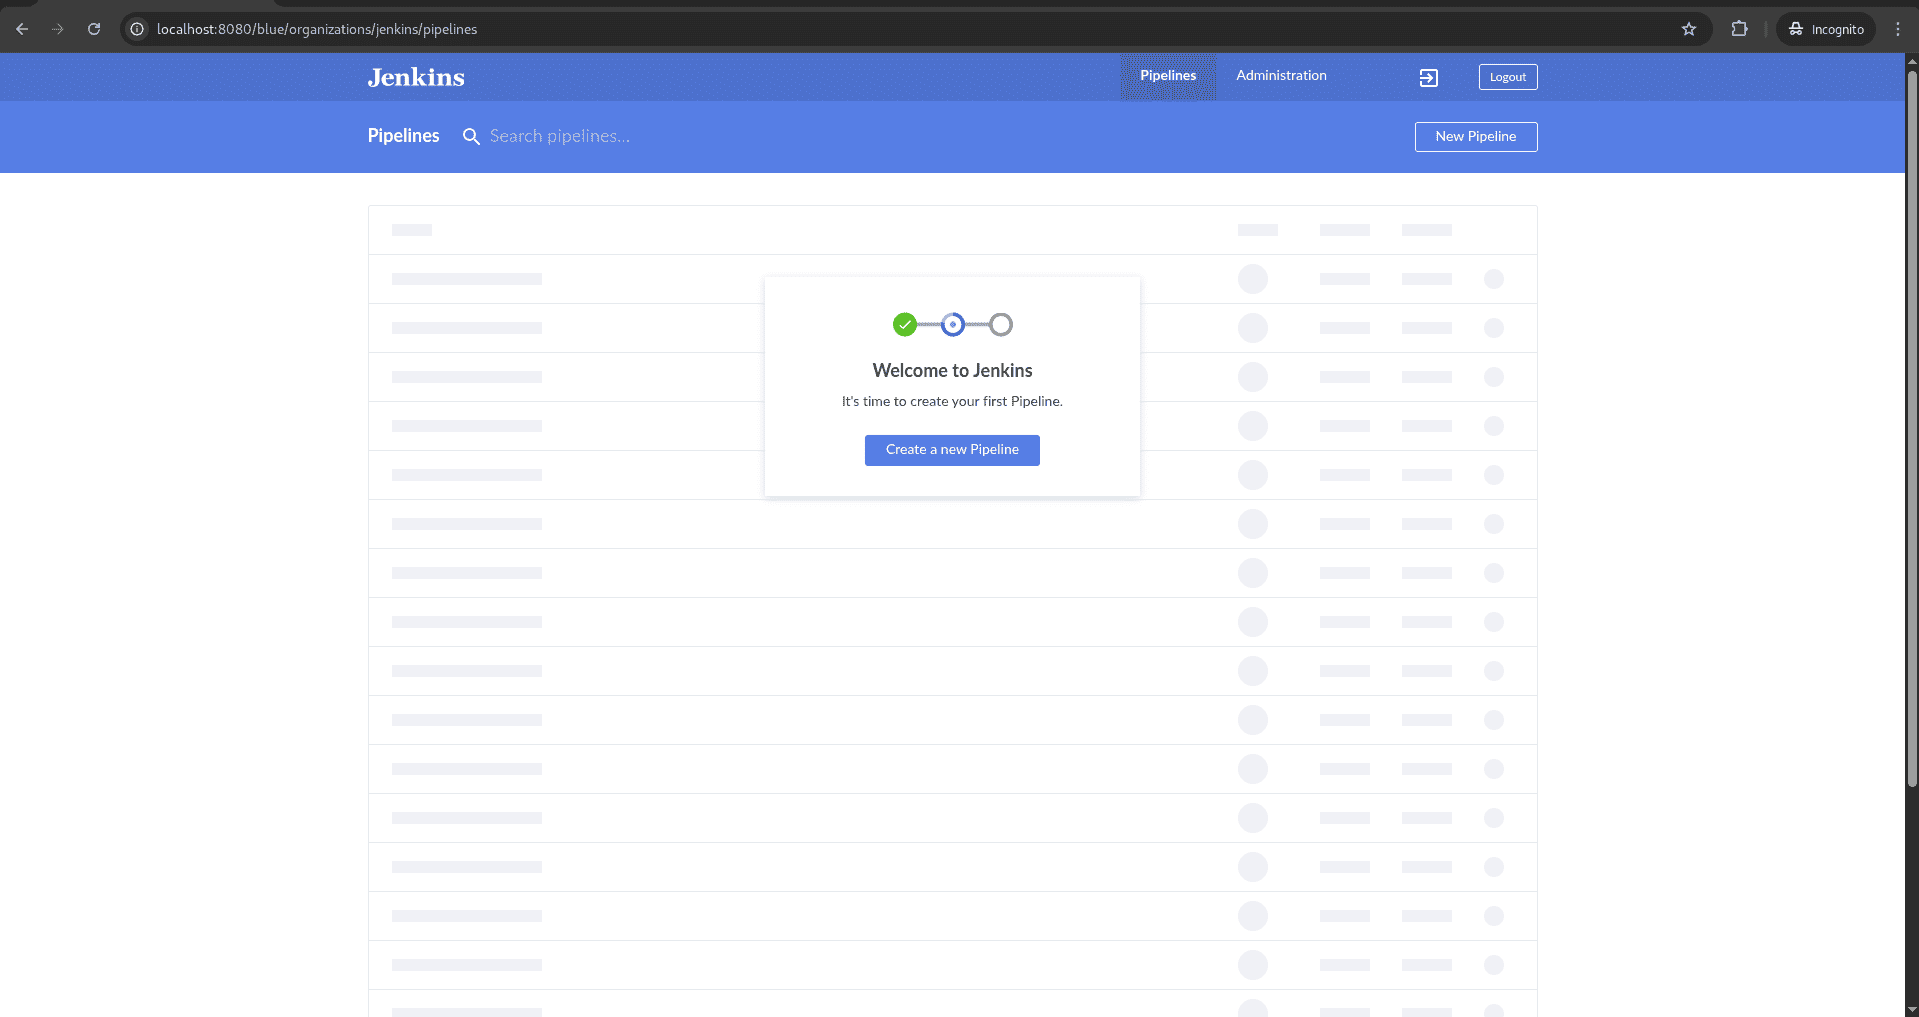
After the installation, we can go to the blue ocean extensions pipeline page to create CI/CD pipelines for our application by clicking the hamburger button on the top right, which will lead us to the blue ocean page
Now we can create our pipeline from this page by selecting the options below and adding your GitHub credentials.
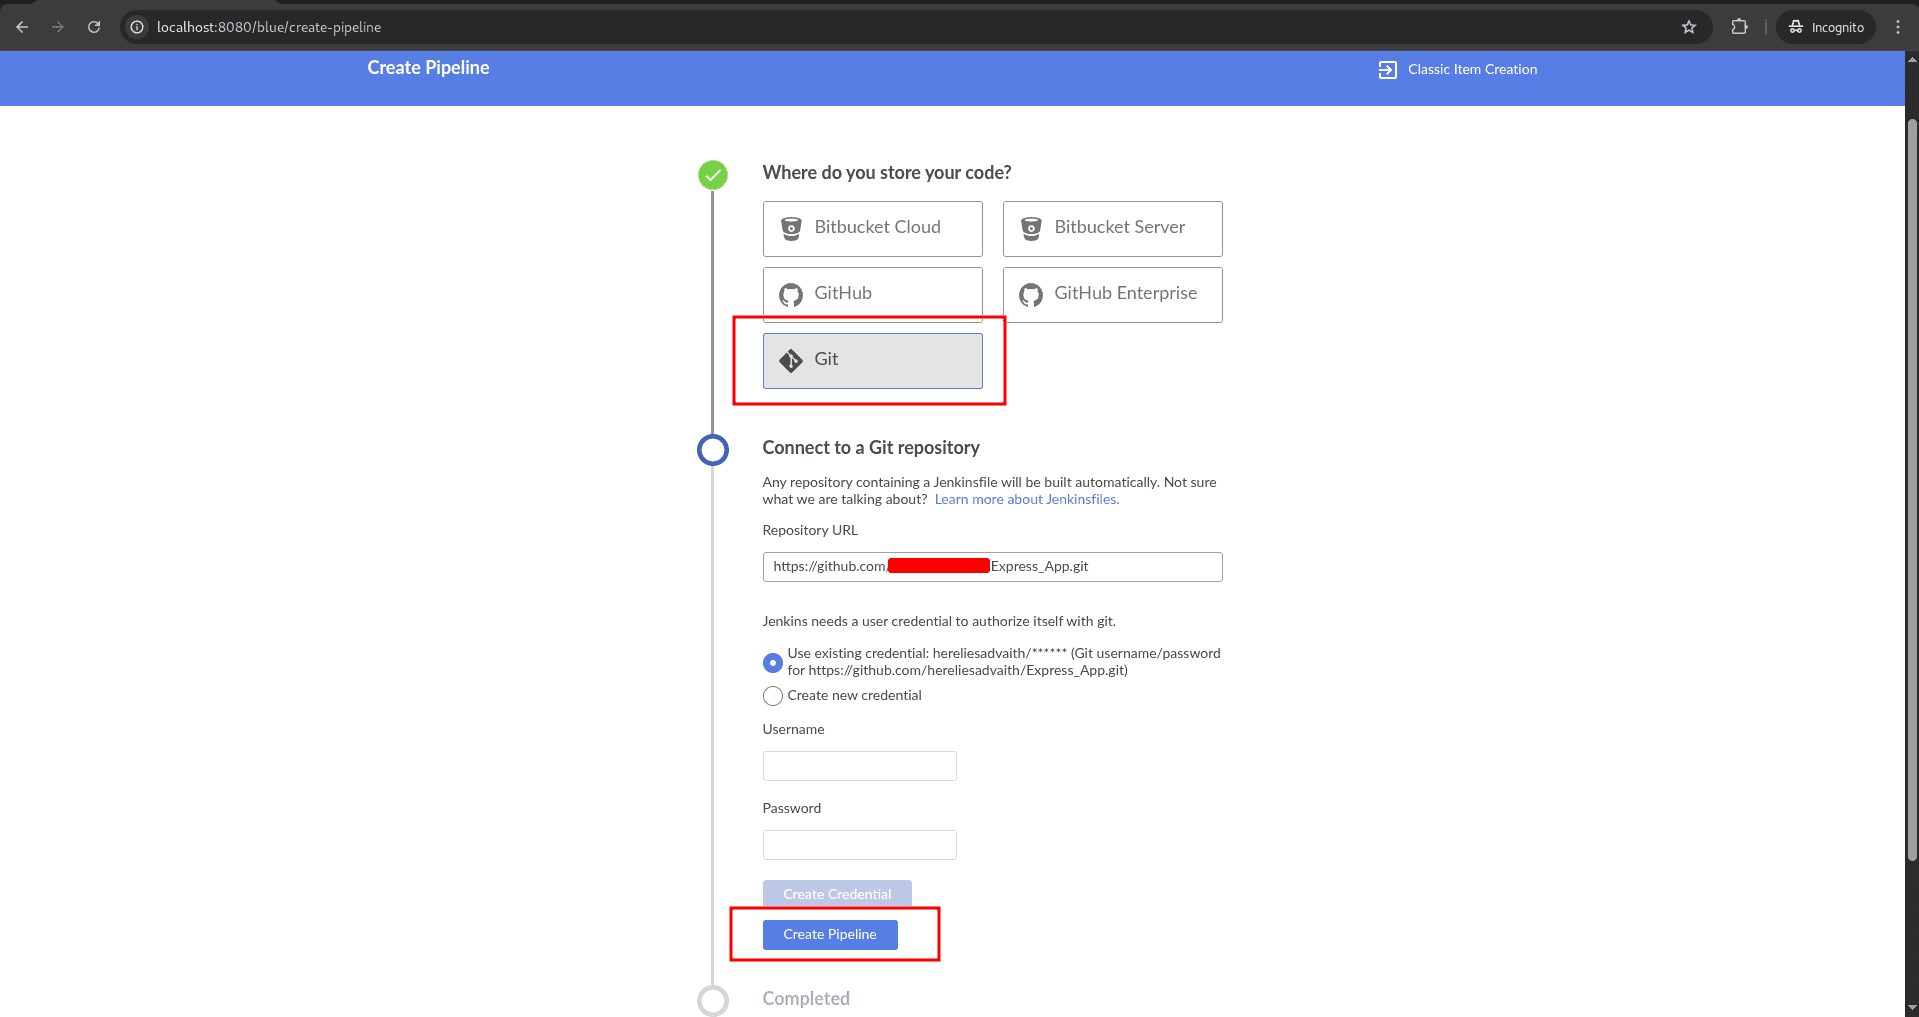
This will lead you to a page where you can build your pipeline.

You can now click the ‘+’ button to add a new stage for your deployment process. Blue Ocean makes this very intuitive—simply select a stage, and from the right-side panel, choose the steps you want to include, such as running shell commands, installing dependencies, building the Docker image, or running your tests.
Once your pipeline stages are ready, click Save. Jenkins will generate or update the Jenkinsfile inside your GitHub repository. After saving, it will start the pipeline from the Blue Ocean interface, and Jenkins will follow the exact sequence of steps you defined.
With this final setup, you now have a complete CI workflow for your Express application running in Docker. You can trigger builds whenever needed, visualize each stage clearly in Blue Ocean, and easily extend the pipeline as your project grows. This setup provides a solid foundation for automated builds and deployments using Docker and Jenkins.
To read more about How to Run a Simple Flask app in Docker, refer to our blog, How to Run a Simple Flask app in Docker.