One of the cornerstones of a safe and orderly Odoo environment is effective access control. Not every user in a company needs to view or edit every record; salespeople deal with clients and quotes, HR keeps track of employee information, and accountants handle financial records. Odoo's permission groups are useful in this situation.
Odoo 19 uses a versatile group-based system to manage user permissions. Each group decides what information and features its members can access and represents a particular role, such as Sales User, Inventory Manager, or Administrator. Businesses can preserve both data security and operational effectiveness by allocating users to the appropriate groups.
Group-based permissions make it simple to manage access without causing conflicts, whether it's restricting who can approve invoices or enabling managers to examine team records. In this blog, we'll go over how to manage permissions by group in Odoo 19, including where to find them, how to create new ones, and how to verify that the appropriate users have the appropriate level of access.
1. Accessing the Groups Menu
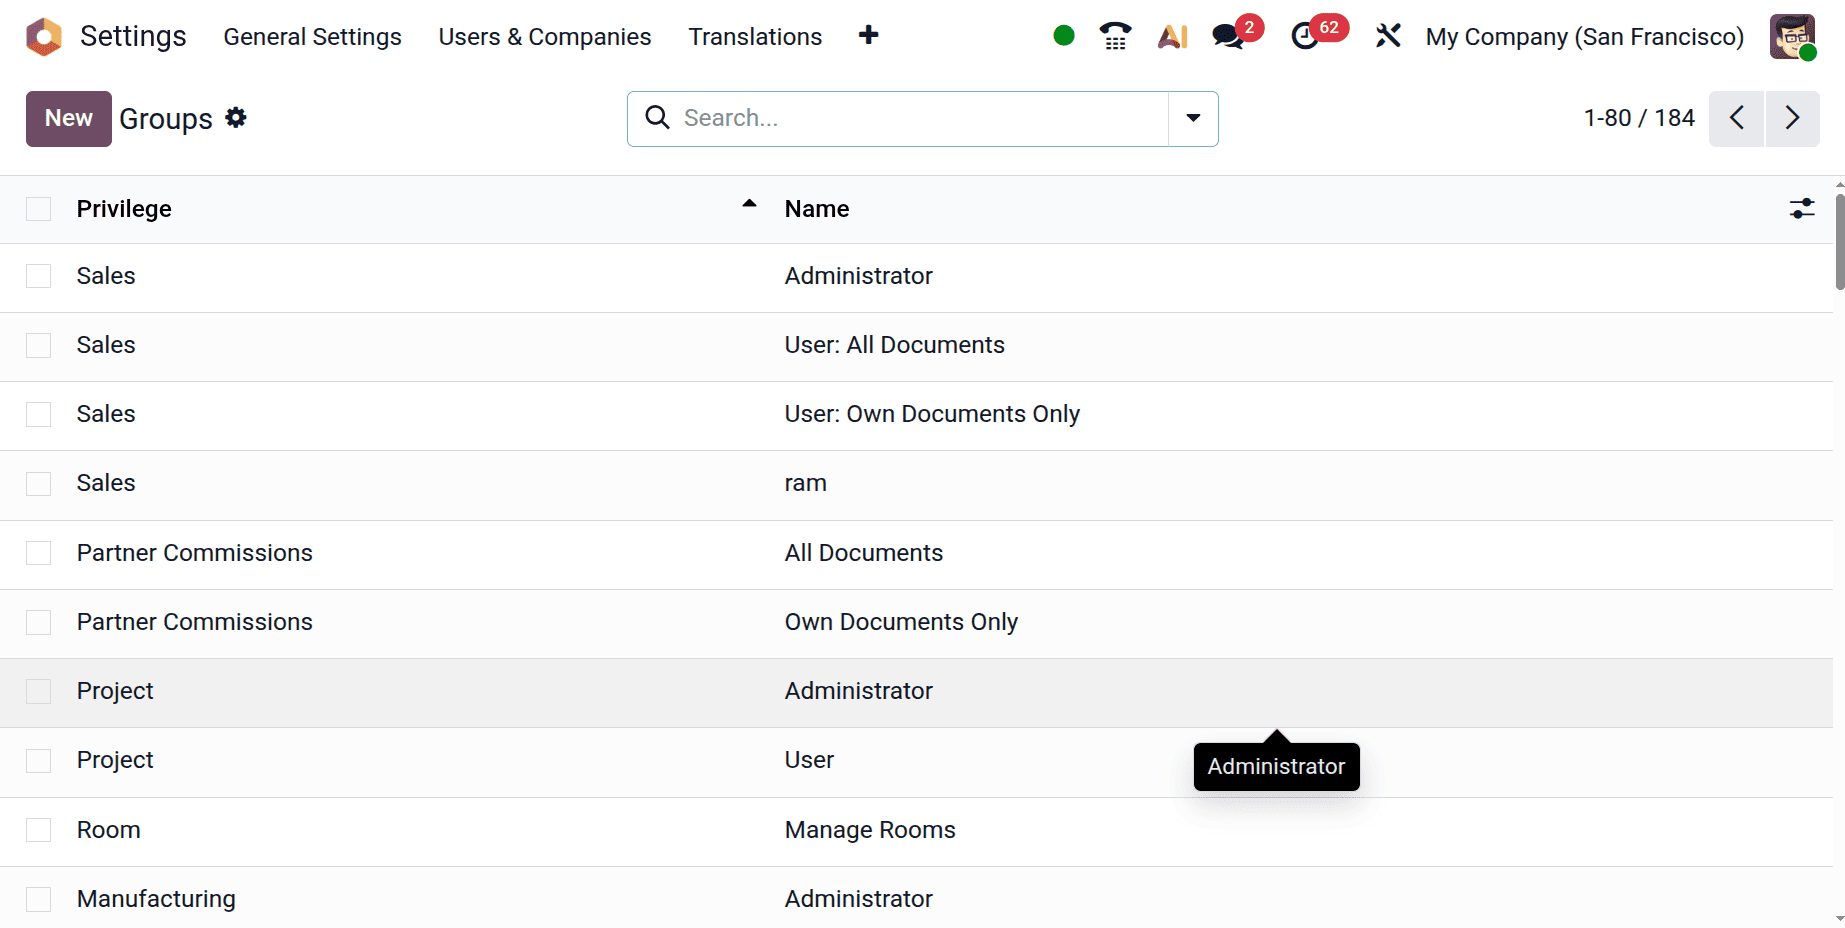
To start managing permissions, navigate to Settings > Users & Companies > Groups.
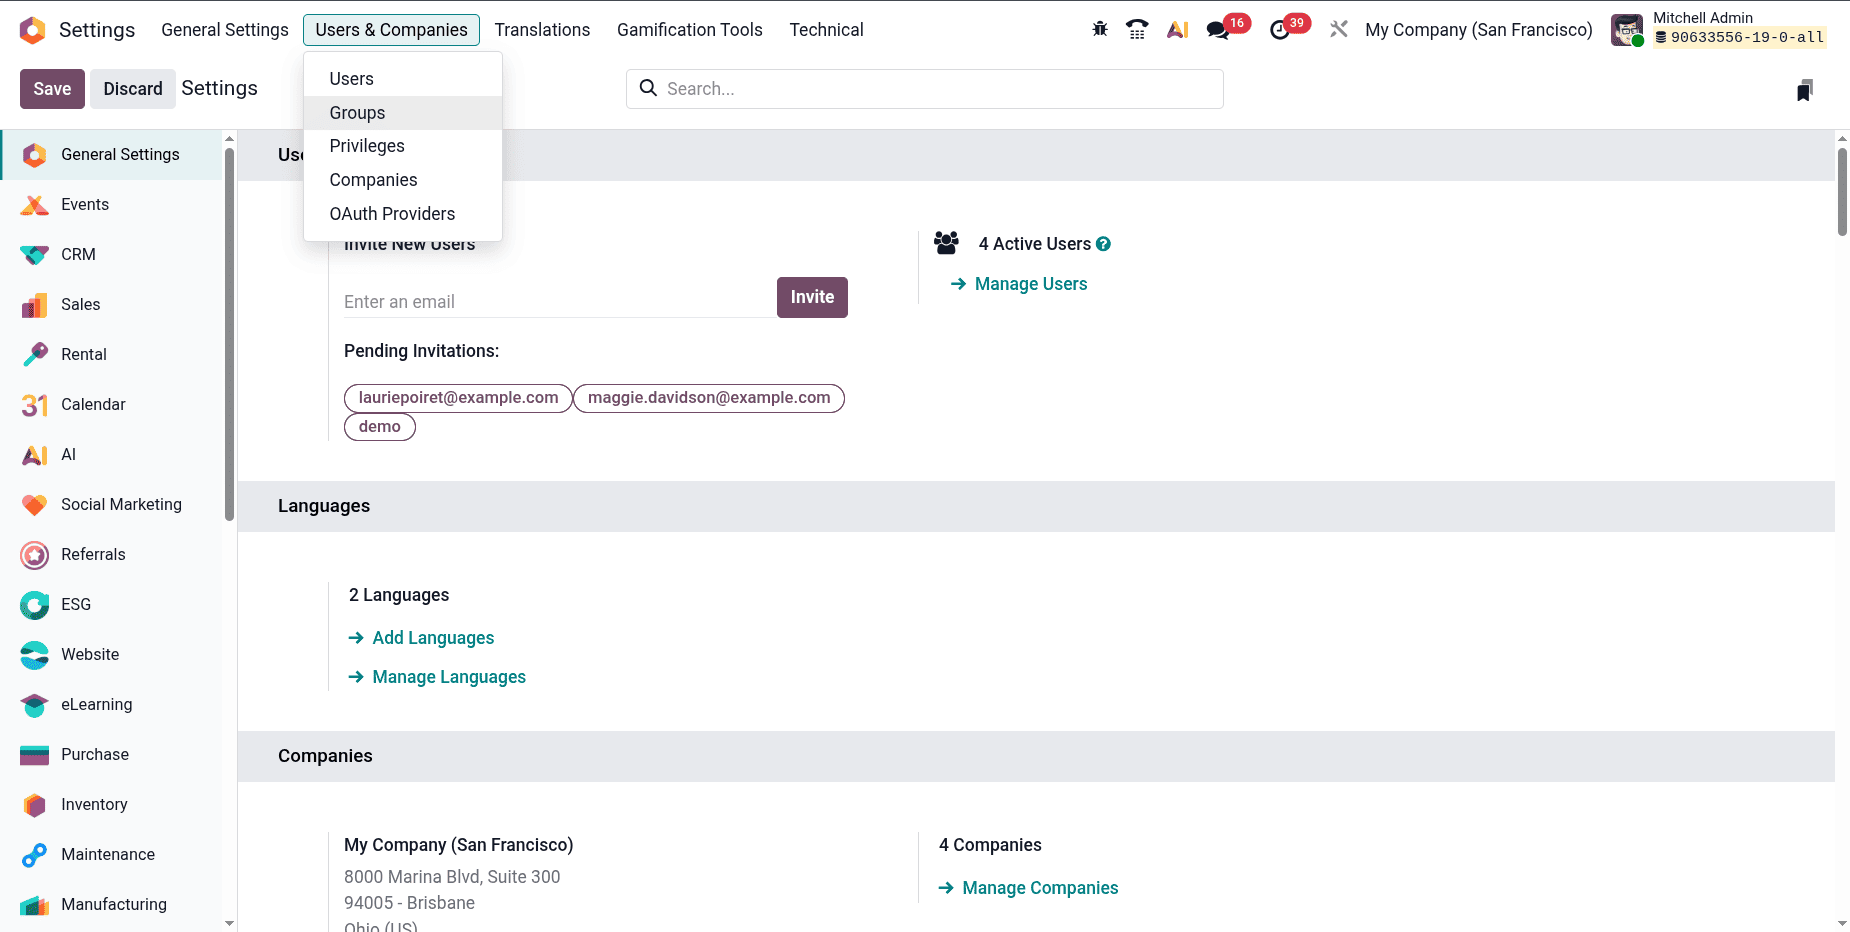
This section lists all the groups available in your database. Each entry represents a specific access level—for instance, Sales / User: Own Documents Only, Inventory / Manager, or Accounting / Billing. You can also find which users are assigned to each group here.
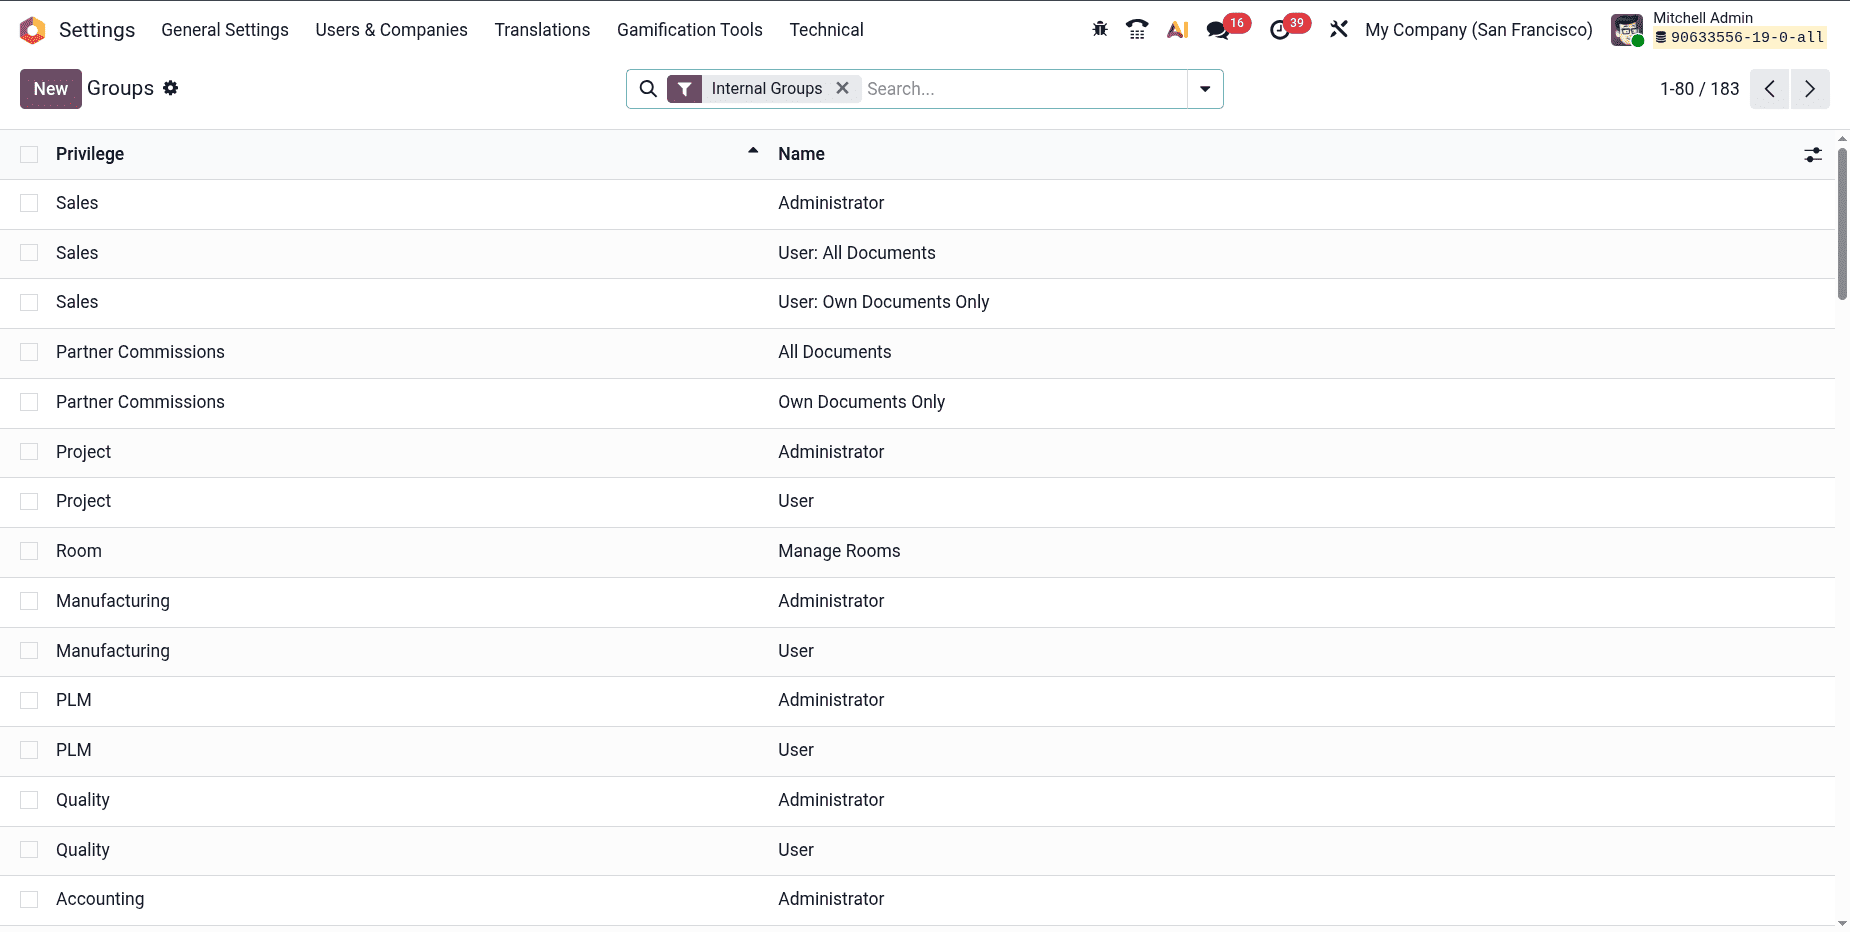
The list gives a quick overview of which applications the groups belong to and how many users are included in each. Clicking on any group opens its detailed configuration page.
2. Creating a New Group
If your organization needs a custom permission set, you can create a new group from this same menu. Click “New” and fill out the group form.
Here, you’ll provide:
- Group Name: A meaningful title that reflects its purpose, e.g., Project Assistant or HR Limited Access.
- Privilege: Select the related app this group belongs to.
- Share Group: Tick this option if the group is meant to share specific records or data.
The tabs for managing users, inherited groups, menus, and access rights are displayed in this view. A similar form that allows you to assign users and define privileges appears when you create a new group.
Before implementing any new group configuration in production, it is advised to test it in a staging database. Even administrators may occasionally be prevented from making changes due to improperly configured access.
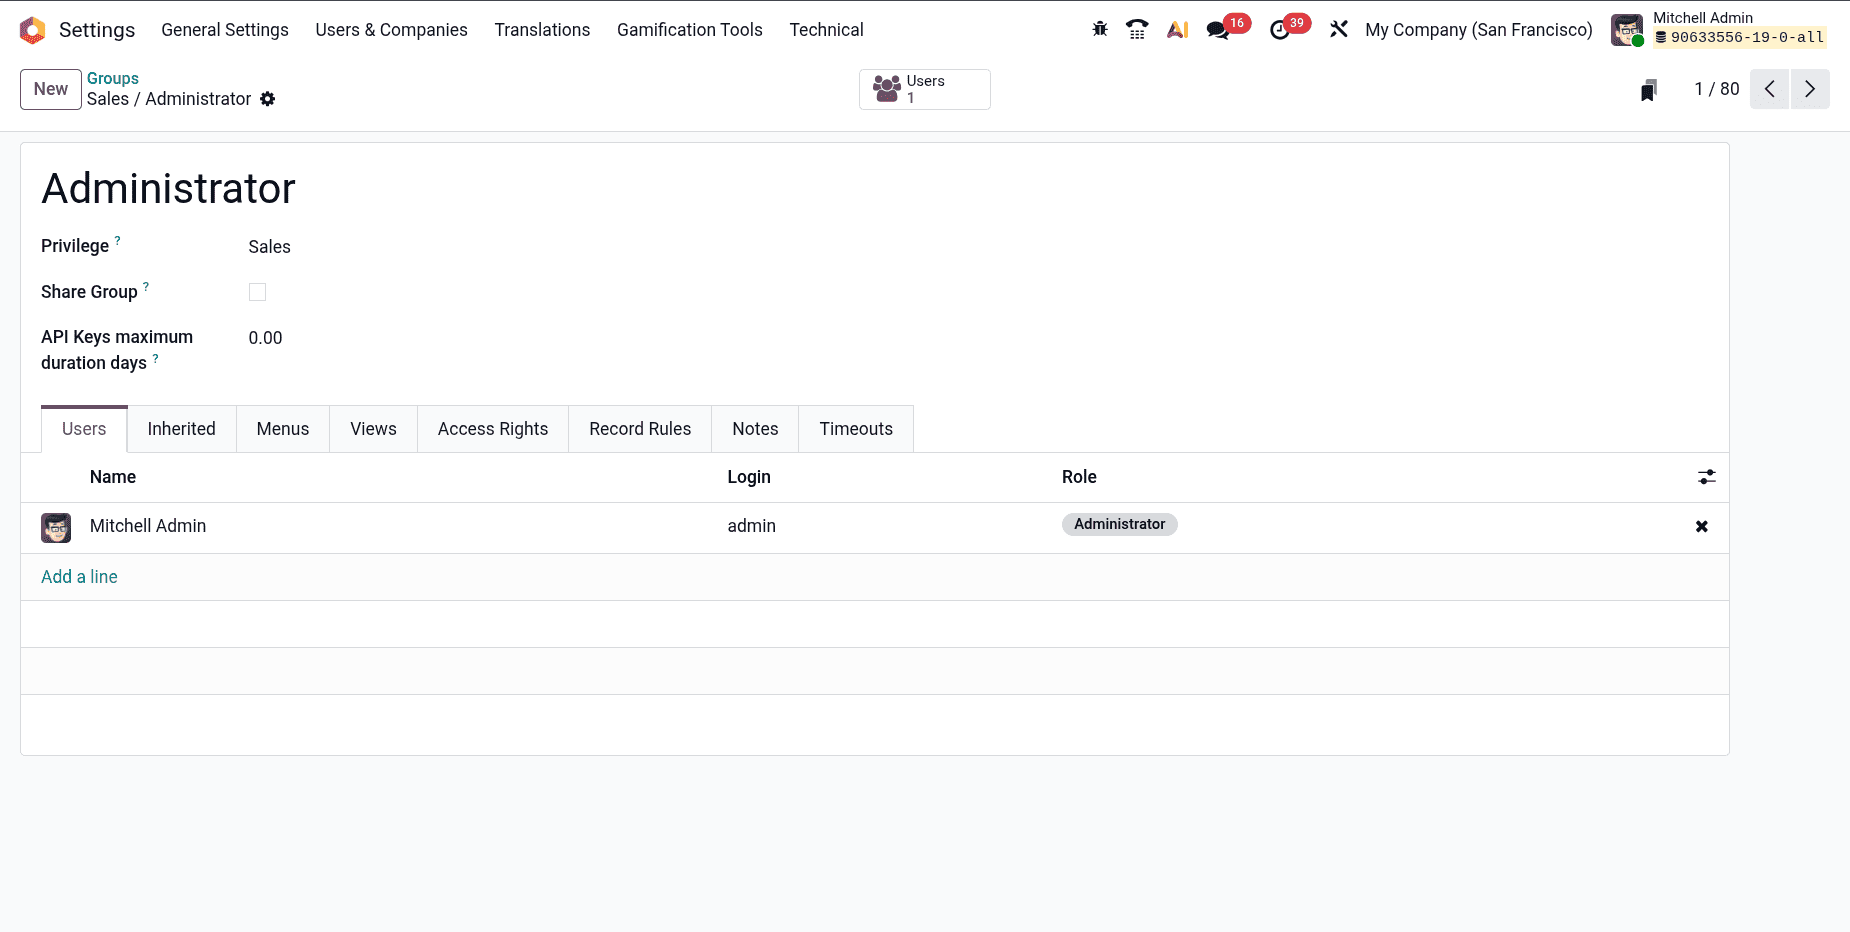
3. Adding Users to a Group
Once a group is created, you can assign users to it from the Users tab.
Click “Add a line,” and select the users who should inherit this group’s permissions. Users listed in black text are administrators, while blue indicates non-admin users.

It is also possible to assign users to more than one group. In that scenario, users will have access to all features from any of their designated groups since permissions are combined.
4. Understanding the Inherited Tab
Group inheritance, in which one group automatically incorporates the permissions of another, is supported by Odoo's permission model.
You can specify which groups this new group should rely on under the Inherited tab.
For example, if you create a Sales Manager group that inherits from Sales User, anyone added as a Sales Manager automatically receives all permissions granted to Sales User.
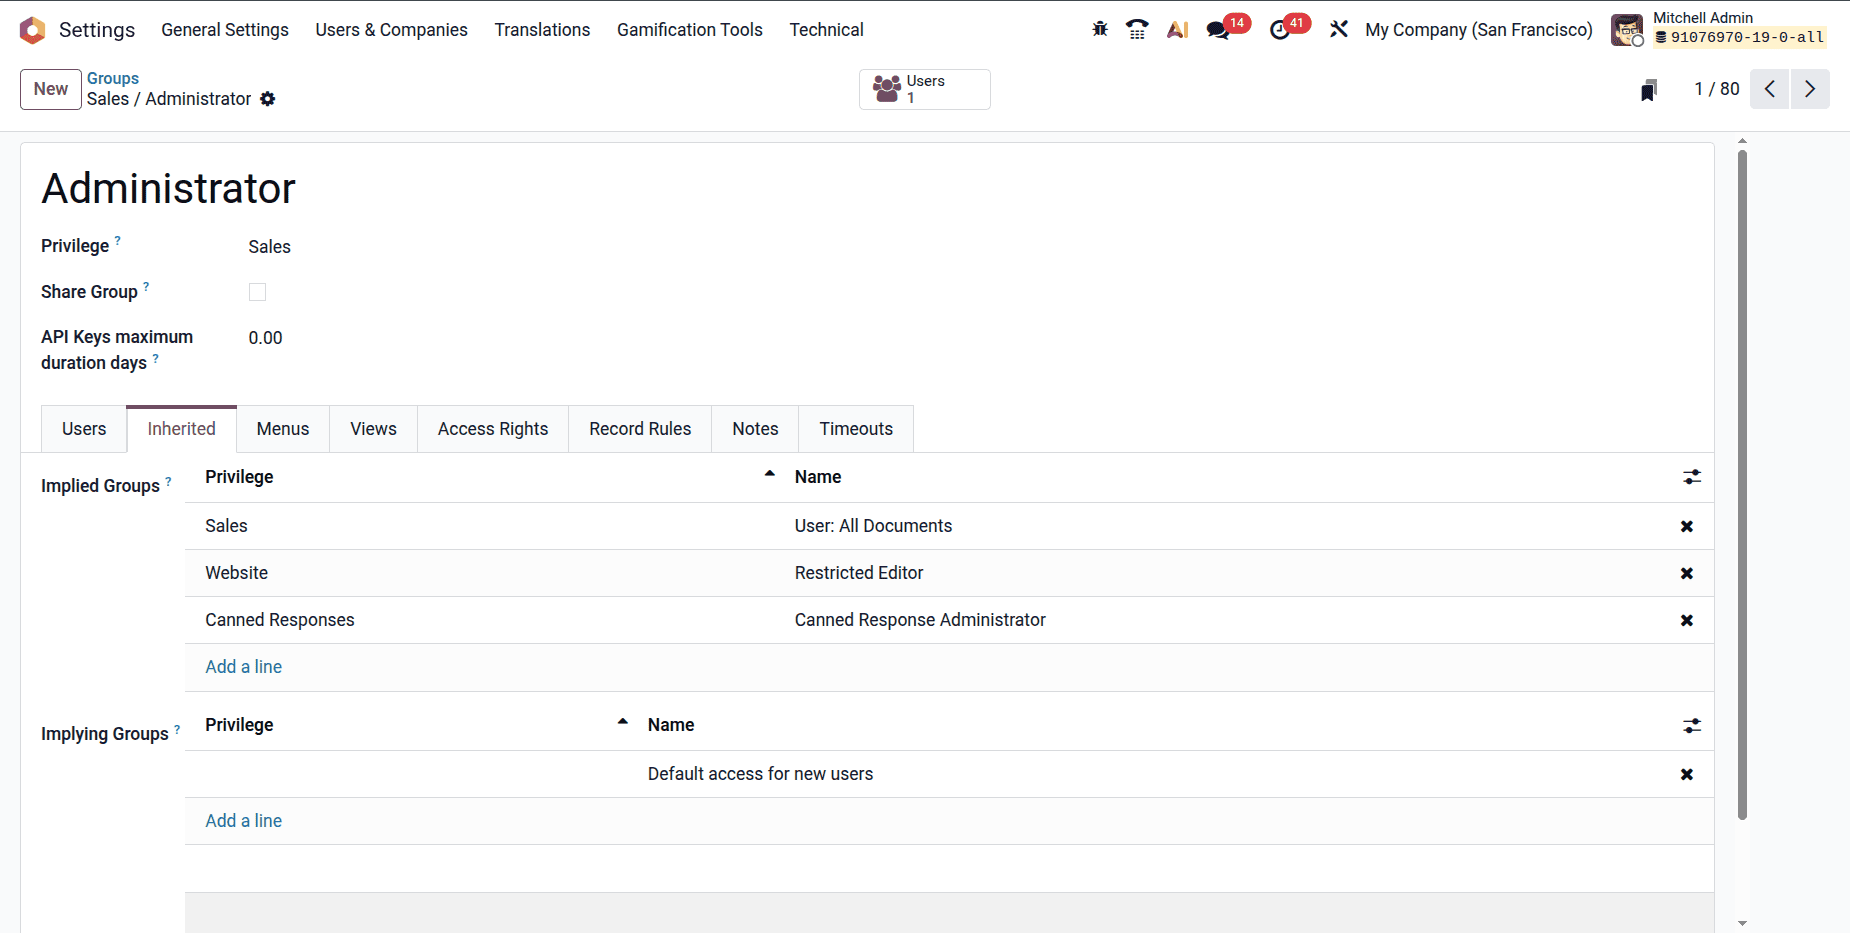
This inheritance idea guarantees consistency across roles and avoids repetitive configuration.
5. Defining Access Rights
The fundamental permissions for database models are set on the Access Rights tab. The "first layer" of control consists of these. Every entry consists of:
- Model: The database object (e.g., Sales Order, Partner, Invoice)
- Name: A descriptive label for the access right
- Permissions: Checkboxes for Read, Write, Create, and Delete

Enable only the Read option for the res.partner model, for example, if the group should only view customer records and not edit them.
Each access right should be named using a structure such as modelname.groupname, such as res.partner.project_assistant.
6. Setting Record Rules
In addition to model-level access rights, Record Rules provide a second, more detailed layer of control. They specify which particular records are viewable or editable by a group.
A sales manager can view all quotations, but a salesperson should only see their own.
To set this, go to the Record Rules tab and click “Add a line.” Define the rule with a domain expression, such as:
[('user_id', '=', user.id)]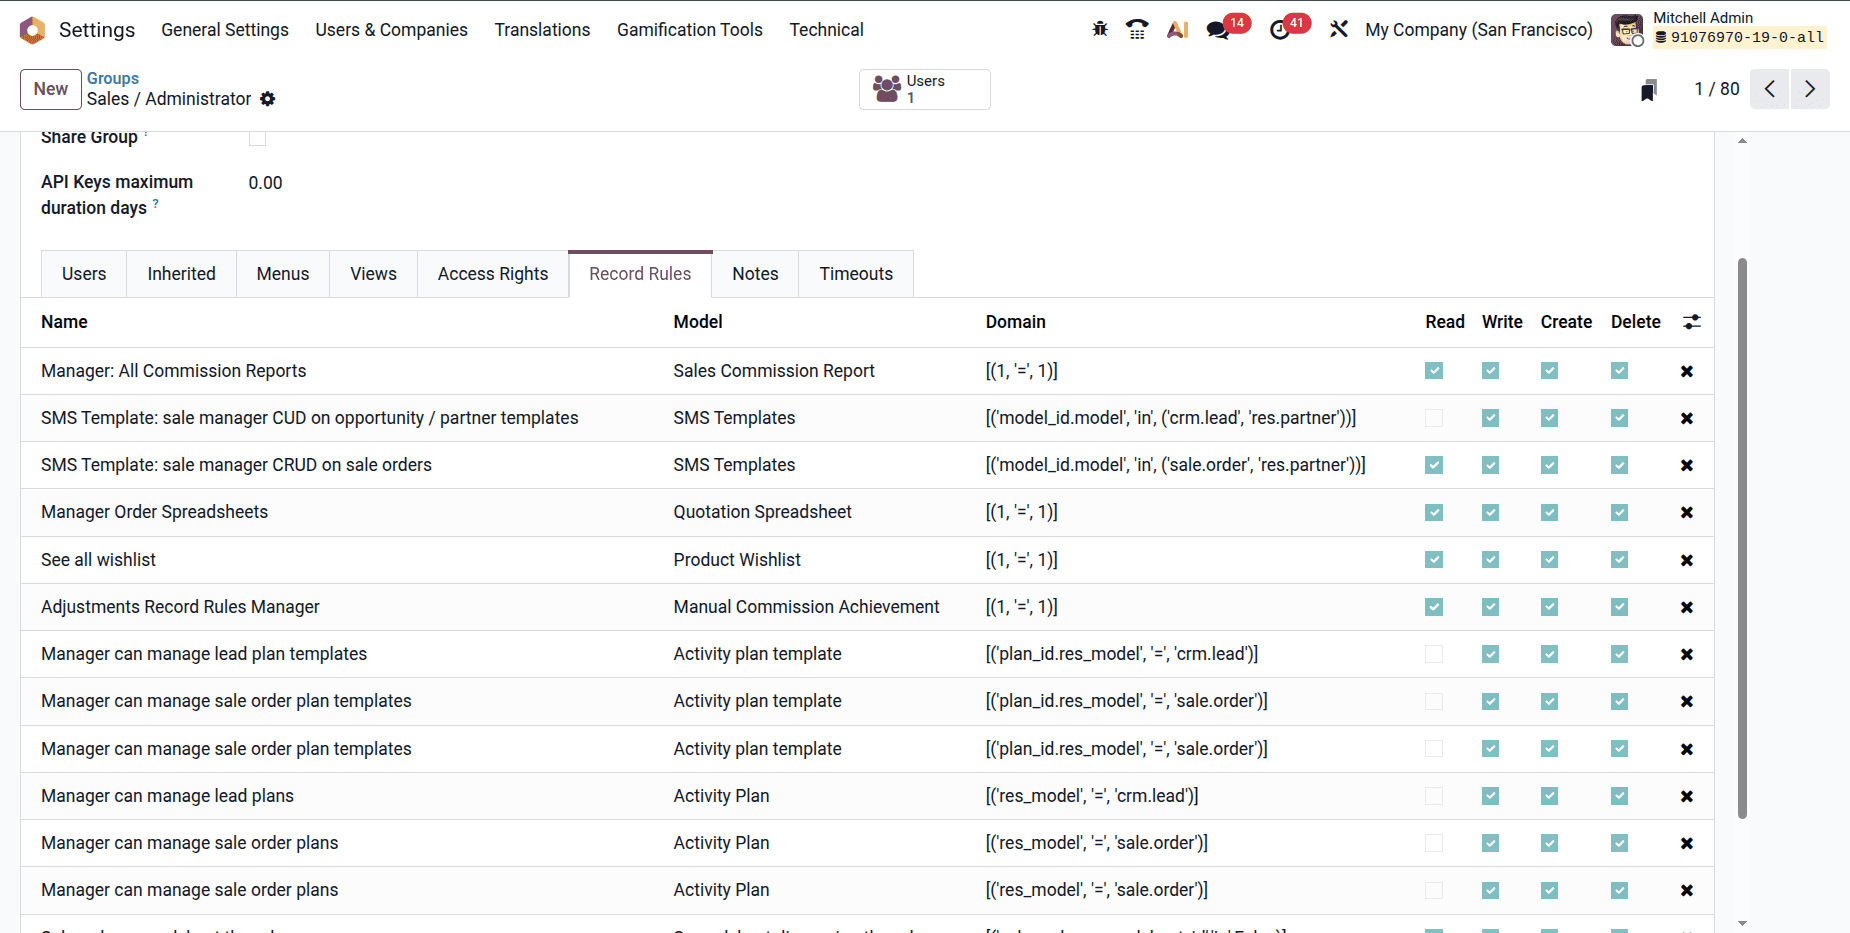
These rules filter data visibility using Odoo's domain logic. Since incorrect domains may inadvertently prevent data access, it is safer to consult an Odoo consultant if you are unsure.
7. Testing Group Permissions
After configuration, it’s important to test how these permissions behave.
You can:
- Log in as a user assigned to the new group
- Or switch to that user using Developer Mode > “Login as this user”
Try accessing modules and records to ensure visibility and editing rights behave as intended.
Here u can see that, for the user demo, the settings option is not accessible; he cannot access the settings as he does not has the access right User: Own Documents Only.

Testing ensures that no unintended restrictions or exposures occur, especially in shared modules like CRM or Accounting.
8. Default Groups in Odoo
Odoo 19 comes with several predefined groups for each application, such as Sales User / Manager, Inventory User / Manager, Employee / Officer / Manager, and Portal User.
A hierarchy is followed by default groups. For instance, the Sales Manager automatically inherits all permissions from the Sales User, adding additional control options. When assigning roles across departments, this structure guarantees uniformity and saves time.
It's safer to copy or make a custom group that inherits from built-in groups rather than directly editing them. This allows for flexibility for particular business needs while maintaining the original configurations.
Administrators can keep an Odoo permission setup that is safe, well-organized, and scalable by being aware of these defaults.
Conclusion
In Odoo 19, group permission management is more than just a technical configuration; it's about developing a safe and effective workflow. Administrators can guarantee that each employee has access to only the data and actions pertinent to their role by grouping users.
Odoo's group-based permission system provides the flexibility to adjust to any business structure, whether you're managing HR data, controlling accounting visibility, or defining access for sales teams. You can preserve data integrity and accountability throughout the company with well-defined access rights and record rules.
To read more about How to Create Security Group & Manage Access Rights in Odoo 18, refer to our blog, How to Create Security Group & Manage Access Rights in Odoo 18.