There are lots of views available on odoo. List, form, graph, pivot are some examples. Kanban is an interesting view. We have already a blog which describes how to make a default kanban view, you can refer the blog How to Create a Simple Kanban View in Odoo
In this blog we are discussing some elements of the Kanban view with pictorial representation of how it works, so let’s start.
1. default_order
This feature is used for card sorting. Let’s see the working of this feature.
First of all, I am going to show the code for the kanban view which I created by reading the blog How to Create a Simple Kanban View in Odoo and the default view of the kanban.
# Code
<record id="student_kanban" model="ir.ui.view">
<field name="name">student.kanban.view</field>
<field name="model">student.student</field>
<field name="arch" type="xml">
<kanban>
<field name="id"/>
<field name="name"/>
<field name="age"/>
<field name="gender"/>
<field name="student_dob"/>
<field name="image_128"/>
<templates>
<t t-name="kanban-box">
<div t-attf-class="oe_kanban_global_click">
<div class="o_kanban_image">
<img alt="Avatar"
t-att-src="kanban_image('student.student', 'image_128',record.id.raw_value)"/>
</div>
<div class="oe_kanban_details">
<t class="o_kanban_record_title">
<strong t-esc="record.name.value"/>
</t>
<div t-if="record.age.value">
<t t-esc="record.age.value"/>
</div>
<div t-if="record.gender.value">
<t t-esc="record.gender.value"/>
</div>
</div>
</div>
</t>
</templates>
</kanban>
</field>
</record>
# Default Kanban View
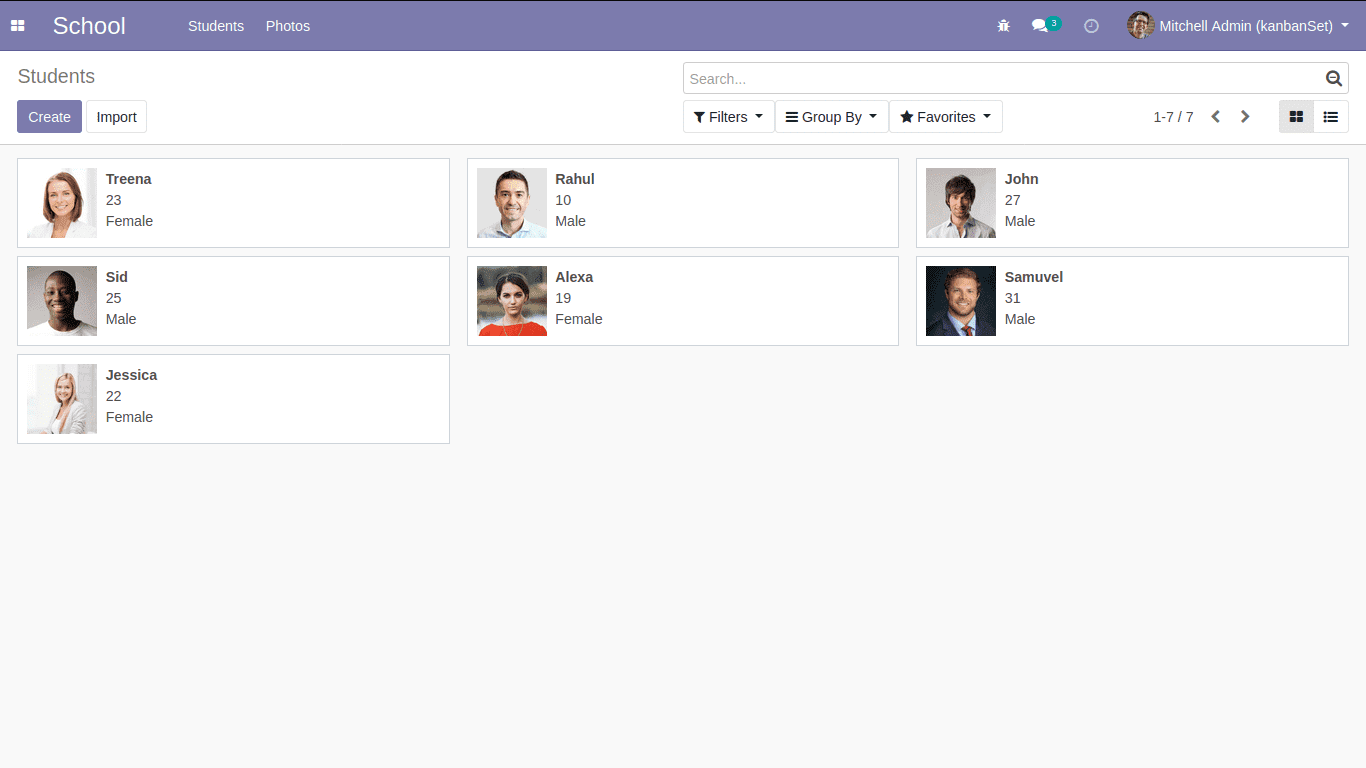
This is the default view and views are applying each feature on this view. In this view the age of the persons are not given in the proper order. So we are going to sort these persons in the order of increasing age type. We can use <kanban default_order="age asc">
Let’s look at the kanban view now,
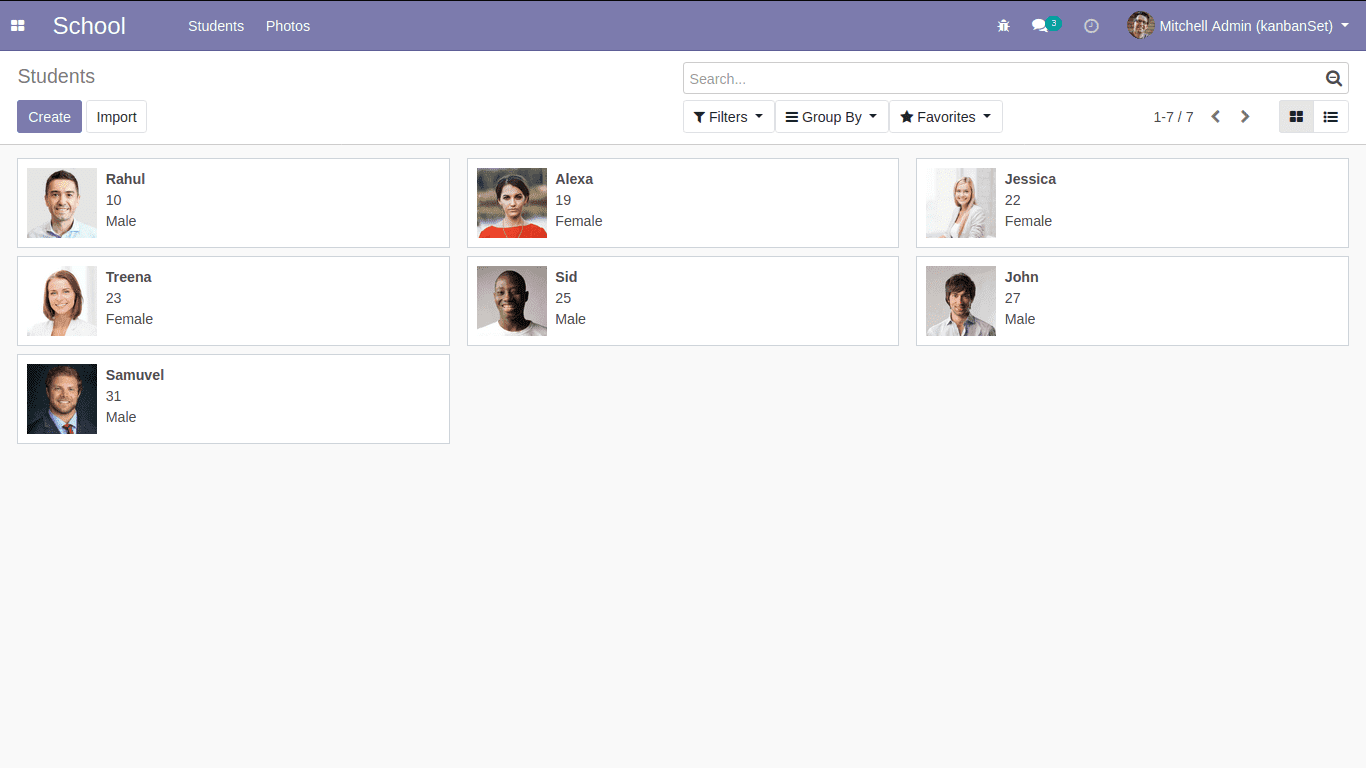
Now, the people are listed based on their age. Age is taken in ascending order. You can try other order methods also.
2. group_create
The default value is true. This attribute decides whether the “Add a new column” bar is visible or not. We can explain this with the kanban view of the project module.
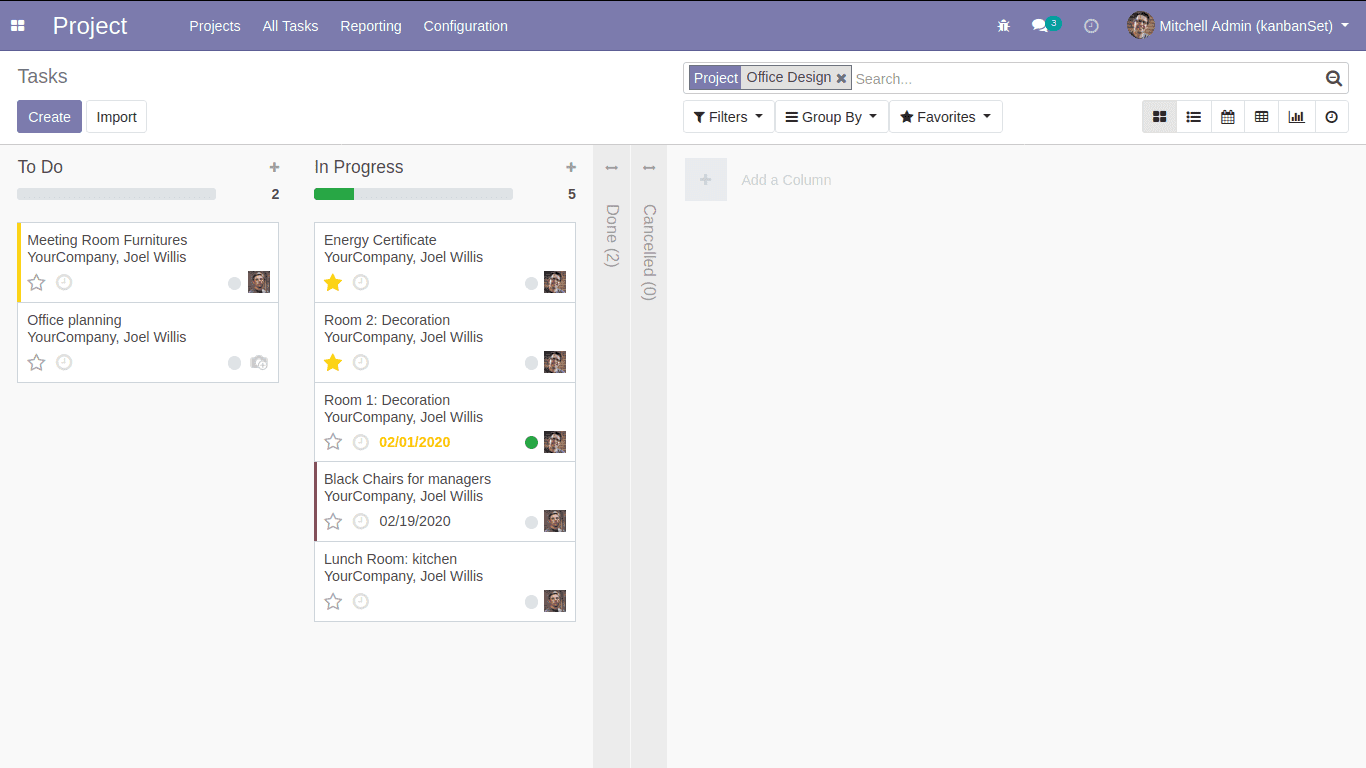
Here, we can see the Add a Column option.
<kanban default_group_by="stage_id" class="o_kanban_small_column o_kanban_project_tasks" on_create="quick_create" quick_create_view="project.quick_create_task_form" examples="project">
This is the kanban root element for the above view. We are going to add a group_create attribute. So the root element becomes
<kanban default_group_by="stage_id" group_create="false" class="o_kanban_small_column o_kanban_project_tasks" on_create="quick_create" quick_create_view="project.quick_create_task_form" examples="project">
Let’s check the view now.

So there is no more Add a Column option.
3. default_group_by
This attribute used to group the kanban view. Let’s take the example of the above; the tasks are grouped by stage. Ie, stage_id (that can be seen in the root element of kanban )
Now I am going to change the default_group_by to user_id. default_group_by="user_id"
The view will become
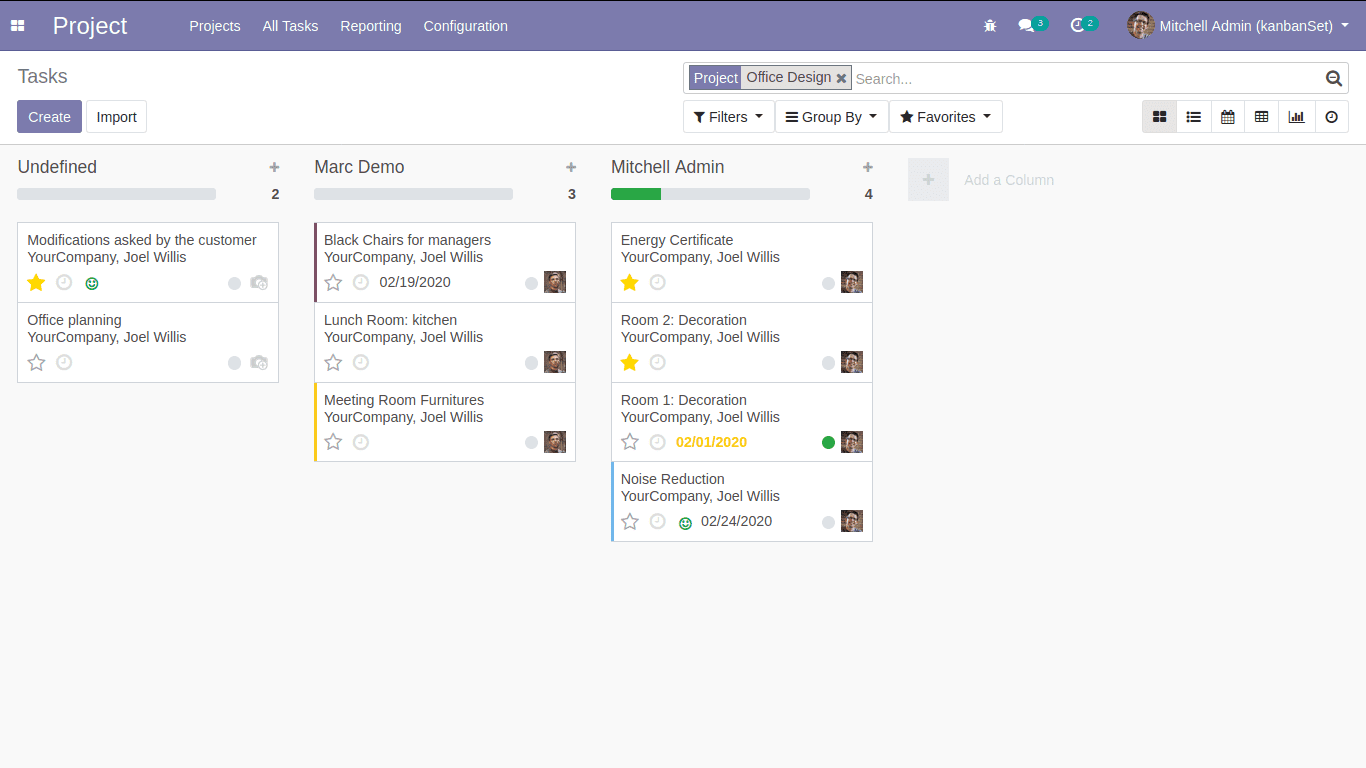
In the above image, we can find that the tasks are grouped based on the persons responsible for the task.
4. group_delete
The default value of this attribute is true. This attribute brings an option to delete the groups or not. Let’s look at an easier way.
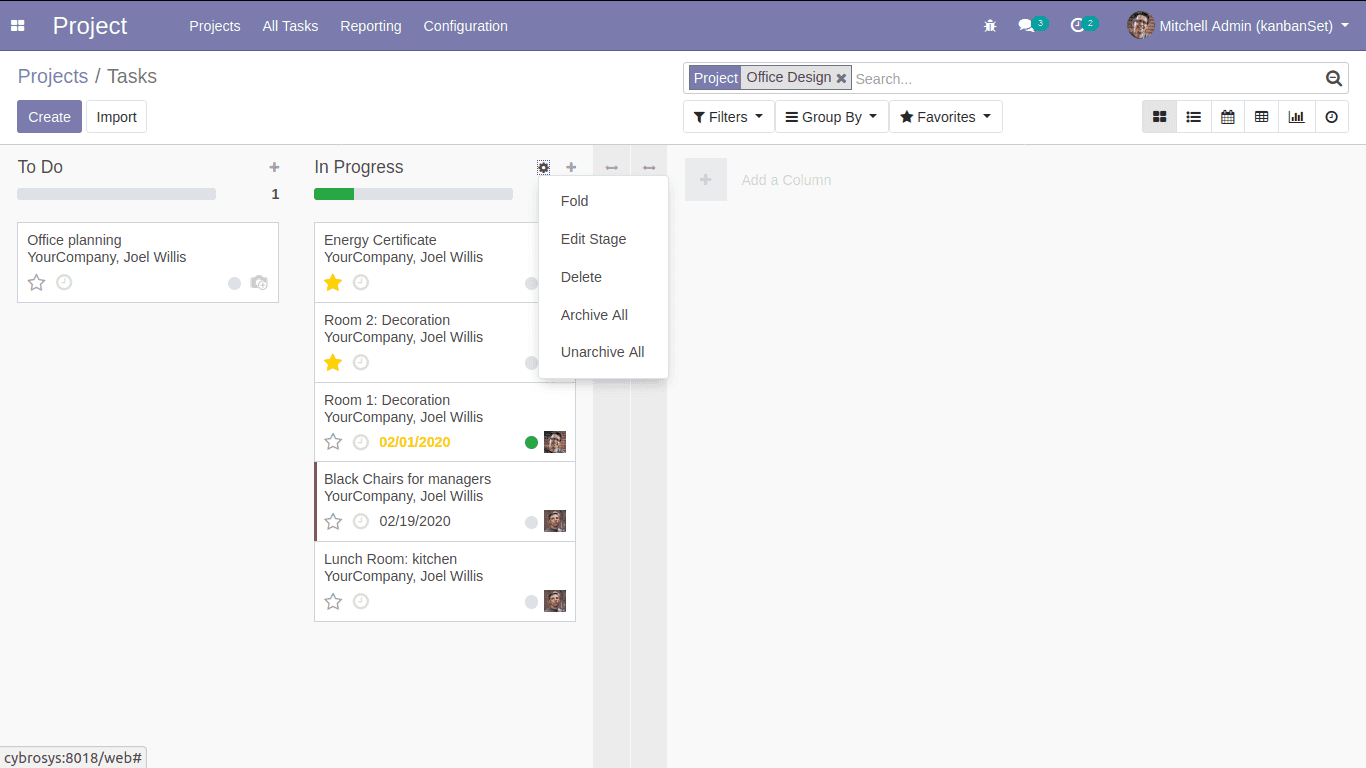
Here we can see the option to delete the stage/group. But when we add group_delete="false" we can’t delete the stage / group.
<kanban default_group_by="stage_id" group_delete="false" class="o_kanban_small_column o_kanban_project_tasks" on_create="quick_create" quick_create_view="project.quick_create_task_form" examples="project">
Added group_delete attribute.
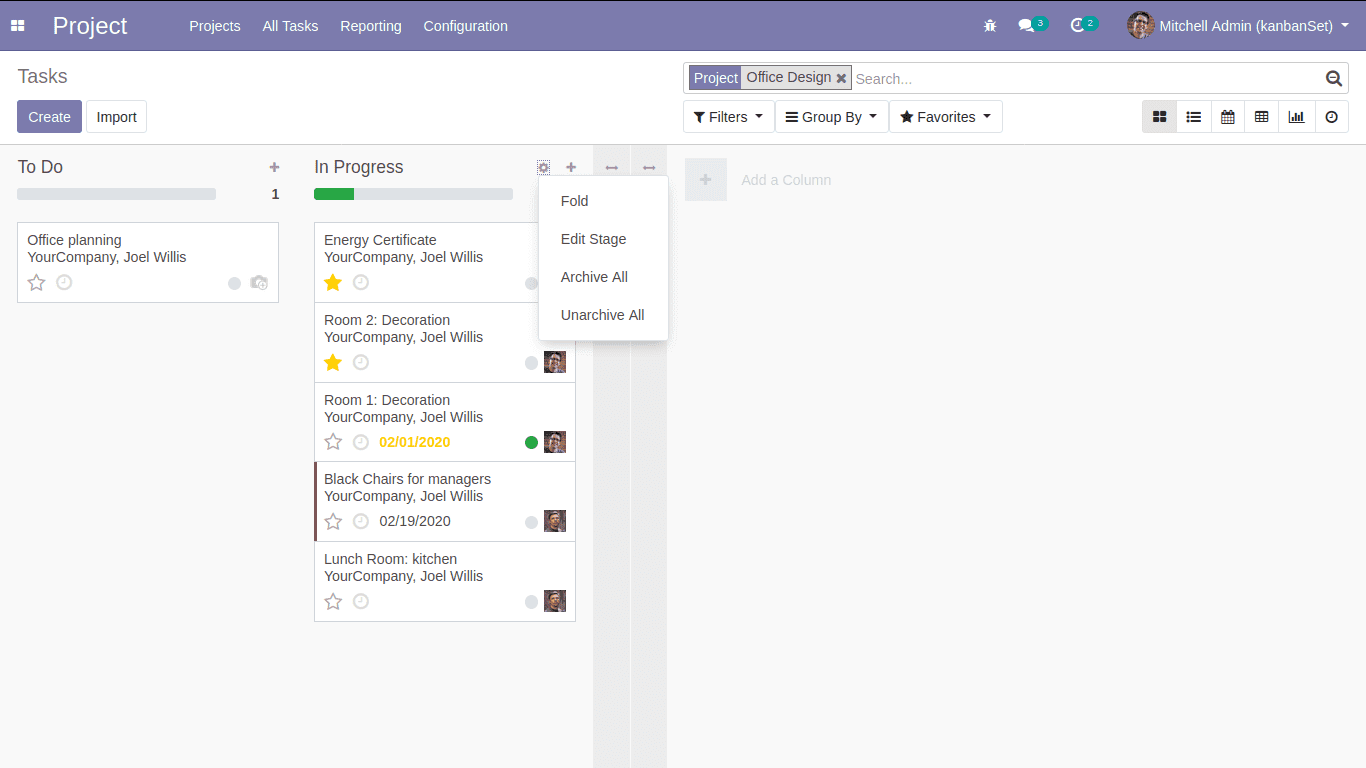
Now the delete option will not be visible.
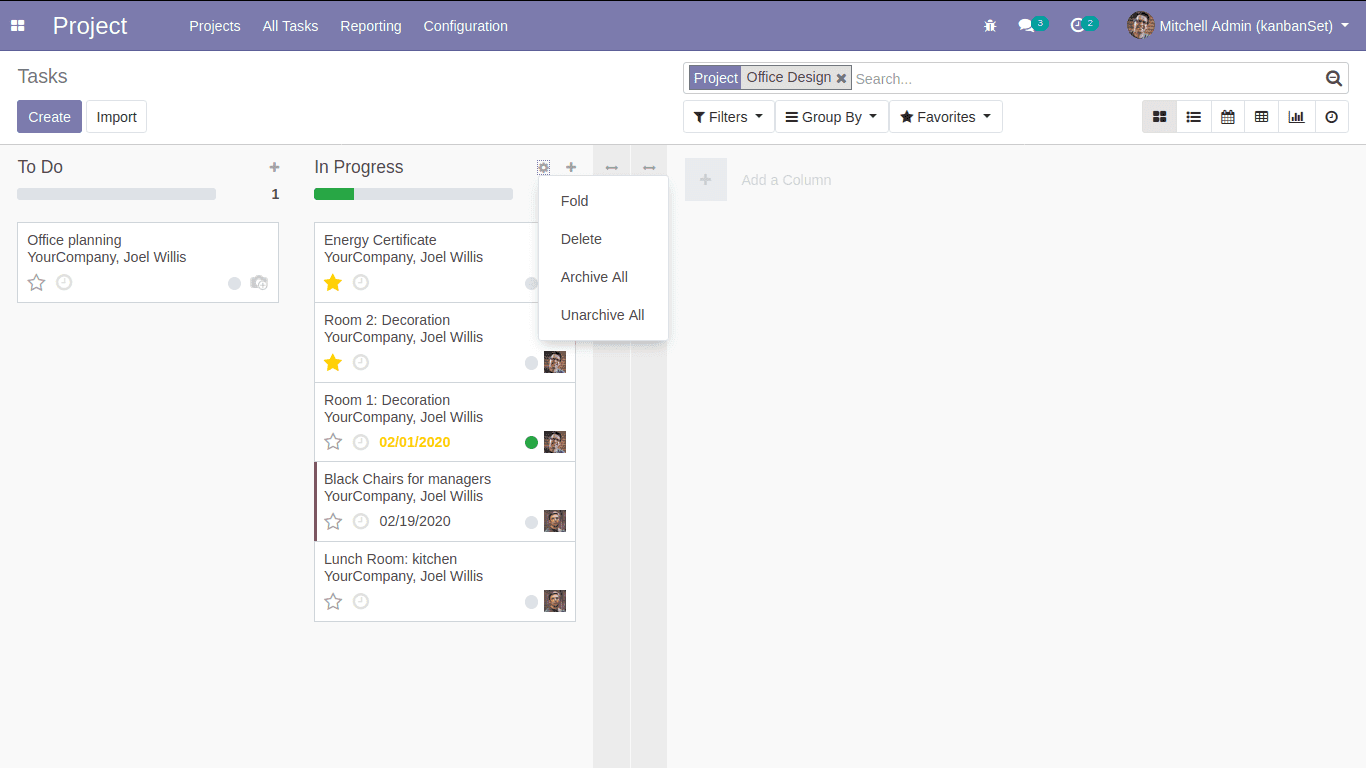
5. group_edit
This is also the same as the above attribute. The default value is true. When we set it to false, the option for editing the group/stage will be invisible.
<kanban default_group_by="stage_id" group_edit="false" class="o_kanban_small_column o_kanban_project_tasks" on_create="quick_create" quick_create_view="project.quick_create_task_form" examples="project">
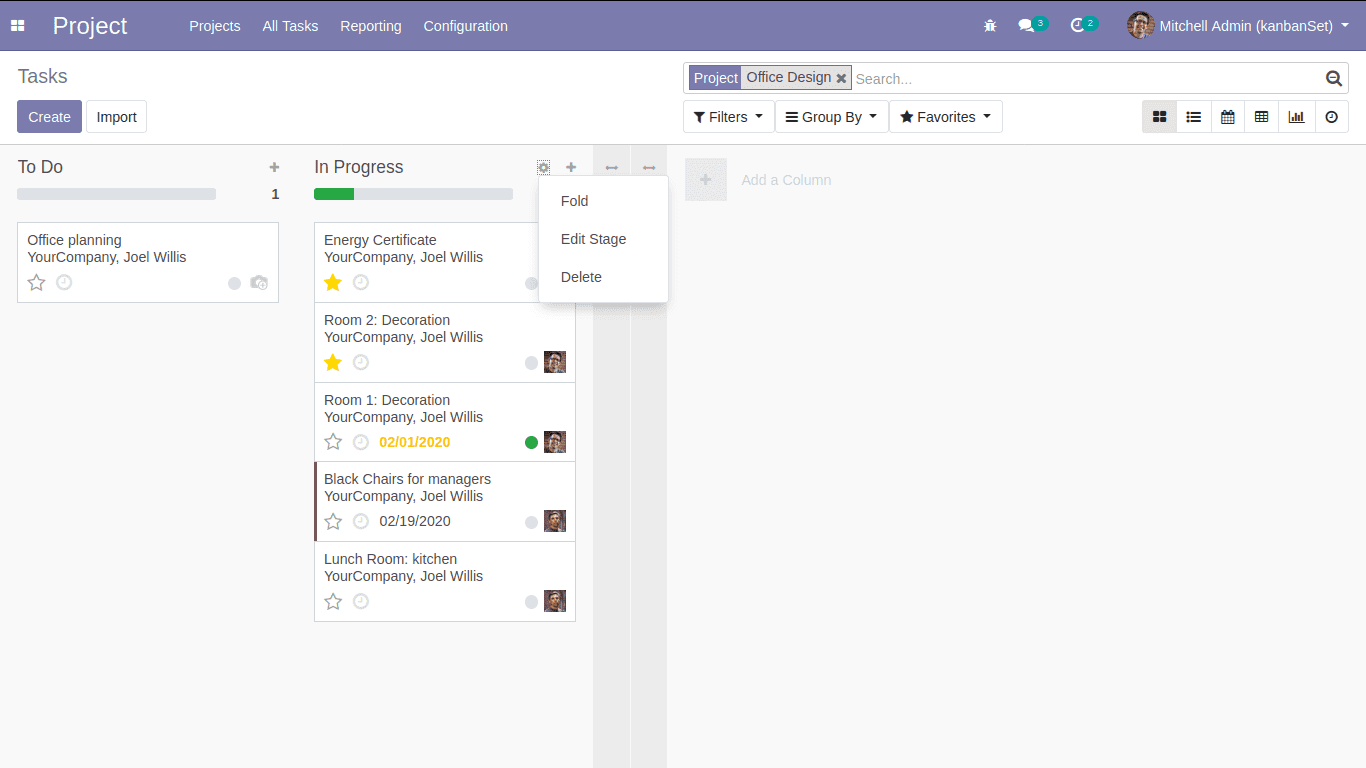
6. archivable
The default value for this attribute is true. By setting the value to false we can remove the option for archived / restored for the group/stage.
<kanban default_group_by="stage_id" archivable="false" class="o_kanban_small_column o_kanban_project_tasks" on_create="quick_create" quick_create_view="project.quick_create_task_form" examples="project">
7. quick_create
This feature is used to create records without switching to the form view. Here in the above case, we can say that we can create tasks without switching to form view.
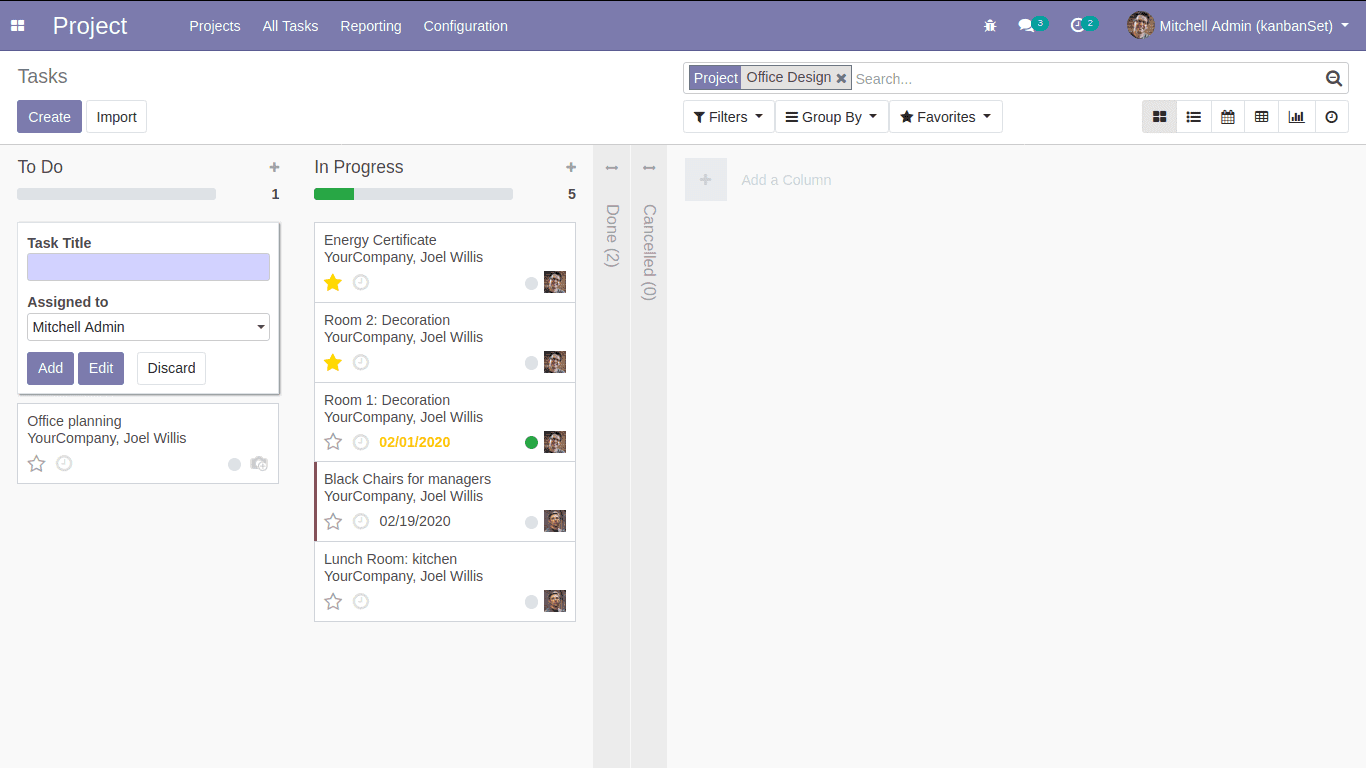
This is because the attribute is true. Now we are adding quick_create="false"
<kanban default_group_by="stage_id" quick_create="false" class="o_kanban_small_column o_kanban_project_tasks" on_create="quick_create" quick_create_view="project.quick_create_task_form" examples="project">
This time when we click the create button, the form view will appear.
8. records_draggable
Consider the project task kanban view in the above example. Here we can drag the tasks to different stages. This is because the records_draggable attribute is set to true. If we add records_draggable="false"
The tasks will no longer be draggable.
9. Progress bar
This element will bring a progress bar element on top of kanban columns.
There are three possible attributes for this element.
Field: the progress bar is based on this field.
colors: we can assign colors to the values of the specified fields. Colors available are,
success, warning, danger, and muted.
sum_field: this is an optional attribute. On the other hand, other fields are all required. If we give a field as a sum field the sum of the fields of records will be shown in the progress bar.
Let’s take an example of project module task views:
<progressbar field="kanban_state" colors='{"done": "success", "blocked": "danger", "normal": "muted"}'/>
Here the progress bar is based on the kanban_state field. Let’s see what this field is
	kanban_state = fields.Selection([ ('normal', 'Grey'), ('done', 'Green'), ('blocked', 'Red')], string='Kanban State',
   copy=False, default='normal', required=True)
So the values of kanban_state fields are done, blocked, and normal. We can see that the colors depend on these values. Likewise, we can give any fields and specify the corresponding values in the colors attribute.
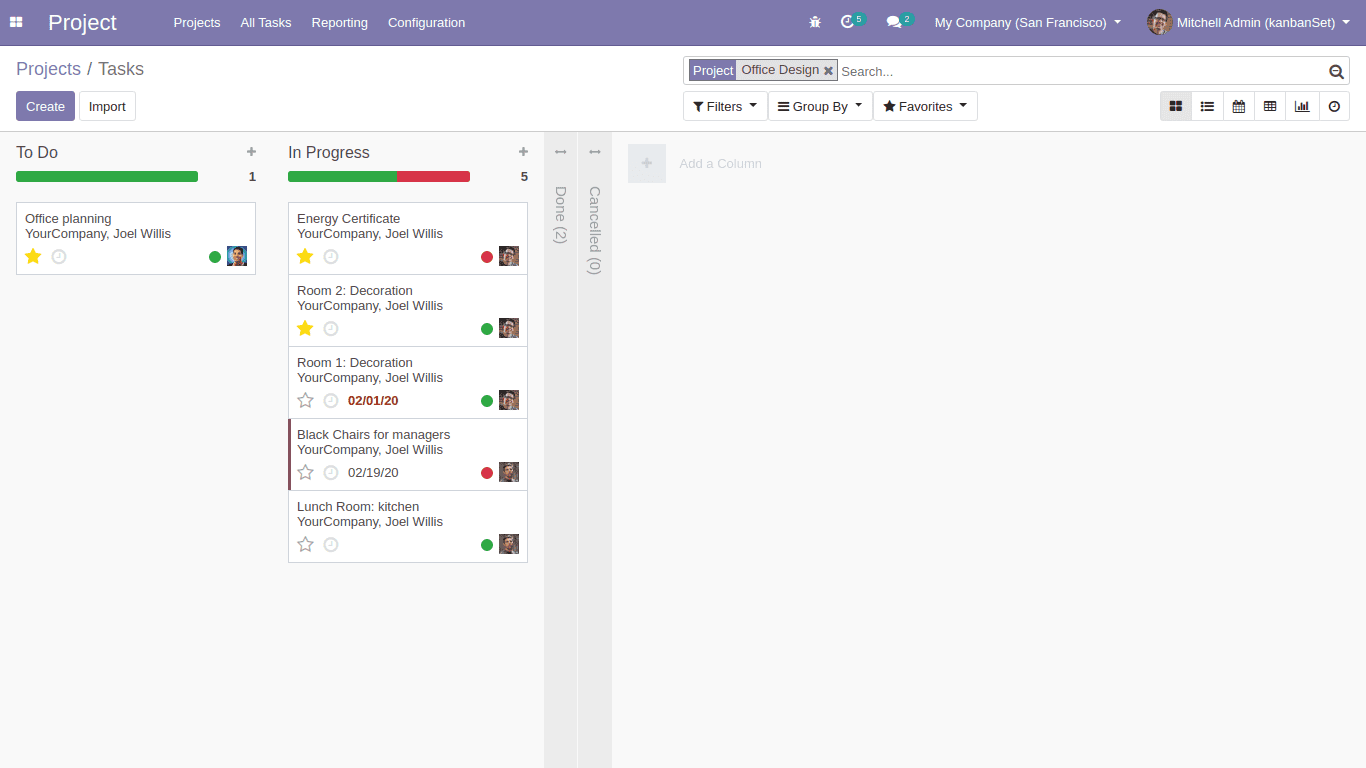
Here in the above picture, we can see the progress bar, and the kanban_state is specified for each record.
To discuss the sum_field let’s take the example of the CRM module.
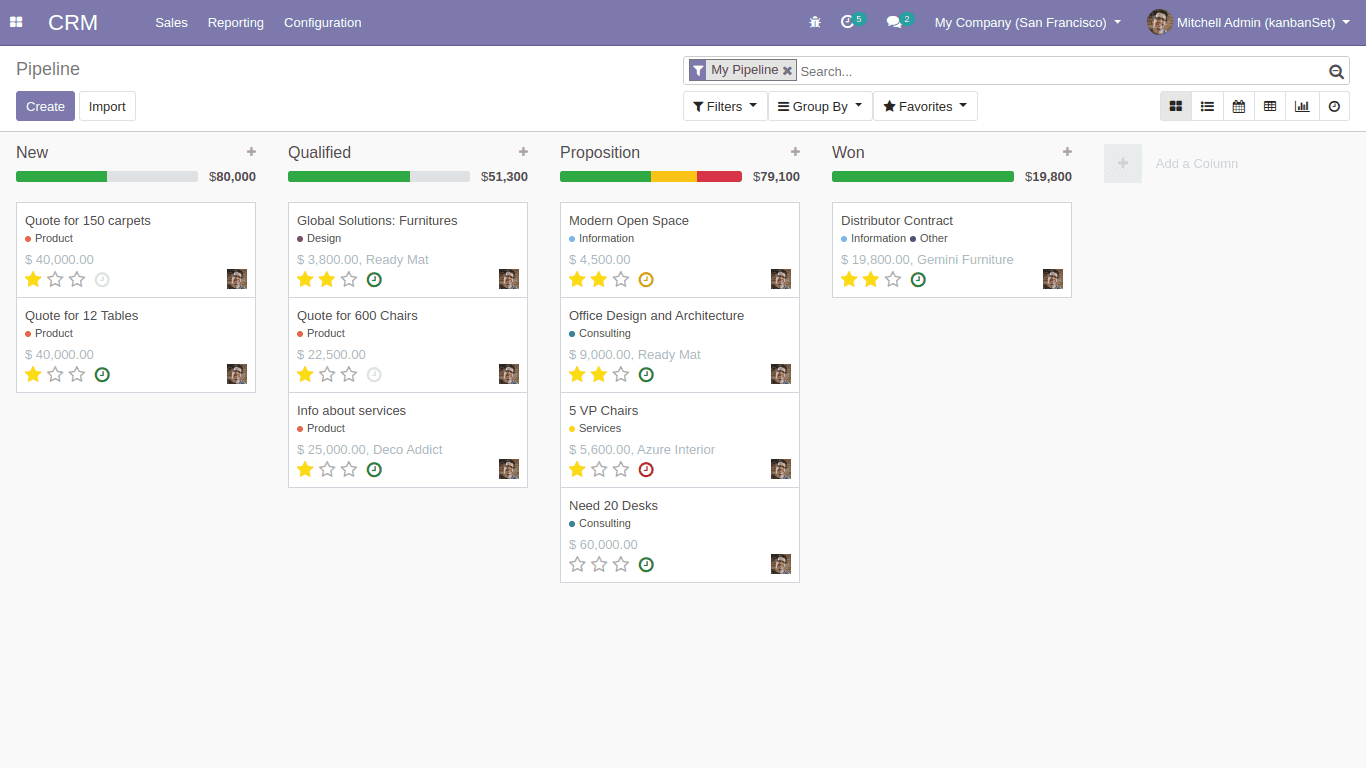
Here we can see the value after the progress bar.
<progressbar field="activity_state" colors='{"planned": "success", "today": "warning", "overdue": "danger"}' sum_field="planned_revenue" help="This bar allows to filter the opportunities based on scheduled activities."/>
This is how the progress bar is defined in the CRM module. Here the sum_field is defined as ‘planned_revenue’ we can see the planned revenue of each record in the kanban.
Here we discussed some kanban elements and how it is used.