Appointment management is essential for any business institution. Appointments are traditionally and widely considered 'hard to manage' for larger organisations. The difficulty level of Appointment management varies from employee appointments to primary client appointments.
Ensuring proper maintenance and management of appointments and venue schedule details is essential for the company's well-being as they could generate leads for the organisation. Having the highly advanced support of Odoo for Appointment management is an added advantage in ensuring maximum efficiency.
This blog will give you an idea of how to create and manage Appointments in Odoo 15
Effective schedule management and planning of Appointments are necessary for the smooth running of any business. Odoo has integrated Appointment with the Calendar module for user convenience and easy date management. Appointments are fully integrated with the Calendar module for easy management. The Online Appointments tab of the Calendar module deals with Appointments.

Appointments will be displayed on this page. The CREATE button will let you create new Appointments.
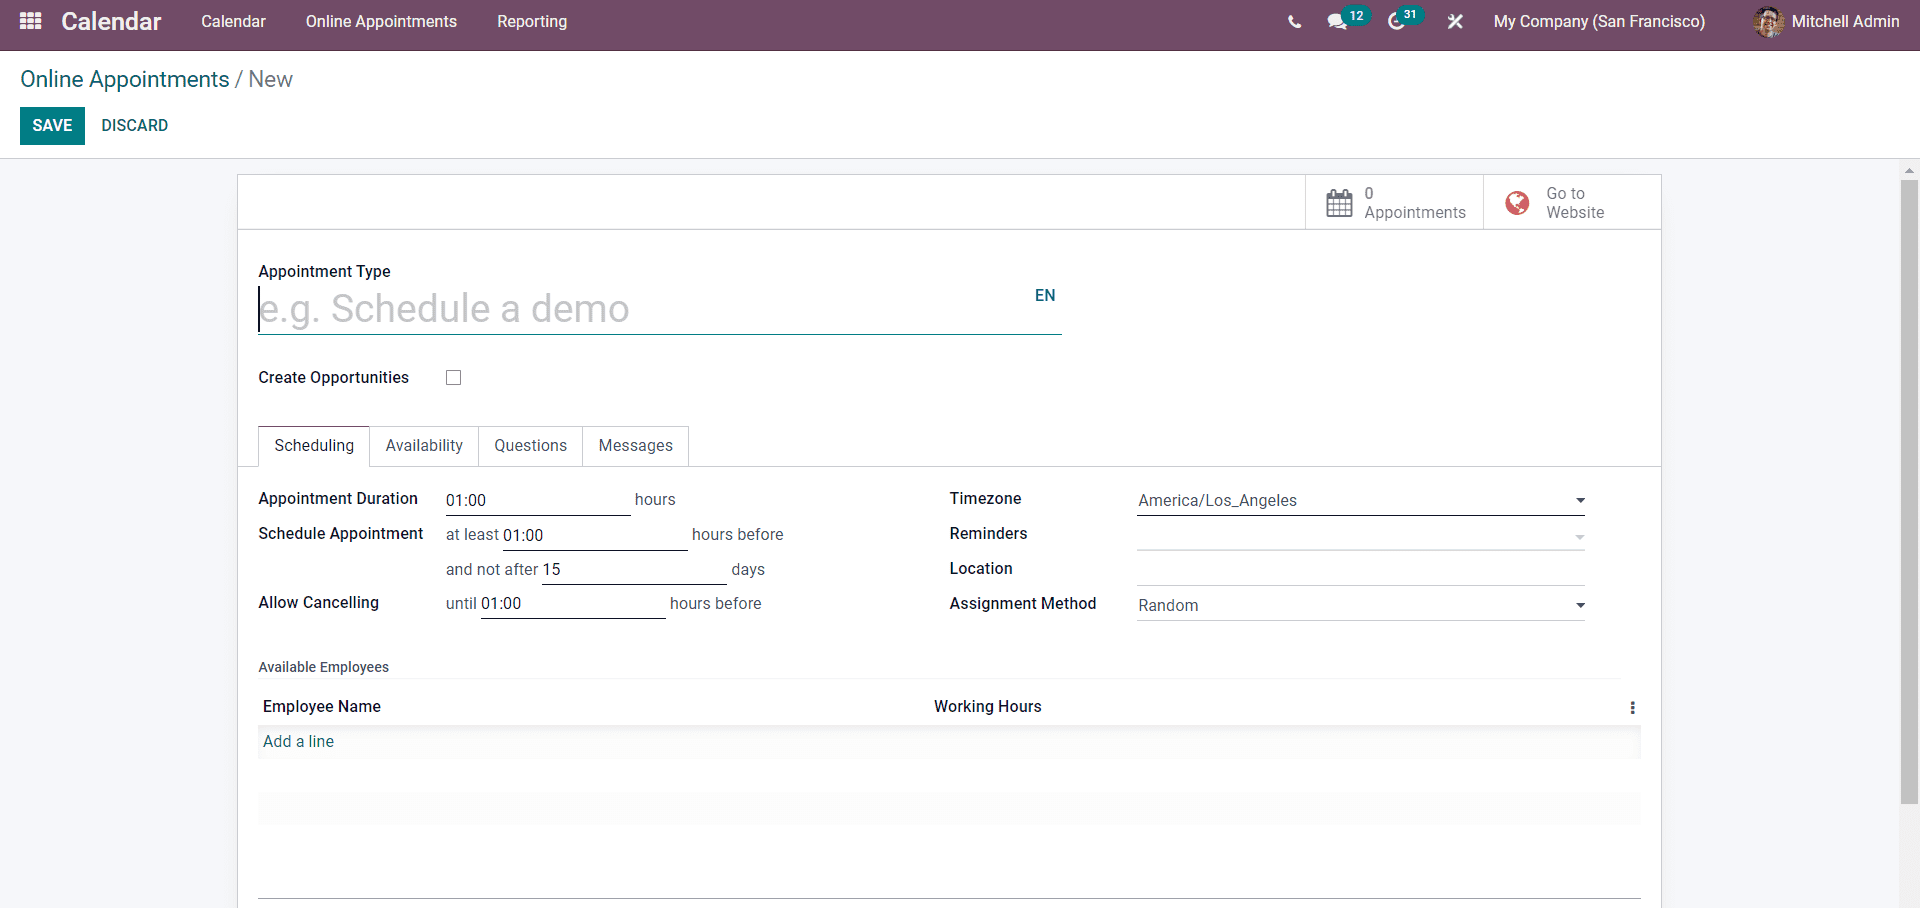
You can create the Appointments on this page. To begin with, the configurations, type in the schedule in the Appointment Type field for easy management of the appointment. You can generate leads from the appointments by clicking on the Create opportunities check box.
In the Scheduling section of the configuration page, you can configure the scheduling details of the Appointment. In the Appointment duration field, you have to type in the duration of the Appointment. The Schedule appointment field will let you enter the appointment scheduling details. The Reminders field will let you create reminders that will alert you at specific intervals.
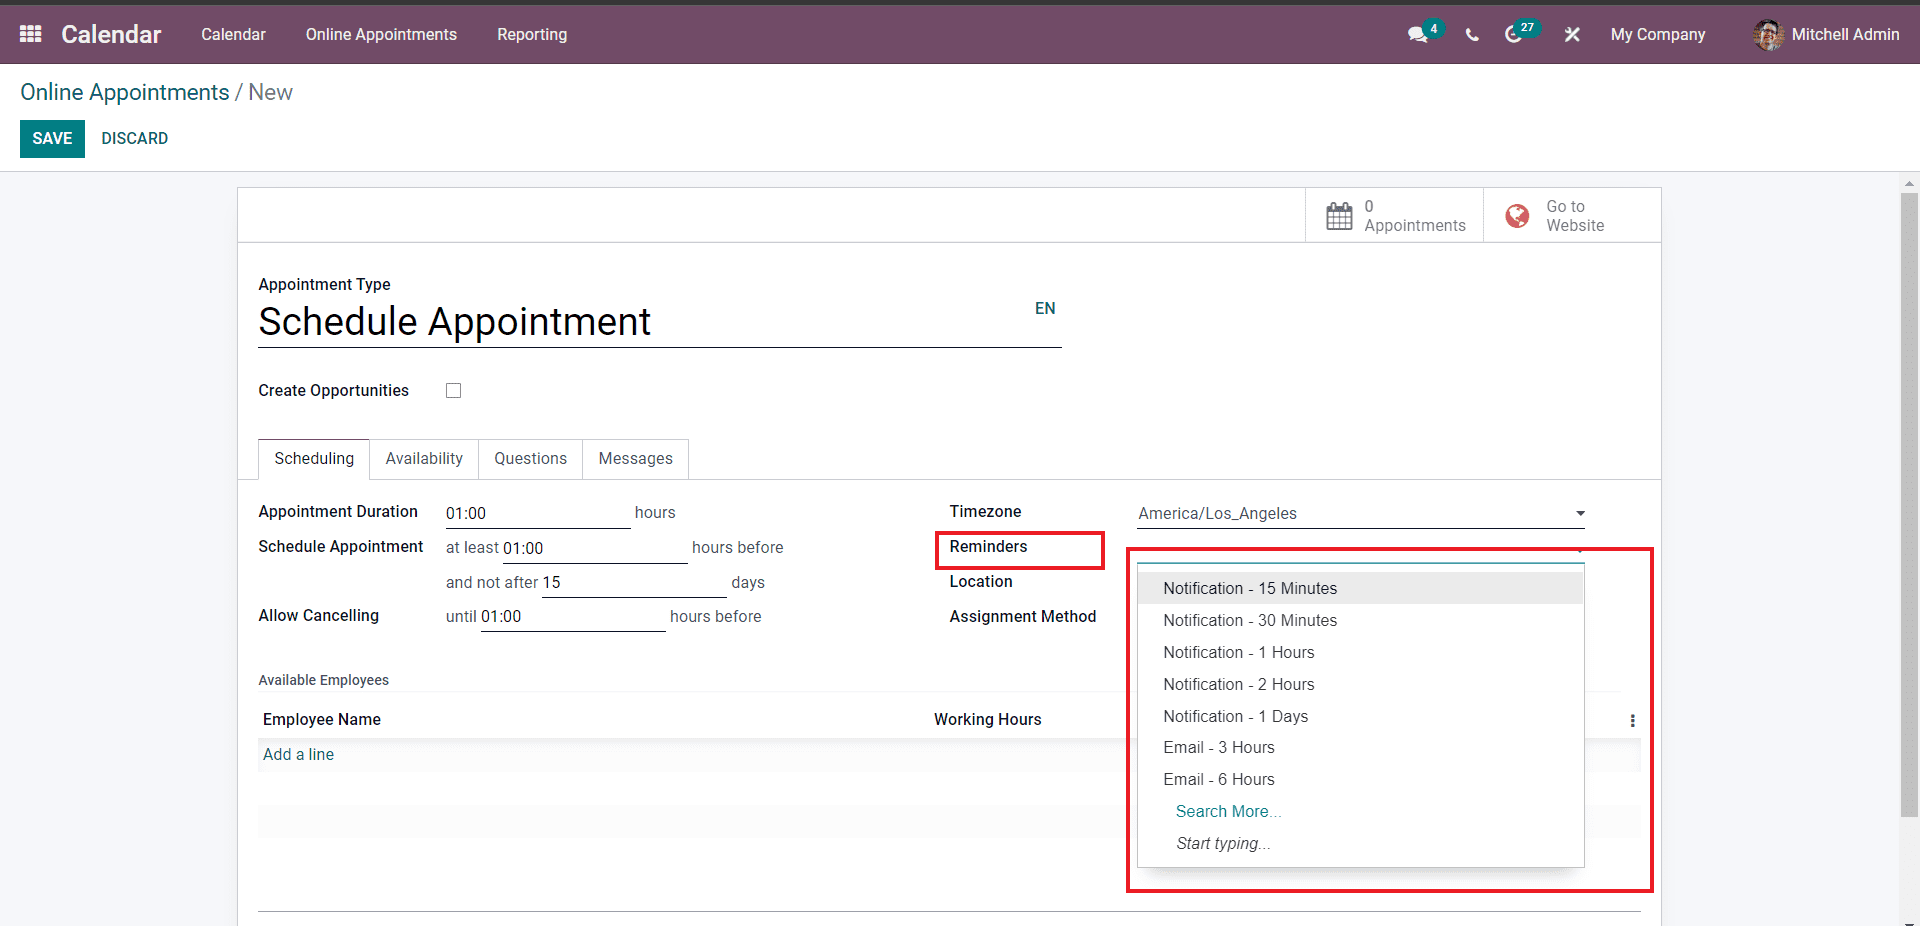
You can choose from the list of Reminders to enable them on the new appointment schedule so that you won't miss crucial appointments. Click on the Search more for more options. You can choose multiple reminders. You can choose whether the customers can choose the employee or just as random from the Assignment method field.
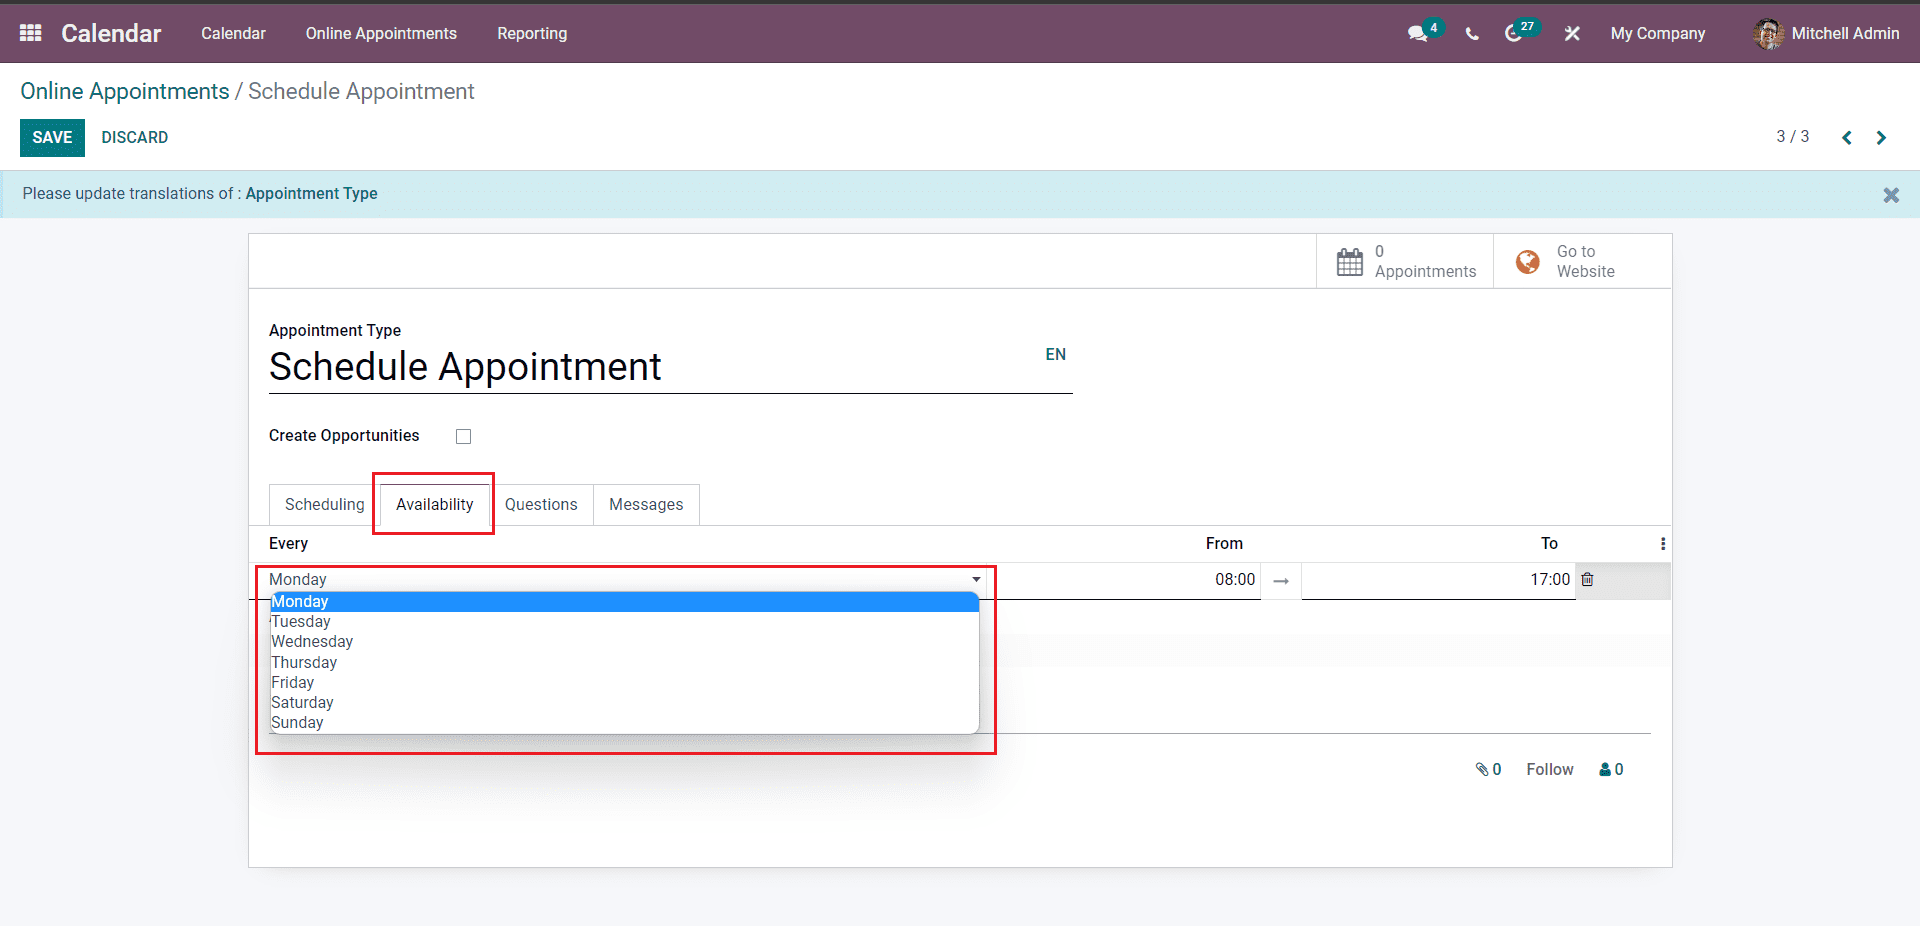
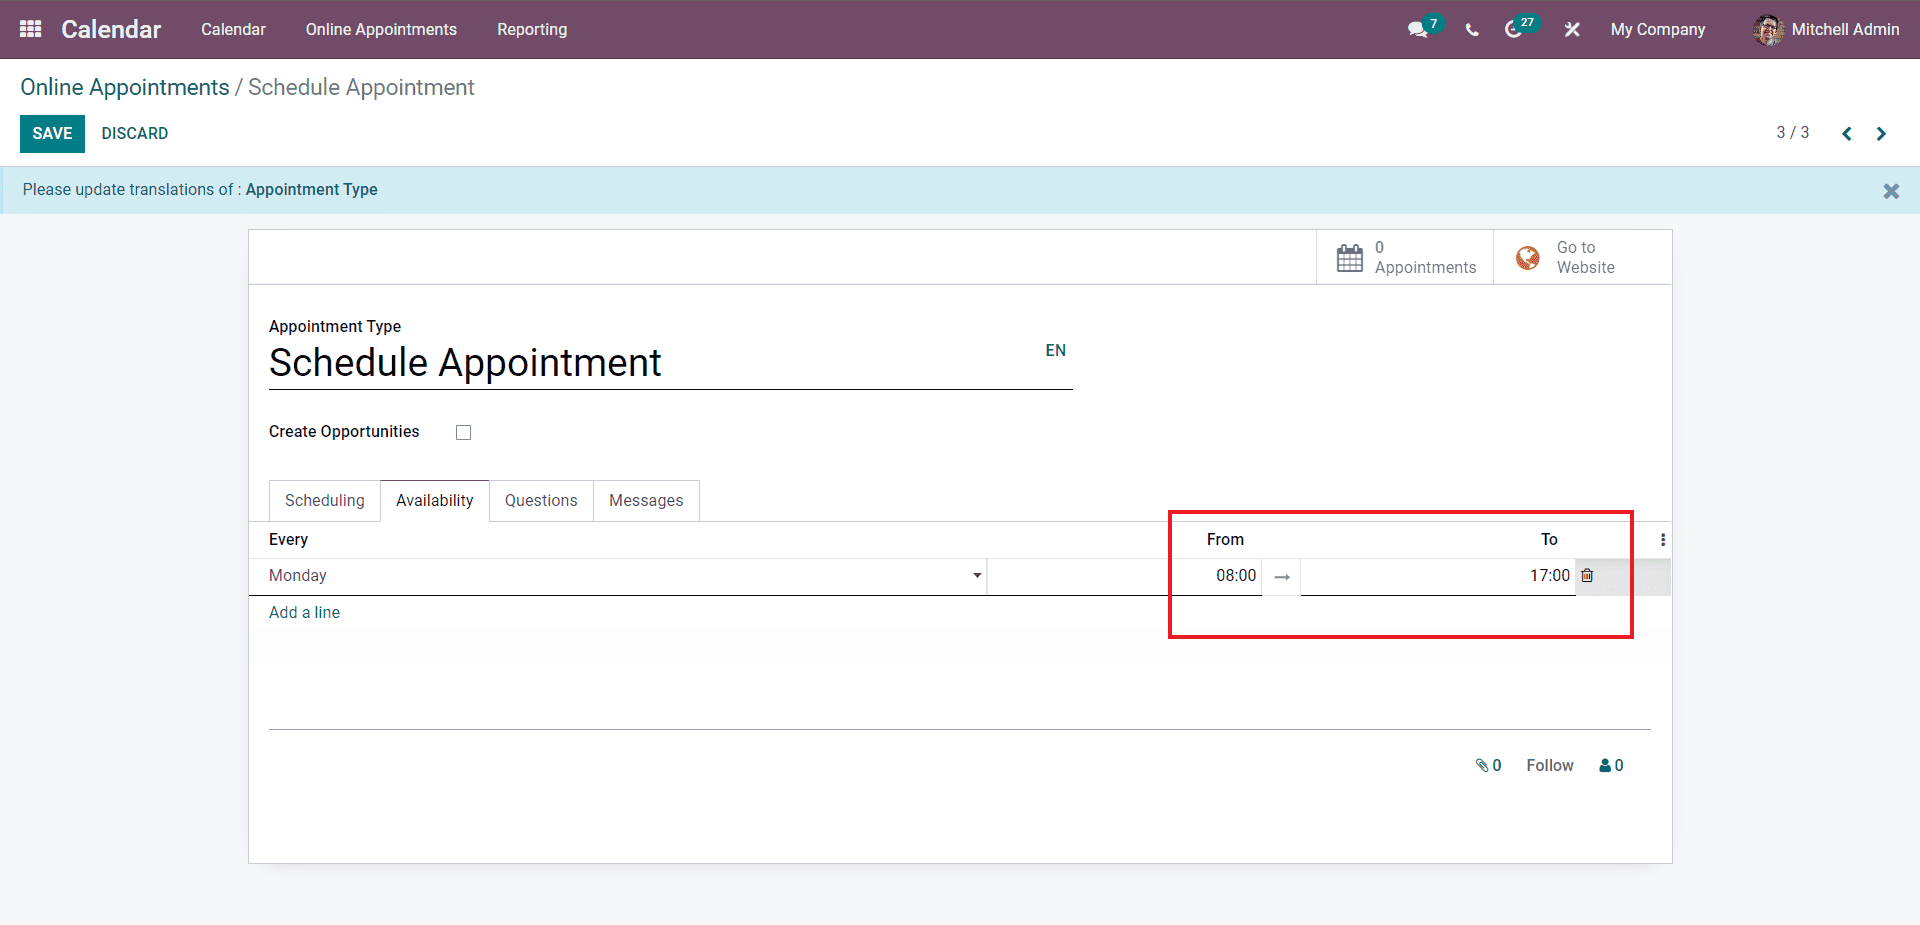
After the configurations on the Scheduling section, you can move on to the Availability section of the configuration page. The Availability section will allow you to enter the availability timings for scheduling the appointments. Click on the Add a line button under the Availability section, and a drop-down of options to add the availability time will open up, as shown in the image given below.
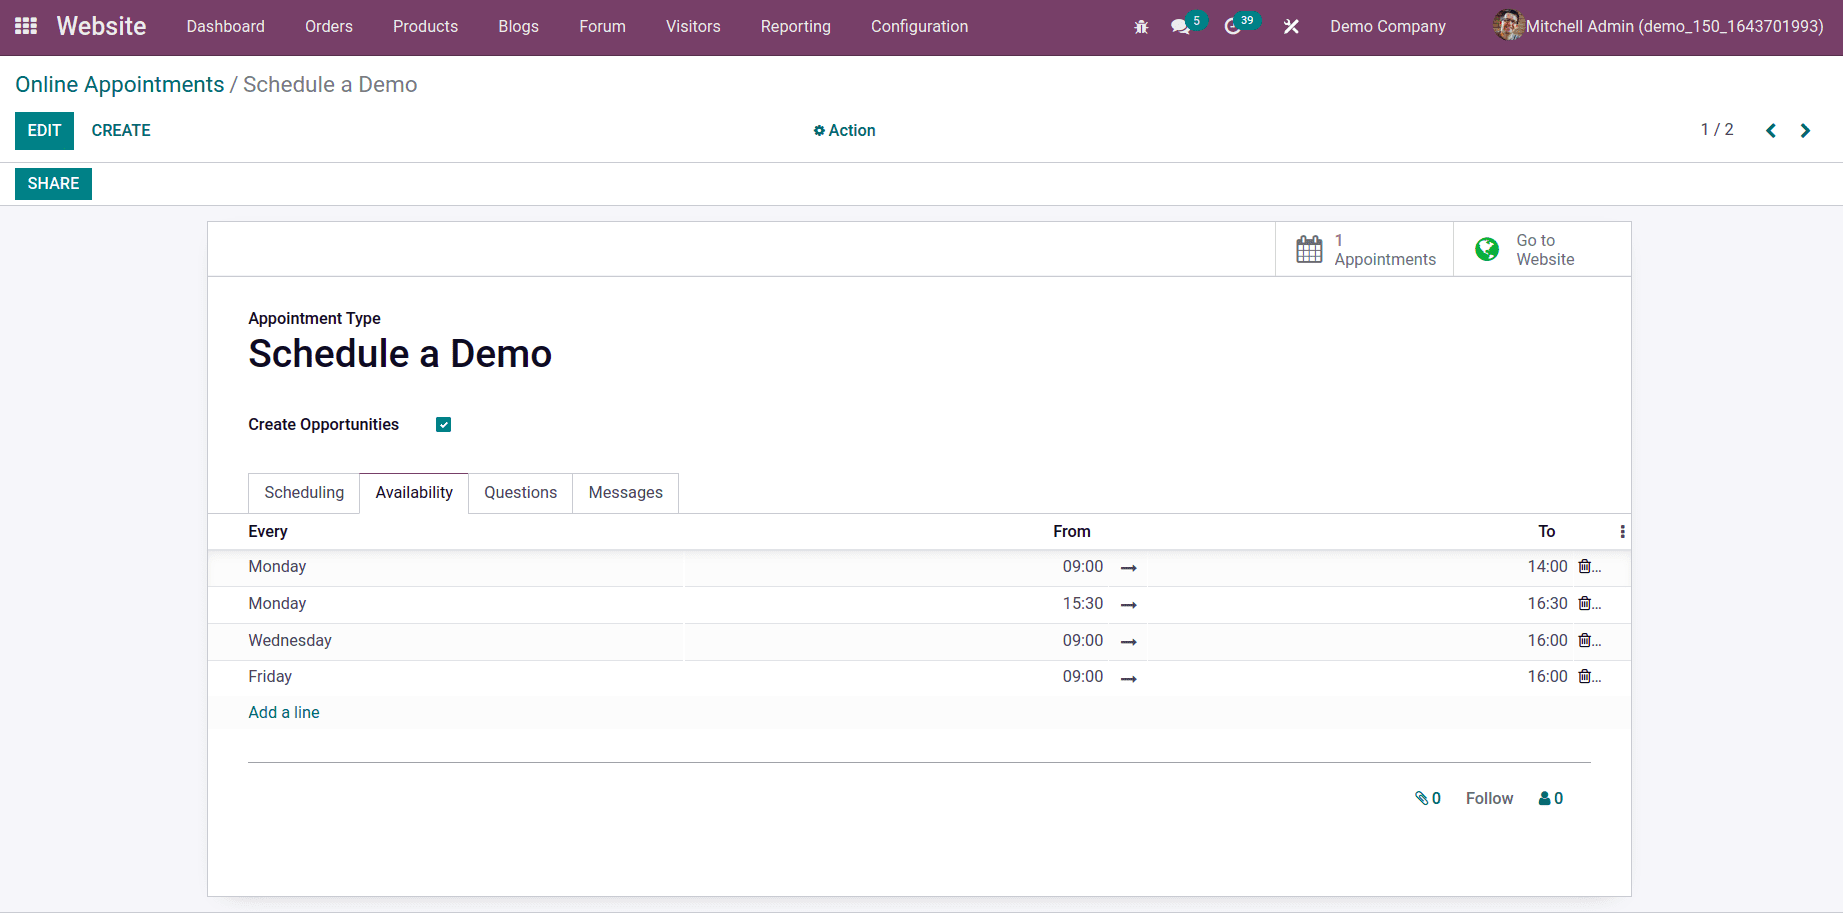
For each day, you can configure the particular time of avilabalilty from the From and To section of the field as shown in the image given below.
After posting up the availability, you can choose to add questions to the Online appointments from the Questions section. Click on the Add a line button to add the new question; a tab for configurations will open up, as shown in the image below.
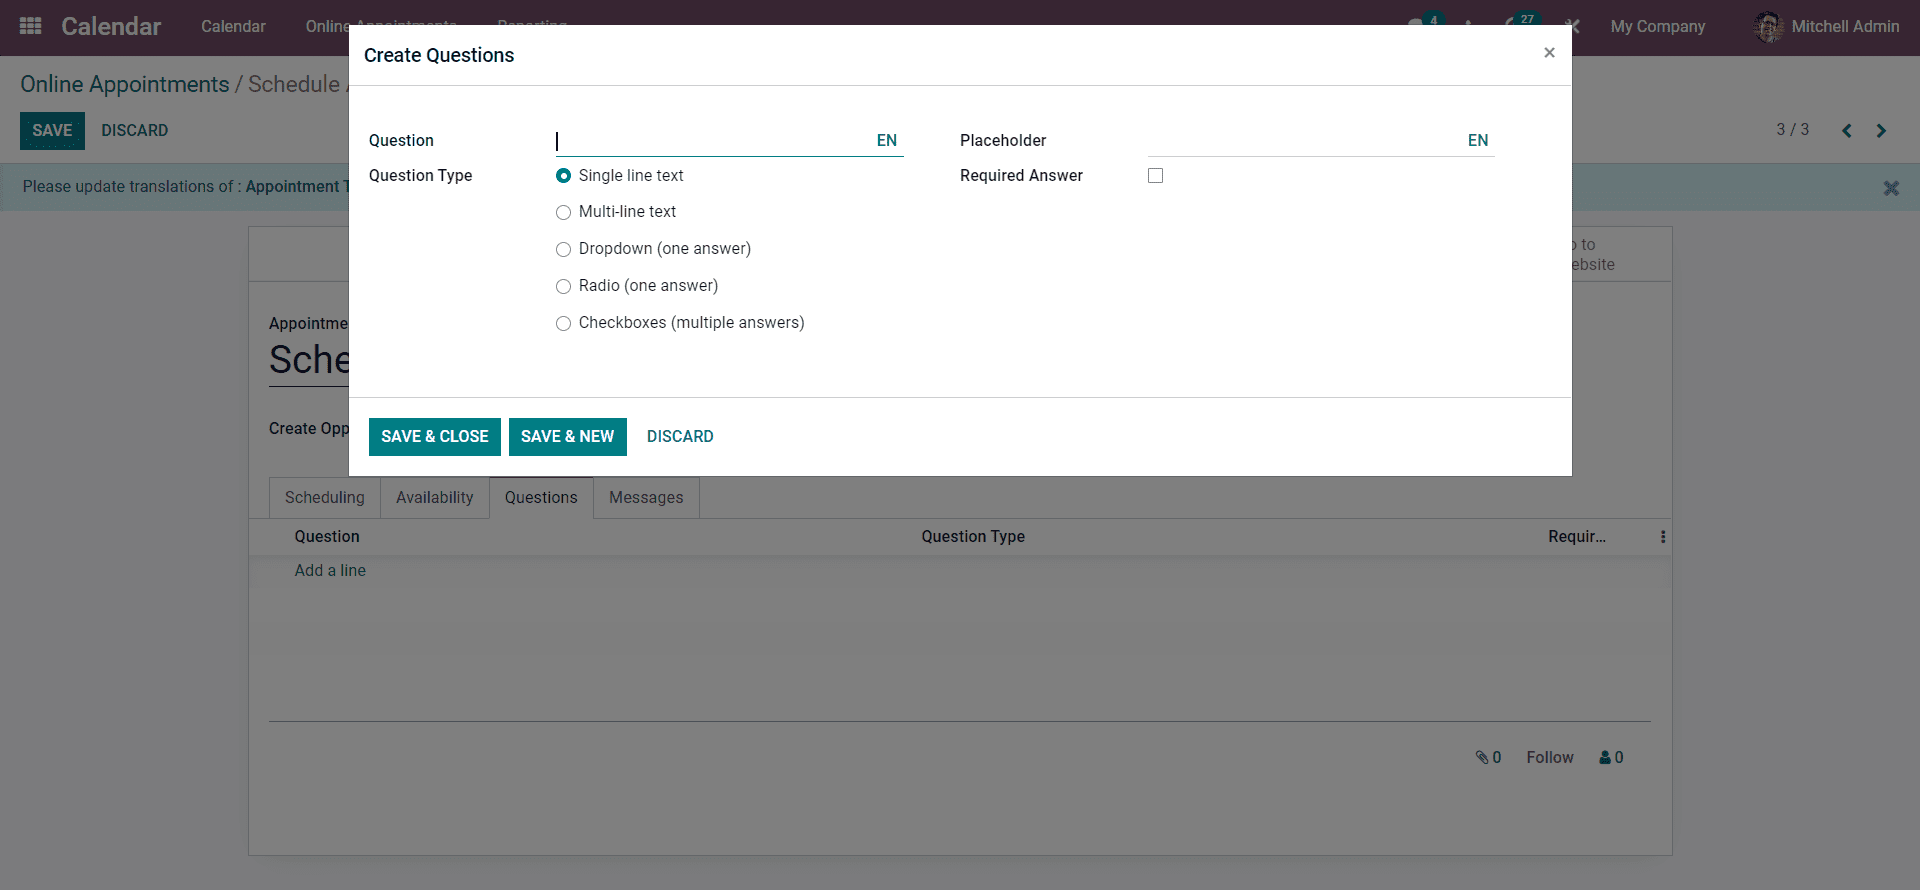
Type in the question on the Question field and select the question type from the Question type field. There are multiple question types available to choose from, and you can choose the question type based on the nature of your business management style. You can make the answer mandatory by clicking on the Required answer checkbox. Click on the SAVE & CLOSE button to finalise the process. In the Messages section, you can type in messages for the appointments.
In the Employee name section, you can select to include the employees who you want to join in the Scheduled Appointment by clicking on the Add a line button.
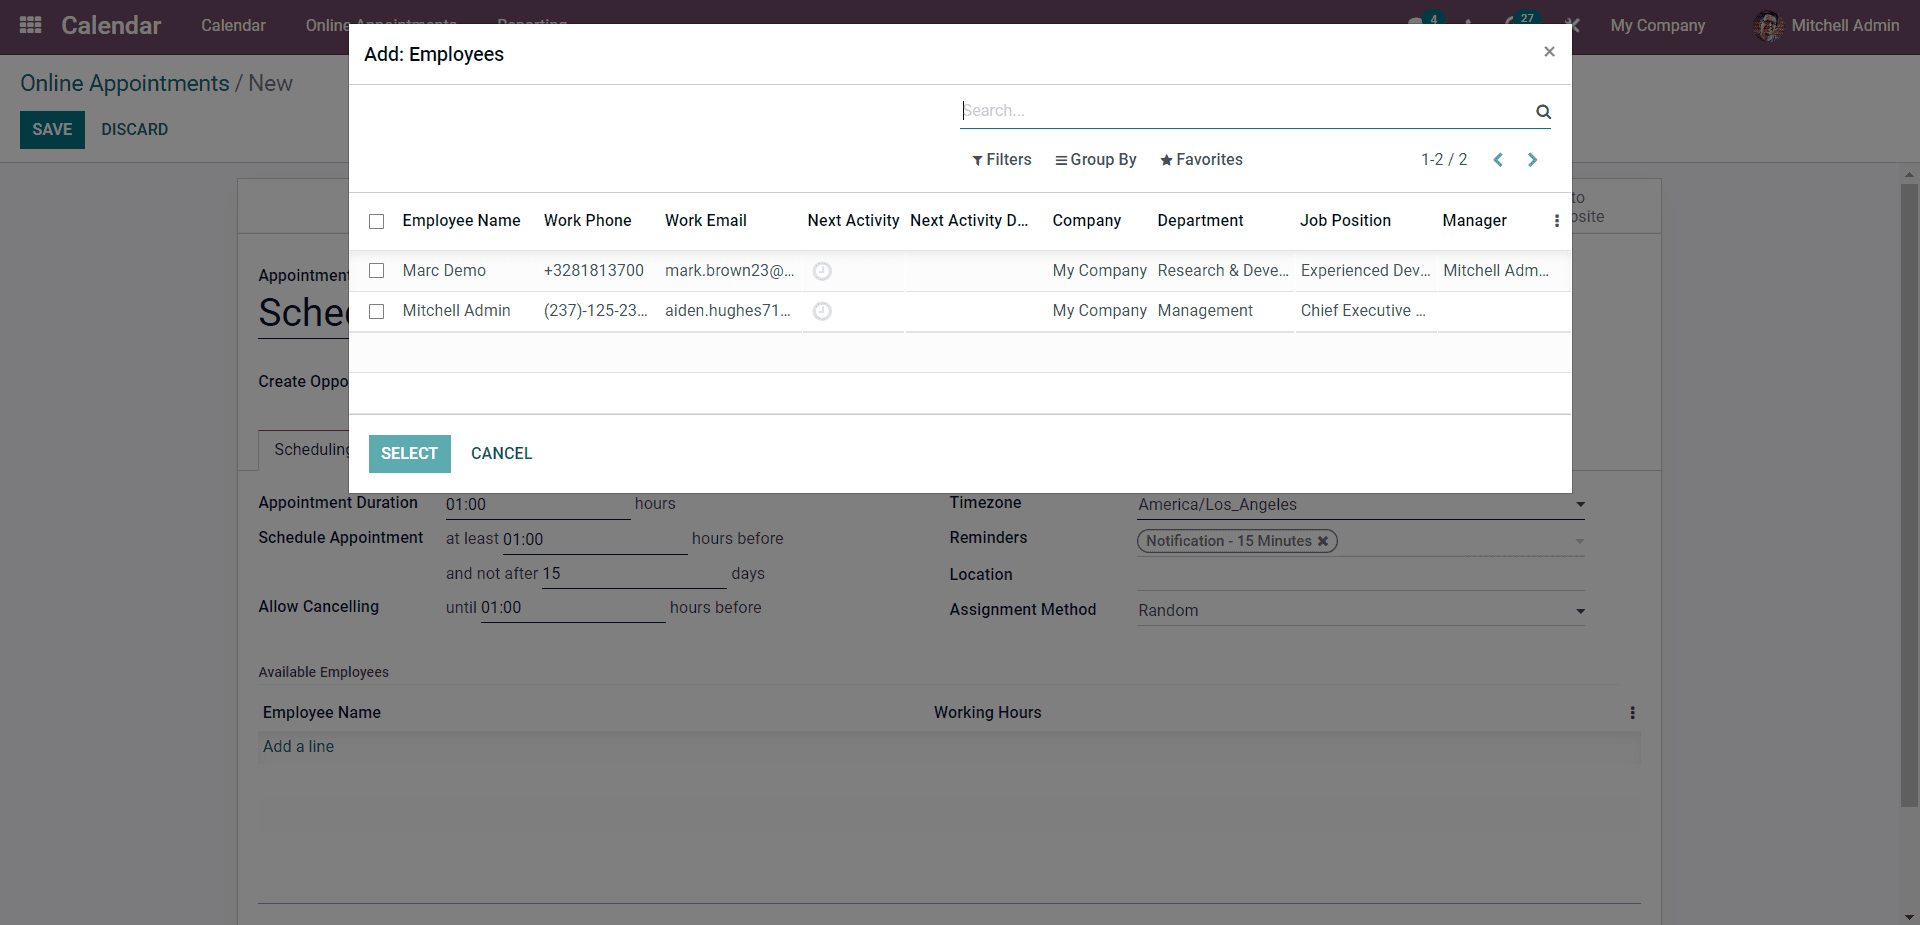
Click on the employee you want to include and use the SELECT button. This is the final step Appointment configuration. Clicking on the SAVE button will let you save the Appointment and will be displayed on the Appointments page for easy management.
Scheduling the Appointment
For scheduling the Appointment, you have to select the Appointment from the Online Appointment list. Note that you can create Appointments directly from the dashboard of the calendar module by clicking on the date and the field that you want to register for the meeting.
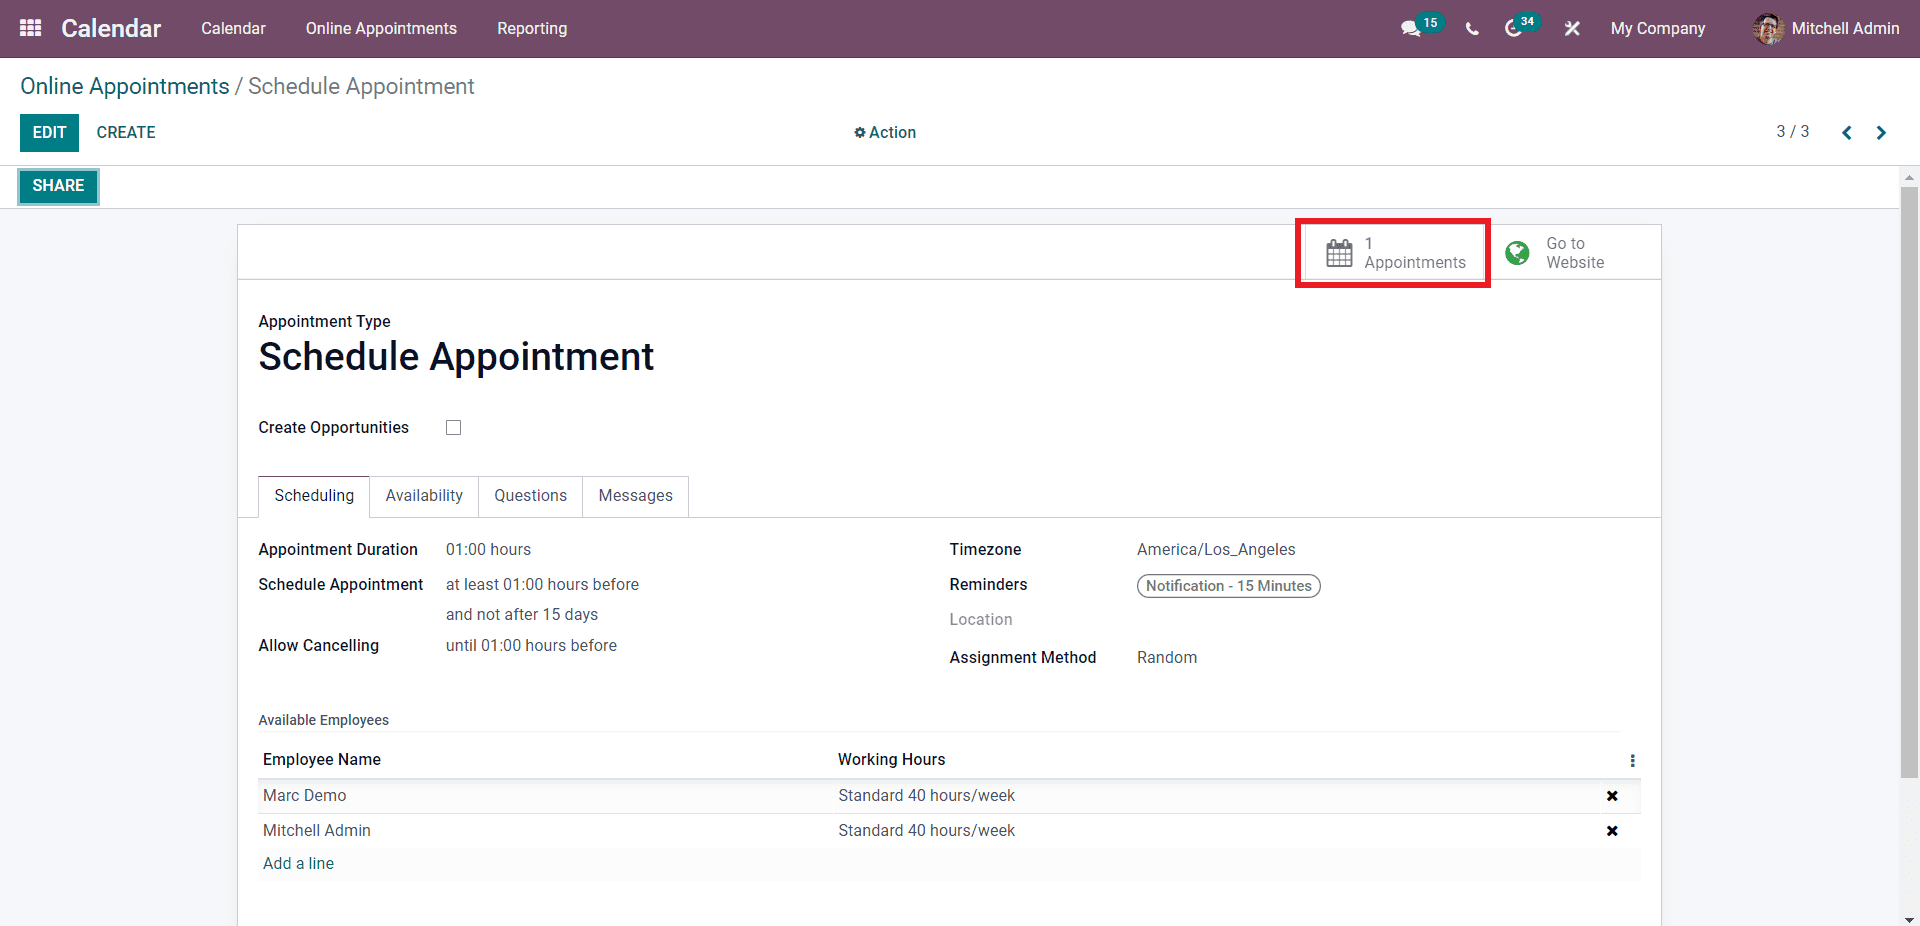
Click on the Appointment button and the page on it will open up as shown in the image given below.
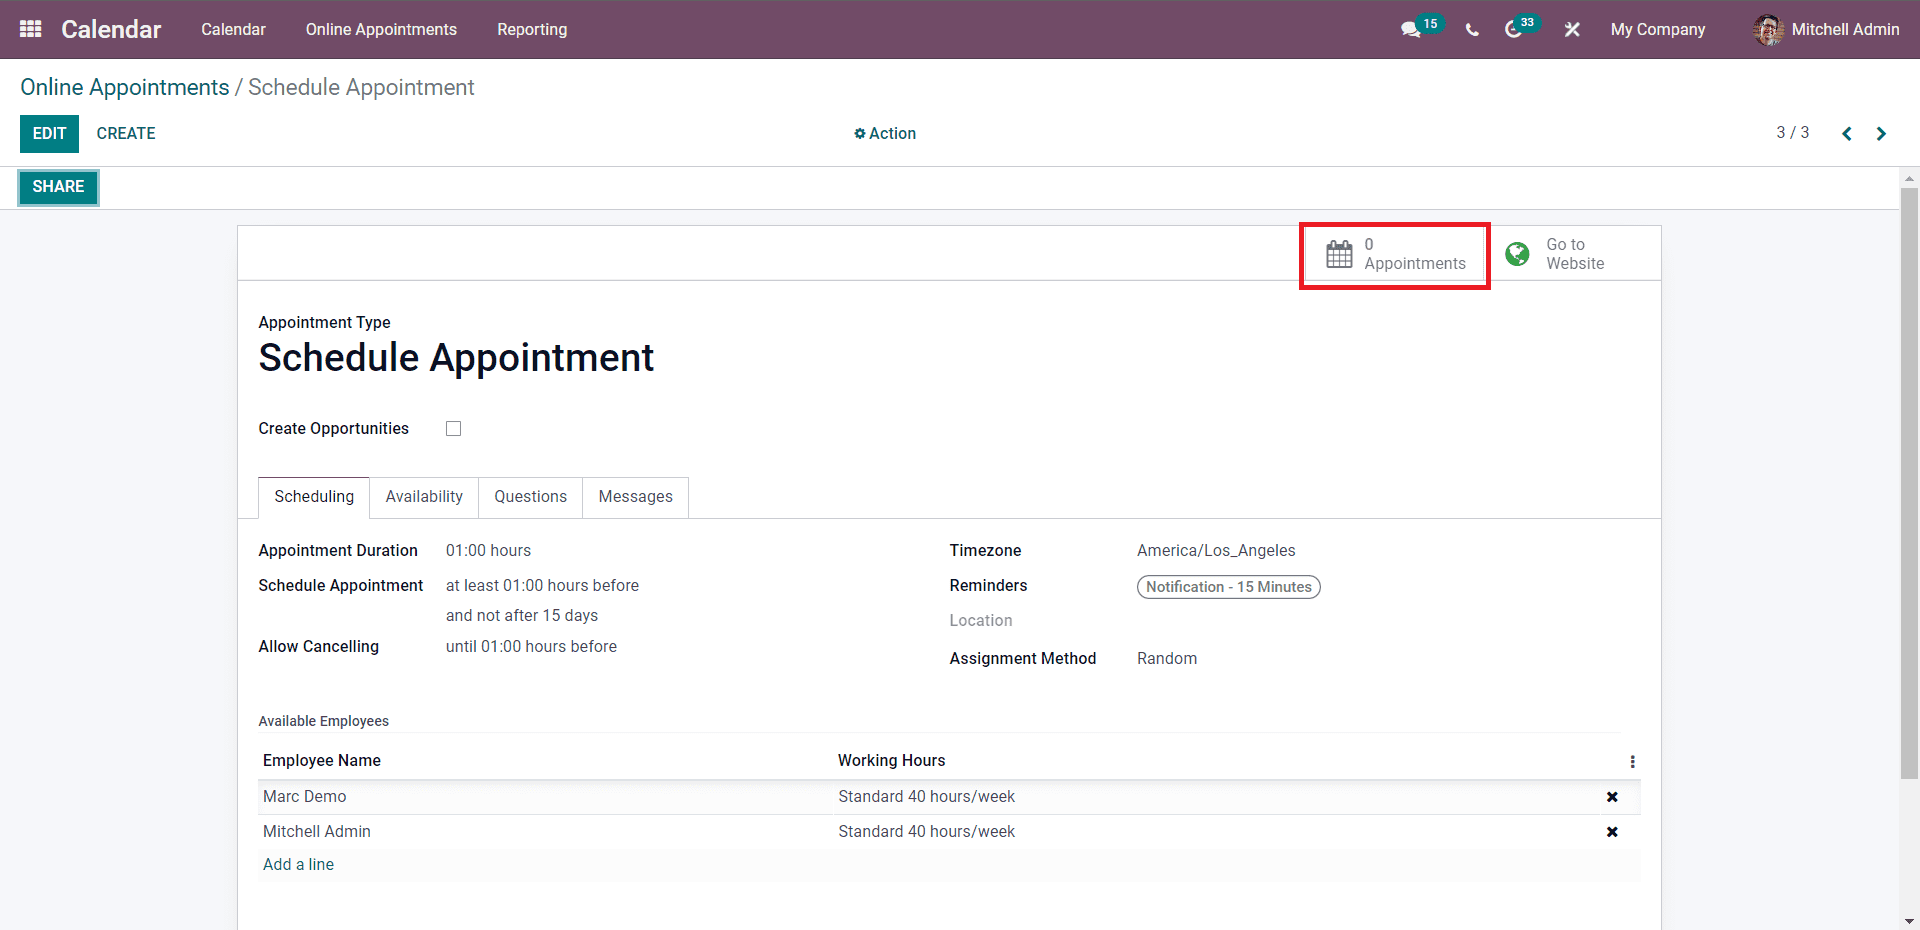
Click on the Appointments as marked in the image given above to schedule the new appointment, and you will be taken to the calendar. Click on the date you want to schedule the meeting, and the configuration tab for configuring the meeting will open up, as shown in the image below.
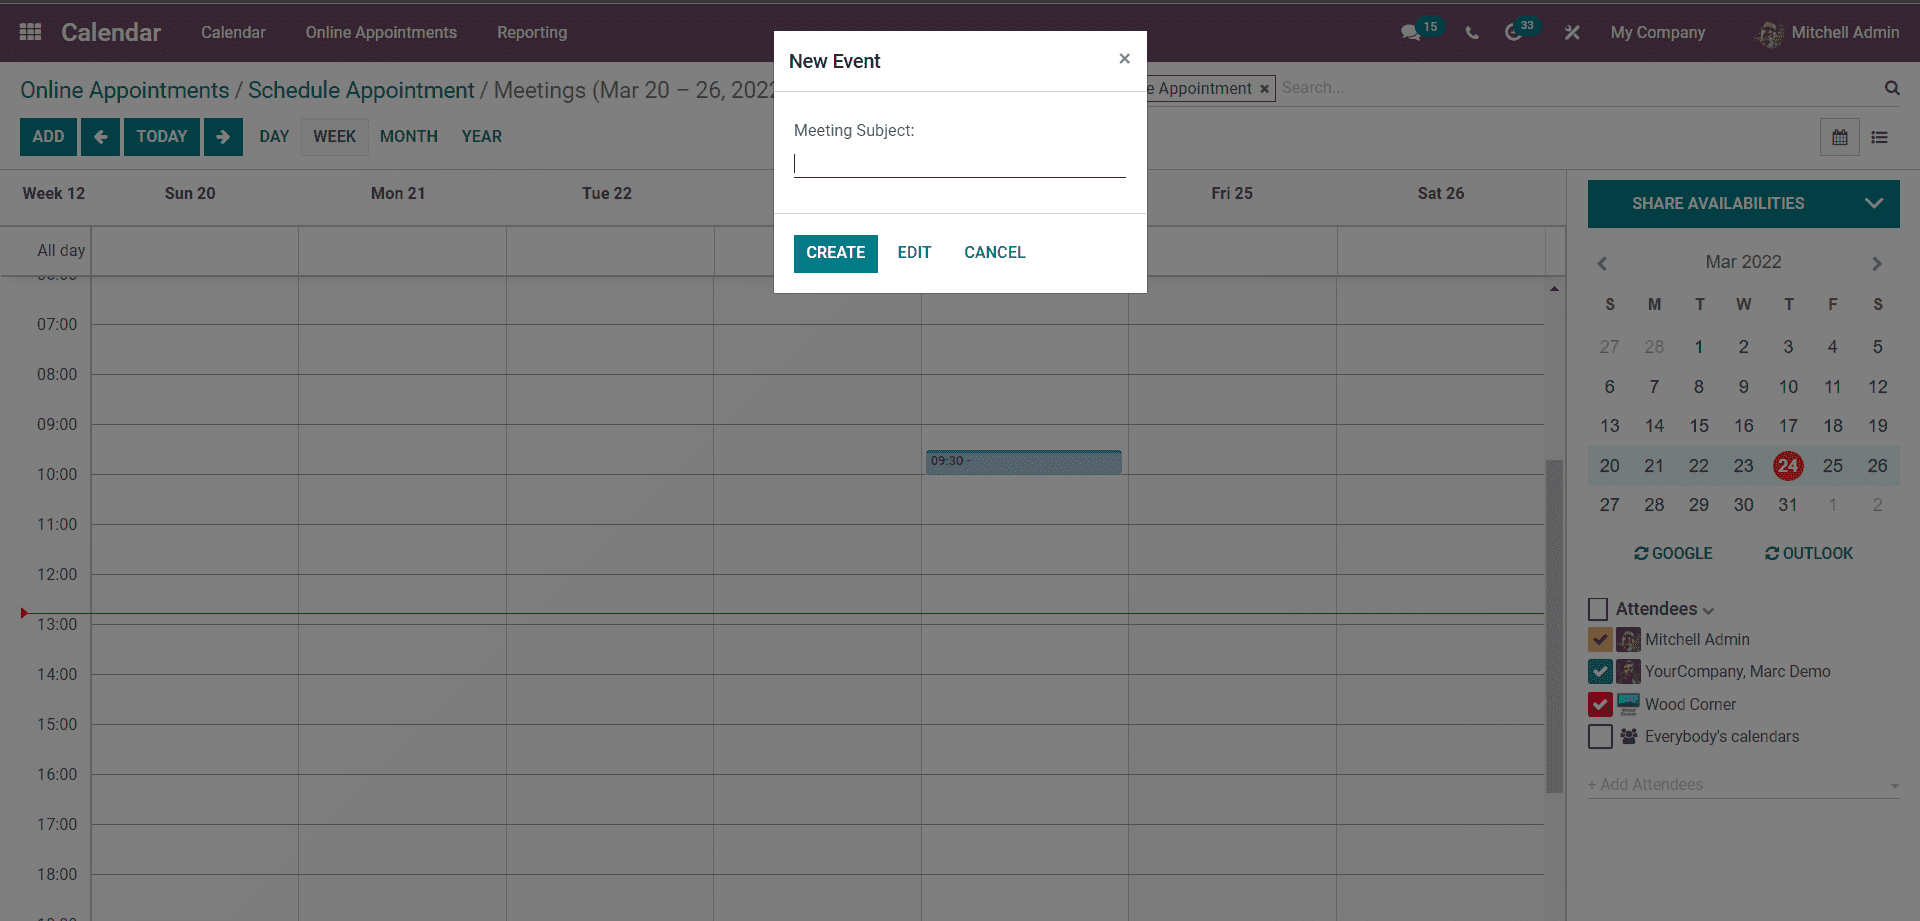
Type in the meeting subject and click on the CREATE button to schedule the appointment. The created meeting will be displayed on the calendar as shown in the image given below.
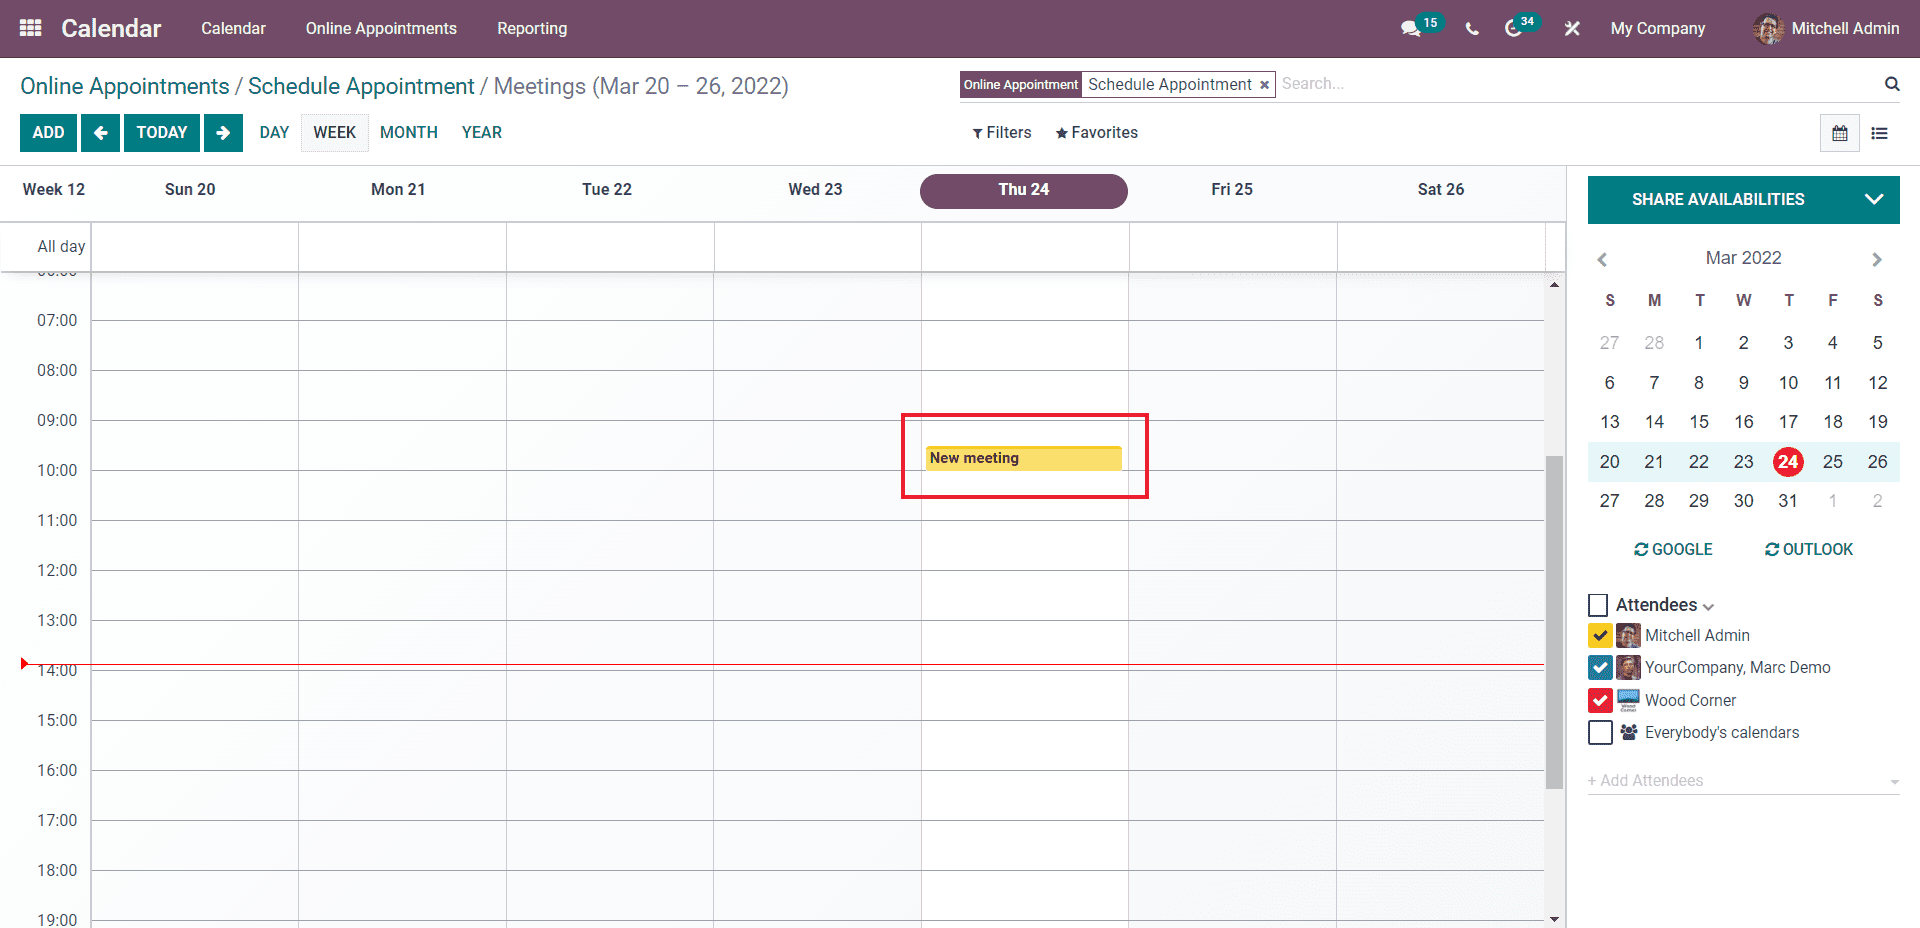
Click on the created meeting to configure them.
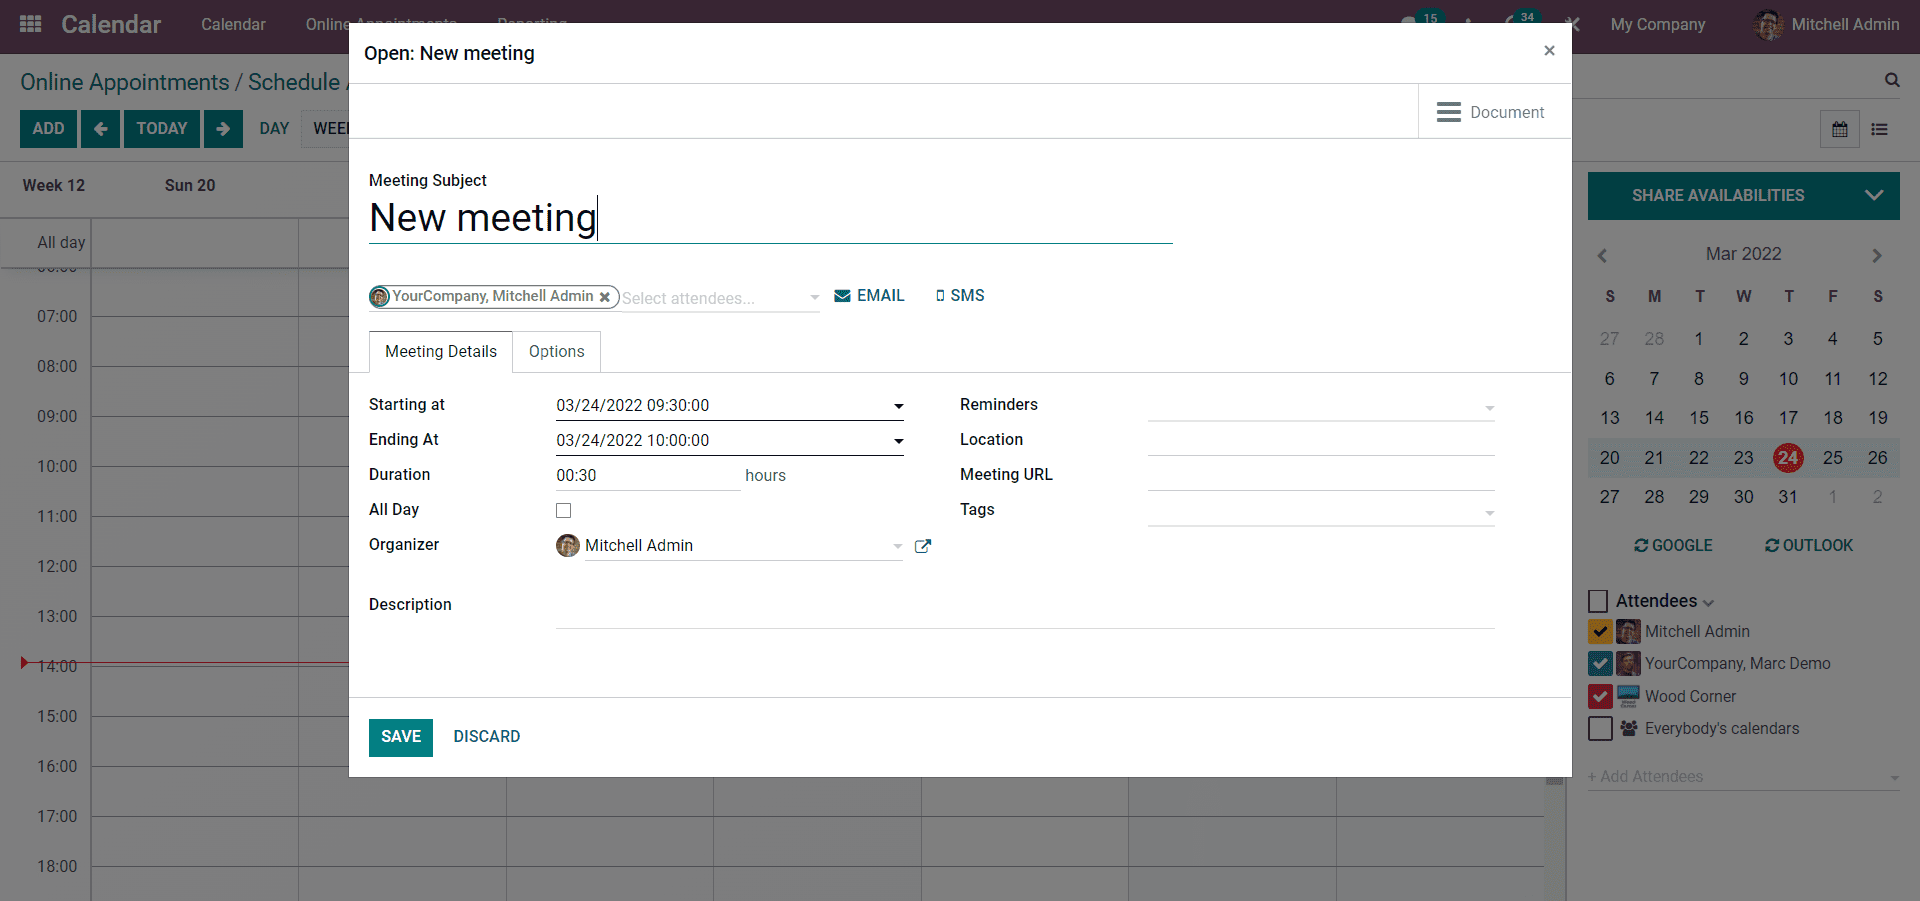
You can reconfigure the meeting details from this section for more accessibility. The SAVE button can save the configurations. If you go back to the Appointment, you can note that the new Appointment is recorded, as shown in the image below.
You can publish the Appointment by clicking on the Go to website button as highlighted in the image given below.
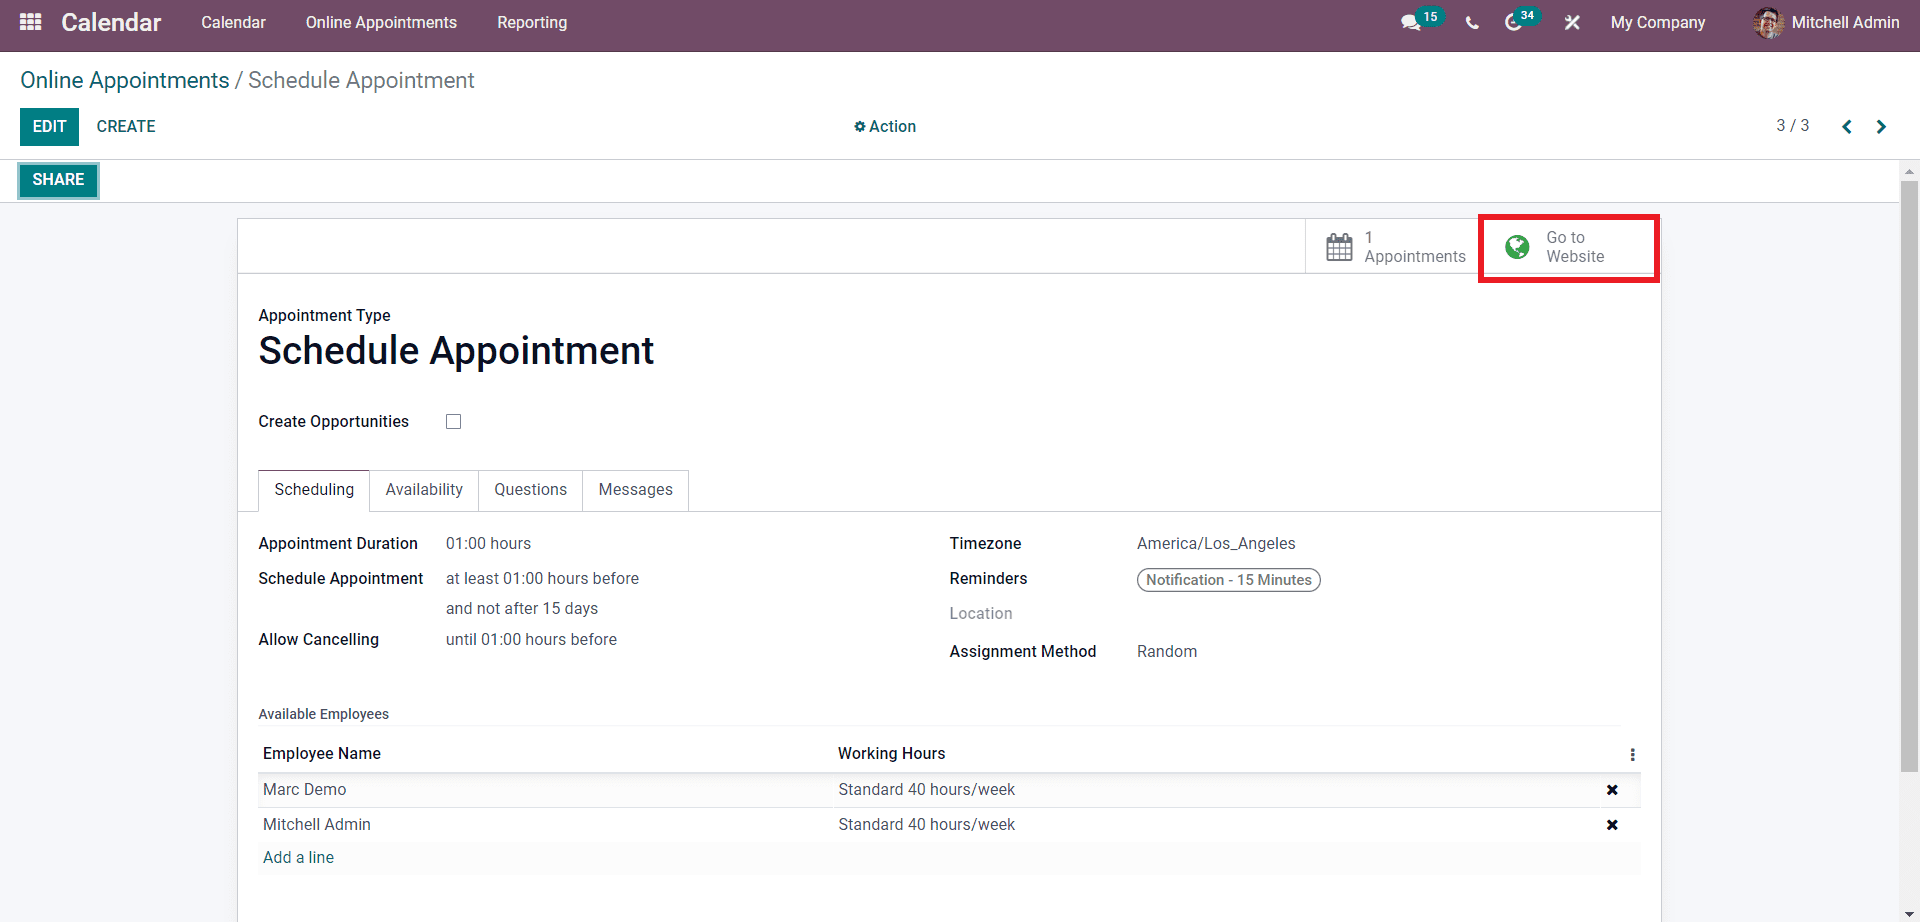
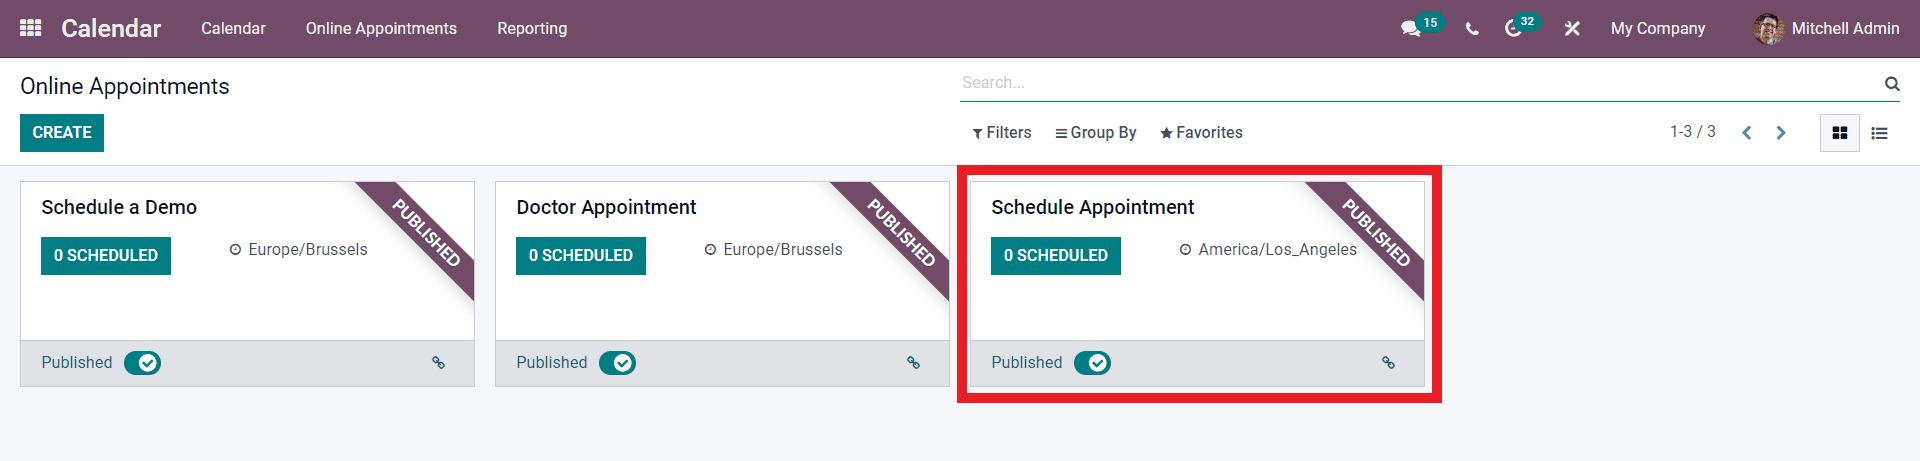
Click on it to publish the Appointment details on the website for the visitors to see as shown in the image given below.
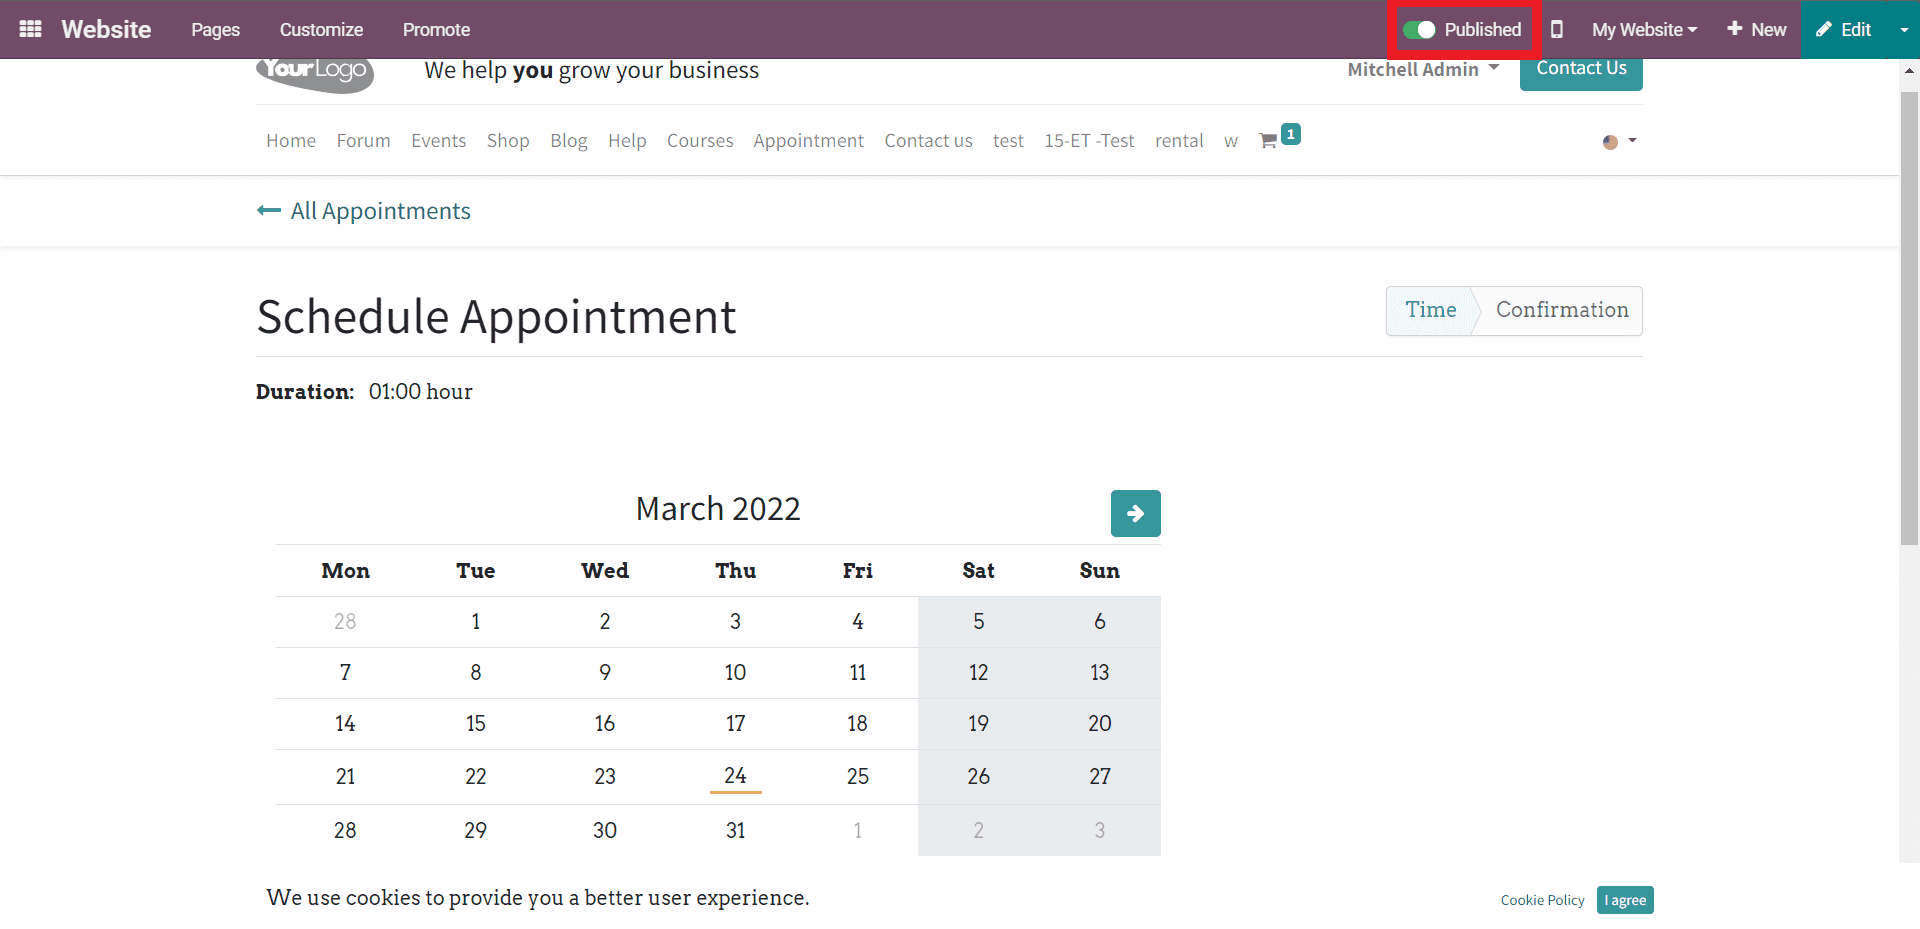
To publish the Appointment, you have to click on the Published button, as shown in the image given above. The visitors can click on an available day for scheduling the Appointment and click on the CONFIRMATION button to confirm the Appointment.
You can create and manage multiple appointments similarly, and ad Odoo is user-friendly; your customers can easily view and select the appointment dates as Appointments is highly integrated with the Odoo 15 Calendar module. The Odoo calendar module is user-friendly, making appointment scheduling extremely easy.
With the integration of third-party applications such as Google, calendar you can get notifications on any device on crucial appointments. Google calendars can be used from multiple devices, with Odoo allowing you full access to the calendar on demand. Similar to Google, you can Synchroncise calendars with Outlook to expand your viewing and appointment management experience. Follow the links given below for information on Appointments.
The
Benefits of using Calendar Module to Schedule Appointments