The saved video can be played in Odoo by creating a video preview widget. You can use this widget for any purpose to display a video preview image and a play button to watch the video. In this section, we'll talk about how to make a widget that displays a video preview.
The size of the preview area must be specified in the video widget's design with a t-name before you can proceed.
<?xml version="1.0" encoding="UTF-8" ?>
<templates>
    <!--    Creating widget to preview video-->
    <t t-name="VideoWidget" owl="1">
        <div>
            <video width="320" height="240" controls="">
                <source src="" type="video/mp4"/>
            </video>
        </div>
    </t>
</templates>
As you can see, a template with the t-name VideoWidget has been built, and the video preview area's height and width have been set to 240 and 320, respectively, using the video tag. The source tag is used to specify the kind of source as video/mp4 inside the video tag.
You must write js to add the widget to the registry after building a template. Create a js file as per the example below for it.
/** @odoo-module **/
import {registry} from "@web/core/registry";
//Used to add widget to view the recorded video in the form view
const {Component, useRef, onMounted} = owl;
export class VideoWidget extends Component {
    static template = 'VideoWidget'
    setup() {
        onMounted(this.mount);
        super.setup();
    }
    mount() { $('source').attr('src', this.props.value); }
}
registry.category("fields").add("videoWidget", VideoWidget);
You can see that the registry, component, and onMounted have been imported here. The next step is to export the VideoWidget class and extend the Component. Setting up the src for the source tag in the setup function's on Mounted call. Here you can see a function called mount() is set up in onMounted inside setup() function. And using the tag name ‘source’ we added the src for video tag in the widget. A name, in this case videoWidget, is added as soon as the class is created to the registry in the category called fields.
A widget was made at this place. Currently, a field is where we must apply this widget. Build a model with a char field for that. Here we are creating a Char field with name video, string as Screen Record, and help.
video = fields.Char(string='Screen Record',
                        help="Recorded videos can be view here")
The view for this field should then be created as seen below in the xml file.
<group>
<field name="video" widget="videoWidget" string=""/>
 </group>
The videoWidget widget should be added as indicated for the field you provided. Here the string is set as empty.
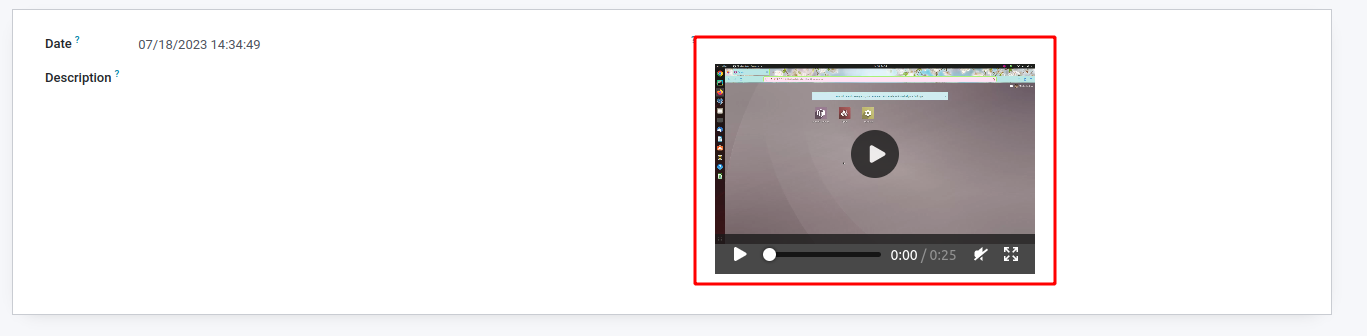
The video preview is now available in Odoo for the field you have created. The output after giving the video widget is as follows. You can see a preview image of the video we provided and after clicking the play button you can watch the video too. Along with these, you can also enlarge the area of the video also.
The video preview widget should be implemented and developed in the manner described above.
To read more about the importance of Odoo 15 video preview widget, refer to our blog Video Preview Widget in Odoo 15