Odoo 16 launched the Odoo Repair module as a potent tool to enable product repair and damage prevention. This module will provide useful tools for keeping track of product documentation and repairs. It will improve the prompt and accurate product repair needed to keep the company's assets as good.
The overview displays a list of previously created Repair requests as it is opened. It includes information such as Repair Reference, Scheduled Date, Customer Information, etc. There are numerous views available in the Odoo repair module, including ListView, Kanban View, Graph View, and Pivot View. Filter, Group by, and Favourites are available in this view.
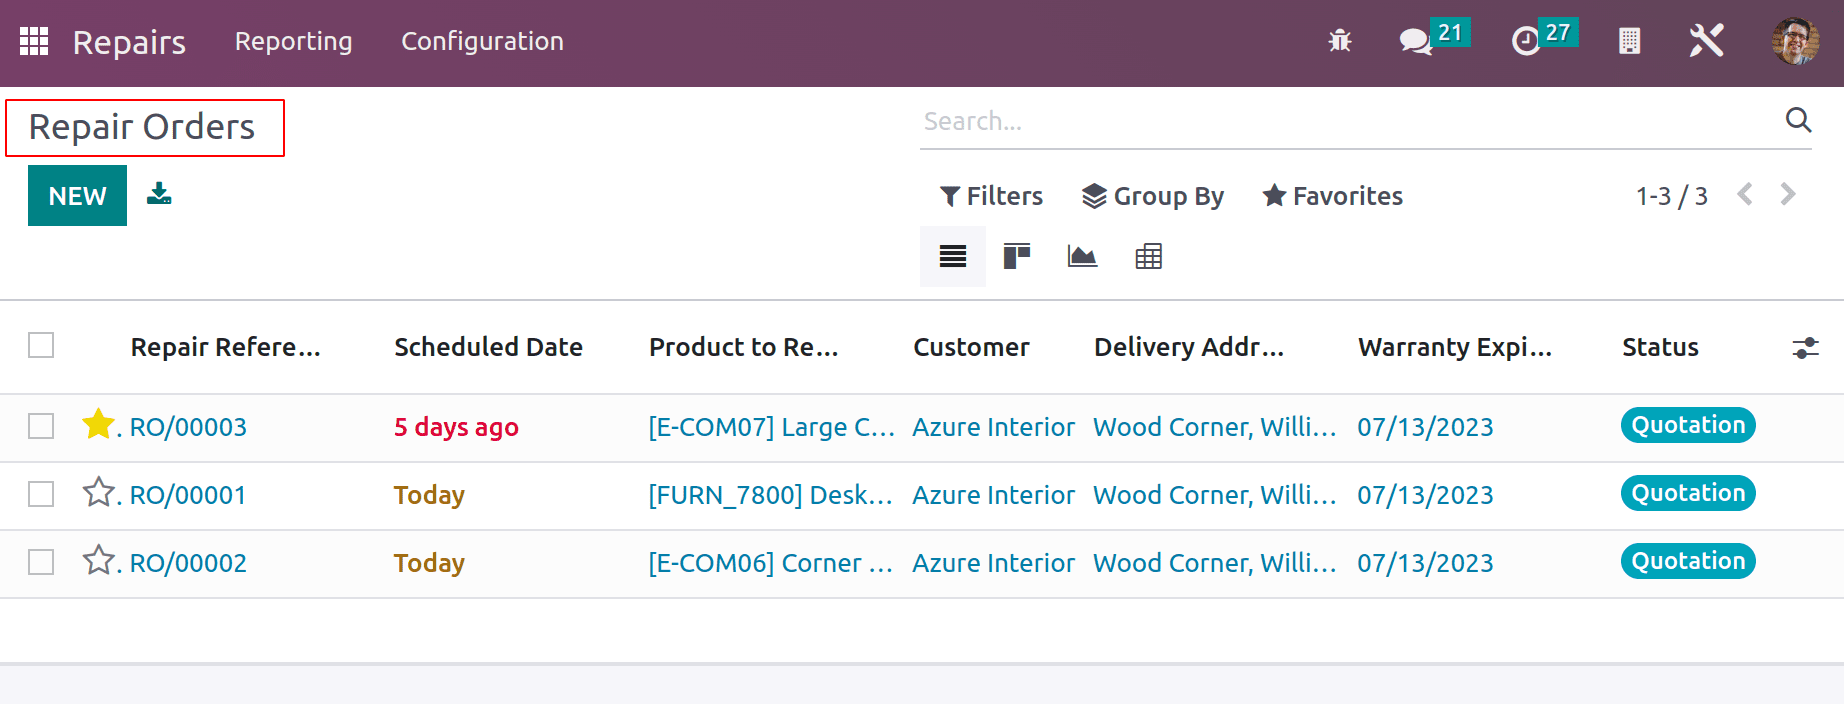
Repair Orders
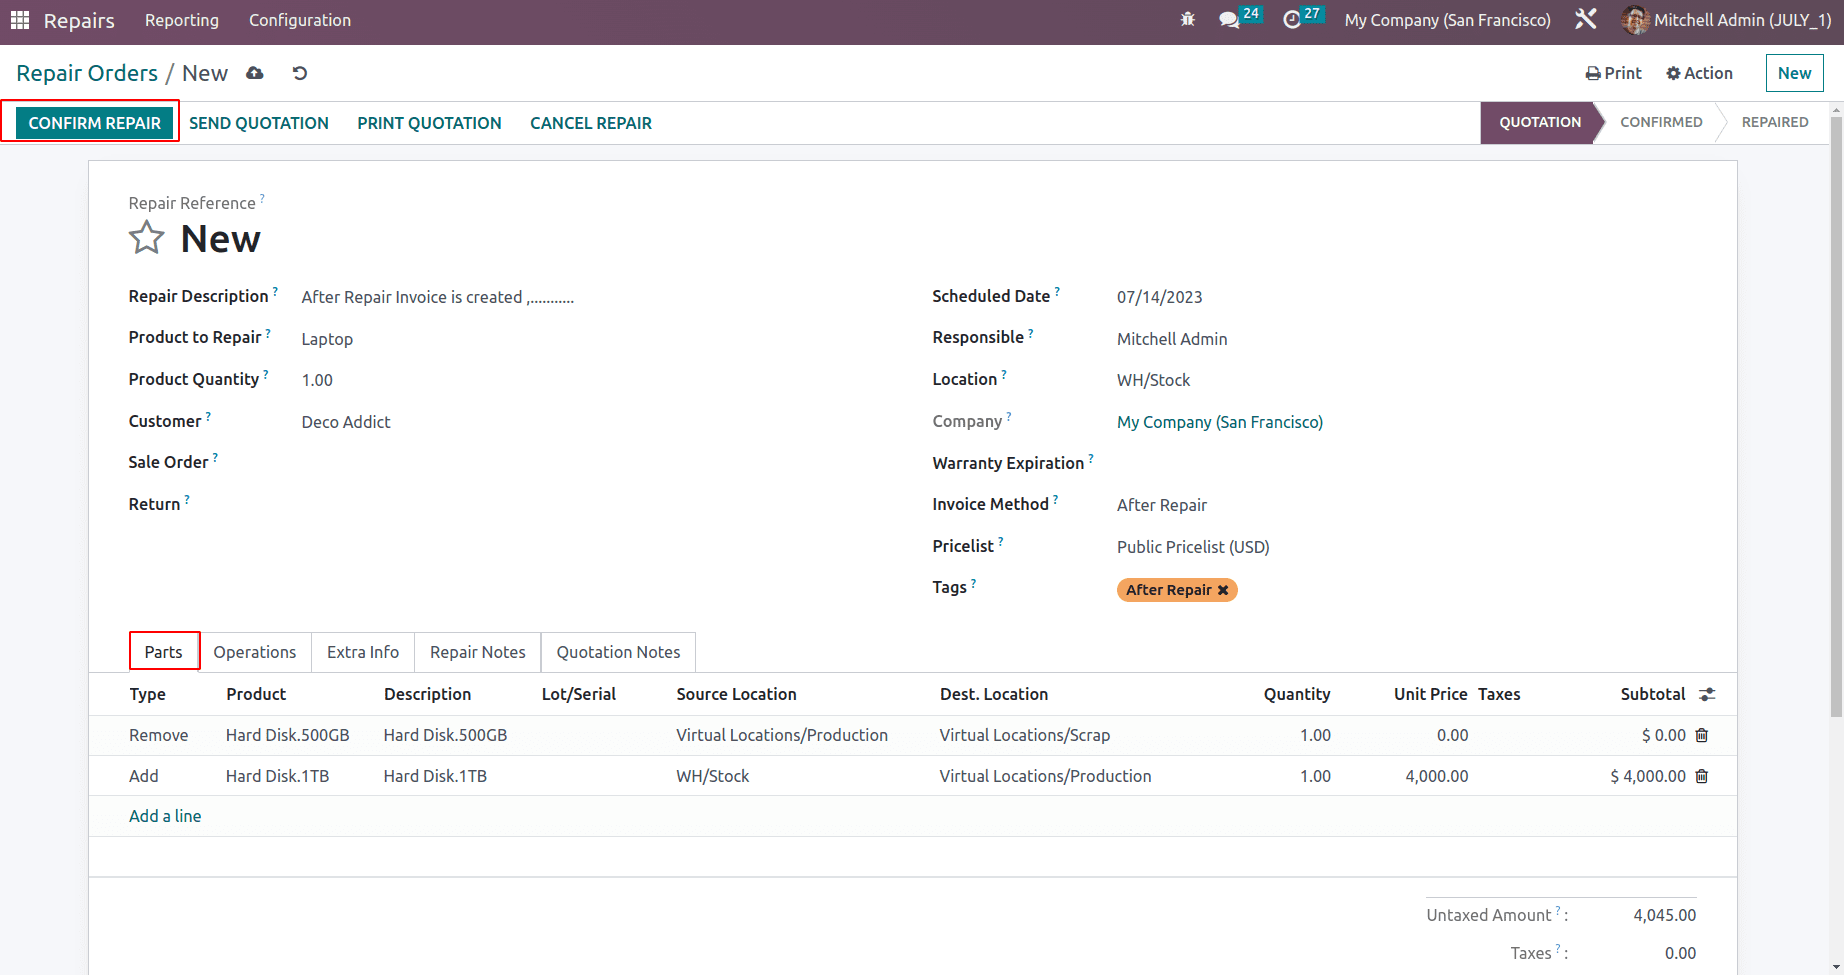
By selecting the New button, a new repair order can be created. Add a description of the repair when adding a repair order, and select the product with the quantity for the repair. Mention which customer provided the merchandise. The repair order can include references to the sale order and the return order. The information can be listed in the following order: Repair Scheduled Date, Responsible Name, Location, Company Name, and Warranty Expiration Date. A repair order has three different sorts of invoicing techniques. Check each one separately.
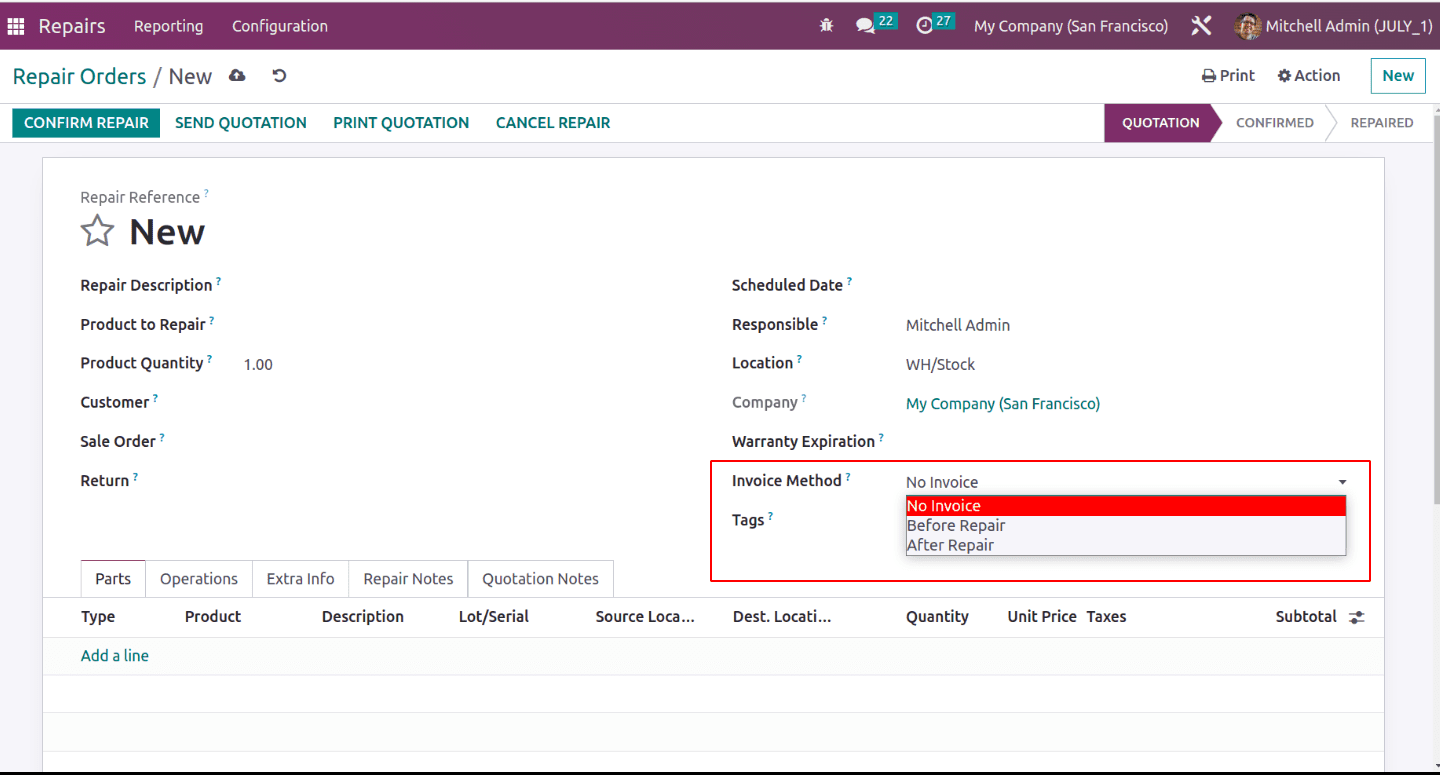
The user can Add or Remove components for the repair procedure on the parts tab. Users can add a service product to an invoice on the Operation tab. The information about the Repair is provided under the Extra Info tab. Notes for repairs and quotations can be added.
No Invoice
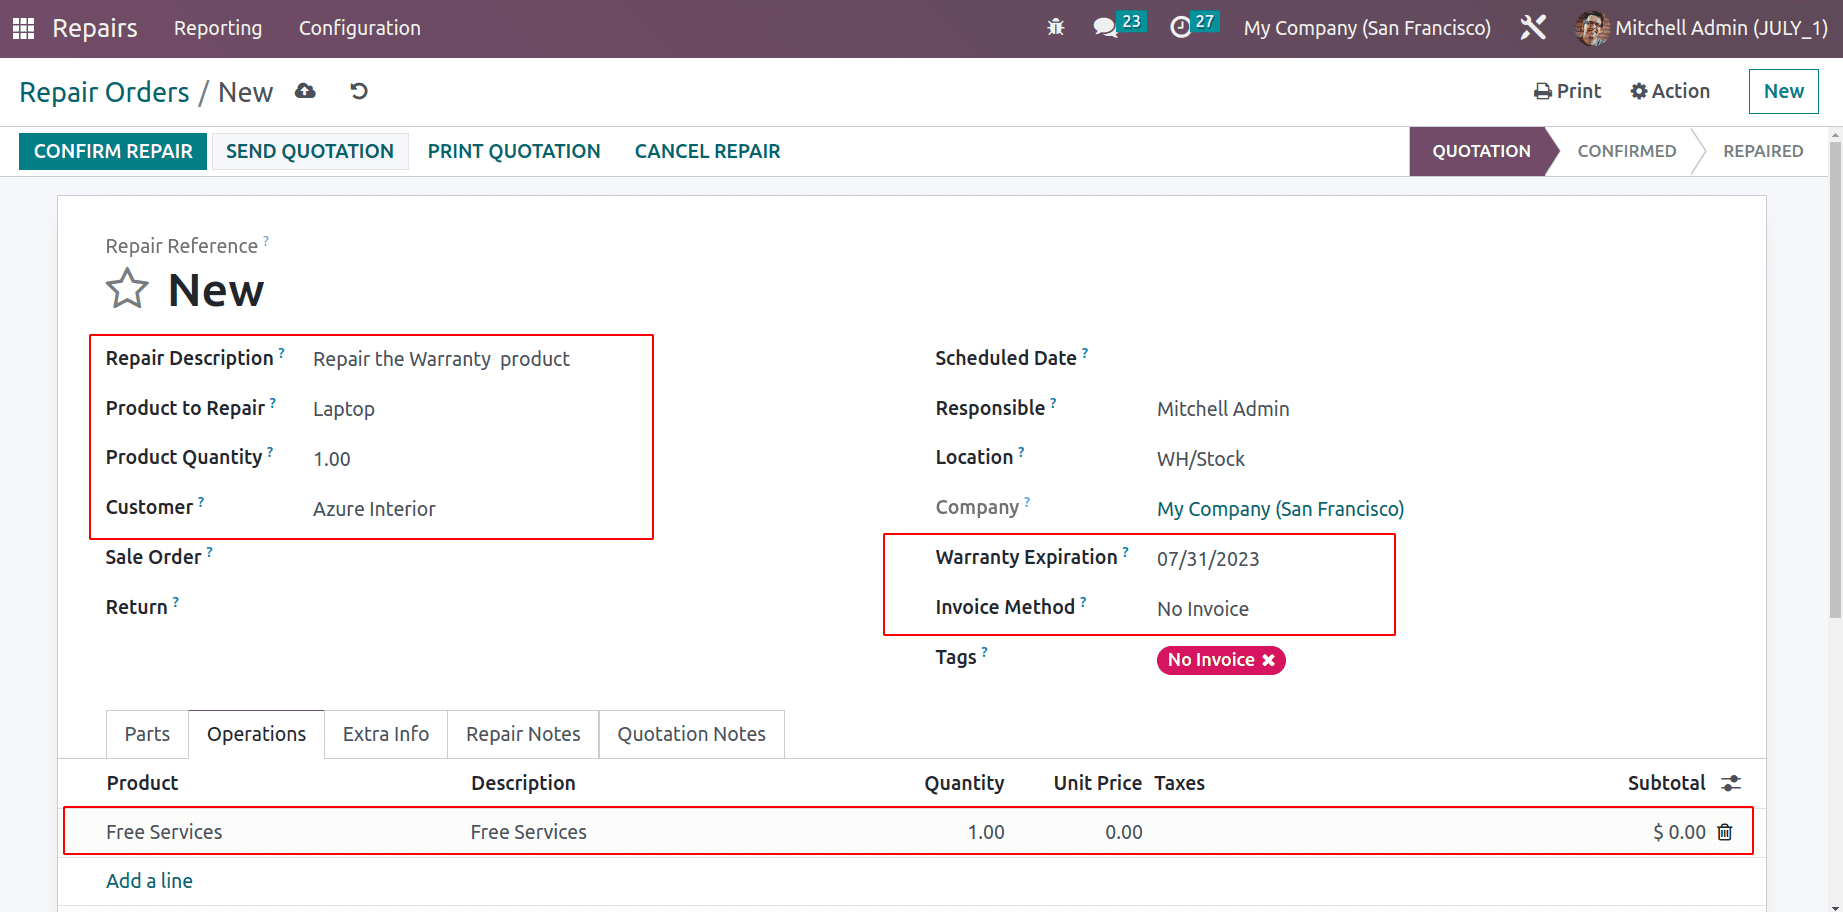
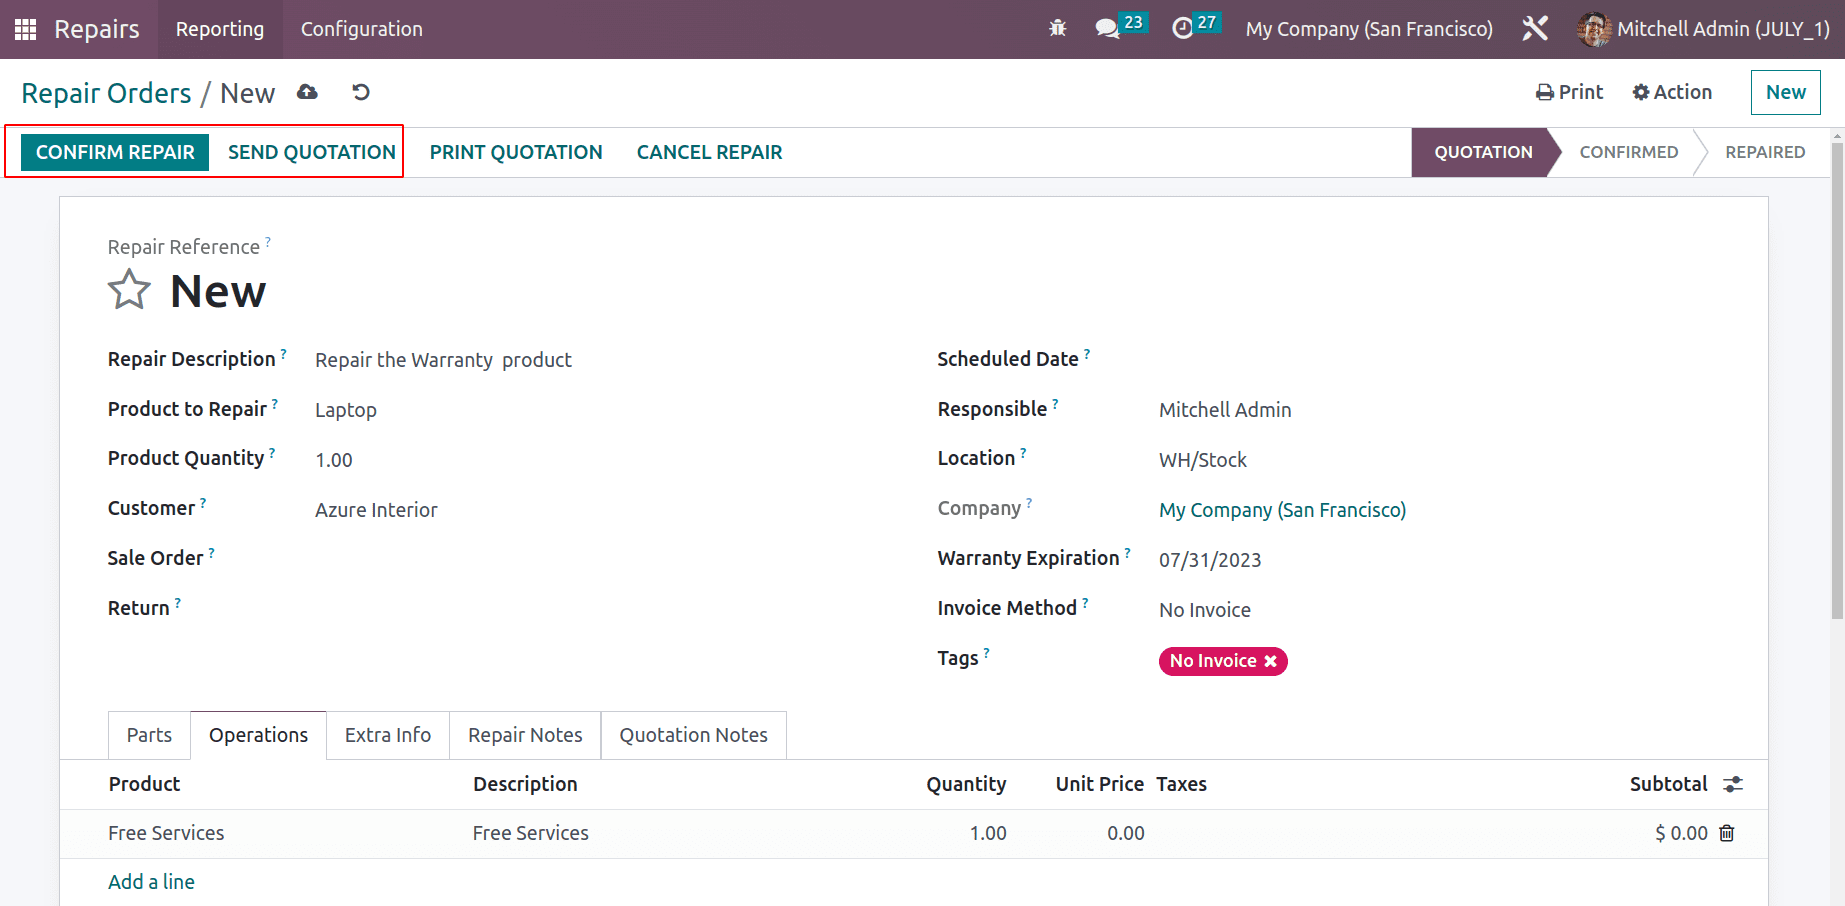
You can make a repair order without an invoice. In this instance, the customer does not receive an invoice for the product repair. This indicates that the customer will not be charged for the repair here. If the item is covered by a warranty, the company will repair it at no cost. Let's investigate what transpired. Make a fresh repair order for the laptop product.
Add a description of the repair and select the quantity of the product to be repaired. Name of the client, planned date, Location, and other information about the responsible party. If the consumer returns the product, the repair order can include the sales order and return order references. Add the service product under the operations tab. There, add the warranty's expiration date. Select No Invoice as the invoice method.
The Repair order quotation can be sent to the customer by users. To do that, select Send Quotation from the menu.
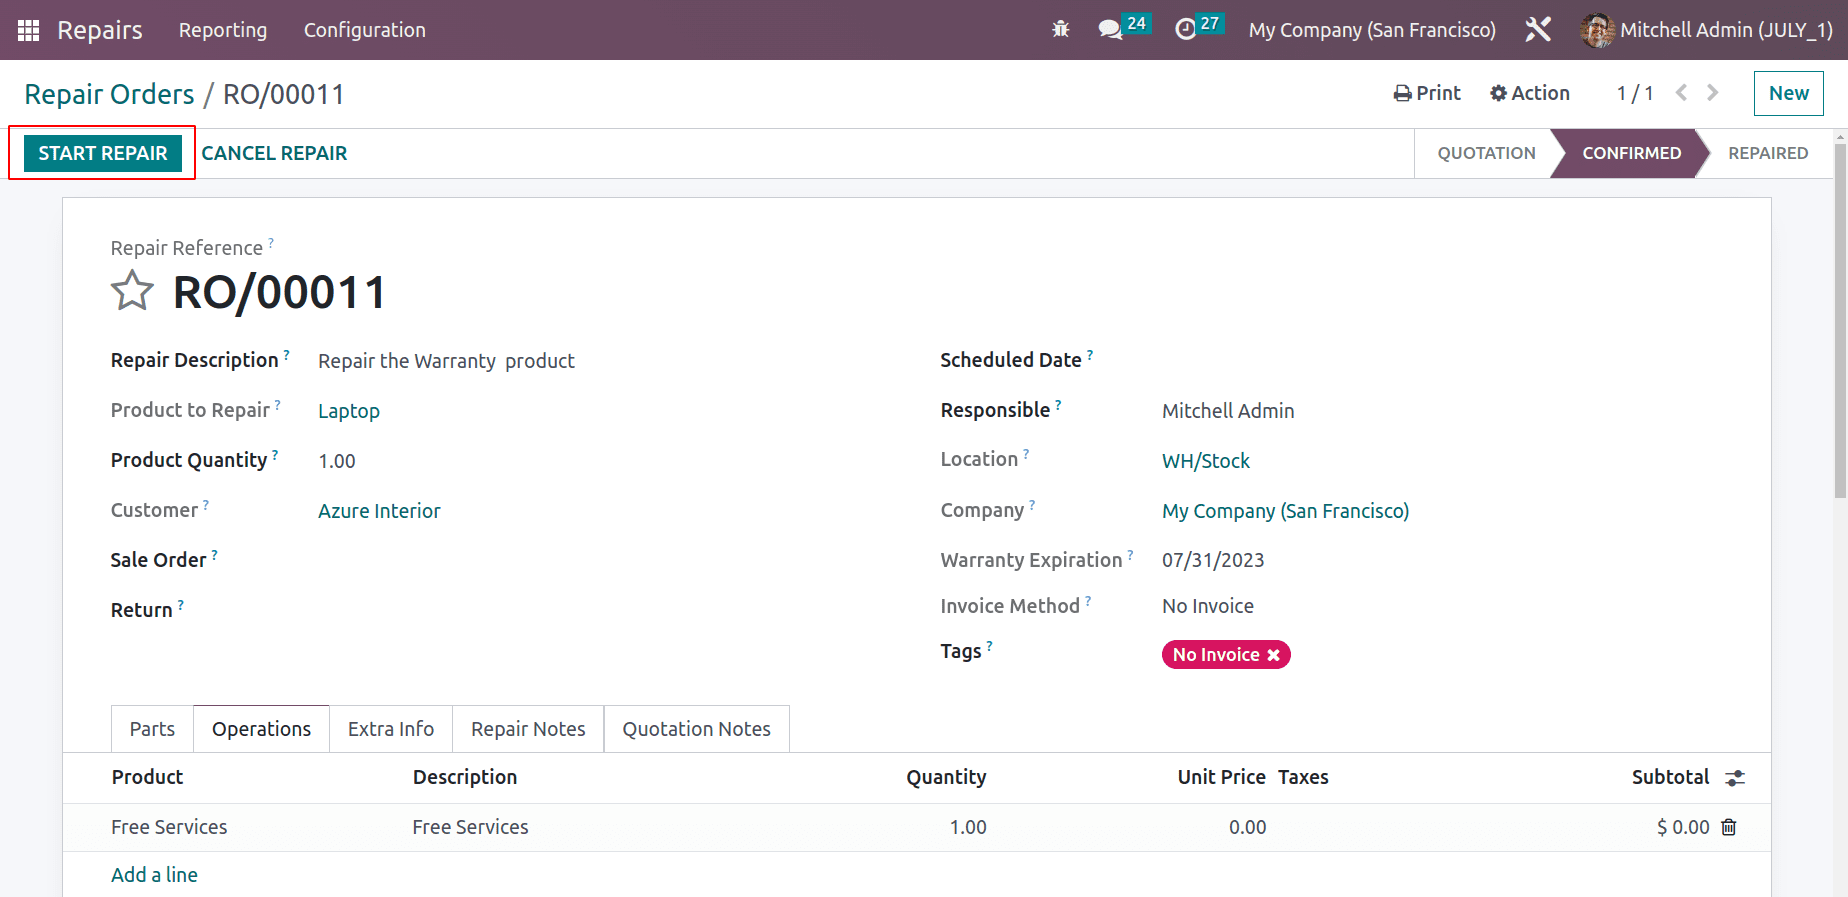
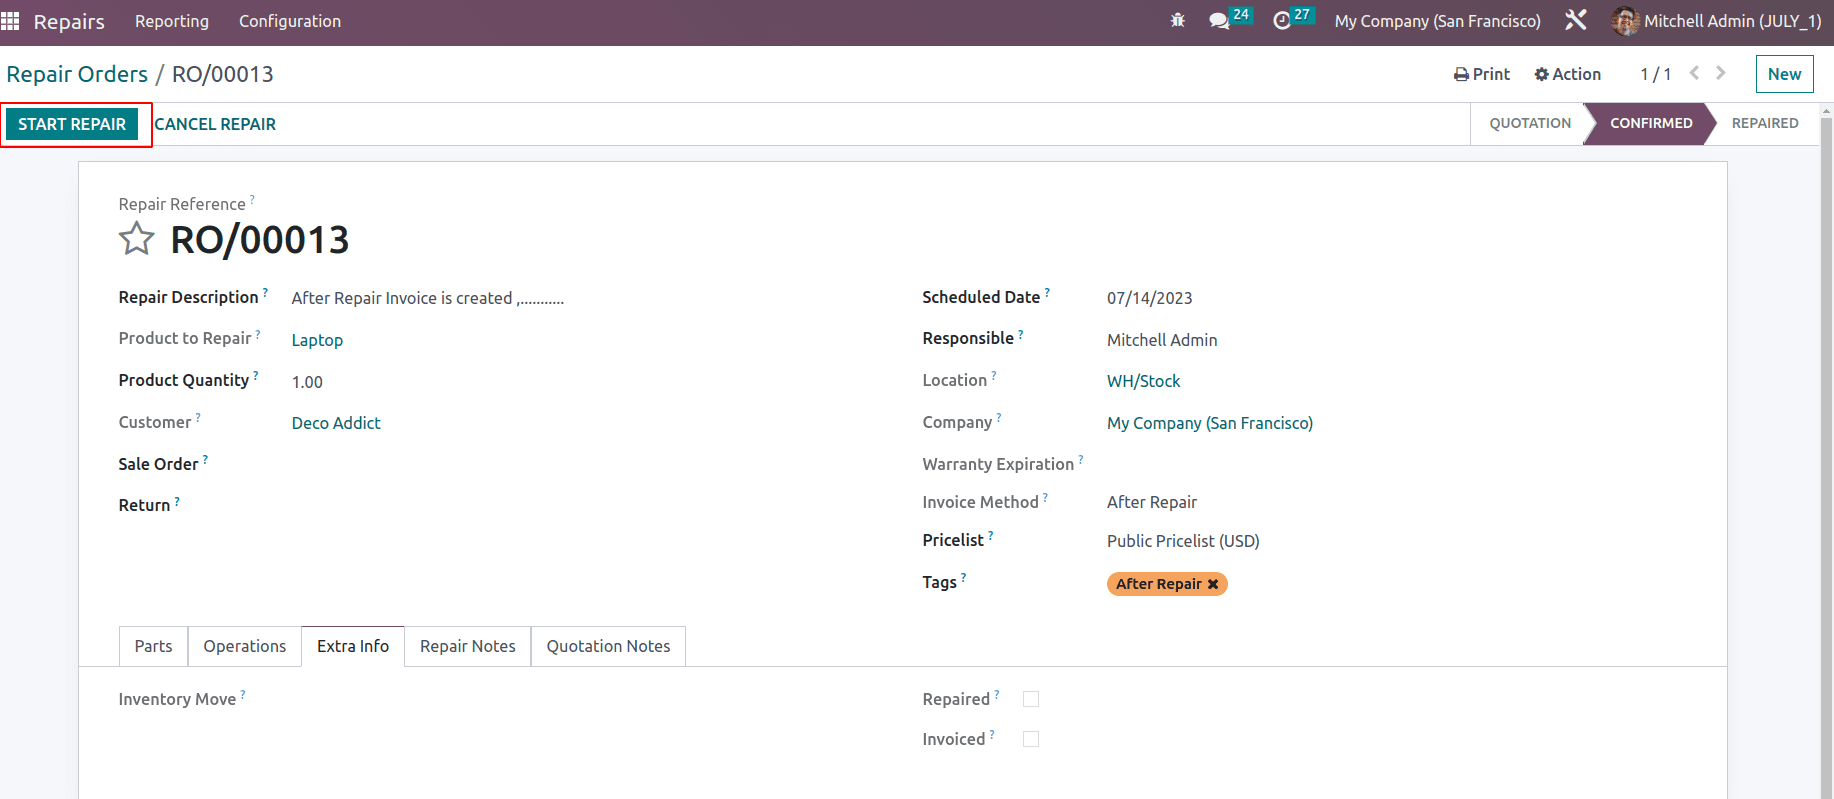
Confirm the order for repairs next. After confirmation, the user can click the Start Repair button to begin the repair.
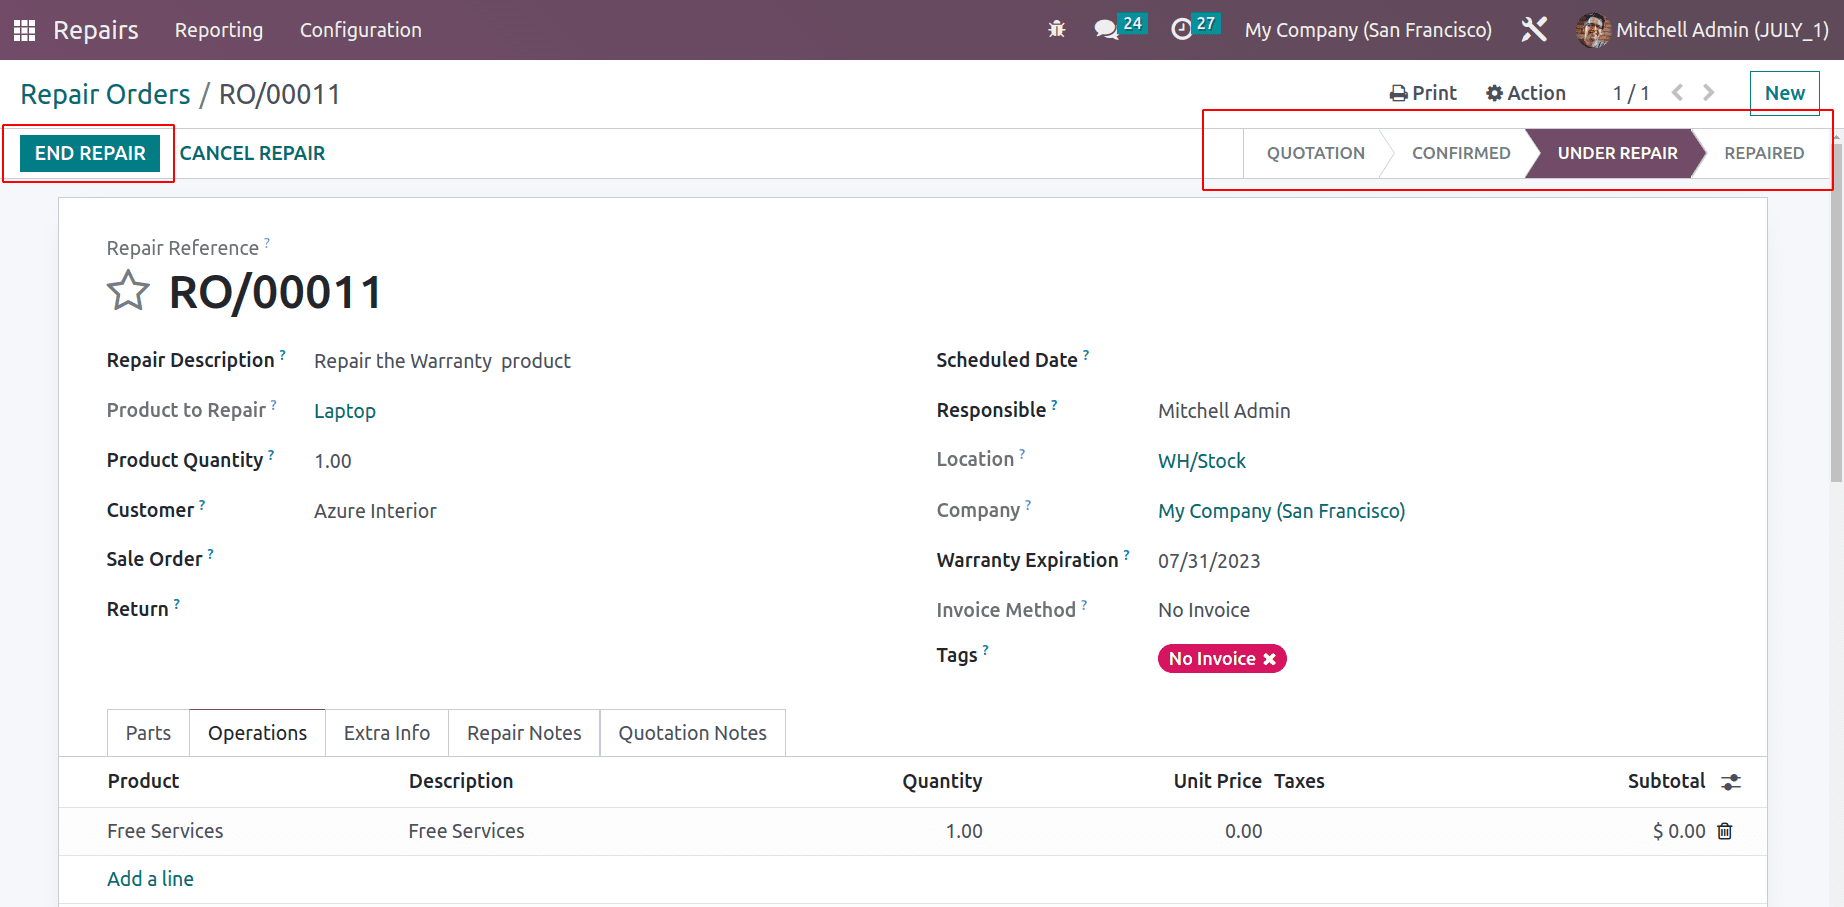
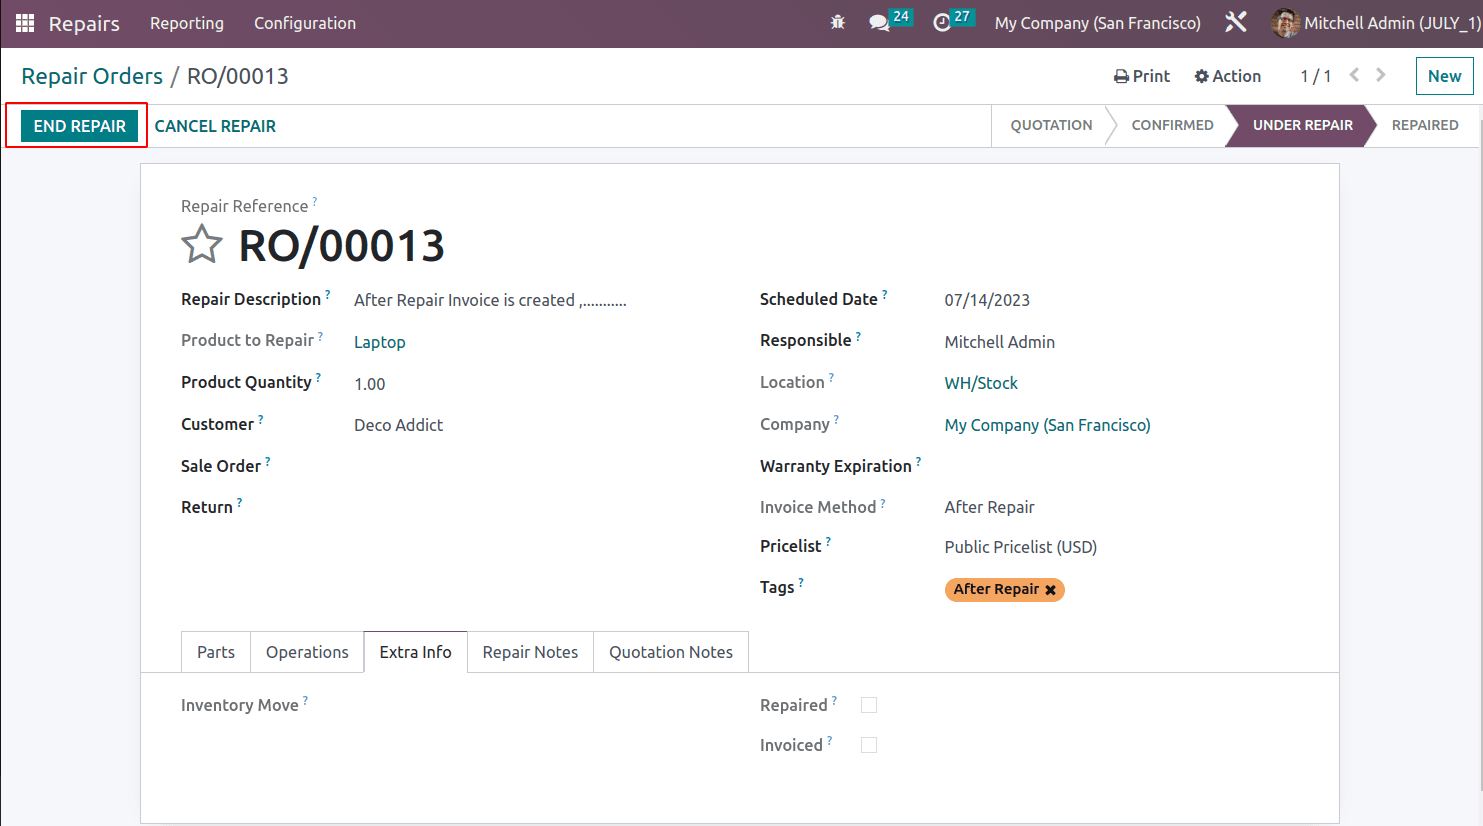
Then the status of the order will change to Under Repair. To finish the repair, click the End Repair button. Then look at the Additional Details tab.
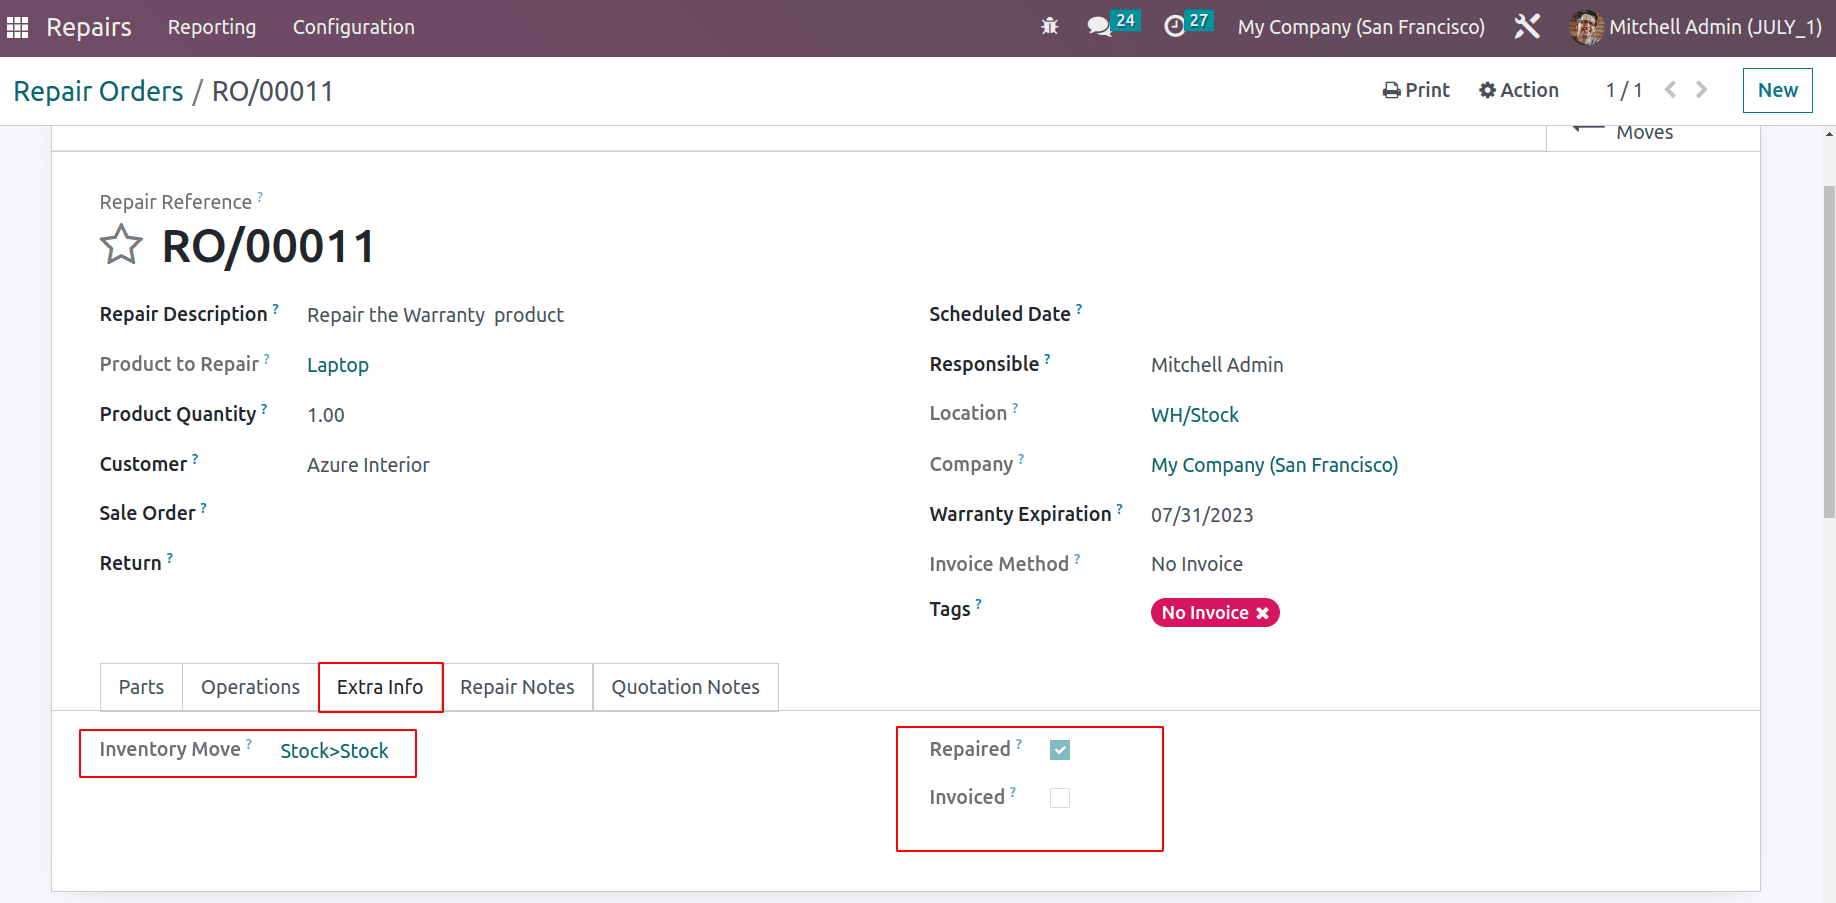
The inventory move is shown there. The product was removed from its original place for repair and then returned to its original location. It displays the tick boxes, and is repaired but not billed.
Before Repair
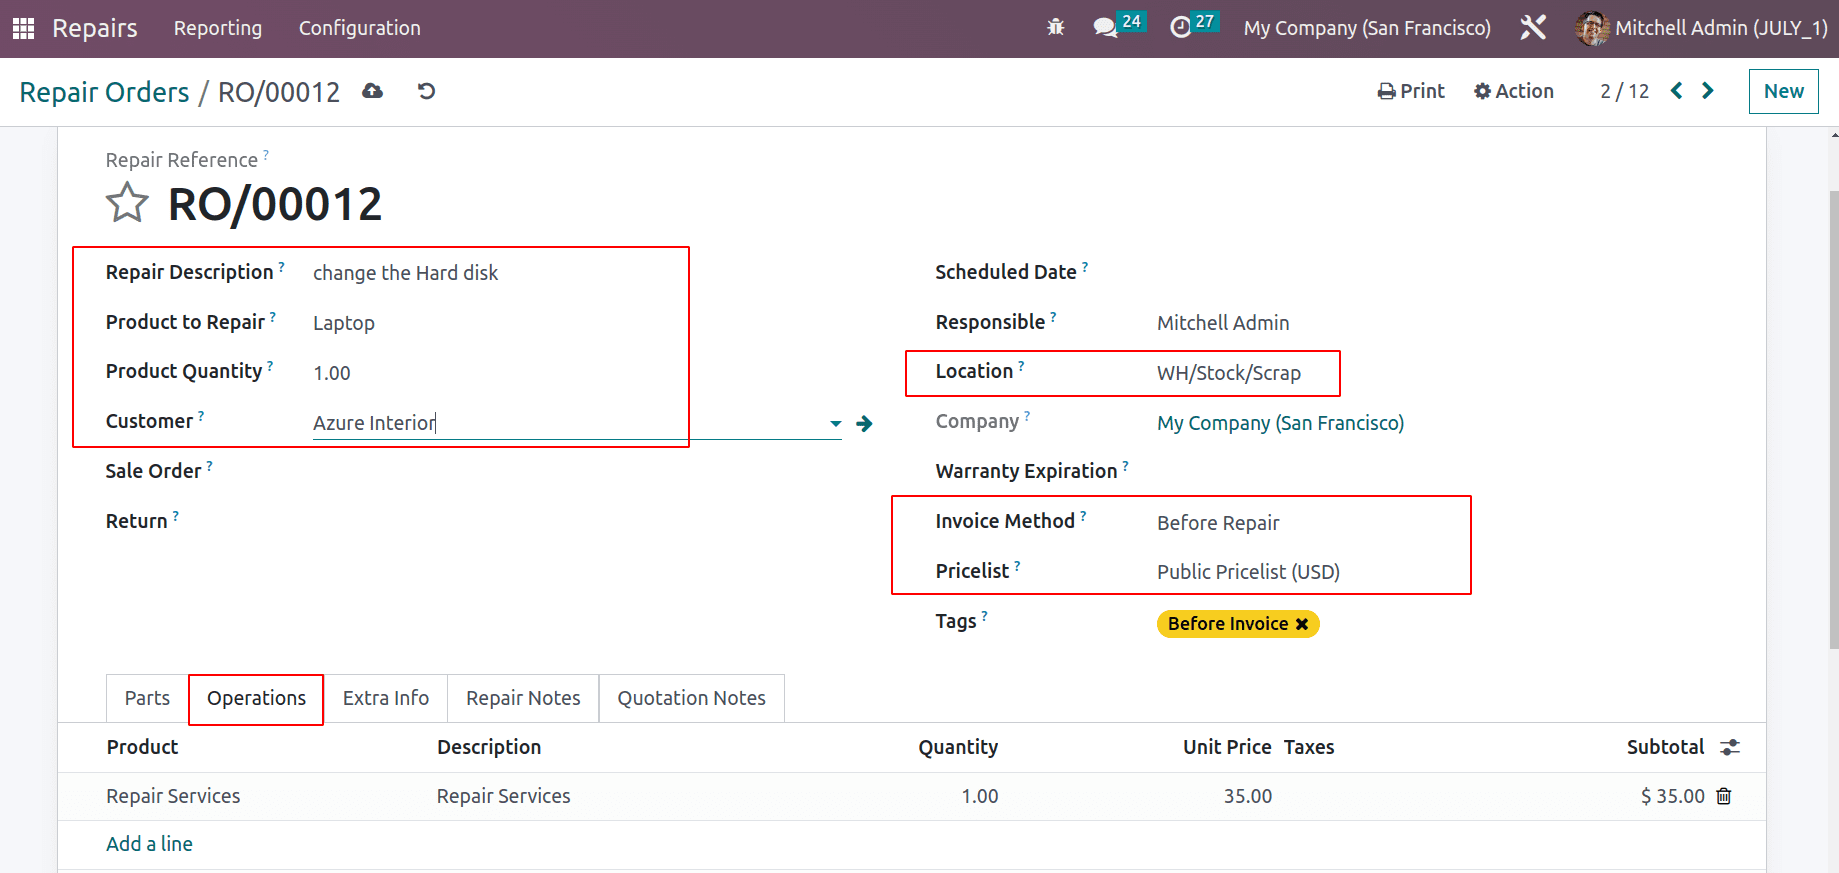
Here, the repair has been paid for, indicating that the consumer will be paying for the cost of the repair. Prior to invoice denotes that the user won't begin repairs until the invoice has been created. Let's make a new order, fill it out with the description, and select the product and quantity. Here, the item that needs to be repaired is from the WH/Stock/Scrap location. The Before Invoice invoice method has been selected. Then you can select a price list.
A service product that is used as a service charge is added inside the operation tab.
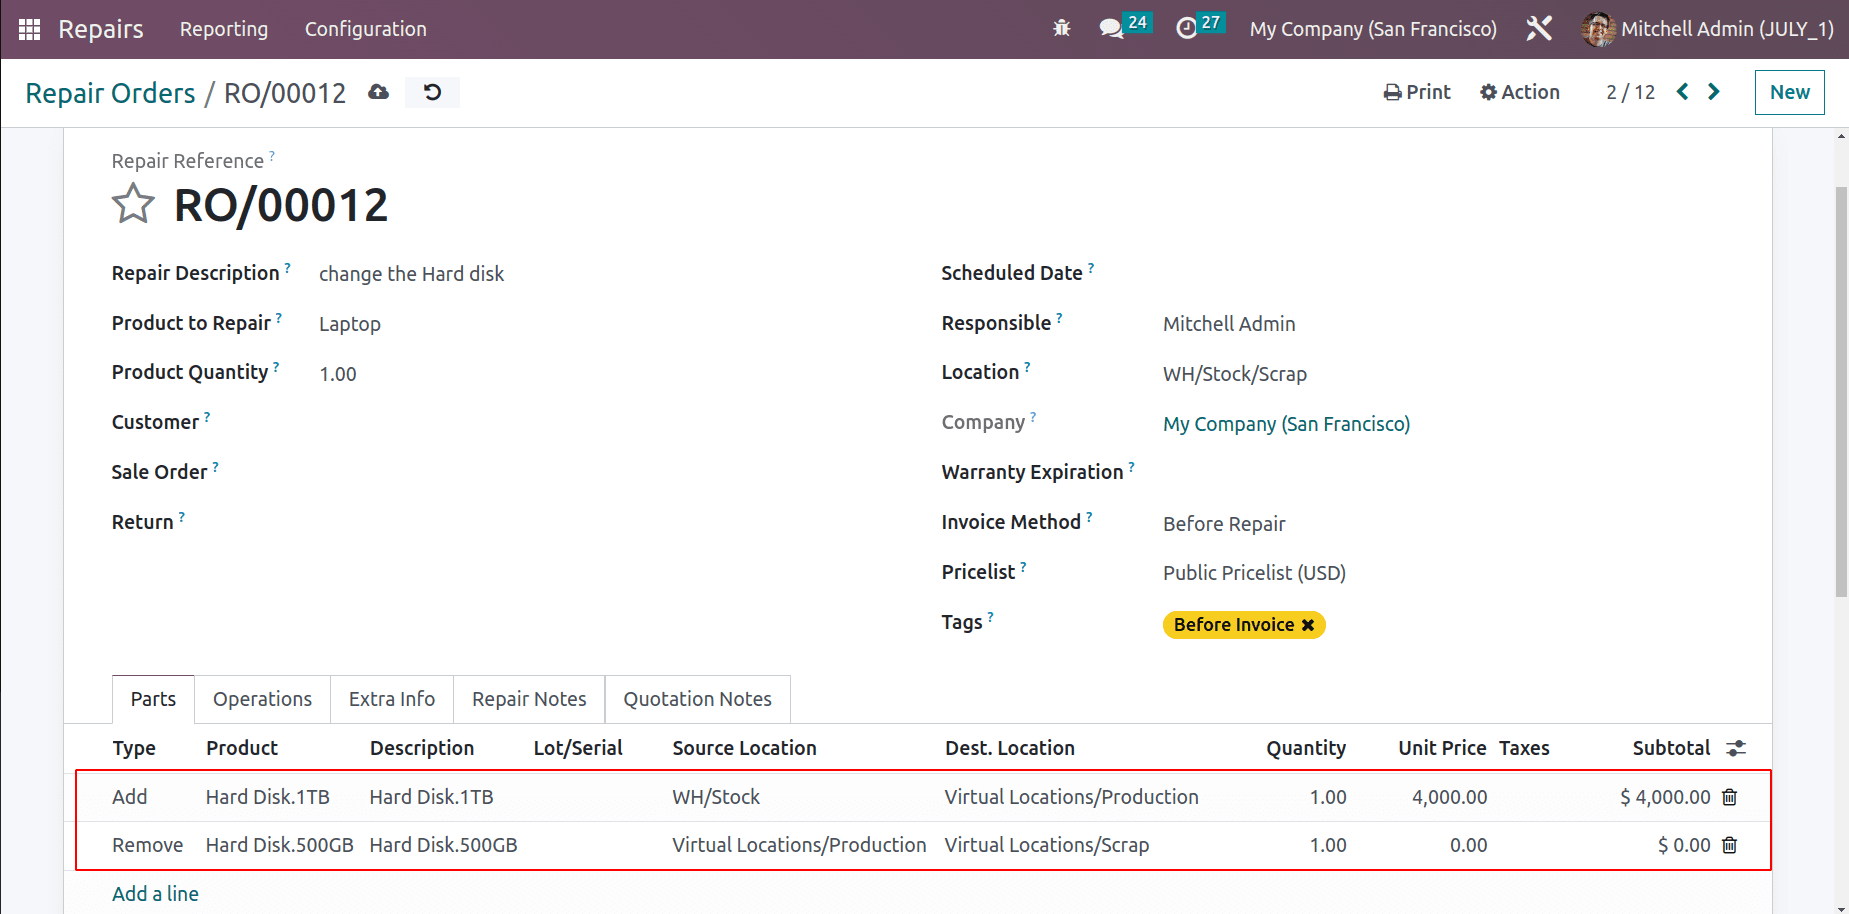
A product is removed, and a new one inserted into the product can be added in the Parts tab. The product tab displays the amount and cost of both products.
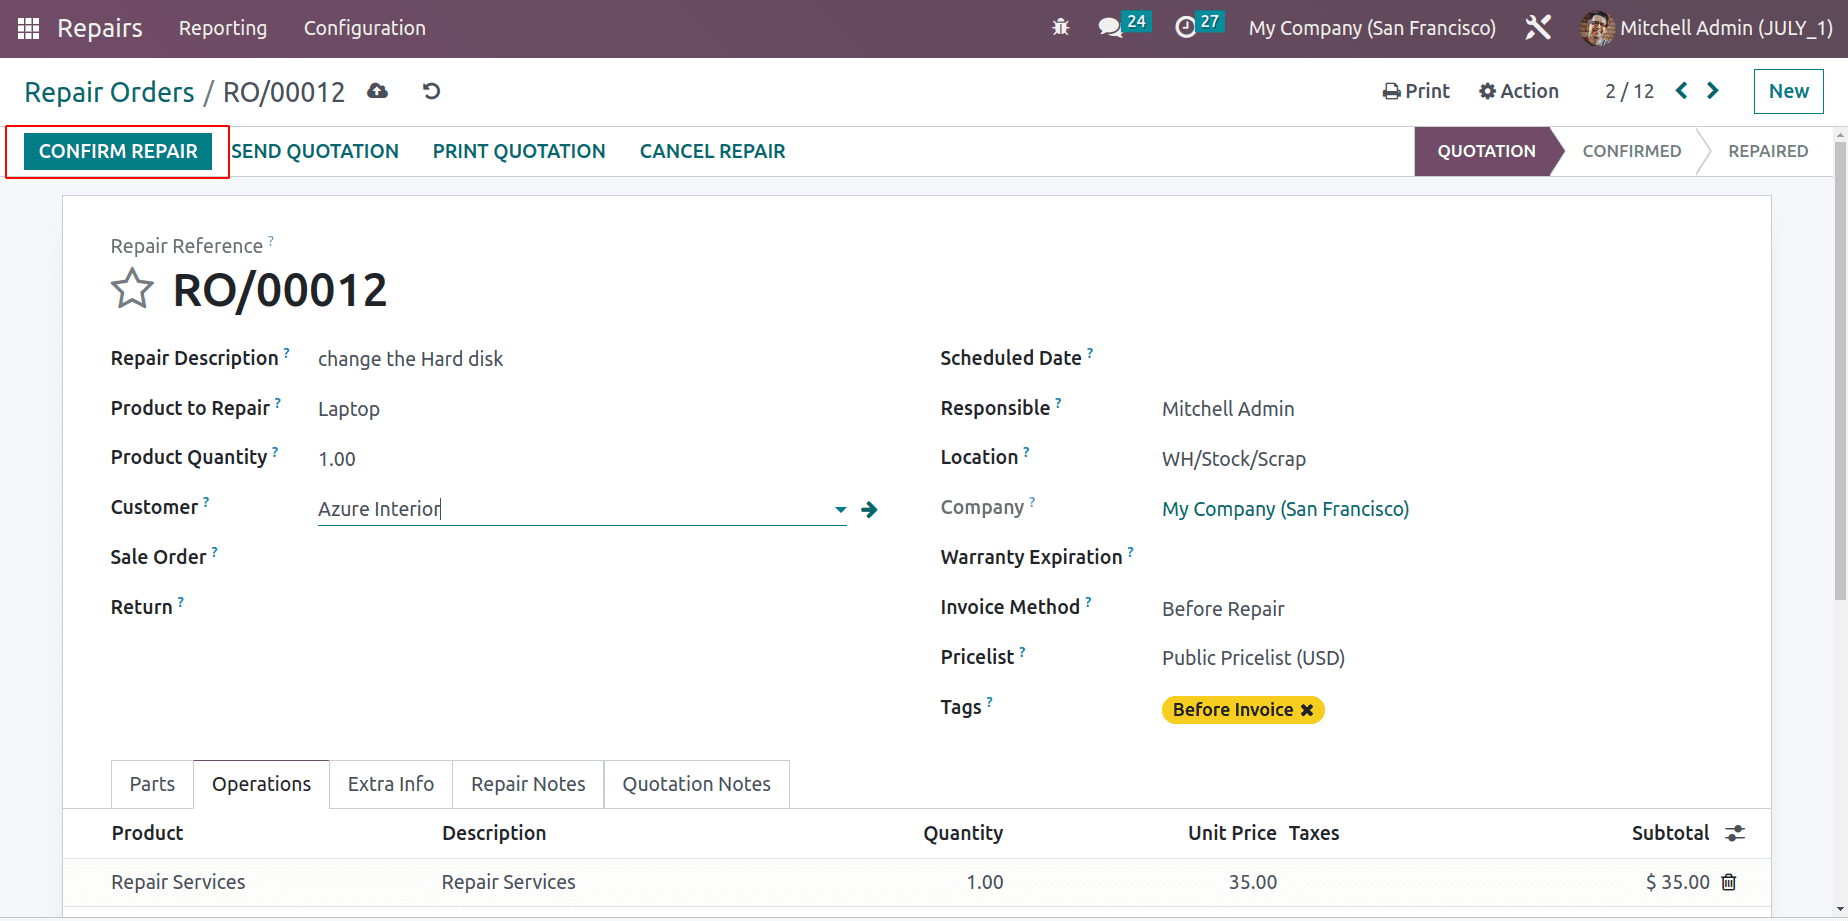
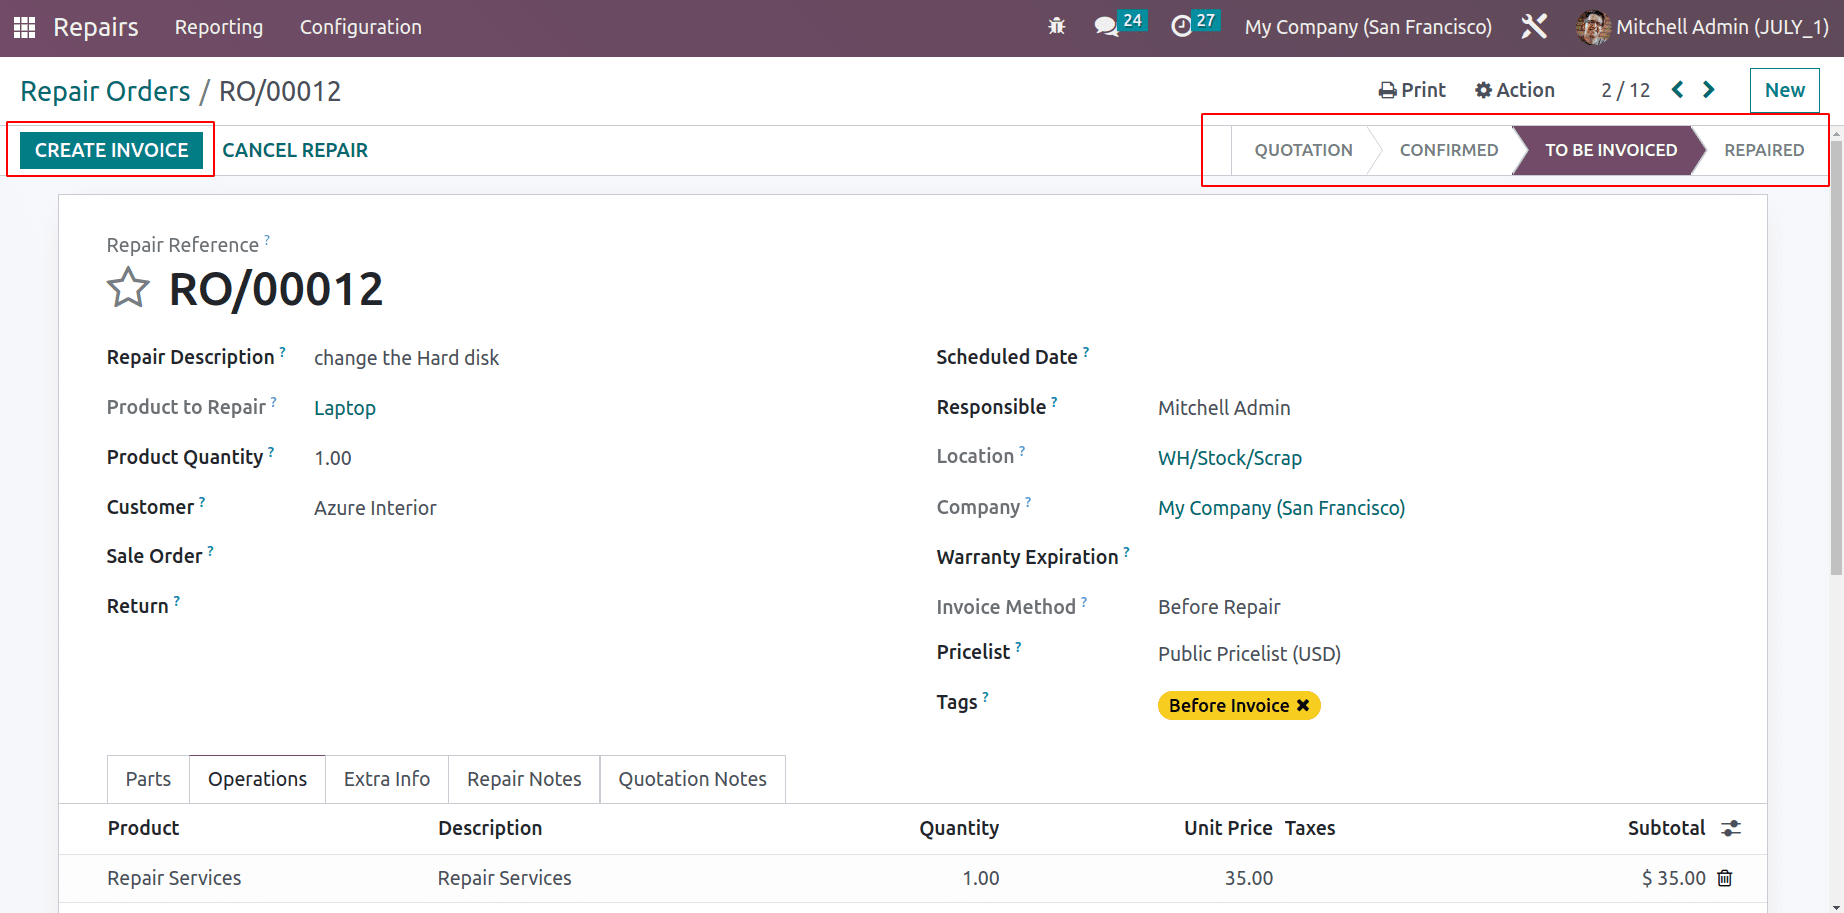
Verify the order after adding the data. Before beginning the repair process, the user must create an invoice.
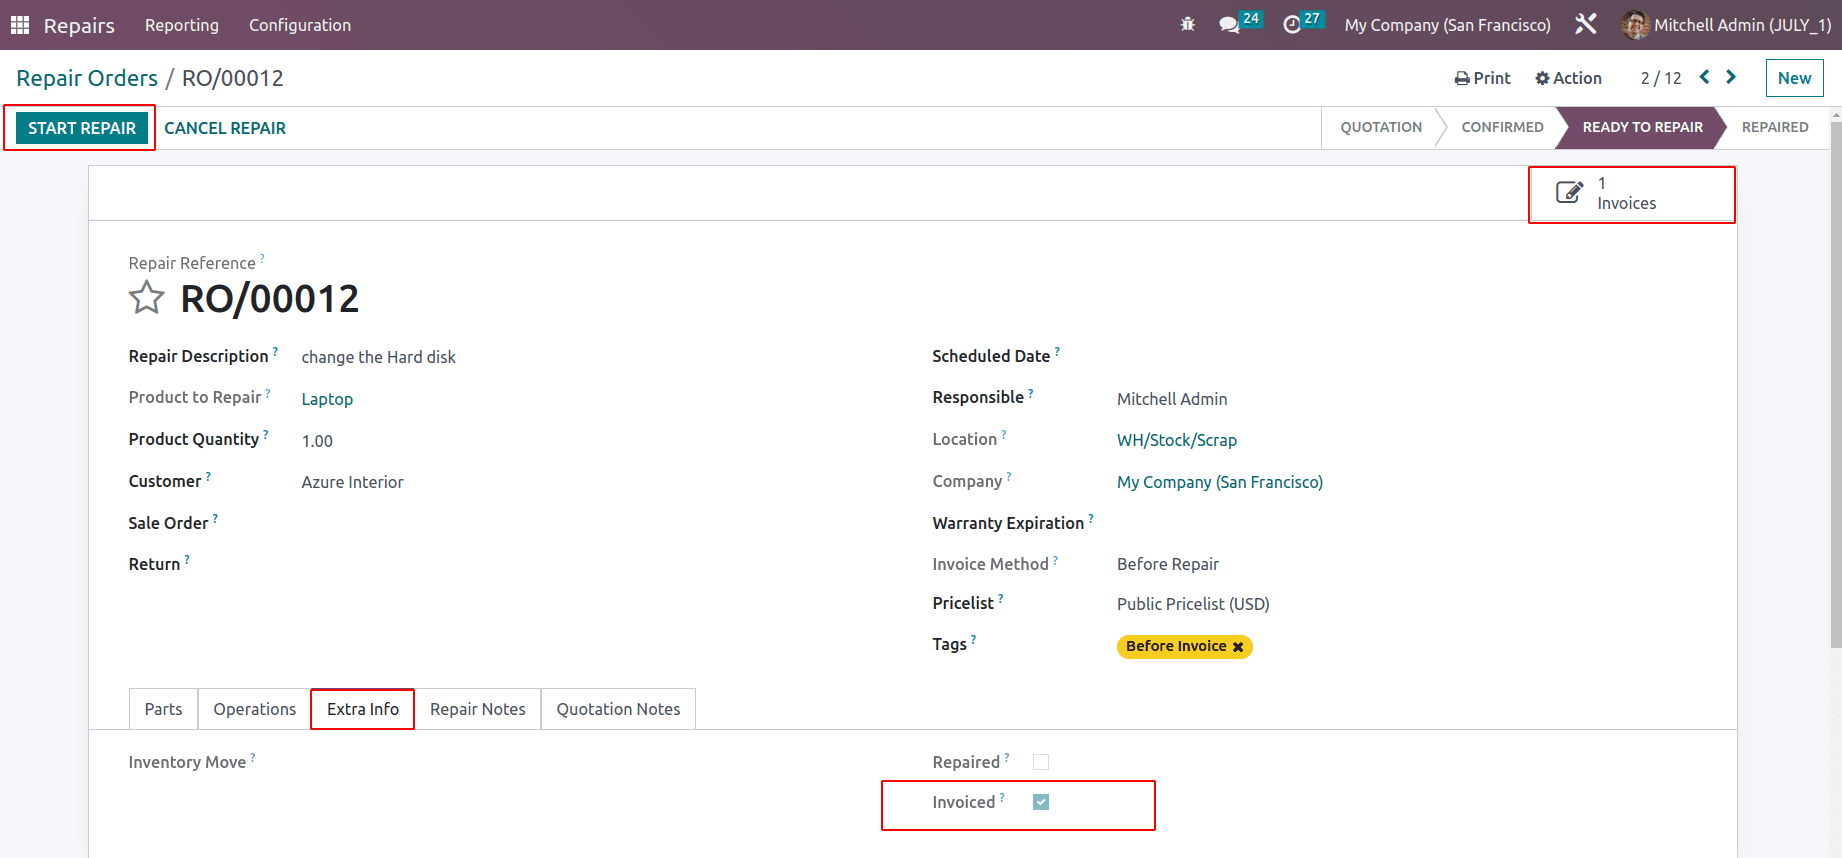
The order is now in the To Be Invoiced state. By selecting the Create Invoice button, you can generate an invoice.
Afterward, a smart tab called "Invoices" is established. The checkbox labeled "billed" is checked in the Extra Info tab. Start the repair process or check the invoice to confirm. Let's examine the bill.
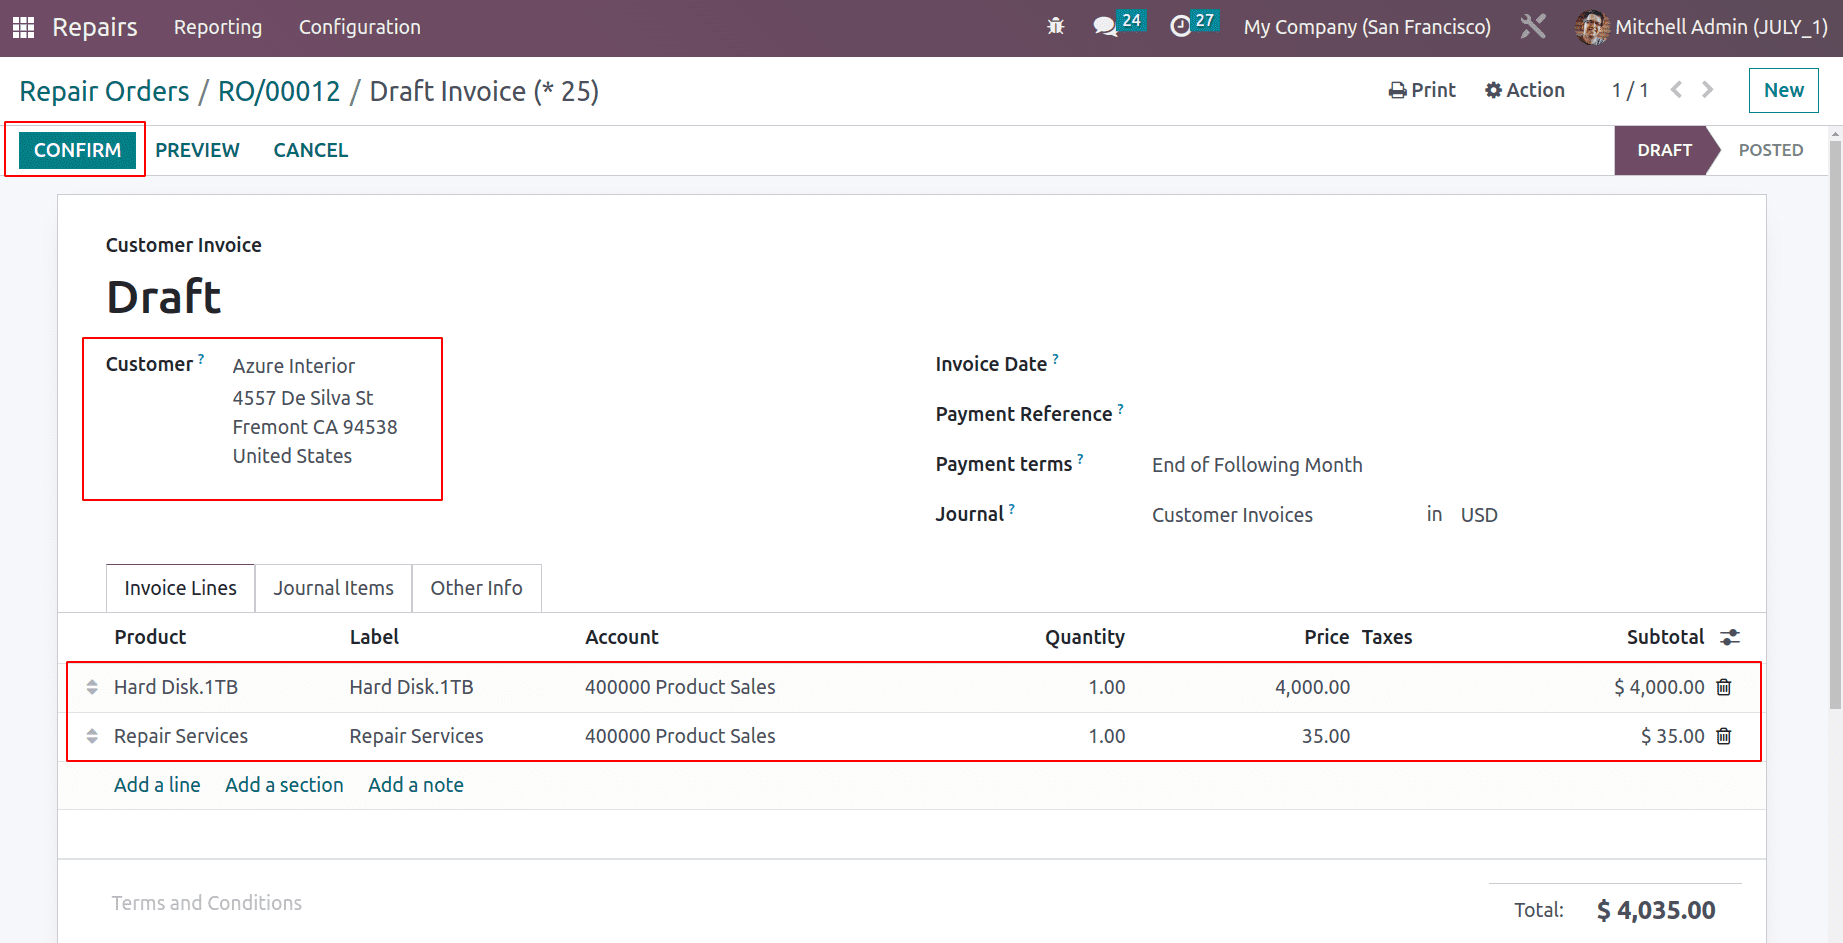
Here the invoice is created for the customer which we added inside the Repair order. In the order line added two products one is the new product added during the Repair and the other one is the service charge. Confirm it to post the invoice.
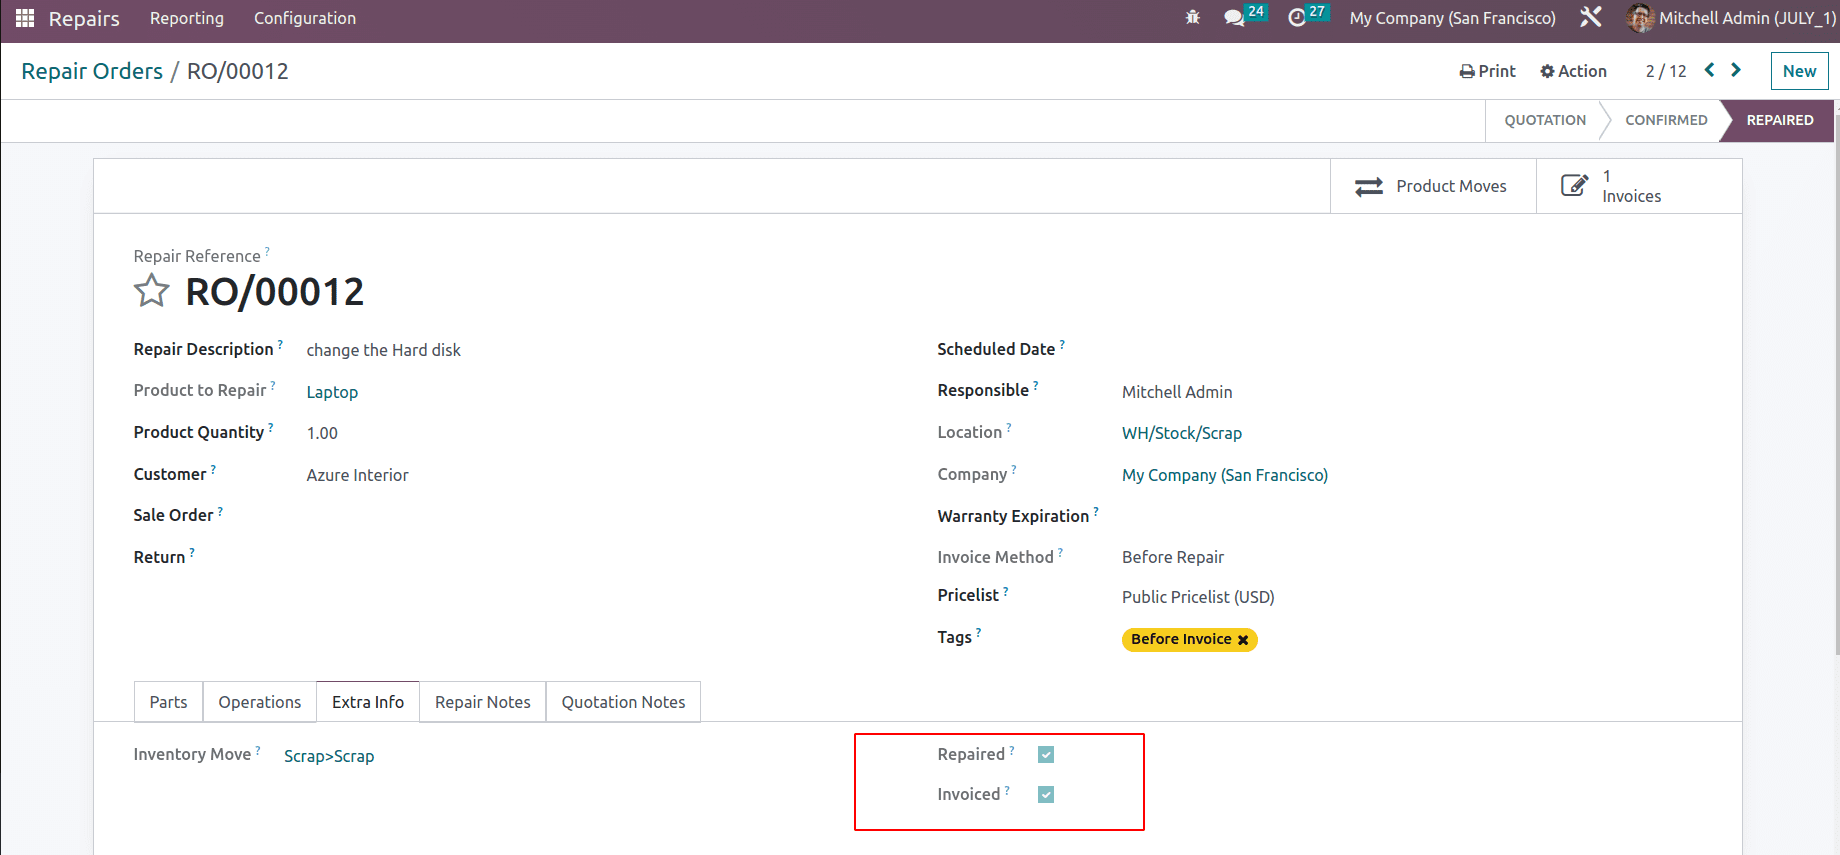
Then go back to the Repair order and Start the repair. The ‘END REPAIR’ button can be used to complete the repair process.

The Extra info tab shows the status as Repaired and Invoiced.
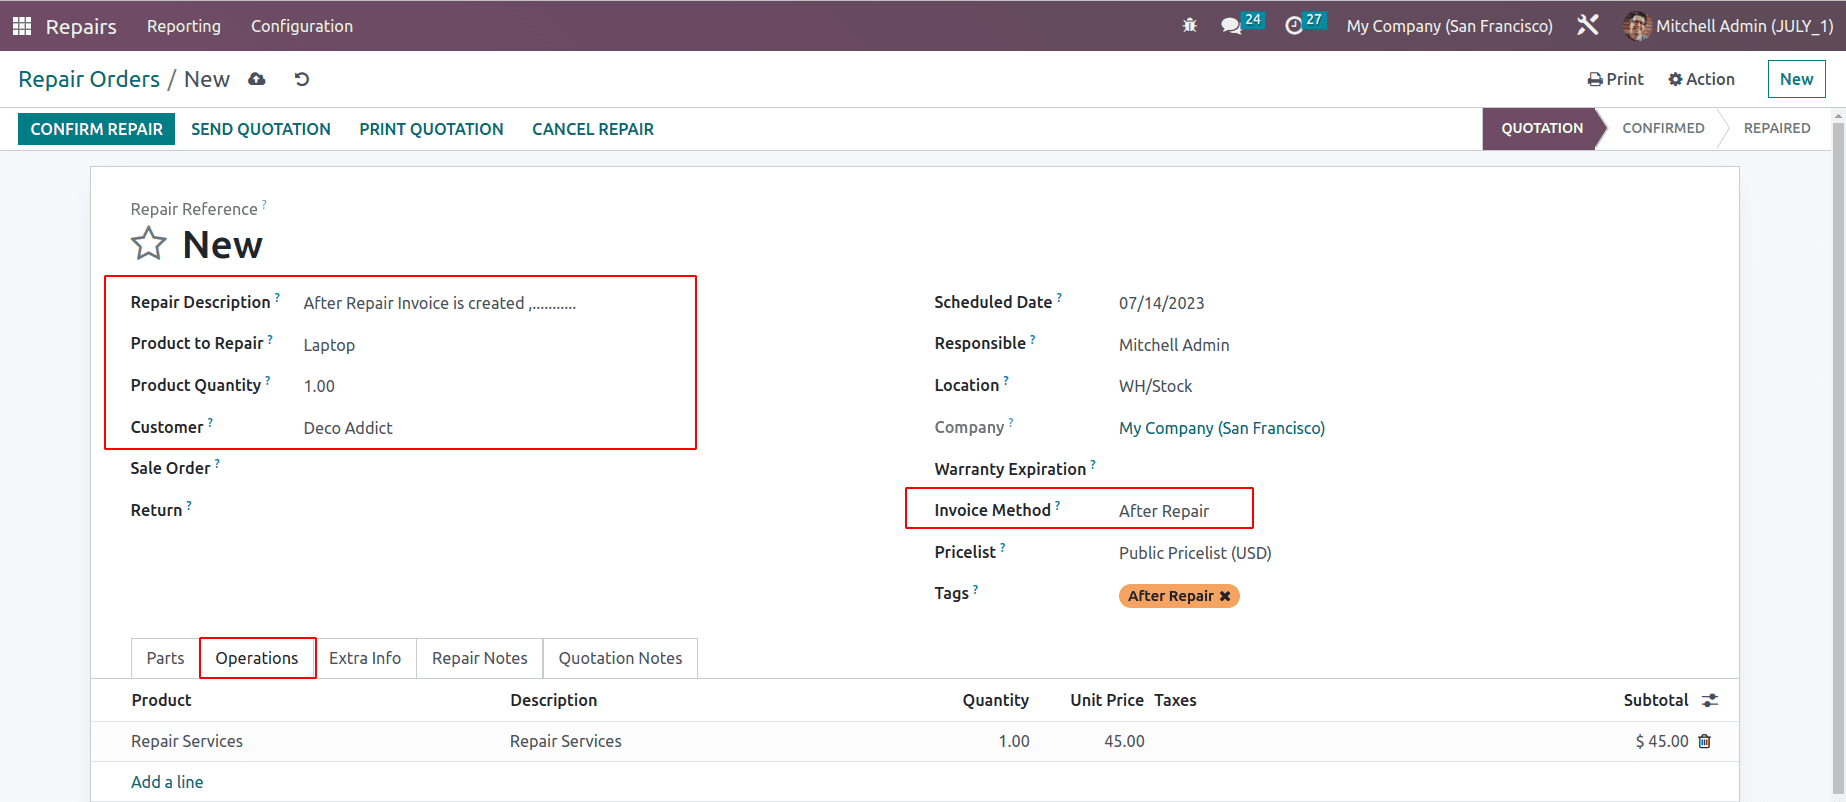
After Repair
When using the After Invoice invoice type, the customer only receives the invoice following the completion of the repair process. An identical Repair order is made in order to fix the laptop device. The After Invoice invoice method has been selected. An additional service item was added to the operations tab.
Similar to the preceding sequence, a portion is taken out and added.
Validate the order. And begin the repair.
Clicking the End Repair button will finish the repair after it has been completed.
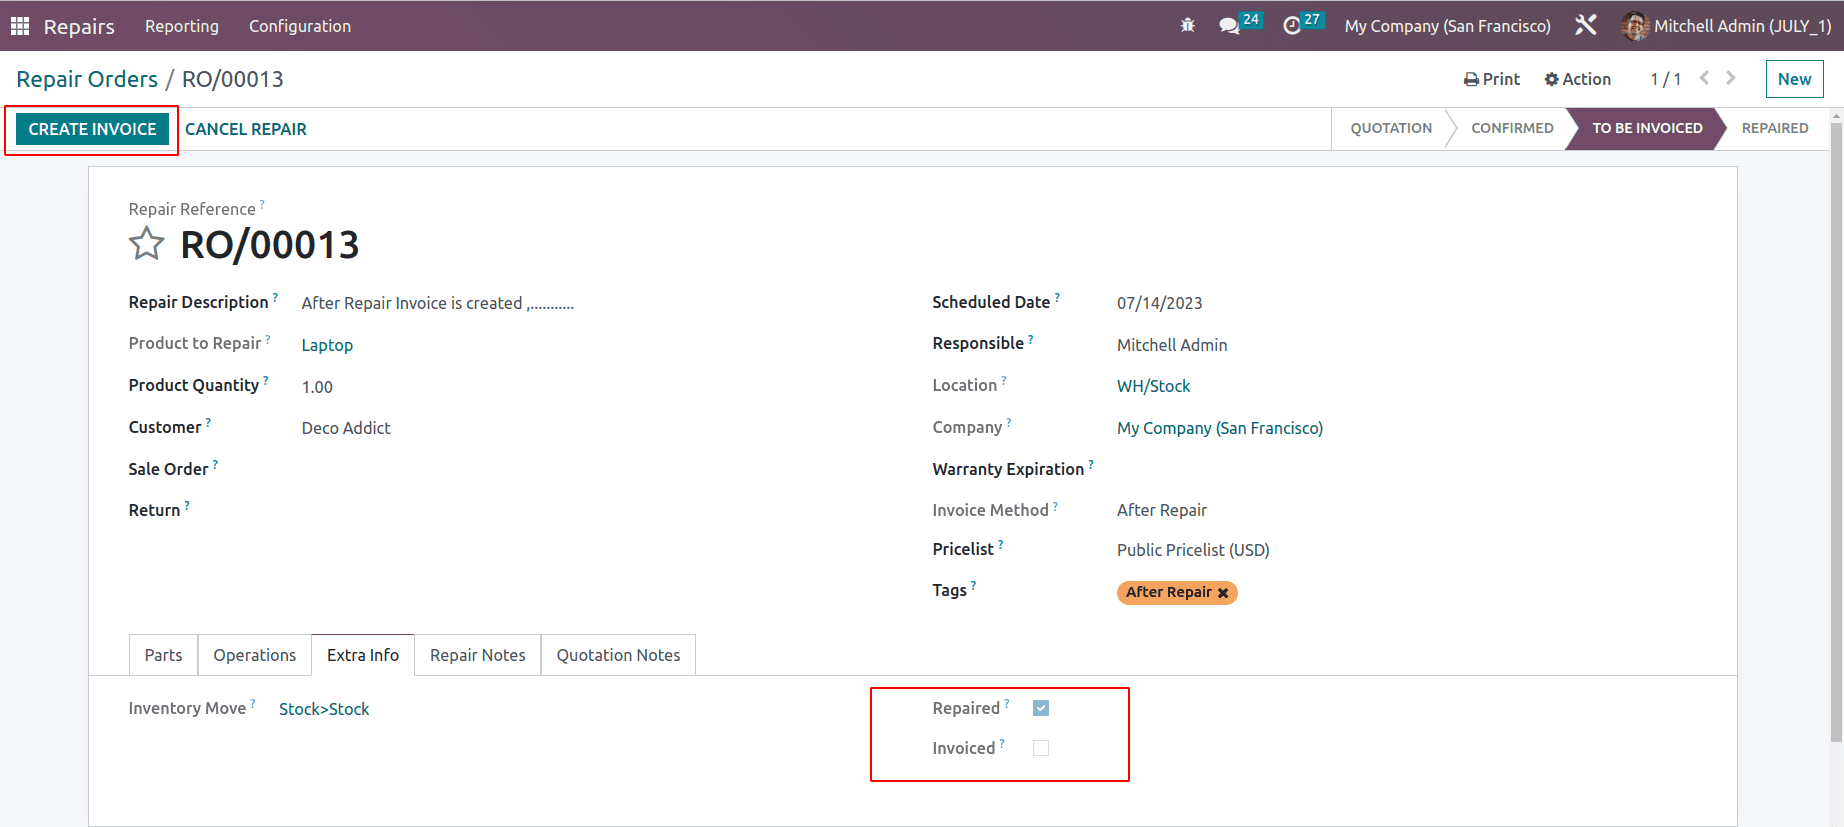
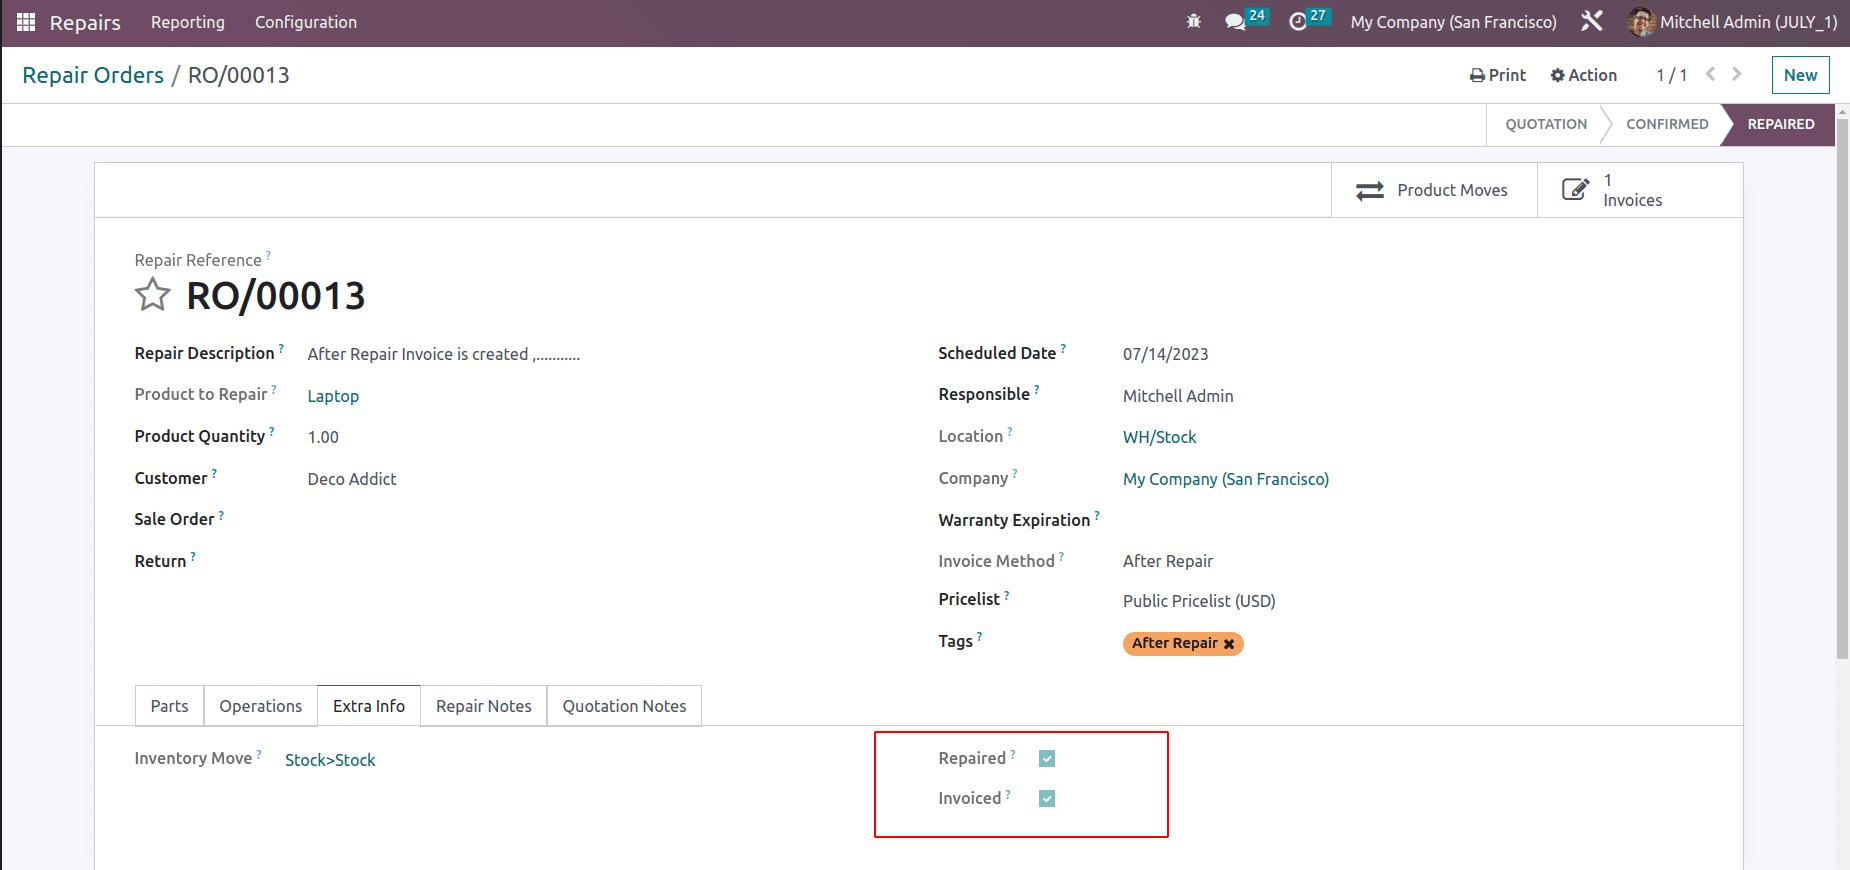
Then the Create Invoice button will appear. In the Extra Info tab, the status is updated as Repaired.
Confirm the created Invoice.
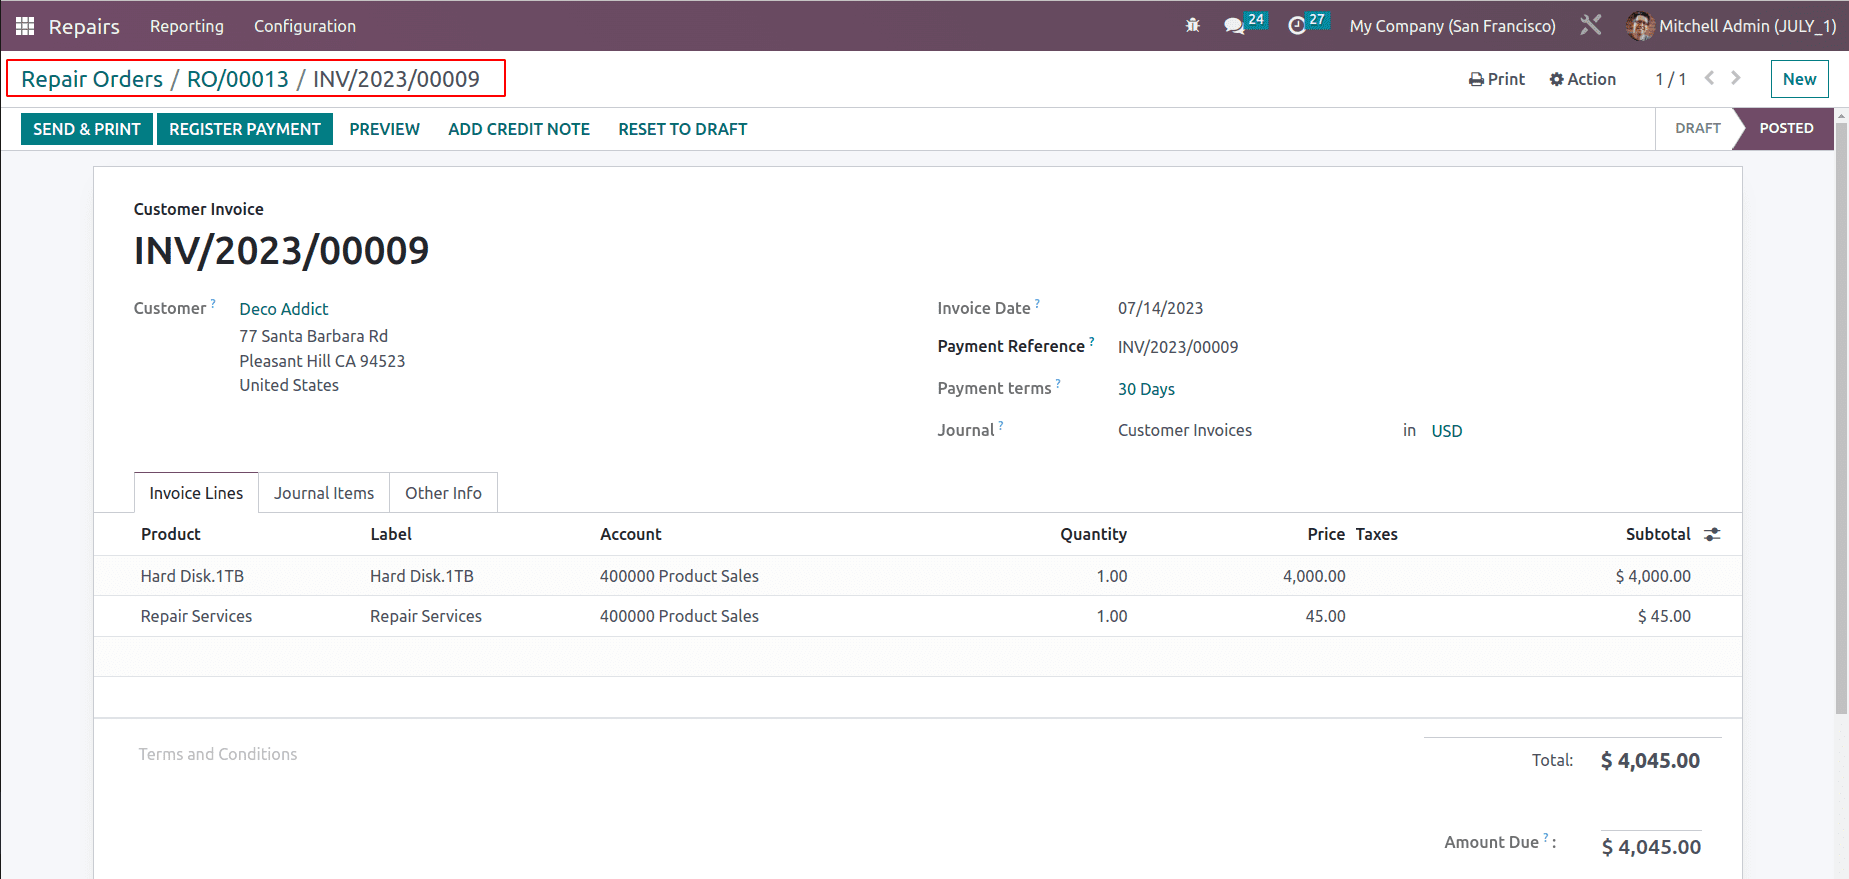
Then the status will again be updated in the Extra info tab.
In conclusion, the Odoo repair module streamlines the process from making a repair request to fulfilling it, increasing business efficiency and providing customers with high-quality service.