An analytic account is a tool that will help a user to analyze review a single account. It will also support the user to filter the account even though the account is not published in the journal entry.
Odoo 14 makes use of the analytical database for managing such operations. IT will also help to extract a particular price detail of a service or a product. IT will also help to assess the expenses of a company. With the help of these features, we can also assess the budget and evaluate the assets.
The highlight of the analytic account is that it will not create a journal entry when we are creating an invoice. This will help us to keep the primary account unaffected and help us to view the actual transaction payment.
Analytic tag at the same time helps the analytic distribution by splitting the expenses or revenue between different Odoo analytic accounts.
Analytic tags give new dimensions to Analytic accounts. We use analytic tags the same way we use analytic accounts.
Analytic tag is a feature that is useful for the users of the Odoo Accounting module. This feature helps you to ease your report generation and related operations.
It is part of the analytic distribution system, which helps you to divide the expenses or income. The expenses and income can be divided among different analytic accounts. For example, if an IT company wants to divide the income between three departments in different percentages that can be done with the help of analytic distribution.
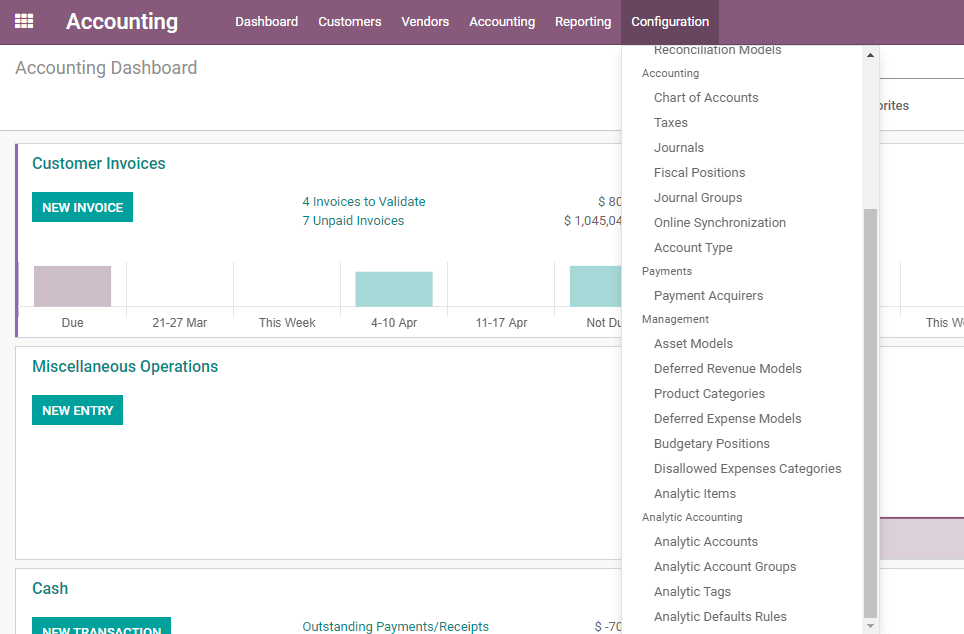
Configuration
Analytic tag is created in Odoo Accounting. We can go to Accounting -> Configuration for completing the process.
In the above image, we can find analytic tags
Click on Analytic tags to create a new tag
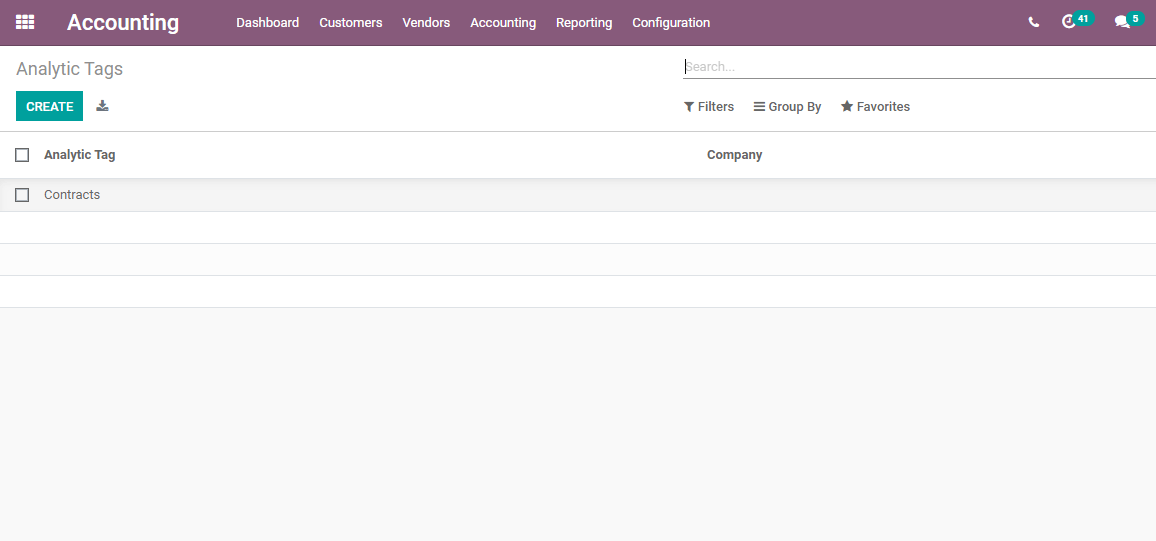
The above given screen shot is what we get on using the Analytic tag option. 'Contacts' is an already created Analytic Tag. We are now going to create a new tag using the Create Button.
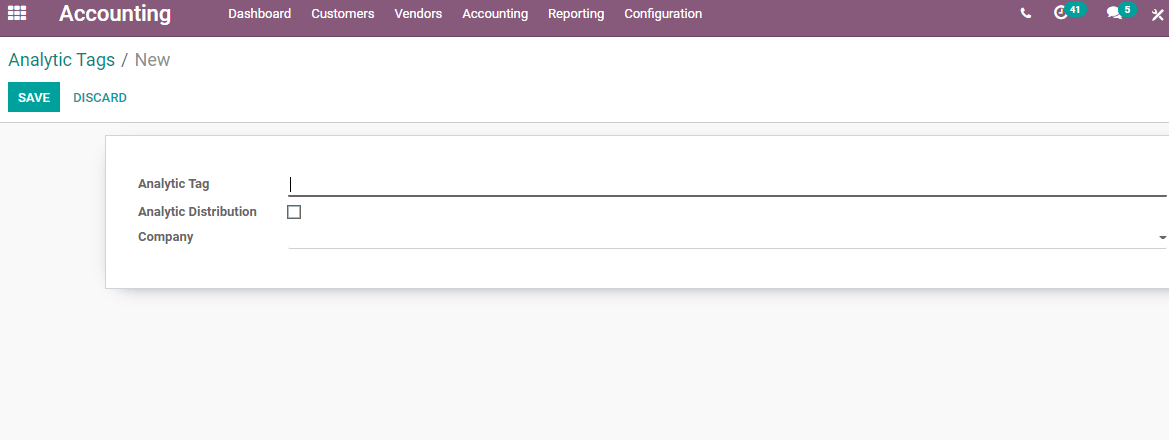
The window gives you an option to create a new tag and enable Analytic Distribution. The user can add the details of the company also here.
When we enable Analytic Distribution we will get a new line. Using this Analytic Account line we can add the details of the Analytic Accounts and the percent of the amount or balance.
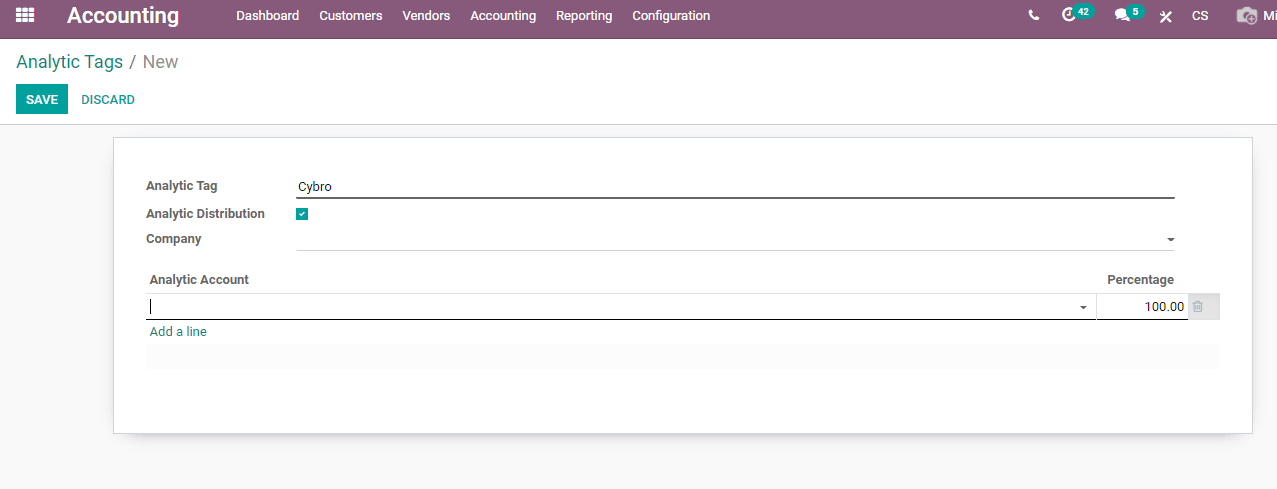
Suppose your company Cybrosys wants to share the amount between three departments. Then Cybrosys can select the three departments and mark the percentage of the amount.
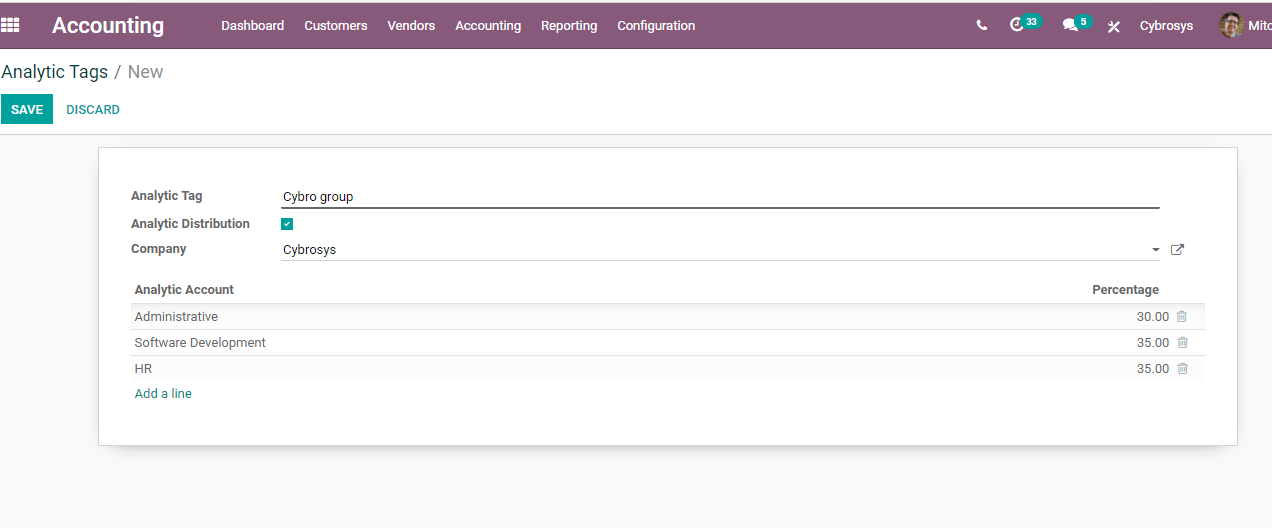
If we want to create a new analytical account, that can also be done from here. For that, we just have to type the details of the analytical account and create the analytic account. Now we can save this process. As we have created three analytic accounts we can say that we have three analytical accounts under one analytic tag.
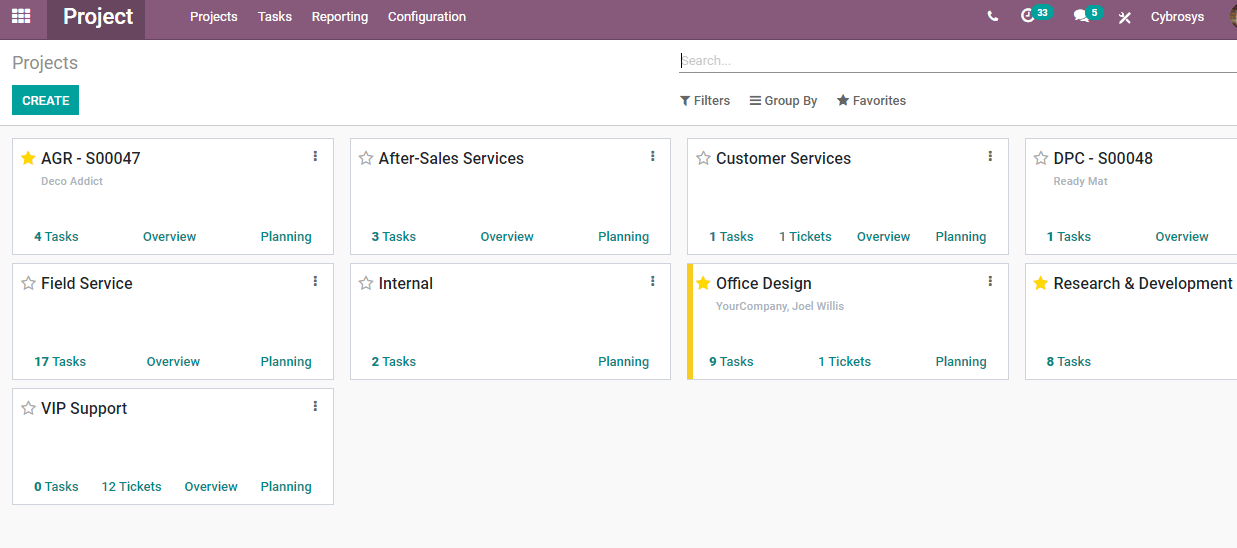
It is time for us to go to the dashboard. There we can find Customers, Vendors, Accounting, Reporting, and Configuration.
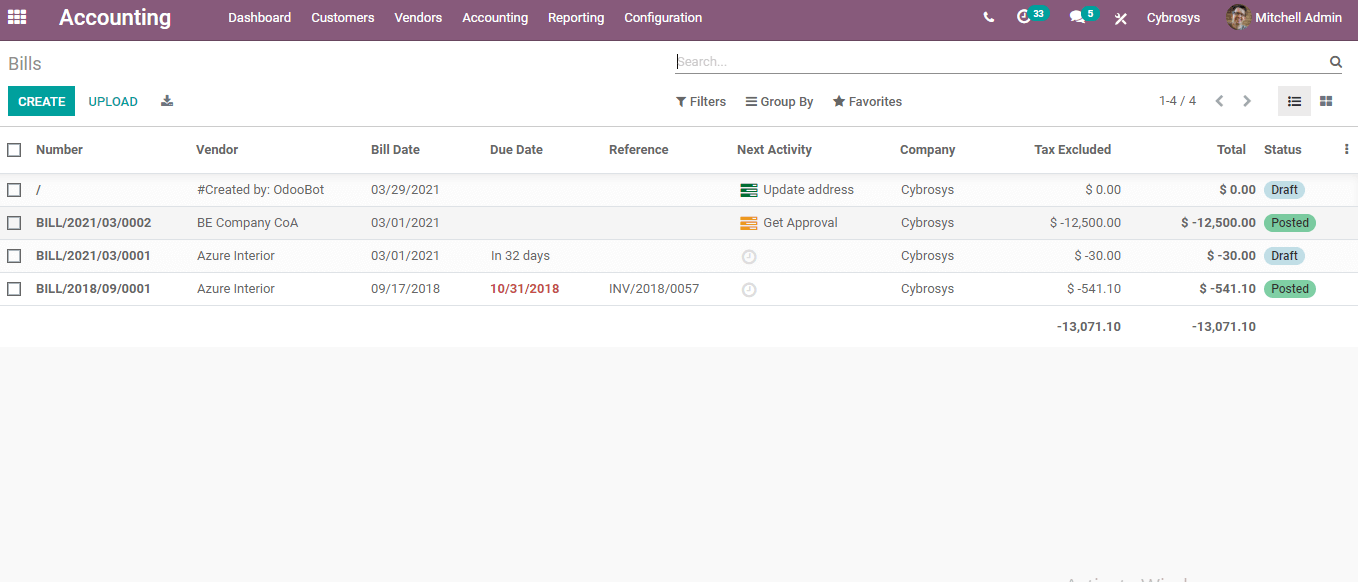
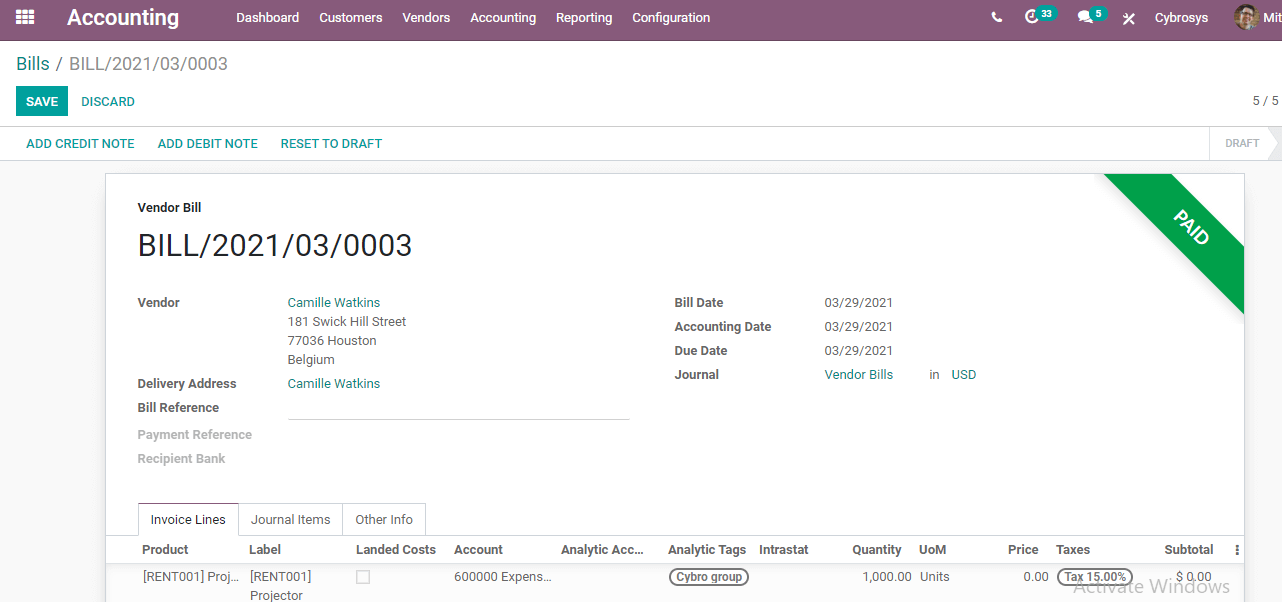
We can choose Vendors from here. Clicking on vendors, we will get a menu. From this menu, we can select Bills. To check how our analytic tags work we have to first create a bill.
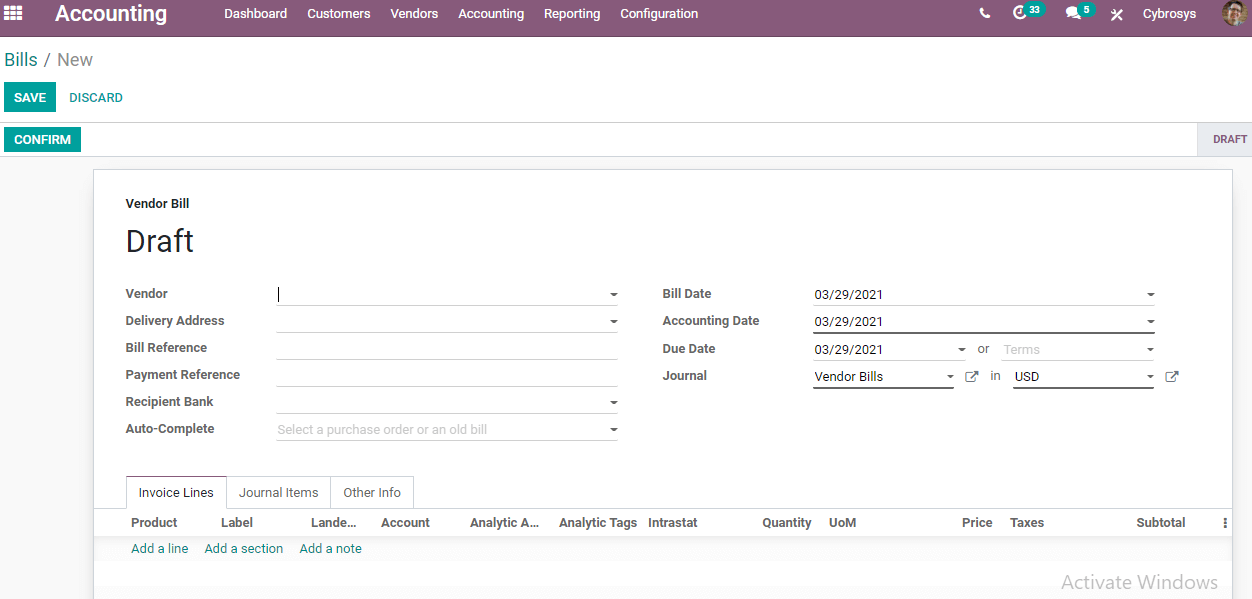
In the create form we have to fill in the details like the vendor name. Other mandatory details are description and analytical tag.
When we create an analytic account, we would add an analytic account instead of an analytic tag. Here we are choosing the analytic tag.
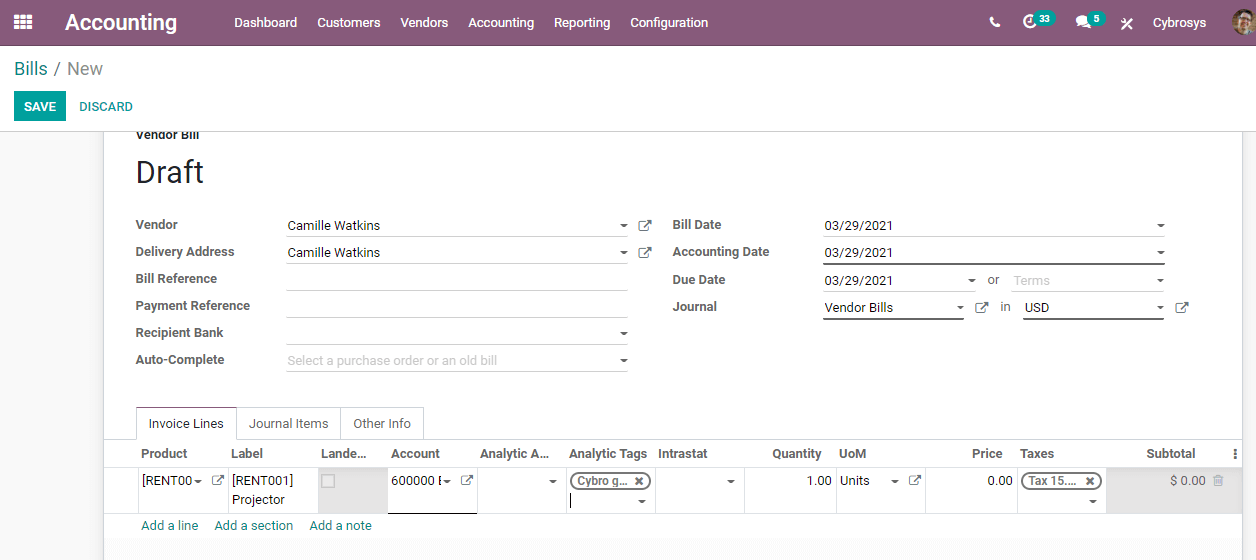

In the second image, we have added the price of the product also.
After completing the invoice line, you can painlessly confirm the process. Earlier, we used to use a validate button and now it has been replaced by confirming button.
Once we complete the bills and all the processes related to the creation of bills, we can move to configuration and look for analytic items.
When we use the mouse to select the analytic account we will get a window as given below.
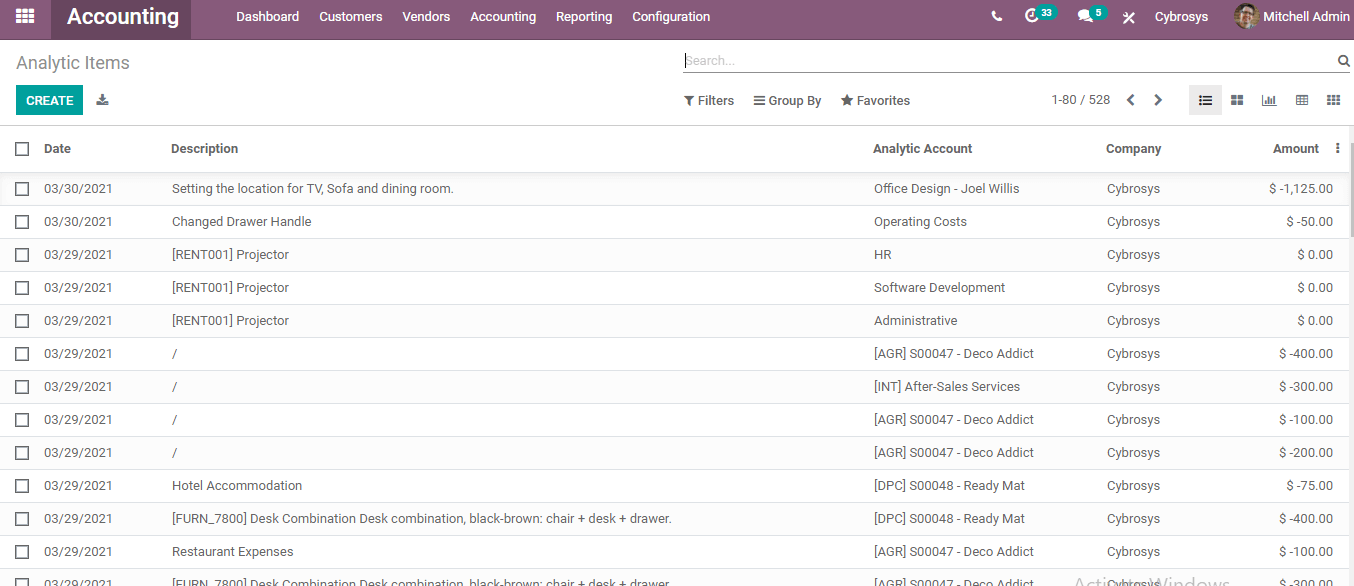
We can see that there are three items for a projector with three different analytic accounts.
One item is for HR, the second one for software development, and the third one for Administrative. In the next phase, we have to create a new project. For this, we have to go to Project Application.
Install the project module and enter the app. We have to create a new project with the help of this module.
Create button on the top left can be used as in any other Odoo module.
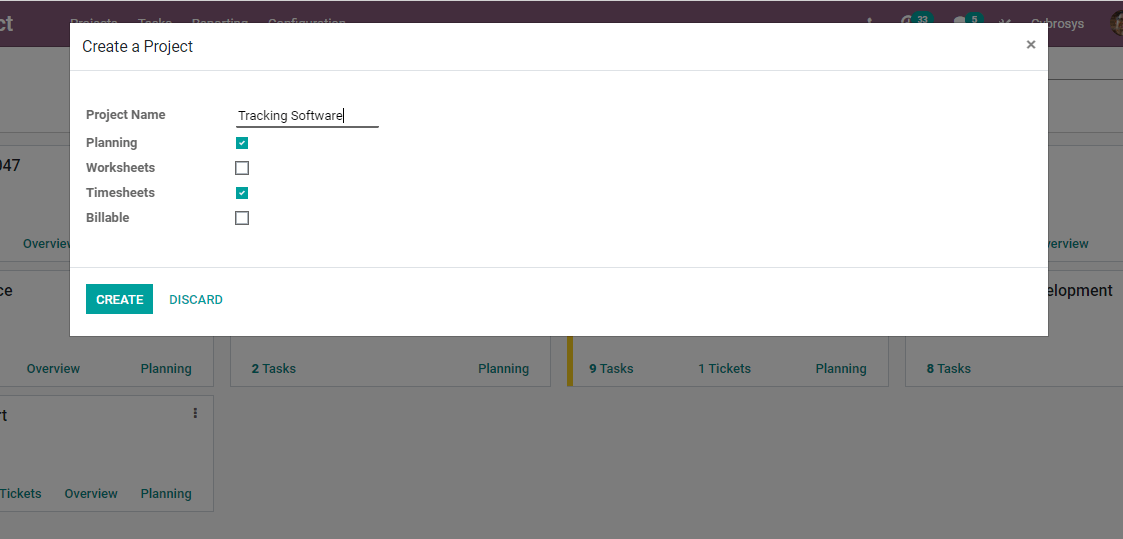
Here, I have created a project named Tracking Software. Clicking the Create button will give you a new column.
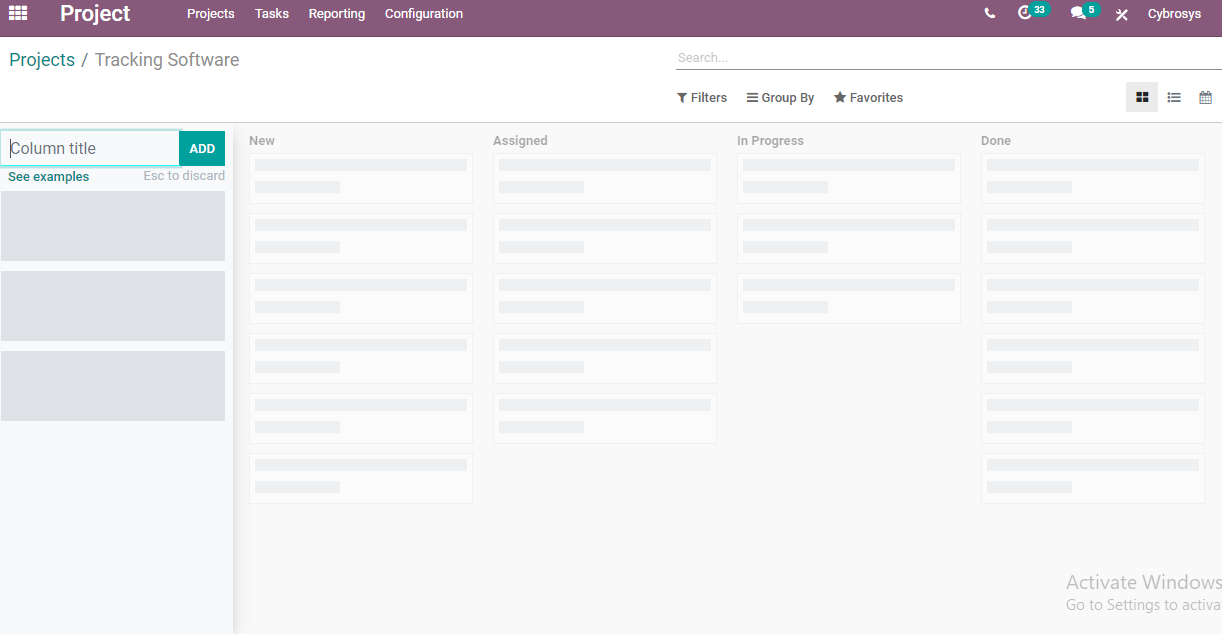
The user will get a few columns to add details here.
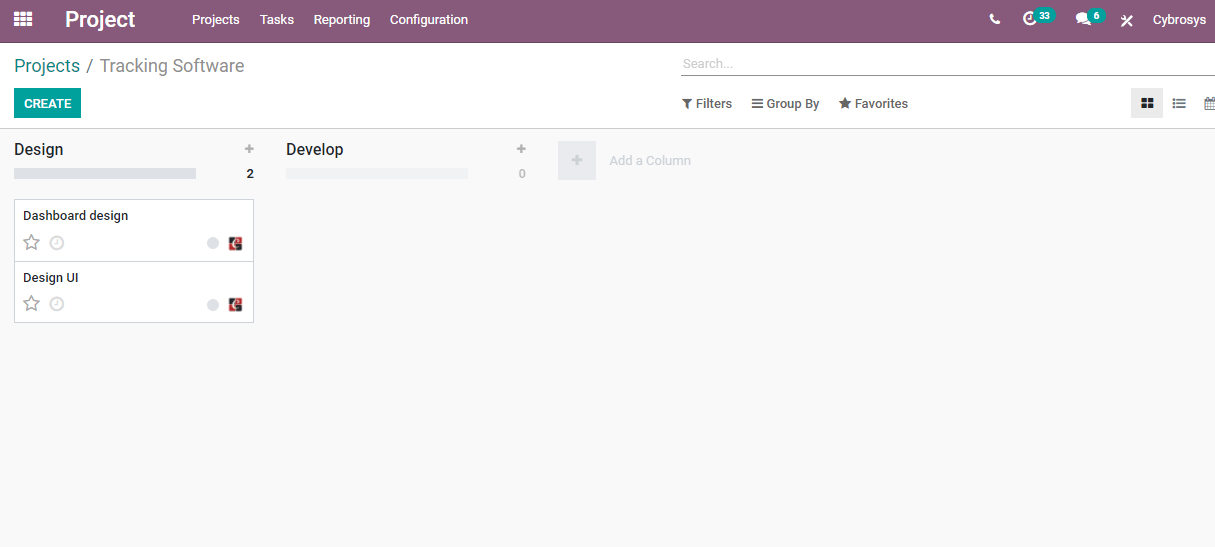
Here, I have added two columns Design and Develop.
Under design, we have given two tasks named dashboard design
Design UI.
We can click on the tasks and then we will get a page where we can edit the task.
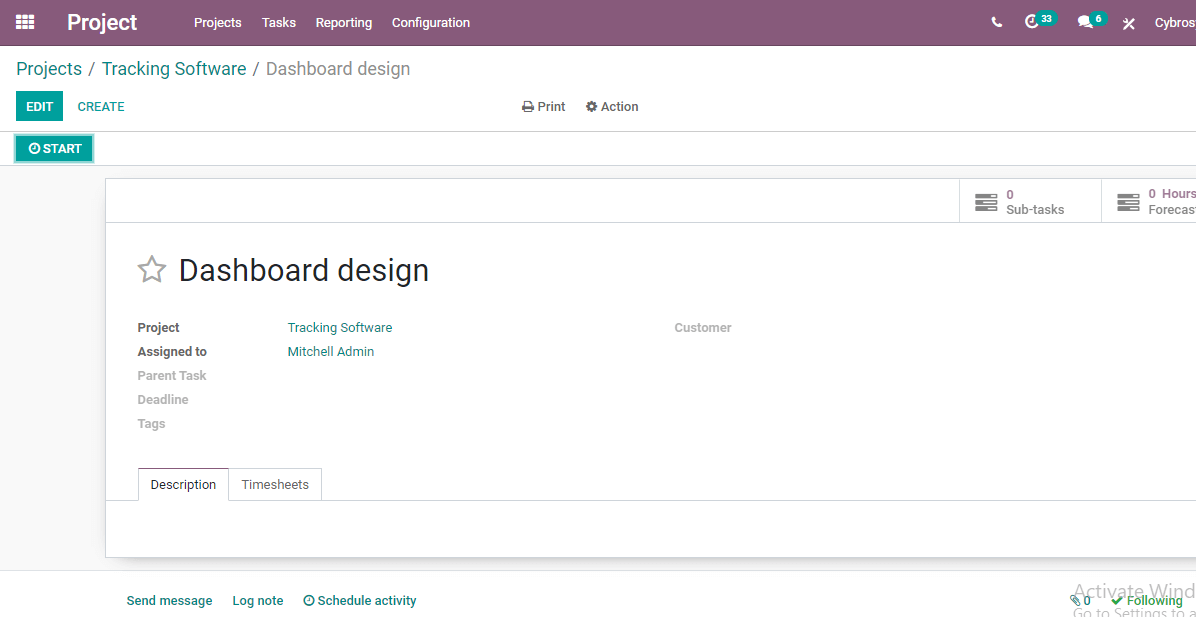
Edit button on the top will help you to bring in any changes to the page.
There are two tabs here.
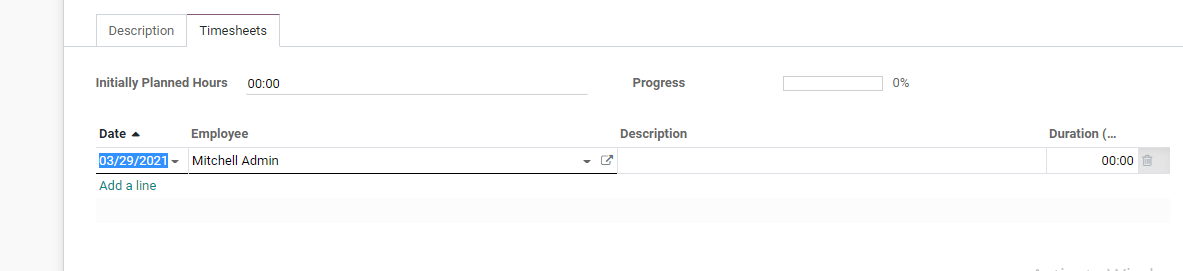
The second tab is the timesheet.
Using this tab we can set the time that is needed to complete the task.
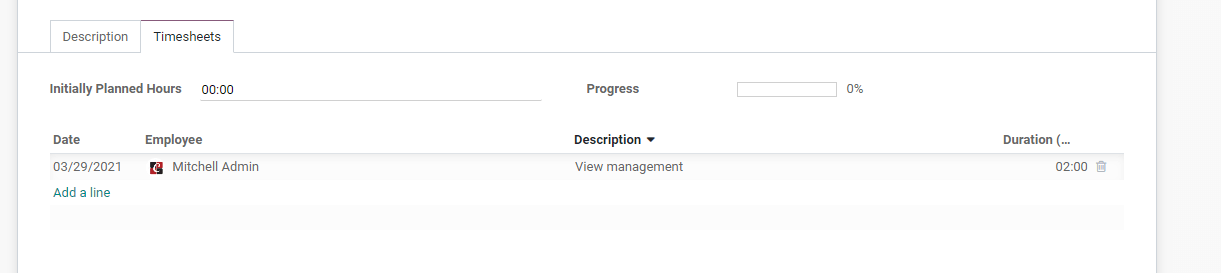
After marking the changes we have to return to the Accounting Module.
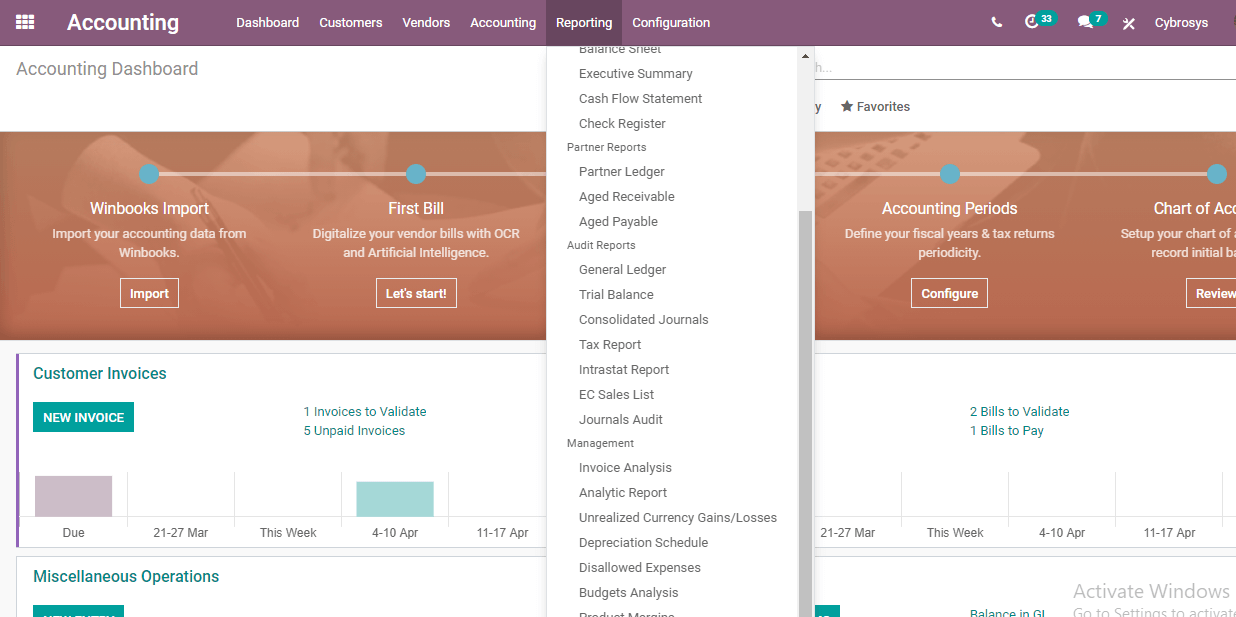
In the accounting module, we have to check the Reporting
There you can find an Analytic Report which can benefit from an analytic tag.
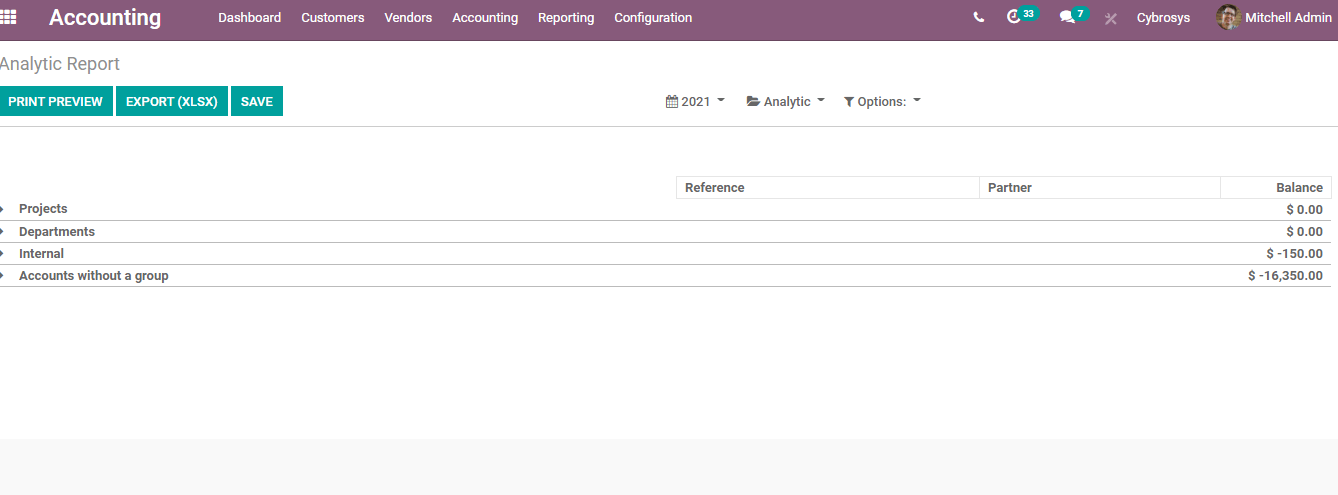
Here, we have different analytic accounts as well as accounts without a group.
Now we can check the Account without a group

Here you can see our Tracking software project listed here.
We can see the balance amount on the right side.
That means the hours of work are calculated based on the hours of work of the employees and the amount is found based on cost per hour.
This is how Odoo 14 Analytic tag helps you. This is a feature that found a place in the Accounting module since Odoo v10. Though Odoo has been introducing slight changes, the analytic account has been remaining a favorite tool for many.
The key benefit of the Odoo Analytic tag is that Odoo creates an analytic report automatically and the user will not have to manually work on it.
For more details, visit www.cybrosys.com