In Odoo 18, integrating file attachment functionality into website forms can greatly enhance user interaction and streamline data collection processes. Whether you’re managing customer feedback, processing support tickets, or gathering important documents, the ability to upload files directly through a website simplifies workflows and improves efficiency.
This guide will walk you through the process of implementing file upload functionality using JavaScript. We’ll focus on the frontend logic, demonstrating how to manage file selection and uploads seamlessly while leveraging Odoo’s powerful framework for smooth integration.
Before implementing the file upload functionality, it’s essential to understand how to set up the website menu and the controller to manage redirection to the website form template. These components ensure that users can easily navigate to the upload form and that the system handles the requests appropriately.
In Odoo, you can create custom menus using XML to define their structure and placement. To include these menus in your module, you need to define the XML file in the __manifest__.py file.
<record id="menu_service" model="website.menu">
   <field name="name">Attachments</field>
   <field name="url">/my/attachments</field>
   <field name="parent_id" ref="website.main_menu"/>
   <field name="sequence" type="int">31</field>
</record>
Explanation of the Code:
* id="menu_service": This is the unique identifier for the menu item.
* name="Attachments": The label that will be displayed in the website’s navigation bar.
* url="/my/attachments": Defines the URL path that users will visit when they click on the menu item. This URL is linked to the controller that handles the request.
* parent_id="website.main_menu": Place the new menu under the main website menu.
* sequence="31": Determines the order of the menu item relative to others. Lower numbers appear earlier.
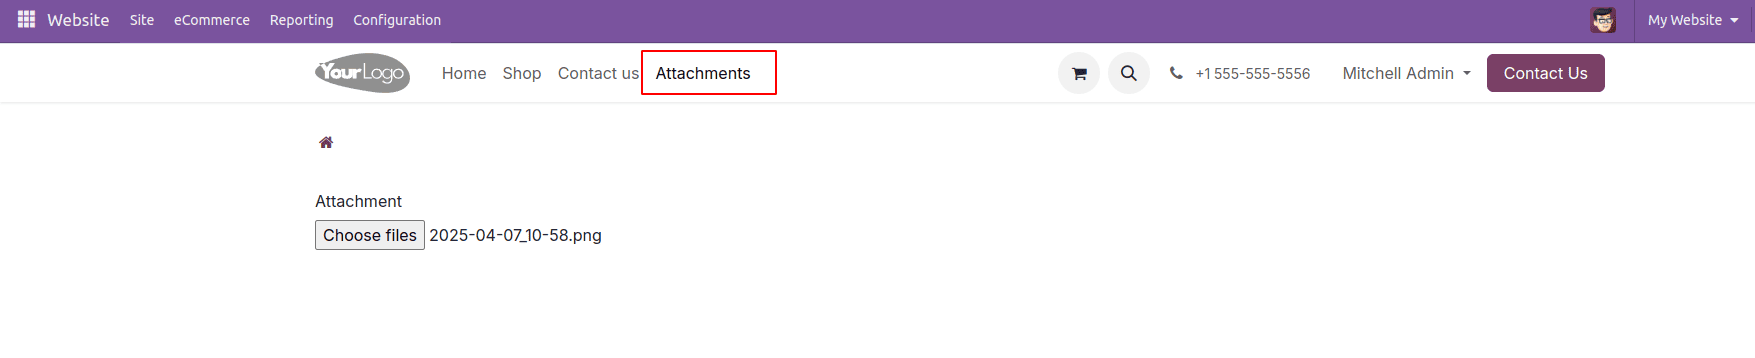
This menu directs users to the /my/attachments URL, which will be handled by the corresponding controller in Odoo. To manage this functionality, we’ll create a controller to handle the redirection to the attachment form template.
First, we need to create a controller file (e.g., website_attachment.py) inside the controllers directory. Then, we must define this Python file inside the __init__.py file to ensure it is properly recognized by Odoo.
from odoo import http
from odoo.http import route, request
import base64

class WebsiteAttachmentController(http.Controller):
   @http.route(['/my/attachments', '/my/attachments/page/<int:page>'],
               type='http', auth="user", website=True)
   def my_attachments(self):
       """Can track the pre bookings from the website"""
       value = []
       values = {'value': value}
       return request.render("website_attachment.my_attachment_template", values)
Explanation of the Code:
1. @http.route('/my/attachments', type='http', auth="public", website=True)
* /my/attachments: The URL that matches the one defined in the menu.
* type='http': Specifies that this route handles HTTP requests.
* auth="public": Allows both authenticated and anonymous users to access the form.
* website=True: Indicates that this route is intended for website pages.
2. def attachment_form(self, **kw):: This function handles incoming requests to the /my/attachments URL.
3. request.render('website_attachment.my_attachment_template'): Renders the QWeb template named my_attachment_template, which contains the form where users can upload files.
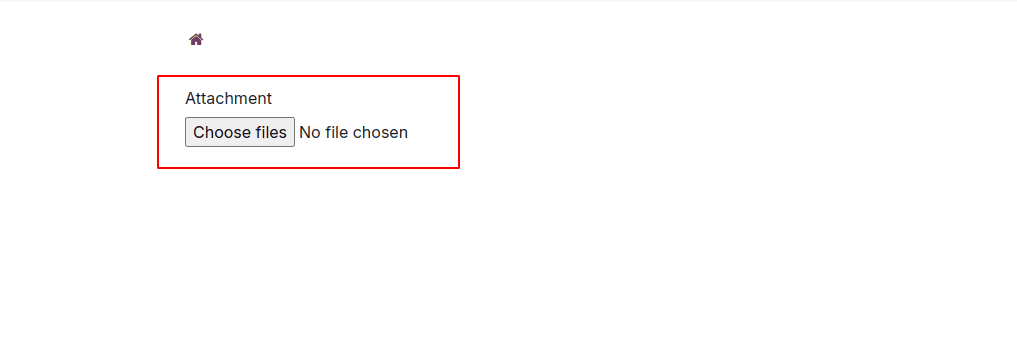
After setting up the website menu and controller, the next step is to create the form template. This template defines how the form appears on the website, including the file upload field where users can select and upload files.
Following is the code for creating a template for a website form and the option to upload an attachment. After creating the template for the website form, the XML file needs to be defined inside the__manifest__.py file
<template id="my_attachment_template">
   <t t-call="portal.portal_layout">
       <form action="/track/upload_attachment" enctype="multipart/form-data" method="post">
           <div class="upload_form form-group">
               <div class="col-lg-3 col-md-4 text-right">
                   <label class="col-form-label"
                          for="attachment">Attachment
                   </label>
               </div>
               <div class="col-lg-7 col-md-8">
                   <input class="file" id="attachments" type="file"
                          name="attachments" multiple="true"
                          accept="image/*,application/pdf,video/*"
                          required="True"/>
               </div>
           </div>
       </form>
   </t>
</template>
Explanation:
* action="/track/upload_attachment": Defines the server endpoint for form submission.
* enctype="multipart/form-data": Required for handling file uploads.
* multiple="true": Allows multiple file uploads.
* accept="image/*,application/pdf,video/*": Restricts file types to images, PDFs, and videos.
After creating the website form with a file upload option, the next step is to enable the actual file attachment functionality. This is where the JavaScript file comes into play. It manages how the form handles file uploads dynamically, communicates with the server, and provides real-time feedback to the user.
While the form structure defines the layout, JavaScript plays a crucial role in enhancing the functionality of the file upload process. It is responsible for handling user interactions, such as detecting when a file is selected or changed. Once a file is chosen, JavaScript reads the file and converts it into a suitable format, like base64, making it ready for transmission to the server. This process ensures that file uploads occur asynchronously, meaning the data is sent to the server without the need to refresh the page, providing a smooth user experience. Additionally, JavaScript enables real-time feedback by displaying success or error messages immediately after the upload, keeping users informed about the status of their actions.
Create a JavaScript file (e.g., website_attachment.js) in your Odoo module’s static/src/js folder. After creating the JS file, you need to include it in the web.assets_frontend section inside the __manifest__.py file to ensure it is loaded on the frontend of your Odoo website.
/** @odoo-module */
import publicWidget from '@web/legacy/js/public/public_widget';
import { rpc } from "@web/core/network/rpc";
publicWidget.registry.form = publicWidget.Widget.extend({
   selector: '.upload_form',
   events: {
       'change #attachments': 'attachment_upload',
   },
   attachment_upload: function(e) {
       var attachments = e.target.files;
       for (let i = 0; i < attachments.length; i++) {
           var reader = new FileReader();
           reader.readAsDataURL(attachments[i]);
           reader.onload = function(e) {
               rpc('/upload_attachment', {
                   'attachments': e.target.result,
                   'attachment_name': attachments[i].name
               });
           }
       }
   },
});
When we upload an attachment through the website form, the event listener in the JavaScript code listens for the change event on the file input element (#attachments). This event triggers the attachment_upload function, which handles the file upload process. The function allows multiple files to be processed and reads each file as a Data URL (base64-encoded string), making it suitable for transmission over HTTP. After reading the file, the function sends the file data (attachments) and its name (attachment_name) to the server using an RPC request to the /upload_attachment route. This ensures seamless and asynchronous file uploads without refreshing the page.
To create the uploaded file as an attachment in Odoo, we need to add a controller and define a function to handle the file creation. Below is the controller code that processes the uploaded file and creates an attachment in Odoo.
@route('/upload_attachment', type='json', auth="public", methods=['POST'],
      website=True)
def upload_attachment(self, **kw):
   base64_data = kw['attachments'].split(",")[1]
   Attachments = request.env['ir.attachment']
   Attachments.sudo().create({
       'name': kw['attachment_name'],
       'type': 'binary',
       'datas': base64.b64decode(base64_data),
   })
   return {'status': 'success'}
This code ensures that files uploaded via the website form are processed and saved correctly as attachments in Odoo.
The following code illustrates the complete code of the module, providing a detailed view of the implementation.
Manifest file:
{
   'name': 'Website Attachment Odoo',
   'version': '18.0.1.0.0',
   'category': 'Website',
   'summary': 'Allows upload attachment from website',
   'description': """This module will help you to upload attachment from website""",
   'author': 'Cybrosys Techno Solutions',
   'company': 'Cybrosys Techno Solutions',
   'maintainer': 'Cybrosys Techno Solutions',
   'website': "https://www.cybrosys.com",
   'depends': ['portal', 'website_sale'],
   'data': [
       'views/website_form_views.xml'
   ],
   'assets': {
       'web.assets_frontend': [
           '/website_attachment/static/src/js/website_attachment.js',
       ],
   },
   'images': ['static/description/banner.png'],
   'license': 'AGPL-3',
   'installable': True,
   'auto_install': False,
   'application': False,
}
Xml file:
<?xml version="1.0" encoding="utf-8" ?>
<odoo>
<!--    Wb menu for the pre-booking-->
   <record id="menu_service" model="website.menu">
       <field name="name">Attachments</field>
       <field name="url">/my/attachments</field>
       <field name="parent_id" ref="website.main_menu"/>
       <field name="sequence" type="int">31</field>
   </record>
<!--    Template for the pre-booking order Track-->
   <template id="my_attachment_template">
       <t t-call="portal.portal_layout">
           <form action="/track/upload_attachment" enctype="multipart/form-data" method="post">
               <div class="upload_form form-group">
                   <div class="col-lg-3 col-md-4 text-right">
                       <label class="col-form-label"
                              for="attachment">Attachment
                       </label>
                   </div>
                   <div class="col-lg-7 col-md-8">
                       <input class="file" id="attachments" type="file"
                              name="attachments" multiple="true"
                              accept="image/*,application/pdf,video/*"
                              required="True"/>
                   </div>
               </div>
           </form>
       </t>
   </template>
</odoo>
Controllers:
from odoo import http
from odoo.http import route, request
import base64
class WebsiteAttachmentController(http.Controller):
   @http.route(['/my/attachments', '/my/attachments/page/<int:page>'],
               type='http', auth="user", website=True)
   def my_attachments(self):
       """Can track the pre bookings from the website"""
       value = []
       values = {'value': value}
       return request.render("website_attachment.my_attachment_template", values)
   @route('/upload_attachment', type='json', auth="public", methods=['POST'],
          website=True)
   def upload_attachment(self, **kw):
       base64_data = kw['attachments'].split(",")[1]
       Attachments = request.env['ir.attachment']
       Attachments.sudo().create({
           'name': kw['attachment_name'],
           'type': 'binary',
           'datas': base64.b64decode(base64_data),
       })
       return {'status': 'success'}
Js file:
/** @odoo-module */
import publicWidget from '@web/legacy/js/public/public_widget';
import { rpc } from "@web/core/network/rpc";
publicWidget.registry.form = publicWidget.Widget.extend({
   selector: '.upload_form',
   events: {
       'change #attachments': 'attachment_upload',
   },
   attachment_upload: function(e) {
       var attachments = e.target.files;
       for (let i = 0; i < attachments.length; i++) {
           var reader = new FileReader();
           reader.readAsDataURL(attachments[i]);
           reader.onload = function(e) {
               rpc('/upload_attachment', {
                   'attachments': e.target.result,
                   'attachment_name': attachments[i].name
               });
           }
       }
   },
});
By integrating this setup, users can effortlessly upload files through web forms on your Odoo website, significantly enhancing both interactivity and functionality.
To read more about How to Add Attachments to Website Form Using JS in Odoo 17, refer to our blog How to Add Attachments to Website Form Using JS in Odoo 17.