While creating a new project in the Odoo Project module, you can split the project into different tasks and sub-tasks. By doing so, you can systematize the activities related to the project in an organized manner and reduce work pressure. This will also help the assigned employees to complete the project step by step in an easier method. The project manager can smoothly manage projects by dividing them into tasks and sub-tasks. You can effortlessly manage tasks of a project in Odoo by assigning them in different stages.
In this blog, we will discuss the tasks and sub-tasks in the Odoo Project module.
It is easy to create new projects in the Odoo Project module by following simple steps. After creating a new project, you can add tasks to this project.
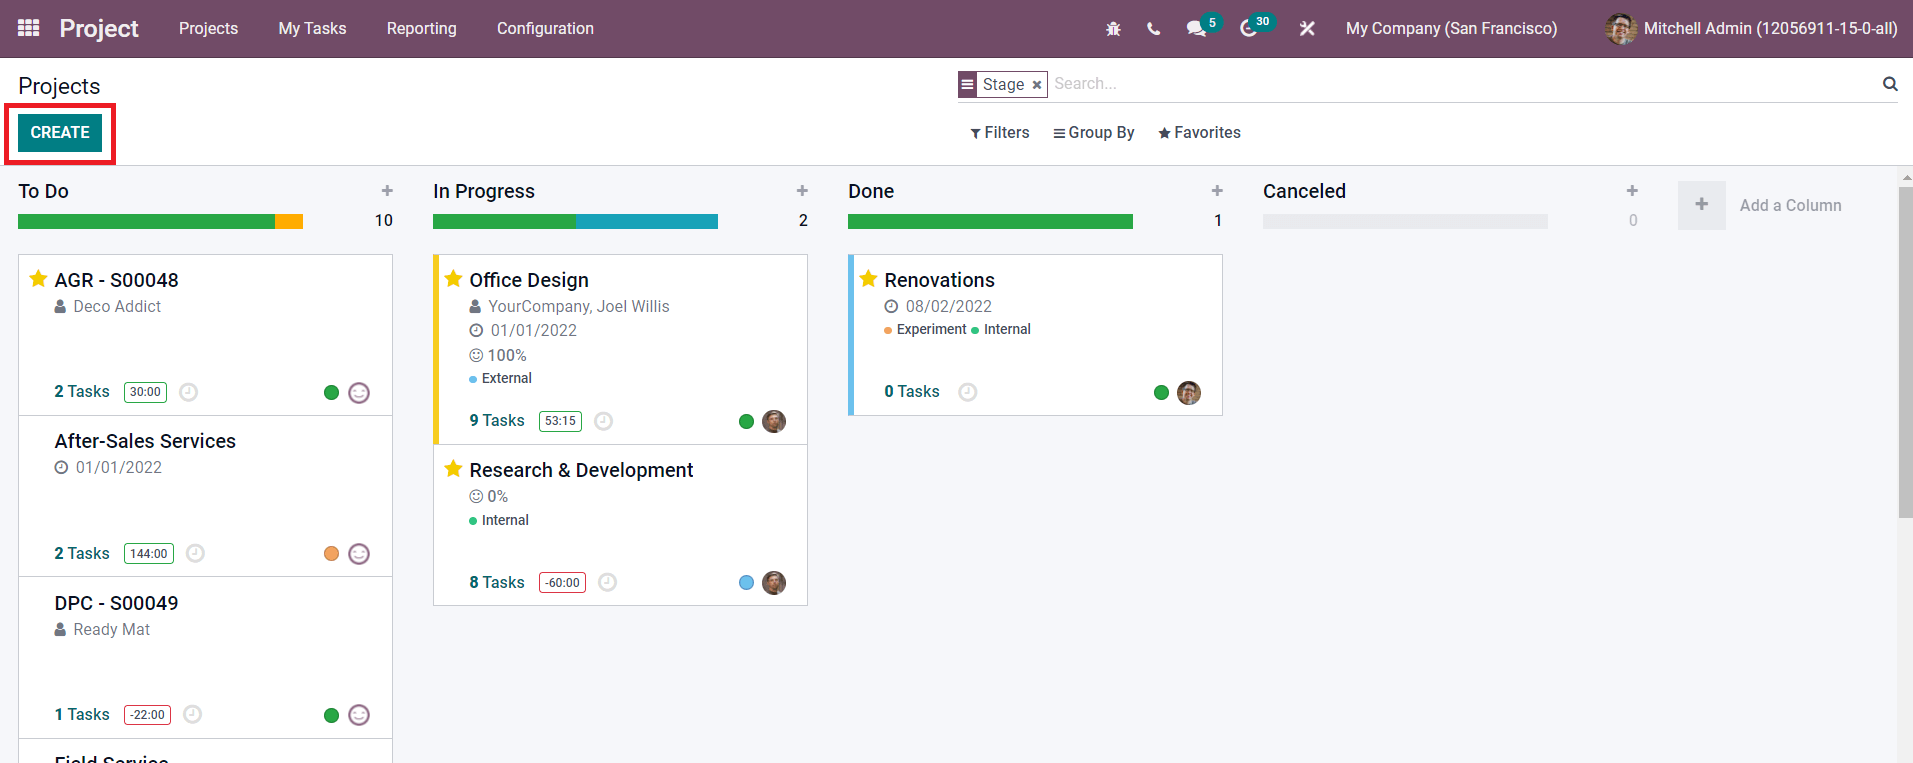
Click on the Create button to create a new project from the main dashboard of the Project module. You will get a pop-up window where you can specify the name of the project.
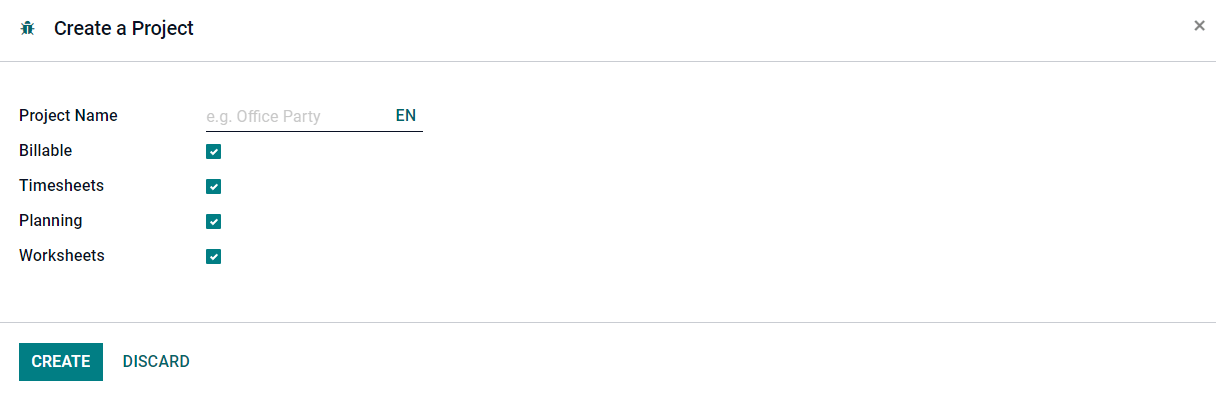
You will get additional options to activate such as Billable (to invoice the time and material of the project), Timesheets (to record the time spent on a project), Planning, (to enable planning on the project), and Worksheets (to enable worksheets on tasks). Click the Create button. Now, you have created a project. After clicking on the Create button, Odoo will direct you to a new window where you can create tasks for this project as shown below.
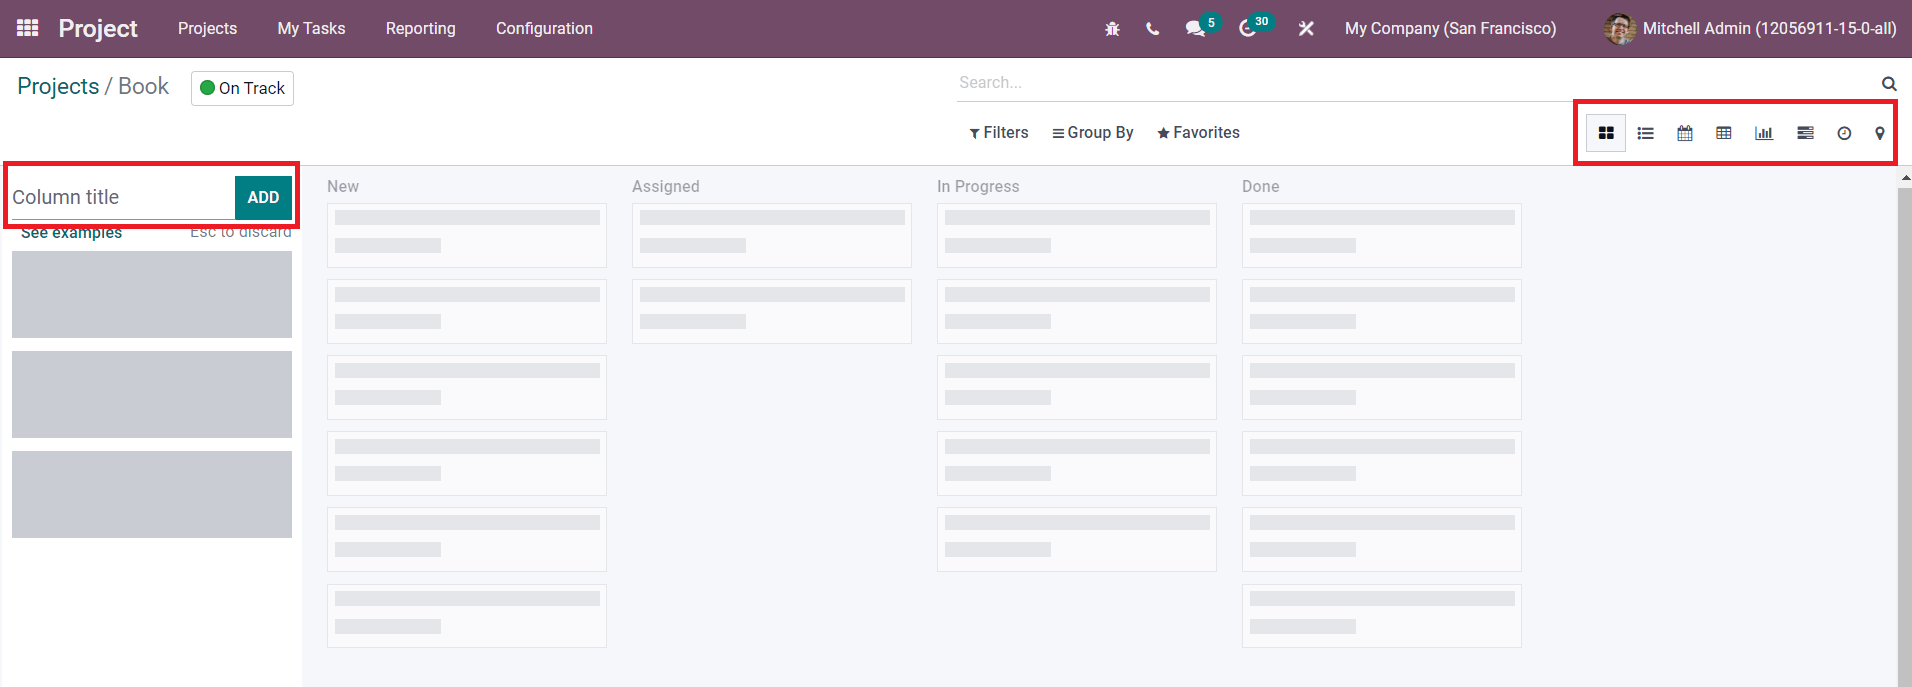
On this platform, you can create new stages for project tasks to understand their progression. You will get access to the Kanban, List, Pivot, Calendar, Graph, Map, Gantt, and Activity views of the task from this window.
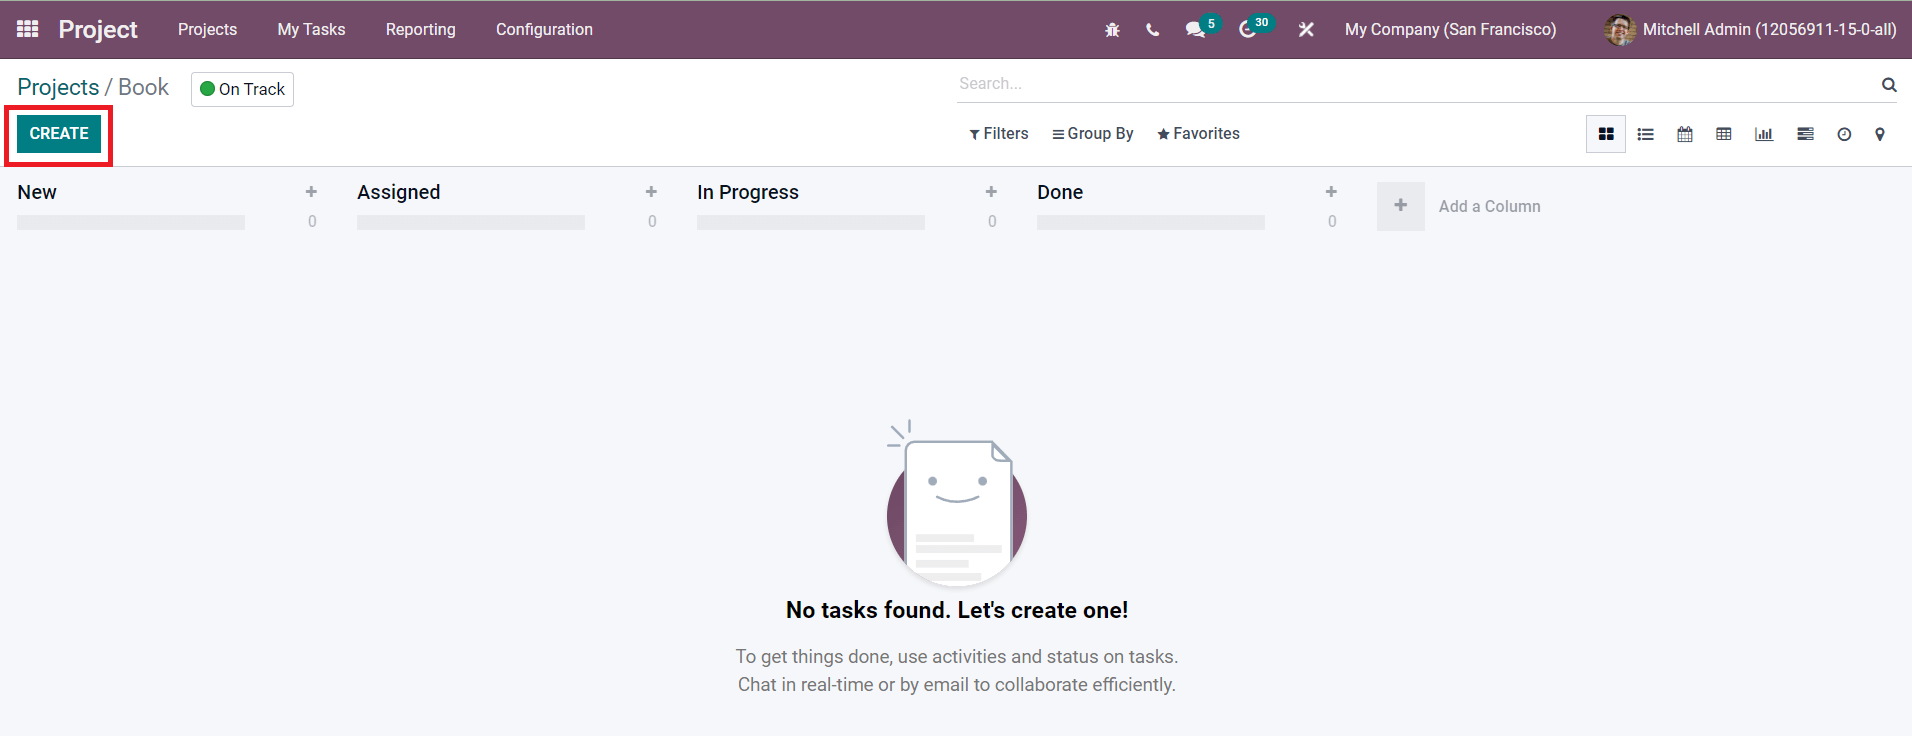
After configuring stages on this platform, you can configure new tasks by clicking on the Create button.
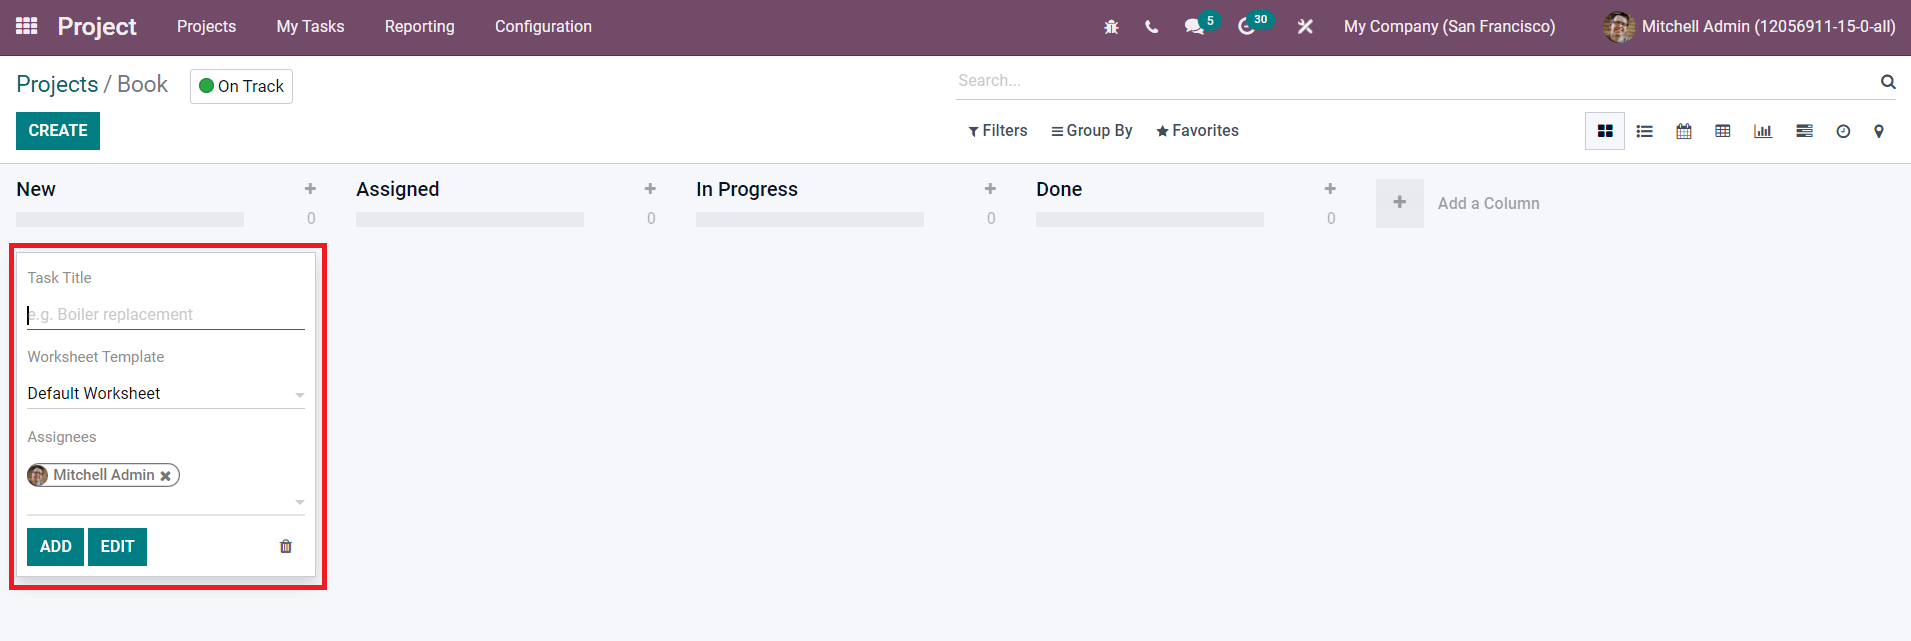
A new field will appear as shown in the image above where you can mention the title of the task, worksheet template, and assignees. You can add additional information to the task using the Edit button.
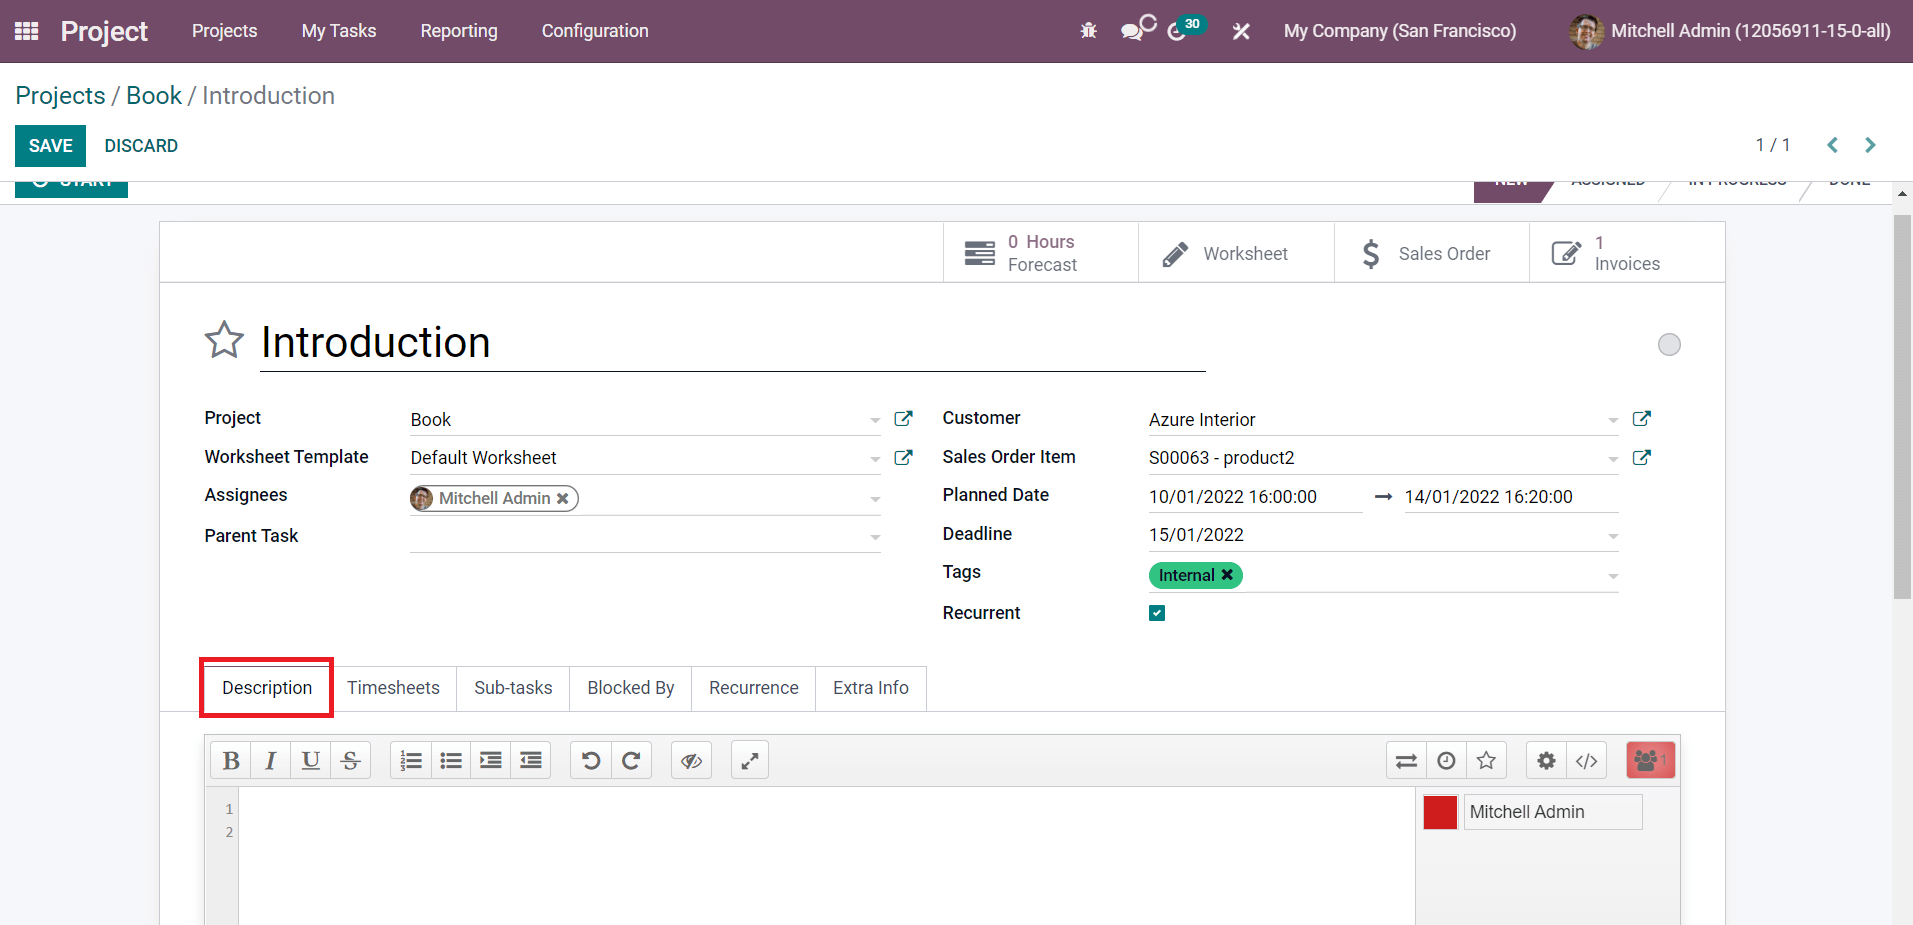
The Star icon next to the title of the task can be used to add this task to the favorite list. We already added details about the Project, Worksheet Template, and Assignees. In this window, you can specify the Parent Task, Customer, Sales Order Item to add the time spent on this project in order to generate invoices, Planned Date, Deadline, and Tags. If you want to repeat this task in a specific interval of time, you can enable the Recurrence field. To get this field, first, you have to activate the Recurring Tasks option from the Settings menu of the module.
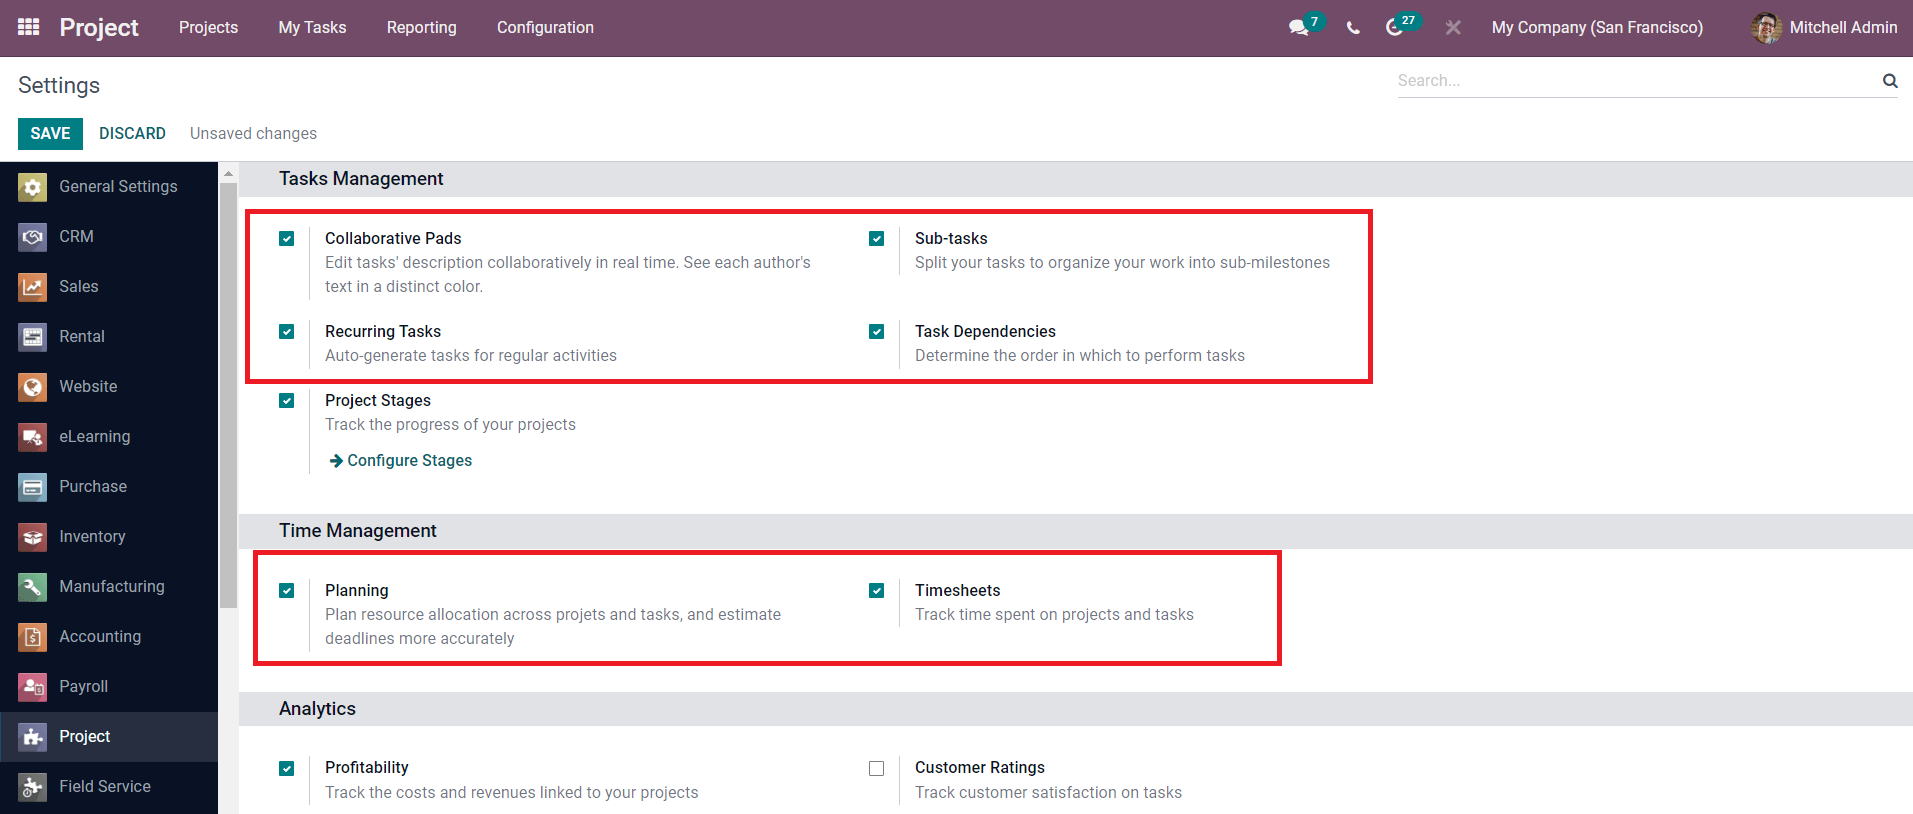
Similarly, you can activate the Collaborative Pads option to get a collaborative pad in each task description to communicate with the teammates. Activating the Sub-tasks option will help you to organize your task into sub-milestones. The Task Dependencies option can be used to determine the order of the task to perform. You can activate the Planning option to plan resource allocation across projects and tasks, and estimate deadlines more accurately. The Timesheets option can be used to track and record the time spent on each task in a project. After activating the required options, come back to the task creation window.
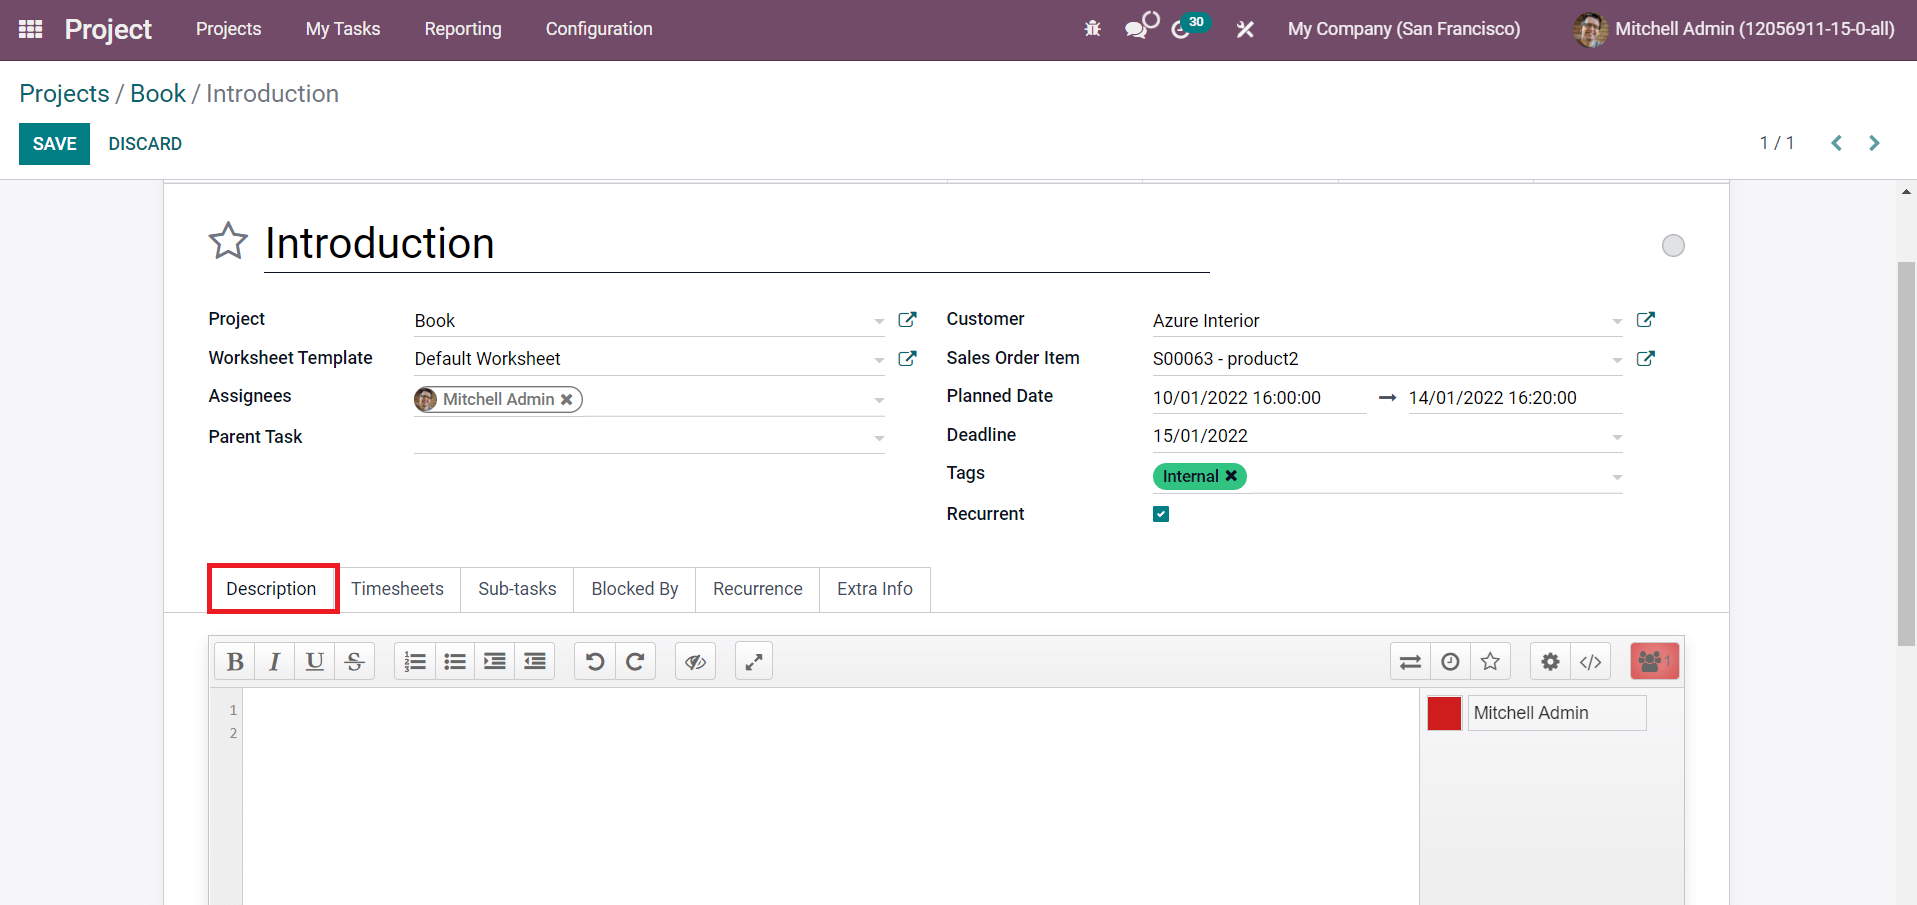
In the Description tab of the task, you will get a collaborative panel that can be used to communicate with your co-workers about the task. You can collaborate with your team in real-time using this feature.
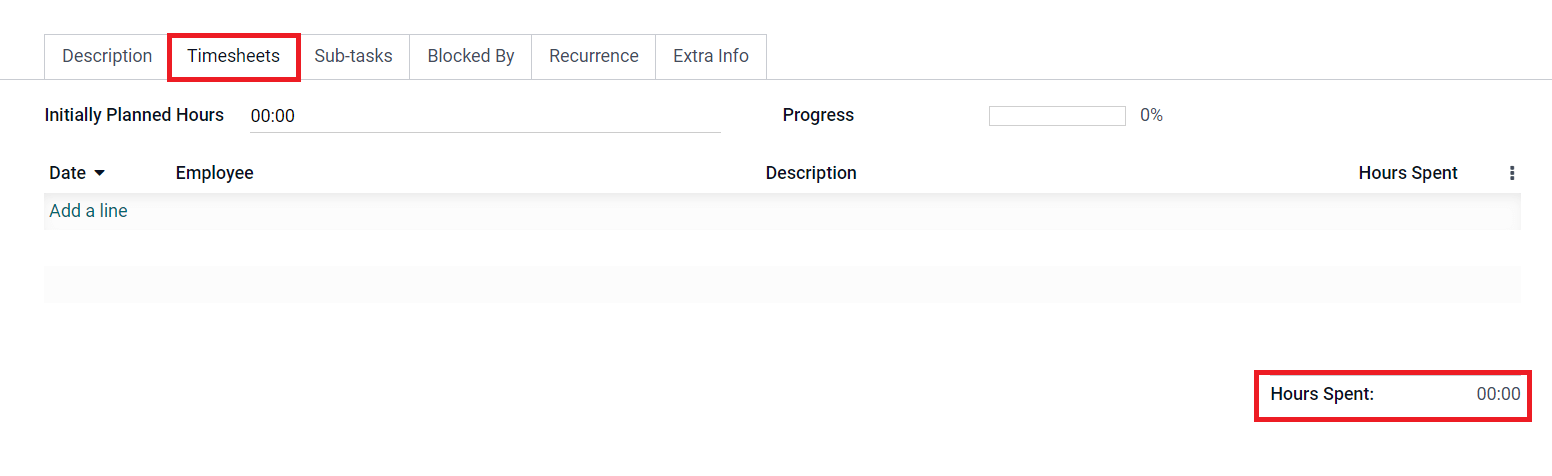
After creating a task, you can record the time spent on the task. Such recorded time can be seen under the Timesheets tab. In the Initially Planned Hours field, you can specify the time required to complete this task according to your calculation. Odoo will display the progress rate based on the recorded time in the Progress field. This tab will also show the total hours spent as marked in the screenshot above.
The Sub-tasks tab can be obtained after activating the corresponding option from the settings menu of the module. You can divide your task into sub-tasks using this tab which will help you to organize the activities of a task in a systematic way.

Click the Add a Line button and add the Title, Assignees, Deadline, and Stage in the respective fields. After saving the task, you will get a ‘View Task’ option in this tab that can be used to view and manage the corresponding sub-task.
After creating tasks for a project, you can decide the order of tasks to perform. This can be done easily with the help of the Task Dependencies option from the Settings menu of the Project module. By activating this option, you will get an additional tab called Blocked-By for each task description of a project.

Here, you can add the list of tasks that you want to block. By doing so, The blocked by feature determines the order in which the tasks have to be performed. The added task under the blocked by tab will block the current task. So in the gant view, the order will be drawn with arrows representing the order in which the task performs.
The Recurrence tab will appear only after enabling the Recurrent option in the task creation window. You can select the days on which you want to repeat the current task and Odoo will display the details of the Next Occurrences in this tab according to the selected days.
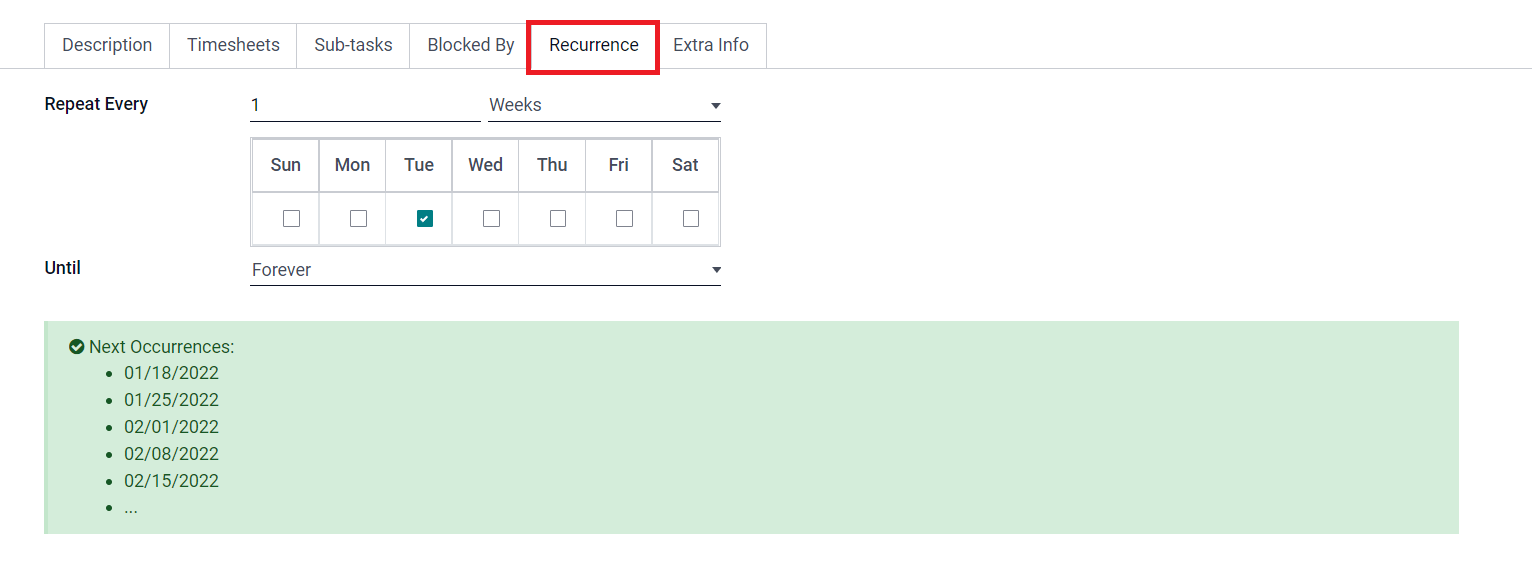
You can set the repetition for Forever, End Date, or Number of Repetitions in the Until field.
Additional information about the task can be configured in the Extra Info tab.
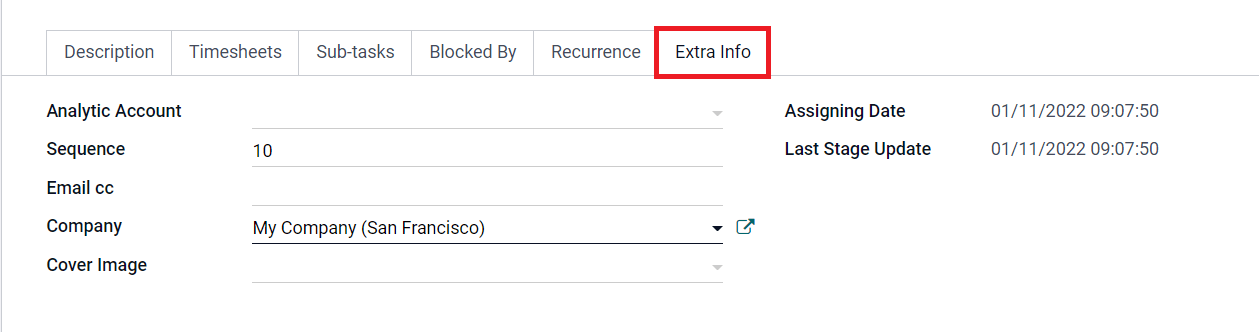
In order to record the expense and earnings of this task, you need to add an Analytic Account in the specified field. The Sequence Number of the task, Company, Assigning Date, and Last Stage Update can be seen in the corresponding fields. You can add an Email cc and a Cover Image for this task in the Extra Info tab.
In conclusion, using the Odoo project module, you can systematically organize all your projects by splitting them into tasks and sub-tasks with the help of efficient tools.