The point of sale is an integral part of modern retail enterprises, like supermarkets, pharmacies, etc.
A Point of Sale is a software-hardware combined system using which merchants can execute and register everyday sales transactions and the related operations digitally. Odoo presents you with a highly equipped Point of Sale module that enables you to easily carry out your business operations. Just like any other Odoo ERP modules, this one too is integrated with other integral modules like Accounting, Inventory, etc. and allows you to perform online as well as offline operations. This blog explains the configuration and the basic operations of Odoo Point of Sale Module.
Components and Devices
In order to avail to set up a Point of sale, some hardware components are essential. They are;
Register Screen: A monitor displaying the product and details at the POS.
Barcode Scanner: A barcode scanner is required to scan product barcodes to register purchase at the POS.
Receipt Printer: A receipt printer is required to print out an immediate paper receipt even though, digital receipts are provisioned.
IoT Box (Optional): In case of setting up multiple components or devices, an IoT box must be used.
Cash Drawer: Cash drawer is essential for purchase transactions in cash.
Configuration
Install the Odoo POS module from Odoo App store.
Install a chart of accounts in the accounting setting if, you haven’t already done it.
Go to Point of Sale -> Products -> Products
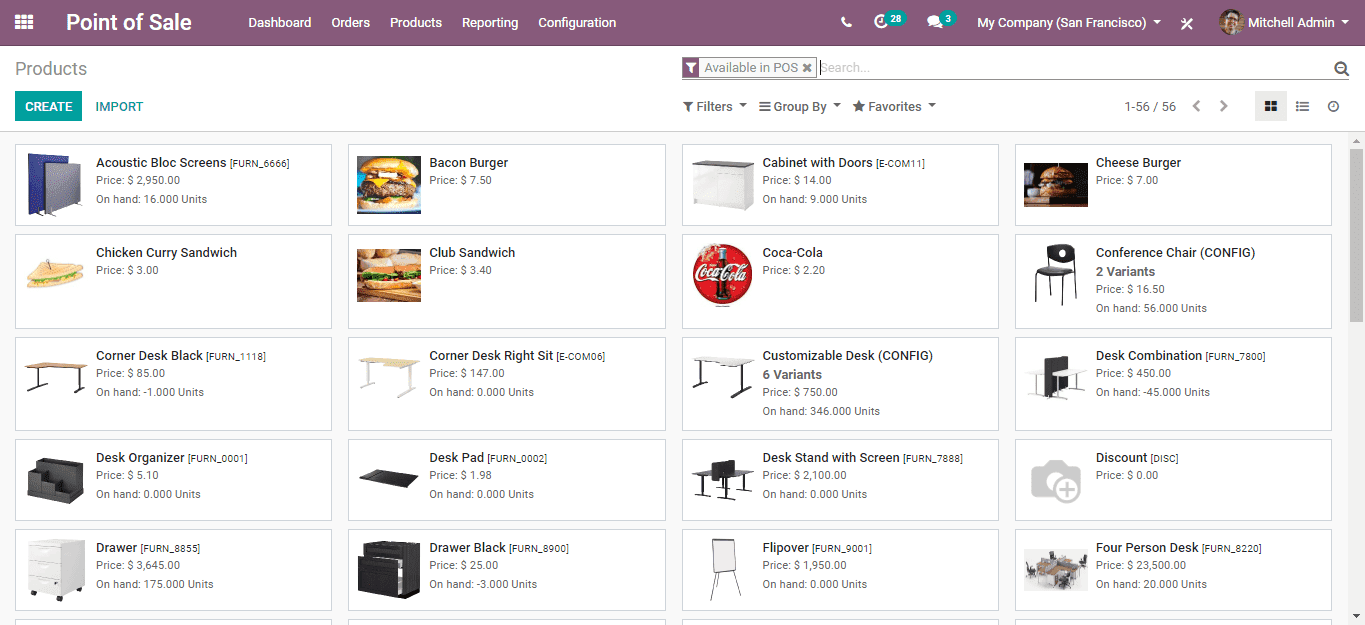
Click on the product that should be set to appear in POS.
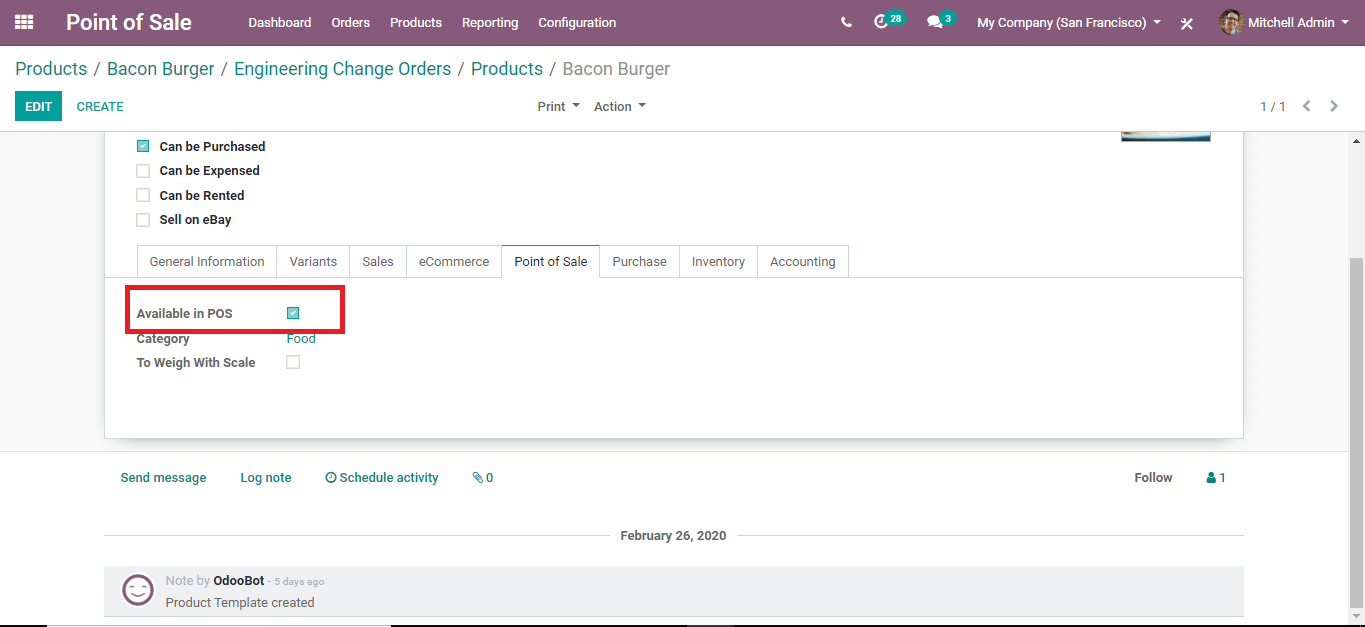
Now under the ‘Point of Sale tab’, tickmark the ‘Available in POS’ option. Likewise, repeat the same action to make the products available in the POS.
Go to, Point of Sale -> Configuration -> Point of Sale
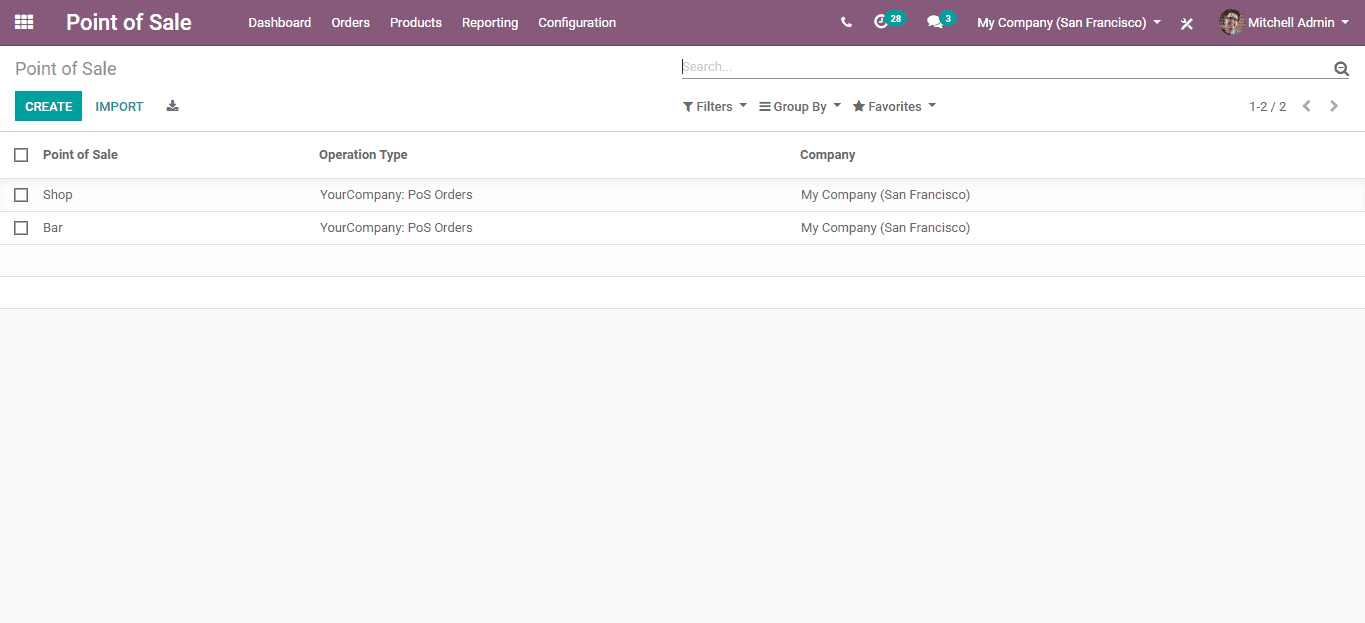
Here you can see all the POS once you have created. In order to create a new POS, click on the ‘Create’ button.
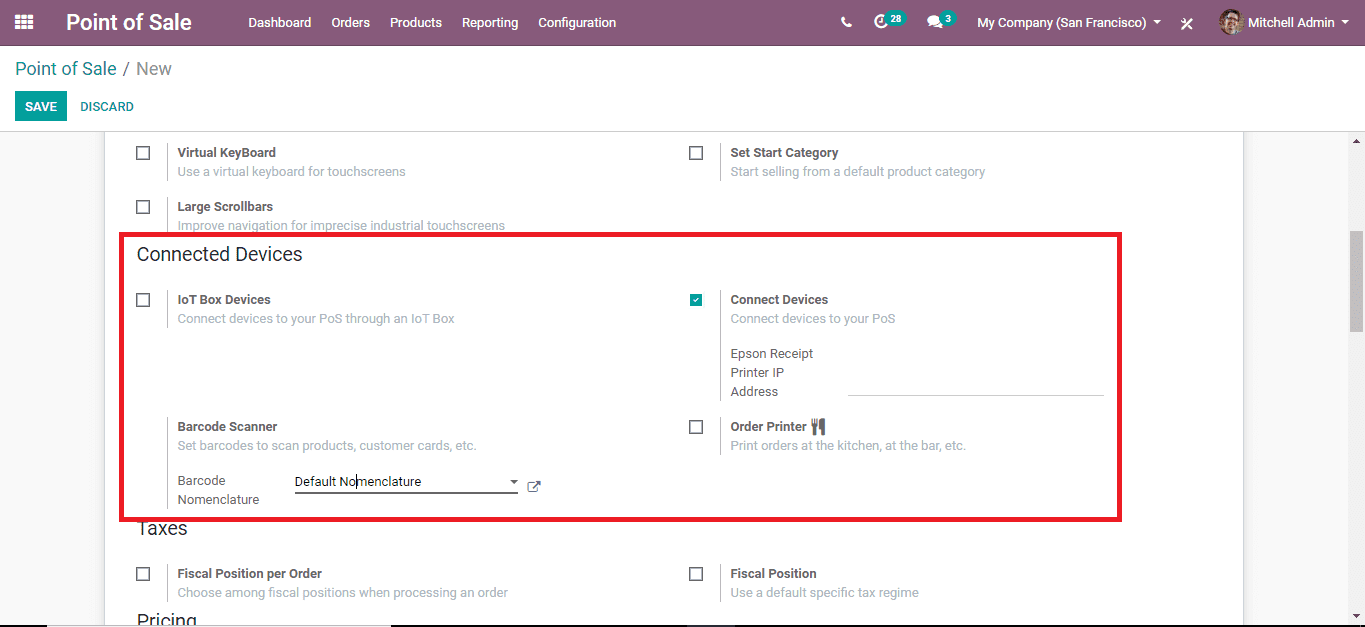
Once clicked a new configuration window will appear like the one above. Enter all the details in the required fields. Now scroll down and you’ll see the ‘Connected Devices’ section. Here configure all the essential components.
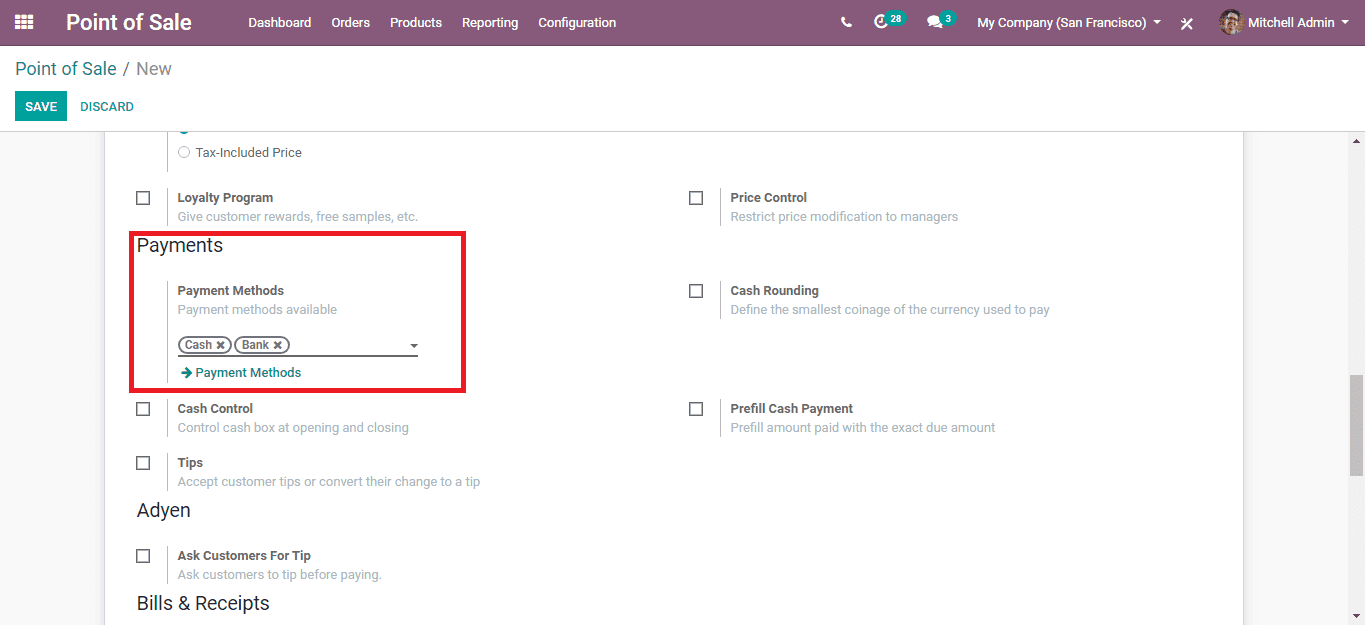
Again Scroll down and you’ll see the ‘Payment’ section like the one above. Here, click on the Payment Methods smart button and assign all the payment methods required.
Now everything set, let’s see how a POS session goes.
Go to Point of Sale -> Dashboard
Select the required POS.
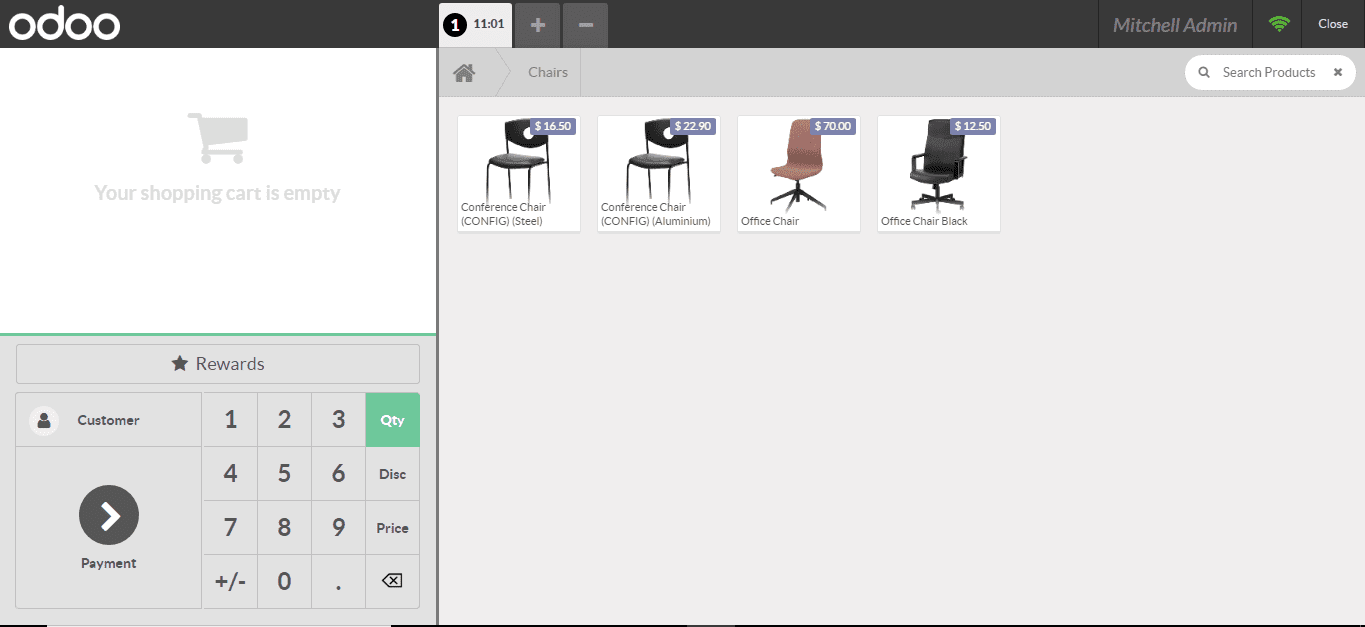
The newly appeared window is the POS interphase. When an order from a customer is completed, the payment can be registered by clicking on the Payment button. Once the payment methods have appeared in the payment window, select the appropriate one and enter the amount received and validate the payment by clicking on the ‘Validate’ button and ‘Print receipt’. You can continue with the ‘Next Order’ straight from there by clicking on the corresponding button on the top right corner if the receipt window.
For closing the session, click on the session click on the ‘Close’ button on the top right corner of the POS interphase and ‘Confirm’ it.
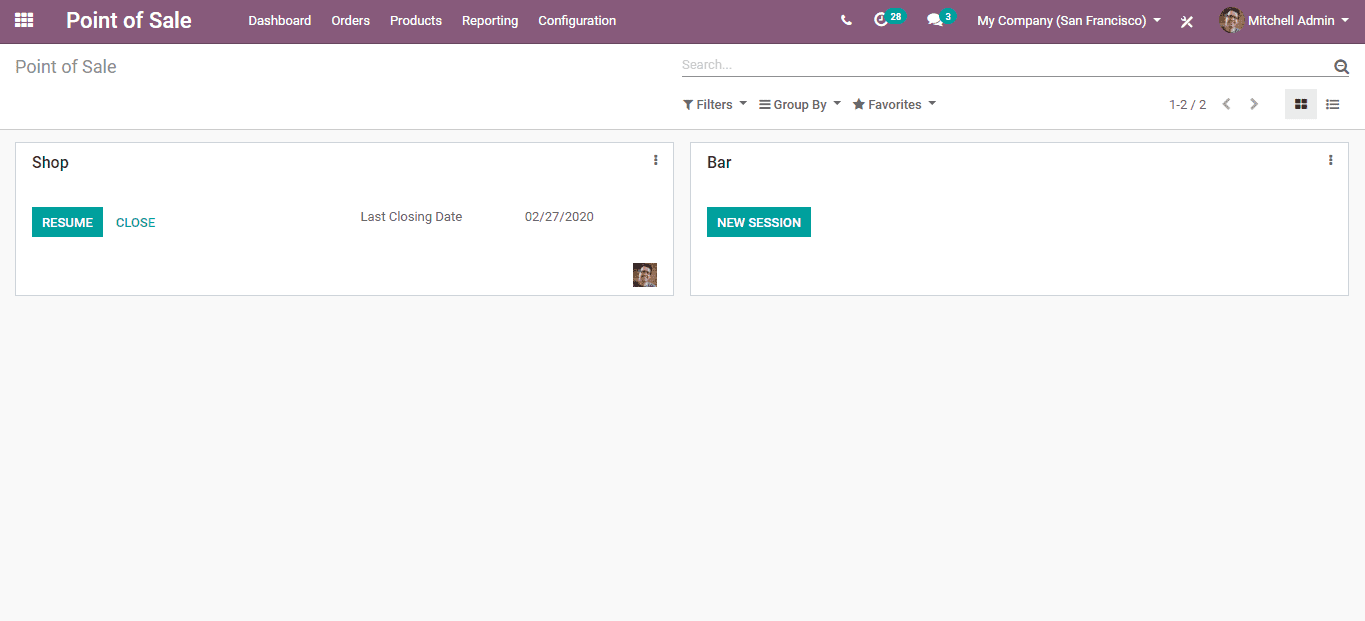
You can always ‘Resume’ the session from the POS dashboard until you’ve closed the session for the day from the dashboard by clicking the ‘Close’ button present there.
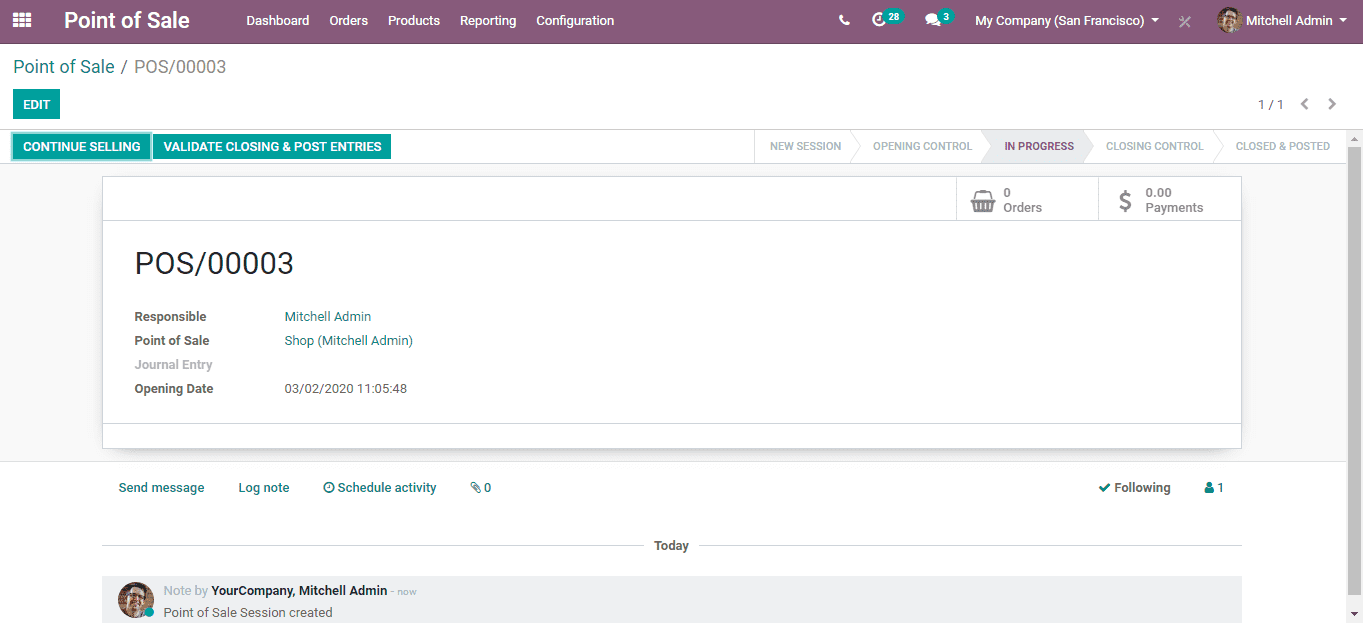
After clicking ‘Close’ from the dashboard, you can see the transaction summary for the section. Select the ‘VALIDATE & POST ENTRIES’ button on the top right-hand side of the newly appeared window.
This is how POS is configured in Odoo 13. Further reference, visit our ‘Odoo v13 Online Book’ an elaborate guide to Odoo 13.