Contact management is very essential in every business. In order to make the business successful, you should have contacts with people as well as other companies. Managing contacts is a difficult task when the number of contacts increases. The ancient method of manually handling them, or keeping a physical record of contacts is not efficient in today's world. With the development of technology, a massive change has happened in business planning. Odoo ERP helps you to organize and run your business smoothly. With its modules you can use your resources in an effective way and storing every piece of data from time to time helps you to have a clear analysis of the work that happens inside the organization.
Odoo 14’s Contact module helps you to keep all your contacts in an organized manner with all the relevant information. With the Contact module, you can look onto the past dealings as well as make future schedules with the contact.
In this blog let us look at how to create a new contact entry in the Contacts module.
Contacts module
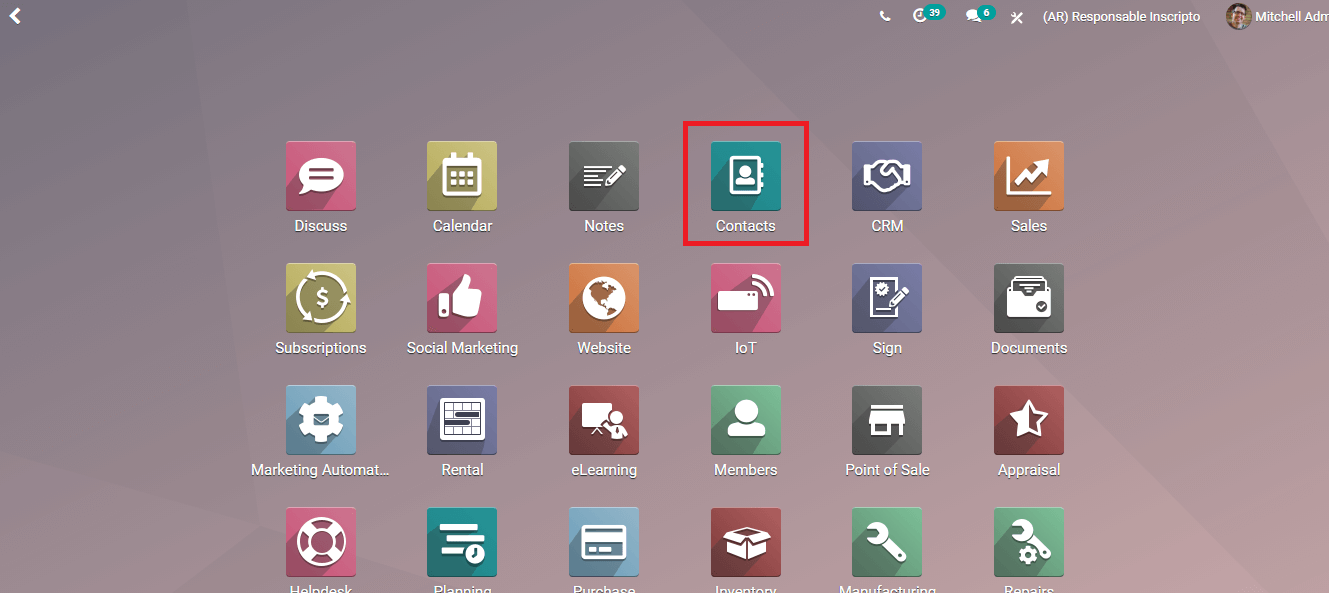
To have the Contact module you can install them from Odoo Applications. By clicking on the installed module you can view the entire contacts unified in your dashboard. You can view the contact details by clicking on them. These details include Name of the Contact, Address Type, Company Address, Identification Number, Job Position, Phone number, Mail ID, Website Link, Sales and Purchase details, Accounting, Internal Notes, Partner Assignment, Membership, Meetings scheduled, Subscriptions and many more. You can process follow-ups and grant portal access from the contact book.
Let us check how a new contact is created in the database step by step.
How to create a new contact entry?
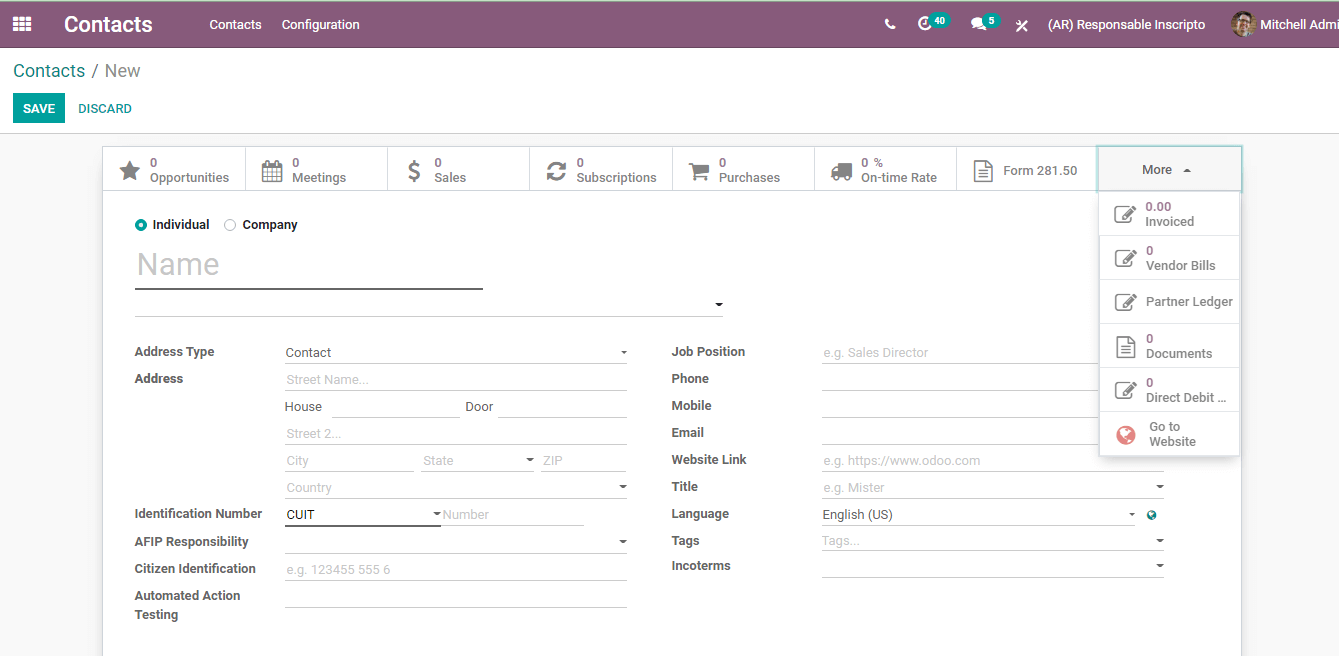
In order to create a new contact entry in the database, you will have to click on the CREATE button. A form page will appear on your screen. You have to enter the necessary details in it.
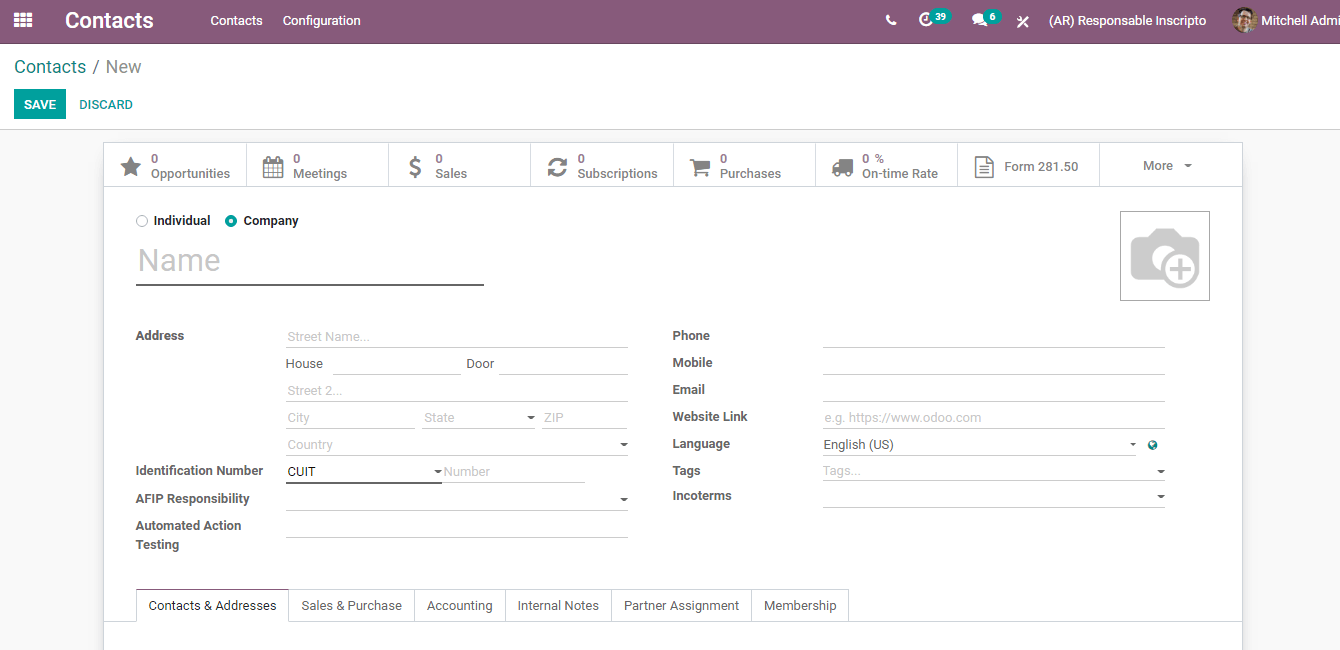
Odoo 14 gives you the option to choose whether the contact you are saving is of an individual or a company. If the contact is of a company then you can add the contacts and addresses related to the company in a separate tab.
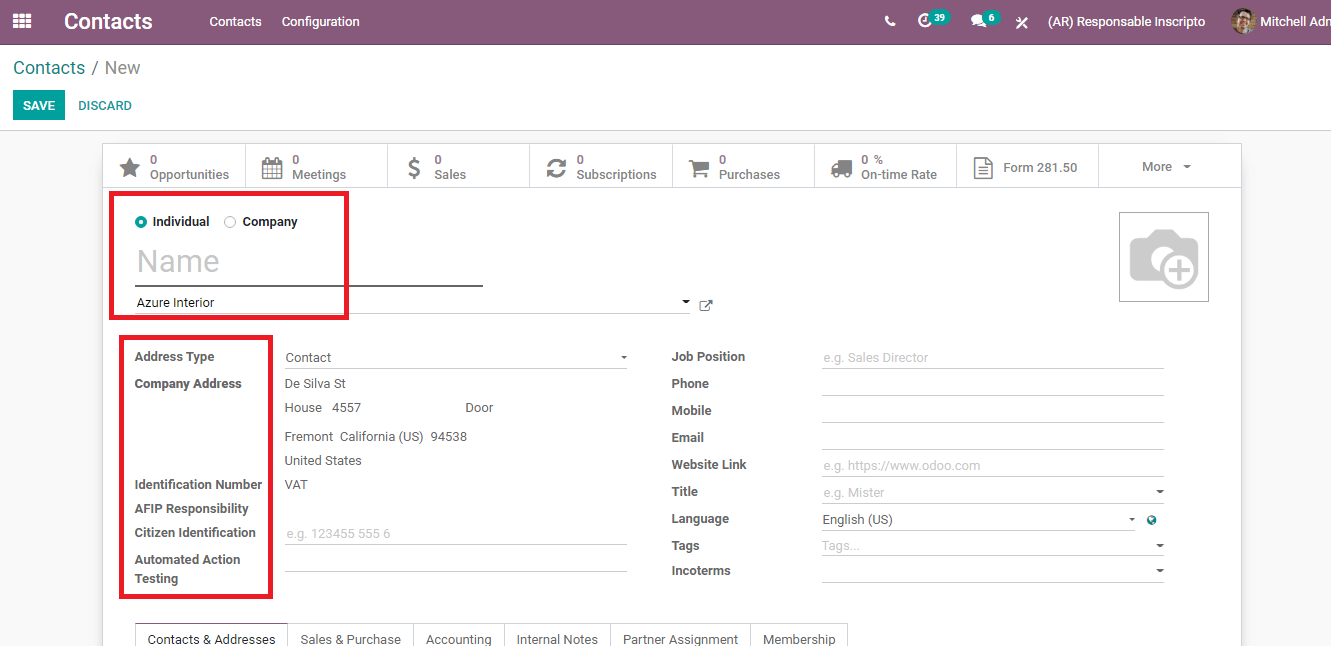
After mentioning the type of contact you are creating you need to type the name of the contact on the specified area. Then you can select the company in which he or she works. By selecting the name of the company, the Company Address will be automatically filled in.
Then you can select the Address Type. It can be Contact, Invoice Address, Delivery Address, Other Address, or Private Address. After adding the address you can add Identification Number, AFIP Responsibility, Citizen Identification, and Automated Action Testing.
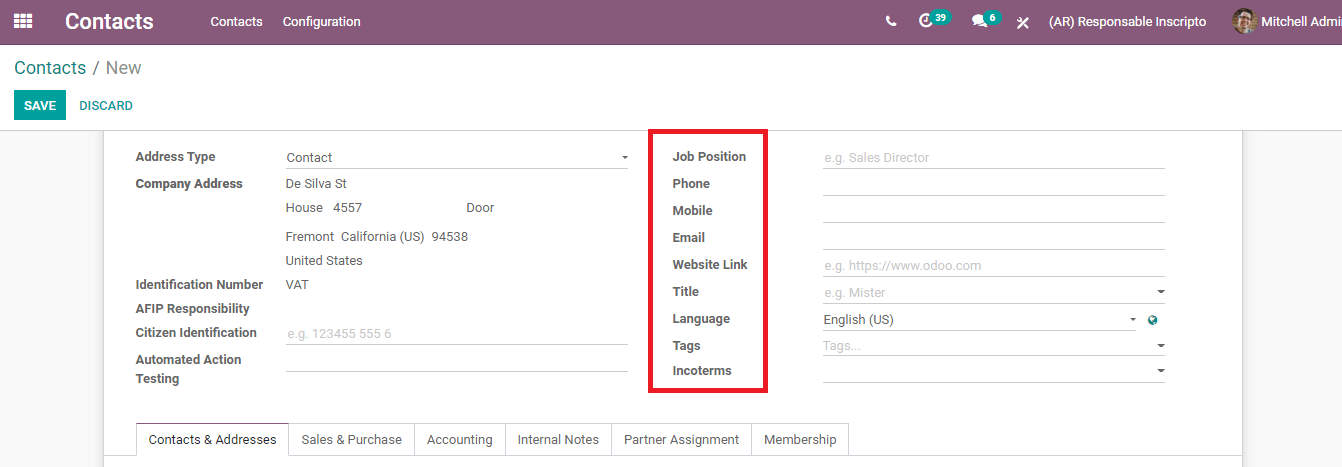
Next you have to enter the Job Position of the contact, Phone, and Mobile number, Email, Website Link, Title with which you will have to address the contact while contacting, Language, Tags and Incoterms.
Contact & Addresses
You can add other contacts and their addresses in the contact that you are creating In order to do it you can press the ADD option under Contacts & Addresses. By clicking on the ADD button a form will appear. In the form, you will have to enter the information such as whether the address is of type Contact, Invoice Address, Delivery Address, Other Address, or Private address. Then you will have to enter the Name of the contact, Address, Email, Phone, Mobile and Internal Notes if any. You can press SAVE and add another contact details.

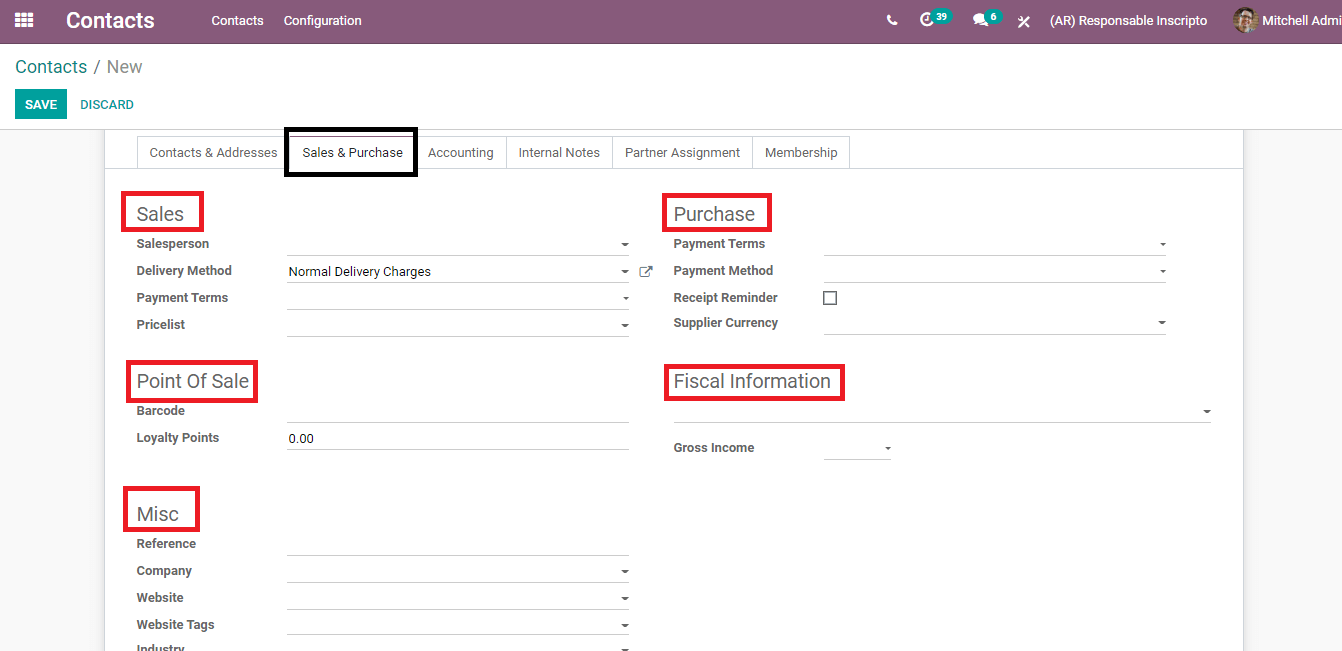
Sales & Purchase
You can add the details regarding sales and purchases under the Sales & Purchases title. Here you can add the details such as the name of the Salesperson, Delivery Method, Payment Terms, and Pricelist. Purchase details such as Payment Terms, Payment Method, Receipt Reminder, and Supplier Currency. Barcode and Loyalty Points can be added under Point of Sale. The fiscal position that determines the taxes or accounts used for the contact on company-specific values can be added in the Fiscal Information section. Here you can also add Gross Income and the Miscellaneous details such as Reference, Company, Website, Website Tags and Industry can be mentioned under Misc.
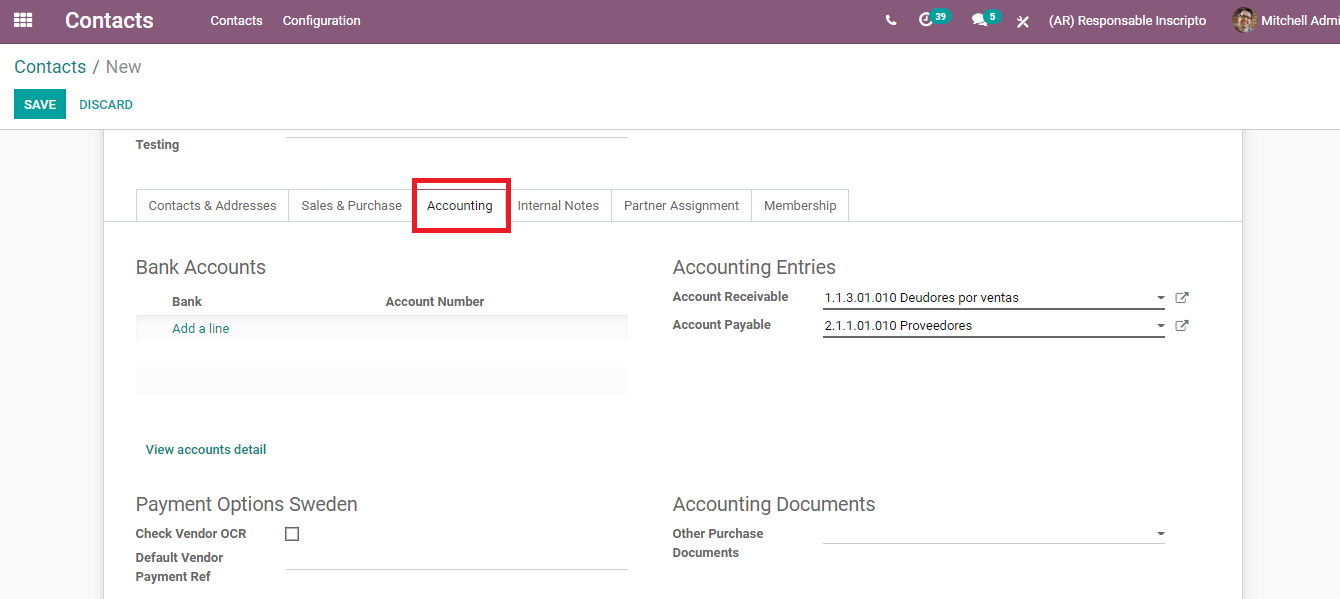
Accounting
The bank account details of the contact can be added in the Accounting section. The name of the Bank, Account number of the contact is entered under Bank Accounts. Accounting Entries such as Amount Receivable and Amount Payable can also be added. To view the account details of the contact you can click on the View Account Details option. You can add the documents related to the accounting such as the Other Purchase documents under Accounting Documents.
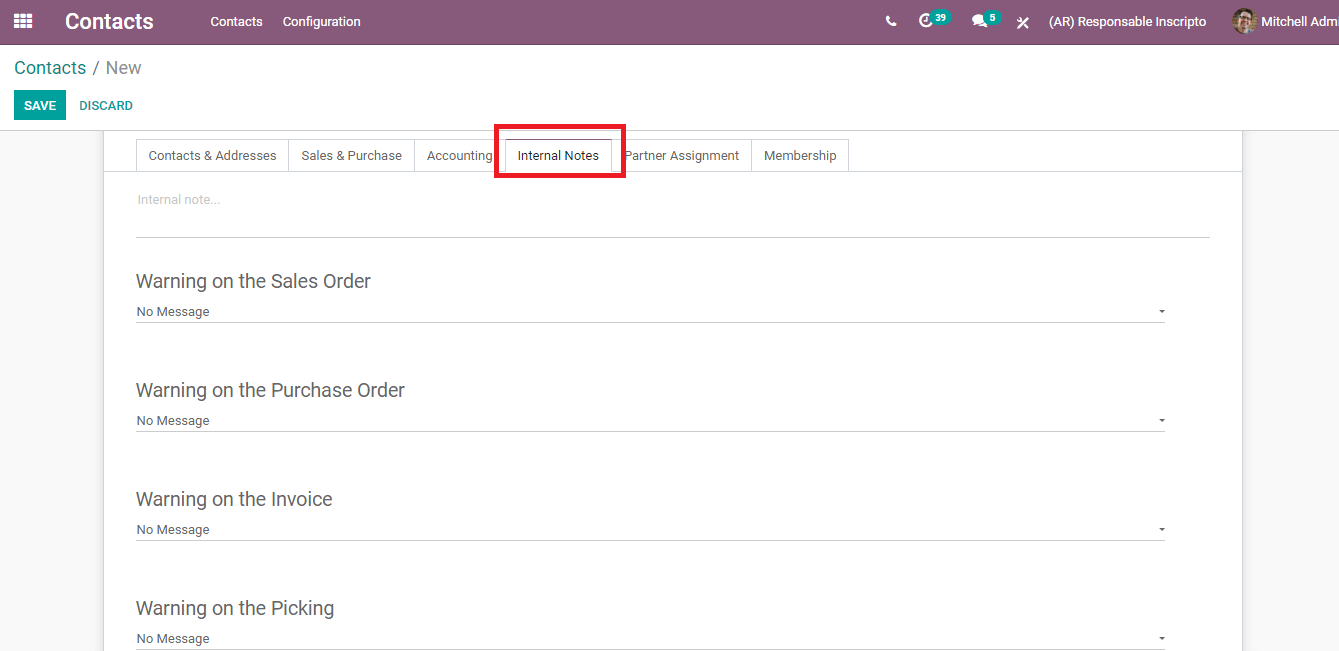
Internal Notes
You can add notes to the contact so that you can have a clear picture of the contact. You can get a warning about the contact if you opt for it from the options. Categories from which you can get warnings such as the Warnings on the Sales order, Warnings on the Purchase order, Warnings on the Invoice, and Warning on the Picking. You can select three options in each category, they are No Message, Warning, Blocking Message. Selecting the Warning option will notify you with a message. Blocking Message will help you to throw an exception with the message and block the flow. You will have to write the message that has to be displayed in the next field.
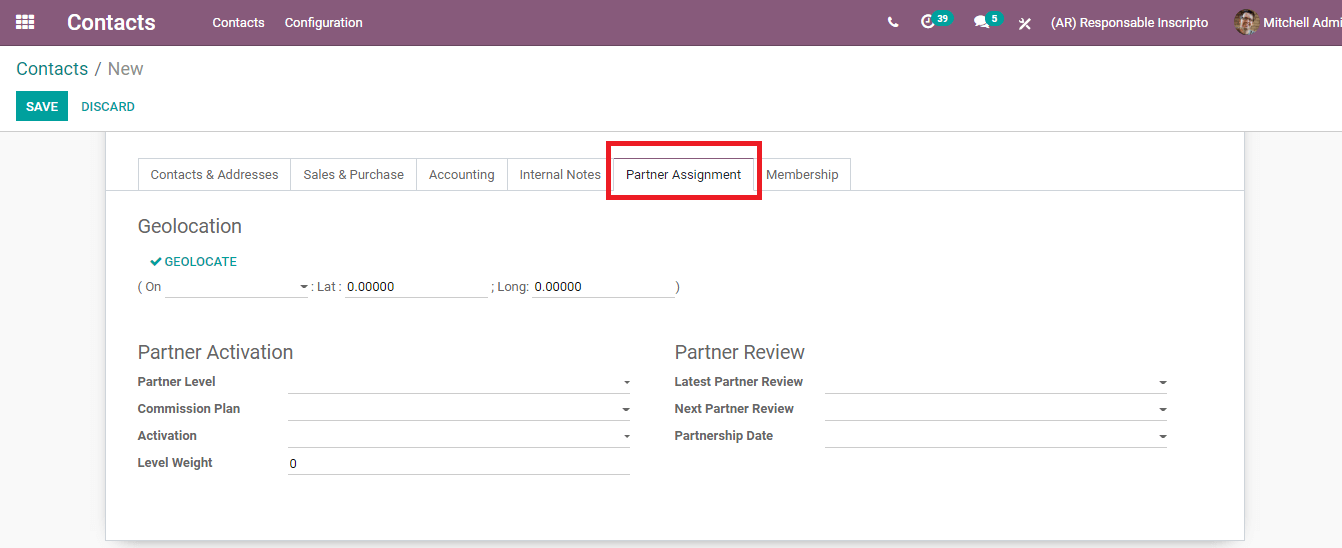
Partner Assignment
You can geolocate the contact by entering the date, latitude, and longitude. Details regarding the partner activation such as Partner Level, Commission Plan, Activation, and Level Weight can be added under Partner Activation. Details of the partner review like the Latest Partner Review, Next Partner Review, and Partnership Date can be included under Partner Review.
Membership
Information regarding the membership of the contact such as whether he or she is a Free Member or not, Current Membership Status, Associate Member, membership Joining date, Membership, Membership Fee, Invoice and Membership Status can be added under the Membership field. You can also get a new membership by clicking on the Buy Membership option.

Other than all these details you can also add details of the Opportunities you have with the contact, Meetings that are scheduled or creating new meetings, Sales information, Subscriptions, Purchases, On-Time Rate, money Invoiced, Vendor Bills, Partner Leder, Documents related to the contact and Direct DebitCard mandates. You can add a photograph of the contact by clicking on the picture of the camera.
After adding all the necessary information you can press SAVE to save the details of the contact into your database. You can view the contact in your dashboard among other contacts. If you want to make changes or add new information to the contact then you can click on the EDIT button after selecting the contact.
The contact module in Odoo 14 helps you to save all the relevant information about the contact in an organized manner. It helps you to track the details of relation with the contact and thus helping in planning future projects