Odoo v18 takes website building to the next level with enhanced snippets, powerful drag-and-drop building blocks designed for rapid, beautiful page creation. These ready-to-use components let you add rich content, animations, and dynamic behavior without touching code. Whether you're customizing a landing page or building a full web experience, Snippets bring unmatched flexibility. With new options like advanced styling, conditional visibility, and live editing, Odoo v18 makes it easier than ever to craft a professional web presence. It's design freedom, the Odoo way.
While Odoo’s drag-and-drop website builder is great for users, developers can take it even further with something called snippet options. These options let you add editable settings like colors, text, images, visibility toggles, or even custom CSS classes right into your snippet’s toolbar. It’s a clean way to give users control over how a snippet looks or behaves without ever needing to touch the code. You define them in XML, connect them with a bit of JavaScript, and they show up directly in the editor. In this blog, we’re going to break down exactly what snippet options are and walk through how to add them to your own custom snippets.
Let’s start with how to add a custom snippet option in Odoo 18. We’ll walk through creating a snippet and enhancing it with user-friendly configuration controls.
Step 1: Create a Custom Snippet
First, let’s create a simple custom snippet that we’ll later enhance with options. In your custom website module, define a new snippet template inside your XML file:
<?xml version="1.0" encoding="utf-8"?>
<odoo>
   <template id="content_snippet" name="Content snippet">
       <section id="snippet_selector" class="container">
           <div class="container">
               <div class="custom-snippet-container">
                   <div class="custom-snippet-item">
                       <p>snippet content goes here</p>
                   </div>
                   <div class="custom-snippet-item">
                       <p>snippet content goes here</p>
                   </div>
                   <div class="custom-snippet-item">
                       <p>snippet content goes here</p>
                   </div>
                   <div class="custom-snippet-item">
                       <p>snippet content goes here</p>
                   </div>
               </div>
           </div>
       </section>
   </template>
</odoo>
Now that we have our snippet template ready, the next step is to make it available in the website builder by adding it to the snippet blocks. We’ll do this by inheriting the website.snippets template and inserting our custom snippet into the desired category.
<?xml version="1.0" encoding="utf-8"?>
<odoo>
    <!-- Snippets inherit  menu -->
    <template id="inherit_snippets" inherit_id="website.snippets">
        <xpath expr="//snippets[@id='snippet_groups']//t[@snippet-group][last()]" position="before">
            <t t-snippet="website_snippet_option.content_snippet"
               string="Content Option"
               t-thumbnail="/website/static/src/img/snippets_thumbs/s_three_columns.svg">
                <keywords>hero, jumbotron</keywords>
            </t>
        </xpath>
    </template>
</odoo>
Don't forget to include your XML and asset files in the module’s __manifest__.py so Odoo can load your snippet and its configuration properly.
{
   'name': 'Website Snippet Option ',
   'version': '18.0.1.0.0',
   'depends': ['website'],
   'data': [
       'views/snippets/content.xml',
       'views/snippets/snippets.xml'
   ],
   'installable': True,
   'application': False,
}
Now let’s install the module to display our custom snippet alongside the default snippet blocks in the Website Builder.
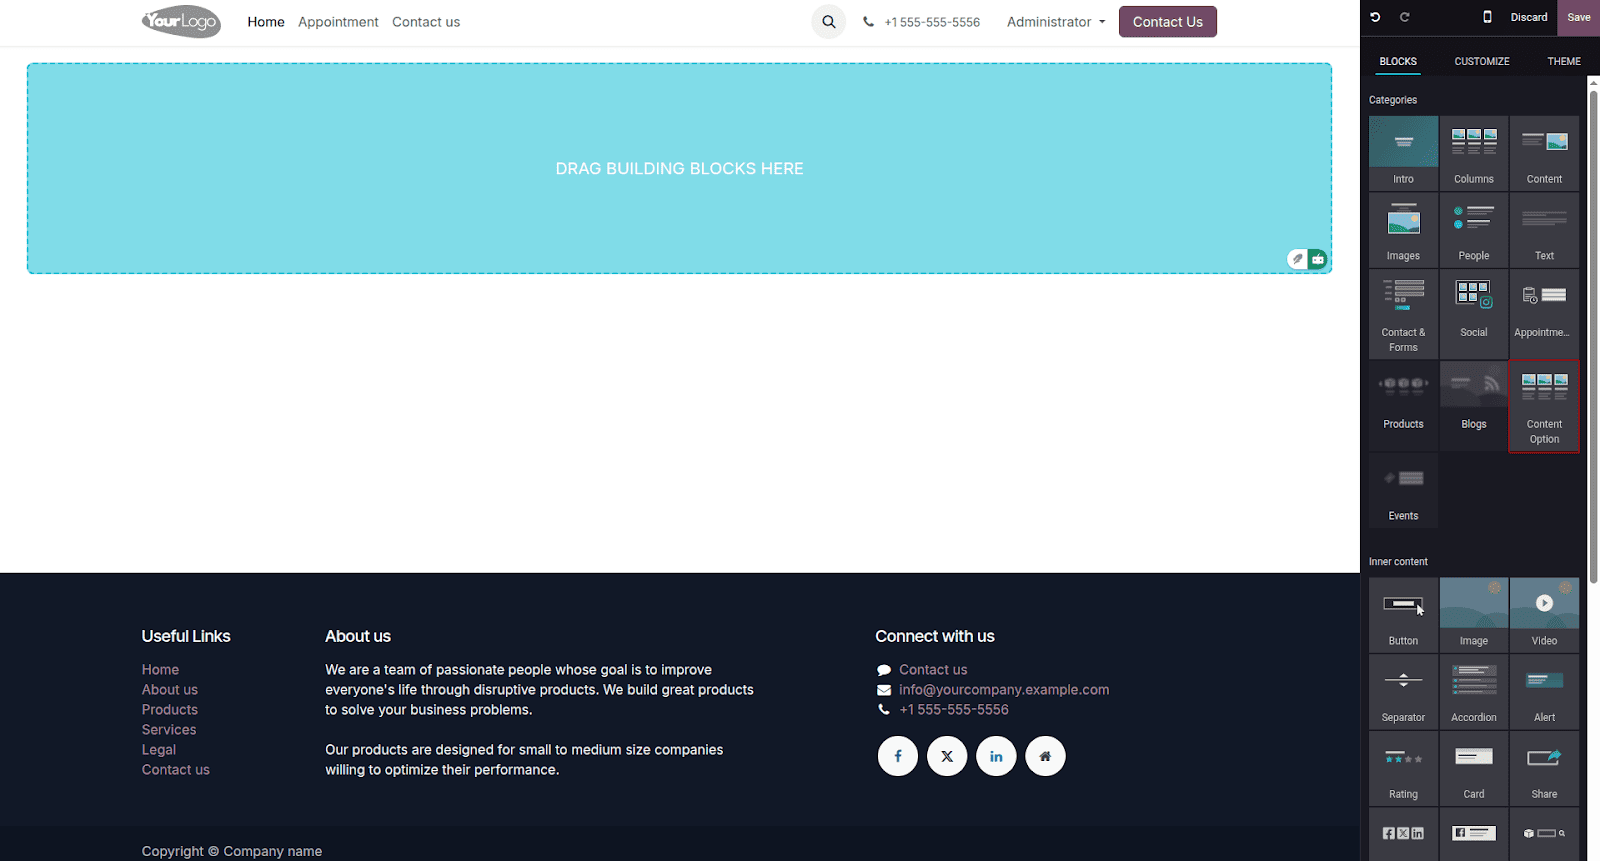
Here we can see our custom snippet in action.
To enhance the snippet with customization options, we can define the snippet controls directly in the content.xml file by inheriting the website.snippet_options template. This lets us add toggles, color pickers, and other tools that appear in the editor when the snippet is selected, keeping everything in one place for easier management.
<?xml version="1.0" encoding="utf-8"?>
<odoo>
   <template id="content_snippet" name="Content snippet">
       <section id="snippet_selector" class="container">
           <div class="container">
               <div class="custom-snippet-container">
                   <div class="custom-snippet-item">
                       <p>snippet content goes here</p>
                   </div>
                   <div class="custom-snippet-item">
                       <p>snippet content goes here</p>
                   </div>
                   <div class="custom-snippet-item">
                       <p>snippet content goes here</p>
                   </div>
                   <div class="custom-snippet-item">
                       <p>snippet content goes here</p>
                   </div>
               </div>
           </div>
       </section>
   </template>
   <template id="content_snippet_options" inherit_id="website.snippet_options">
       <xpath expr="." position="inside">
           <div data-selector="#snippet_selector" data-js="ContentSnippet">
               <we-row string="Item">
                   <we-button data-add-item="true" data-no-preview="true" class="add_content_item o_we_bg_brand_primary">Add Item
                   </we-button>
               </we-row>
           </div>
       </xpath>
   </template>
</odoo>
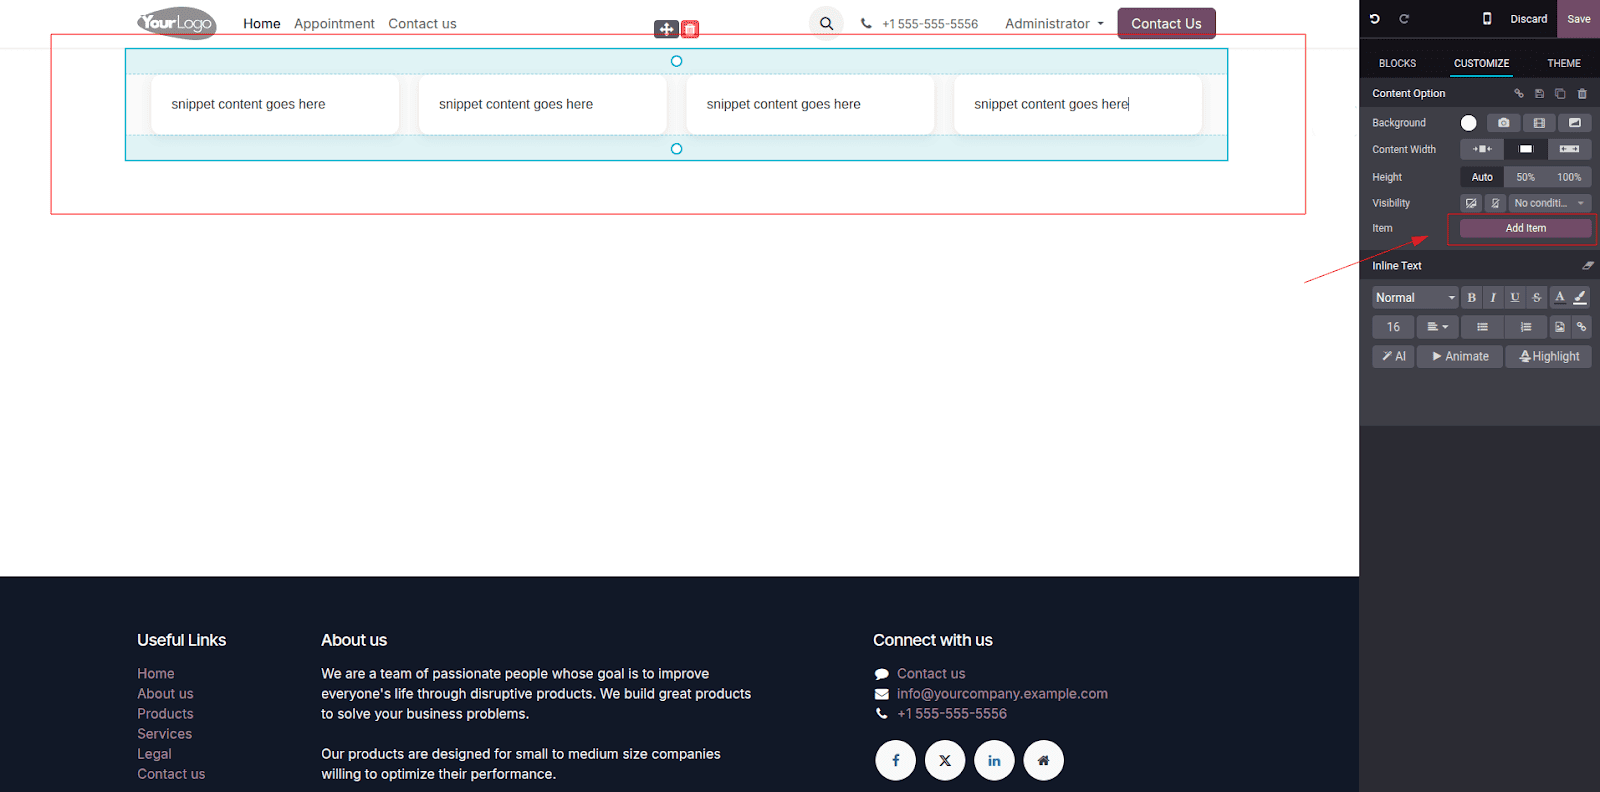
Now we can see the option we created, but so far, it’s just a button without any behavior. To make it functional, we need to create a JavaScript file and define the logic for the option. This is done by extending the options class in Odoo’s Website Editor framework. By doing so, we can attach custom behavior to our button, whether it's toggling styles, inserting elements, or triggering dynamic interactions, all seamlessly integrated into the editor experience.
import options from "@web_editor/js/editor/snippets.options";
options.registry.ContentSnippet = options.Class.extend({
   addItem: function(previewMode, widgetValue, params) {
      // Log information about the last container
      var lastImageContainer = $('.custom-snippet-item:last', this.$target);
      // Attempt to clone and log the cloned element
      var cloneImage = lastImageContainer.clone();
      // Attempt to append the cloned element
      $('.custom-snippet-container', this.$target).append(cloneImage);
   },
});
Next, add the JavaScript file to your module's manifest under web.assets_backend. This ensures Odoo loads your snippet option logic in the Website Builder.
{
   'name': 'Website Snippet Option ',
   'version': '18.0.1.0.0',
   'depends': ['website'],
   'data': [
       'views/snippets/content.xml',
       'views/snippets/snippets.xml'
   ],
   'assets': {
       'website.assets_wysiwyg': [
           'website_snippet_option/static/src/js/options.js',
       ],
       'web.assets_frontend': [
           'website_snippet_option/static/src/css/snippet.css',
       ],
   },
   'installable': True,
   'application': False,
}
Our custom snippet is now powered by a JavaScript class named ContentSnippet, which is linked through the data-js attribute in the snippet options. Within this class, we define a function that locates the last item inside the snippet, clones it using the clone() method, and appends it to the parent container. This is the mechanism that allows users to dynamically add new content blocks. The function itself is triggered by the data-add-item attribute in the snippet option. Let’s see how it behaves in action:
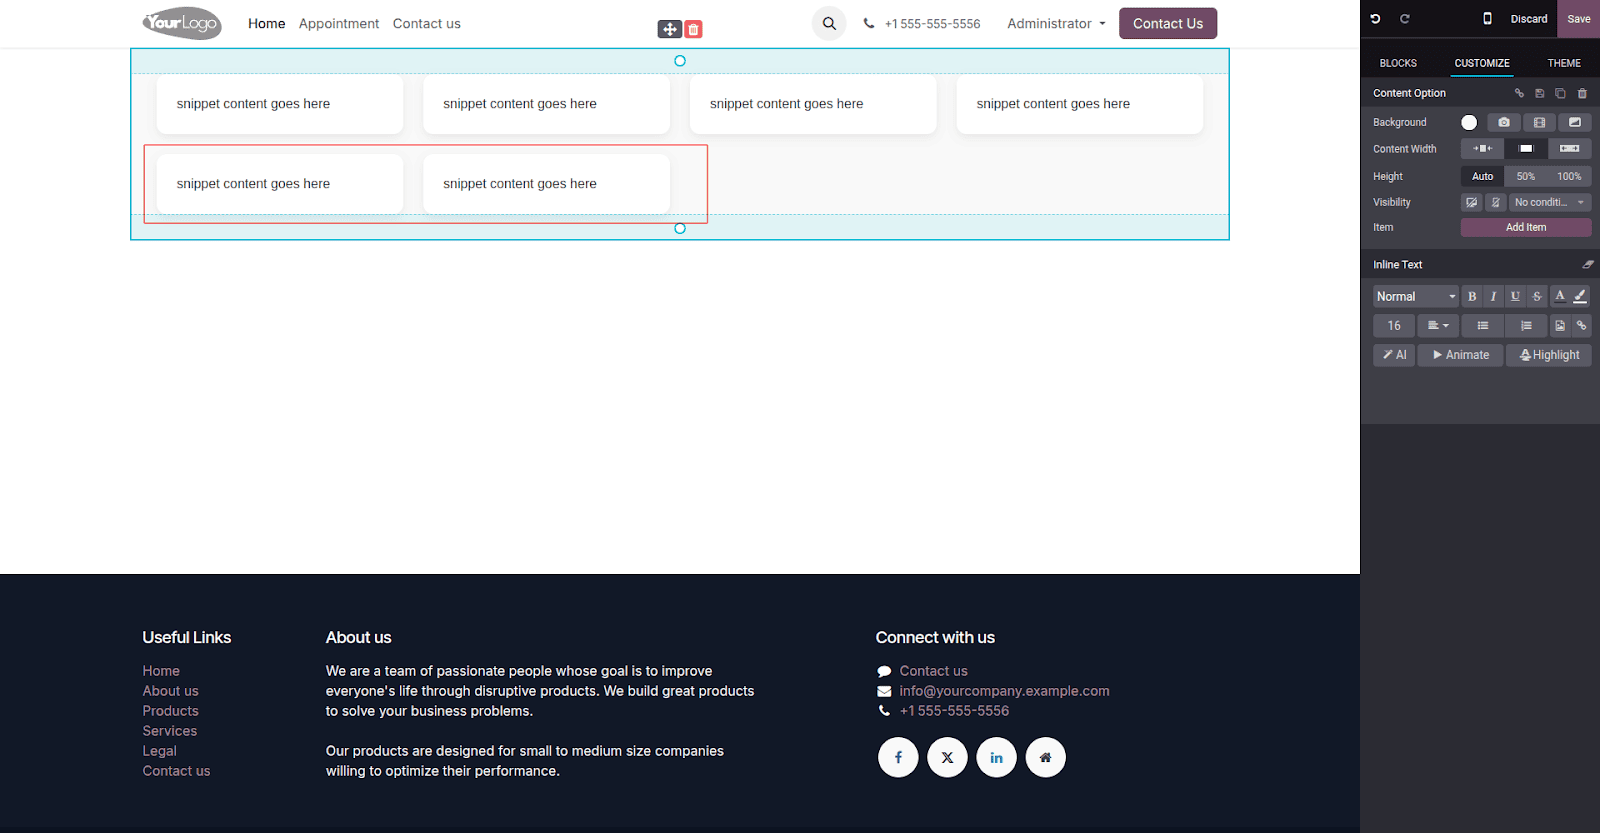
Clicking the “Add Item” option multiple times now dynamically adds new elements to your snippet, confirming that everything is working smoothly. Just remember to include your JavaScript file in the manifest to make sure the logic is loaded properly.
With that, you’ve successfully created and applied a custom snippet option in Odoo 18. This small feature brings big potential, giving you greater control and flexibility in how content is managed on your website.
To read more about how to Create Snippet Options in Odoo 17, refer to our blog How to Create Snippet Options in Odoo 17.