In the digital age, blogs have evolved beyond personal journals—they’re now key tools for marketing and business growth. Whether your goal is to boost online visibility, drive traffic through SEO, or connect with your audience, a well-maintained blog can support every stage of your marketing funnel.
With Odoo 18, blog management becomes effortless. The upgraded Website module offers a user-friendly interface that allows you to design, publish, and track blog content—all without needing to write code or switch between platforms.
What sets Odoo 18 apart is its ability to connect your blog with other business features, such as lead tracking, email marketing, and eCommerce. It provides a centralized workspace where you can:
- Design attractive blog posts with its drag-and-drop website editor.
- Organize content using categories and tags for better structure.
- Plan and schedule posts ahead of time for consistent publishing.
- Add forms, links, and product promotions directly into your articles
- Monitor traffic and engagement with integrated performance tools.
In this guide, we’ll take you through everything you need to know to create, organize, and manage blog content effectively using Odoo 18. Whether you're new to blogging or managing content at scale, this will help you make the most of Odoo’s blogging features.
Creating a Blog
When we open the website module First we want to ensure the Blog module is installed or not. For that, check ‘New’ button
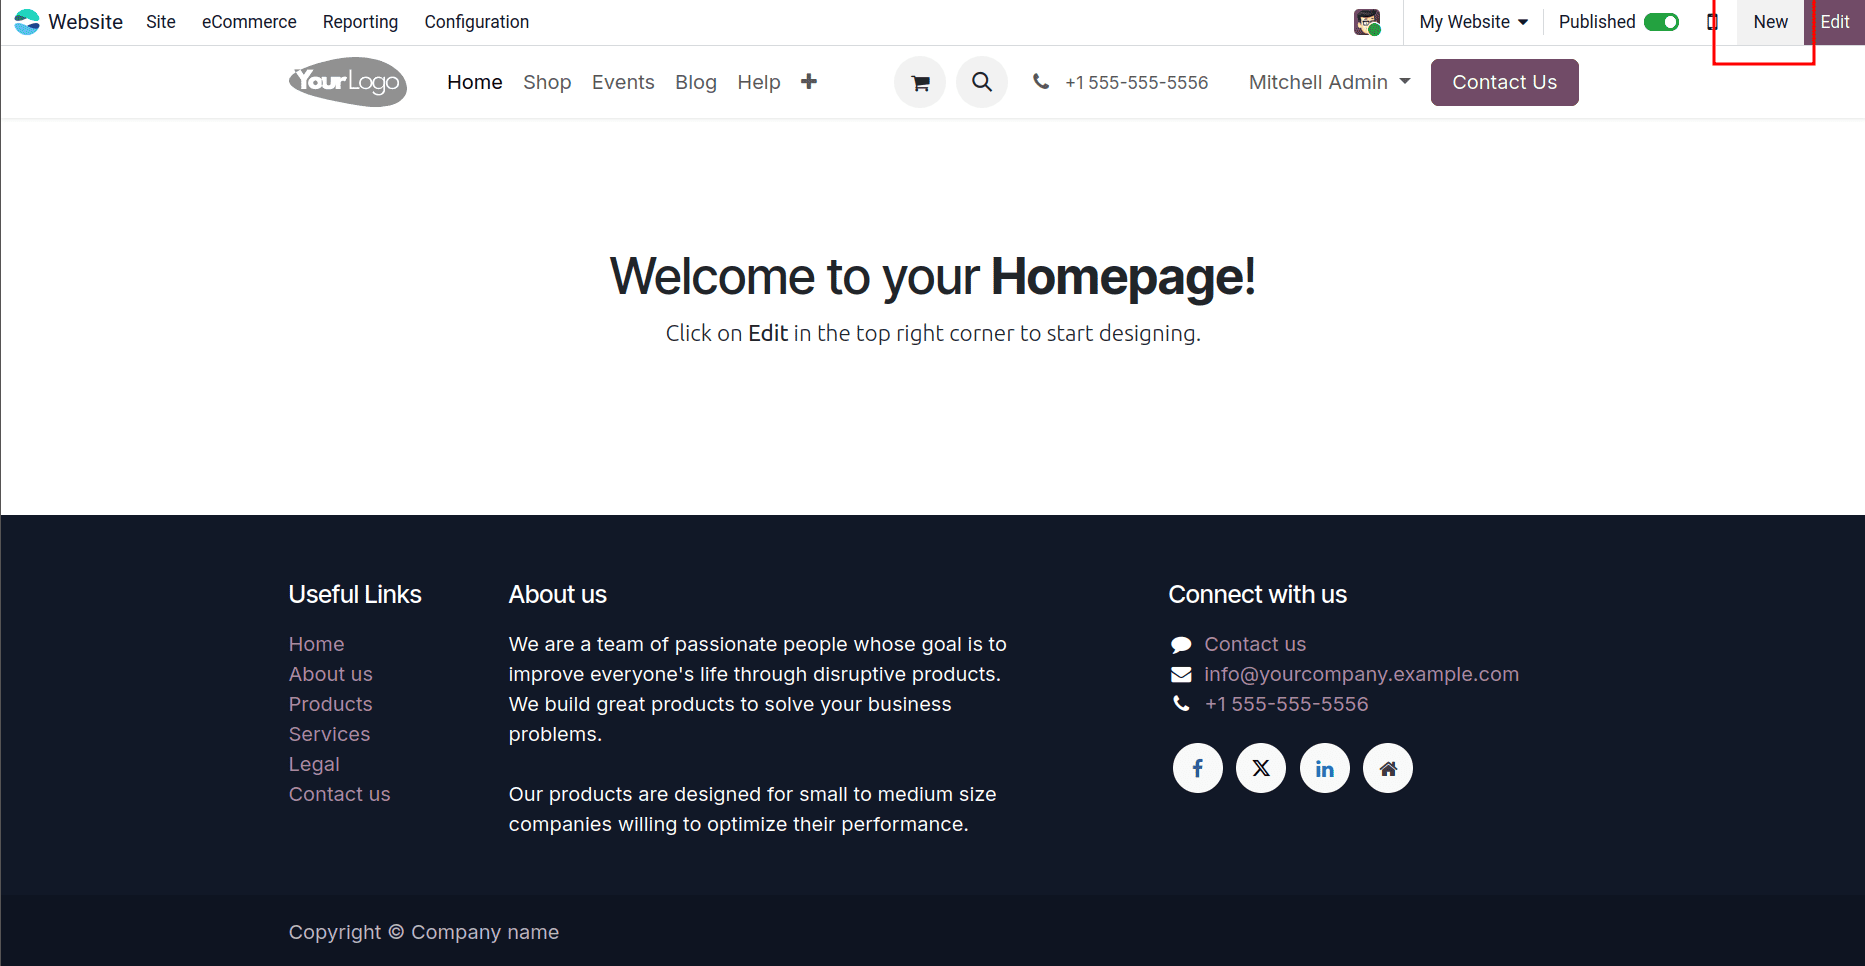
Here we can check there is any option for blog post
Otherwise, you need to install it from the apps section.
To create a new blog, navigate to Website > Configuration > Blogs > Blogs, then click New. Specify a Blog Name and Subtitle. You can also select the Website, and Odoo will automatically add the blog to that website’s menu.
Created blogs can be displayed on the website as shown below
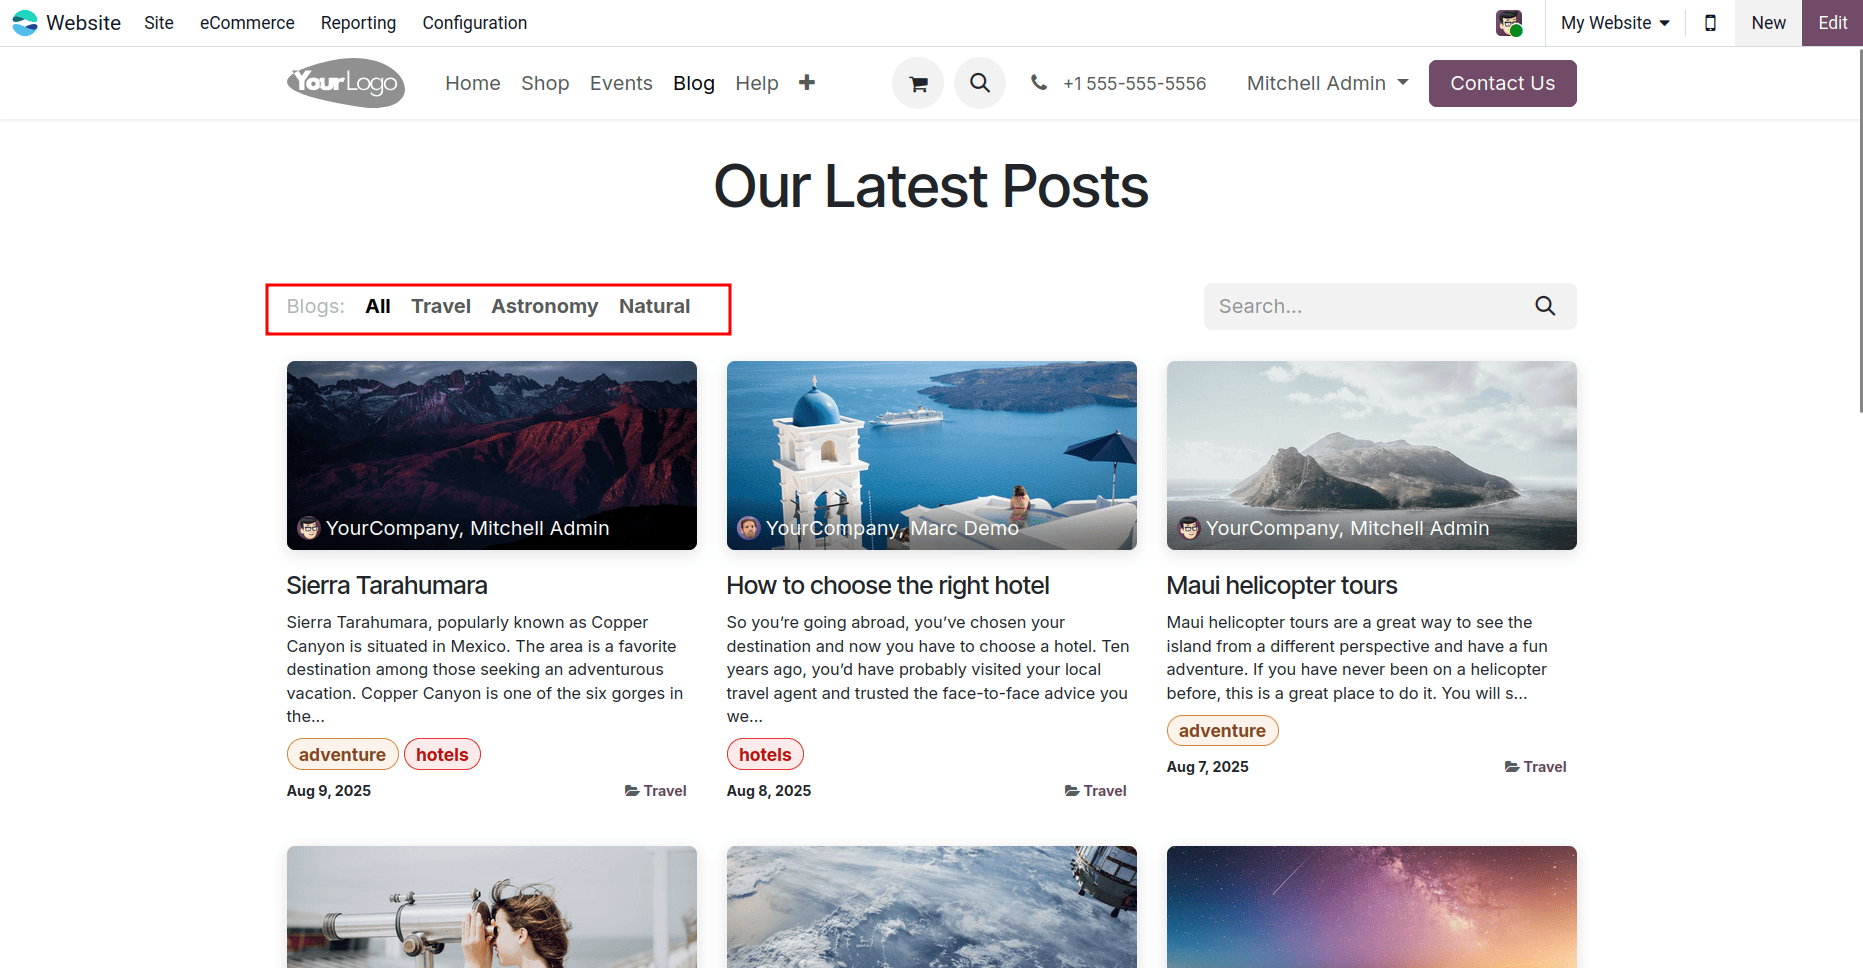
Once a new blog is created, it is seamlessly integrated into the website layout. Blog posts can be easily accessed and organized under their respective blog names. By selecting a specific blog title, the related blog posts are displayed below, making it simple to navigate and explore content by category.
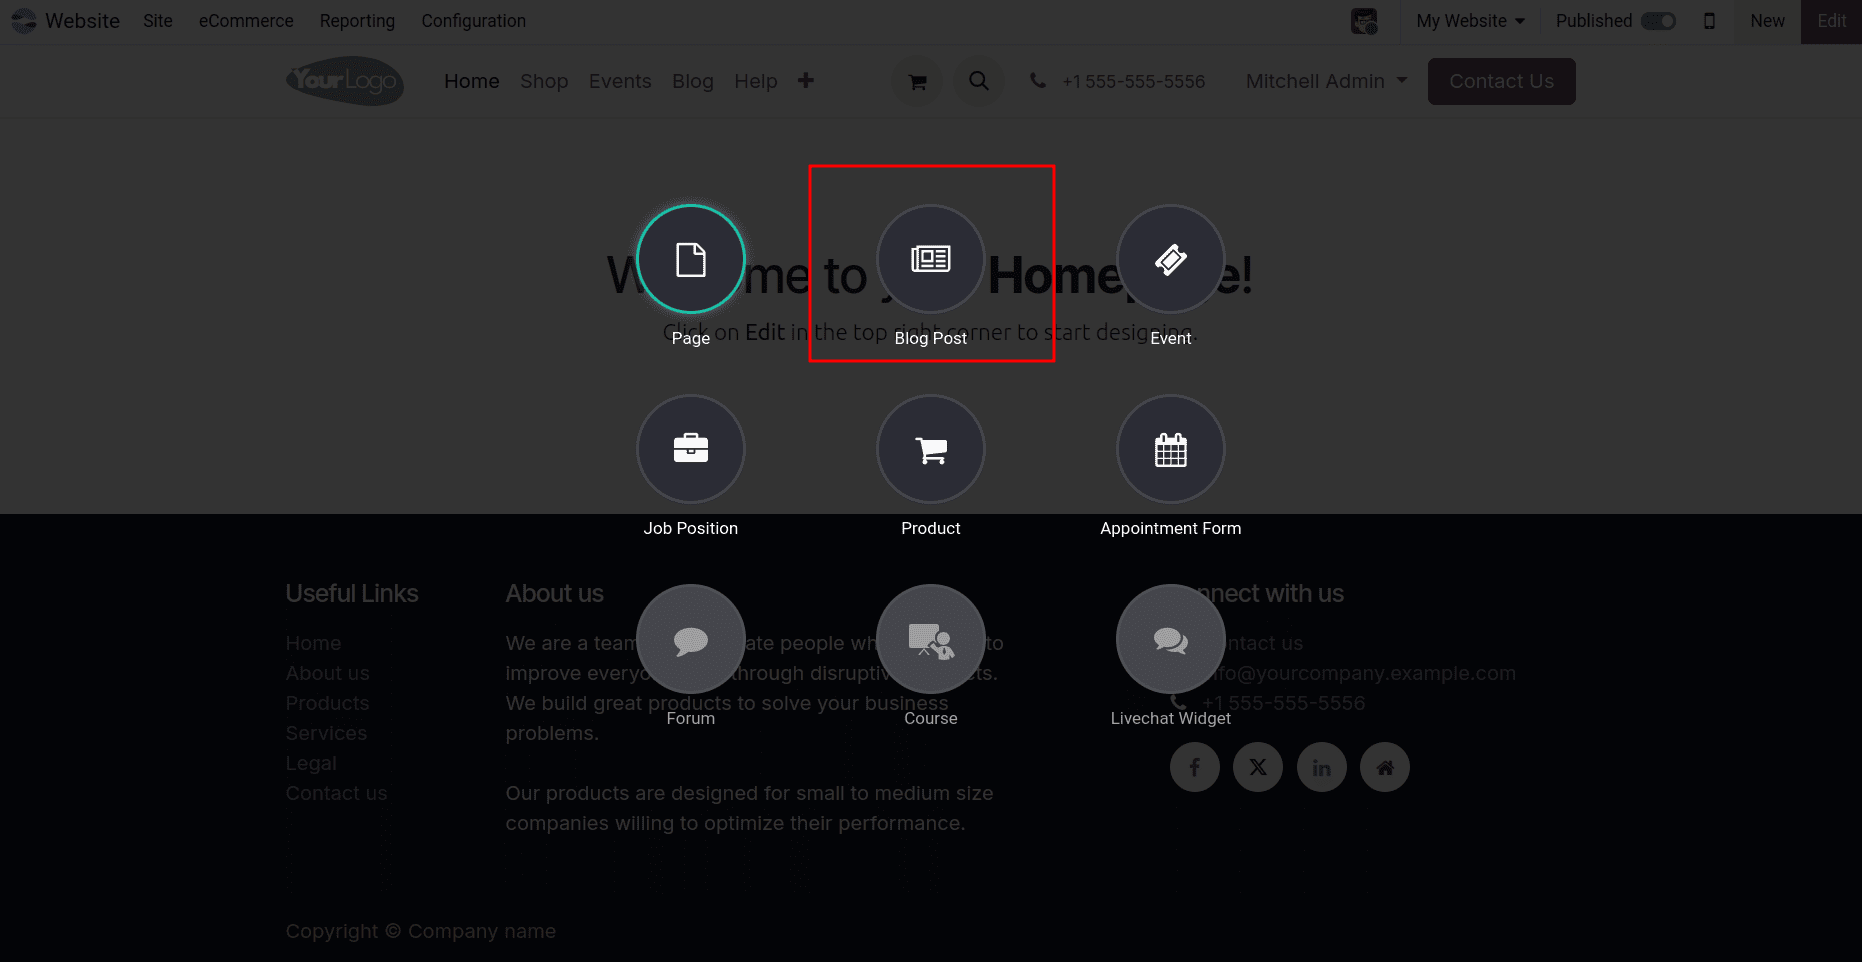
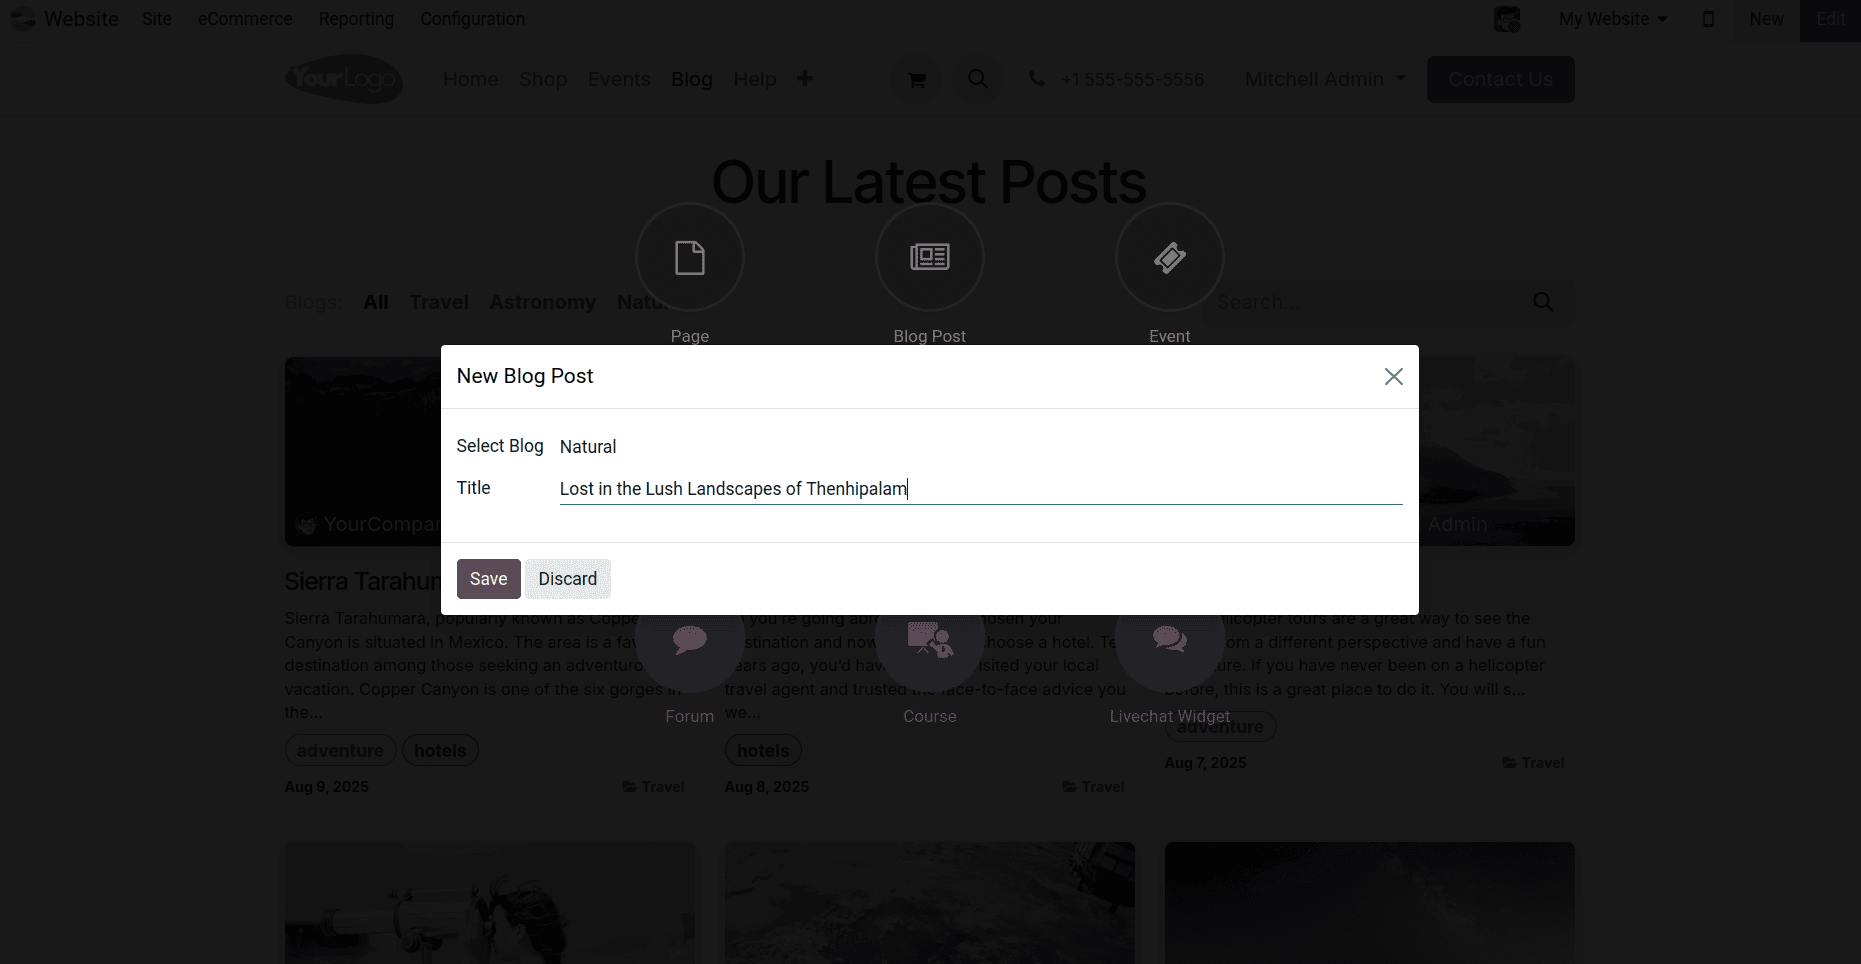
To create a blog post on your website, click +New in the top-right corner and select Blog Post. In the pop-up, choose the blog where the post will appear, enter the post title, and click Save.
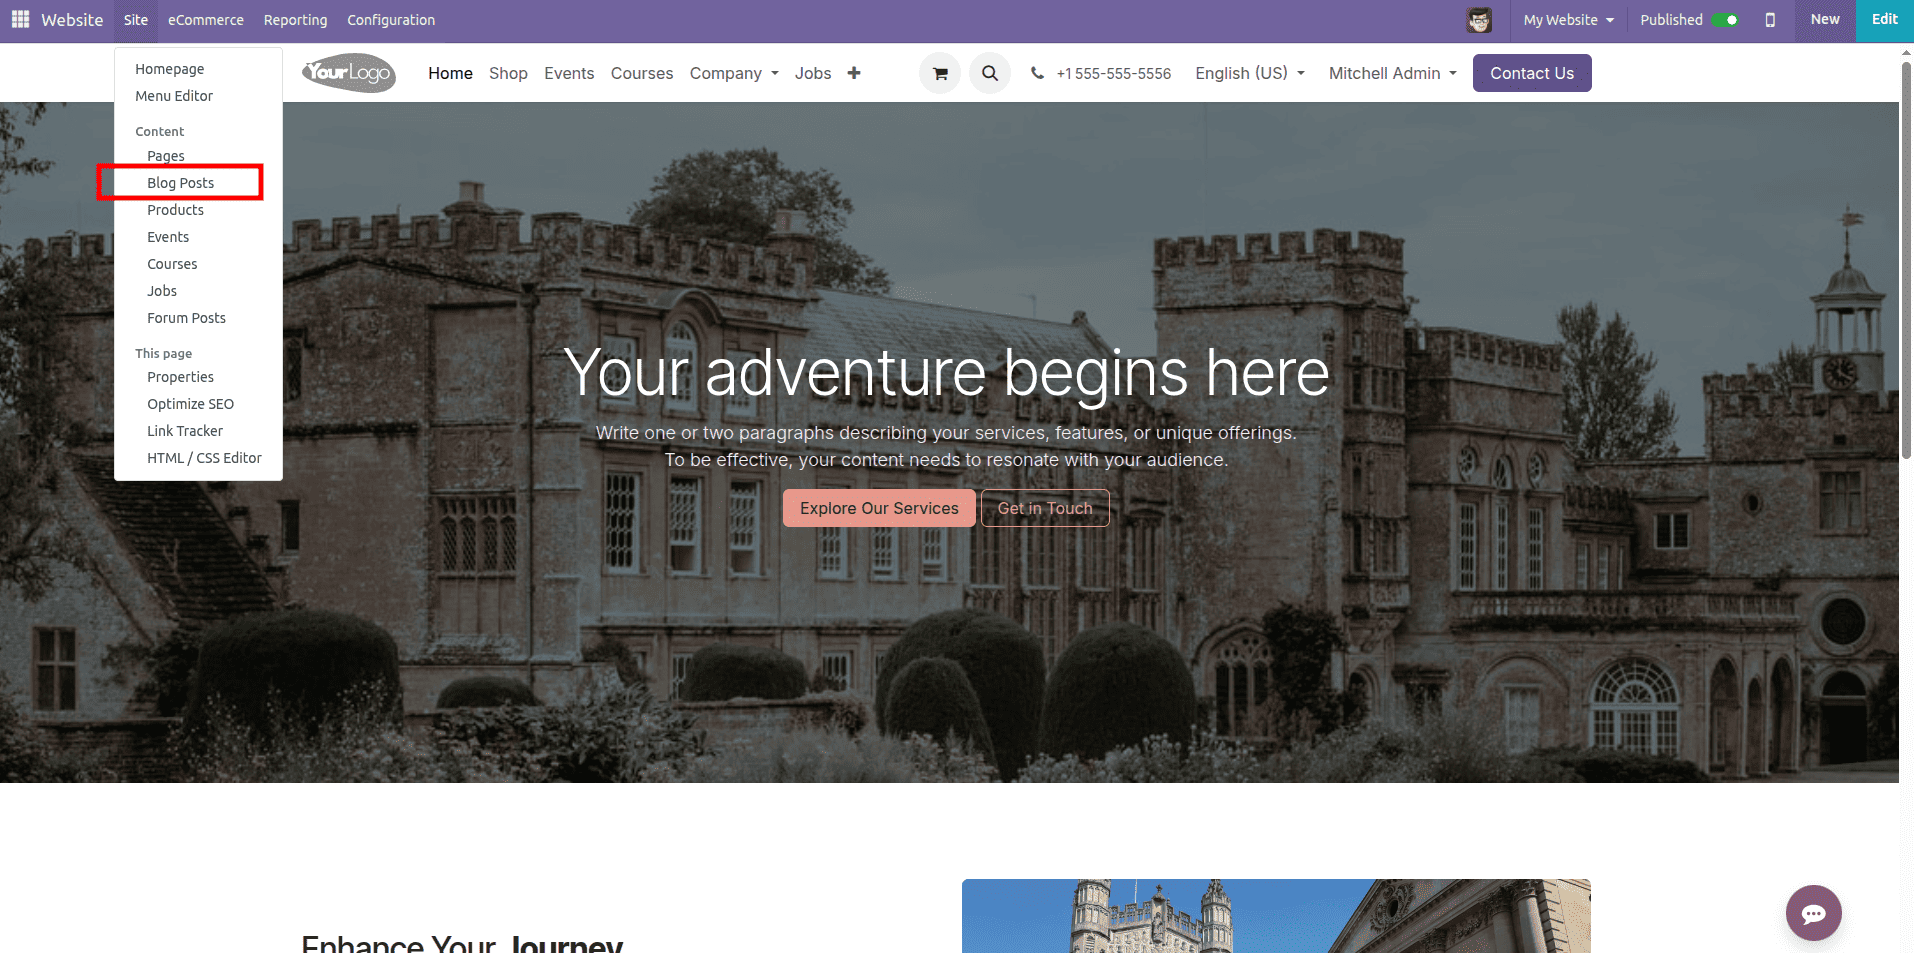
You can also create it from Site>Blog Posts> then all created Blog post pages will be listed out, and there you can create your own blog post like we do above.
Once the blog post page is created, Odoo automatically opens the page editor. On the right-hand sidebar, you will find a variety of building blocks that can be dragged and dropped directly into your page.
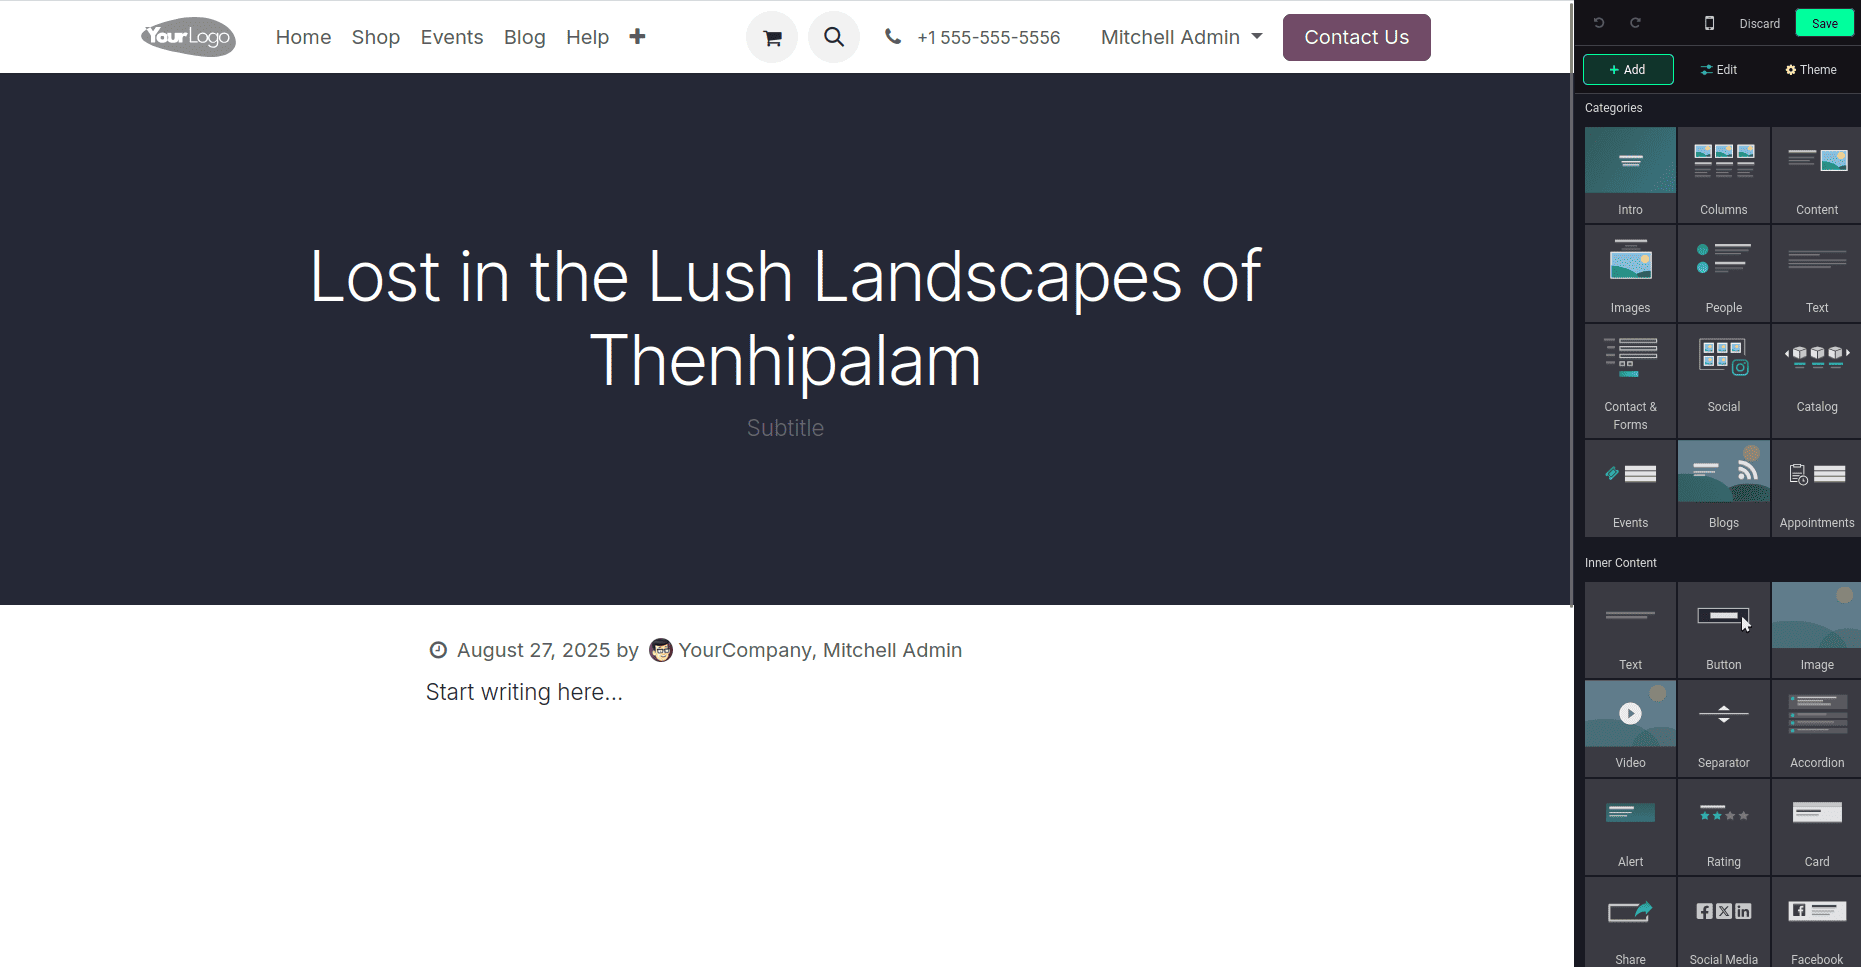
These blocks help you enrich the blog with different types of content, such as text, images, videos, buttons, and social media links.
- Structural blocks like Intro, Columns, Content define the layout of your blog.
- Media blocks like Images, Video, Gallery make your blog visually engaging.
- Interactive blocks like Buttons, Contact Forms, Social Links encourage reader interaction.
- Special blocks like Blogs, Events, Catalog allow you to integrate other Odoo modules seamlessly.
This flexibility lets you create anything from a simple text-based article to a multimedia-rich blog post—all without touching a single line of code. Just drag, drop, and start customizing!
Choosing Block Templates for Your Blog
When a block is dragged from the Categories sidebar into the page, Odoo opens a pop-up window called Insert a block. This window displays several predefined templates for the selected block type.
For example, if you drag an Intro block,
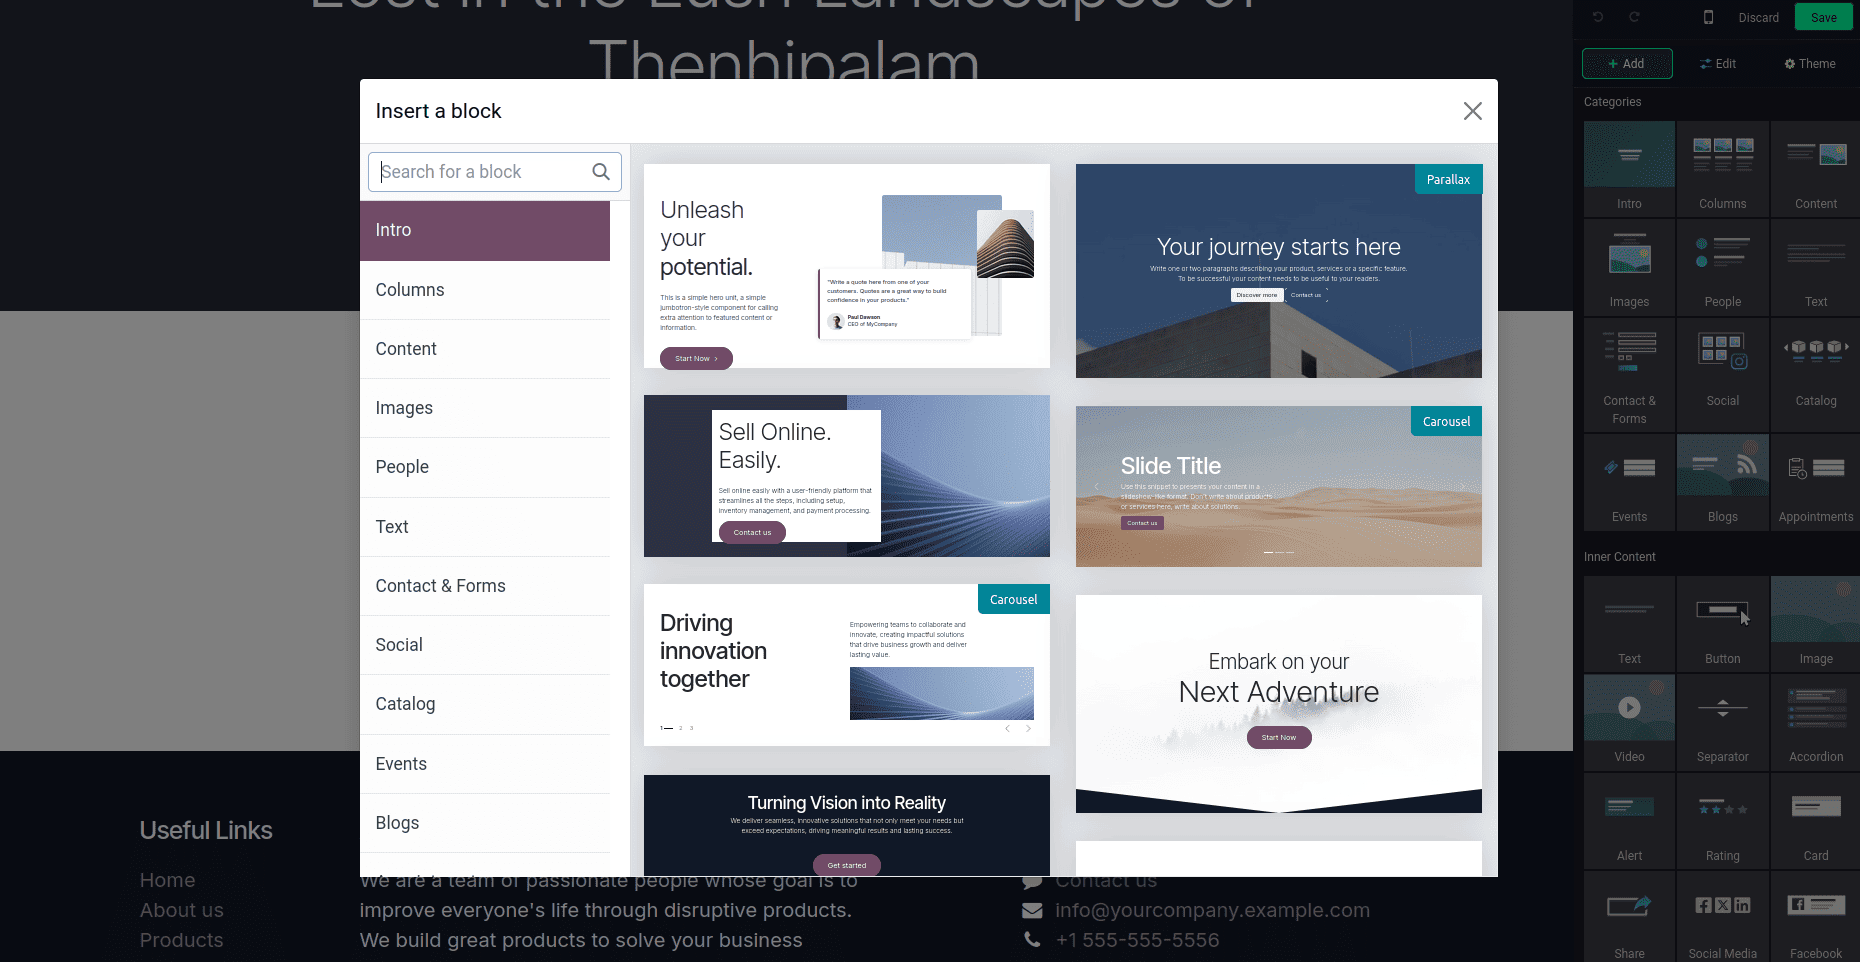
You will see multiple layouts, like a simple text banner, a parallax-style introduction, or a full-width slider. Each template provides a different visual presentation, allowing you to choose the one that best matches your blog’s theme and purpose.
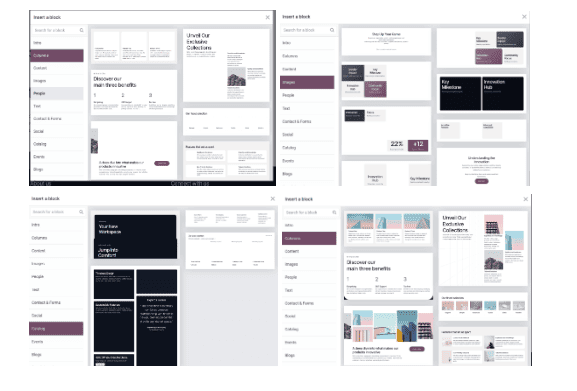
Not just intro, there are several blocks like Columns, images, social, etc.
This feature saves time and ensures design consistency across your website, since you don’t have to build layouts from scratch. Instead, you simply select the style you prefer and then customize the text, images, and colors to fit your brand.
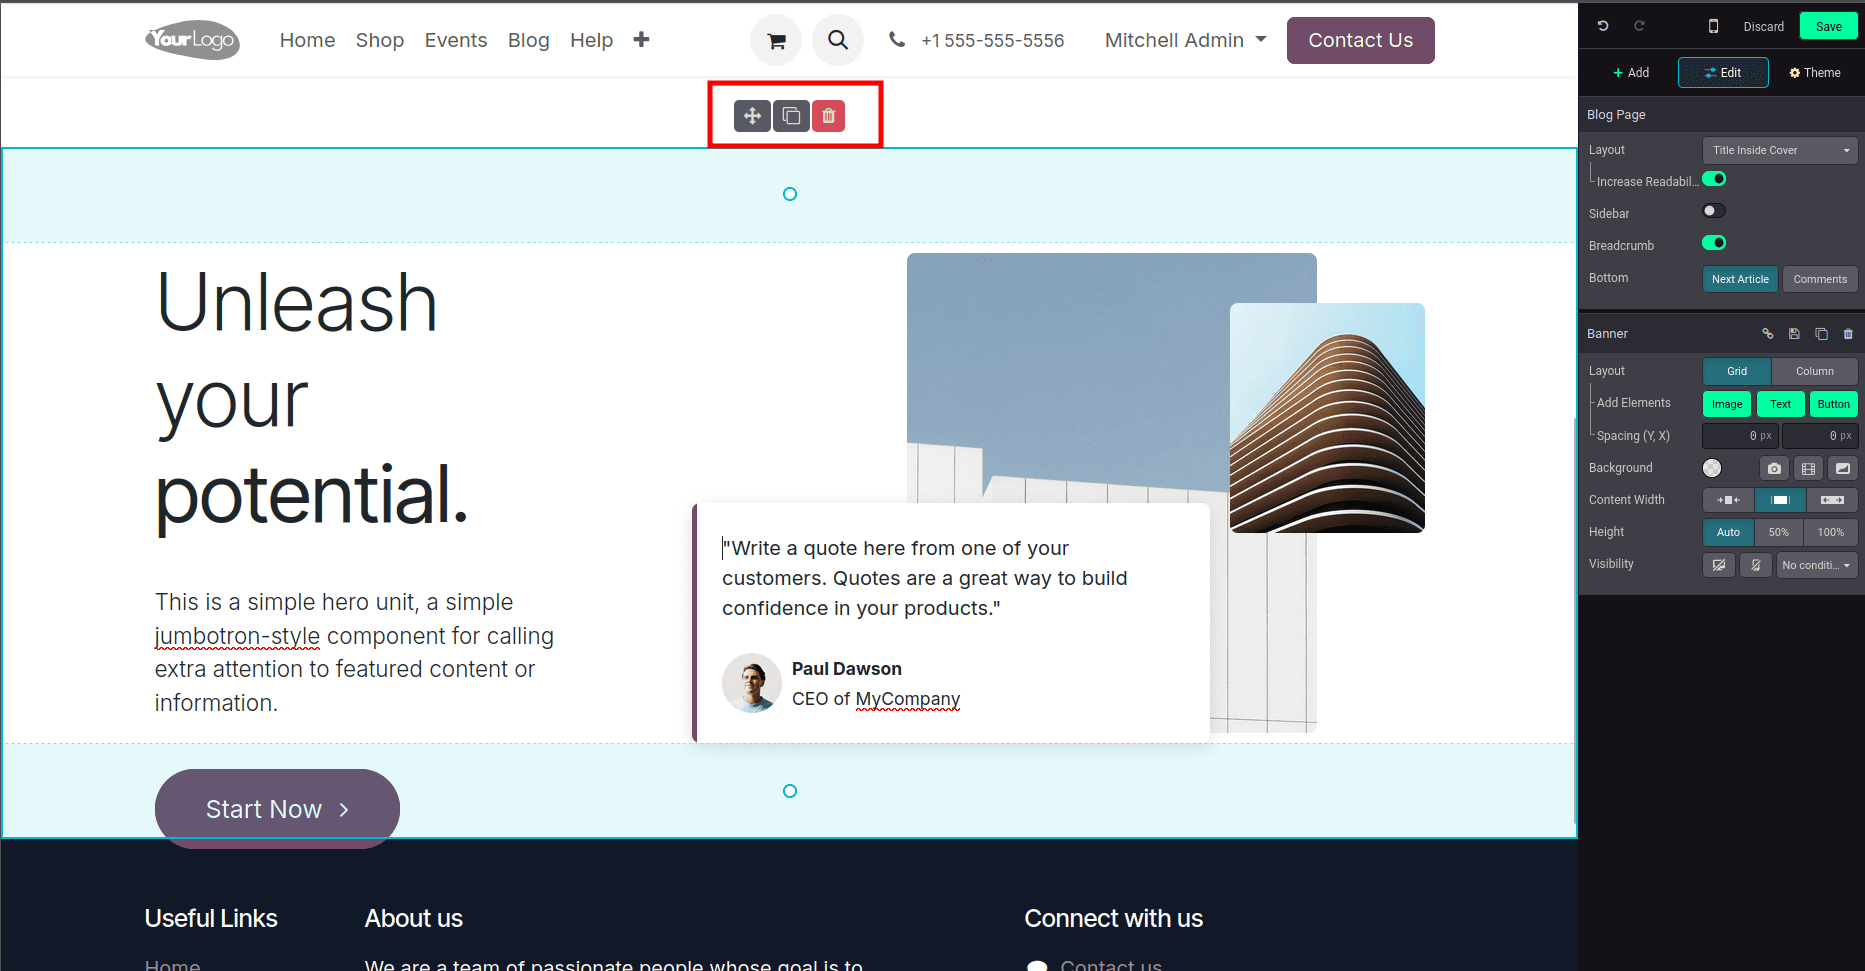
Once a block is inserted into the blog, Odoo provides quick action controls to help you manage the block’s placement and usage. When selecting the block, three options appear at the top.
- Move – Allows you to reposition the block anywhere on the page by dragging it up or down.
- Duplicate – Instantly creates a copy of the block with the same layout and content. This is useful if you want to reuse a section with slight modifications.
- Delete – Removes the block entirely from the page. A handy option to quickly clean up your design.
Customizing Block Templates
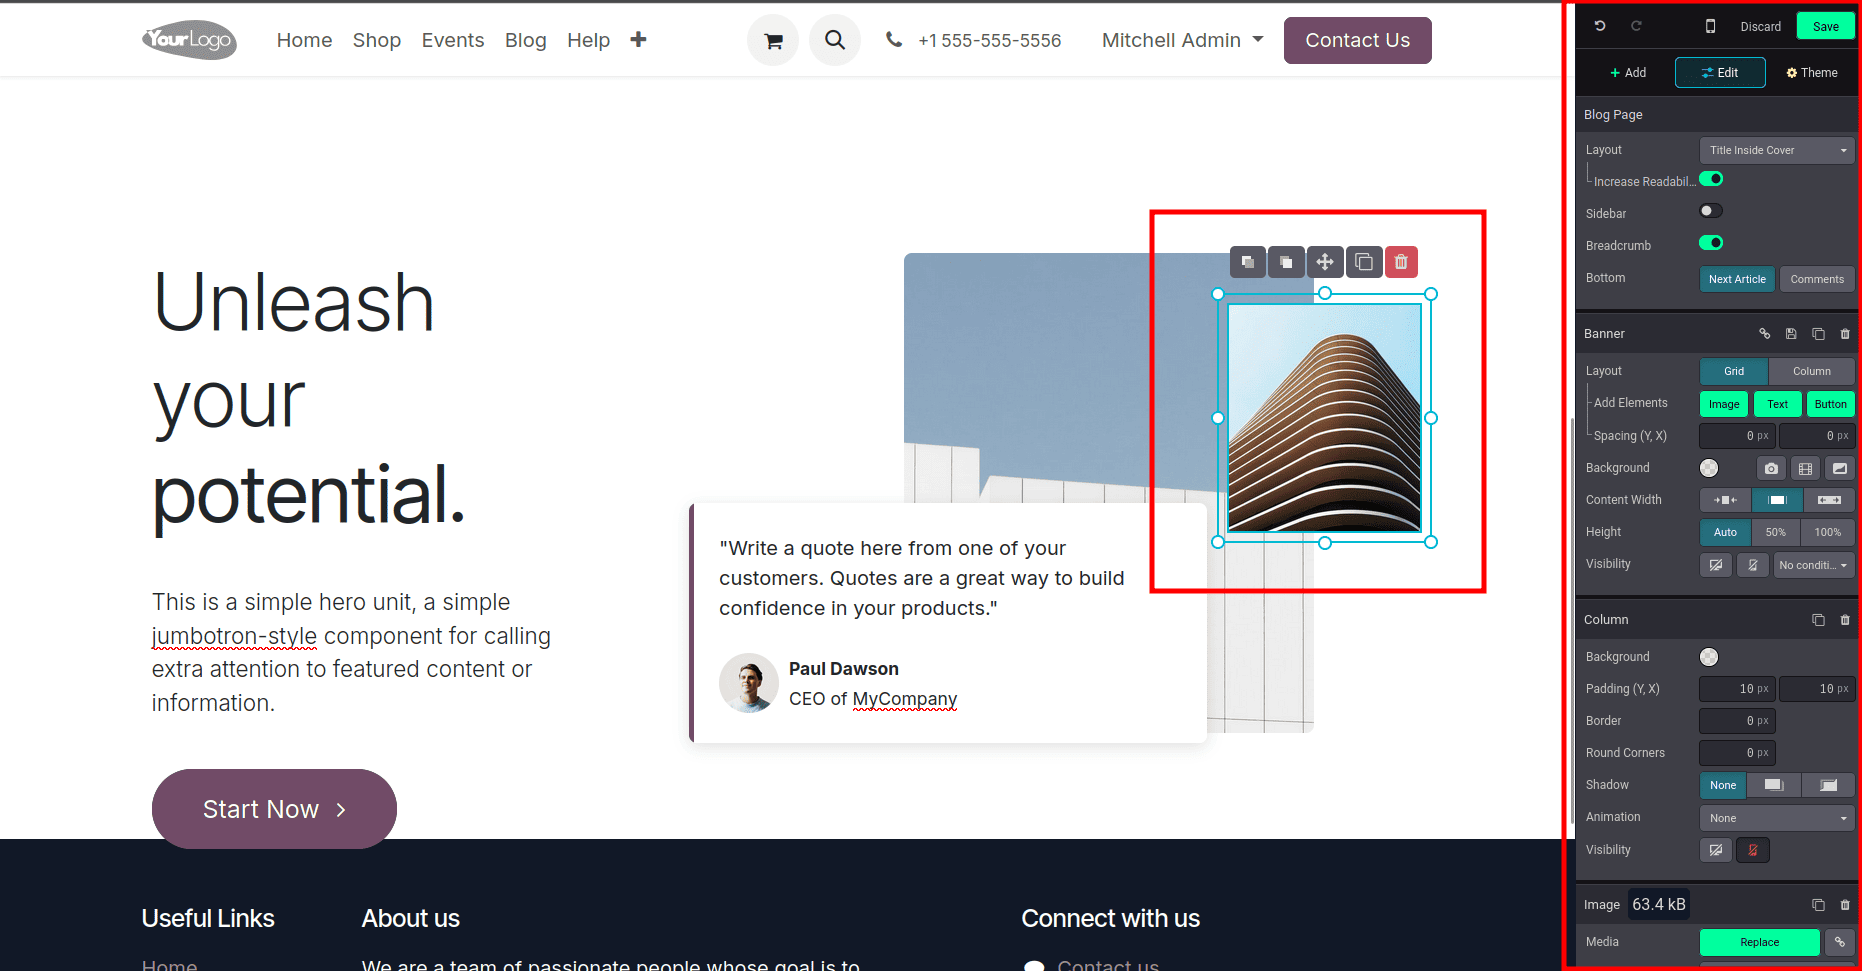
After inserting a block into the blog page, Odoo makes it easy to personalize the template to suit your content. When you click on any element within the block (such as a text, image, or button), the Edit panel on the right-hand side becomes active, displaying a variety of customization options.
For example:
- Text elements – You can directly edit the wording, adjust font styles, colors, or add hyperlinks to make your article more engaging.
- Images – By selecting the image, you can replace it with one of your own files using the Replace option. Additional settings let you resize, adjust spacing, add borders, or apply shadows.
- Buttons – Buttons can be customized with new labels, colors, and links, allowing you to guide readers toward actions such as contacting you, reading more, or purchasing a product.
Beyond element-level edits, the sidebar also lets you configure layout, padding, background colors, animations, and visibility rules. This flexibility ensures that your blog design remains consistent with your website’s theme while also being visually appealing and user-friendly.
Adding and Replacing Media/Images
Odoo makes it simple to replace any image or media inside your blog blocks. When you select an image and click the Replace button in the Edit panel, a media window opens with several options:
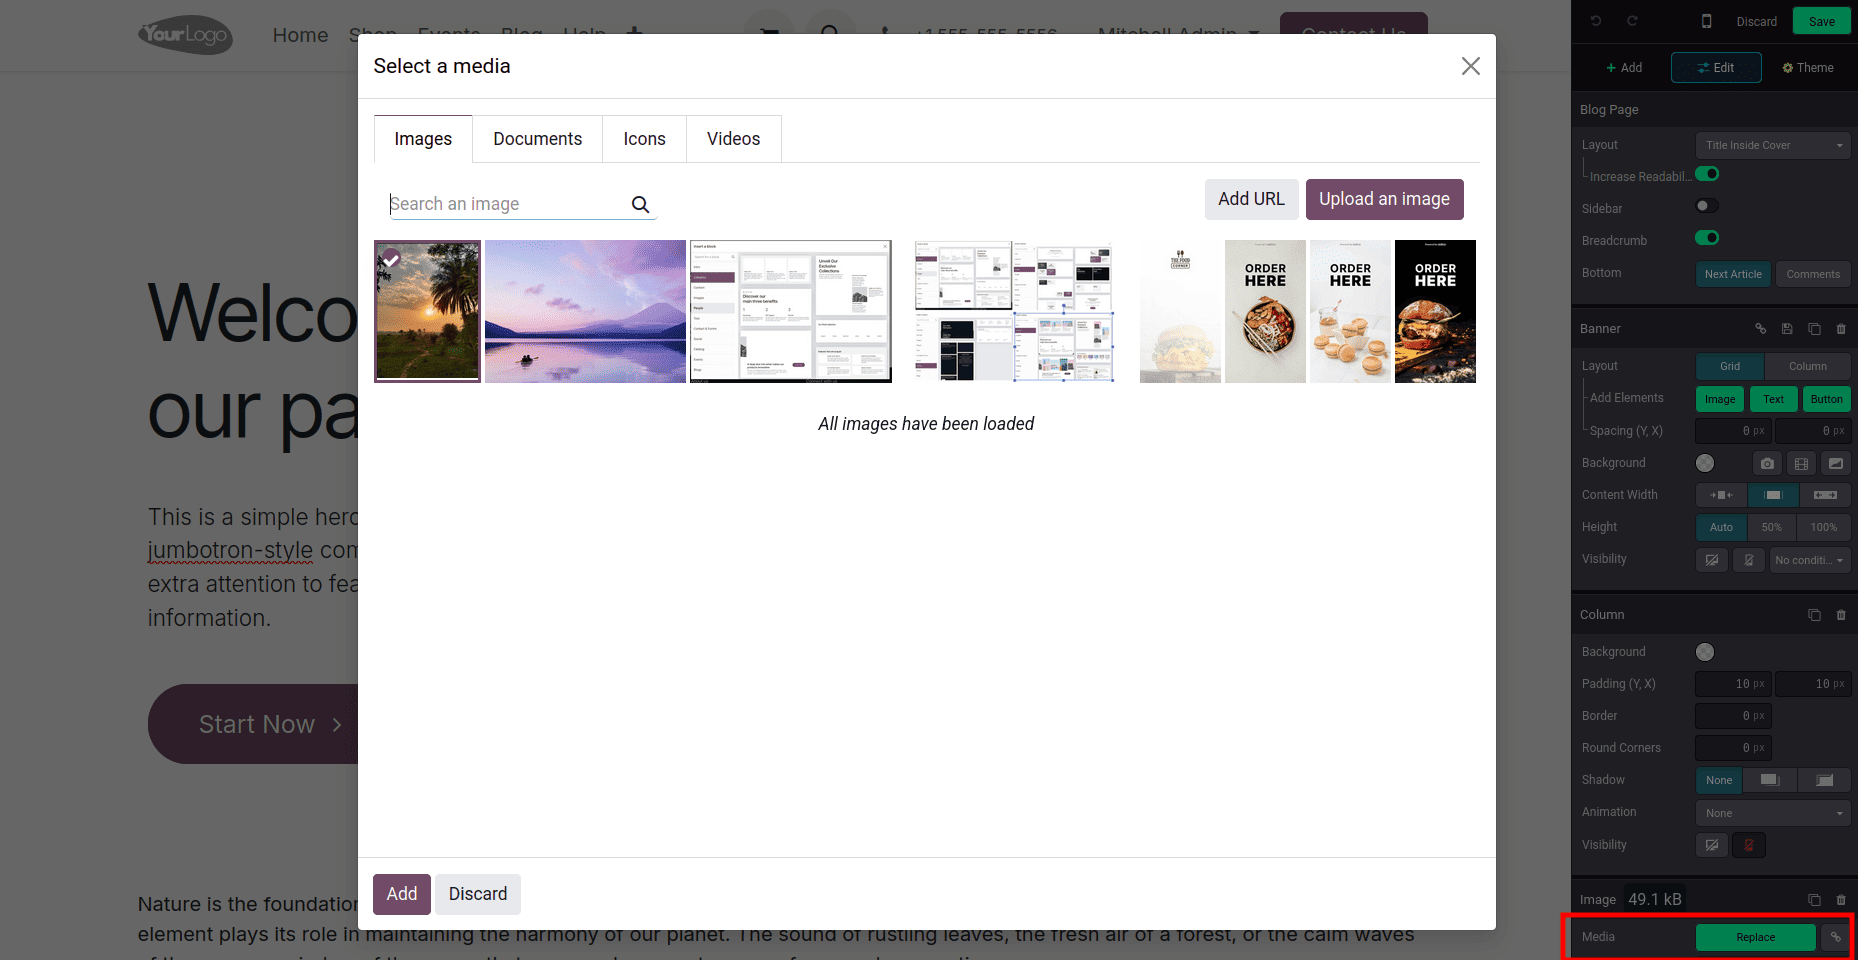
- Images – Upload your own images, select from previously uploaded files, or even add an image by providing a URL. Odoo also suggests some sample images you can use directly.
- Documents – Attach PDFs, presentations, or other files that your readers can download.
- Icons – Choose from a wide variety of icons to enhance the visual appeal of your blog.
- Videos – Embed videos from YouTube, Vimeo, Dailymotion, or other platforms by pasting the URL or embed code.
Customizing Blog Theme and Style
Apart from editing individual blocks, Odoo also allows you to manage the overall look and feel of your blog through the Theme tab in the right-hand sidebar.
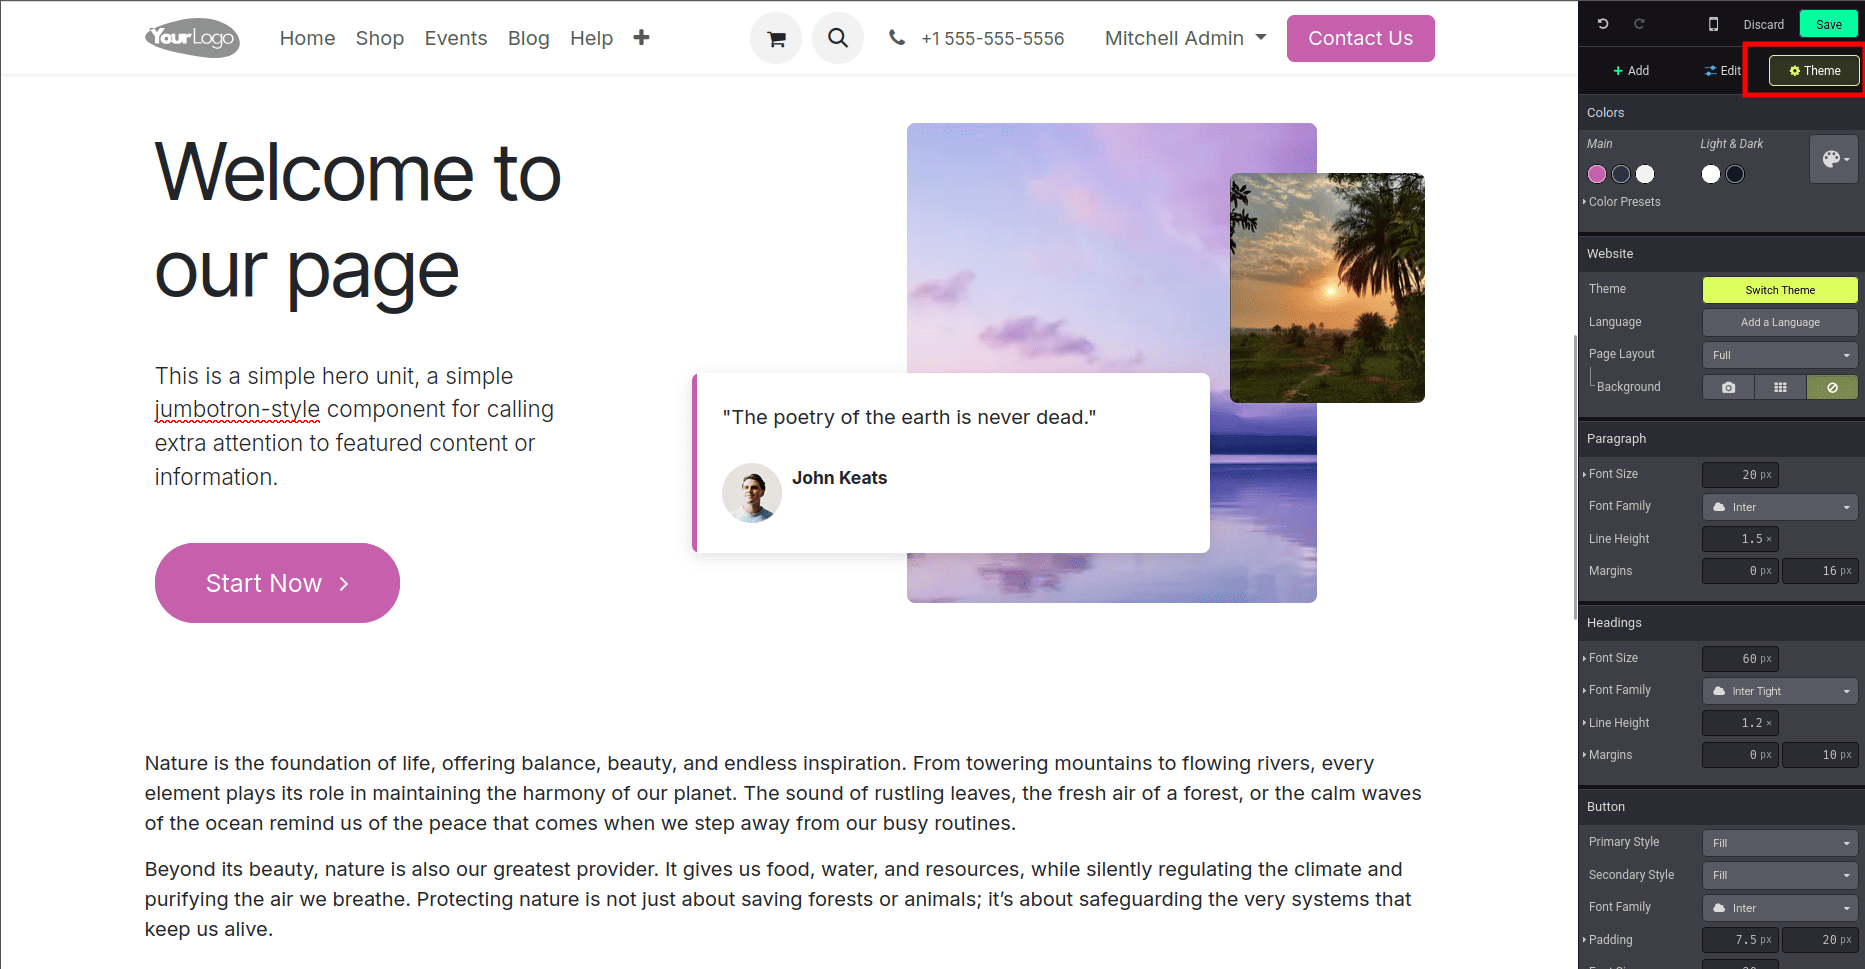
This section focuses on global design elements such as colors, typography, and layouts, ensuring consistency across your entire website.
Key customization options in the Theme panel include:
- Colors – Choose primary and secondary colors, along with light and dark variations, to match your brand identity. Odoo also provides color presets for quick styling.
- Website Settings – Options like Switch Theme, Add a Language, and Page Layout let you change the overall structure, enable multilingual sites, and define whether pages should be full-width or boxed.
- Background – Apply a solid color, image, or pattern as your site’s background.
- Paragraph & Headings – Customize font size, font family, line height, and margins for both body text and headings to create a professional reading experience.
- Buttons – Define how buttons appear across your website, including their primary and secondary styles, fonts, and padding.
By centralizing these options, Odoo ensures your blog design is not only attractive but also consistent with the rest of your website — saving you time compared to editing each element one by one.
Publishing a Blog Post
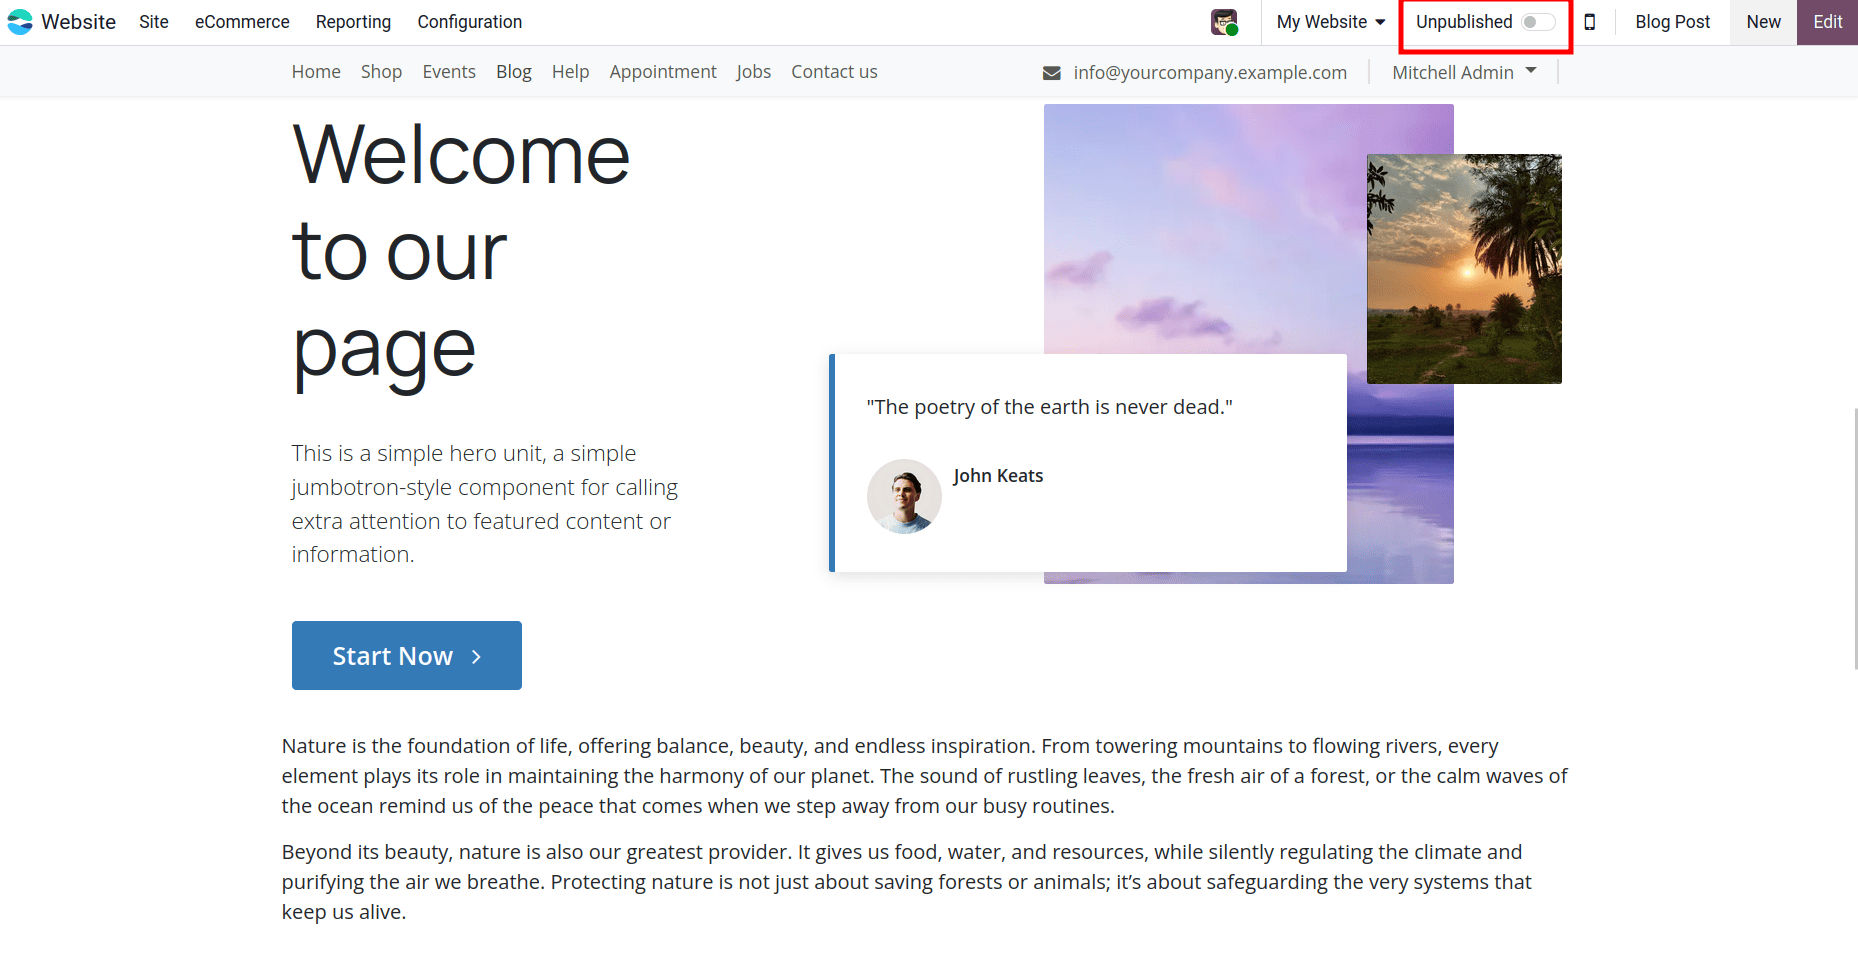
Once your blog content is ready and designed, the final step is to make it visible to your audience. By default, new blogs in Odoo are created in Unpublished status, which means they are saved as drafts and only visible to you (or internal users).
To publish your blog:
- Navigate to your blog page in the website editor.
- At the top-right corner, you will see a toggle button labeled Unpublished.
- Simply click it, and the status will change to Published.
When enabling the Publish button, if the title and description for the blog are not set, an SEO optimization option will appear upon opening it. You can enter the details there.
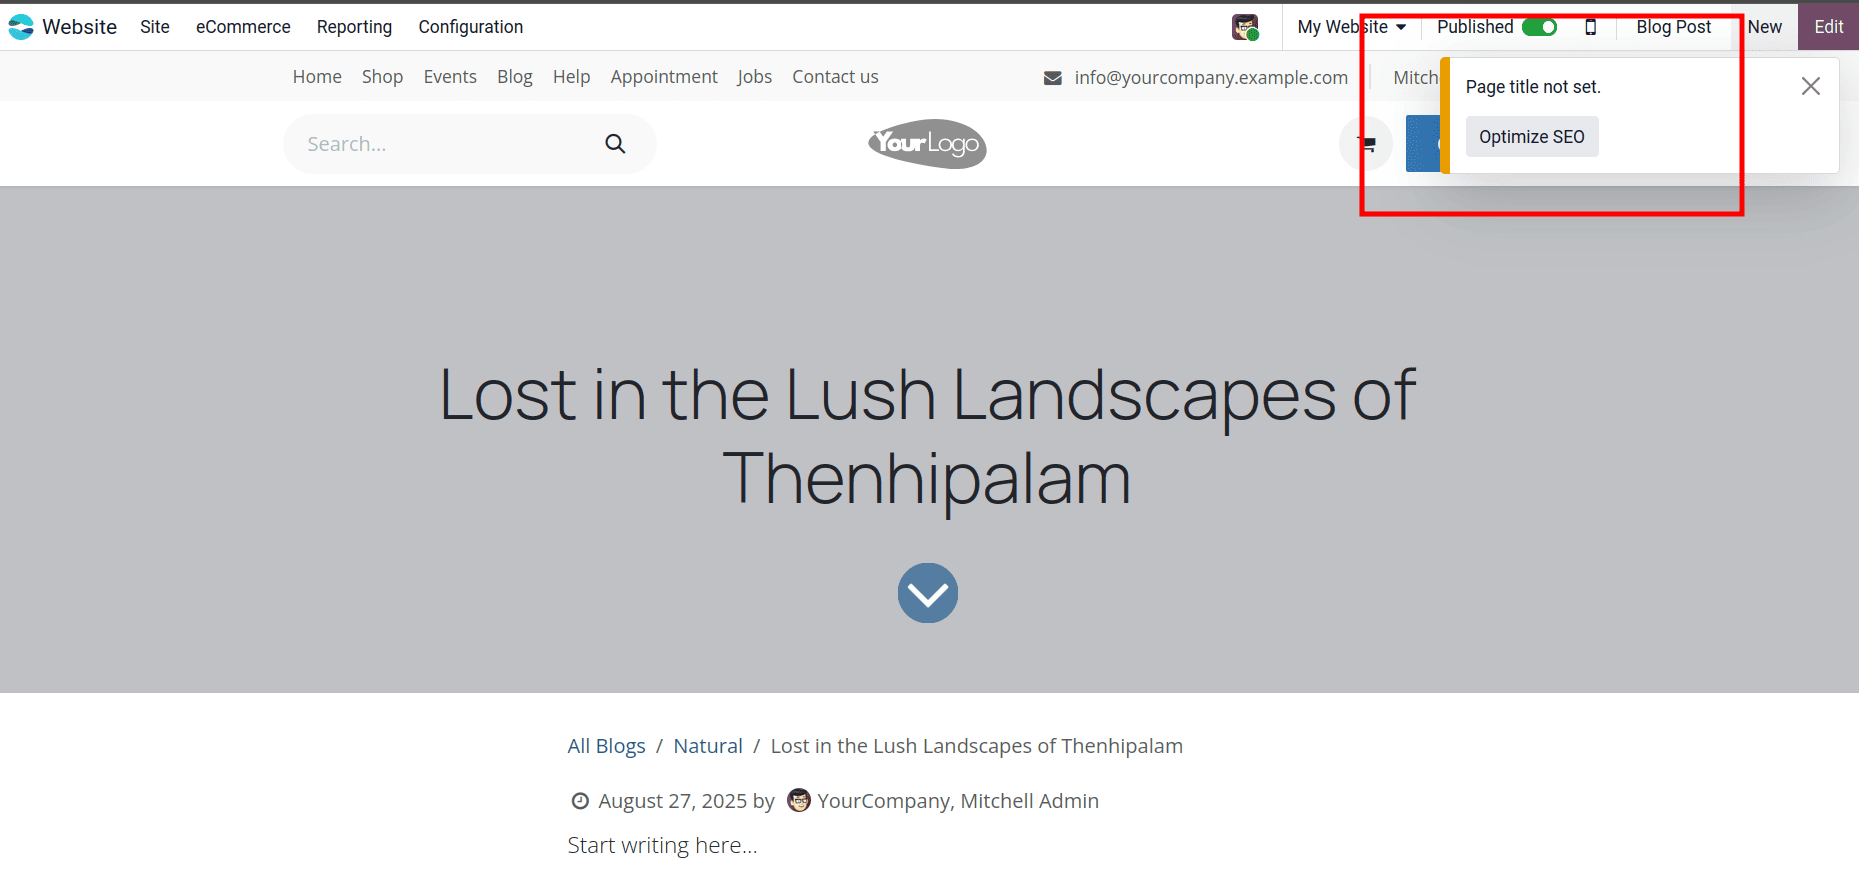
So when selecting the optimized SEO option, a pop-up will appear. This interface allows users to enhance the post's visibility on search engines by entering relevant SEO metadata and reviewing SEO best practices.

Here, we can use AI to optimize the page by selecting the Auto-fill button. And save the changes.
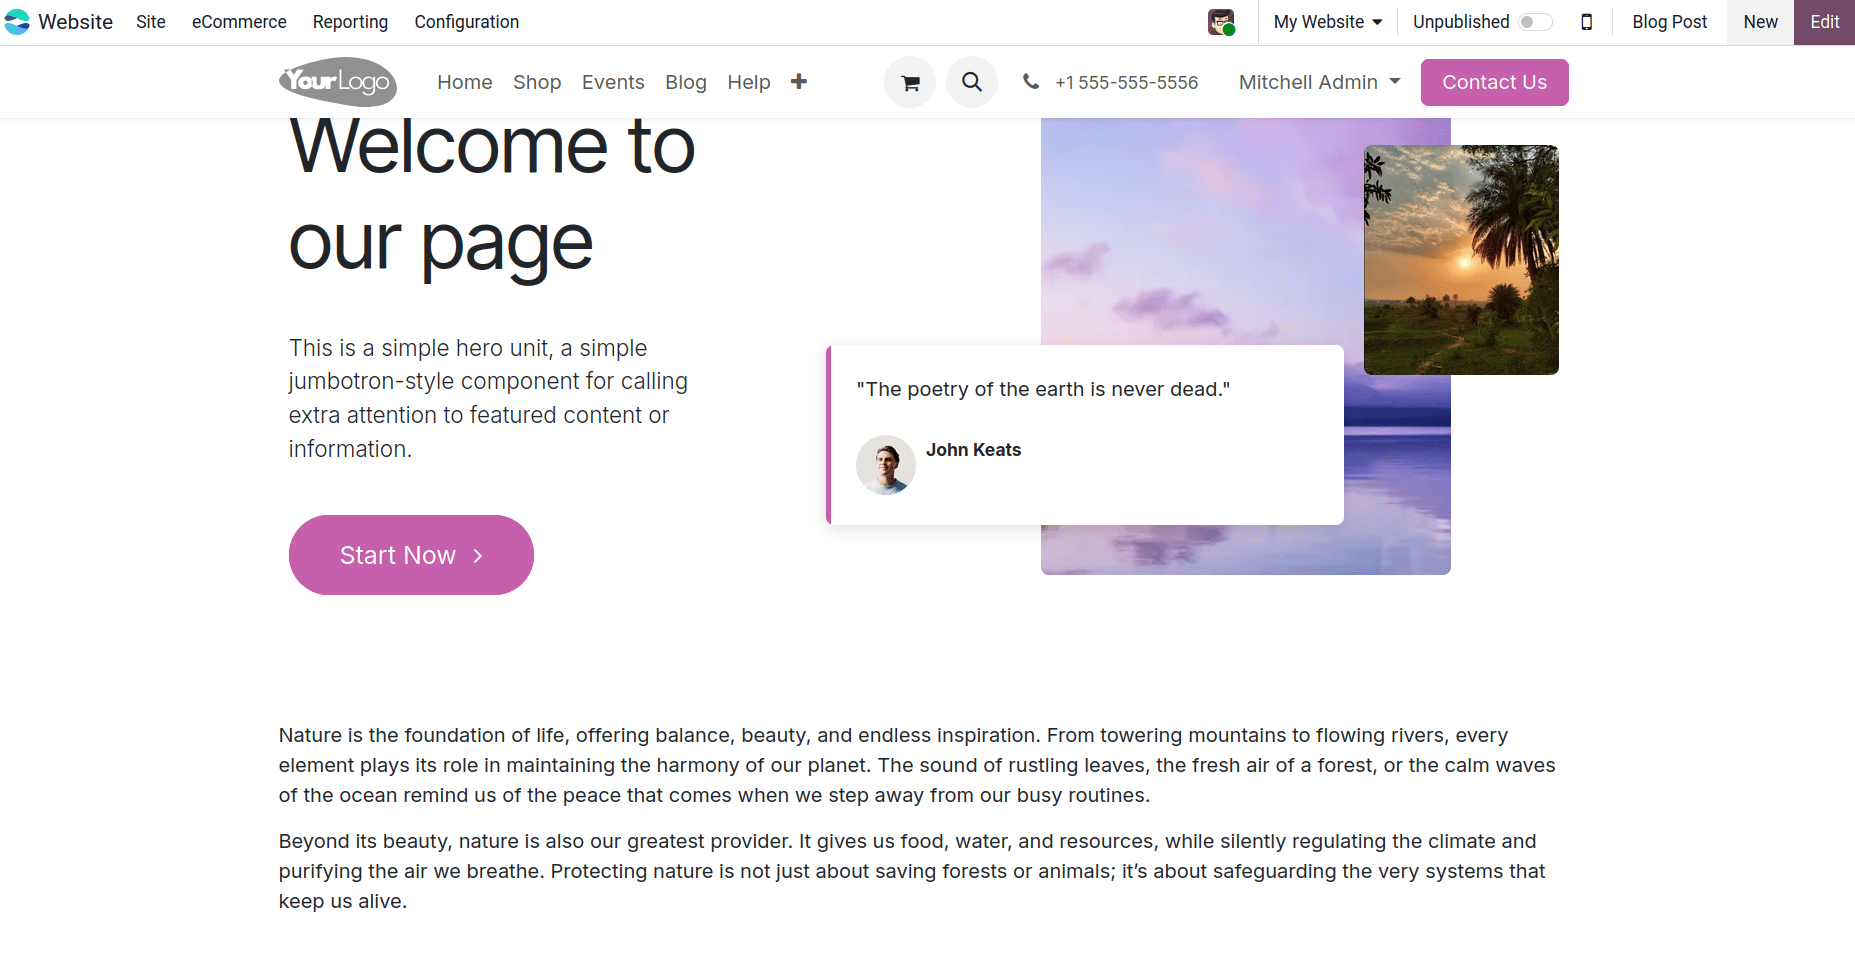
After finishing the SEO optimization, our blog will be published on the the Odoo website under the blog menu.
Odoo 18 simplifies blog management. Its easy drag-and-drop editor, built-in SEO tools, and smooth integration with other Odoo apps allow you to create, customize, and publish posts easily. Everything you need is in one place.
Whether you're sharing updates, promoting products, or growing your audience, Odoo 18 provides the tools to create a professional and engaging blog. Start using Odoo 18's blogging features today and turn your website into a space that connects, informs, and inspires your readers.
To read more about How to Improve Odoo 18 Website Performance Using SEO Tools, refer to our blog How to Improve Odoo 18 Website Performance Using SEO Tools.