Customer service efficiency often depends on how quickly and smoothly tickets are created and routed to the right team. With Odoo 18 Helpdesk, businesses can manage support requests from multiple sources—ensuring that no customer query is missed. In Odoo 18 Helpdesk, tickets can be generated through multiple channels so that customers (or internal users) can reach the support team easily. Each channel can be configured and tracked to streamline customer service.
Let us explore how ticket generation works through different channels and how Odoo allows flexibility in handling them.
Ticket Creation through Email
Email remains one of the most widely used support channels. In Odoo 18 Helpdesk, tickets can be automatically generated when a customer sends an email to a configured support alias. For example, if your helpdesk team’s alias is support@company.com, whenever a customer sends a mail describing their issue, Odoo converts that email into a ticket inside the corresponding helpdesk team.
The subject line of the email becomes the ticket title, while the body of the email is added to the description field. Attachments in the email are also automatically linked to the ticket, ensuring no detail is lost. Support agents can then reply directly from within the ticket, and the customer continues to receive those updates as email responses. This makes the process smooth for both customers and support staff without requiring customers to log in to the system.
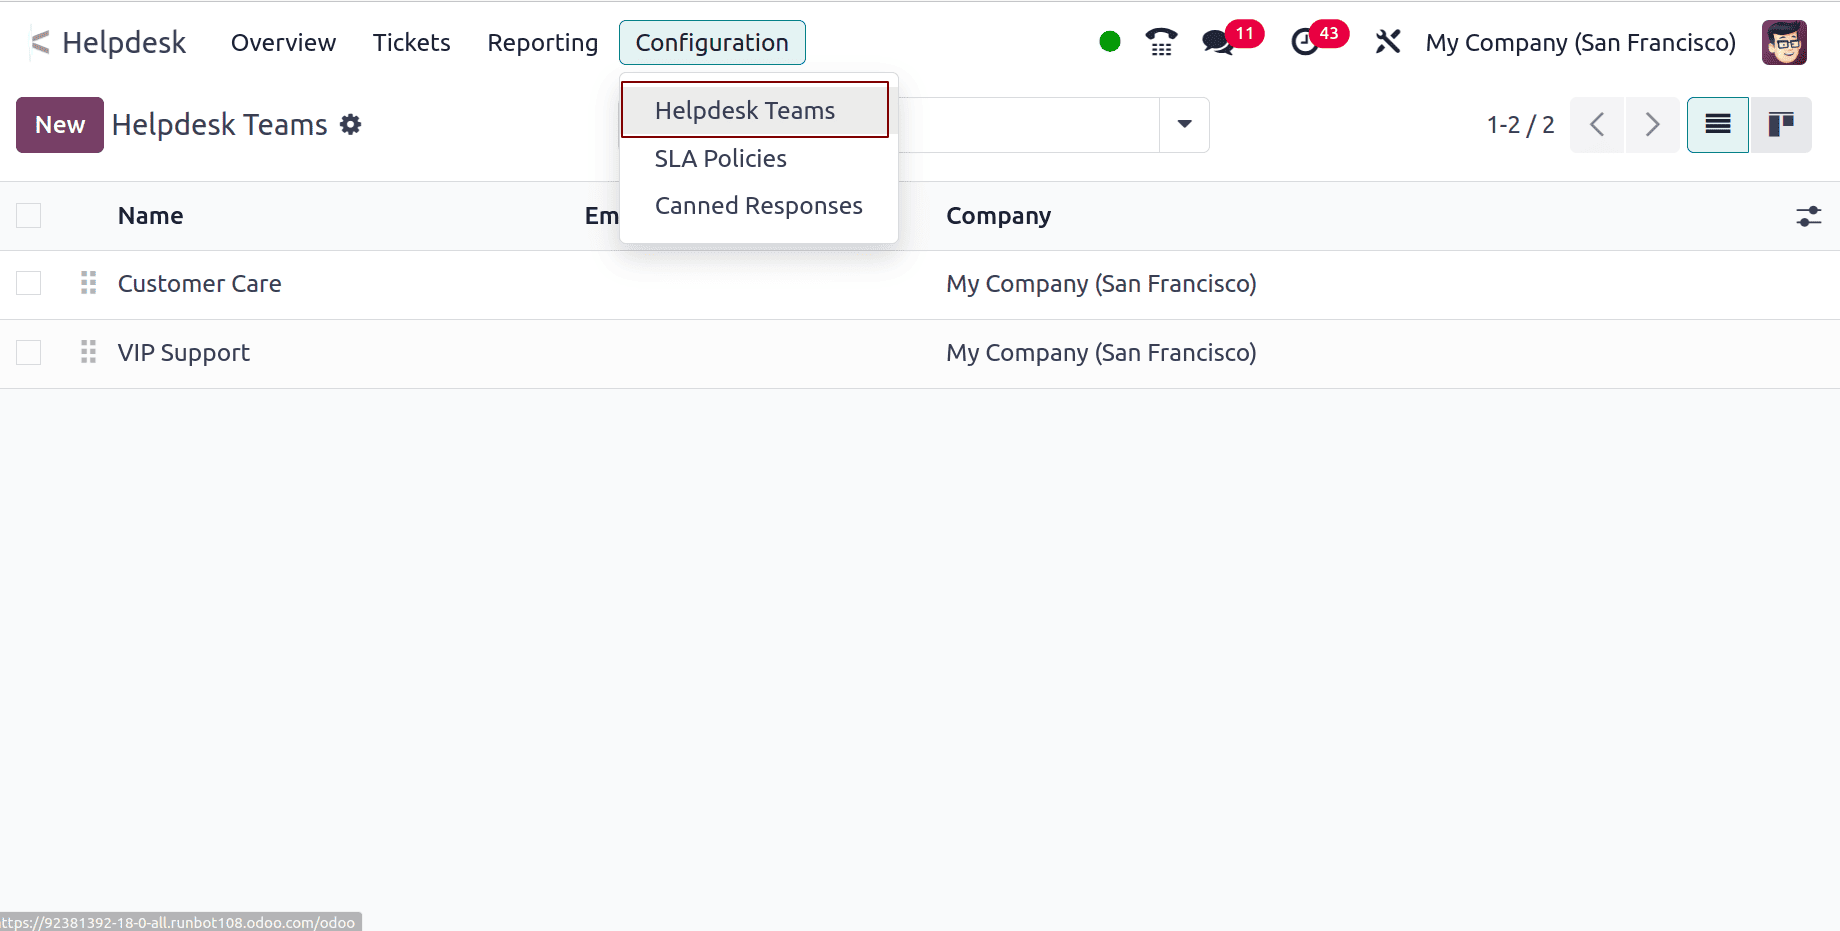
Helpdesk Teams
Helpdesk > Configuration > Helpdesk Teams
This is where you manage your Helpdesk departments or “teams”—for example, Customer Support, IT Support, Finance Helpdesk, etc. Each team can have its own email alias, members, SLA rules, website forms, and ticket stages. You need to link each incoming email address to a specific Helpdesk team. This ensures that tickets are automatically routed to the correct group of agents.
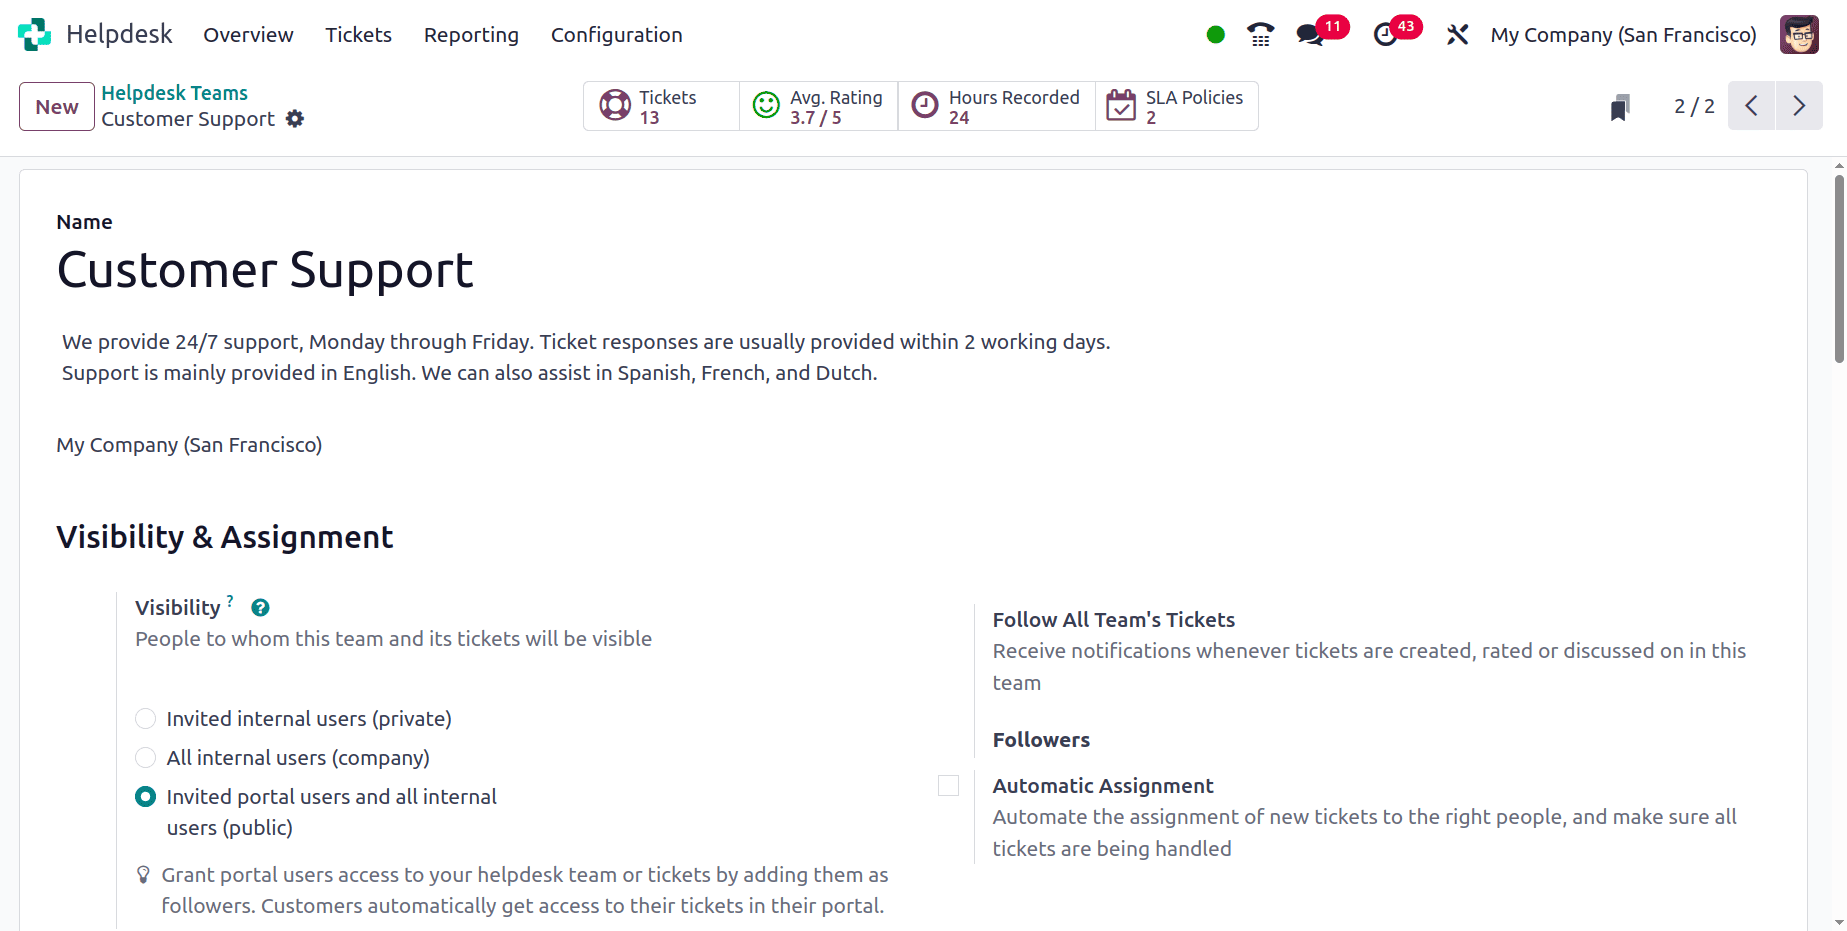
Select or create a team
You can either select an existing Helpdesk team or create a new one by clicking New. In the team form, you’ll define: Team name (e.g., Customer Support), Members (users who will handle tickets), Ticket assignment rules (manual or automatic), Email alias, SLA policies, Website form access, etc.
Tickets must belong to a Helpdesk team—this is how Odoo knows which users should handle them and what workflow applies. Each team can have its own rules and configuration, so separating teams helps manage complexity.
In the Email Alias field, specify an address
When Email Alias is checked, Odoo automatically creates tickets when emails are sent to a specific email address. Alias is the email prefix used to receive messages.For Example:If you set Alias = cybrodemo2018 and your company domain is @gmail.com,the alias email address becomes cybrodemo2018@gmail.com. Whenever someone sends an email to cybrodemo2018@gmail.com, Odoo automatically creates a new Helpdesk ticket in this team.
Accept Emails From: This setting controls who can create tickets by email (who Odoo accepts emails from).
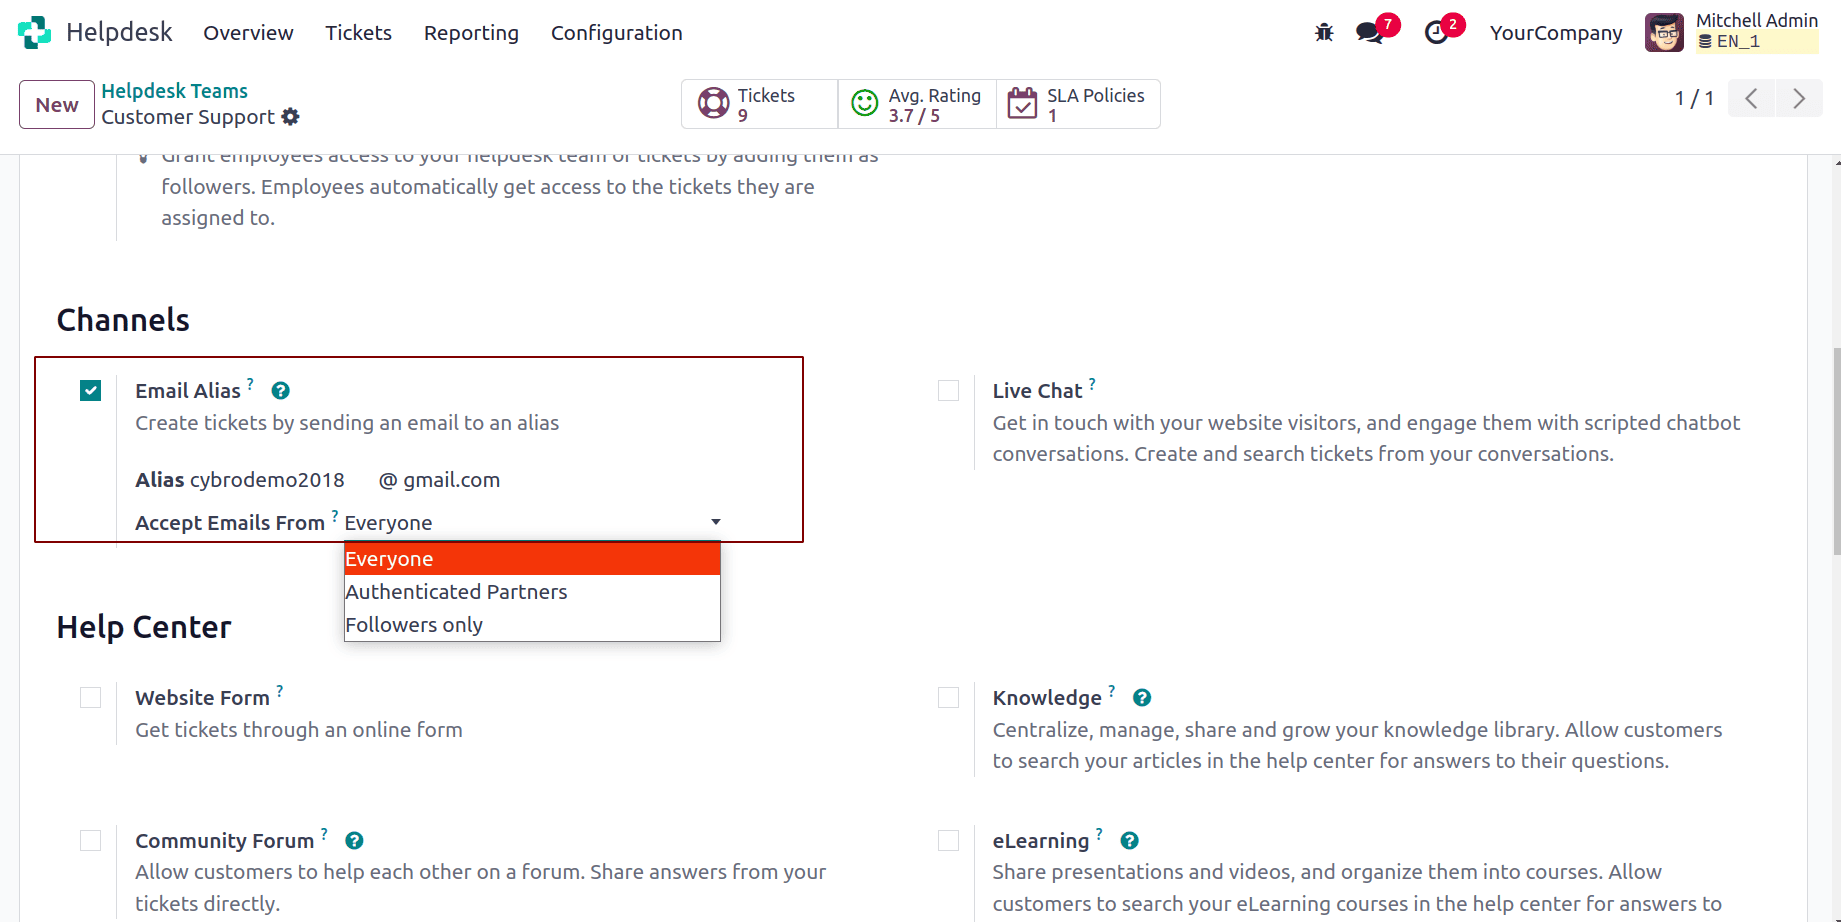
Without an alias, emails cannot be routed to the correct team. The alias ensures automation: no need to manually create tickets from emails.
Configure an Incoming Mail Server
Settings > General Settings > Technical > Email > Incoming Mail Servers
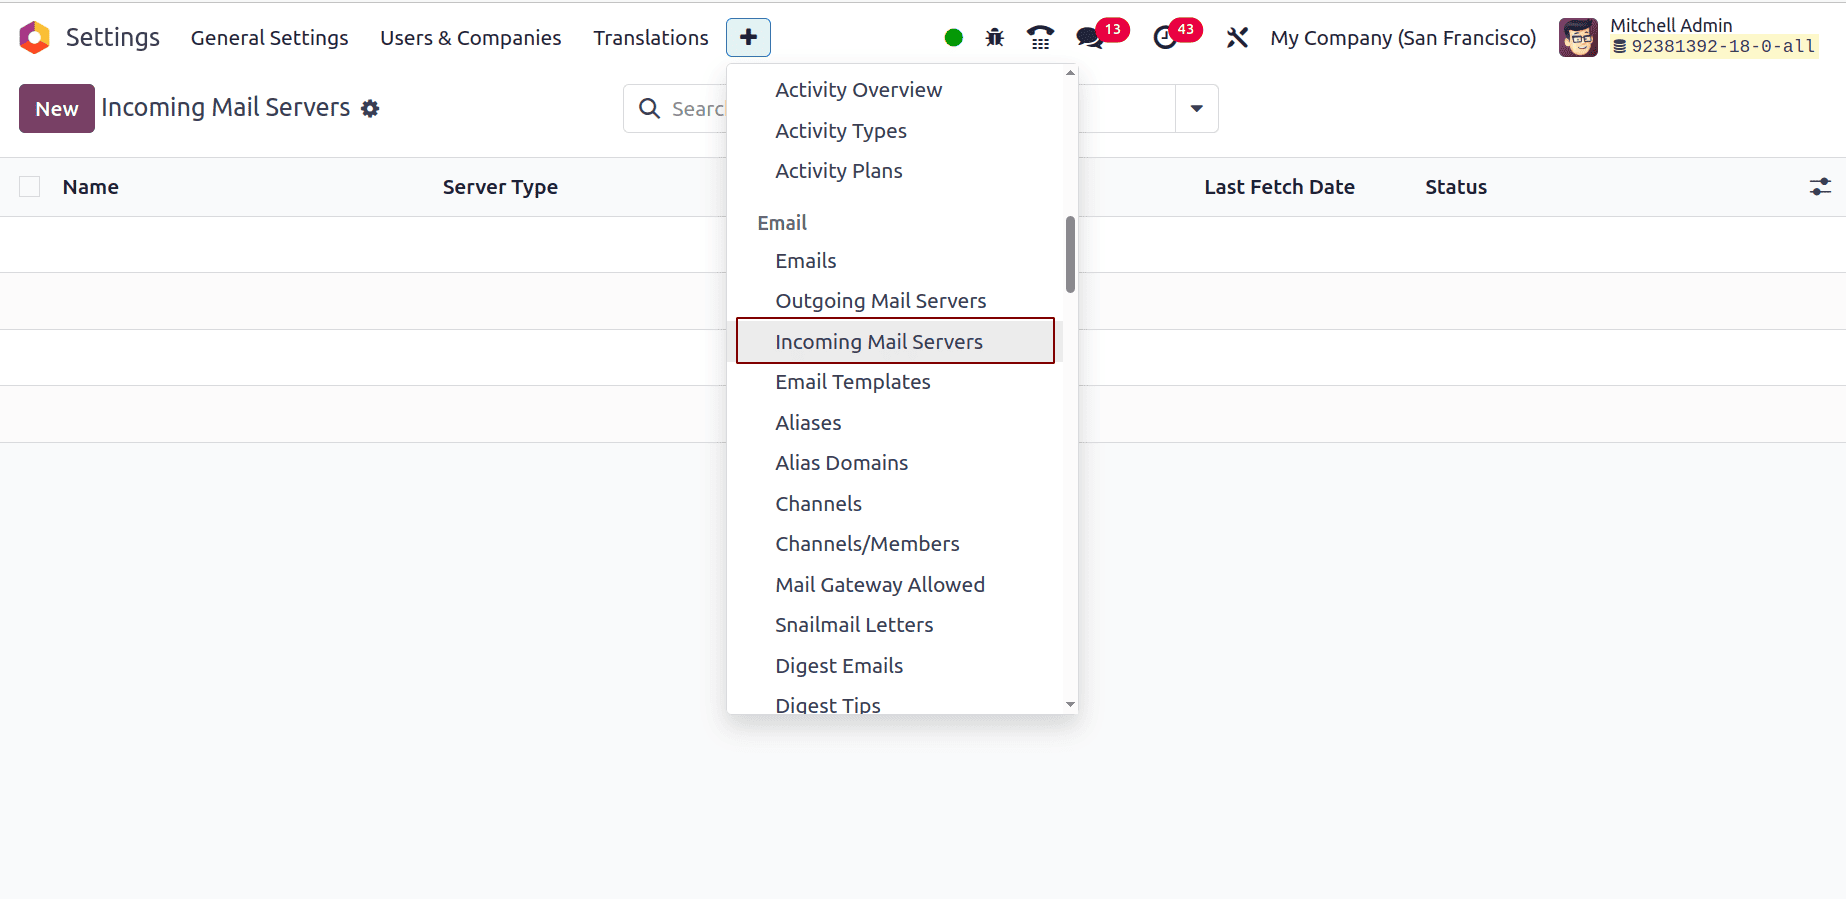
Here you define how Odoo connects to your company’s email inbox to read incoming messages. Without an incoming mail server, Odoo cannot “read” incoming messages. The server connection fetches new emails periodically and checks if they match any configured alias. If matched, Odoo creates or updates the appropriate ticket.
When an email is sent to this alias, Odoo automatically creates a new ticket
Now that both alias and incoming mail server are configured, the automation starts working. Customer sends an email to cybrodemo2018@gmail.com.
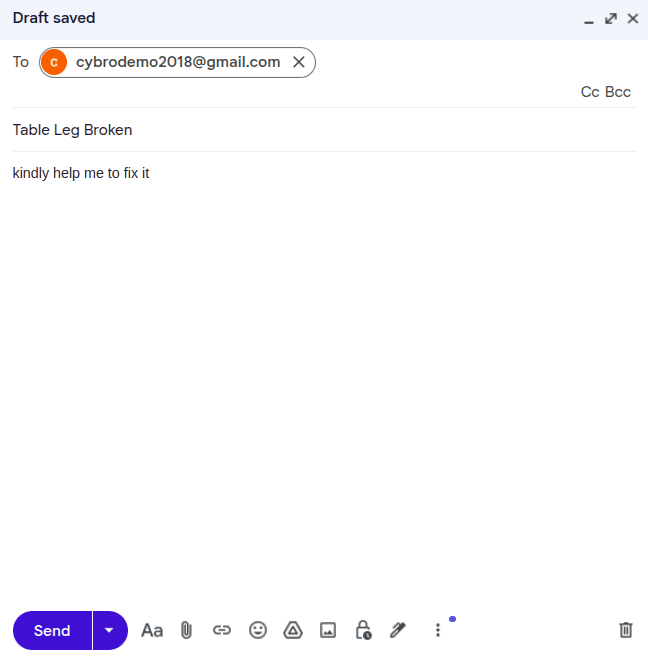
Odoo’s mail fetcher reads the message. Then the system identifies the recipient as a Helpdesk alias. And a new record is created with details from the email.
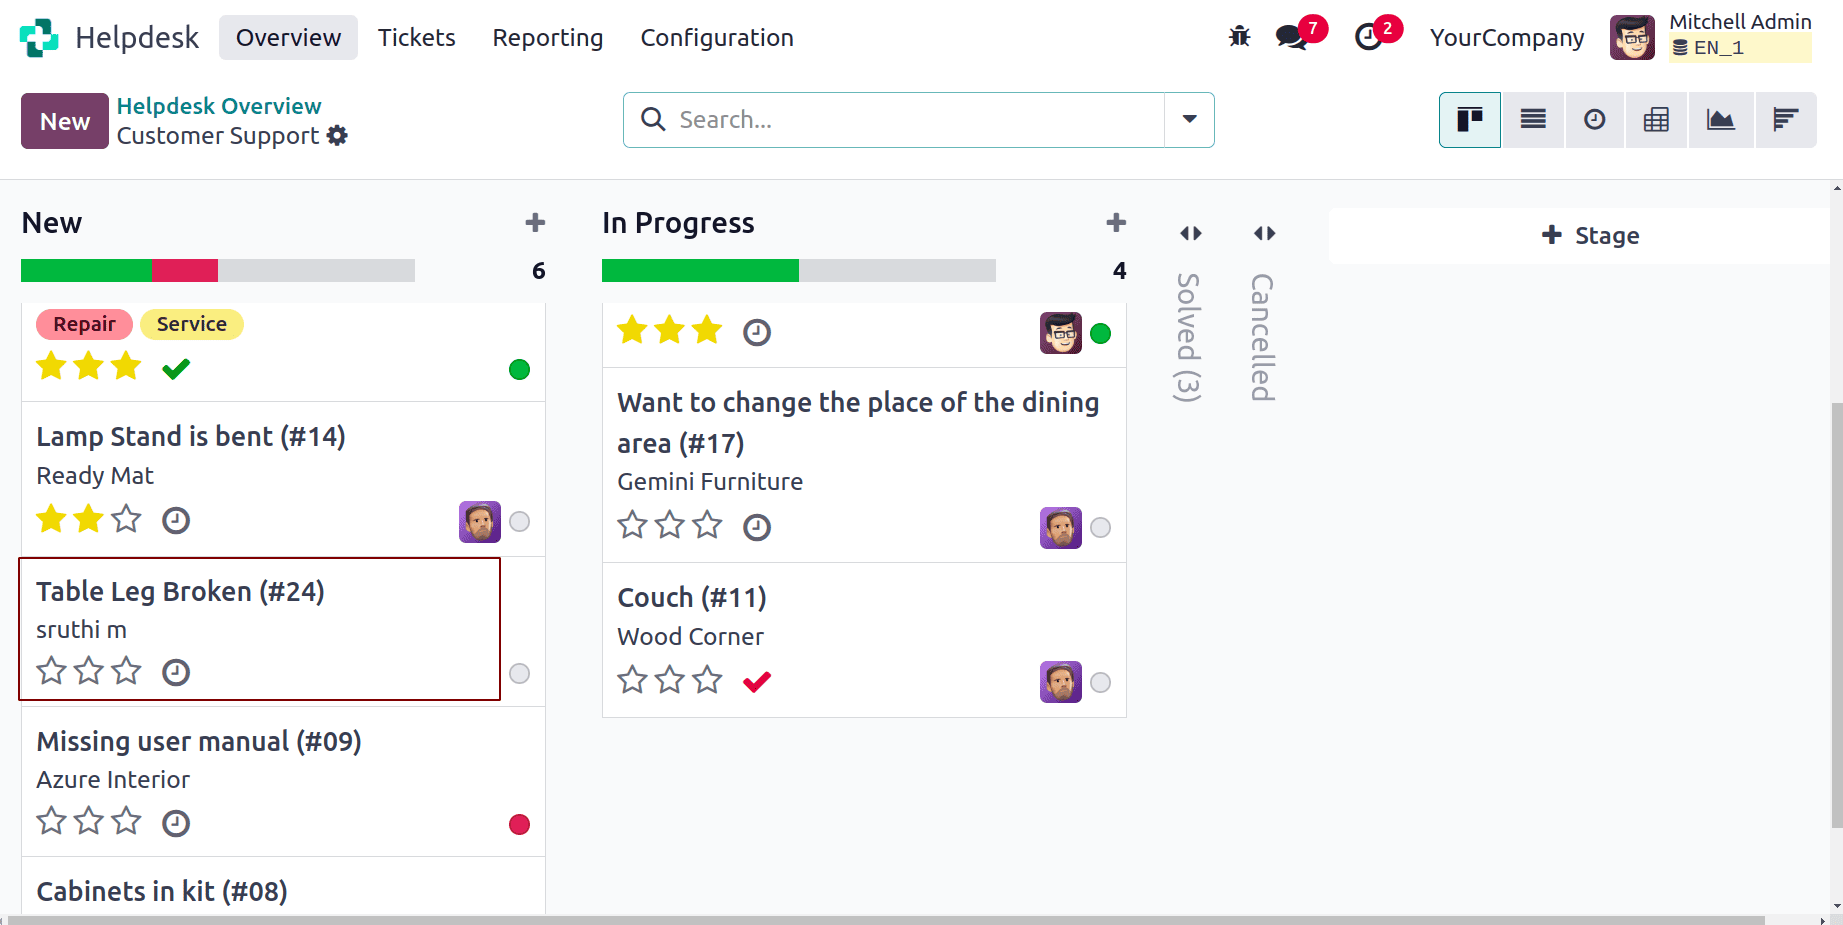
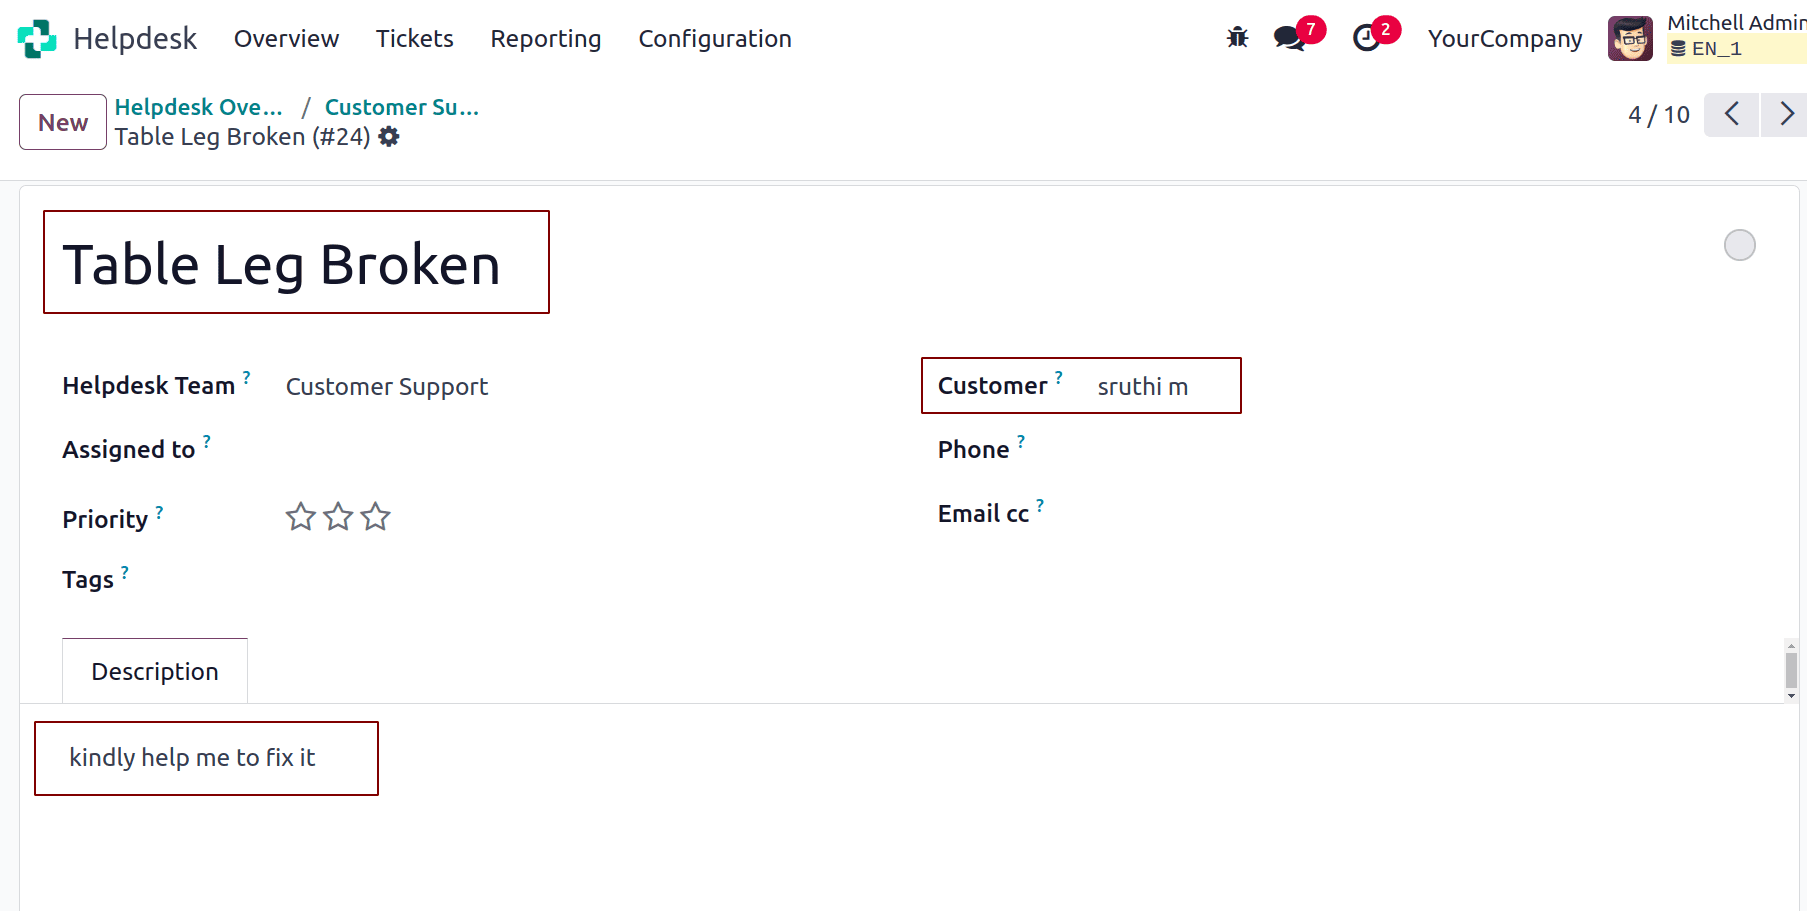
Odoo extracts the email subject line and assigns it to the name field of the ticket. This makes the ticket easily recognizable in the list and Kanban views. Odoo copies the main body of the email into the ticket’s description or message thread (chatter). Any attachments in the email (PDFs, screenshots, etc.) are also attached to the ticket record. The system identifies the email’s “From” address. If this email exists in Odoo’s Contacts (res.partner), it links the ticket to that contact. If not, Odoo automatically creates a new contact record.
Ticket Creation through Live Chat
Convert customer conversations into Helpdesk tickets directly from your website’s chat window.
Install and configure the Website Live Chat module
Go to Apps > search for Website Live Chat > click Install.
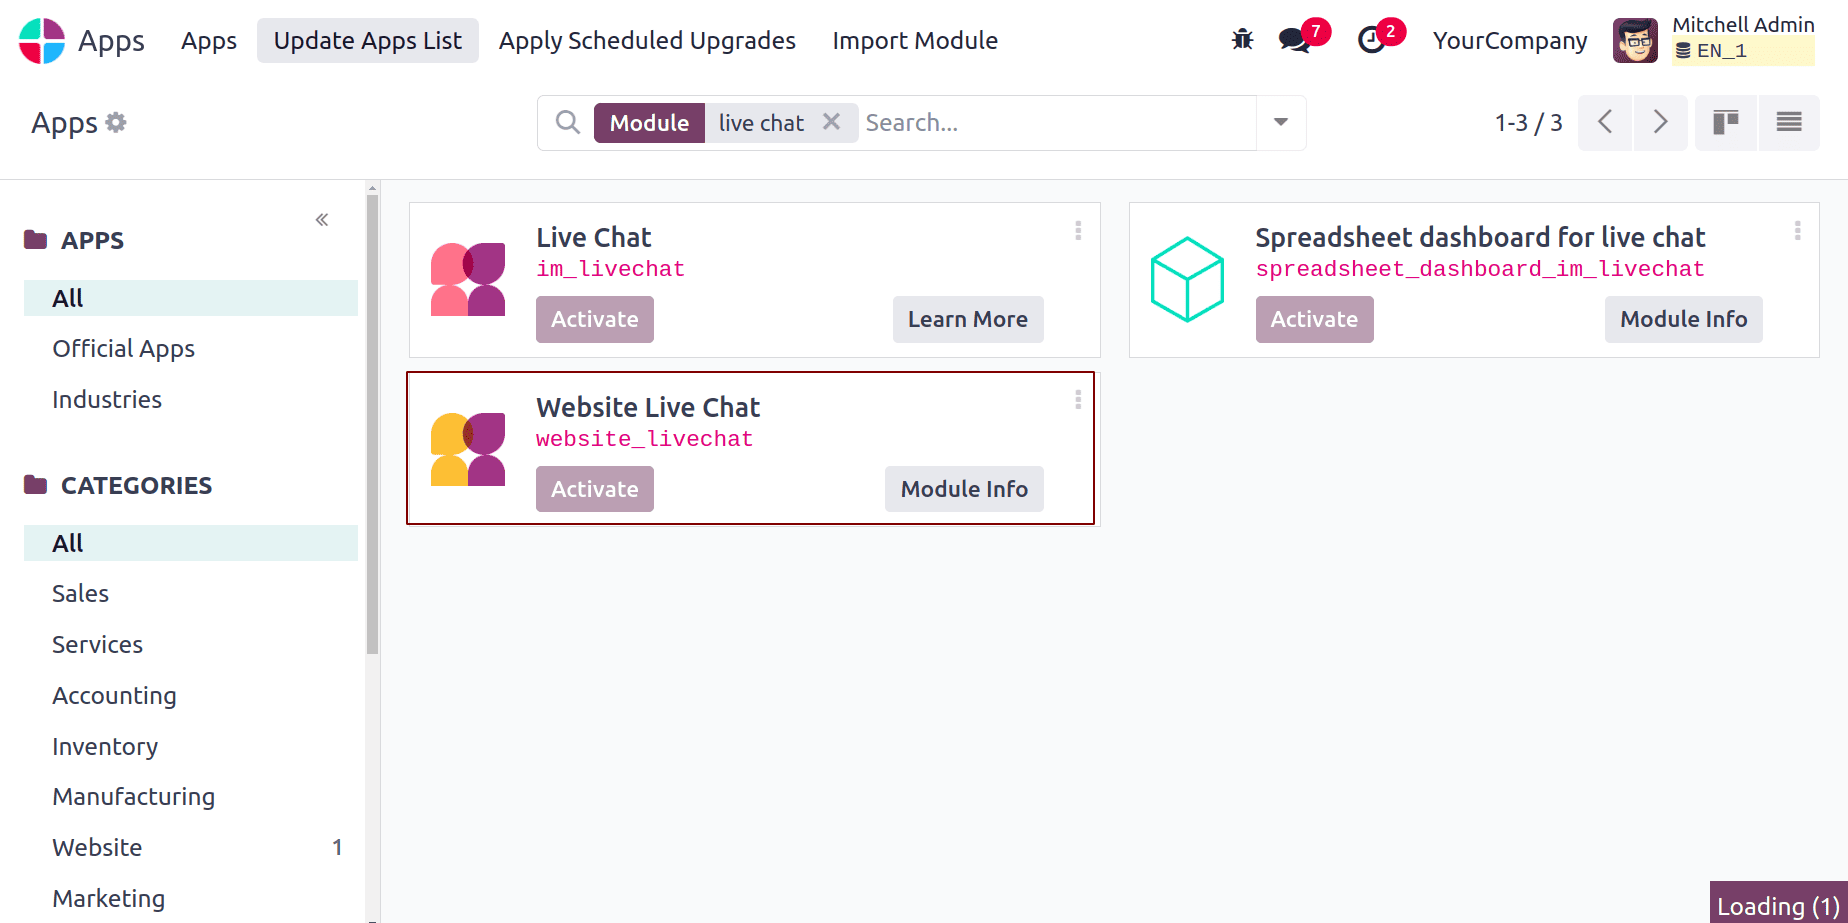
This module allows customers or visitors on your website to communicate directly with your support team through a chat window. Once installed, a small chat widget appears on your website, enabling instant communication. It provides a direct, real-time communication channel between customers and your support agents.
Go to Website > Configuration > Live Chat Channels
Navigate to: Website > Configuration > Settings > Enable Live Chat and choose or create a new channel.
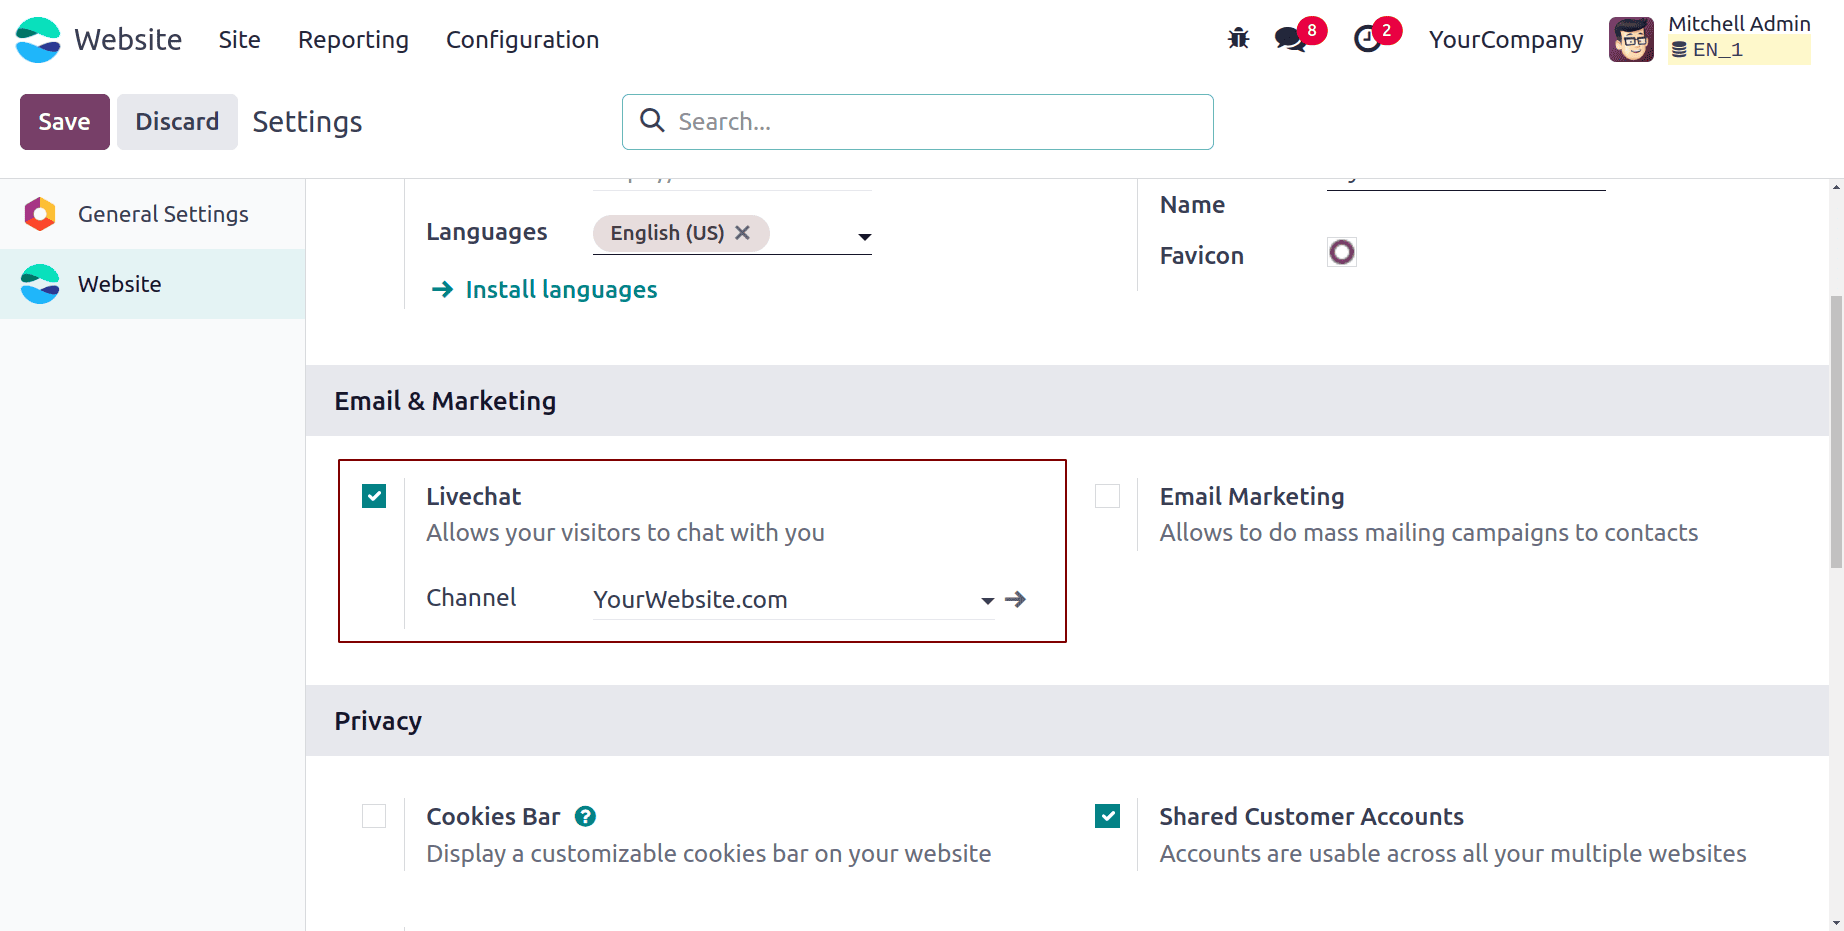
Each channel defines a separate chat group. For example, you could have different ones like Sales Chat, Support Chat, or Technical Help Chat.
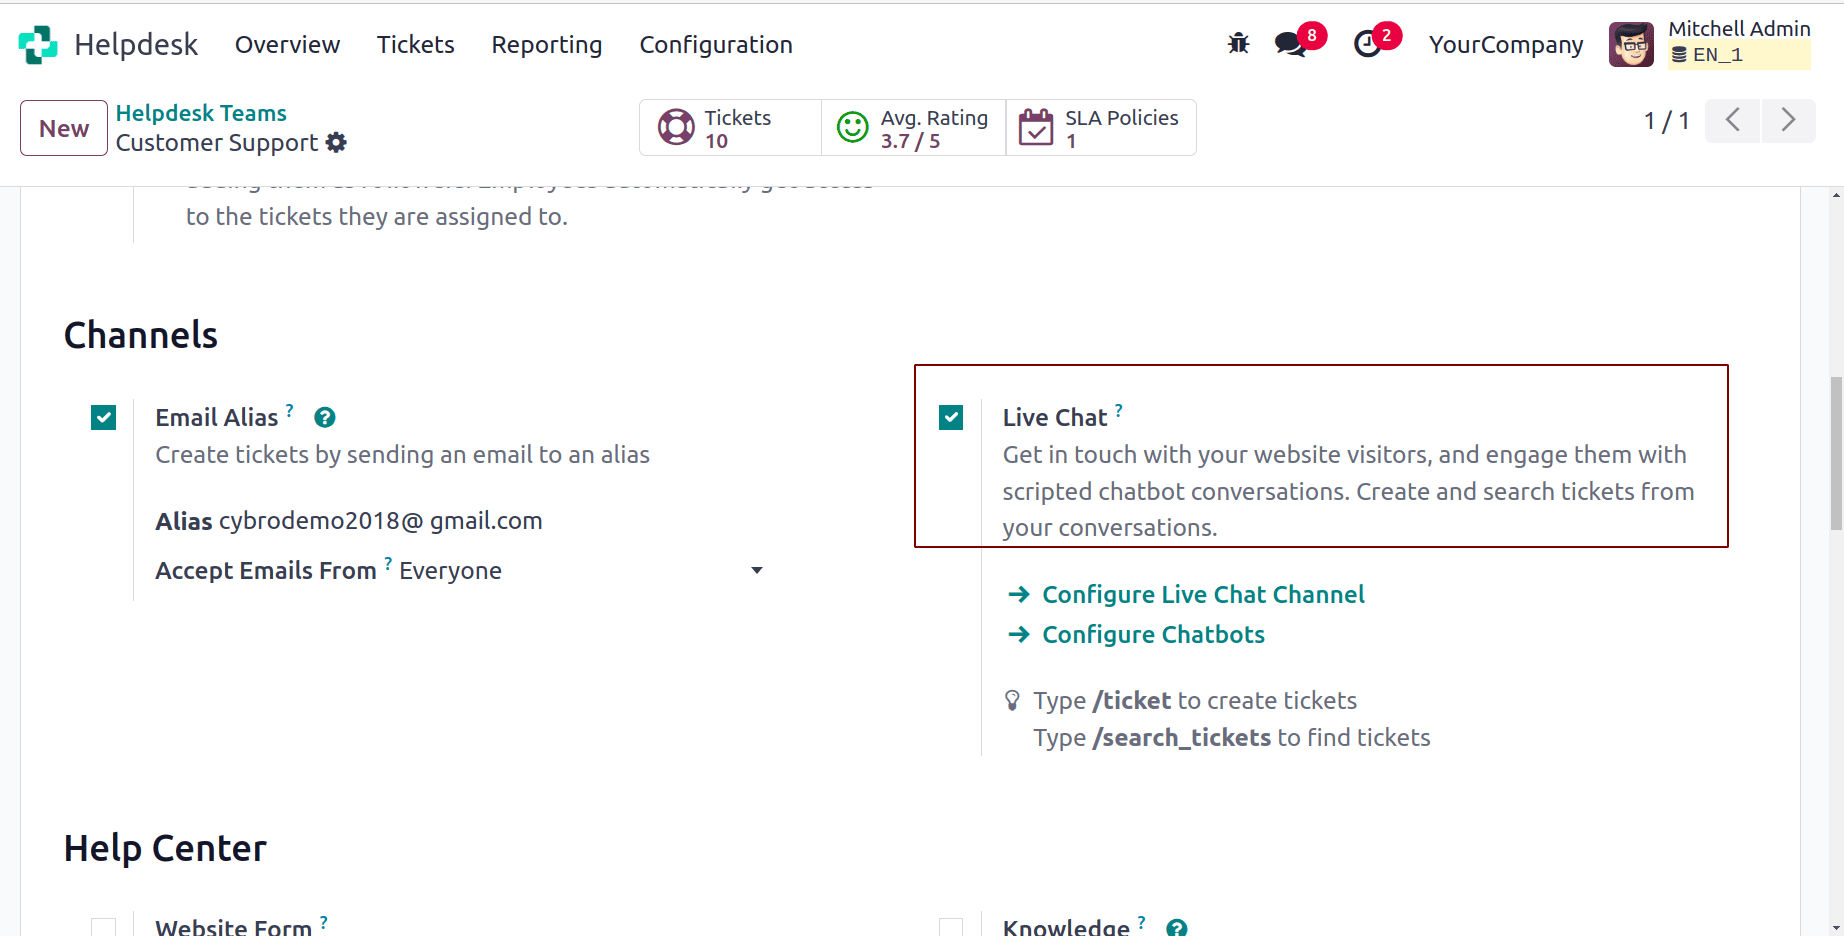
Enable Live Chat option on the Helpdesk Team
Tick the option Live Chat on the helpdesk team, then only you will get the feature.
Open the Live Chat
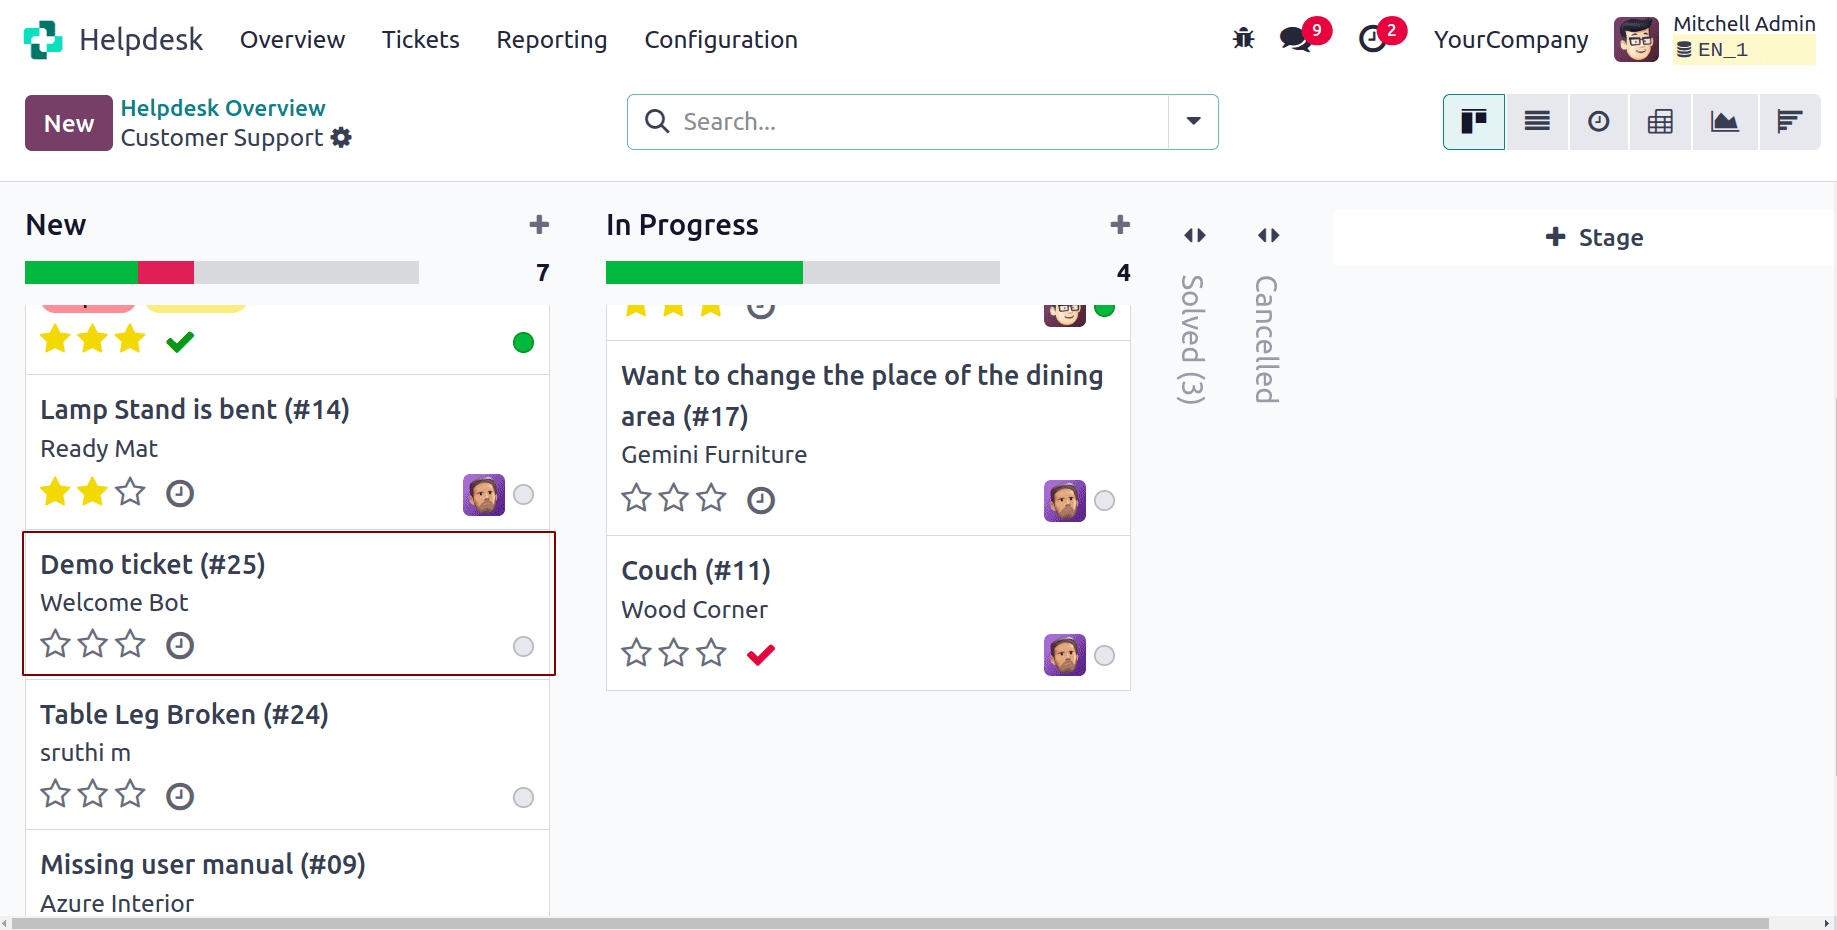
While chatting, if an issue needs to be tracked, the support agent simply types /ticket in the chat. Odoo automatically creates a new Helpdesk ticket based on the chat conversation. The system copies the chat transcript and customer details into the new ticket.
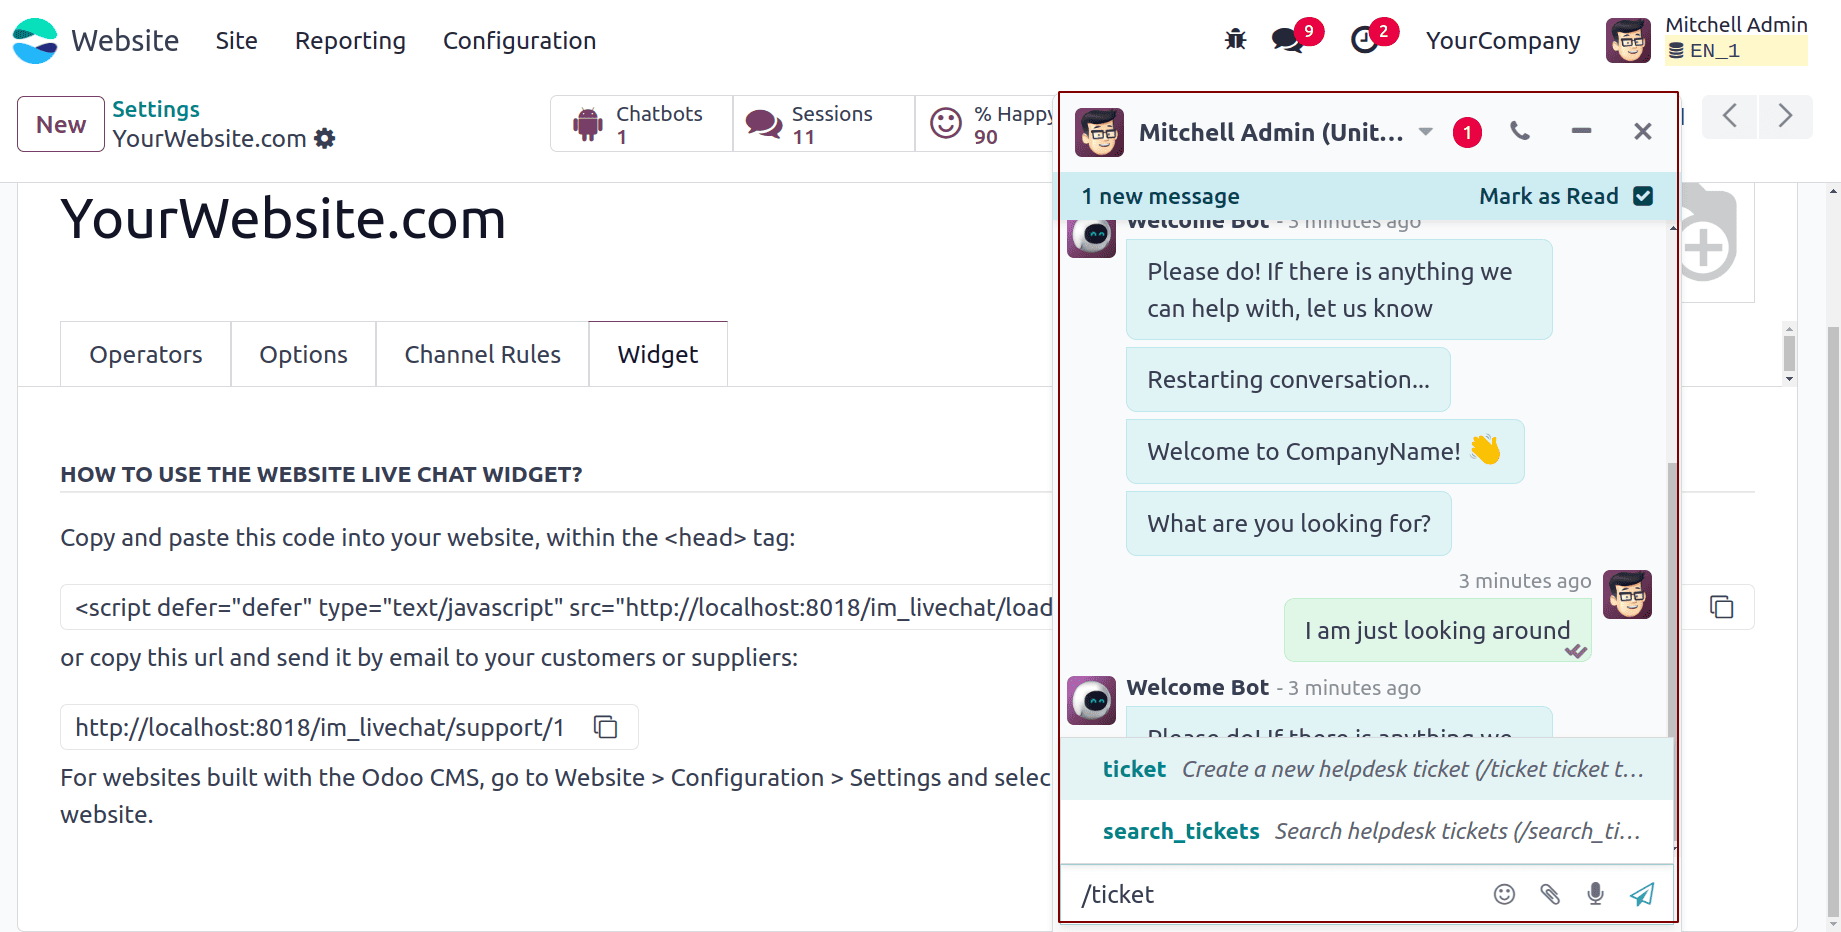
It allows smooth escalation of chat issues into actionable Helpdesk tickets—without leaving the chat window.
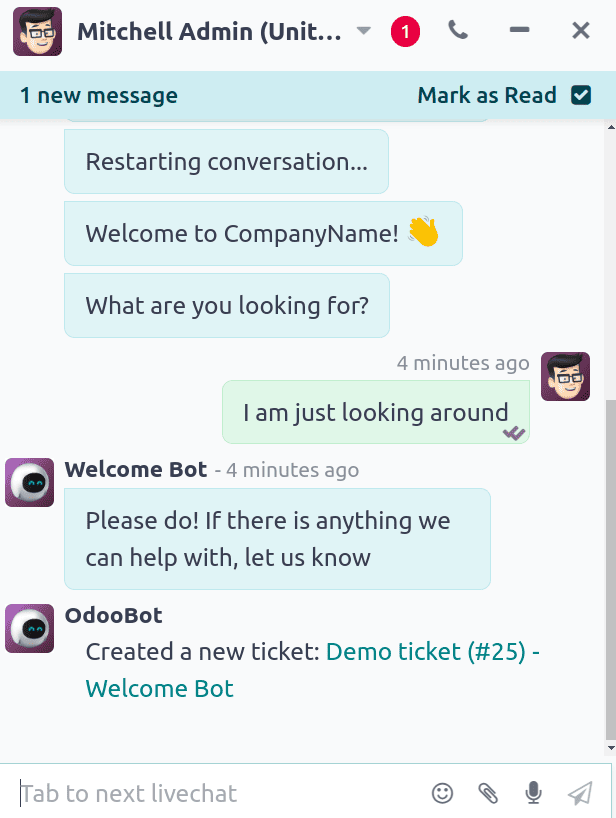
From this example, actually typed /ticket Demo ticket. So a related helpdesk ticket will be generated.
Ticket Generation Through Website Contact Form
Allow customers or visitors to submit their issues directly from your website using a support form.
This is ideal for users who prefer written forms over live chat or email, and it helps you capture structured data for better ticket management.
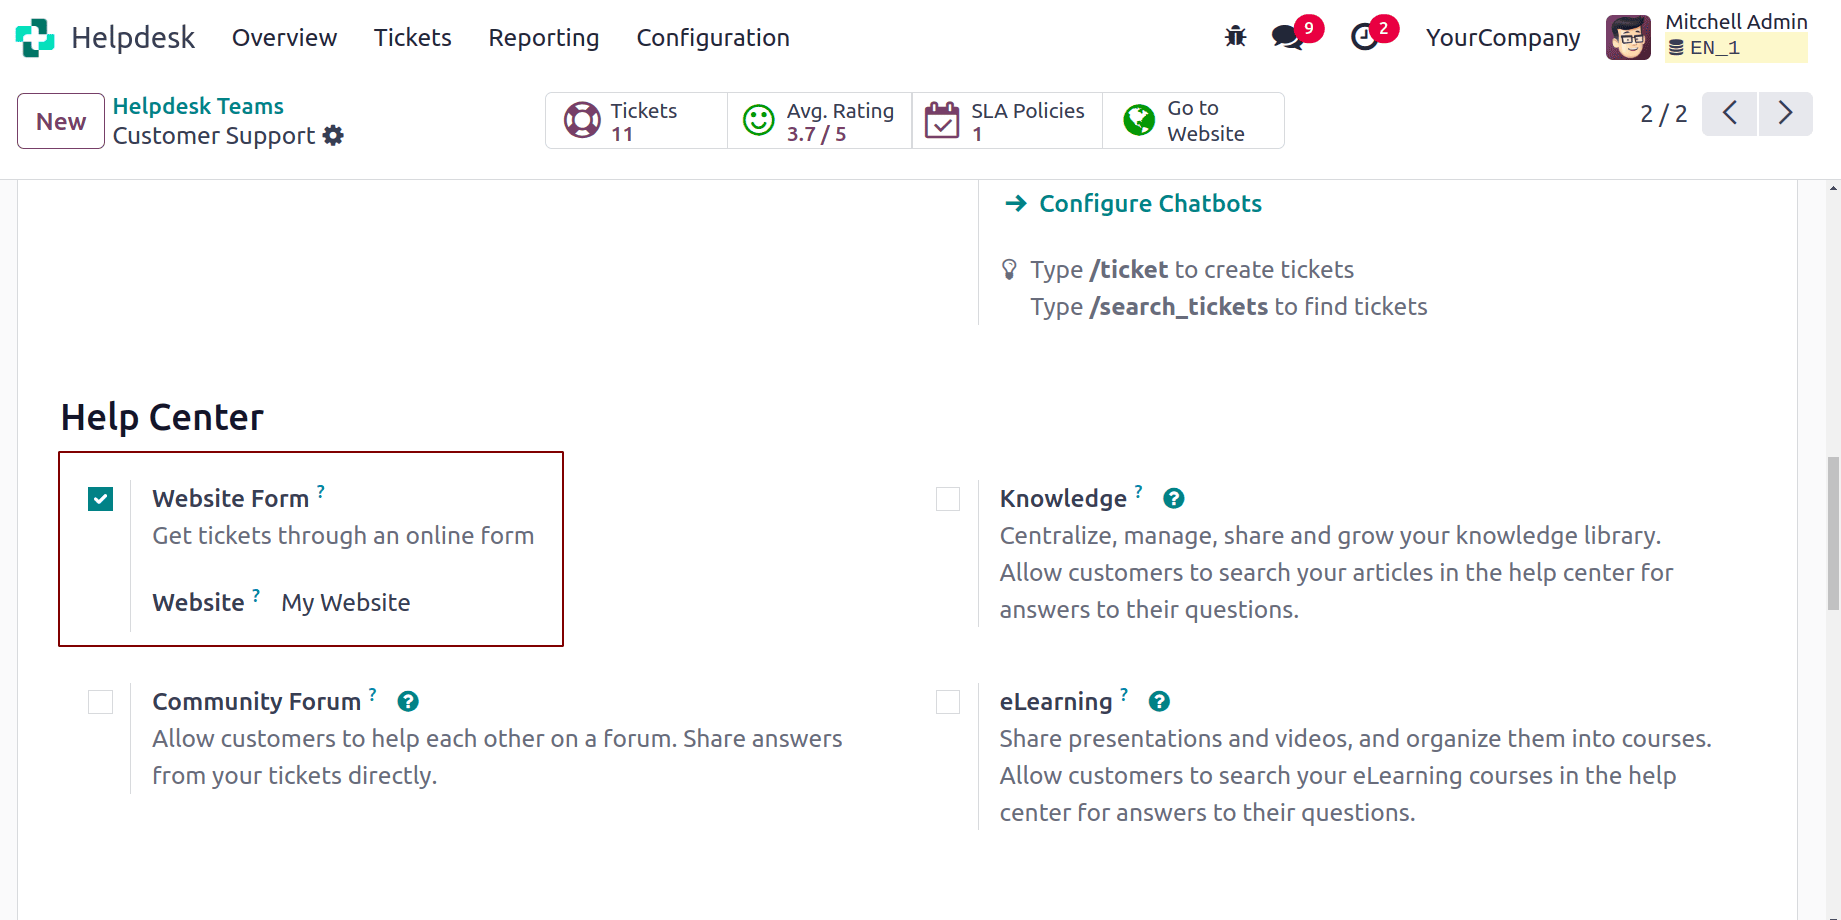
Go to Helpdesk > Configuration > Helpdesk Teams
Navigate to Helpdesk > Configuration > Helpdesk Teams. Select the team where you want tickets from the website to appear (e.g., Customer Support). Enable the Website Form option.
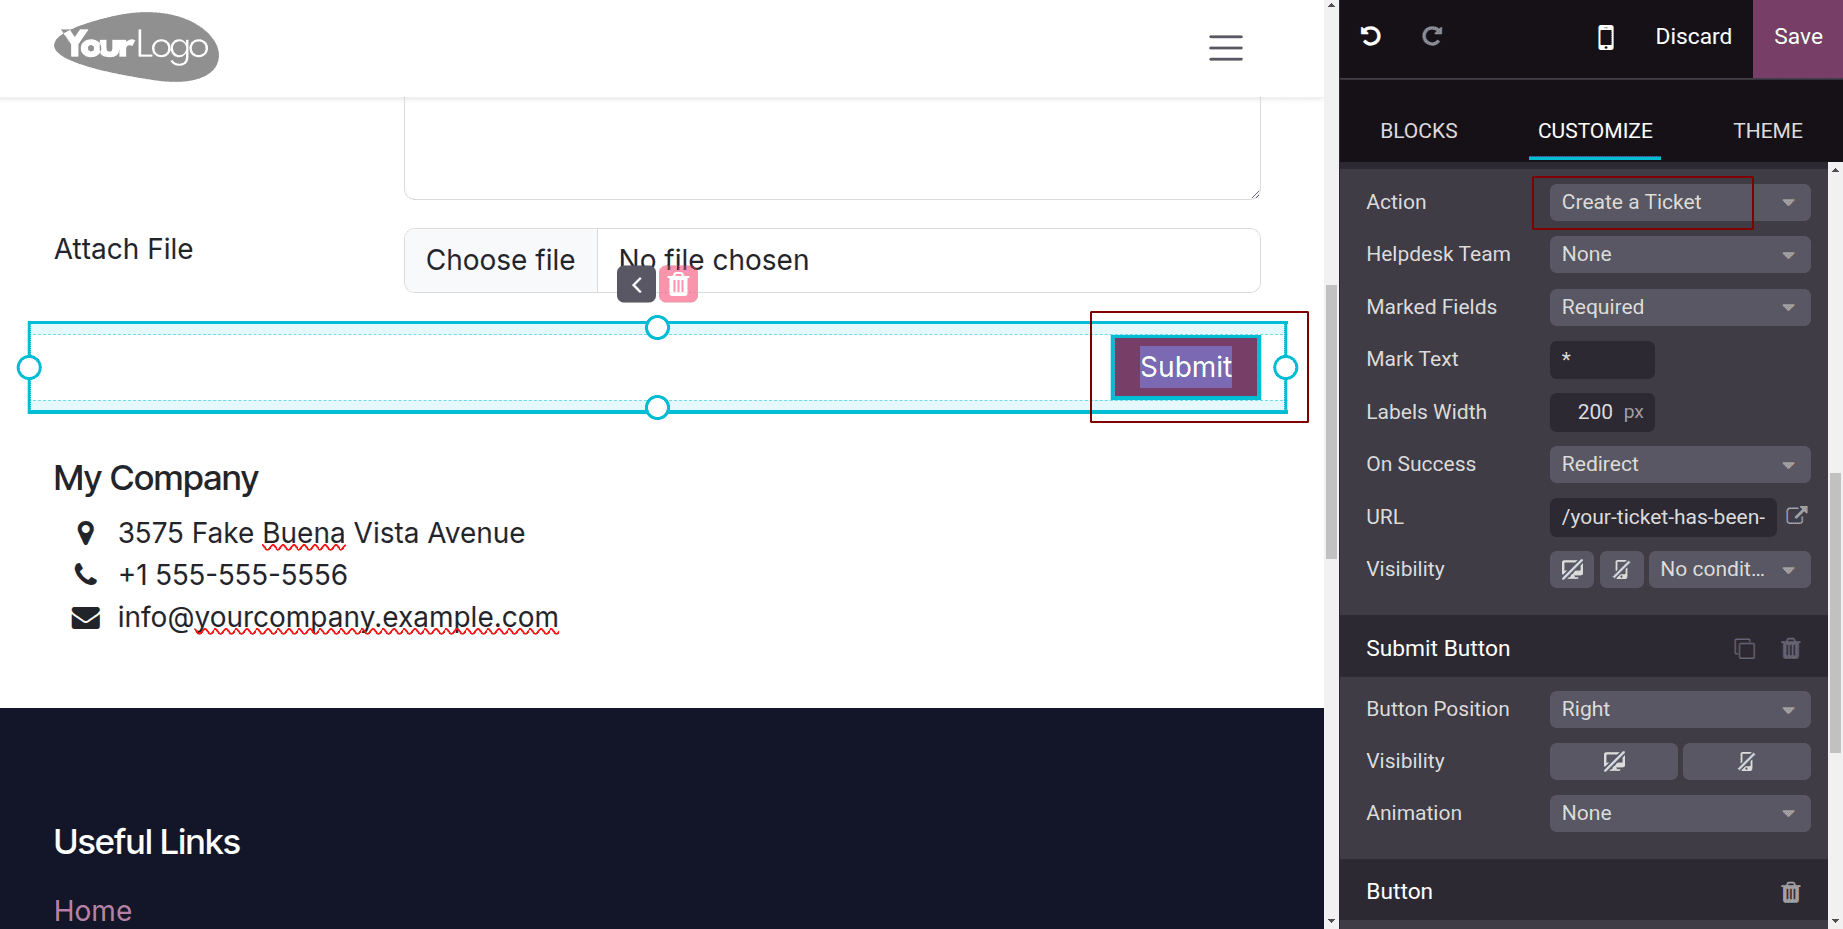
Customize the form using Website Builder
Go to Website > Edit (on your Helpdesk page). Then customize your own ticket form. Also give button action to create a ticket.
Submitting the form creates a ticket automatically
When a user fills and submits the form: A new Helpdesk ticket is created in the linked team. The form data (subject, message, attachments) is automatically stored in the ticket record. The customer’s name and email (if provided) are linked to the partner.
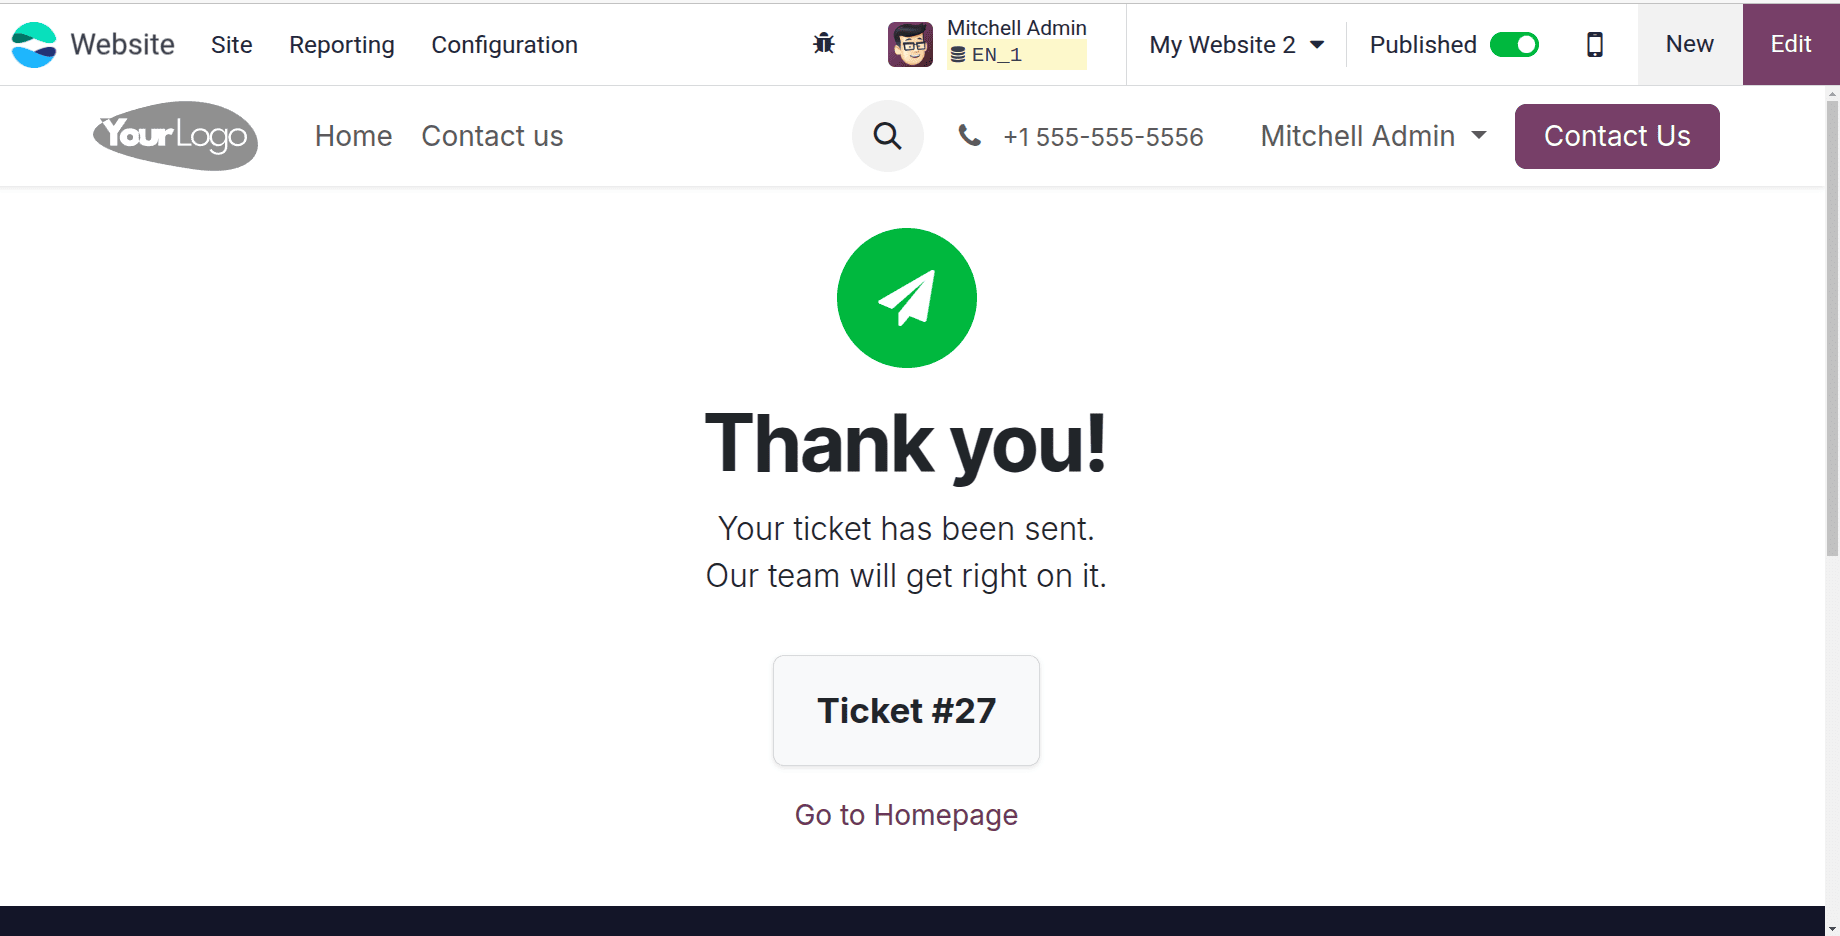
This automates ticket creation from website interactions, reducing manual data entry by the support team.
Converting CRM Leads to Helpdesk Tickets
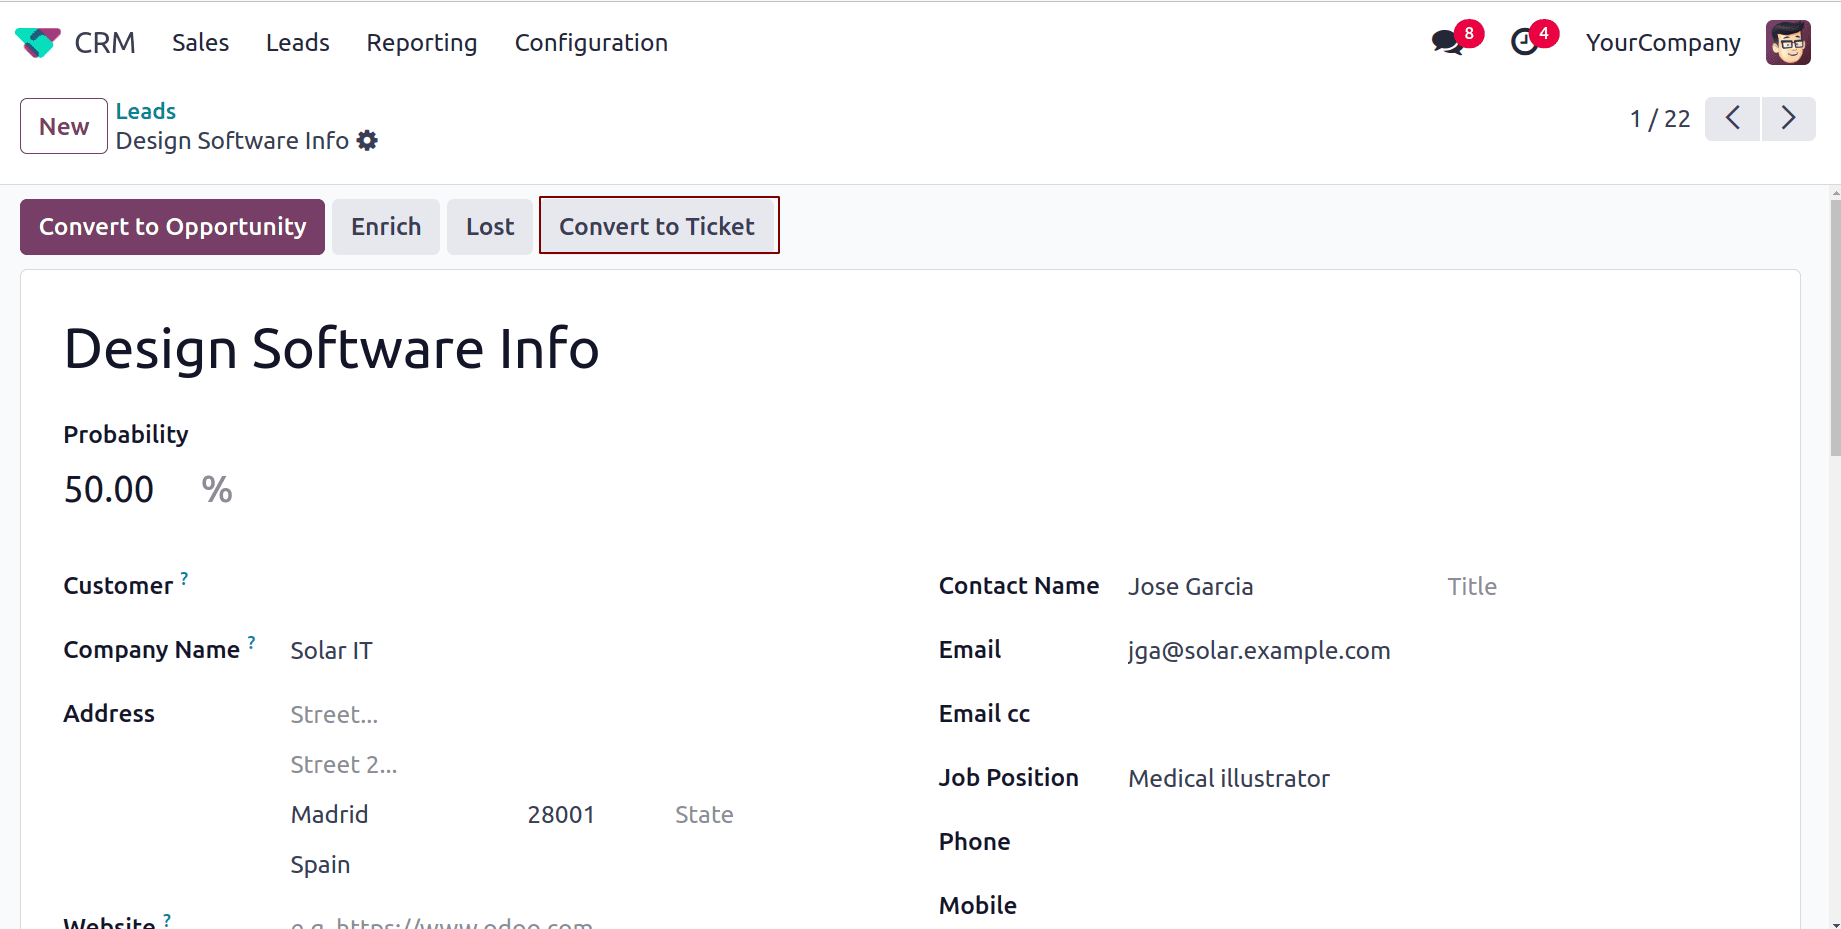
Convert CRM leads or opportunities into Helpdesk tickets for after-sales or technical support. For example, a customer who purchased software raises a technical question in CRM > Sales team converts lead to Helpdesk ticket for support follow-up.
- Ensure both CRM and Helpdesk apps are installed.
- Open a Lead in CRM
- Click the button Convert to Ticket.
- Choose the relevant Helpdesk team and customer.
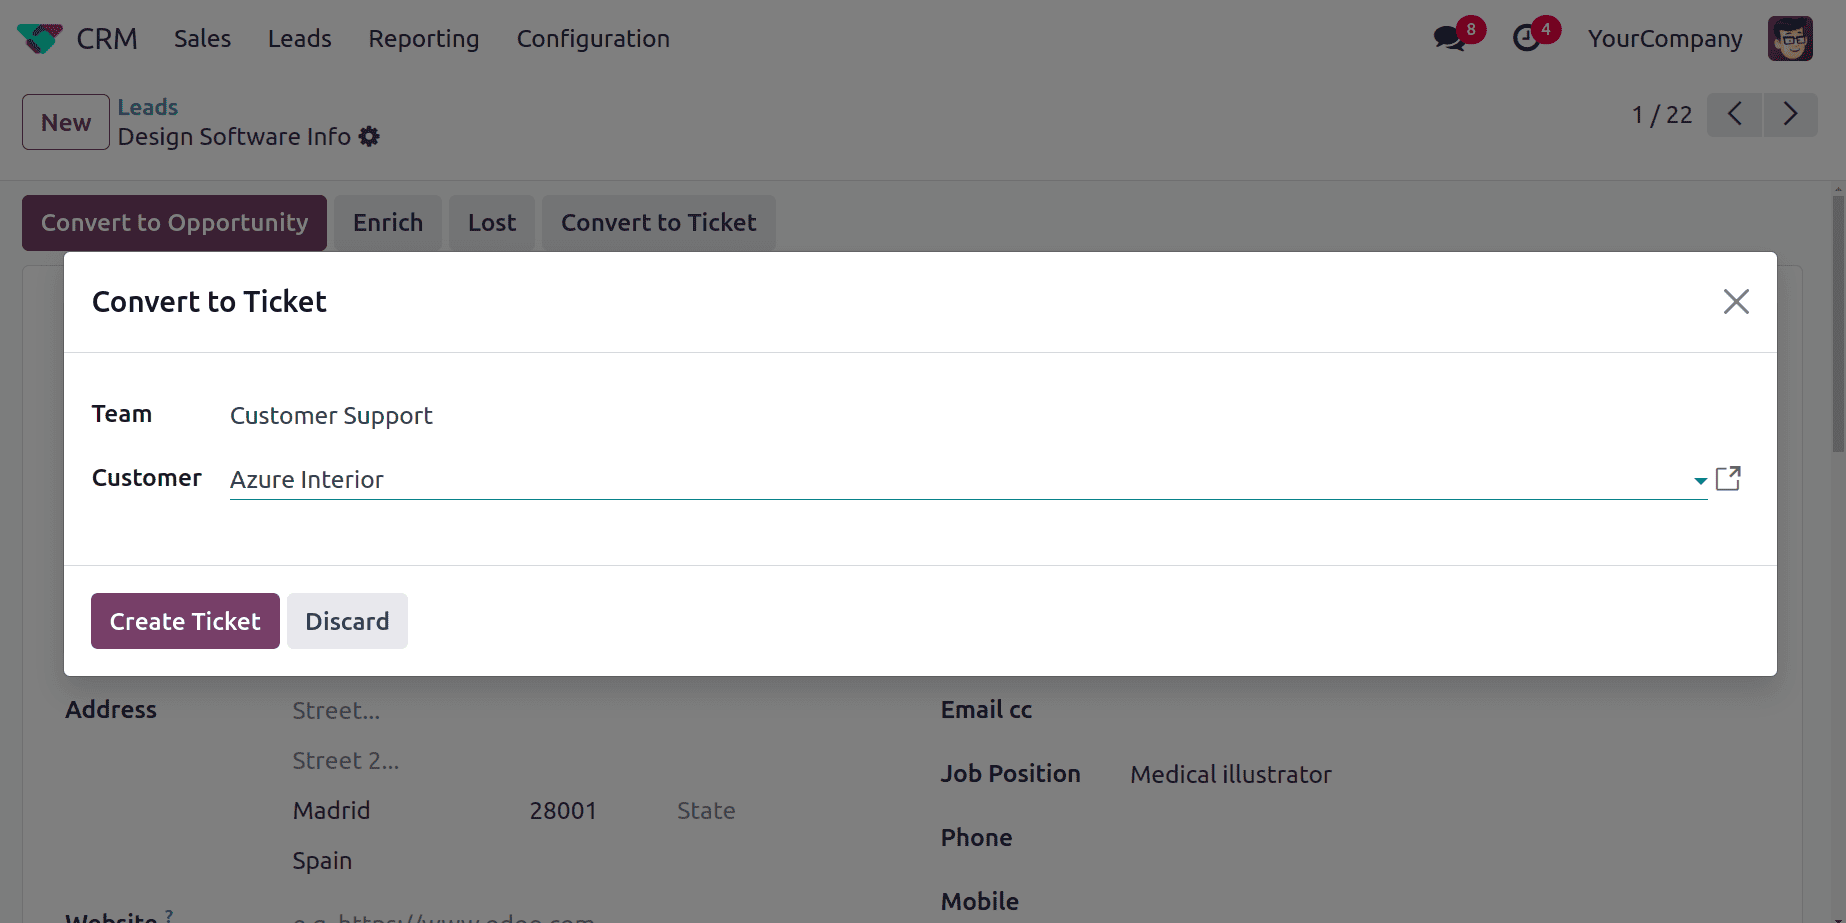
- The new Helpdesk ticket automatically links back to the lead.
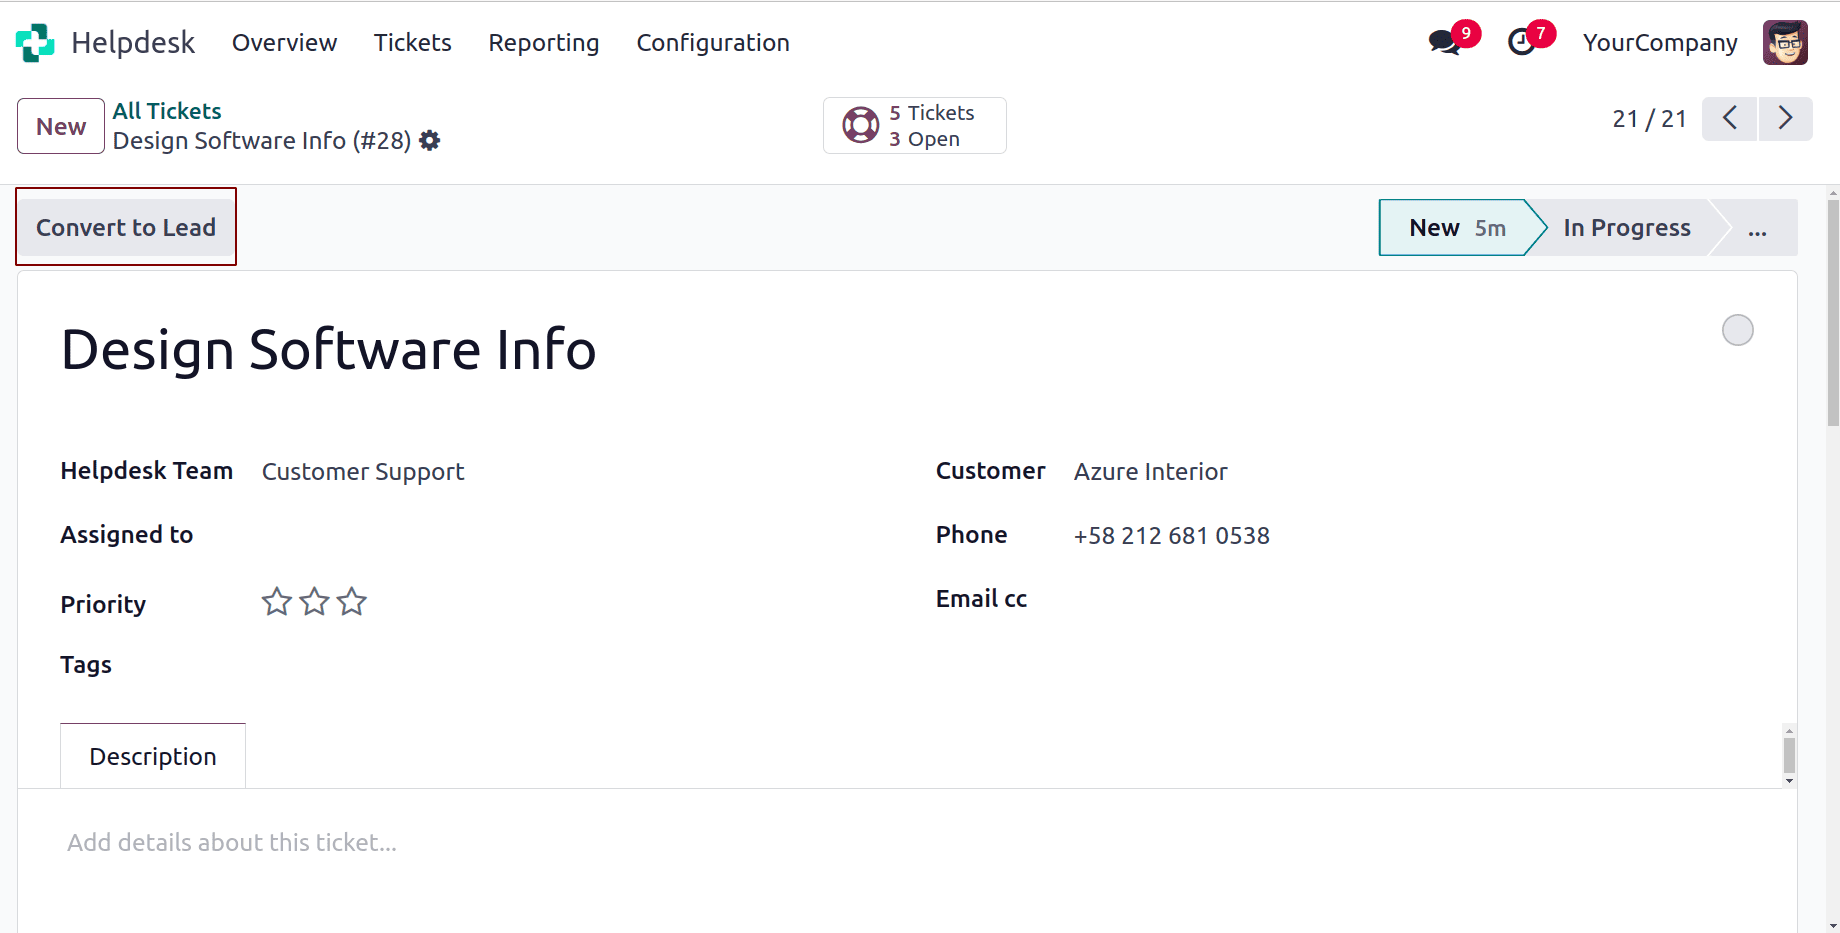
Converting Tickets to Tasks (Project Integration)
When a support request requires development or long-term follow-up, convert it into a project task.
- Ensure Project and Helpdesk apps are installed.
- Open a ticket > click “Convert to Task” from the actions.
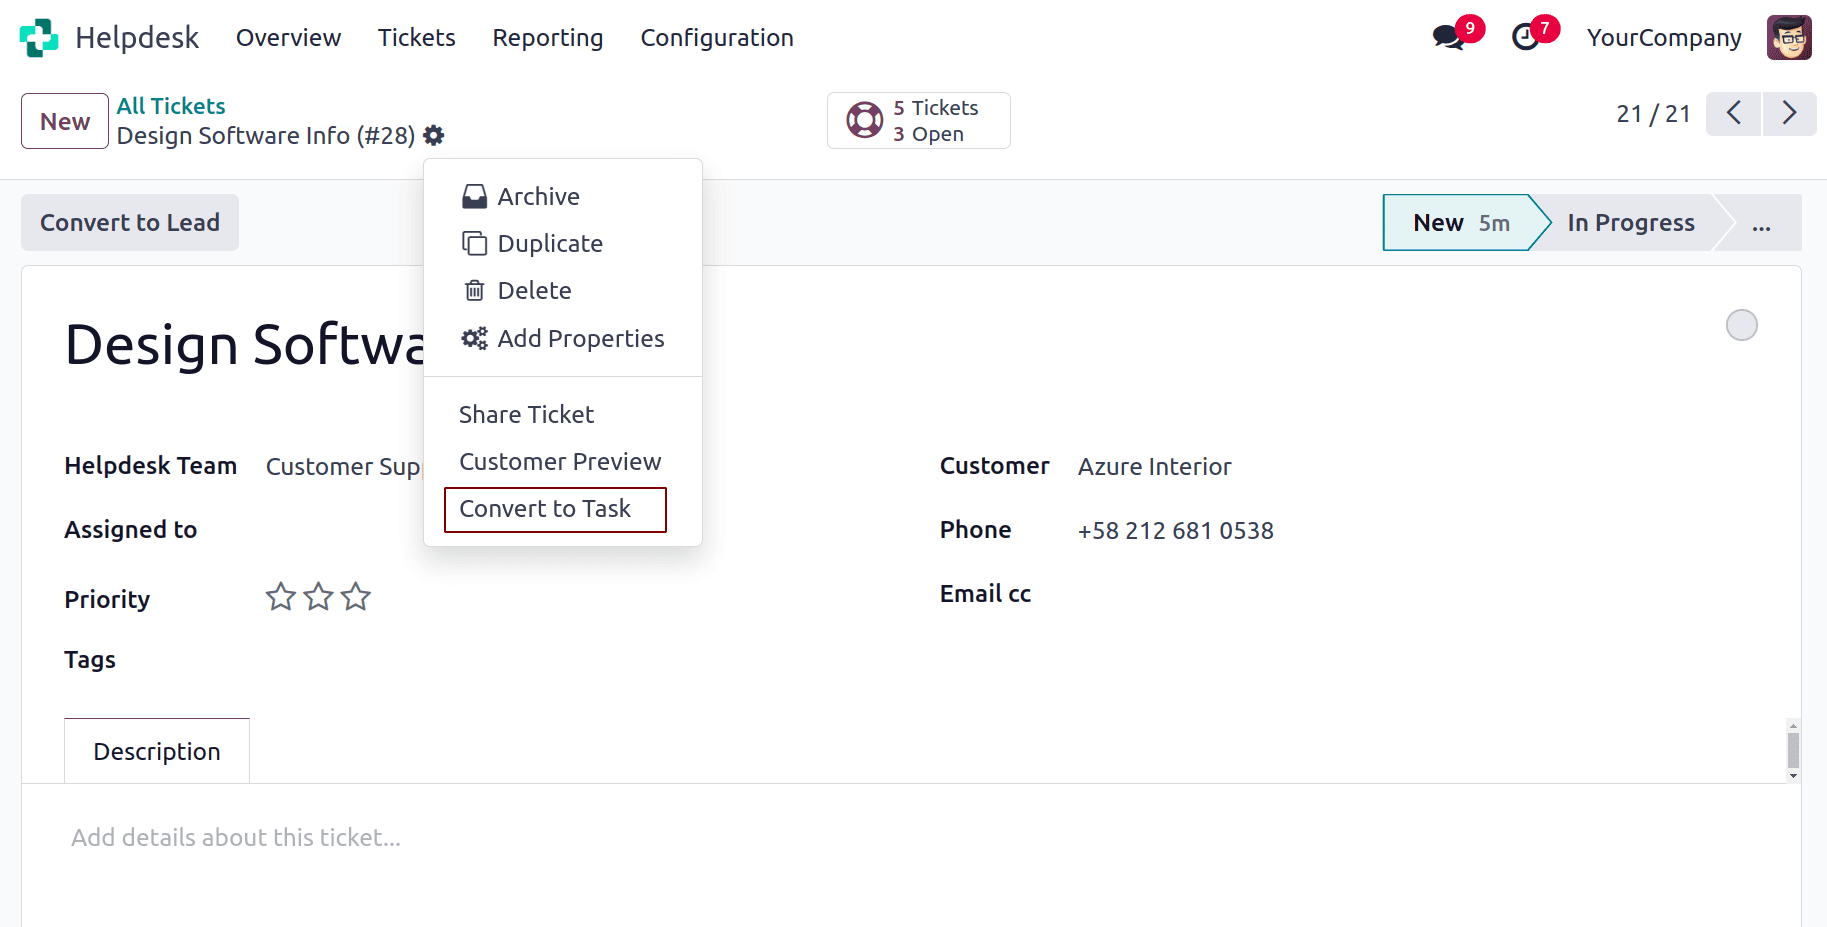
- Select the target project and task stage.
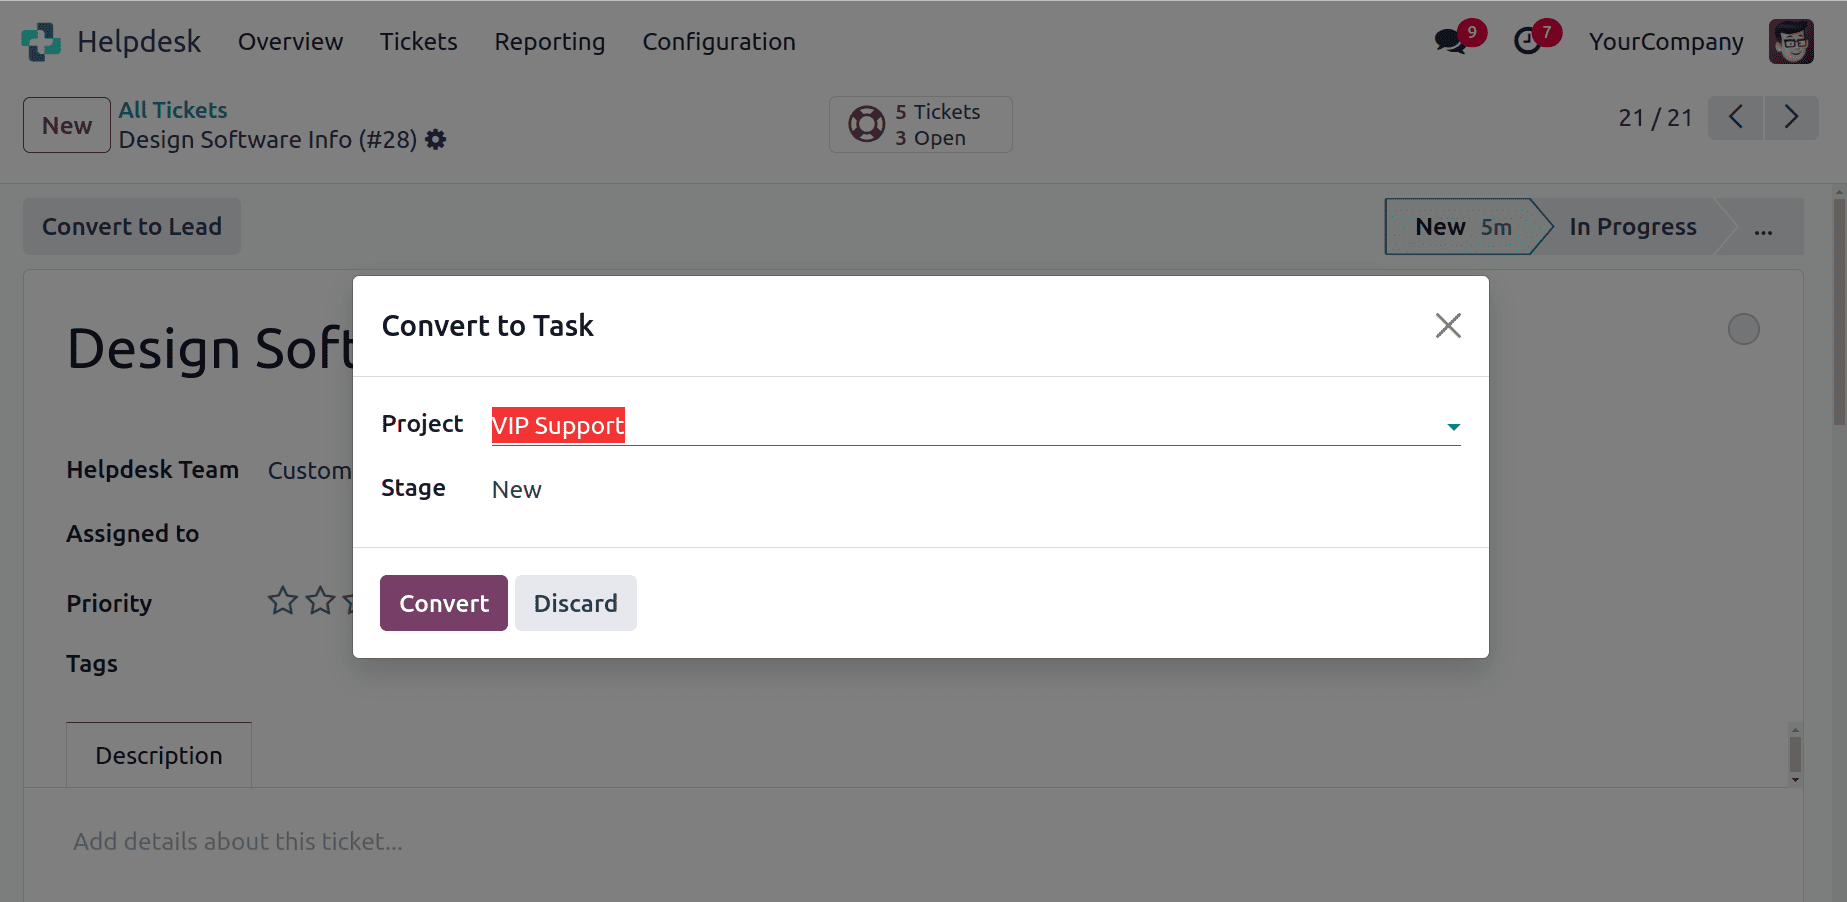
- Open the task inside the corresponding project
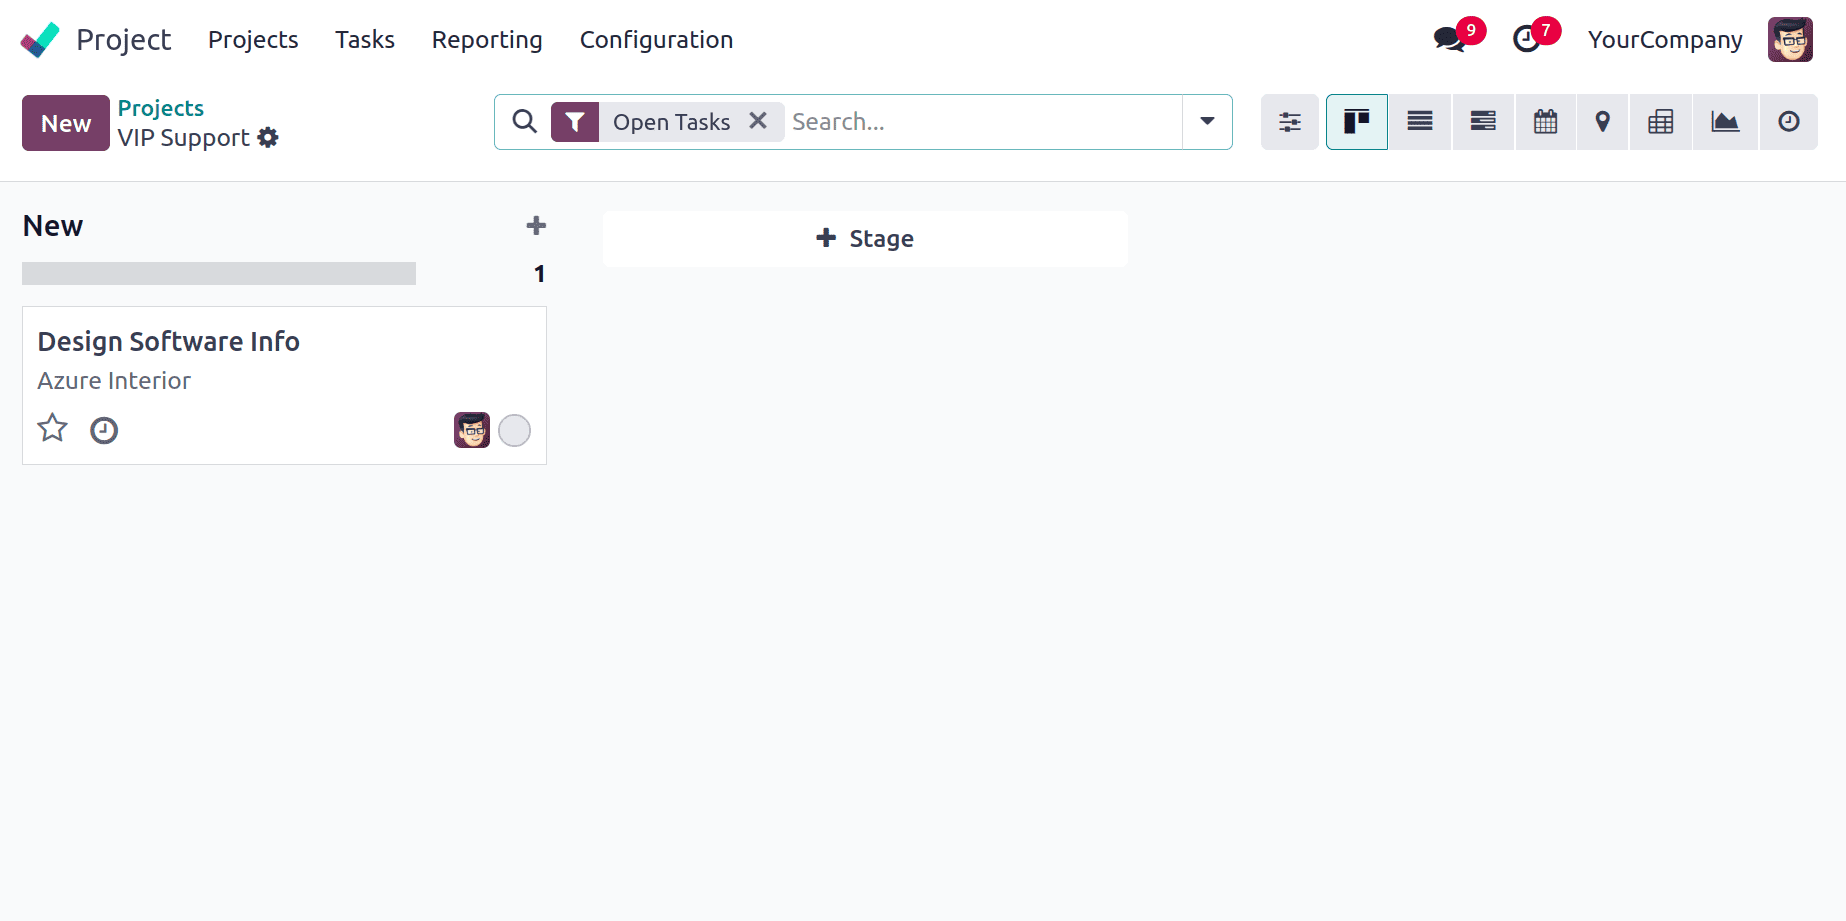
The project task is created with the ticket’s description. The task links back to the original ticket for traceability.
Ticket Generation from Forum Posts
Allow customers or community members to post their questions or issues in your website forum, and automatically convert selected posts into Helpdesk tickets for follow-up by the support team.
This bridges community discussions and official support, ensuring important issues are not missed.
Install and configure the eLearning module
Go to Apps > search for eLearning > click Install.
Link the Forum with Helpdesk
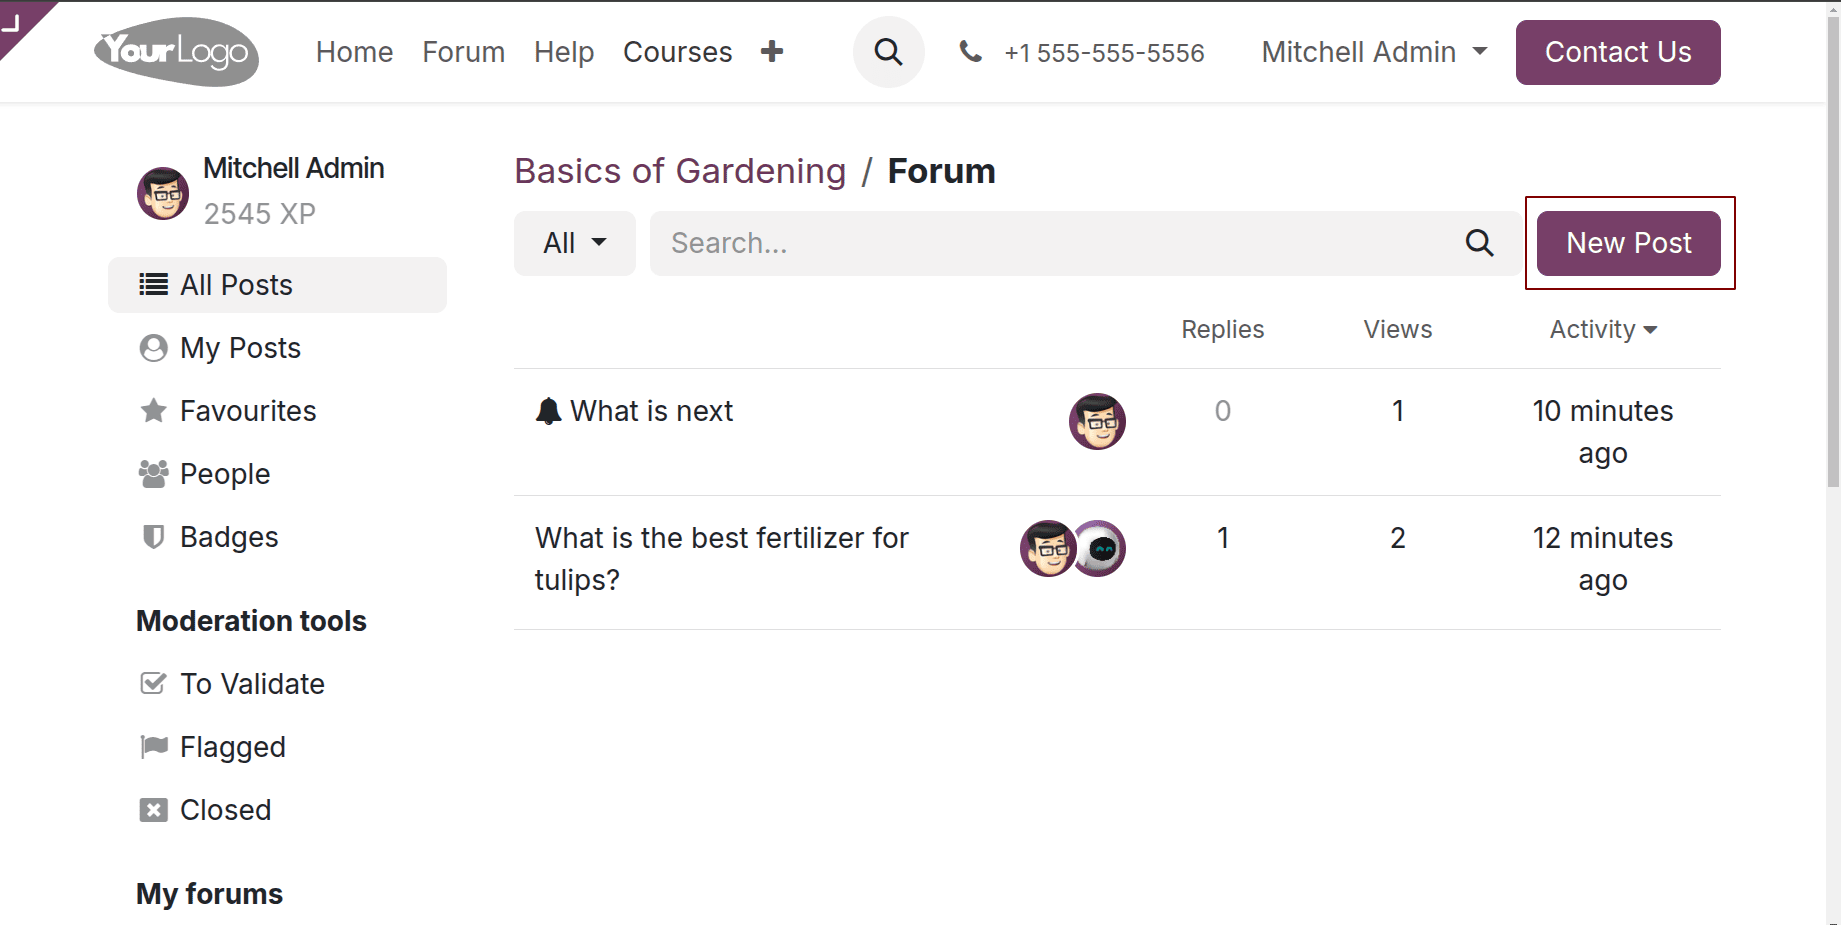
For link the forum with the helpdesk, go to your company website. Click on the Forum menu from the main navigation bar. You’ll see a list of all available forums. Each forum acts as a discussion area where customers and users can post questions or issues related to different topics. Then click or New Post.
Fill in the Title, Description, and optionally add tags. Submit the post.
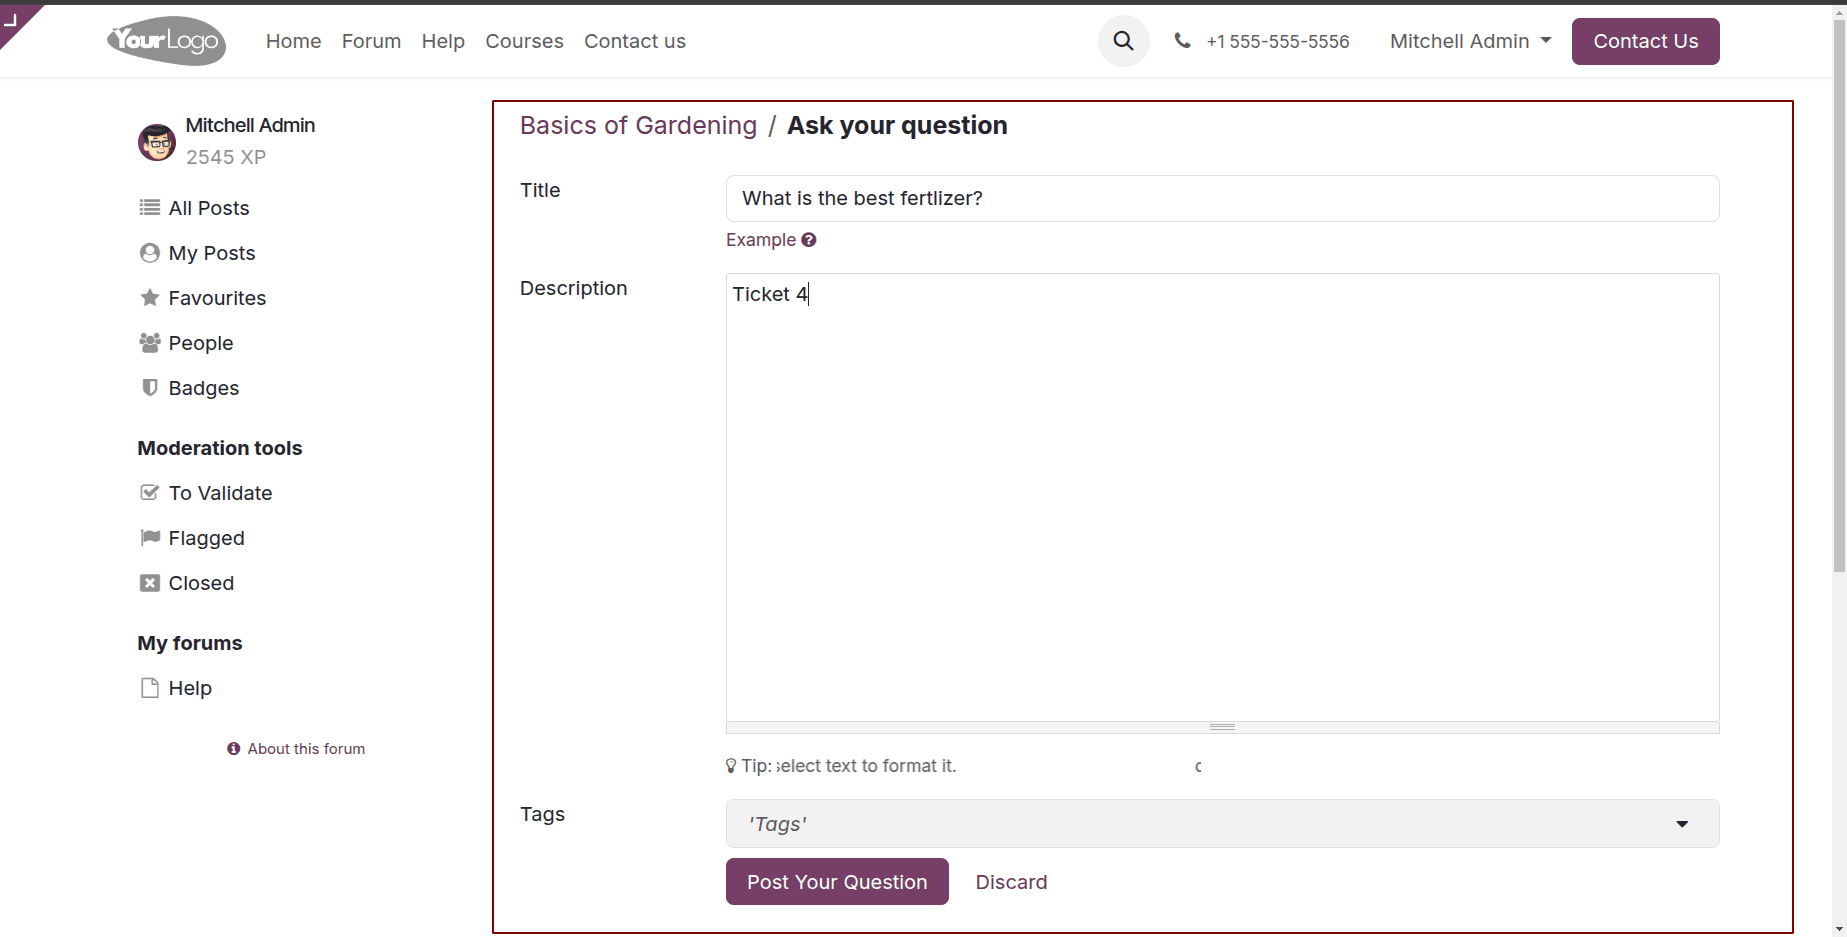
This lets users or customers raise issues in a community-friendly space where both other users and company representatives can respond.
When the support or moderation team reviews a forum question that requires official support, they can open the post and click Convert to Ticket.
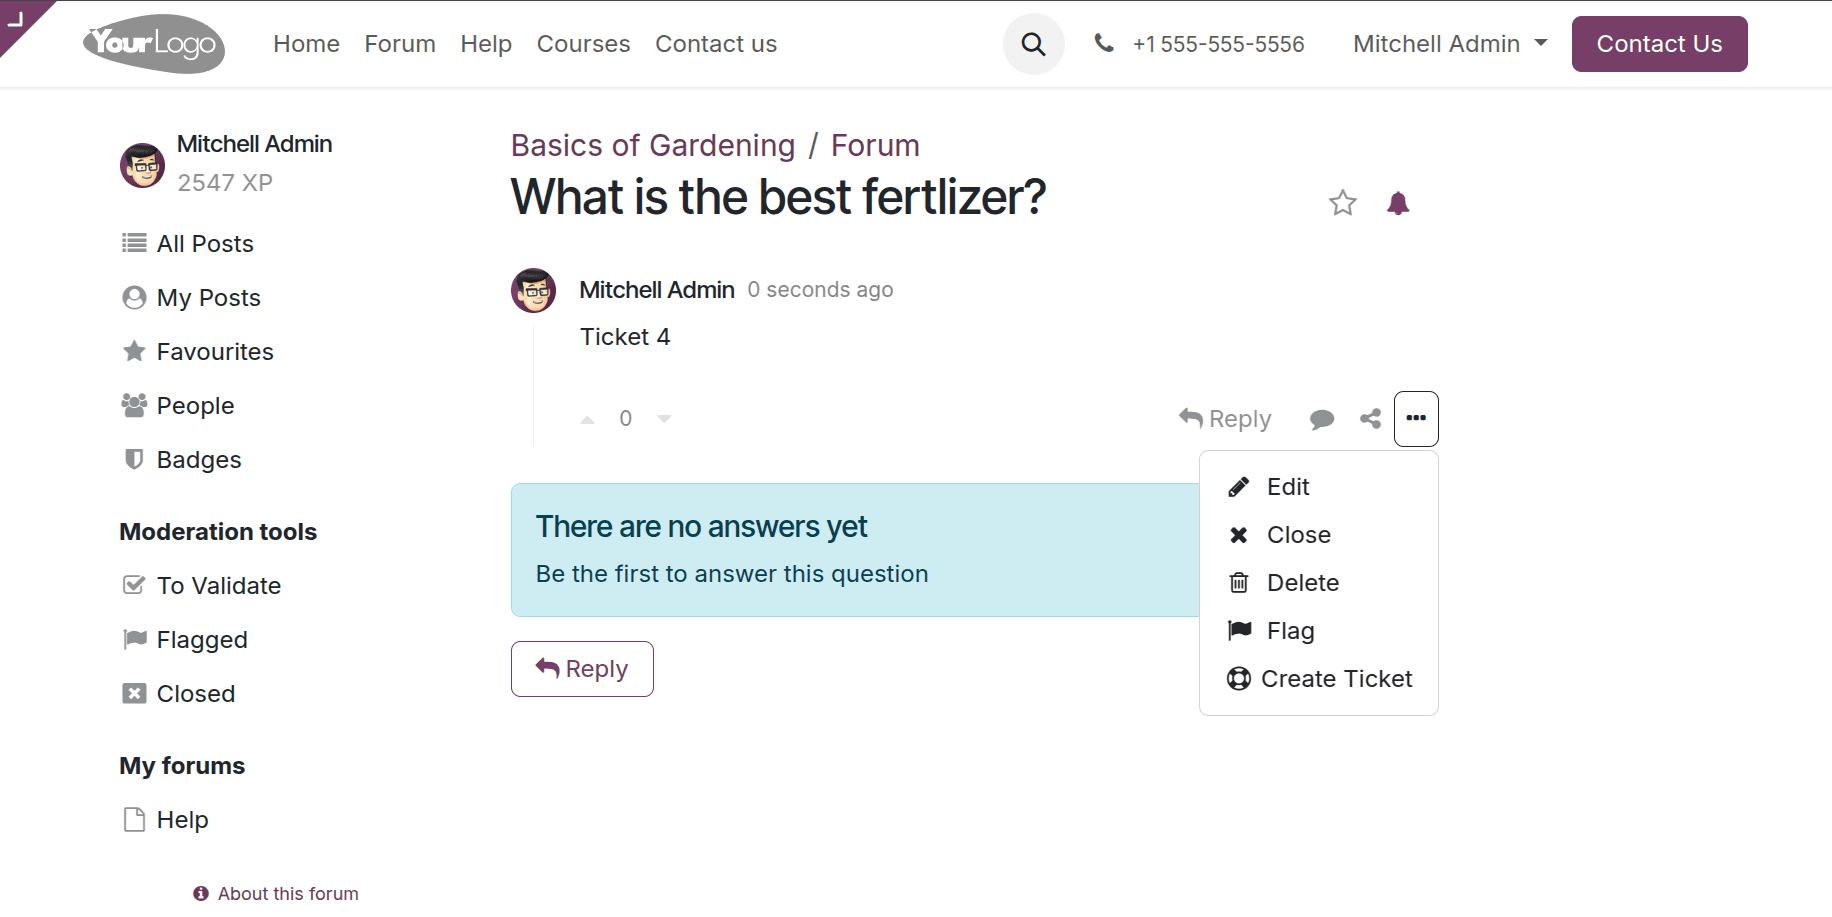
When clicking convert to ticket they can choose the helpdesk team and also can give the proper title.

Odoo automatically creates a Helpdesk ticket linked to the corresponding team.
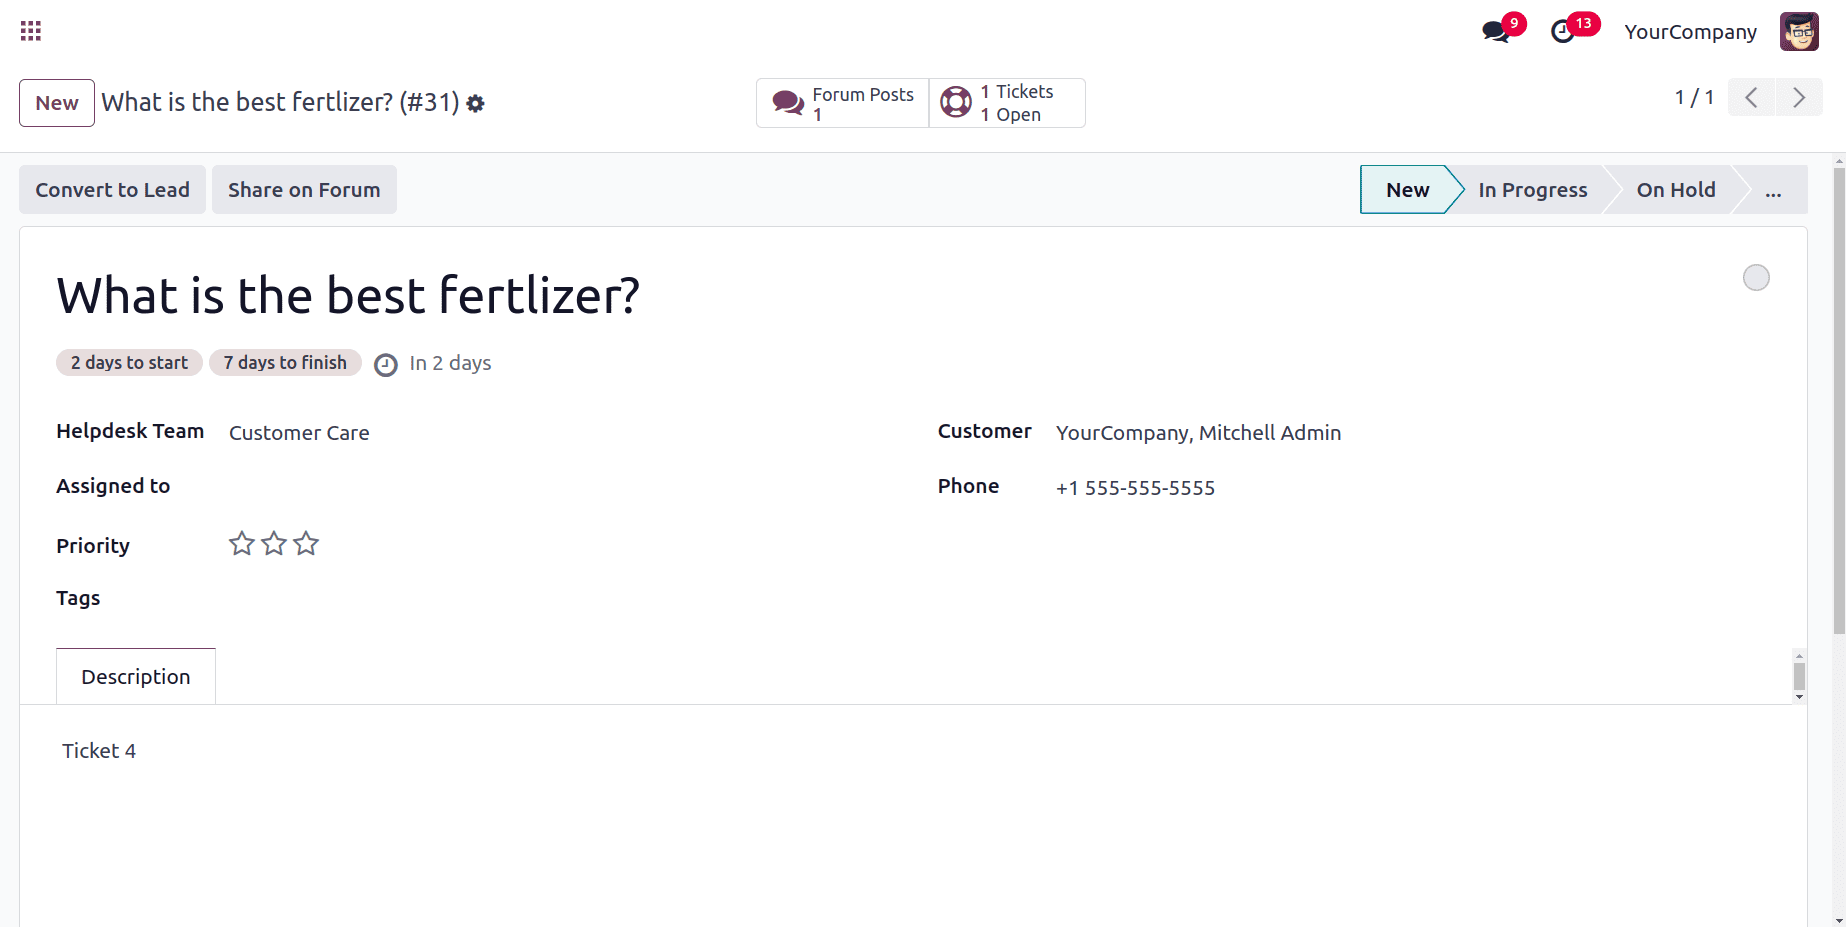
This creates transparency for the user and helps the team manage real issues within the Helpdesk workflow while keeping the community forum active.
Odoo 18 Helpdesk provides a multi-channel ticket generation system that ensures customers can reach your support team through the method most convenient to them. Whether it’s via email, live chat, website form, or community forum, each channel integrates seamlessly into the Helpdesk workflow, converting customer interactions into trackable and actionable support tickets.
To read more about How to Create & Manage a Helpdesk Ticket From a Lead in Odoo 18, refer to our blog How to Create & Manage a Helpdesk Ticket From a Lead in Odoo 18.