React is a powerful JavaScript library for building interactive UIs, and Firebase is Google’s platform that provides backend services like authentication, database, hosting, and more, all without managing a server.
In this guide, we’ll walk you through how to integrate Firebase Authentication and Cloud Firestore (database) in a React application step-by-step.
What You'll Learn
- How to create a Firebase project
- How to set up Firebase in a React app
- Implementing Email/Password Authentication
- Storing and retrieving data in Cloud Firestore
- Keeping user sessions and logging out
By the end, you'll have a working React + Firebase project that authenticates users and stores their data.
Setting Up Your Firebase Project
First, we’ll create a Firebase project and configure it to work with our React app.
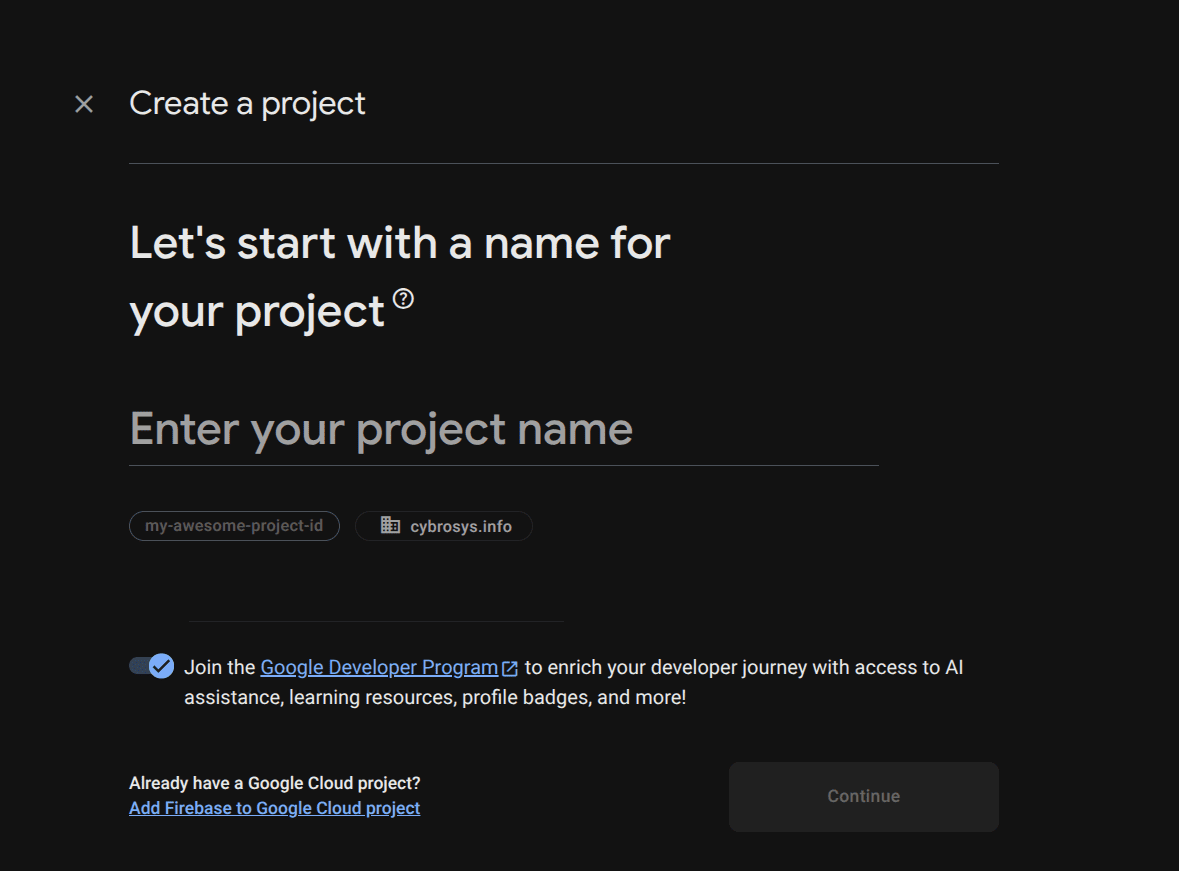
Step 1: Create a Firebase Project
- Go to Firebase
- Click "Add project"
- Name your project (e.g., react-firebase-demo)
- Disable Google Analytics (optional) and click "Create"
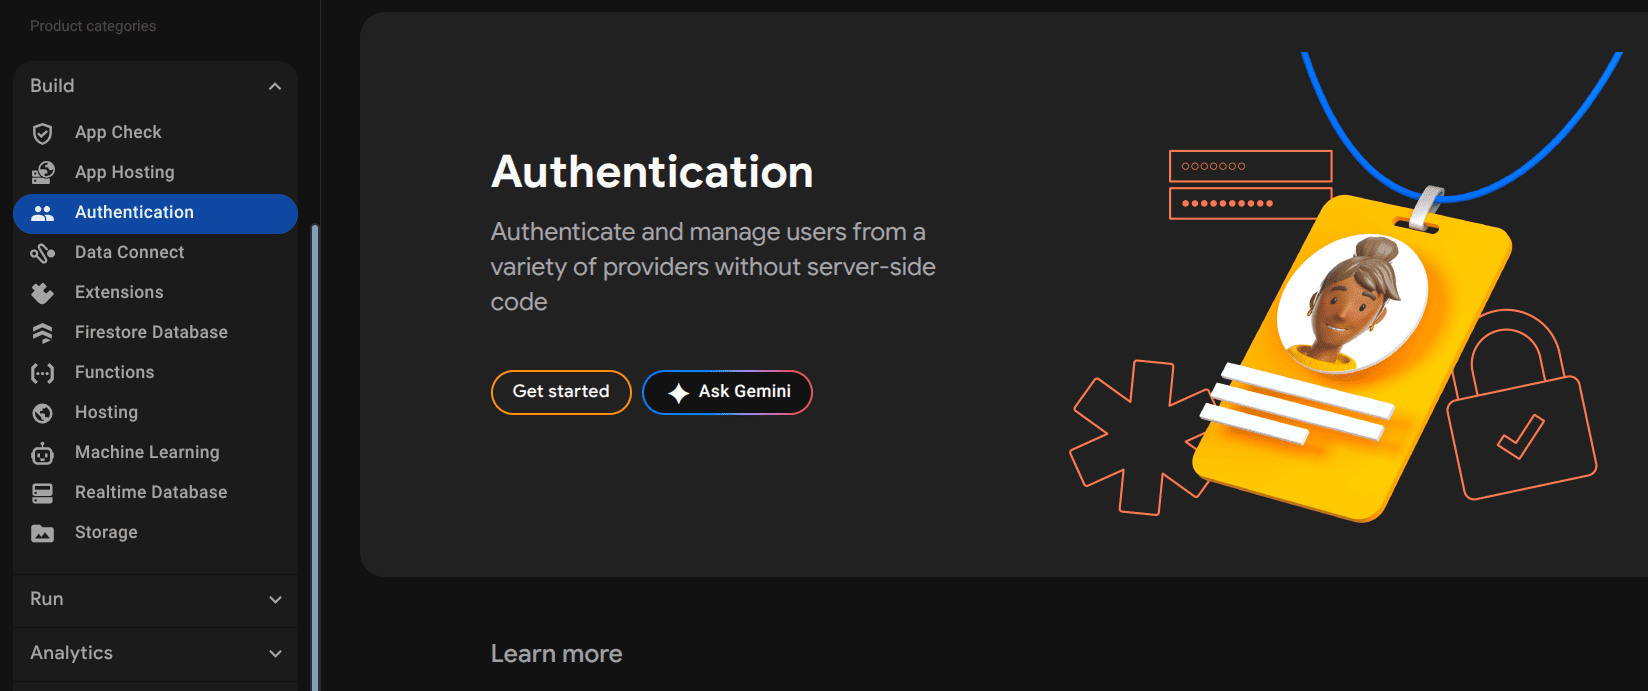
Step 2: Enable Authentication
- In the Firebase console, go to Build > Authentication
- Click "Get started"
- Under Sign-in method, enable Email/Password
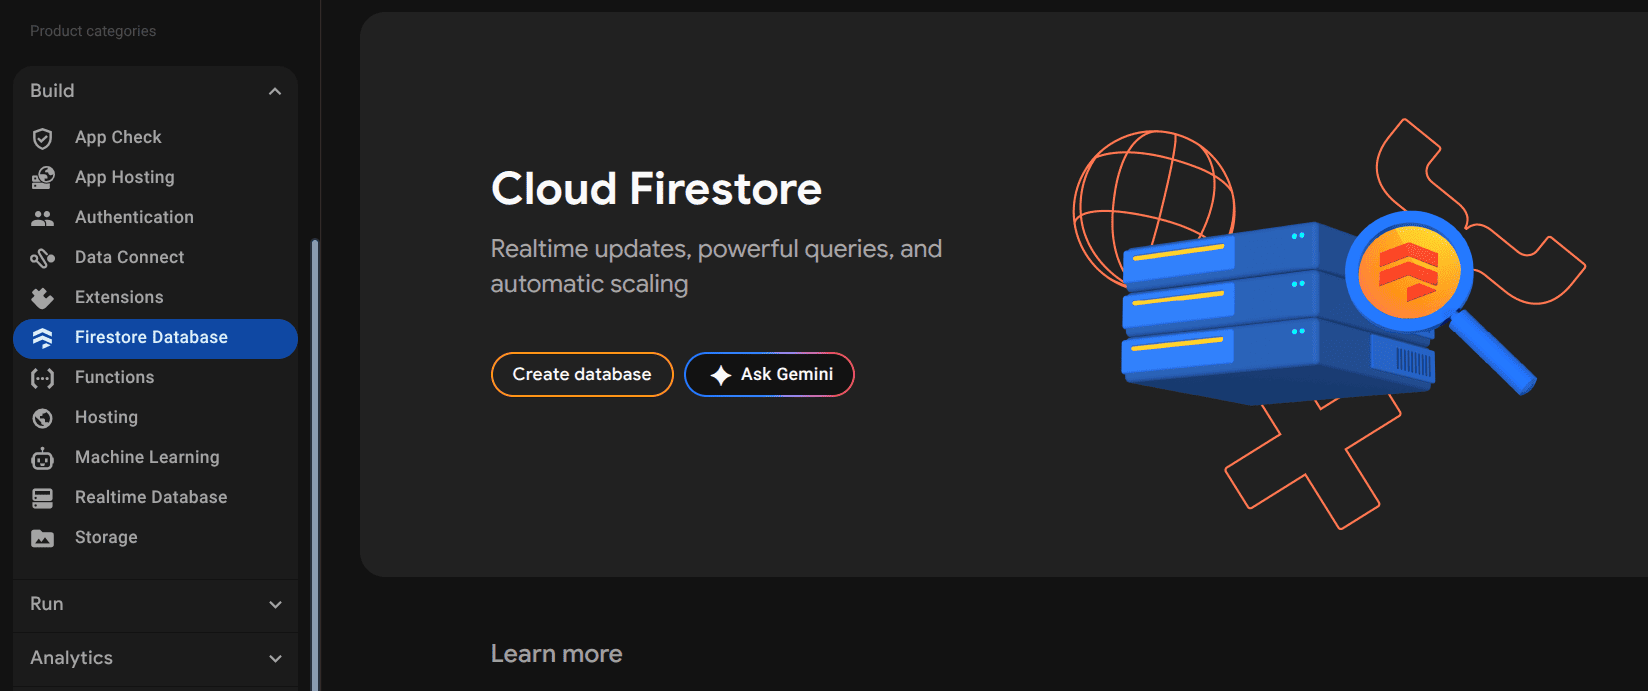
Step 3: Create Firestore Database
- Go to Build > Firestore Database
- Click "Create database"
- Choose Start in test mode (for development)
- Choose a location and click Enable
Create Your React App
If you haven’t already:
npx create-react-app react-firebase-auth
cd react-firebase-auth
npm install firebase
Set Up Firebase in React
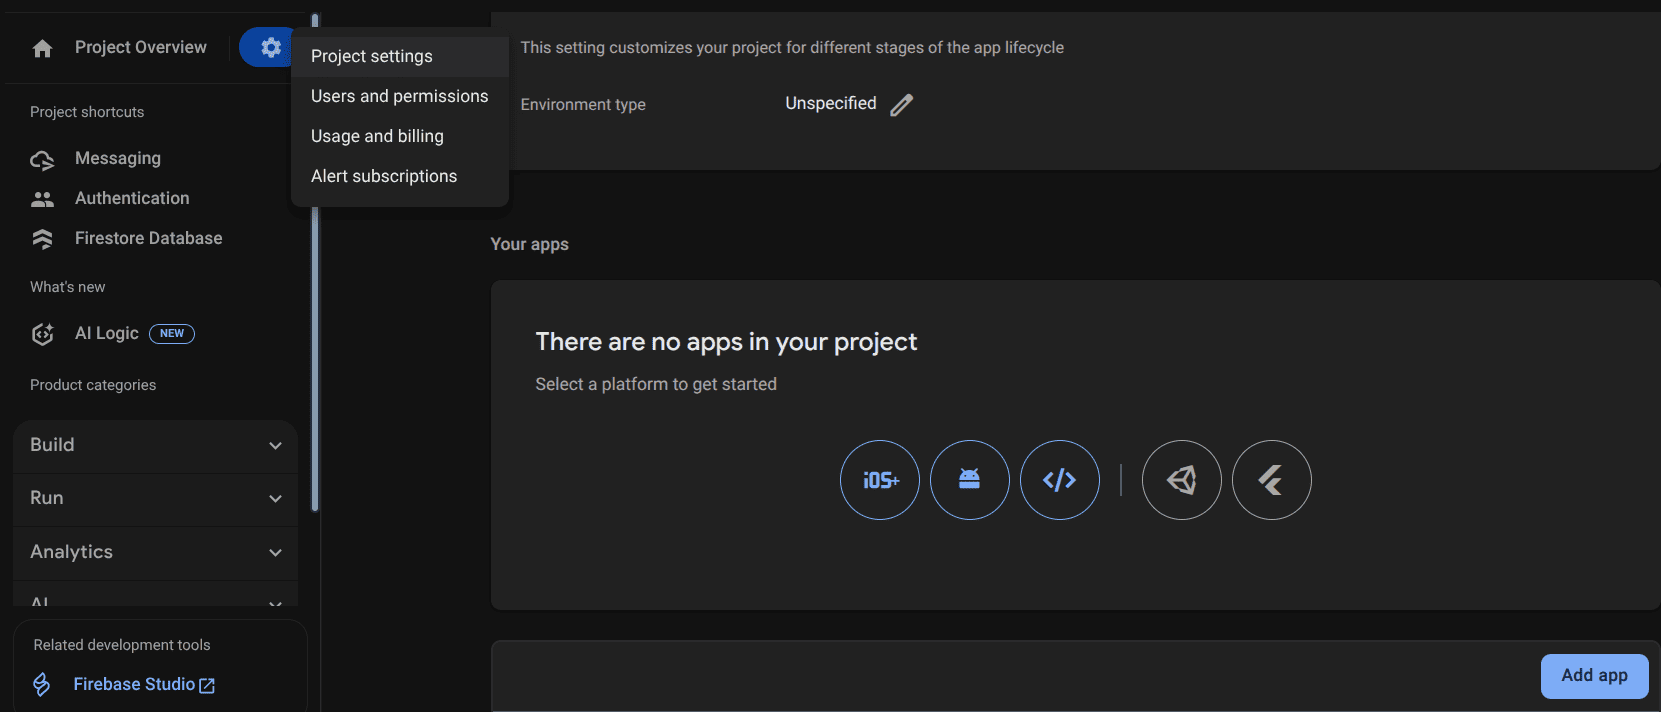
Step 1: Add Firebase Config
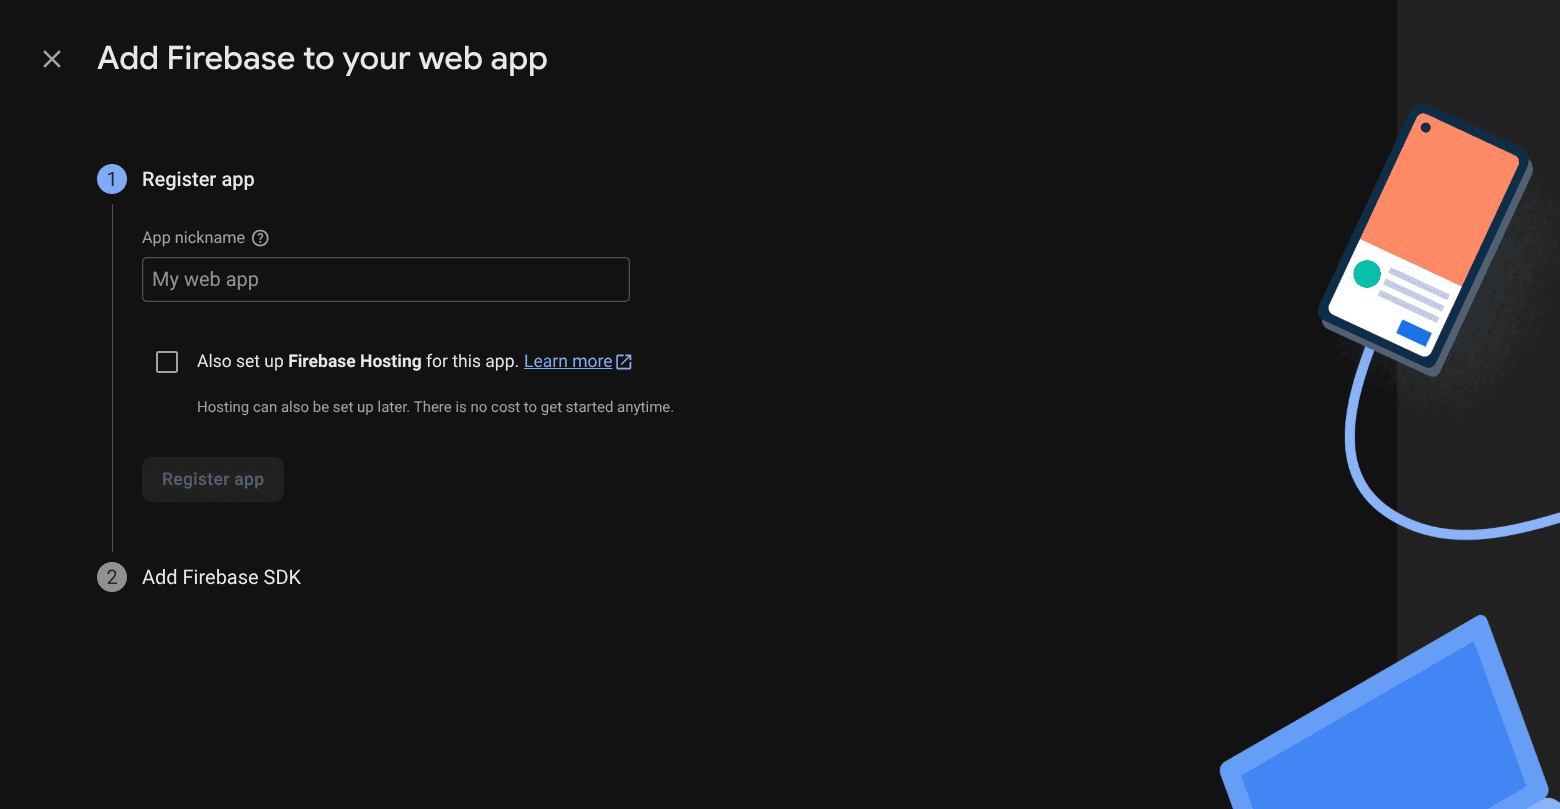
Go to Project Settings > Web App and register your app. You'll get your Firebase config keys.
Create a new file: src/firebase.js
// src/firebase.js
import { initializeApp } from 'firebase/app';
import { getAuth } from 'firebase/auth';
import { getFirestore } from 'firebase/firestore';
const firebaseConfig = {
  apiKey: "YOUR_API_KEY",
  authDomain: "YOUR_PROJECT_ID.firebaseapp.com",
  projectId: "YOUR_PROJECT_ID",
  storageBucket: "YOUR_PROJECT_ID.appspot.com",
  messagingSenderId: "YOUR_SENDER_ID",
  appId: "YOUR_APP_ID"
};
const app = initializeApp(firebaseConfig);
export const auth = getAuth(app);
export const db = getFirestore(app);
Implement Email/Password Authentication
Let’s create a basic signup and login system.
Step 1: Create SignUp Component
// src/components/SignUp.js
import React, { useState } from 'react';
import { auth } from '../firebase';
import { createUserWithEmailAndPassword } from 'firebase/auth';
export default function SignUp() {
  const [email, setEmail] = useState('');
  const [password, setPassword] = useState('');
  const handleSignUp = async () => {
    try {
      await createUserWithEmailAndPassword(auth, email, password);
      alert('User created!');
    } catch (error) {
      console.error(error.message);
    }
  };
  return (
    <div>
      <h2>Sign Up</h2>
      <input placeholder="Email" onChange={e => setEmail(e.target.value)} />
      <input placeholder="Password" type="password" onChange={e => setPassword(e.target.value)} />
      <button onClick={handleSignUp}>Sign Up</button>
    </div>
  );
}
Step 2: Create Login Component
// src/components/Login.js
import React, { useState } from 'react';
import { auth } from '../firebase';
import { signInWithEmailAndPassword } from 'firebase/auth';
export default function Login() {
  const [email, setEmail] = useState('');
  const [password, setPassword] = useState('');
  const handleLogin = async () => {
    try {
      await signInWithEmailAndPassword(auth, email, password);
      alert('Logged in!');
    } catch (error) {
      console.error(error.message);
    }
  };
  return (
    <div>
      <h2>Login</h2>
      <input placeholder="Email" onChange={e => setEmail(e.target.value)} />
      <input placeholder="Password" type="password" onChange={e => setPassword(e.target.value)} />
      <button onClick={handleLogin}>Login</button>
    </div>
  );
}
Store Data in Firestore
Let’s allow logged-in users to store a simple note in the Firestore database.
Step 1: Create Notes Component
// src/components/Notes.js
import React, { useState, useEffect } from 'react';
import { db, auth } from '../firebase';
import { collection, addDoc, query, where, getDocs } from 'firebase/firestore';
export default function Notes() {
  const [note, setNote] = useState('');
  const [notes, setNotes] = useState([]);
  const user = auth.currentUser;
  const addNote = async () => {
    try {
      await addDoc(collection(db, 'notes'), {
        text: note,
        uid: user.uid
      });
      setNote('');
      fetchNotes();
    } catch (error) {
      console.error(error);
    }
  };
  const fetchNotes = async () => {
    if (!user) return;
    const q = query(collection(db, 'notes'), where('uid', '==', user.uid));
    const snapshot = await getDocs(q);
    const notesData = snapshot.docs.map(doc => doc.data());
    setNotes(notesData);
  };
  useEffect(() => {
    fetchNotes();
  }, [user]);
  return (
    <div>
      <h2>Your Notes</h2>
      <input
        placeholder="Enter note"
        value={note}
        onChange={e => setNote(e.target.value)}
      />
      <button onClick={addNote}>Add Note</button>
      <ul>
        {notes.map((n, index) => <li key={index}>{n.text}</li>)}
      </ul>
    </div>
  );
}
Logging Out
import { signOut } from 'firebase/auth';
const handleLogout = () => {
  signOut(auth);
};
You can call this function from a Logout button anywhere in your app.
Final Structure
src/
+-- components/
¦   +-- SignUp.js
¦   +-- Login.js
¦   +-- Notes.js
+-- firebase.js
+-- App.js
Bonus: Tracking Auth State
To show UI based on login status:
// src/App.js
import { useEffect, useState } from 'react';
import { auth } from './firebase';
import SignUp from './components/SignUp';
import Login from './components/Login';
import Notes from './components/Notes';
function App() {
  const [user, setUser] = useState(null);
  useEffect(() => {
    return auth.onAuthStateChanged(setUser);
  }, []);
  return (
    <div>
      {user ? (
        <>
          <button onClick={() => auth.signOut()}>Logout</button>
          <Notes />
        </>
      ) : (
        <>
          <SignUp />
          <Login />
        </>
      )}
    </div>
  );
}
export default App;
Summary
In this blog, we’ve:
- Set up Firebase with React
- Enabled authentication with email/password
- Stored and retrieved user data using Firestore
- Tracked login state and logged out users
Firebase takes care of the backend so you can focus on building features.
To read more about How to Implement Push Notifications in a React PWA, refer to our blog How to Implement Push Notifications in a React PWA