Bank reconciliation is crucial for analyzing and determining whether there are any differences between the accounts utilized for commercial operations. If any deviations are found, you can take corrective action right away to make things right. Manually matching bank records with account statements will be challenging. Cash transactions in the business are tracked in cash accounts. Thus, it's crucial to keep them in sync with the bank accounts. Checking that the bank account matches the cash account is necessary to ensure this. Manually carrying out all of these tasks will be challenging and take a lot of time and effort.
The Odoo 16 Accounting module can be used to streamline the reconciliation procedure.
Reconciliation can be done from the dashboard of the module.
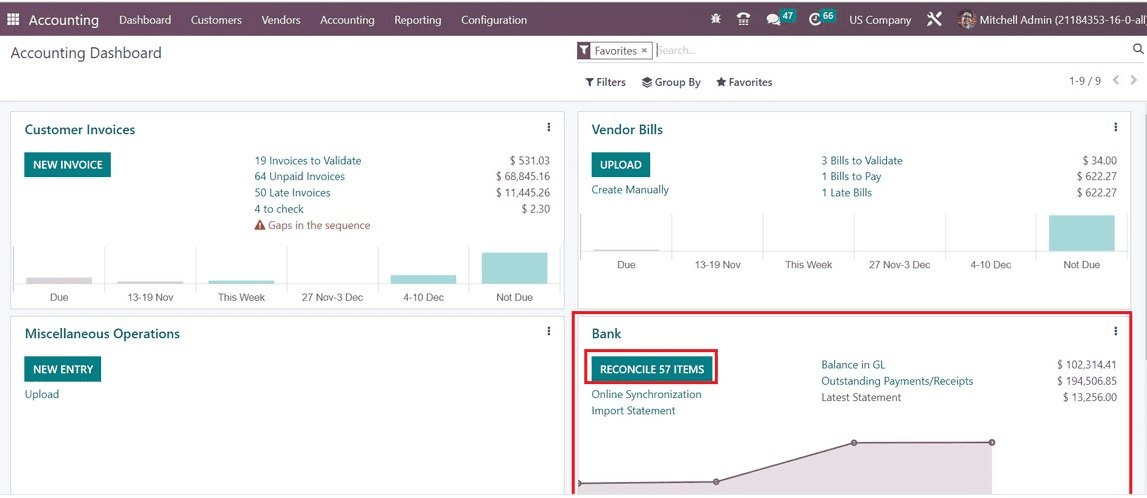
The list of statements that need to be reconciled can be found here by clicking the Reconcile button as shown above.

The bank statement reconciliation can be seen in this window. The statements are displayed on the left side of the screen in an order based on the accounting date. The statements have a ‘Matched' label, which denotes that the statements have already been linked with bank accounts. Statements marked "To Check" are those that require verification and reconciliation.
You can first configure a suitable reconciliation model to simplify the process. The Configuration menu's Reconciliation Models option allows you to do this.
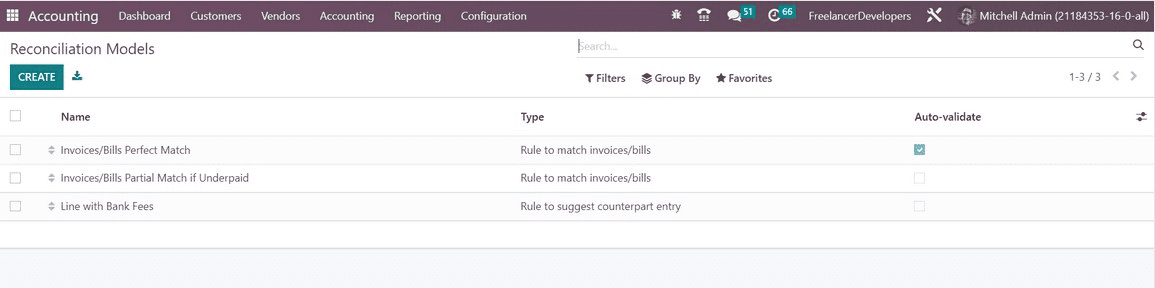
This page displays existing reconciliation models along with information on their Name, Type, and Auto-validate status. Get a new configuration window by selecting the Create button.
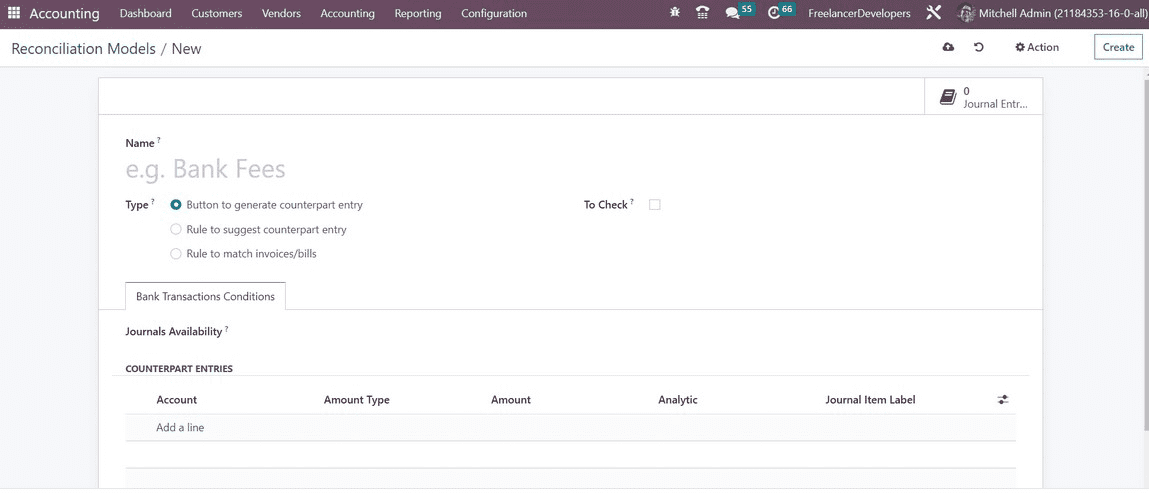
You can choose the type from the available alternatives after giving the name of the reconciliation model. Depending on the setup type you choose, the remaining options may change.
Entry-generating Equivalent button:
You will see the Journal Availability field when choosing the Button to produce the counterpart entry option as the model type. Here, you can add a journal like Cash or Bank. Only the chosen journals will have access to the reconciliation model.
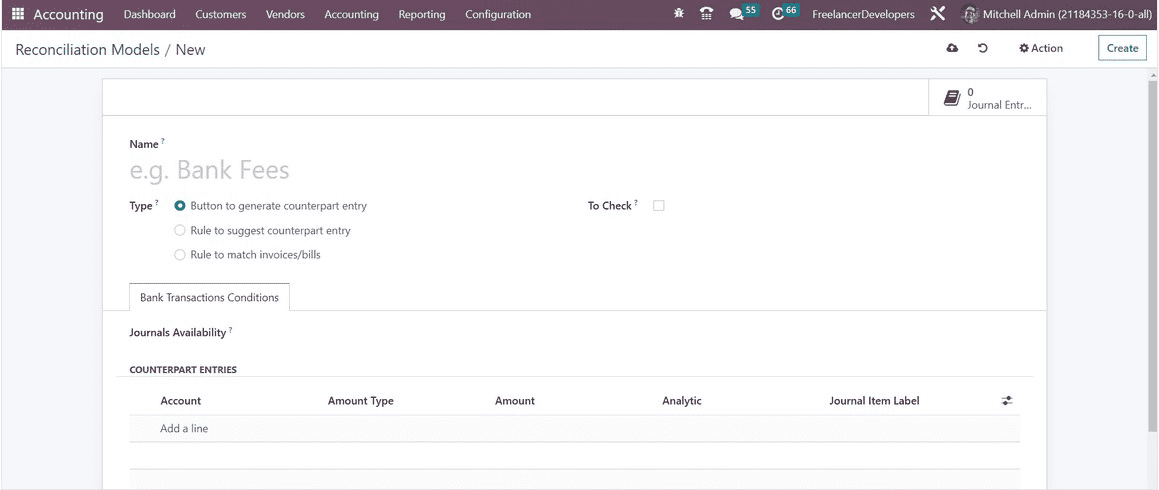
You can choose the Account, Amount Type, Amount, Analytic, and Journal Item Label under the Counterpart Entries tab. Fixed, percentage of balance, percentage of statement line, or from labels are the possible account types. The button to produce a counterpart entry model for reconciliation is available once the configuration is complete.
The screenshot below illustrates the setting choices for the Rule to suggest equivalent entries.
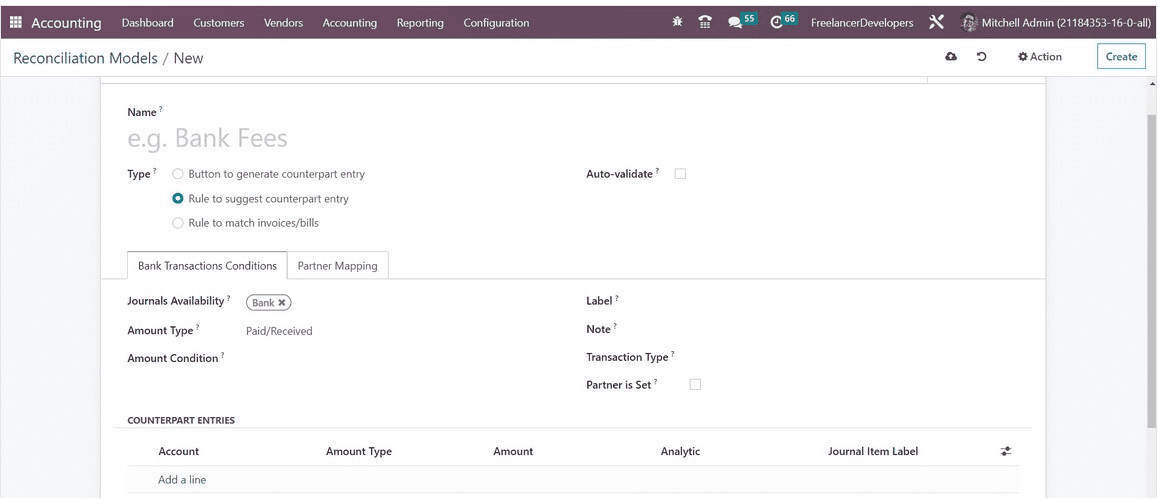
The Auto-Validate option is available here for you to activate in order to validate the statement line automatically. Following the mention of Journal Availability, you can choose an appropriate Amount Type from the list of choices, which includes Received (applied only when receiving an amount), Paid (applied only when paying an amount), and Paid/Received (applied in both circumstances). By doing this, the reconciliation model will only be used with the chosen type of transaction.
You can specify a precise amount in the Amount Condition, and the reconciliation model will be used when the amount is less than, more than, or equal to the amount you indicated.
Label, Note, and Transaction Type rules can be configured as Contains, Not Contains, or Match Regex. When the Partner's established field is turned on, the reconciliation model will only be used when a customer or vendor is already established. Turning on this option allows you to receive more fields to mention the Matching Partners and Categories. Enter Counterpart Entries in the available area using the Add a Line button.
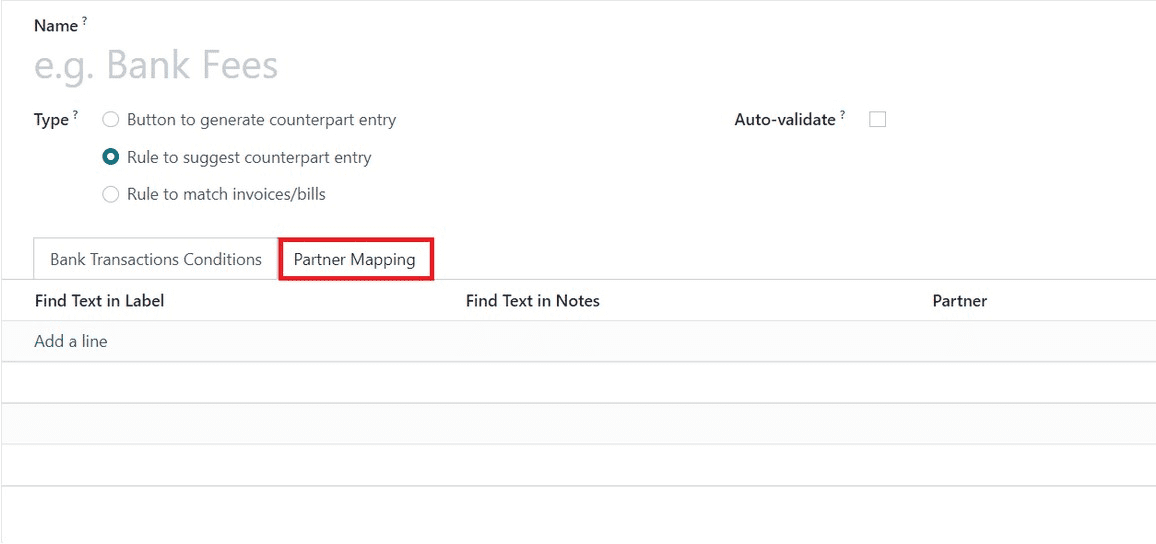
You can use the Add a Line button on the Partner Mapping tab to add Find Text in Label, Find Text in Notes, and Partner.
Rule to match bills and invoices:
The setting window for the Rule to match invoices and bills reconciliation model type is displayed below. You can turn on the Auto-Validate box to automatically validate the statement line.
When using this model in the Search Months Limit field, you can specify how many past months to use.
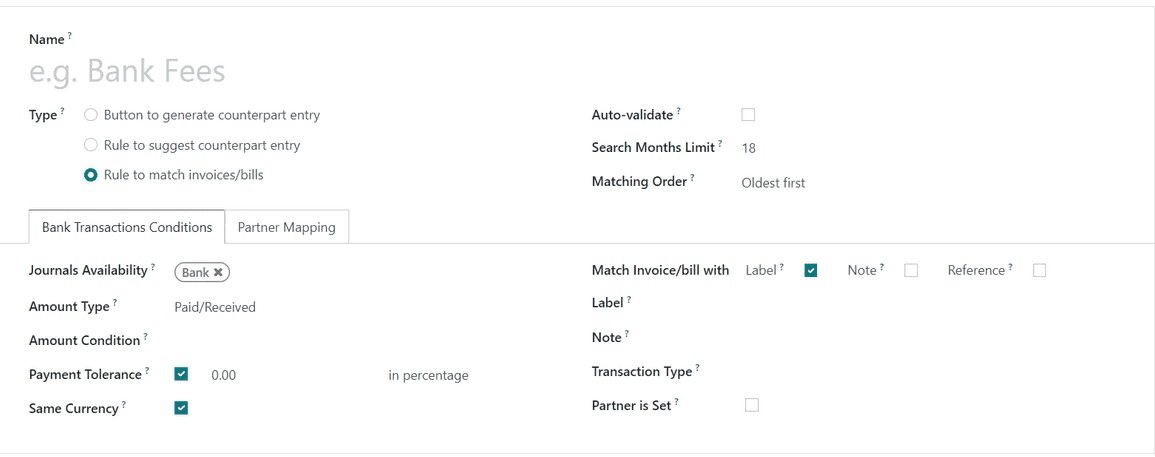
Either Oldest First or Newest First can be used for the Matching Order. The settings we described before can be found under the Bank Transactions Conditions tab.
Furthermore, the Payment Tolerance will be activated for you so that you can tolerate variations in case of underpayment. The Same Currency field can be turned on to limit propositions using the same currency as the statement line. You can activate the Label, Note, or Reference to match the invoice or bill in the Match Invoice/Bill field. The configuration can be finished by configuring the Partner Mapping on the appropriate tab.
You can go to the Reconciliation option under the Accounting menu to acquire a list of all the statements that need to be reconciled.
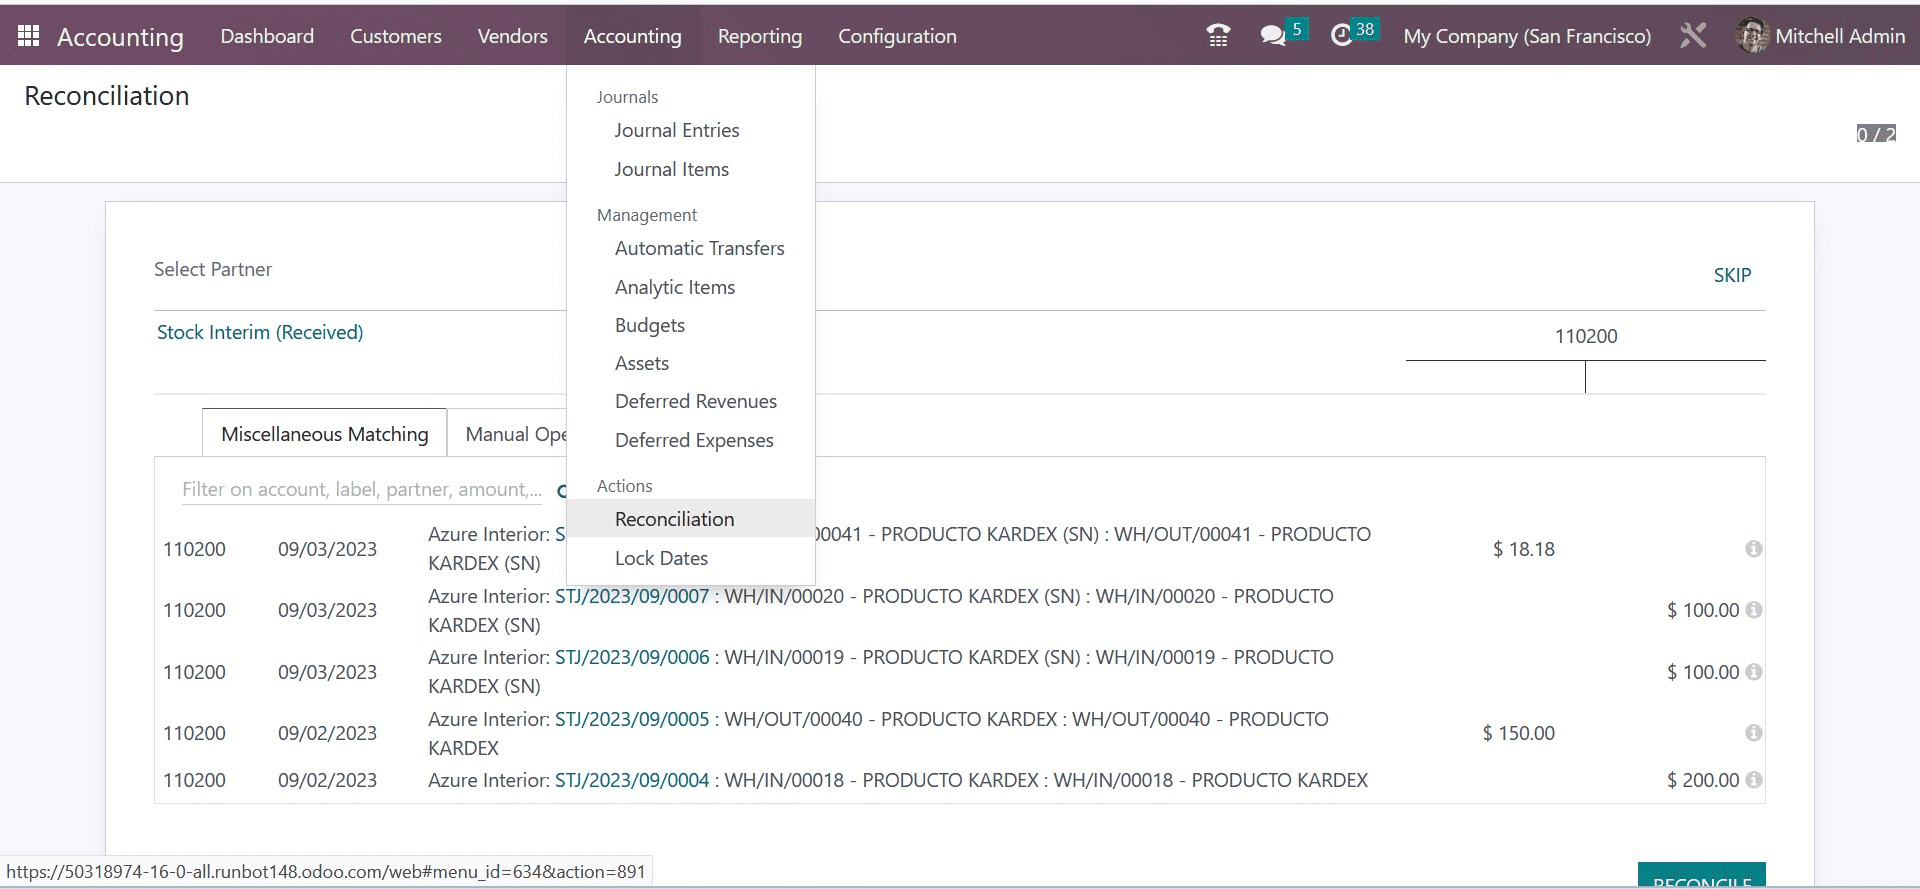
Here, you can perform the reconciliation of the statements with the bank accounts by clicking the Reconcile button.
You may quickly import bank statements into your system through the Accounting Dashboard of the module, which can then be used for the subsequent reconciliation process. Depending on the option you select from the Settings menu of the Accounting module, you can import your bank statements in the following formats: CSV, OFX, QIF, and CAMT.

The above image shows that the equivalent options are located on the Bank & Cash tab.
You will be able to use a button to import bank statements from the Accounting Dashboard as soon as you activate this functionality.
In order to complete the bank reconciliation process, Odoo gives you two main options: either you can explicitly mention the payment on the invoice, or you may reconcile open invoices with bank statements.
Installing the Accounting module is all that is necessary to make the feature available; no customizations are necessary.
The functionality is simple to use, and since Odoo automates most of its tasks, you may easily manage complex company data. Because of this, Odoo makes comparing and contrasting complex business data simple. To use this service, you must link your bank account with your Odoo account. You must link your bank account to the Odoo system to use most of the Accounting module's crucial features and functionalities which depend on it. This gives you direct access to your bank through Odoo and gives you a bird's-eye view of any bank transfers made for business-related reasons.
After the initial Bank setups and setup, using the feature is simple. The sophisticated and automated nature of the Odoo system will effectively handle the task for you. Therefore, using Odoo makes registering payments and other similar processes simple. This will be demonstrated with the aid of an example, which will show you how simple the process is. So take into account that you received a proof of invoice for 2100 euros that was sent to Smith and Company. We begin our given invoice for 2100 euros for Smith and Company since you want the consumer to pay as soon as possible.
You can simply designate the invoice as paid after receiving the customer's payment confirmation right away. The snapshot below shows the details of the invoice.

To inform your Odoo system that the customer has paid the invoice, click Register Payment as shown in the picture given above. The next step requires you to enter the payment amount and details, as shown in the screenshot given below.
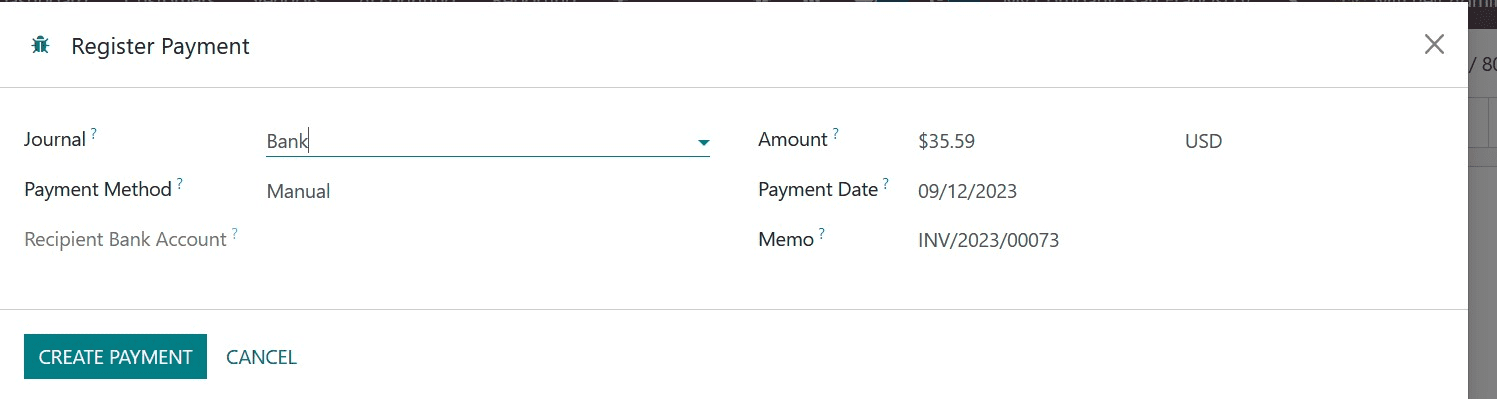
In order to validate, click the validate button located in the left corner of the setup tab as shown in the screenshot above. After that, you can access the payment information by selecting Open Payment Form Info, which will display the payment information as seen in the snapshot of the Accounting module of Odoo provided below.
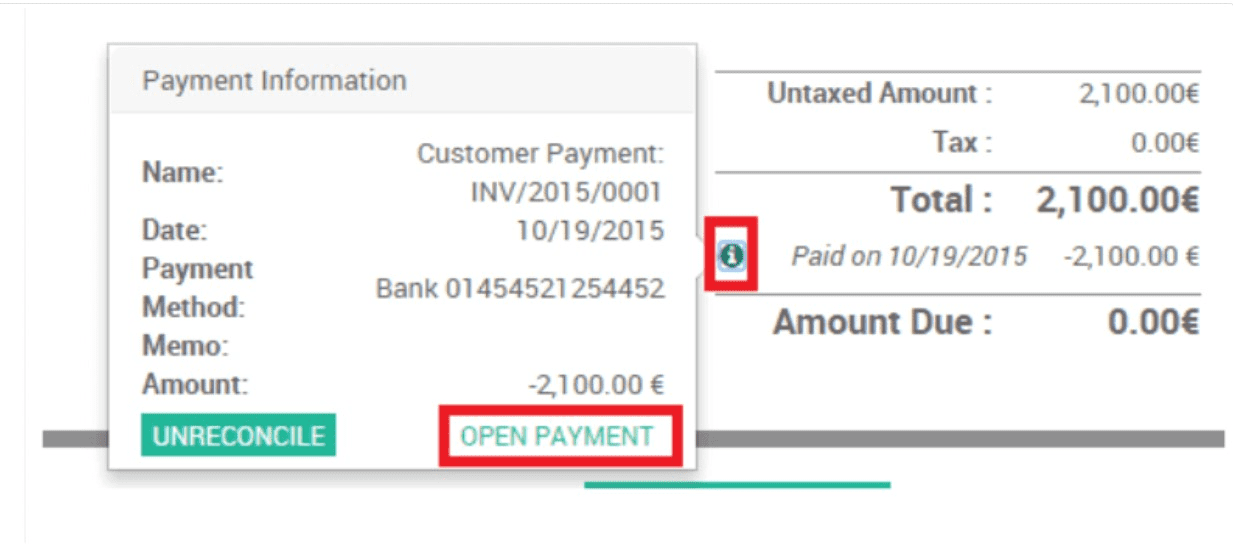
To view the details displayed in the screenshot above, click on it. Odoo automatically does the reconciliation after the payment has been confirmed.
In a different scenario, say that you have a number of open bills for various clients and that you begin with the 3000 euro issued invoice for Smith and Company. Your list will be displayed as in the screenshot below when you select Invoices from the Customers tab in your Accounting module to examine your customers' invoices.

By selecting the Create or Import buttons in the screenshot above, you can create bank or statement files or import them into your Odoo system. This feature depends on whether or not your bank is synchronized with the Odoo system; if it isn't, you won't have access to it.
In the settings area, you can create the bank statements or enter them into Odoo if you click the "create" button. If you wish to upload the bank statement to the system and Odoo, click the Import option. Following the completion of the process, you can view the invoice details for transactions related to the preceding example in the screenshot provided below.

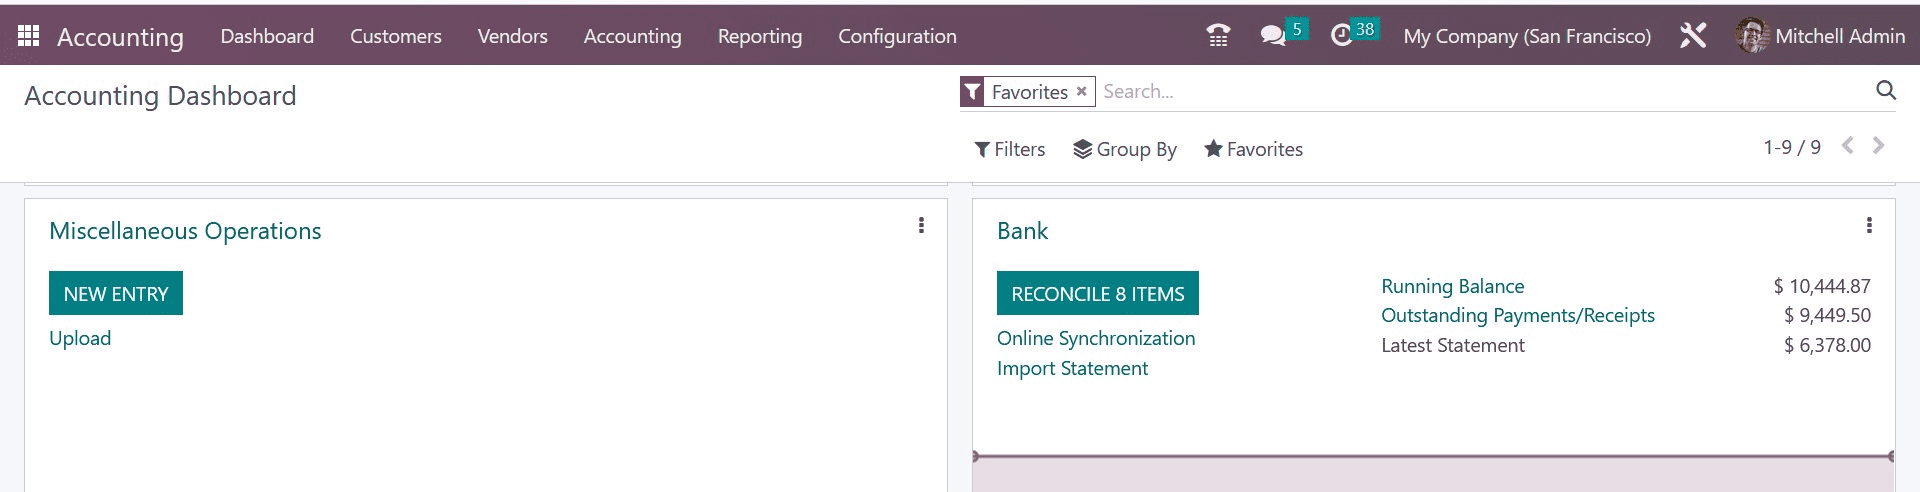
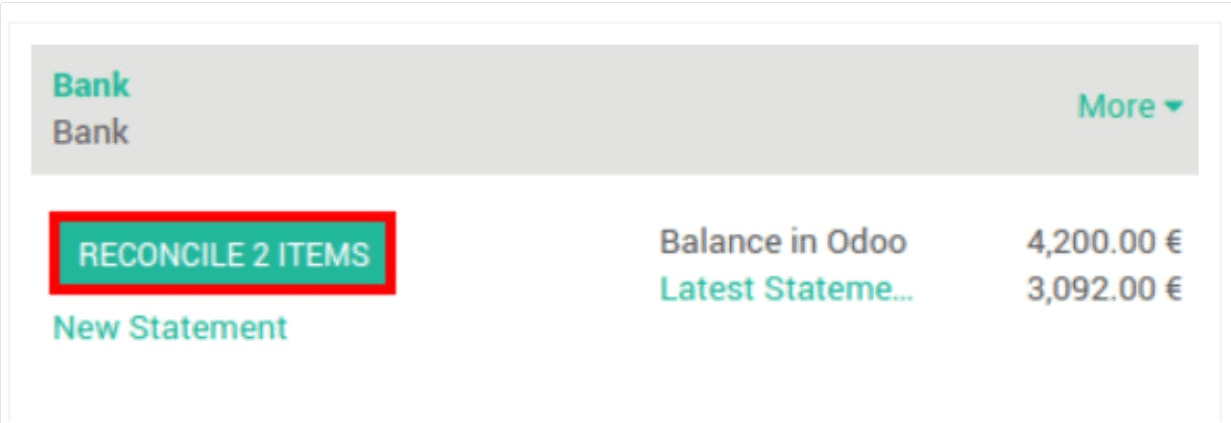
Go to your Accounting module dashboard, where you can discover the two items with a reconcile button under Bank, as seen in the screenshot provided below.
Odoo will make sure that all the data is accurate and pertinent. The system will do the reconciliations automatically if it determines that the details are error-free. The procedure is straightforward and uncomplicated.
In the dashboard, you can go to the bank option, as in the image below.
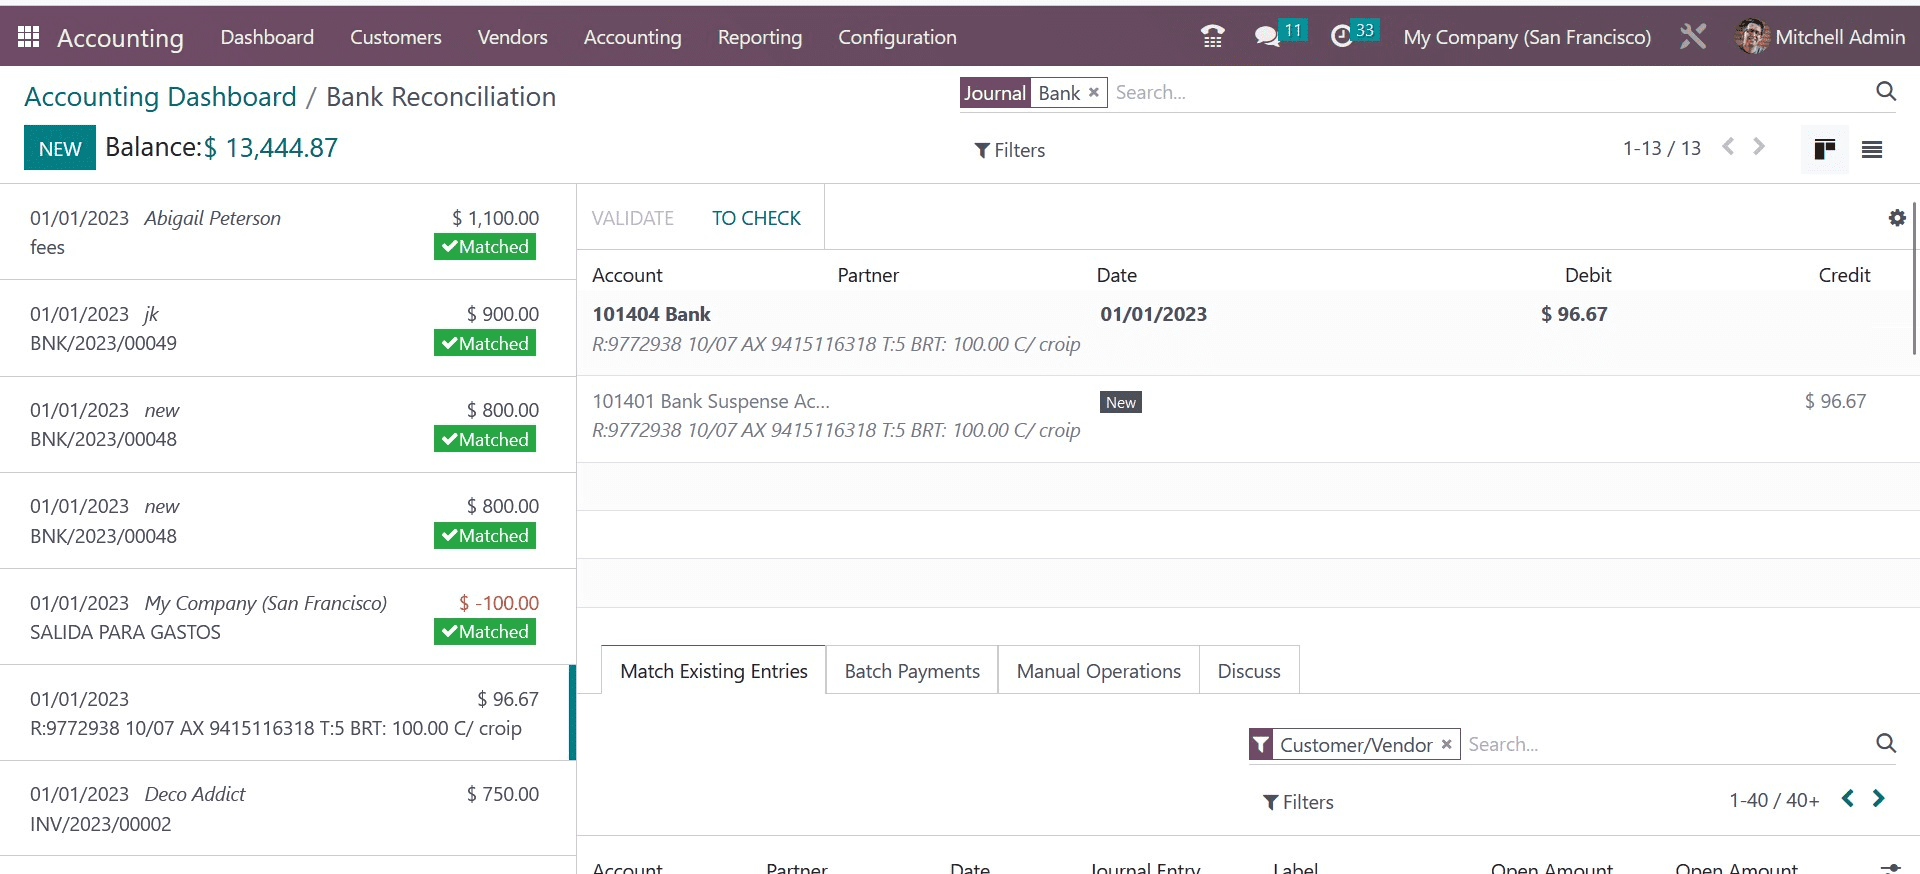
Here, go to the NEW icon, and there you can add the details, as in the imge below.
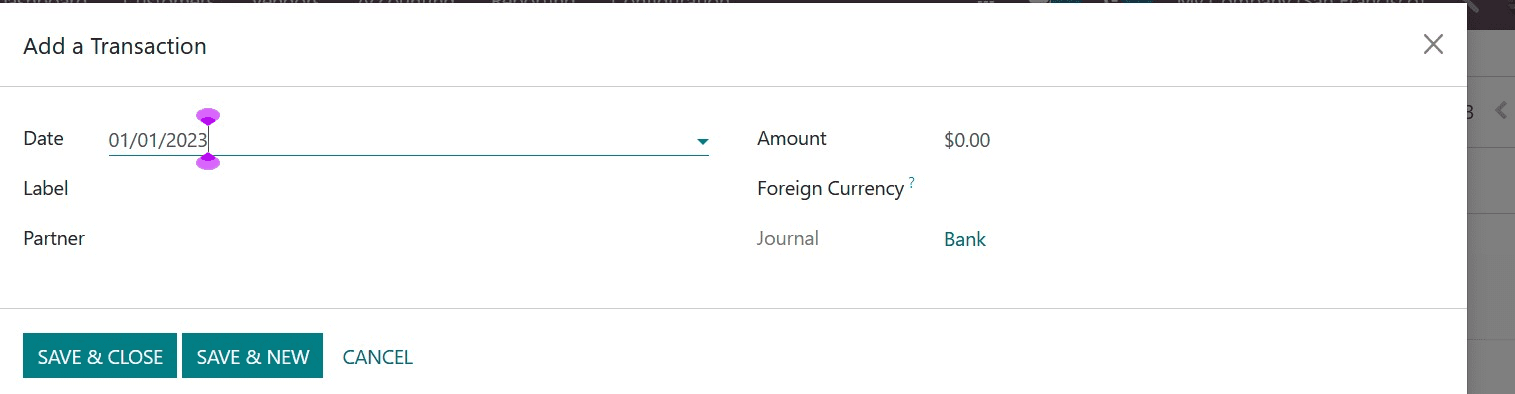
The details to be added include date, lael, partner, amount, foreign currency, and journal, respectively. Finally, go to the Save and Close icon. And, now, you will get the page in the main page, as in the image below.
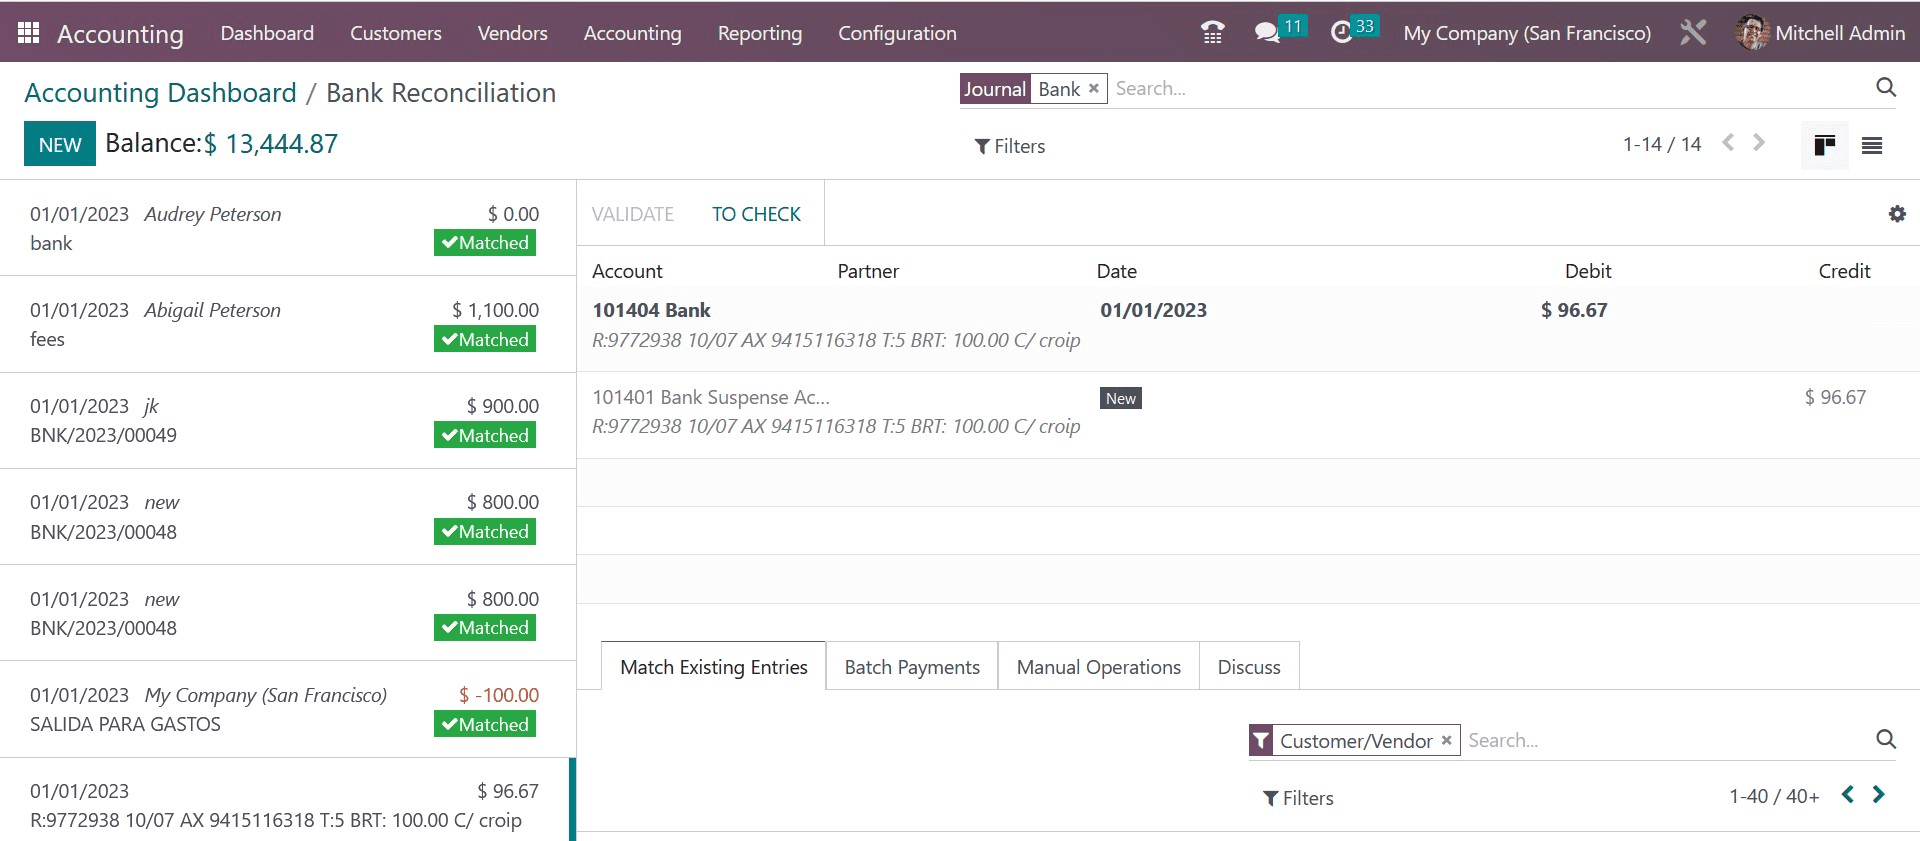
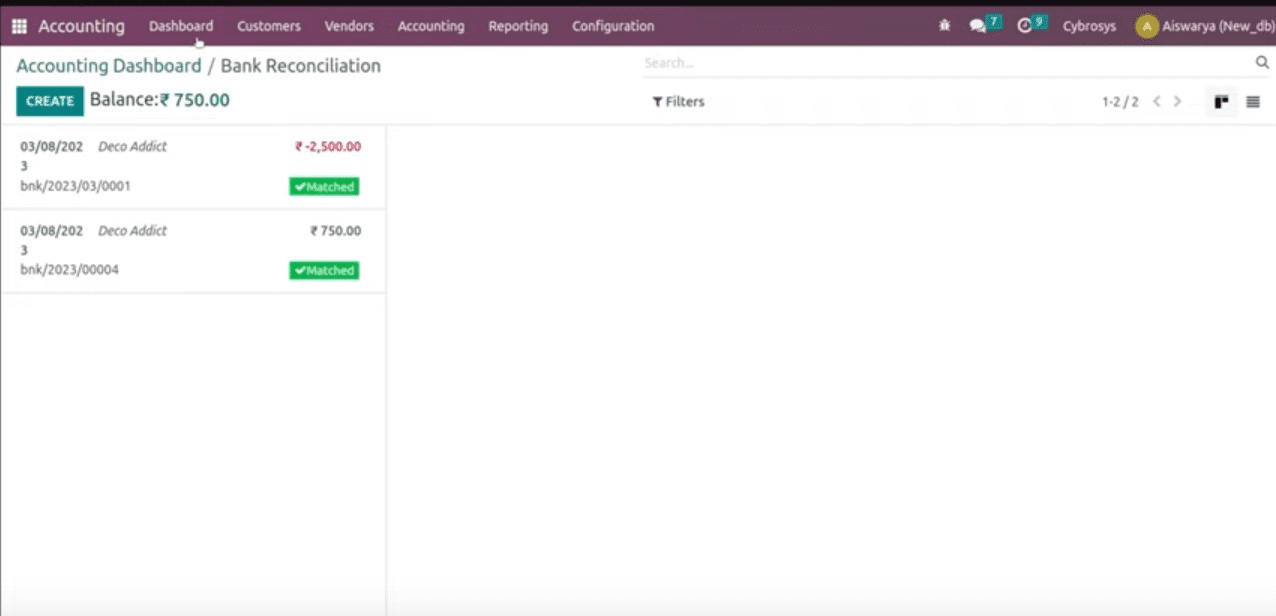
You can select those corresponding invoice on selecting the corresponding one. Now, you can see those invloices marked as MATCHED. If required, on selectinmg the MATCHED, you will get the options, suc as RESET nad TO CHECK.
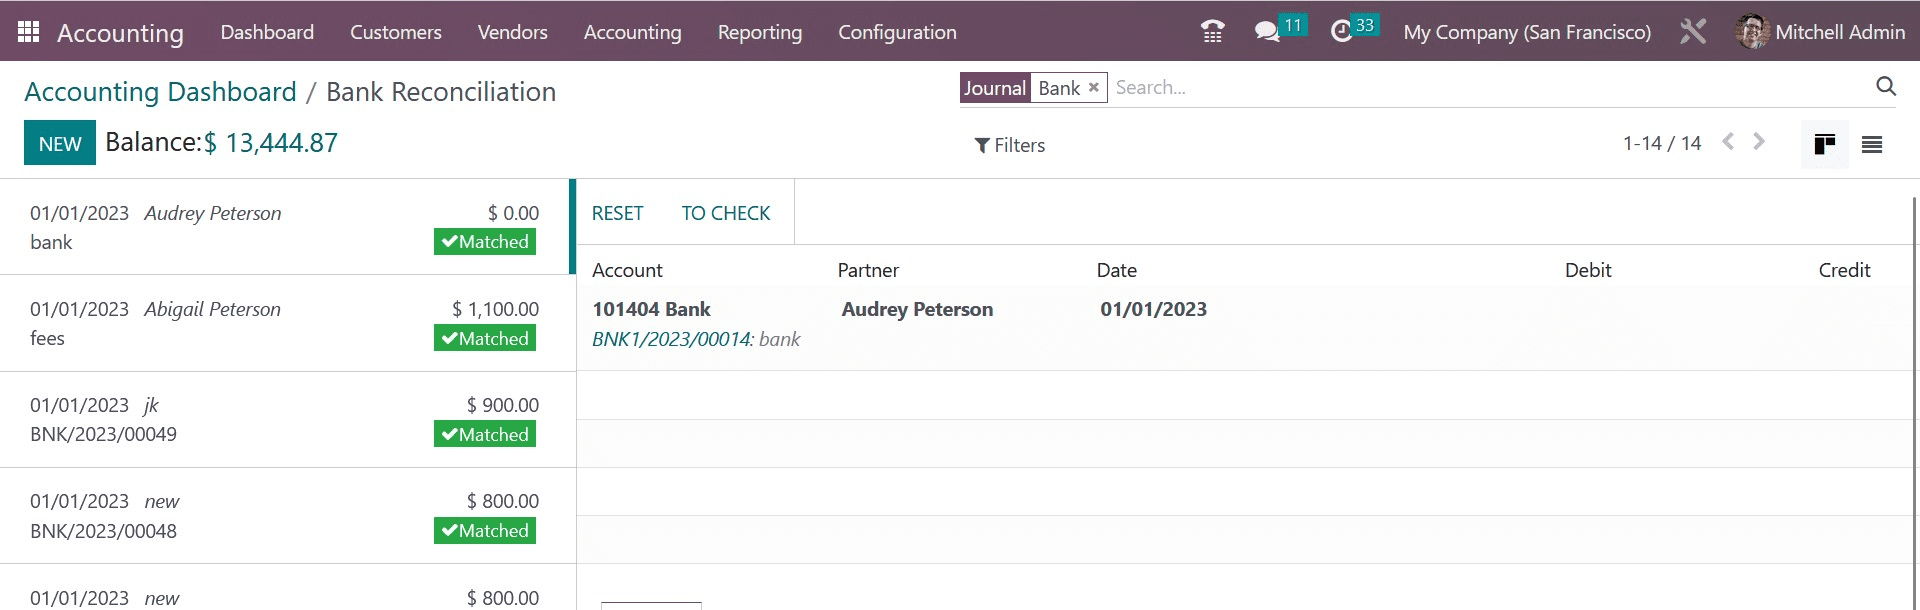
On clicking the RESTE option, and then, you will have the VALIDATE option, which leads you to the MATCHED option, and this is how the reconciliation process happens.
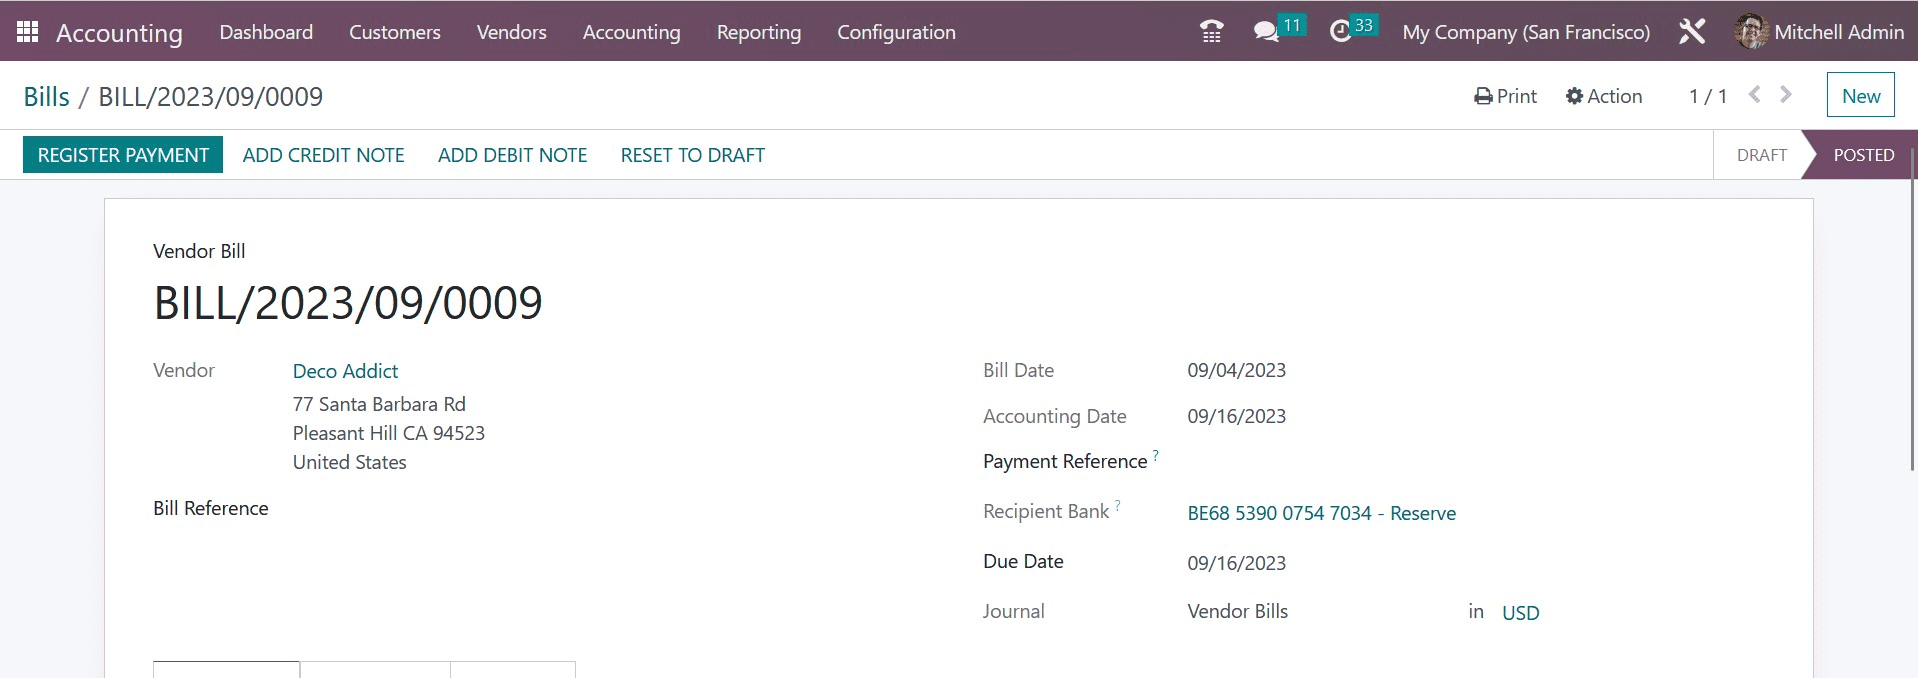
Now, let us look at the Bills option under the Venodr menu. Here, go to the NEW icon and the creation page will go , as in the image.

Here, provide the details, such as vendor, bill reference, bill date, paymentrefernce, reci[pient bank , due date, and journal. Now, add a product usig the Add a Line option. There, you can add the product, quantity, price, and all other necessary details. Now, go to the CONFIRM icon. And you have got the new page, where, you cna have the REGISTER PAYMENT option, a sin the image below.
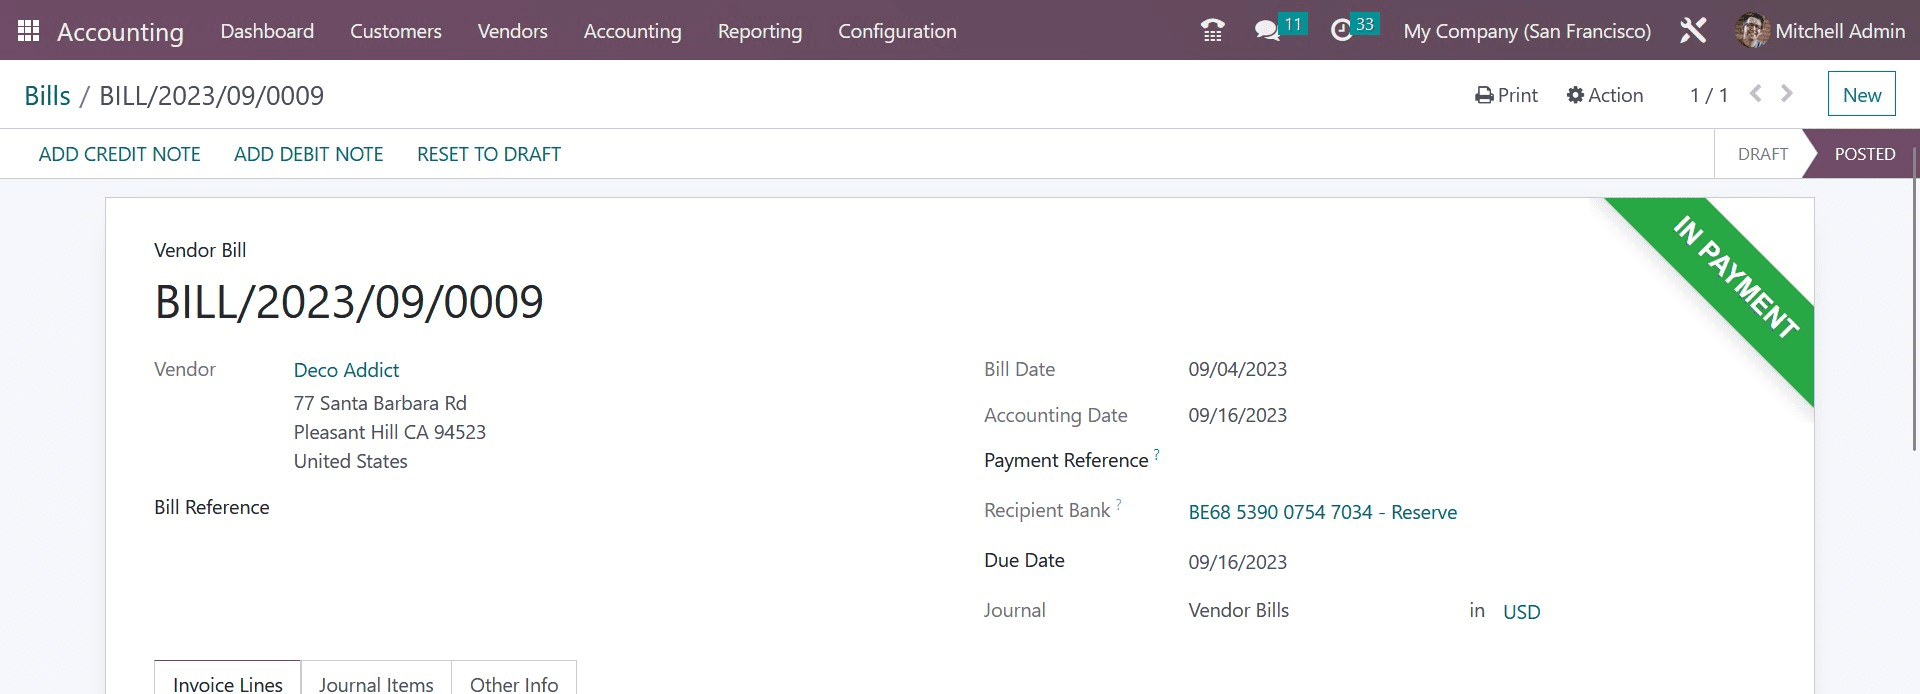
On selecting the option, you can see the page markewd as IN PAYMNET, as in the image belwo/
Now, again go to the dashboard and select the bank, whwere create a new one, as in the image below.
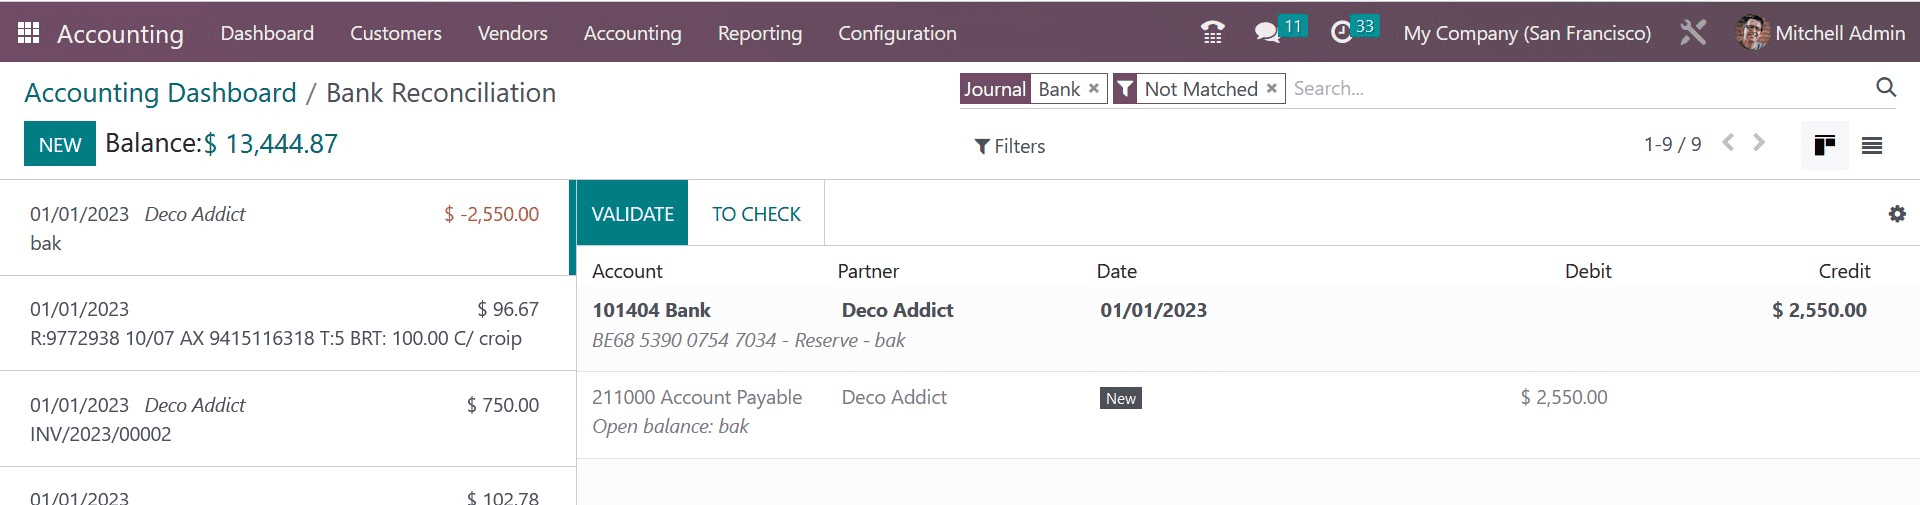
Here, you can ahve the VALIDATE opption, on selecting itm,you will get the lael as MATCHED, as in the image below.
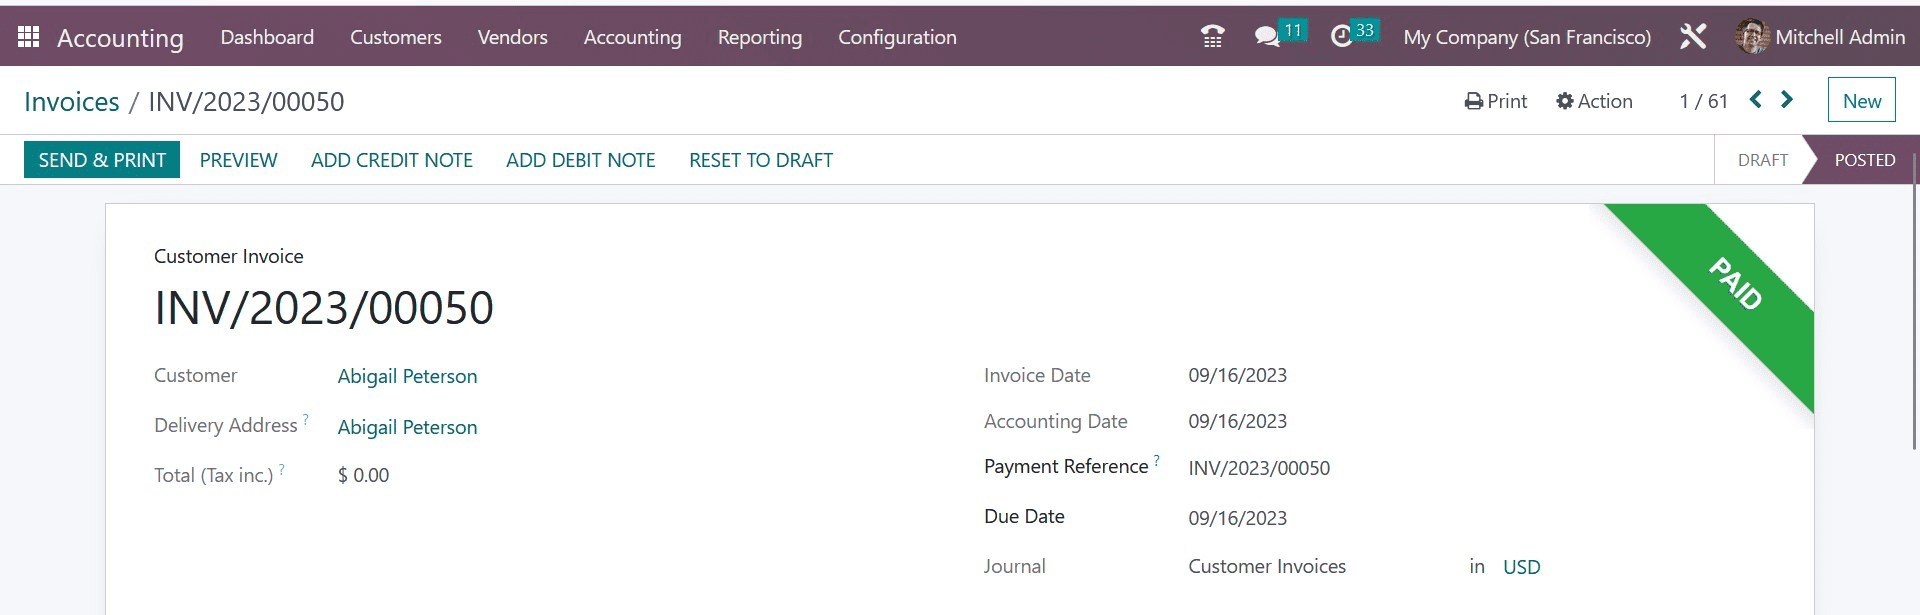
Now, on going to the Customer Invoices, the one which is reocniled will be available and the ribbon will be makrked as PAID, as in the image belwo. Similar will be condition in the Vneodr Bolls, wj=hich too shows as PAID.
You may quickly carry out complex business account administration with the help of the Odoo system's sophisticated support. You can have access to more sophisticated business tools and services that can help you manage your business more efficiently by synchronizing the Accounting module or the entire Odoo system with your bank account.
And this is all about bank reconciliation in the accounting module of Odoo ERP Software.
To read more about transferring cash between accounts in Odoo 16 Accounting, refer to our blog How to Transfer Cash Between Accounts in Odoo 16 Accounting