Tax mapping is the process of confirming that bookkeeping and invoicing comply with internal revenues and regulations. Once the taxes are mapped, it is feasible to apprehend those who dodge taxes. The most difficult aspect of operating a worldwide corporation is managing taxes. The use of a nation's fiscal status facilitates the easy formulation of business taxation. Tax-related complications can be effectively avoided once ERP software is implemented in your company. Using fiscal position, the sophisticated tools and capabilities in the Odoo 17 Accounting module simplify account procedures and handle tax mapping.
Every nation has its unique budgetary positions about tax structure. Users can control the transactions using the fiscal position's localization capability from any country. You can configure accounts, customers, taxes, vendors, currencies, and more according to your business needs with the help of the Odoo 17 Accounting module.
The fiscal position makes it simple to handle many tax kinds. Every nation has a different tax for customers, which can be set using the fiscal position's localization features. In Odoo 17, you can set up different rules to create taxes according to a particular nation. The user needs to install the required localization feature from the Odoo 17 Apps before creating a fiscal position. Once we select the Accounting option under the CATEGORIES area, we can view the record of localization depending on different nations.
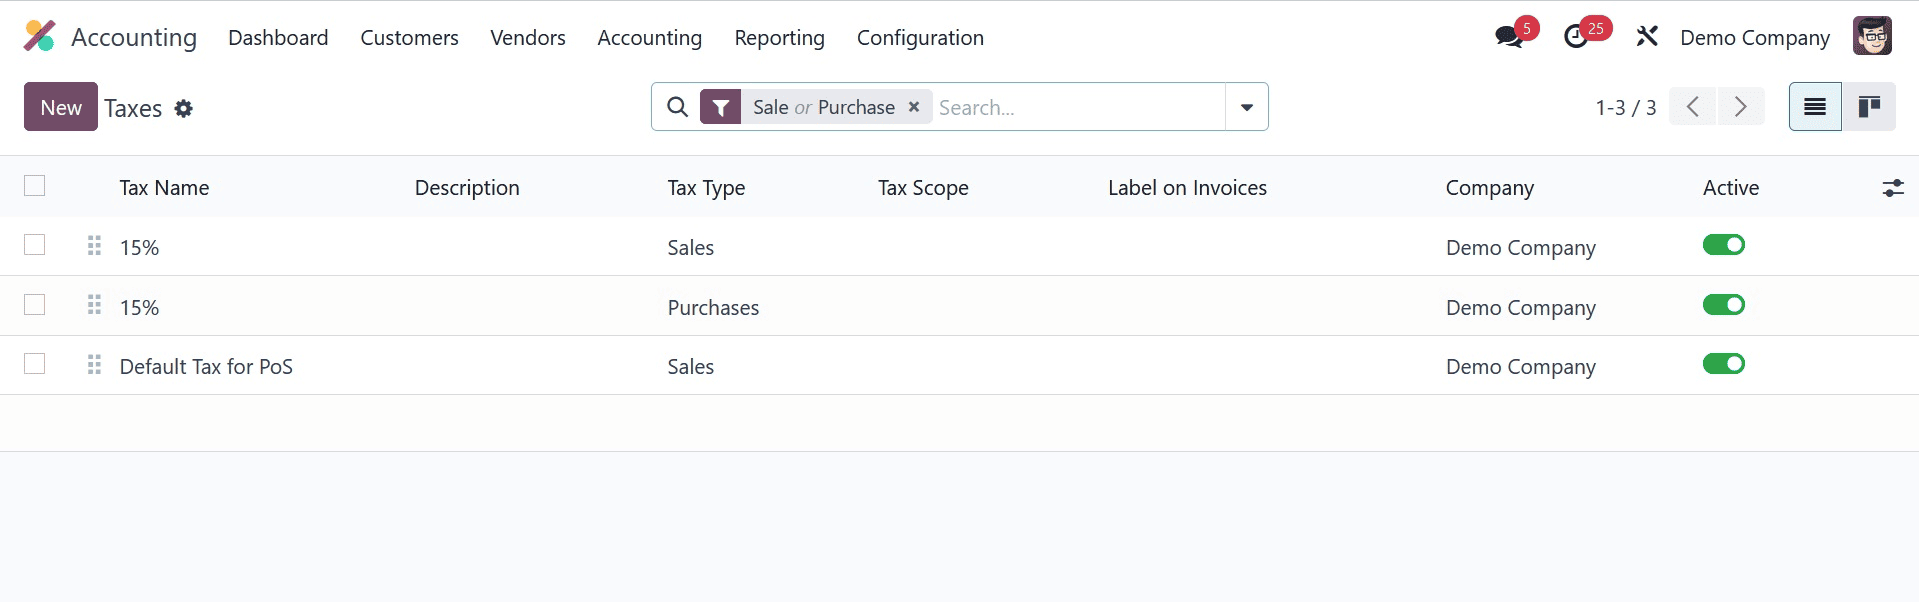
Odoo 17 installs your unique localization package immediately when you pick the ACTIVATE icon. Thus, managing the financial situation following national taxes is beneficial. Let's first construct a tax that applies to goods and services in a corporation after selecting the Taxes menu from Configuration, before creating a financial position. All tax records are available for viewing, including information on the company, tax type, active taxes, tax name, etc. As seen in the screenshot below, you can choose the NEW icon in the Taxes box to create a new tax.
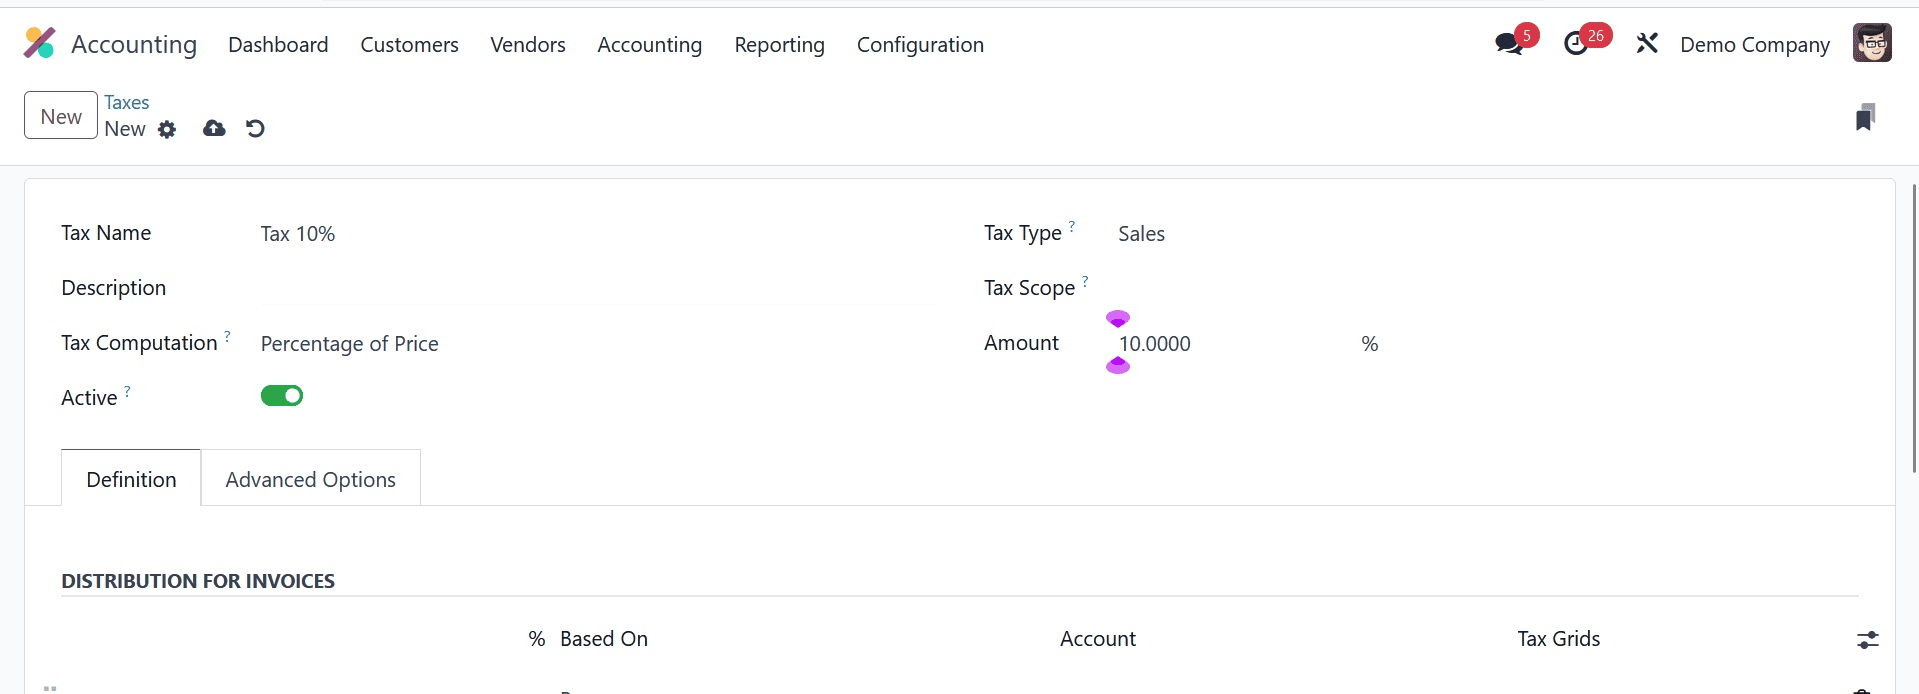
In the Tax Name field, enter Tax 10% as the tax title. Later on, we have various options for calculating taxes, including Fixed, Python Code, Group of Taxes, and more. The tax count is treated as a price percentage when you select the Percentage of Price option in the Tax Computation field. Once you've selected this option, enter 10% in the Amount field according to the screenshot below.
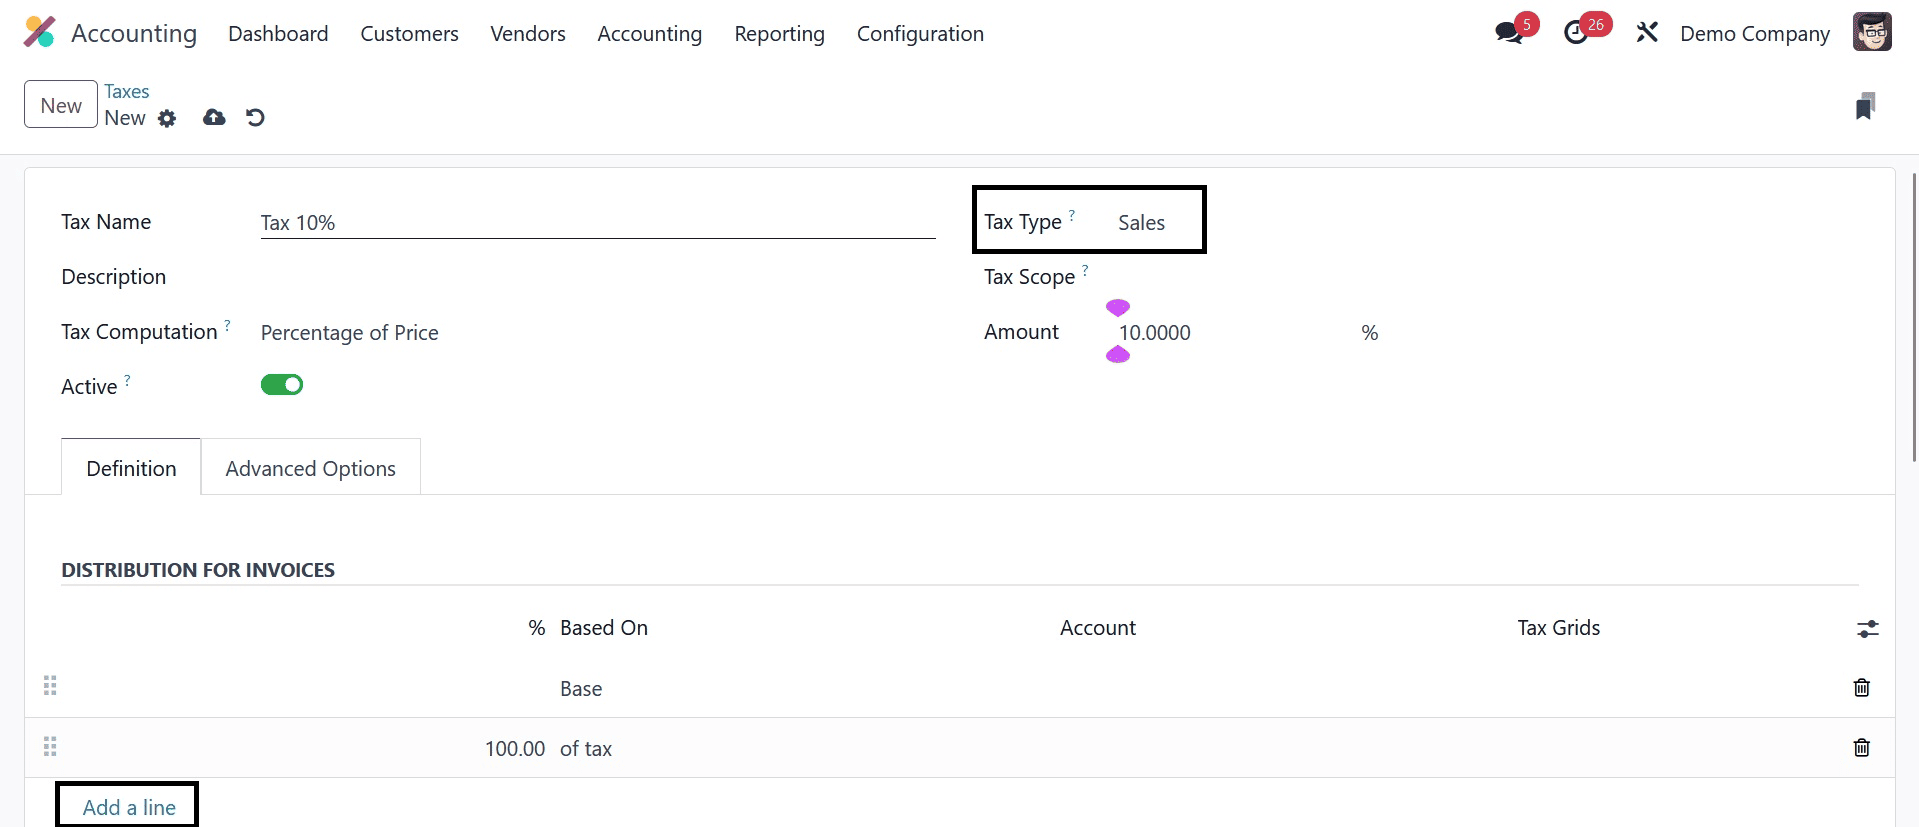
The tax category can then be selected from Sales, None, or Purchases. Since taxes are applied collectively, we choose the Sales option under Tax Type. After selecting the Add a Line option, users can allocate taxes for invoices and refunds under the Definition tab.
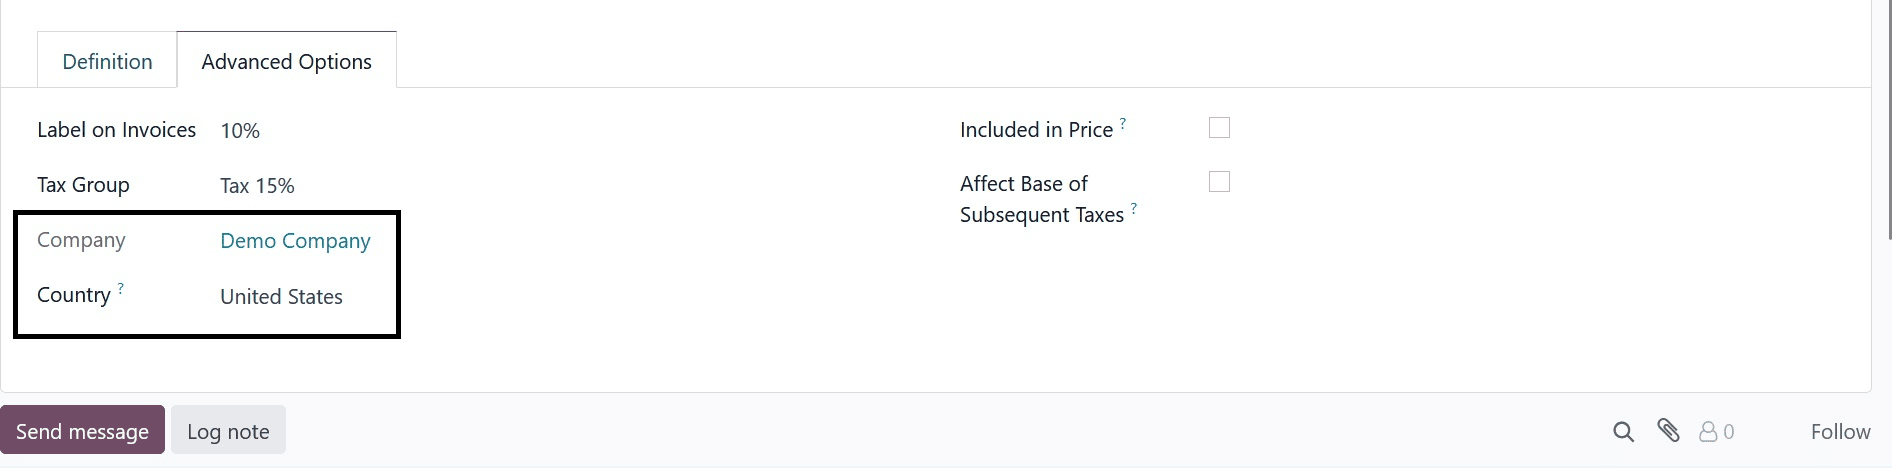
Enter the viewable invoice description under the Label on Invoices option, located beneath the Advanced Options. After that, as indicated in the screenshot below, choose the Taxes option within the Tax Group.
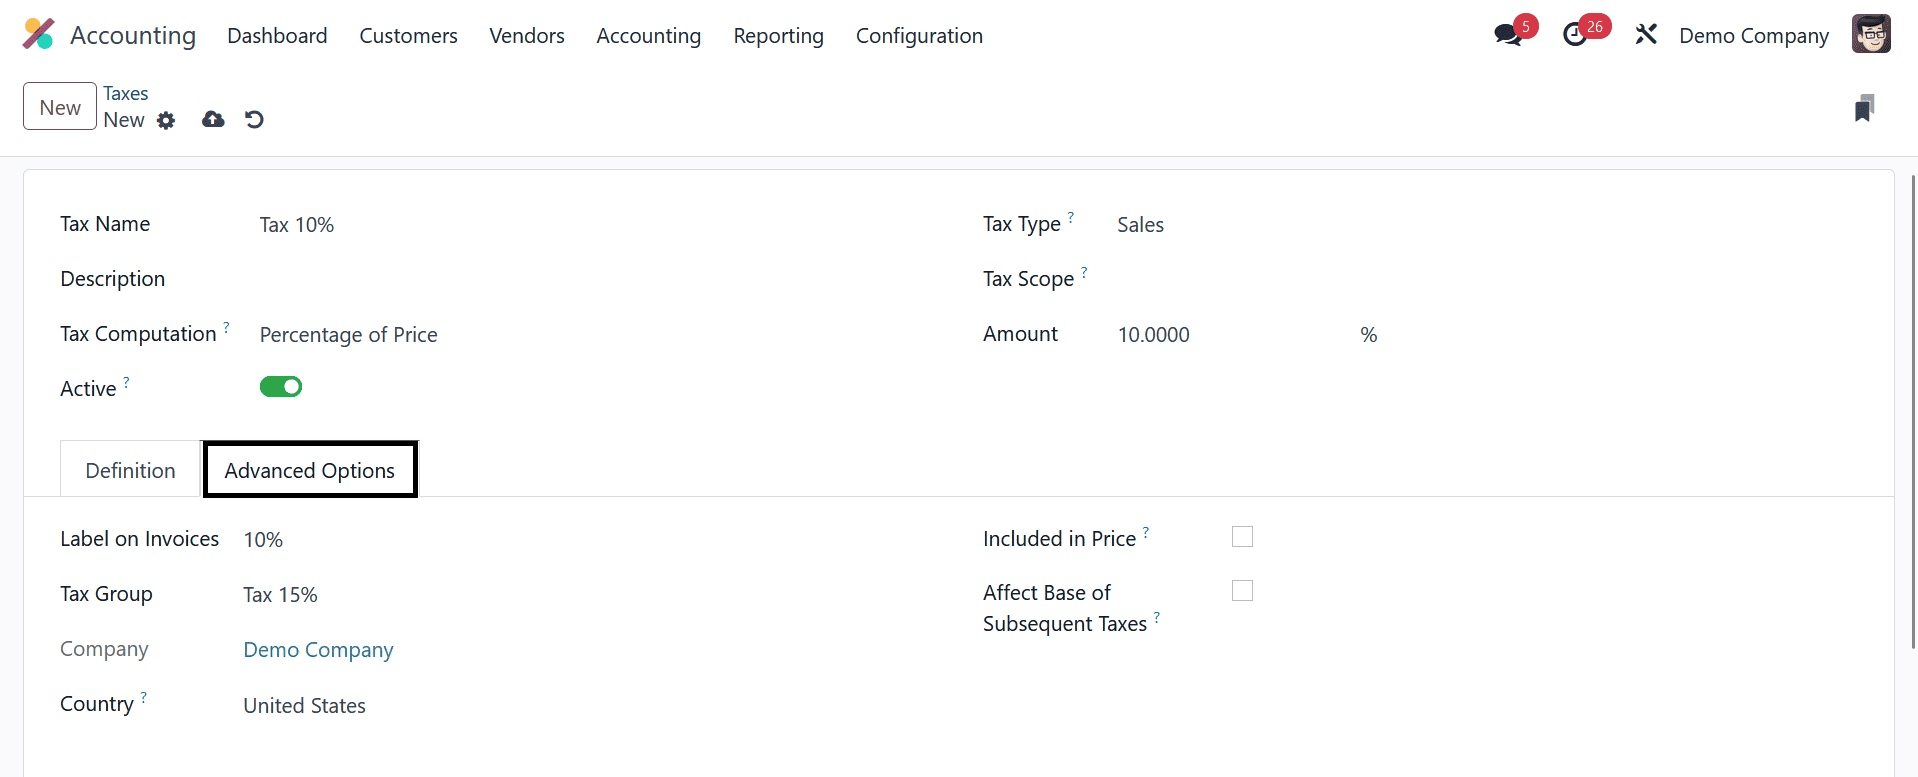
Select your company as My Company and set the Country to the United States.
Once the necessary information has been entered, you can manually save the data in Odoo 17.
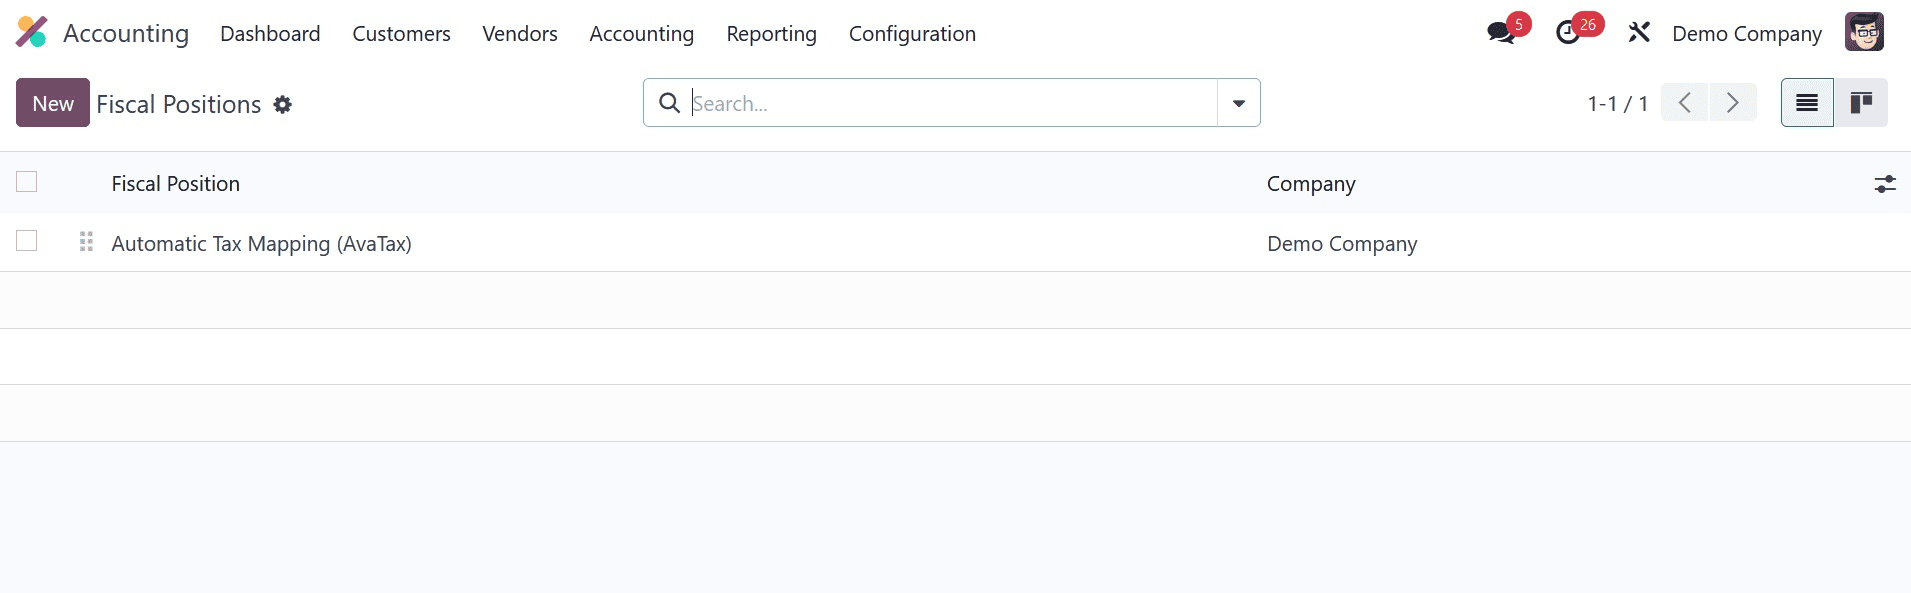
Select the Fiscal Positions menu from the Configuration menu in the Accounting section to create a new fiscal position. Each fiscal position's record is available to you on an individual basis. To configure taxes and accounts, select the NEW button for fiscal position development, as shown in the screenshot below.
Enter Australia Fiscal Position as the Fiscal Position option on the open page. The TaxCloud feature allows users to calculate sales taxes for goods and services. Enable the Use TaxCloud API option in the Fiscal position window to activate this feature.
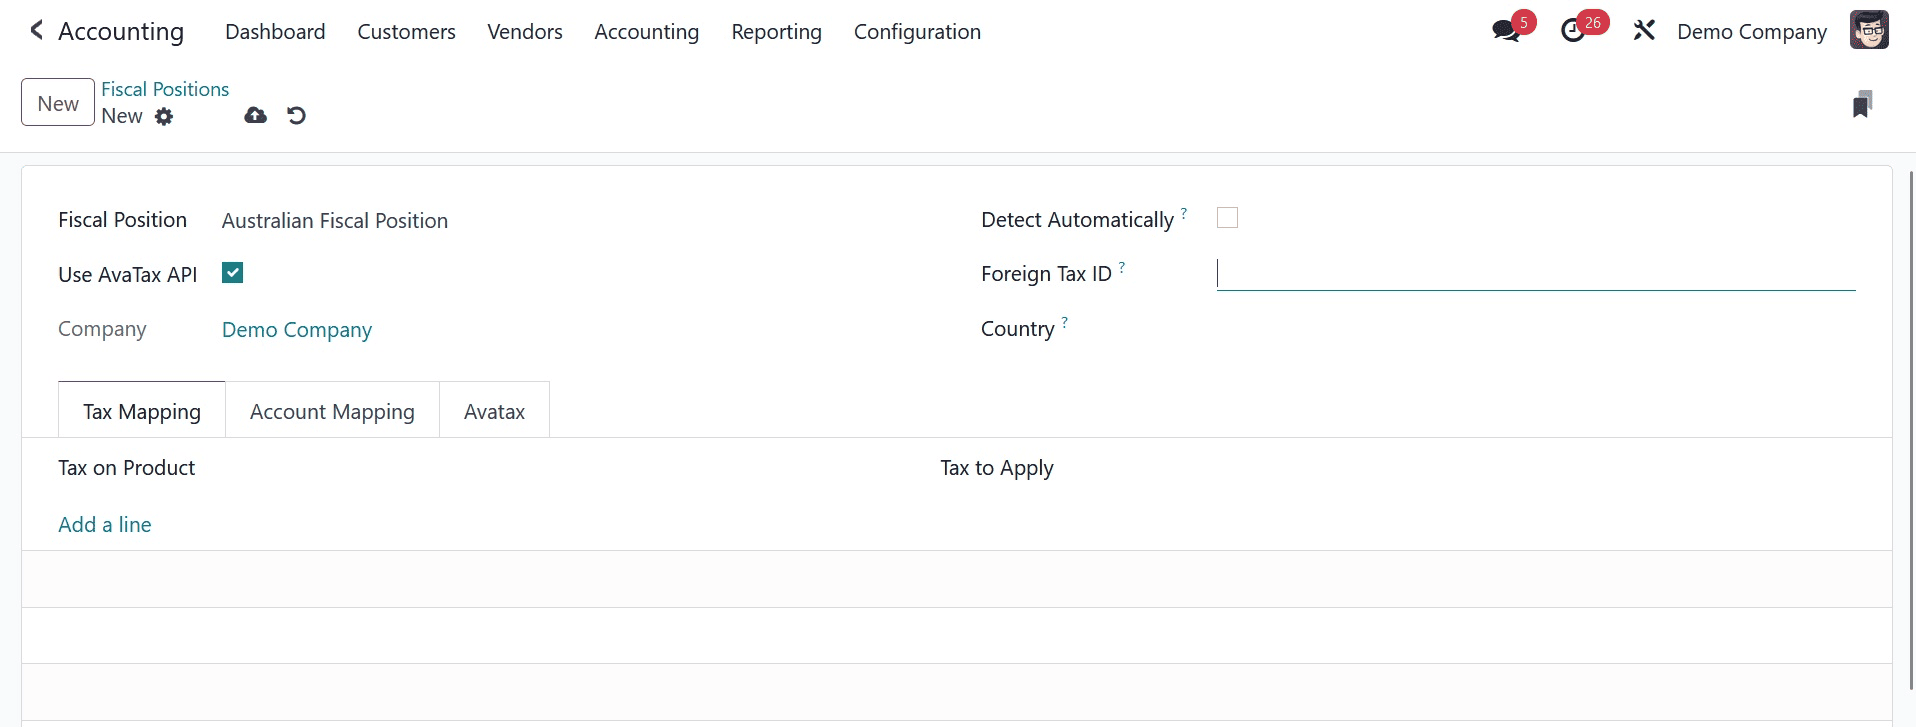
With Avatax, we can verify the billing address based on an automated sales calculation. To run particular features in the fiscal situation, enable the Use AvaTax API option. After selecting the My Company option in the Company form and turning on the Detect Automatically field, you can compute fiscal position automatically.
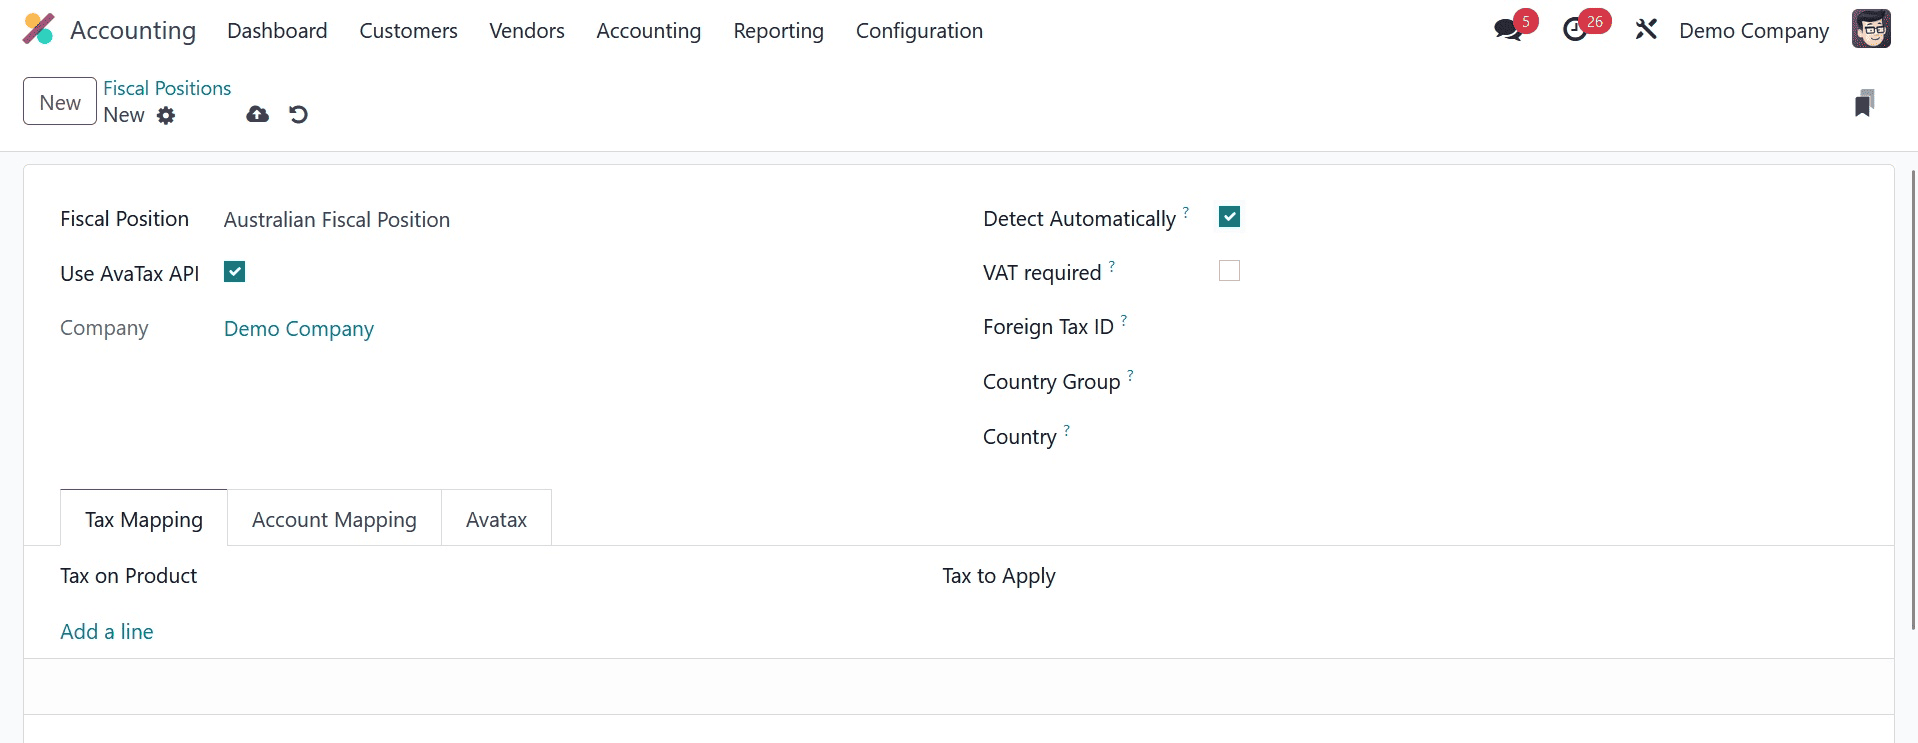
In the Foreign Tax ID option, you can include the company's Tax ID according to its financial status. Additionally, choose Australia as your country, as shown in the screenshot below.
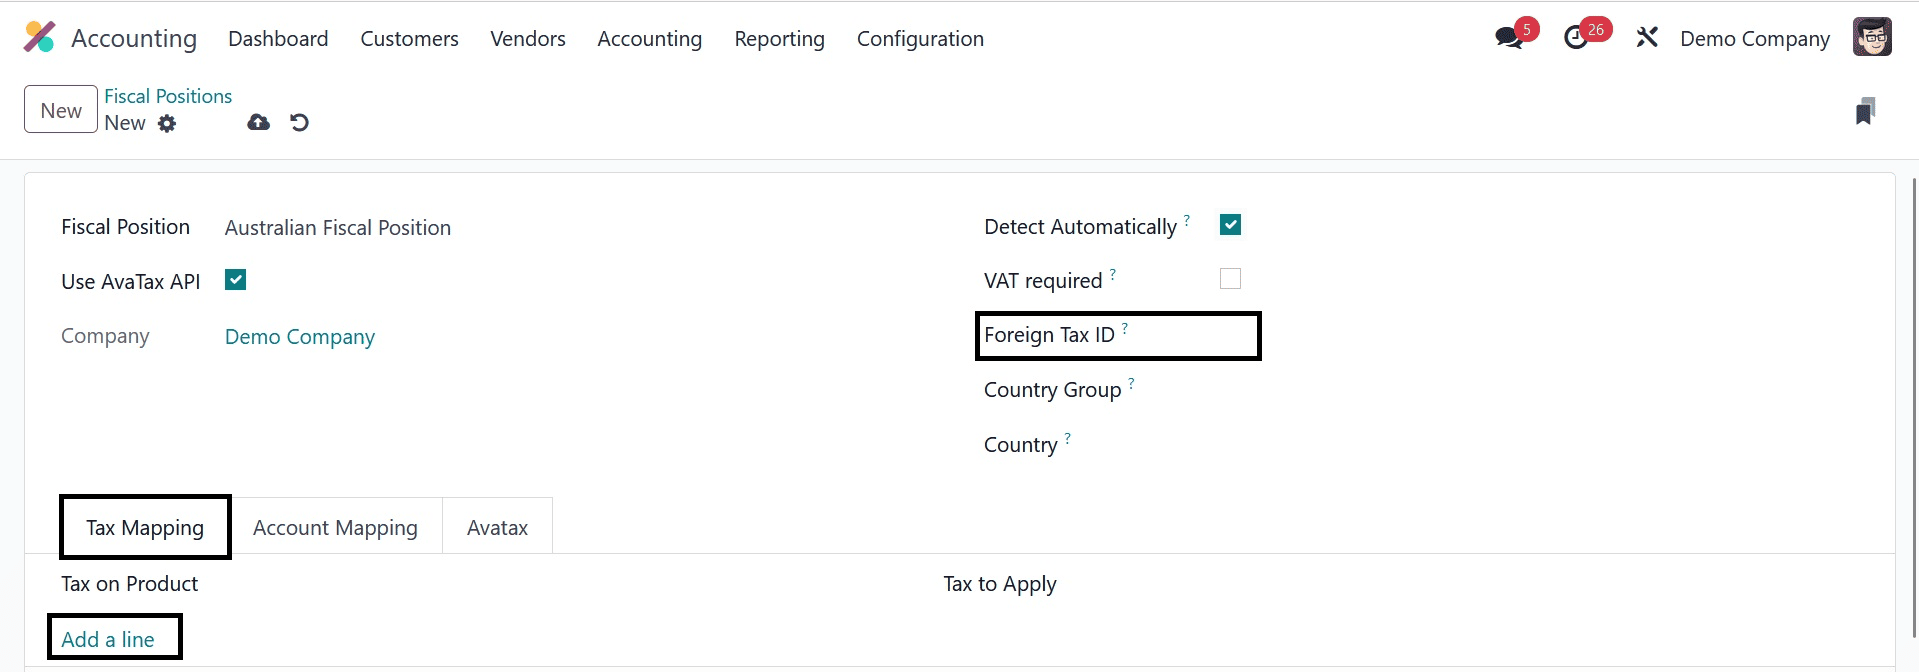
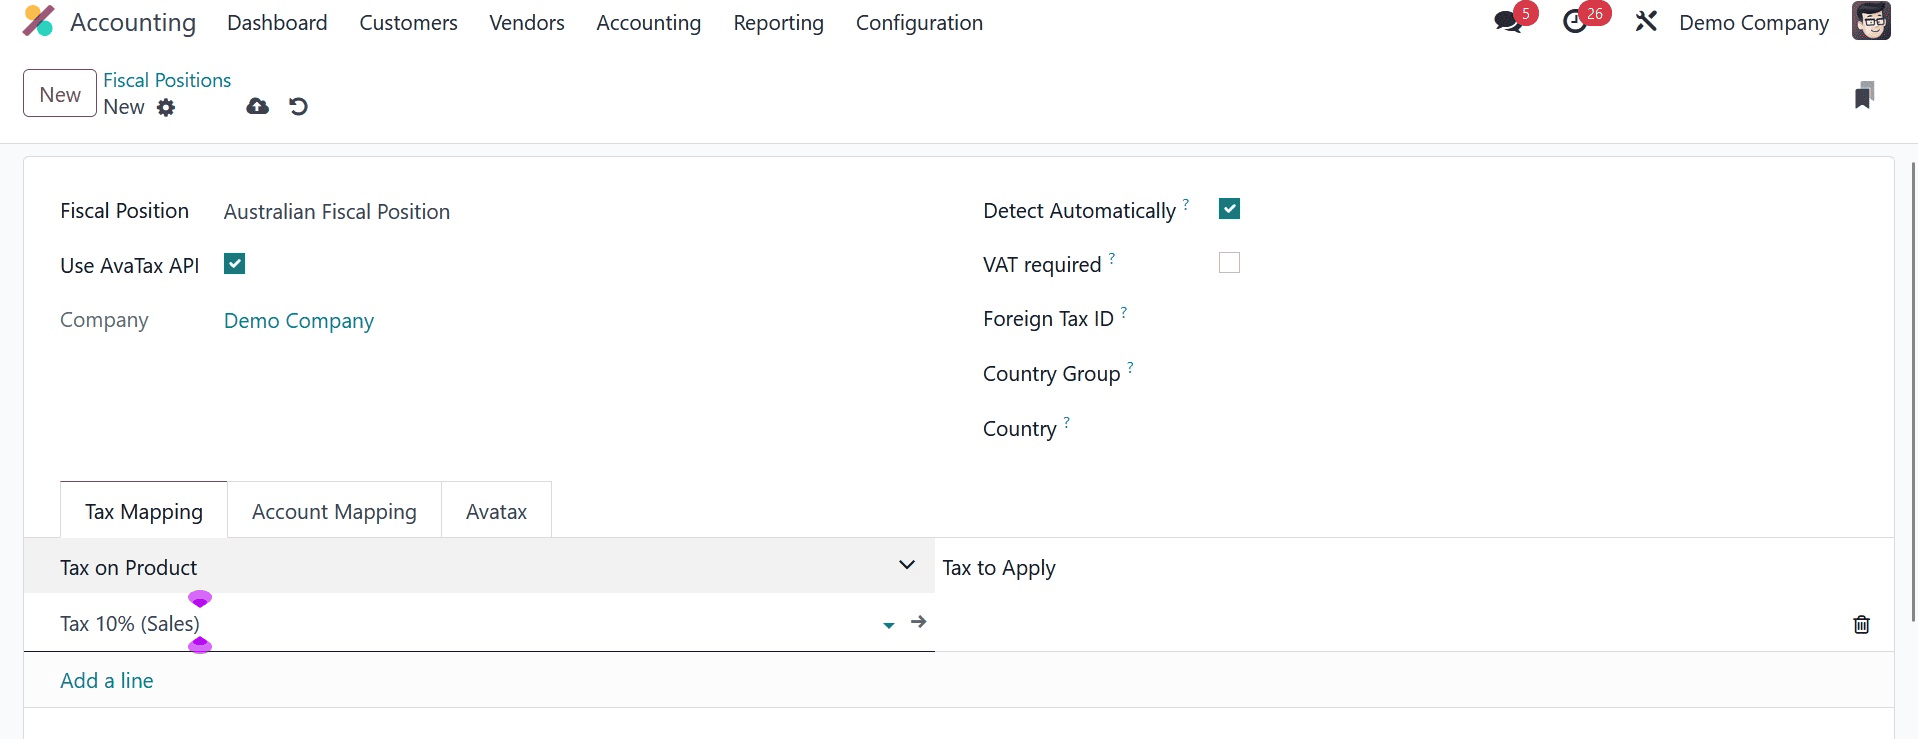
As shown in the screenshot above, use the Add a Line option within Tax Mapping to apply a product tax. As seen in the screenshot below, we may choose the created tax Tax 10%(Sales) under the Tax on Product area.
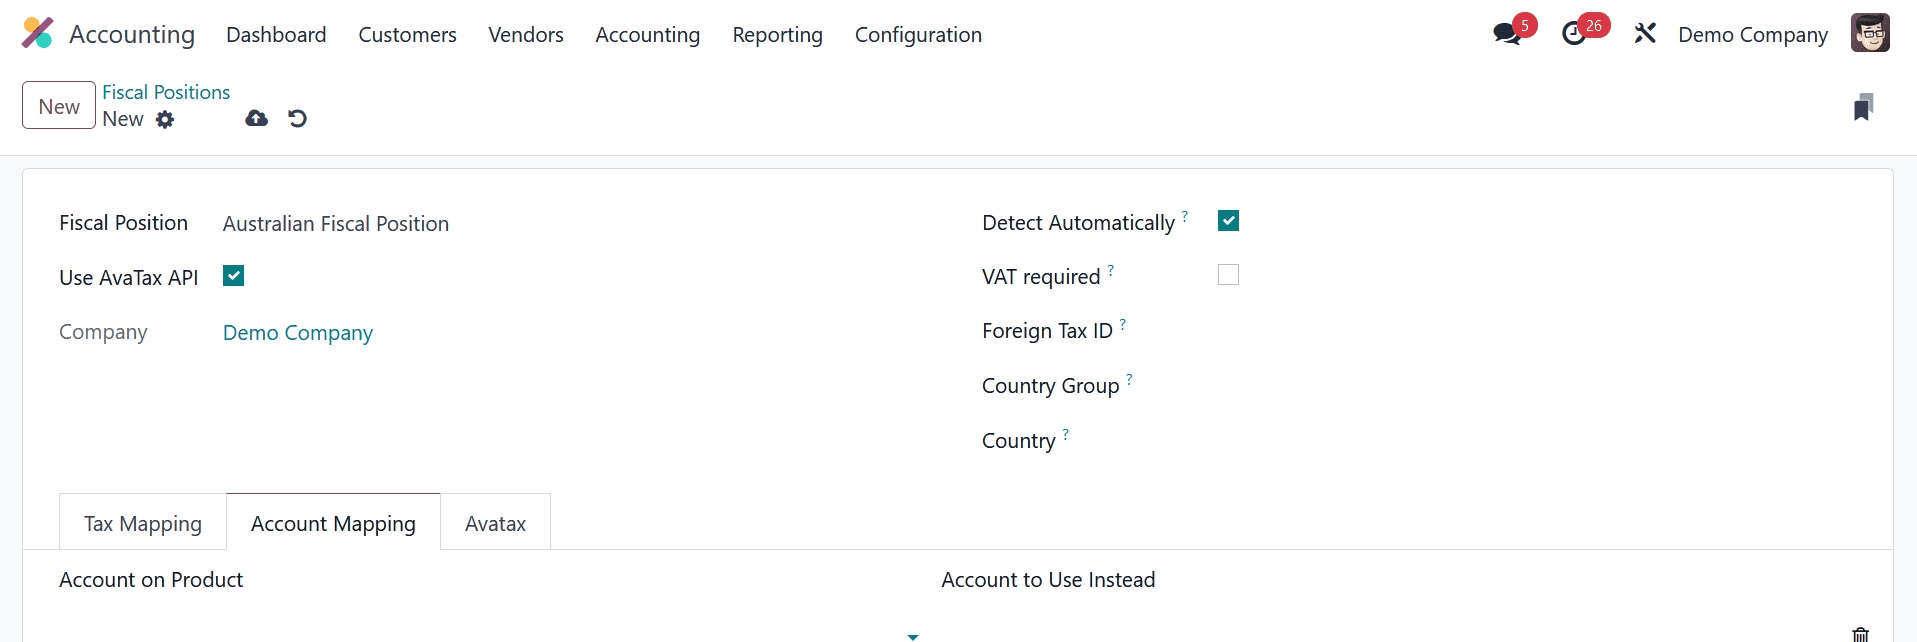
After selecting the Add a Line option, you can add an account on a product below the Account Mapping page.
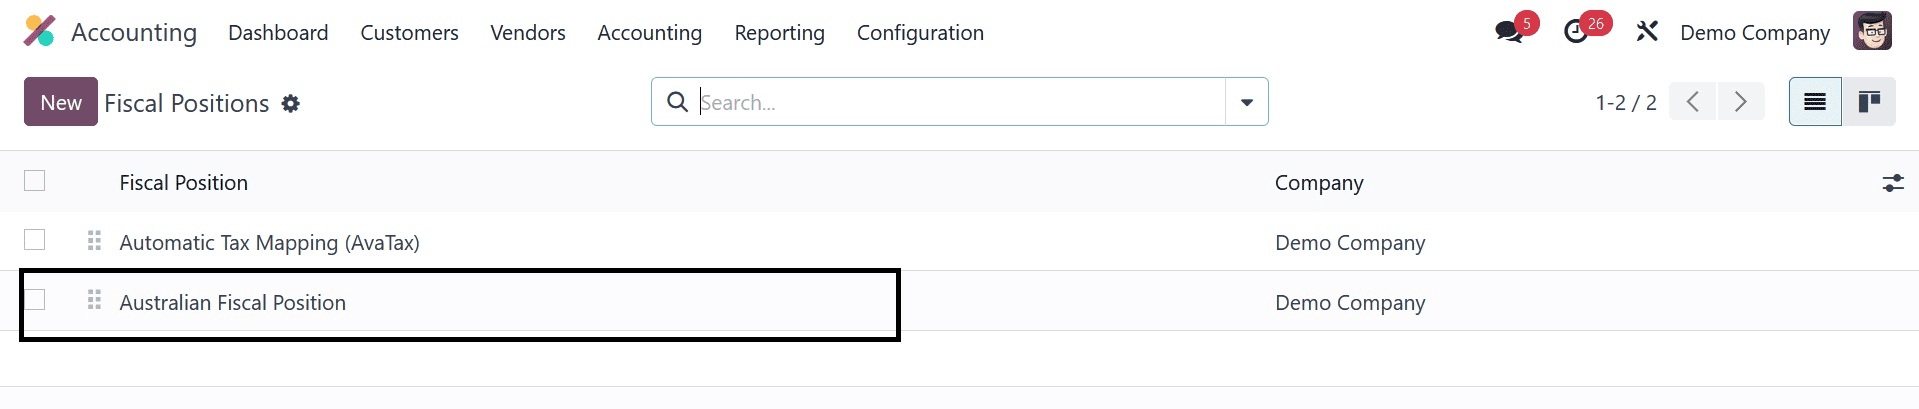
Every one of these specifics is dynamically stored in the Odoo 17 Accounting. The fiscal position that has been generated is visible in the main plane.
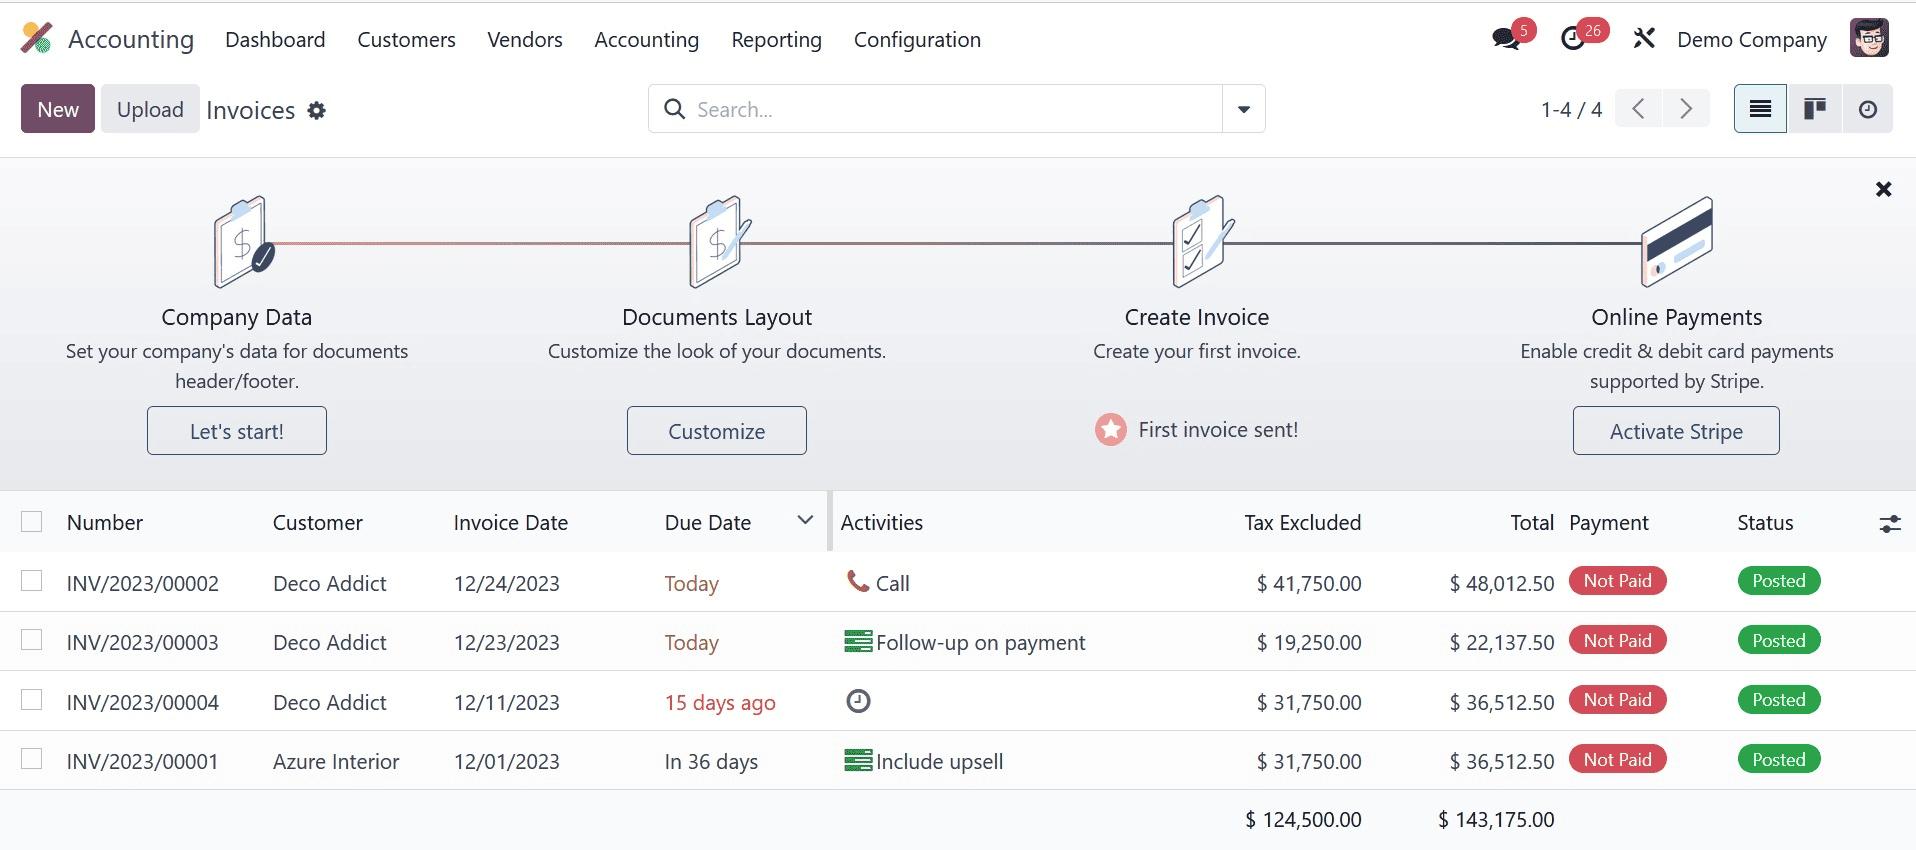
We can handle a fiscal position once an invoice has been created. You can view the pre-figured invoice' entries by selecting the Invoices option under the Customers tab. To create a new invoice, click the NEW symbol in the Invoices box.
In the Customer section, you can enter the details of your partner. The partner's delivery address becomes revealed automatically after the customer is selected.
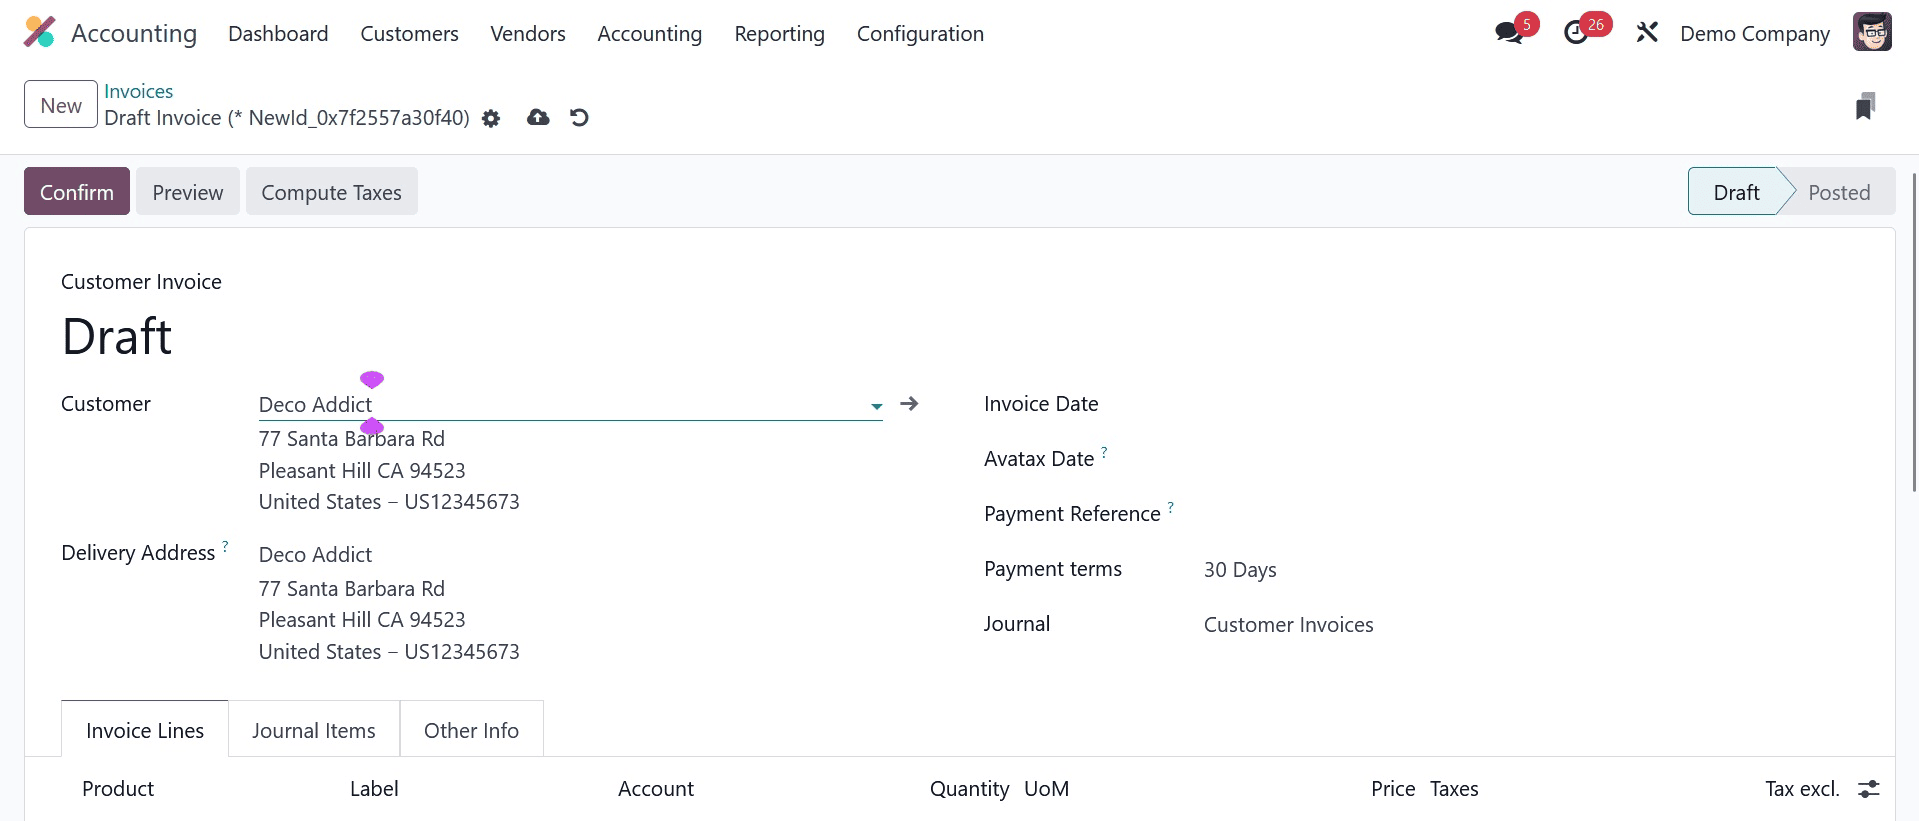
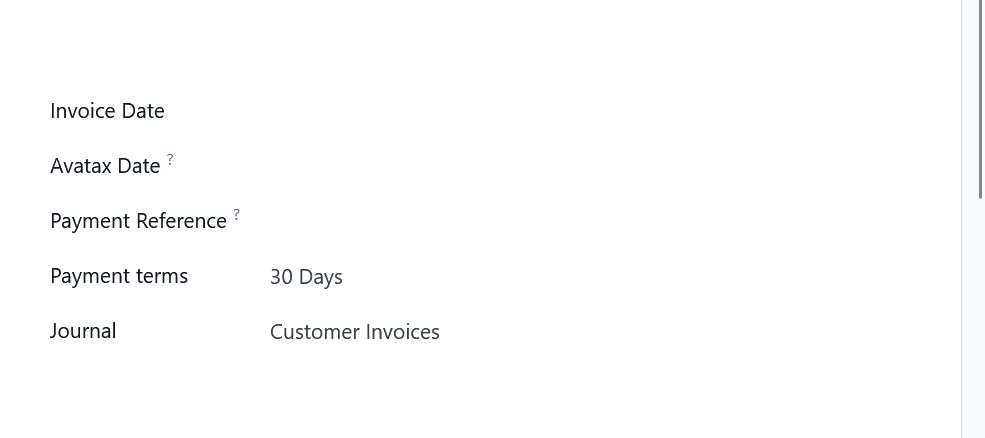
Add the invoice date and the amount to be paid (30 days, 45 days, 2 months, and so on) after that. We choose to choose 30 days as the invoice payment conditions. You can designate a specific journal for your invoice, as seen in the screenshot that follows.
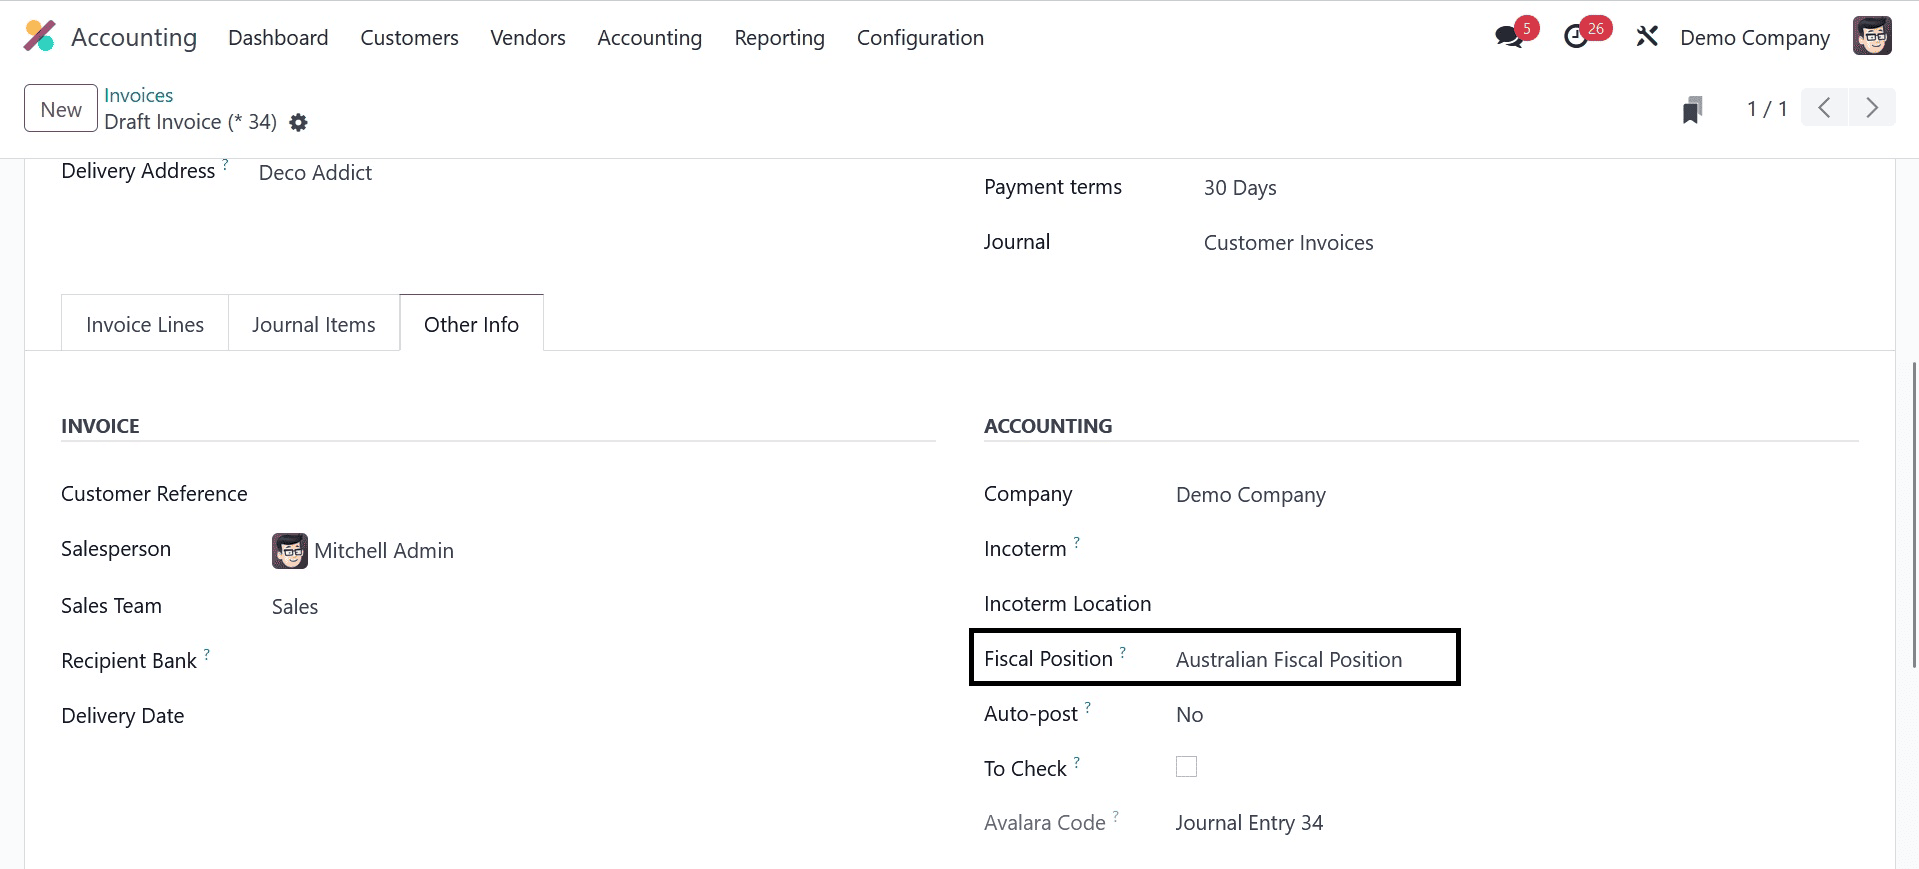
Select your created Australia Fiscal position in the Fiscal position field inside the Another Info tab's ACCOUNTING section.
We are now able to choose an item from the Invoice Lines tab. Users can enter more information about the selected goods, such as quantity, price, and tax. Every piece of data is manually saved in Odoo 17 Accounting.
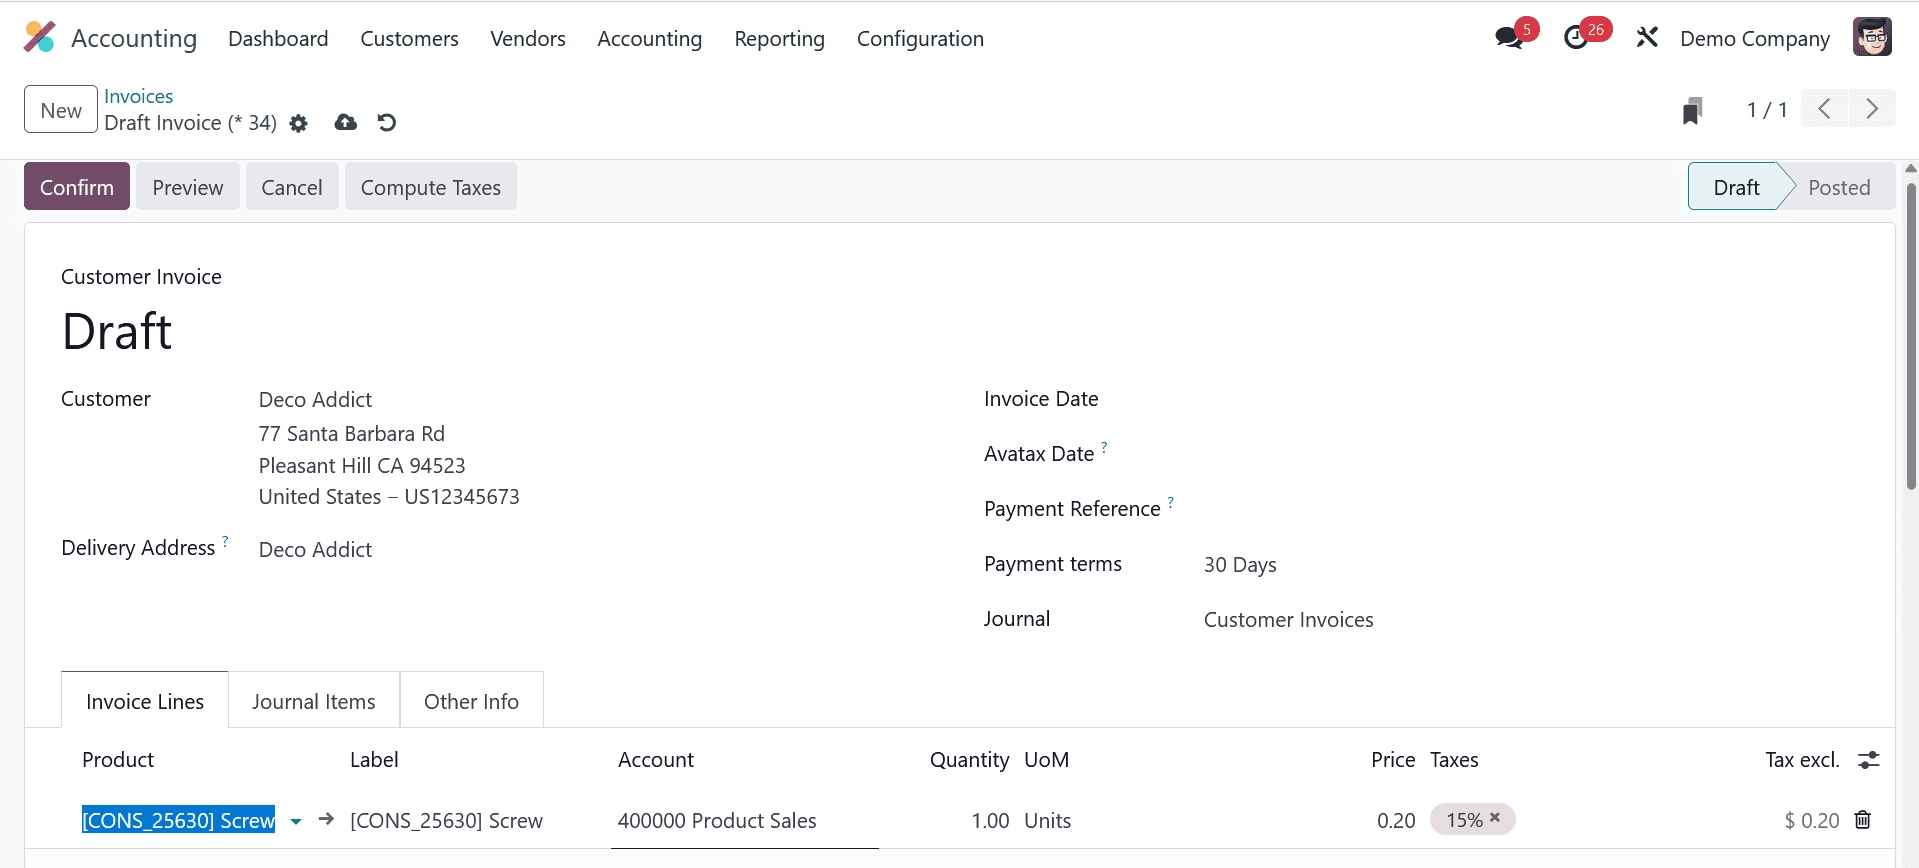
By clicking the CONFIRM icon in the Invoices pane, you can publish the invoice. Therefore, mentioning the fiscal status of an invoice is simple.