Managing employee leave is something every business has to deal with, but doing it through emails, spreadsheets, or paper forms gets messy fast. Requests get lost, balances aren't tracked properly, and managers end up approving things without knowing the full picture. The Time Off module in Odoo 19 puts all of this in one place. Employees can see their leave balances and apply directly from the app, and managers can approve or reject requests without digging through emails. This blog covers the basic layout of the module and what each part does.
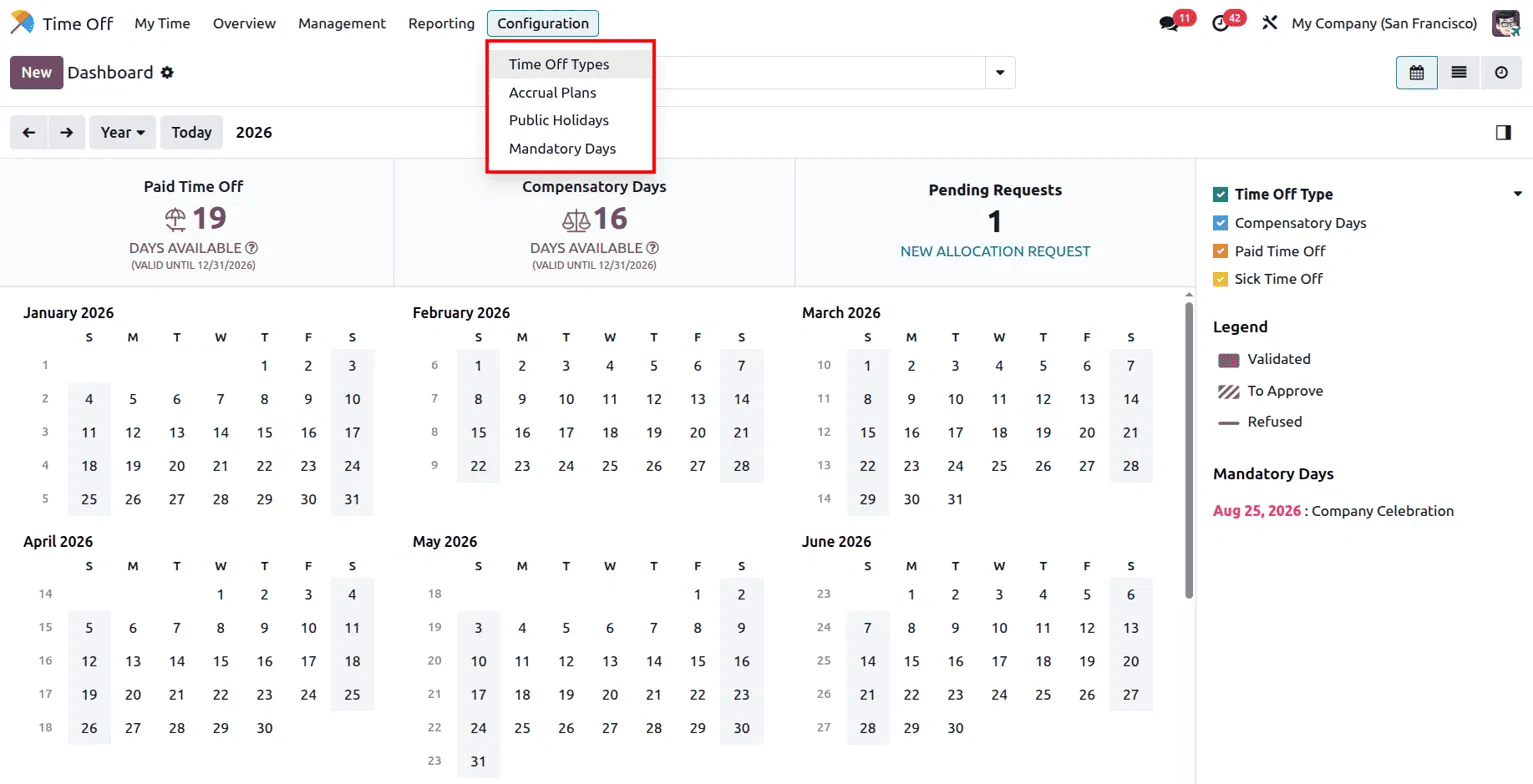
When you open the Time Off app, you land on the Dashboard. At the top, it shows your leave balances: in this case, 19 Days Available under Paid Time Off, valid until 12/31/2026, and 16 Days Available under Compensatory Days, valid until the same date. Right next to that is a Pending Requests count, showing 1 request that's still waiting on approval, and a link to raise a New Allocation Request if you need more leave days added to your account.
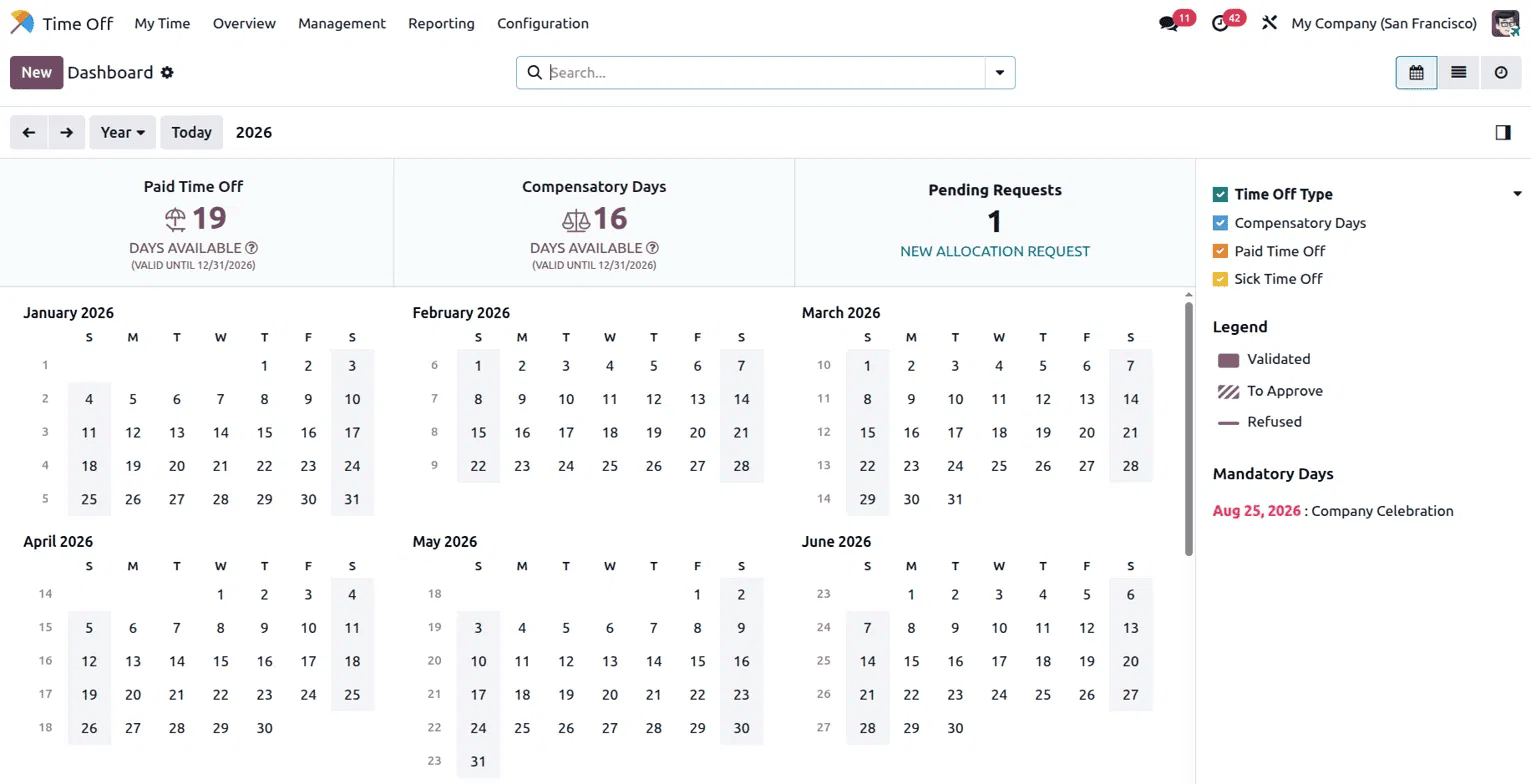
Below is a full year calendar, laid out month by month, so you can see the whole year at once instead of scrolling through months individually. On the right side, there's a filter panel where you can toggle Time Off Types on or off, Compensatory Days, Paid Time Off, and Sick Time Off, depending on what you want to see on the calendar. Below that is a Legend explaining the colors used: purple means Validated, a striped pattern means To Approve, and a plain line means Refused. There's also a Mandatory Days section that lists company-wide holidays, here showing Aug 25, 2026 marked as a Company Celebration.
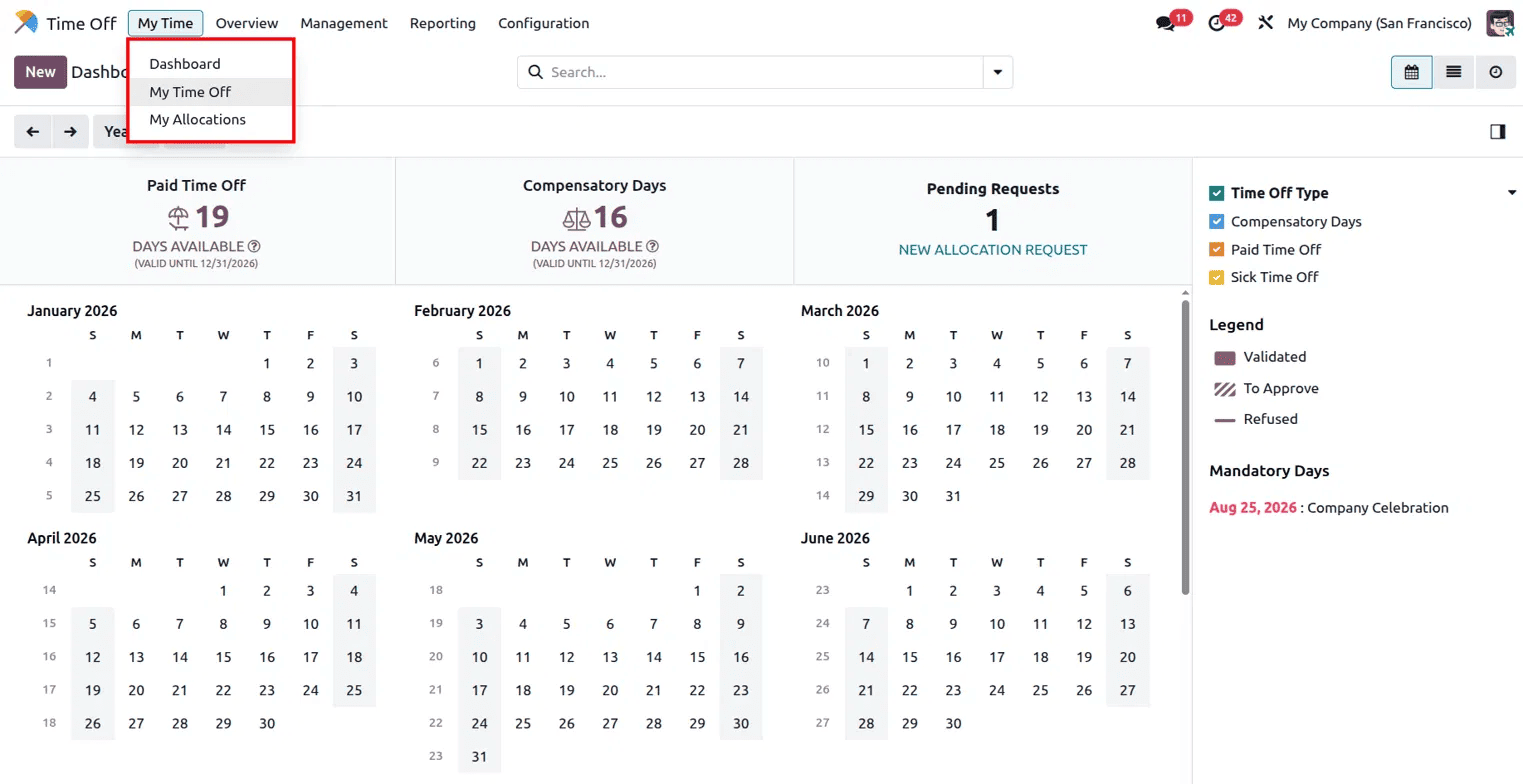
The top navigation bar splits the module into a few sections. My Time is for managing your own leave. Clicking it shows Dashboard, My Time Off, and My Allocations. My Time Off is basically a list of every leave request you've made, past and present, along with its status. My Allocations shows how many days you've been given under each leave type, which is useful for things like compensatory days that get added individually rather than as a fixed yearly number.
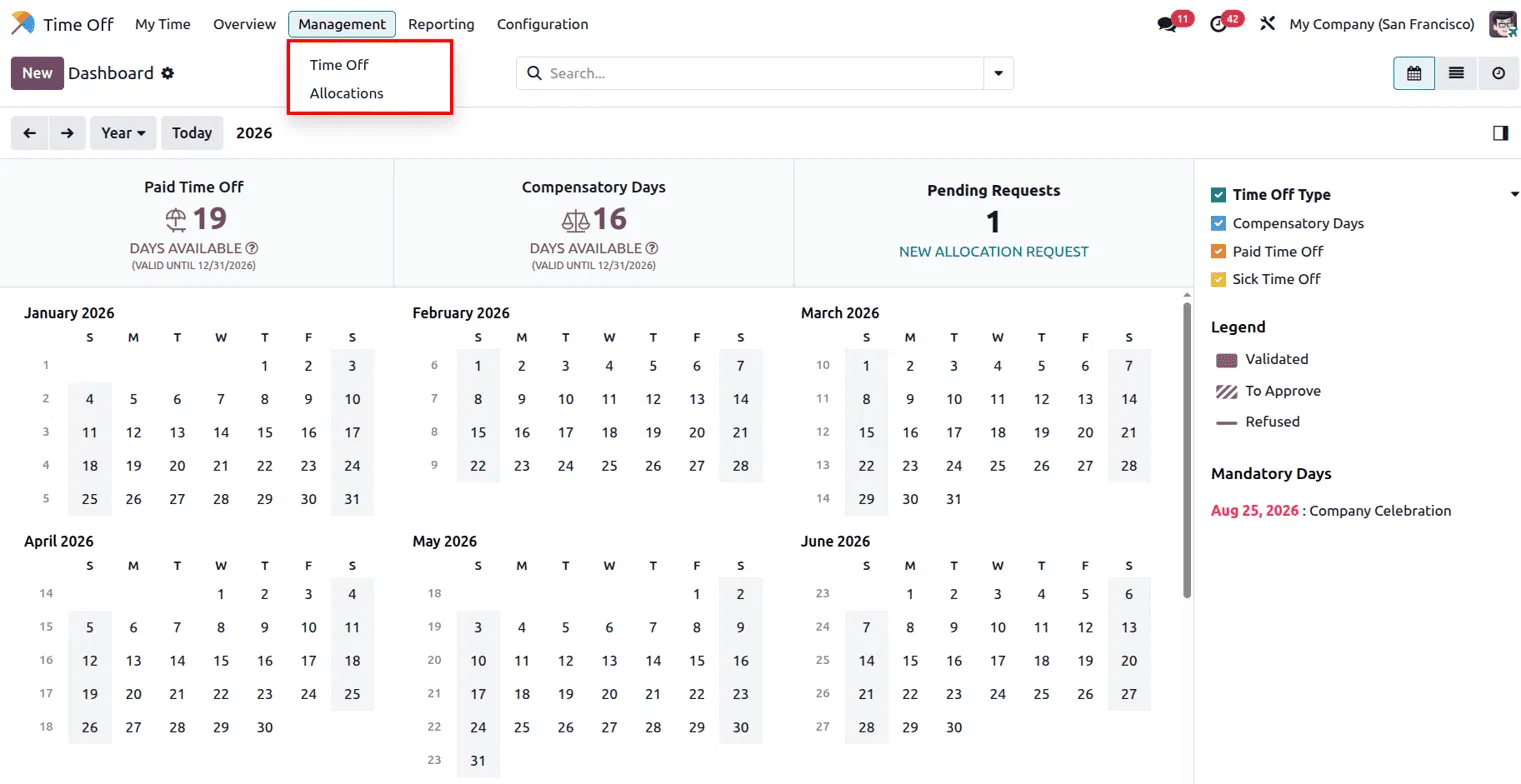
Management is the section built for people who need to act on other people's requests, usually managers or HR. It has two options, Time Off and Allocations, and this is where approvals actually happen. When an employee submits a leave request, it lands here as pending, and the manager can either validate or refuse it directly from the list; no need to open each record individually unless they want more detail. Some leave types are set up to need just one approval, while others go through a second level depending on how the company wants sensitive leave types handled. Once approved, the request updates automatically on the employee's dashboard and their balance adjusts on its own, so there's no manual step needed to keep numbers in sync. Instead of chasing people over email, everything shows up here as a single queue that needs a decision, and there's a clear record of who approved what and when.
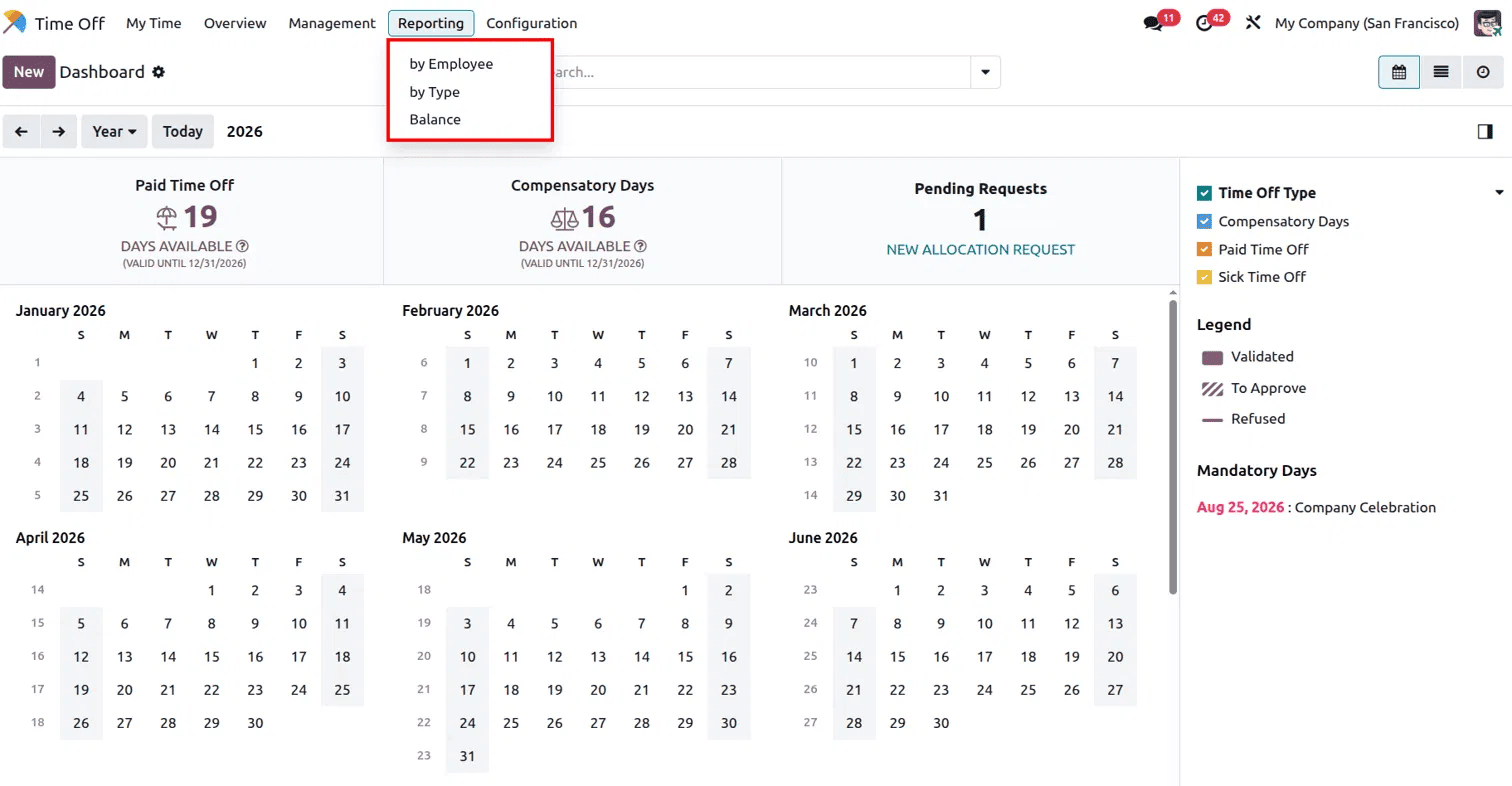
Reporting is where you go if you want to look at leave data across the whole company rather than one person at a time. It has three views: by Employee, by Type, and Balance. This is useful for things like figuring out which team is taking the most leave, or which leave type gets used the most, without manually going through individual records.
Time Off Types is one of the more important things you'll find under Configuration. This is where you define the actual categories of leave your company offers, things like Paid Time Off, Sick Time Off, or Compensatory Days. Each type can be set up differently; some can require approval while others might not, some can be limited to a set number of days per year while others accrue gradually, and some can even be restricted to specific departments or employee groups rather than being available company-wide. This is also where you decide whether a leave type deducts from an existing allocation or whether it needs one to be requested separately first. Getting this set up correctly matters a lot, since every leave request an employee makes falls under one of these types, and the rules attached to that type control how the request behaves from submission all the way through approval.
Configuration also covers Accrual Plans, which decide how leave builds up over time instead of being handed out all at once, Public Holidays, and Mandatory Days, the same company-wide off days shown earlier on the dashboard. Once these are set up properly, the rest of the module runs on its own without needing constant adjustment.
Overall, the Time Off module covers the whole leave process from start to finish. Employees can check balances and apply for leave on their own; the approval step gives managers a clear, centralized way to sign off on requests without any back and forth, and HR sets the rules once through Time Off Types and lets the system handle the rest. If you're trying to move away from manual leave tracking, this module makes the whole thing a lot more organized.
To read more about How to Apply for Leave in Odoo 19 Time Off Module, refer to our blog How to Apply for Leave in Odoo 19 Time Off Module.