Managing production processes efficiently is a cornerstone of success for manufacturing businesses, and Odoo 18 provides powerful tools to assign employees to work centers, track their activities, and ensure smooth operations. This blog offers an in-depth, step-by-step guide on assigning employees to work centers, enabling secure employee logins for production tasks, and monitoring performance. With detailed examples, including a practical scenario of manufacturing a wooden table, this guide ensures you can implement these processes with ease in Odoo 18.
Assigning employees to specific work centers in Odoo 18 ensures that only authorized personnel perform tasks, improving accountability and operational efficiency. For instance, in a furniture factory, you might assign skilled operator John Doe to the "Assembly Line 1" work center to assemble wooden tables, ensuring tasks are handled by qualified staff. By enabling login requirements, you can track who performs each task, their time spent, and associated costs, which is critical for cost analysis and productivity monitoring.
Work Center
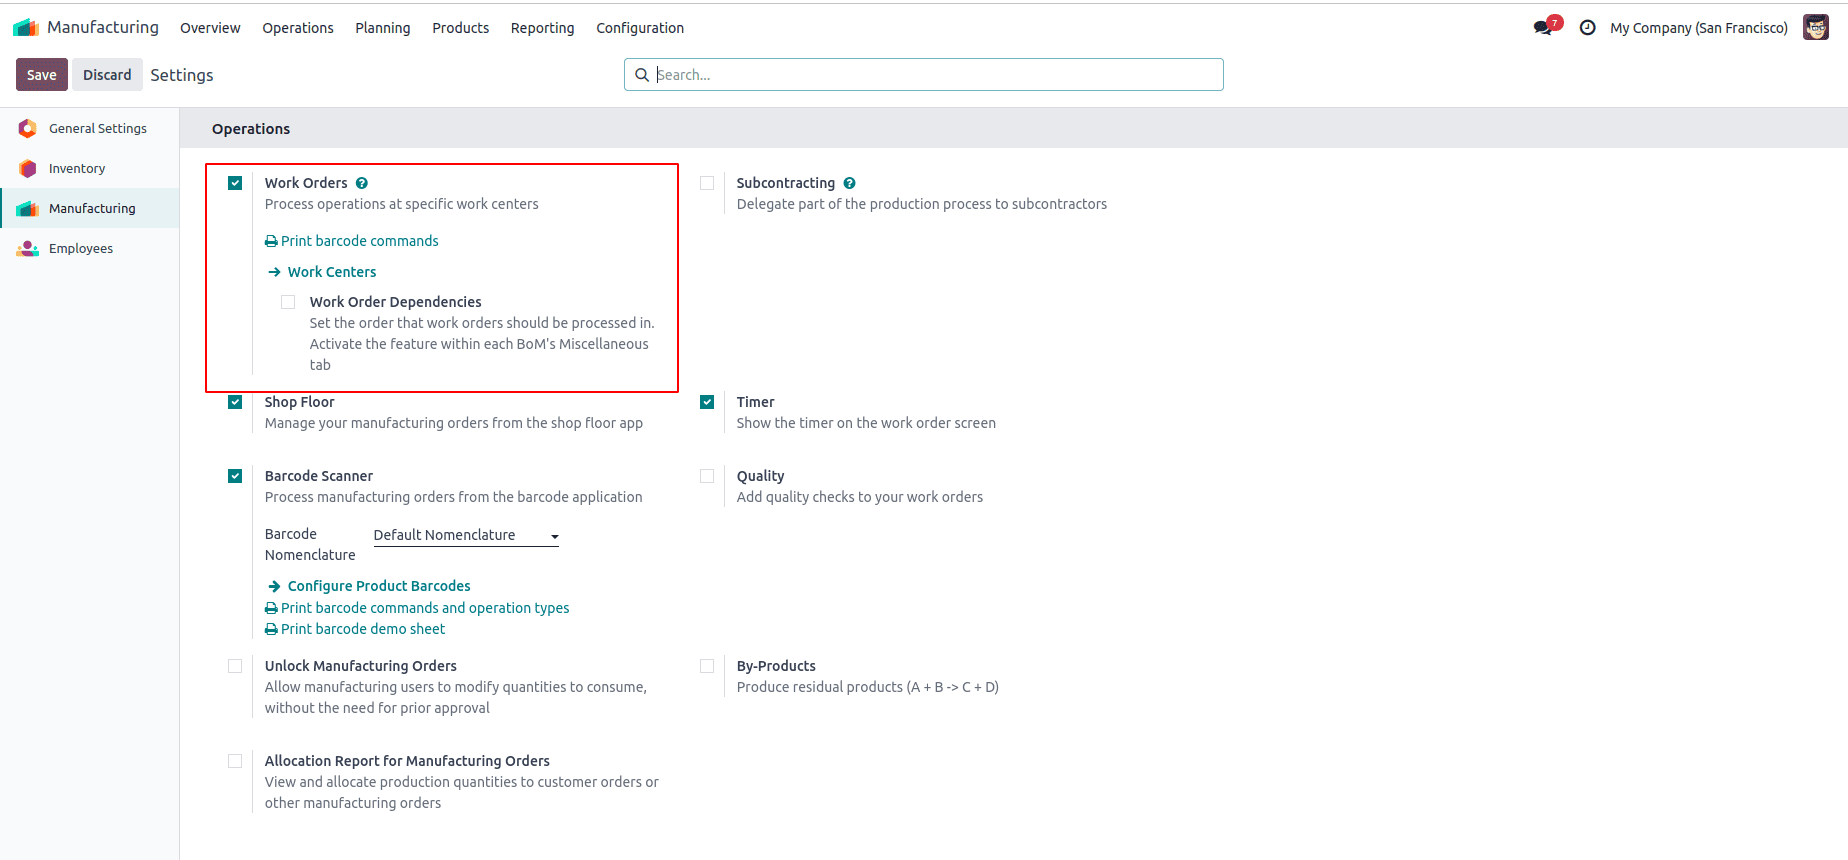
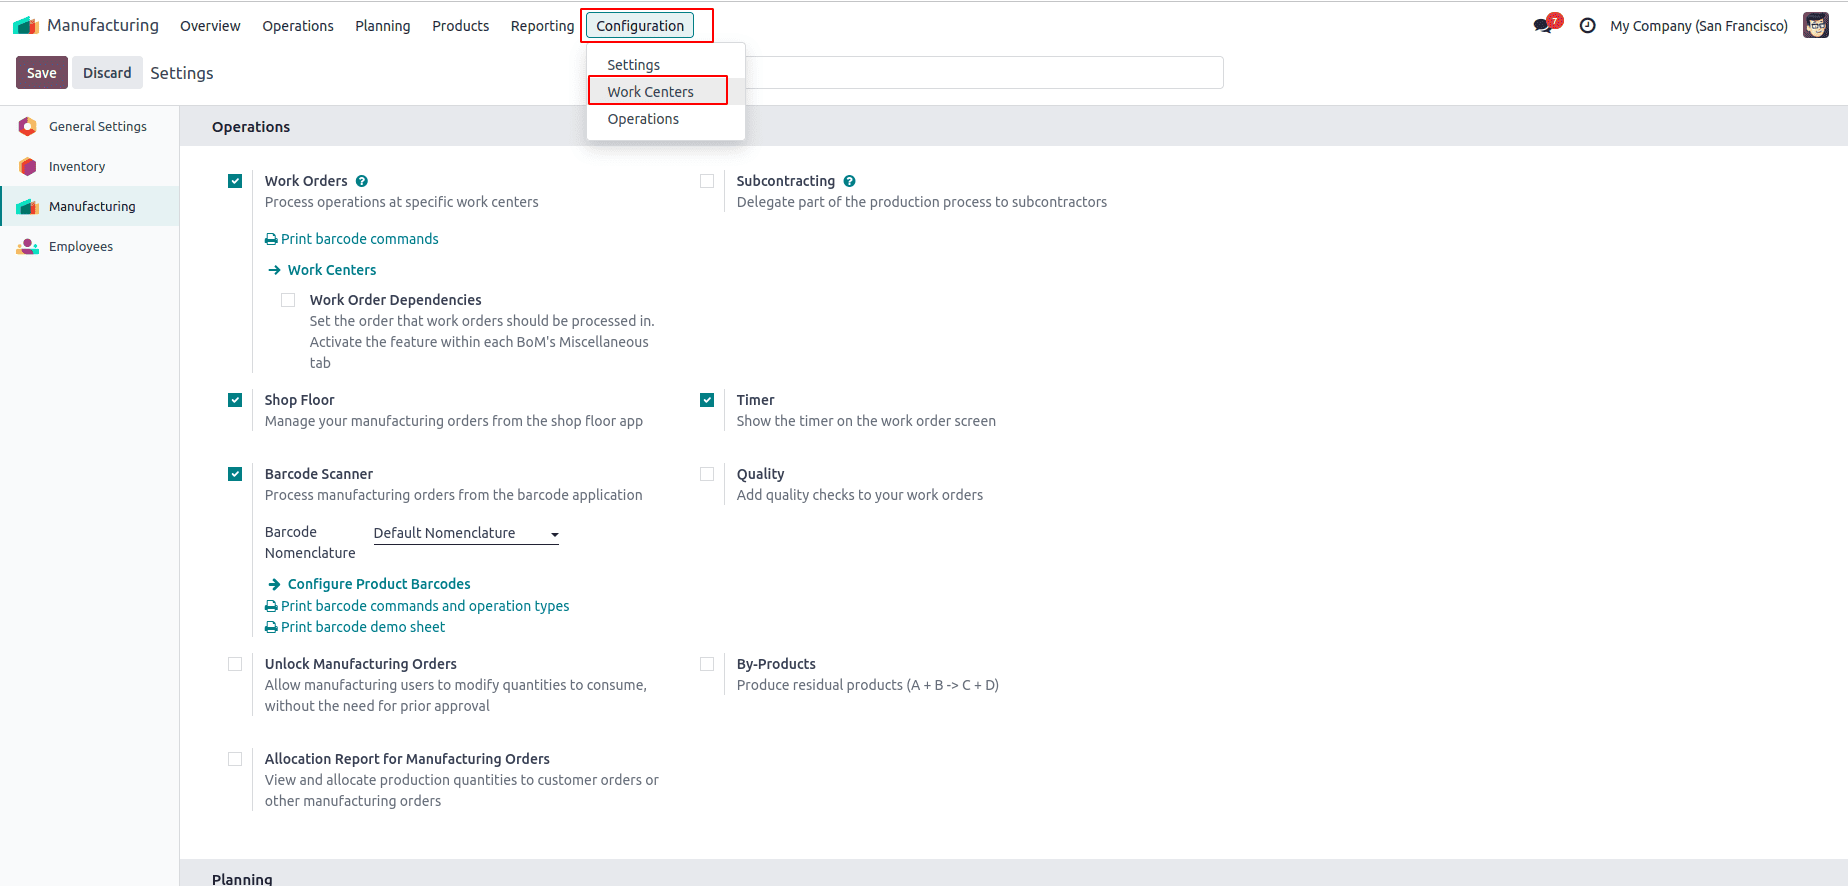
In Odoo 18, you can manage employee allocation within the Manufacturing module by first setting up a Work Center, which represents the place where production tasks are executed. To create a new Work Center, navigate to the Configuration menu under Manufacturing and choose Work Centers. From there, you can define the details of the Work Center and assign responsible employees to it. Make sure the Work Center option is enabled in the settings; once activated, save your configuration to begin using it in production operations.
Next, open the Configuration menu and select Work Centers. To add a new one, click the New button and enter the required details.
When creating a new Work Center, fill in the details such as Work Center Name, Tag, Alternative Work Centers, Code, Working Hours, and Company. Under the General Information tab. Once this is activated, an additional field called Allowed Employees will be displayed. From here, you can select the employees who are authorized to work in this Work Center. Only the assigned employees will be responsible for handling production orders linked to it.
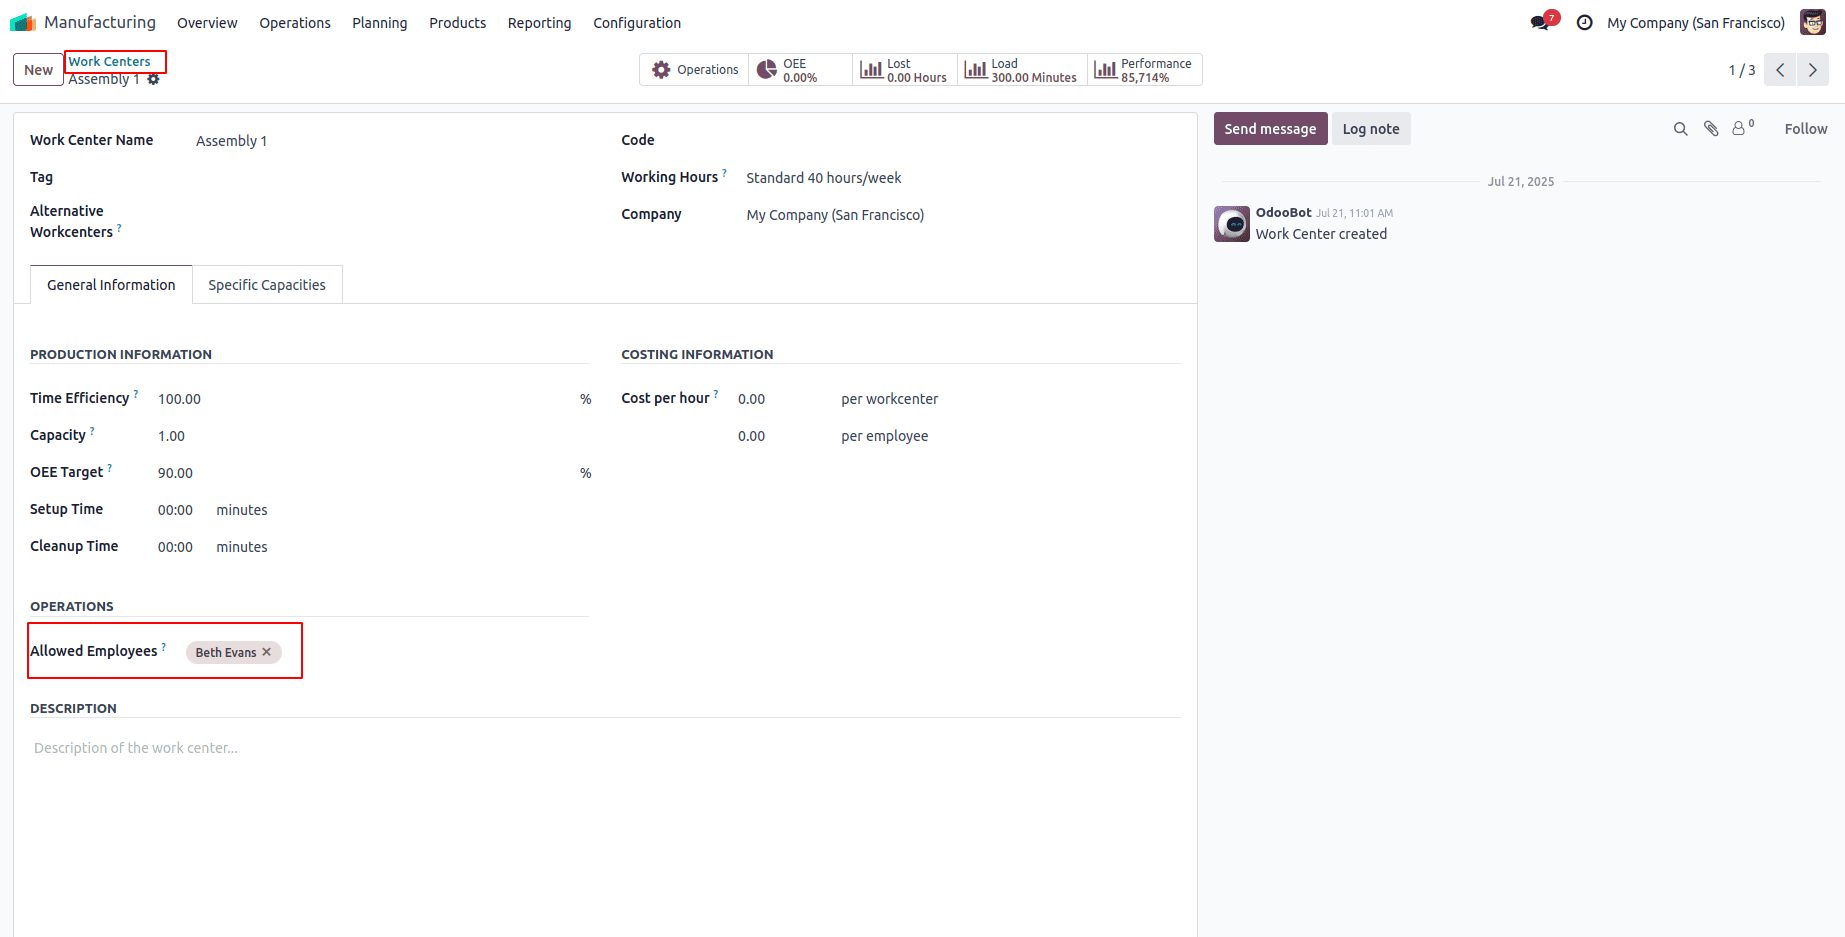
In this example, the Work Center is named Assembly Line 1, with Beth Evans assigned as the allowed employee.
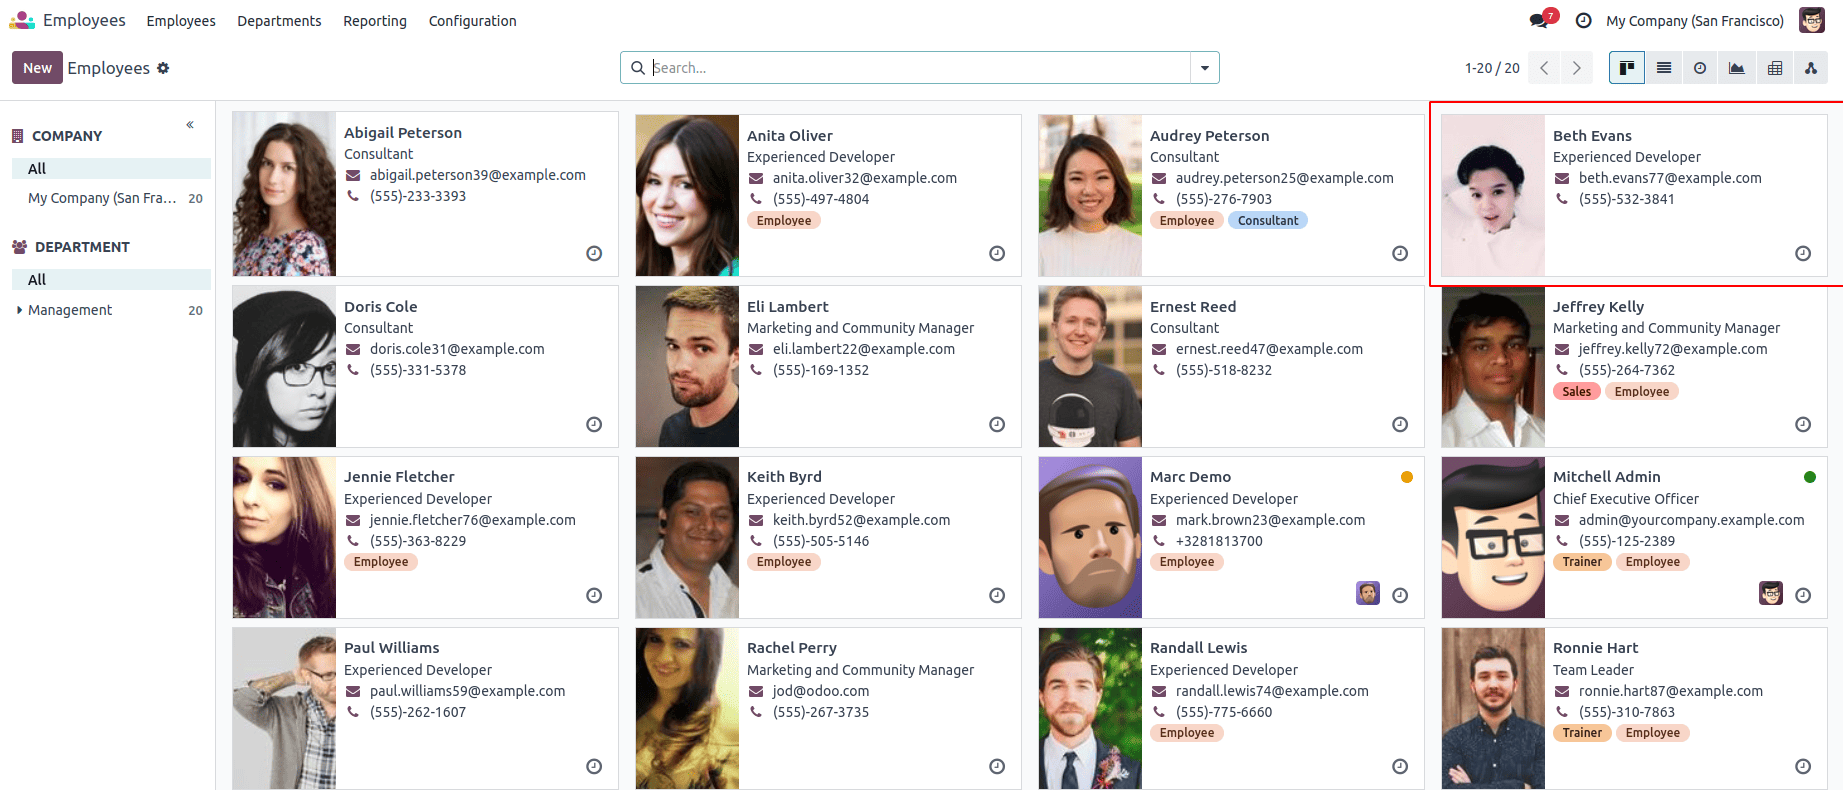
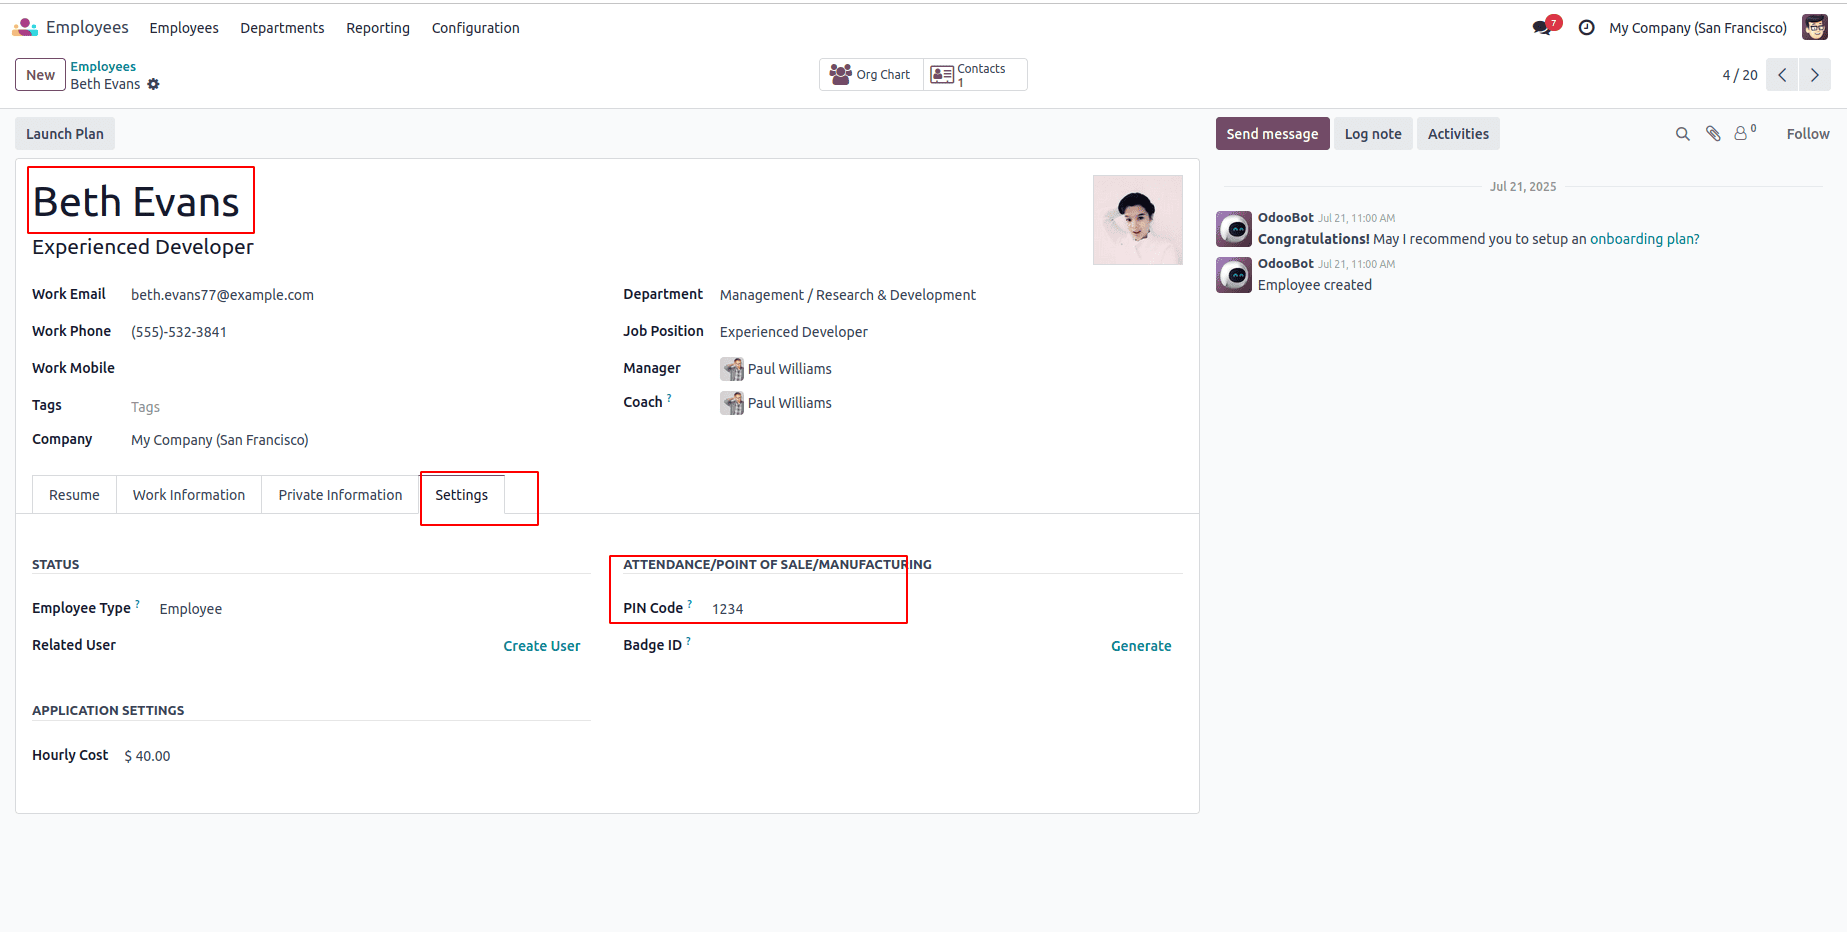
Before operations can begin, the assigned employees must log in. This requires each employee to have a login password. You can set this up in the Employees module. From there, you’ll see a list of all employees in the company. Simply open the employee's profile and assign their login details.
After opening an employee record, go to the HR Settings tab. In this section, you’ll find a field to enter a PIN Code for login purposes. For example, you can add Beth Evans' login credentials by entering her PIN code in this field.
Bill of Materials (BoM)
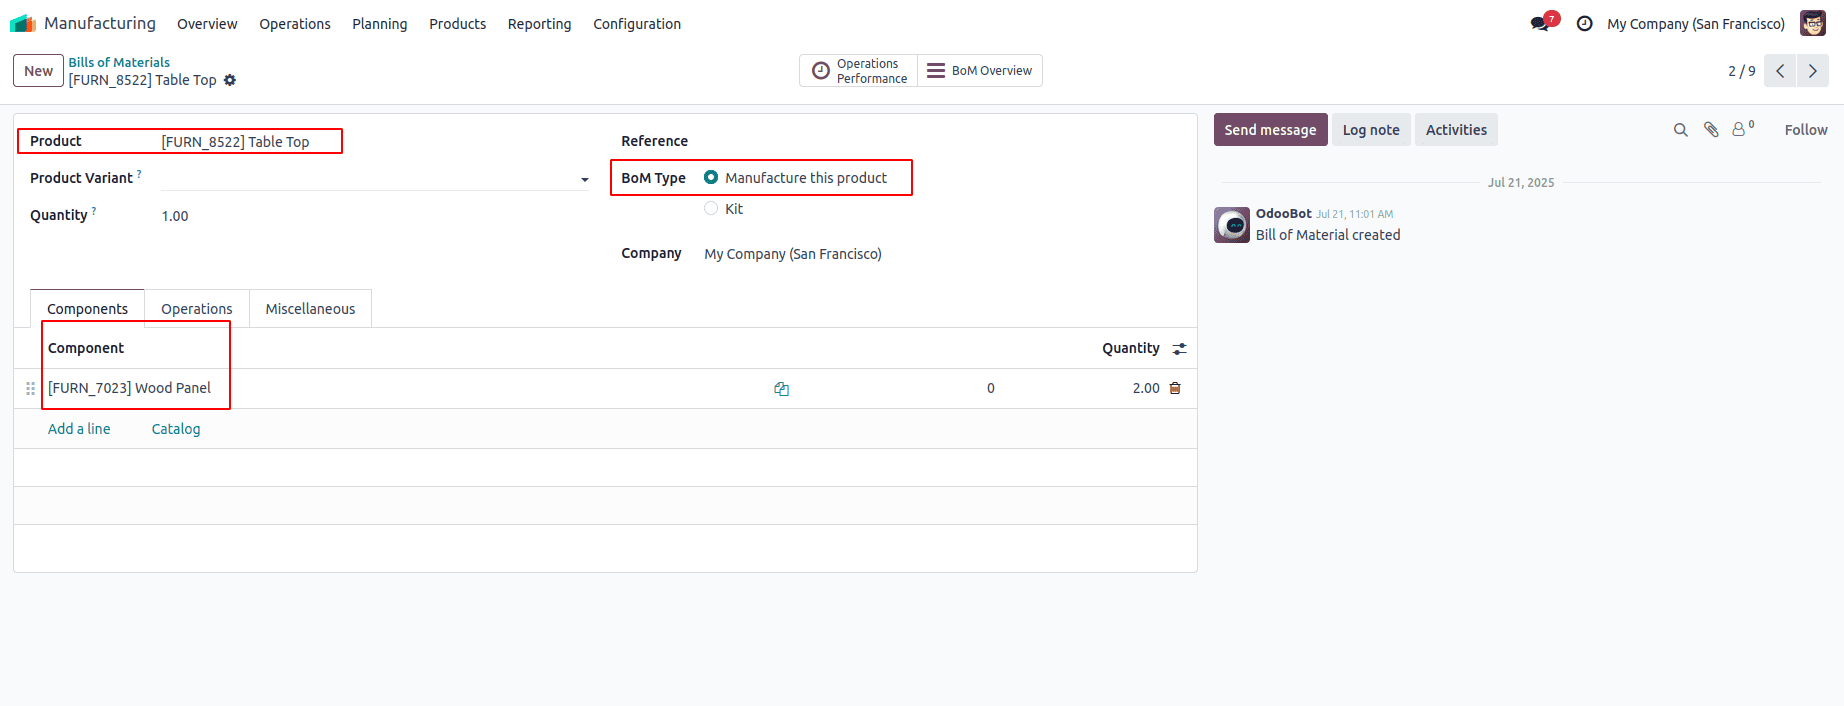
Begin by creating a new Bill of Materials with the type set to Manufacture this product. Choose the product you want to produce, then define the required operations and components. In this example, the BoM is designed for the cotton production process, where the listed components represent the raw materials needed for manufacturing.
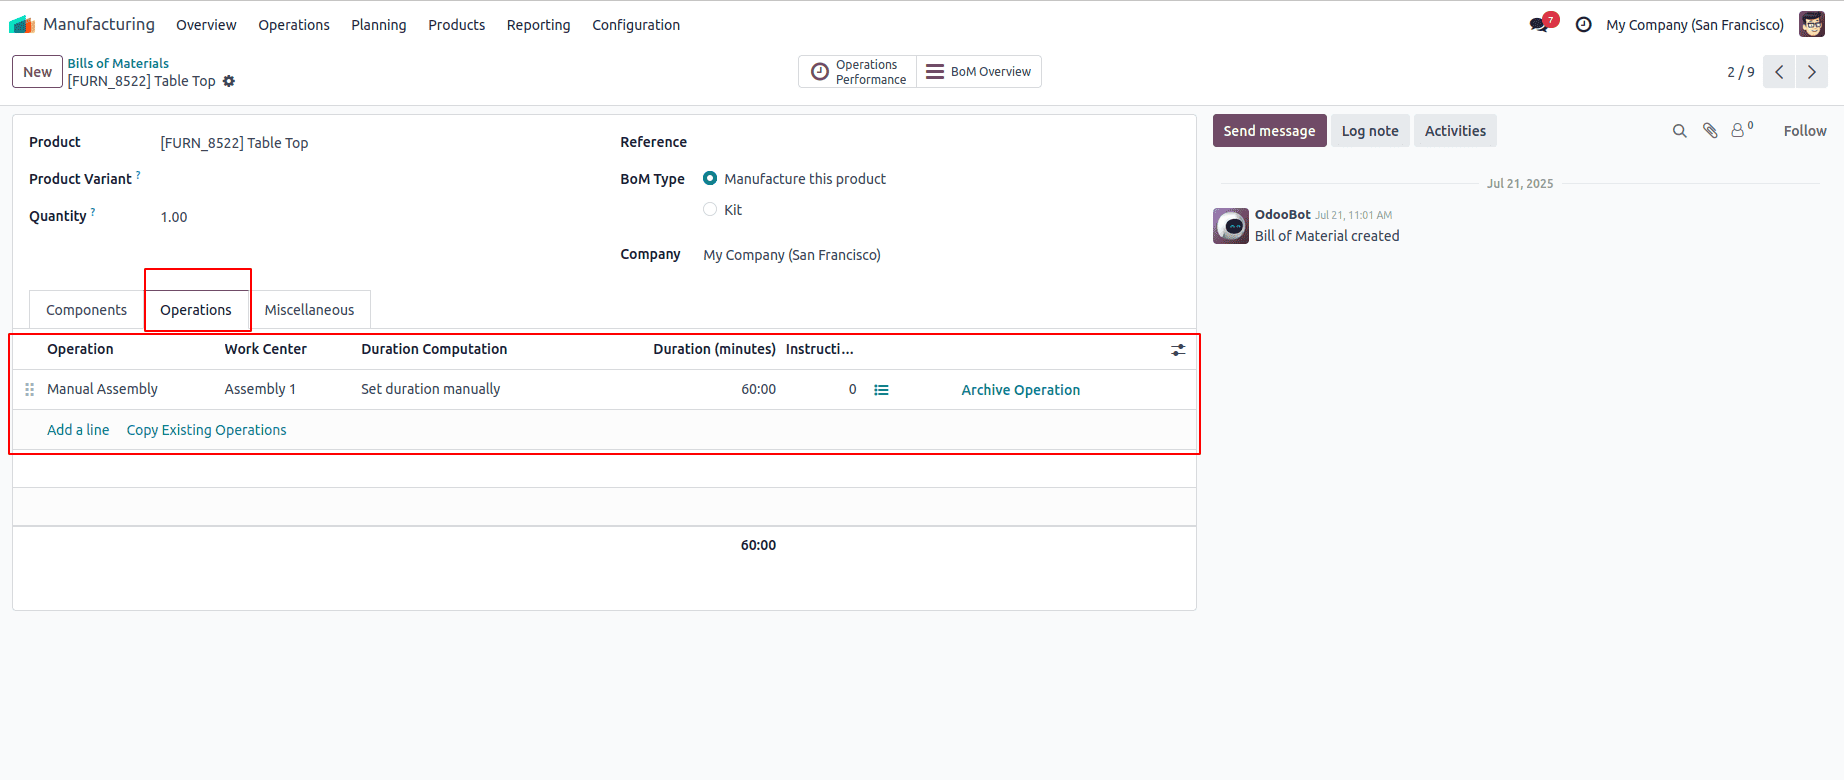
In this Bill of Materials, the previously configured Work Center Assembly 1 is assigned to handle the operations.
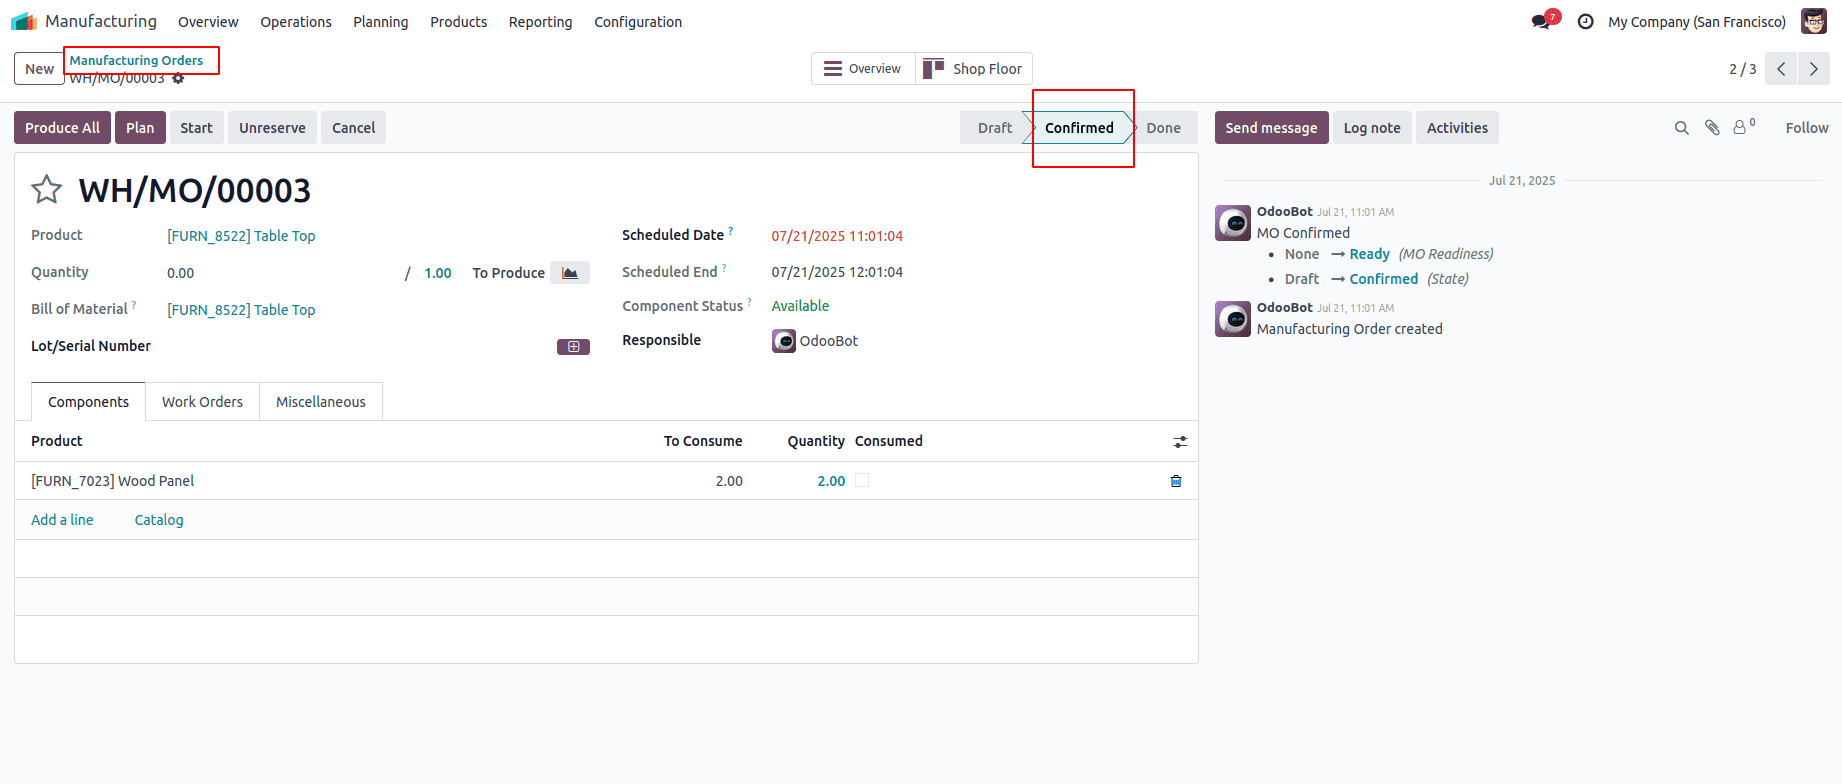
In Assembly Line 1, the assigned employees are responsible for carrying out the work orders. For example, Beth Evans can be allocated to the first task, while Dories Cloe is assigned to the next one. To initiate this, create a new production order by going to Manufacturing Orders from the Operations menu. Choose the product and link it to the Bill of Materials you previously set up. Once selected, all related activities and components will be automatically populated. Finally, confirm the manufacturing order to proceed.
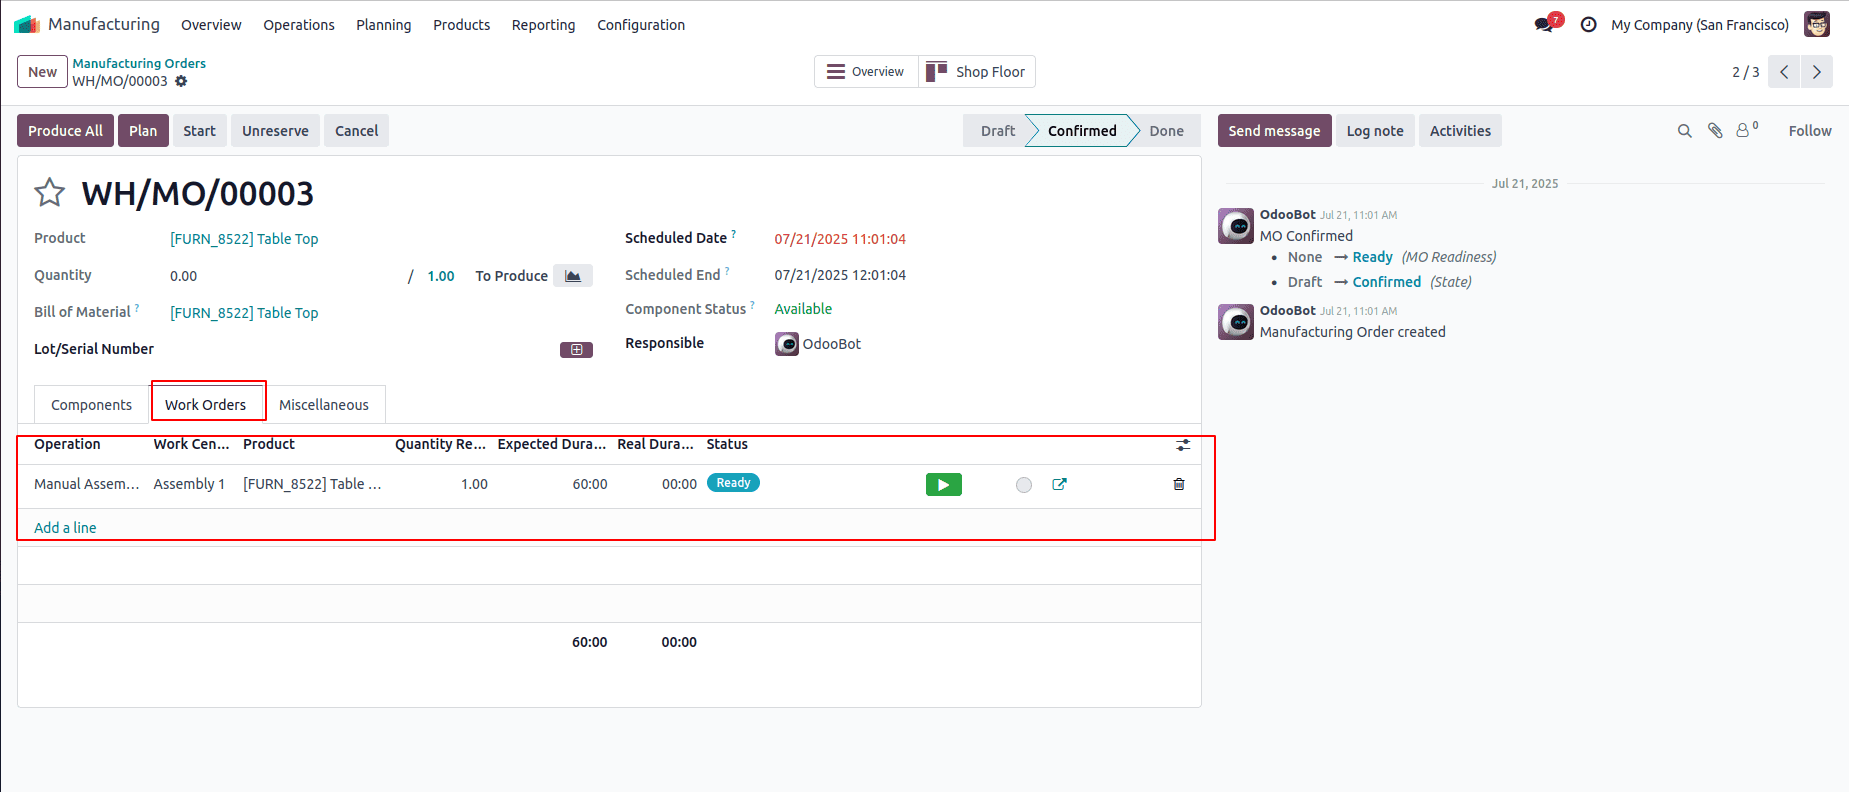
Once the production order is confirmed, open the Work Orders tab. The first task will appear in the Ready stage, while the second will be in the Waiting stage until the first one is completed.
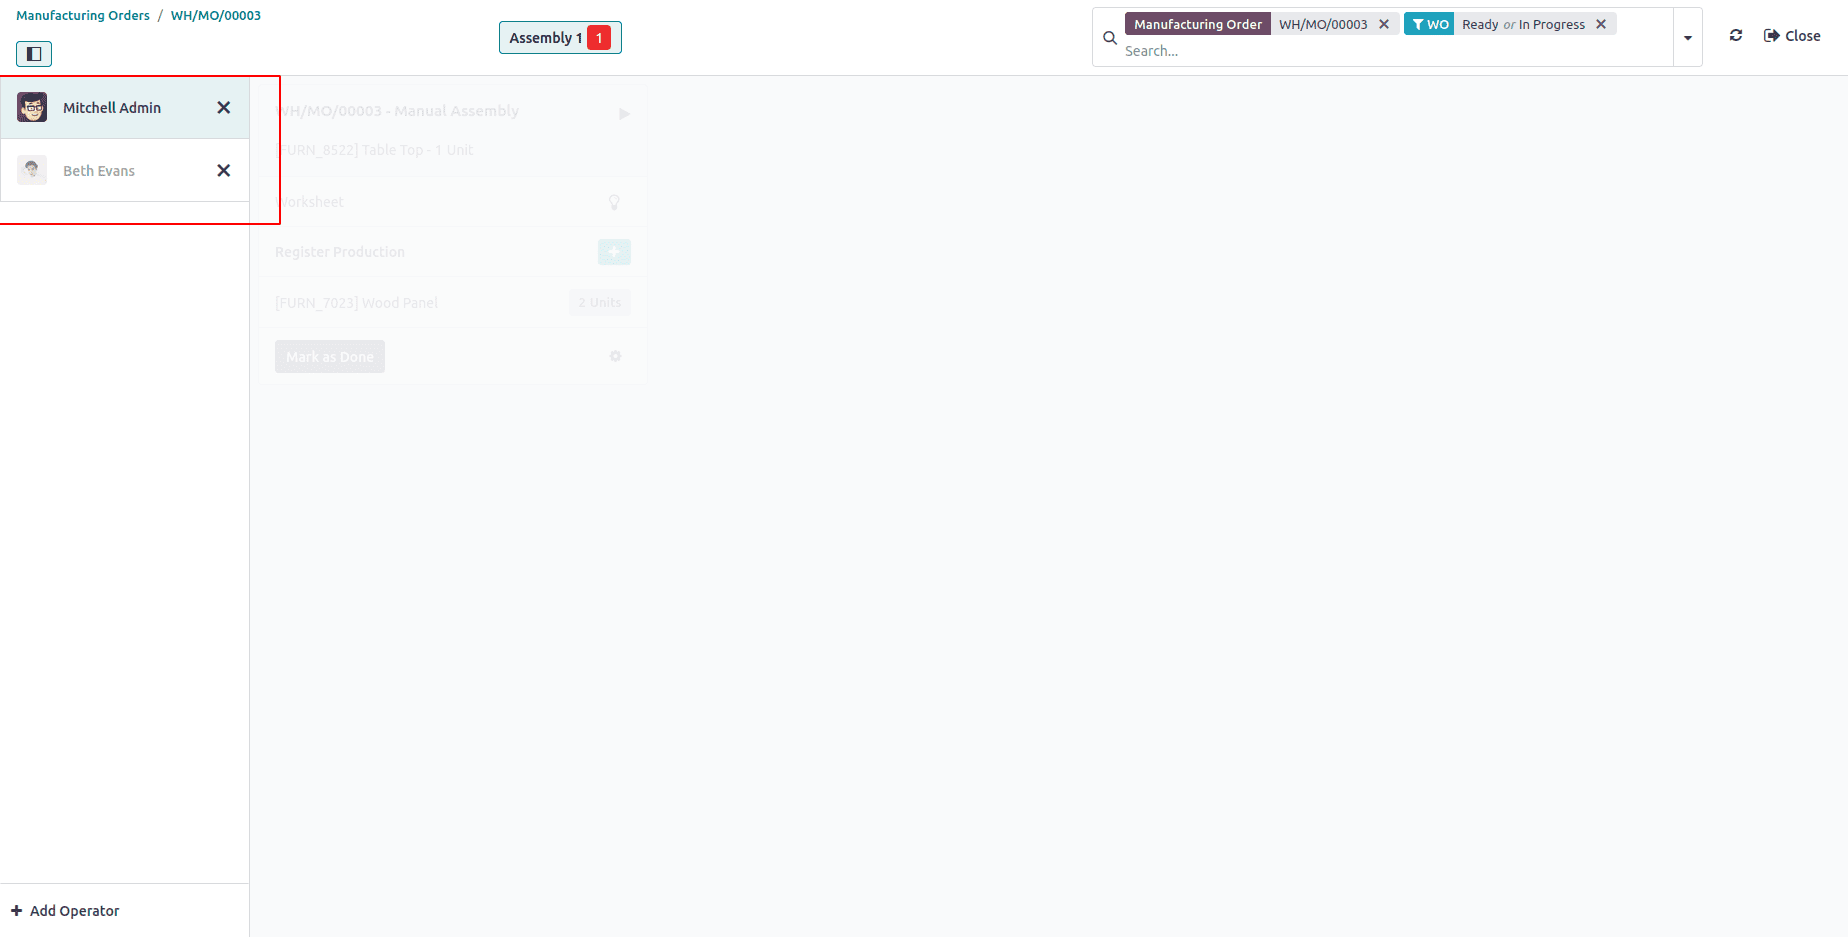
From a tablet interface, the first task can be managed directly. The employee logs in through the Shop Floor view by selecting the appropriate option to begin work.
A pop-up window will appear with an option to select an employee. The employees assigned to the Work Center will be listed there, and one can be chosen directly from the list.
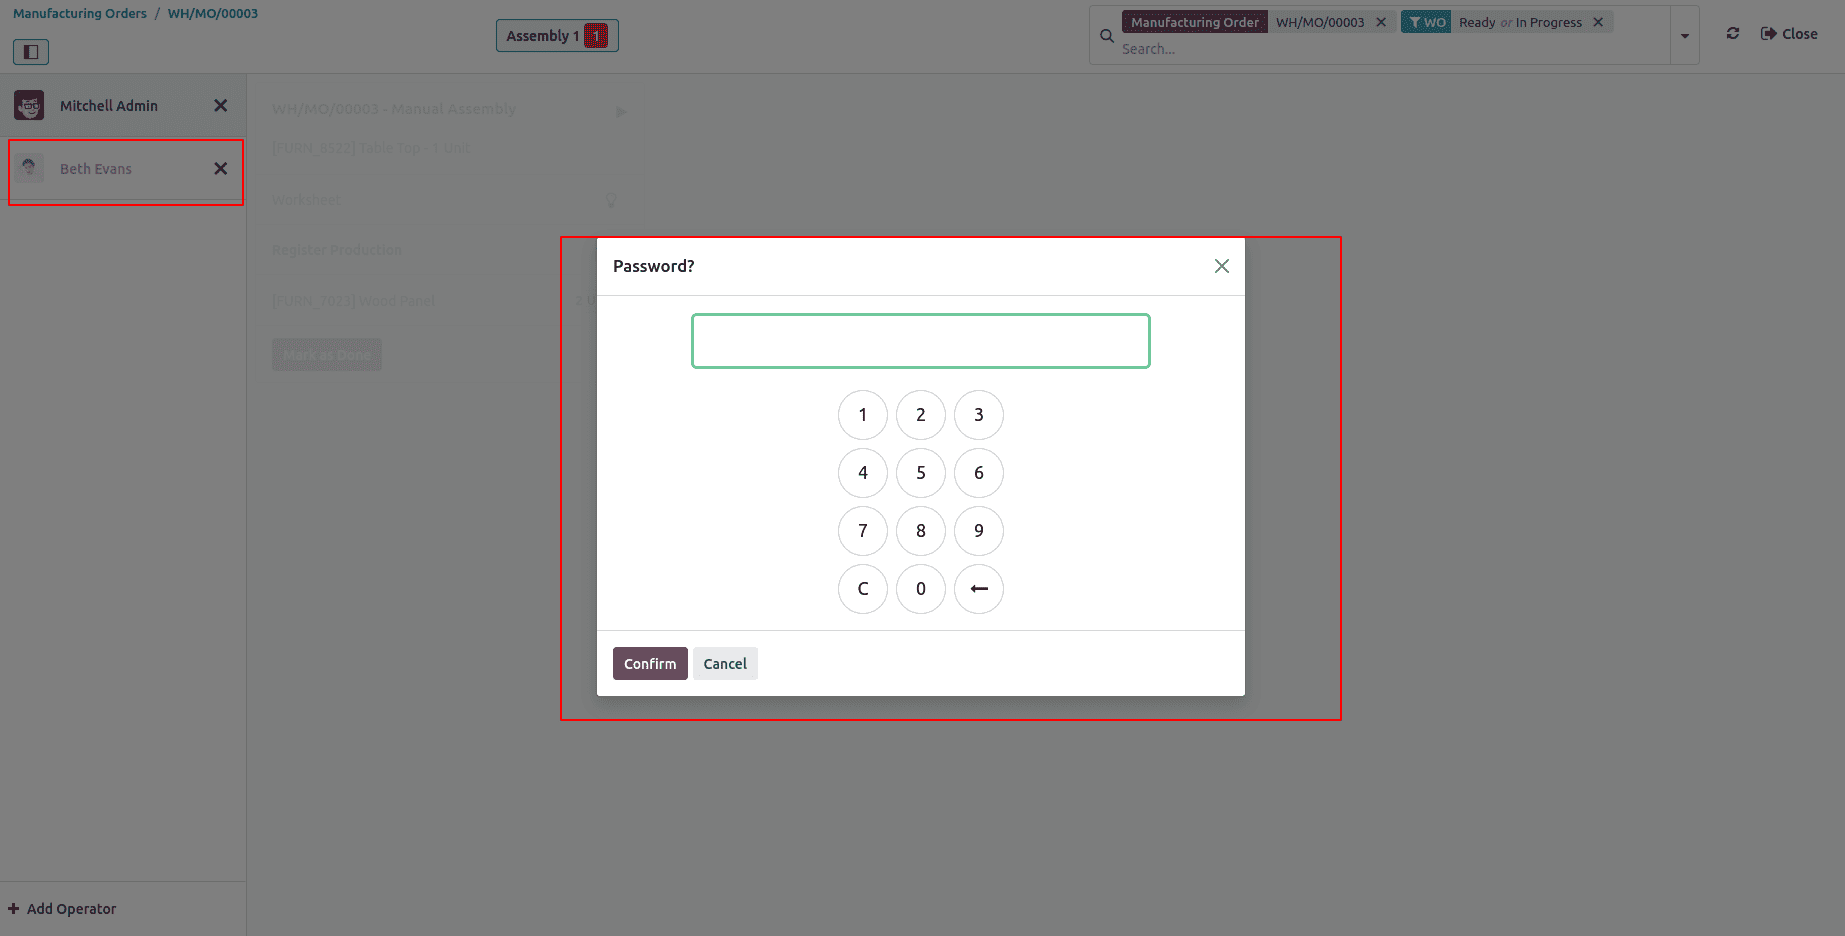
To access the task, the employee must enter their password and log in.
When Beth Evans logs in, she becomes the active operator for that task. If you review the Work Orders, you’ll see that the logged-in employee is now Beth Evans instead of Dories Cloe.
When Beth Evans logs in, she becomes the active operator for the task. In the Work Orders view, the logged-in employee is now shown as Beth Evans instead of Dories Cloe.
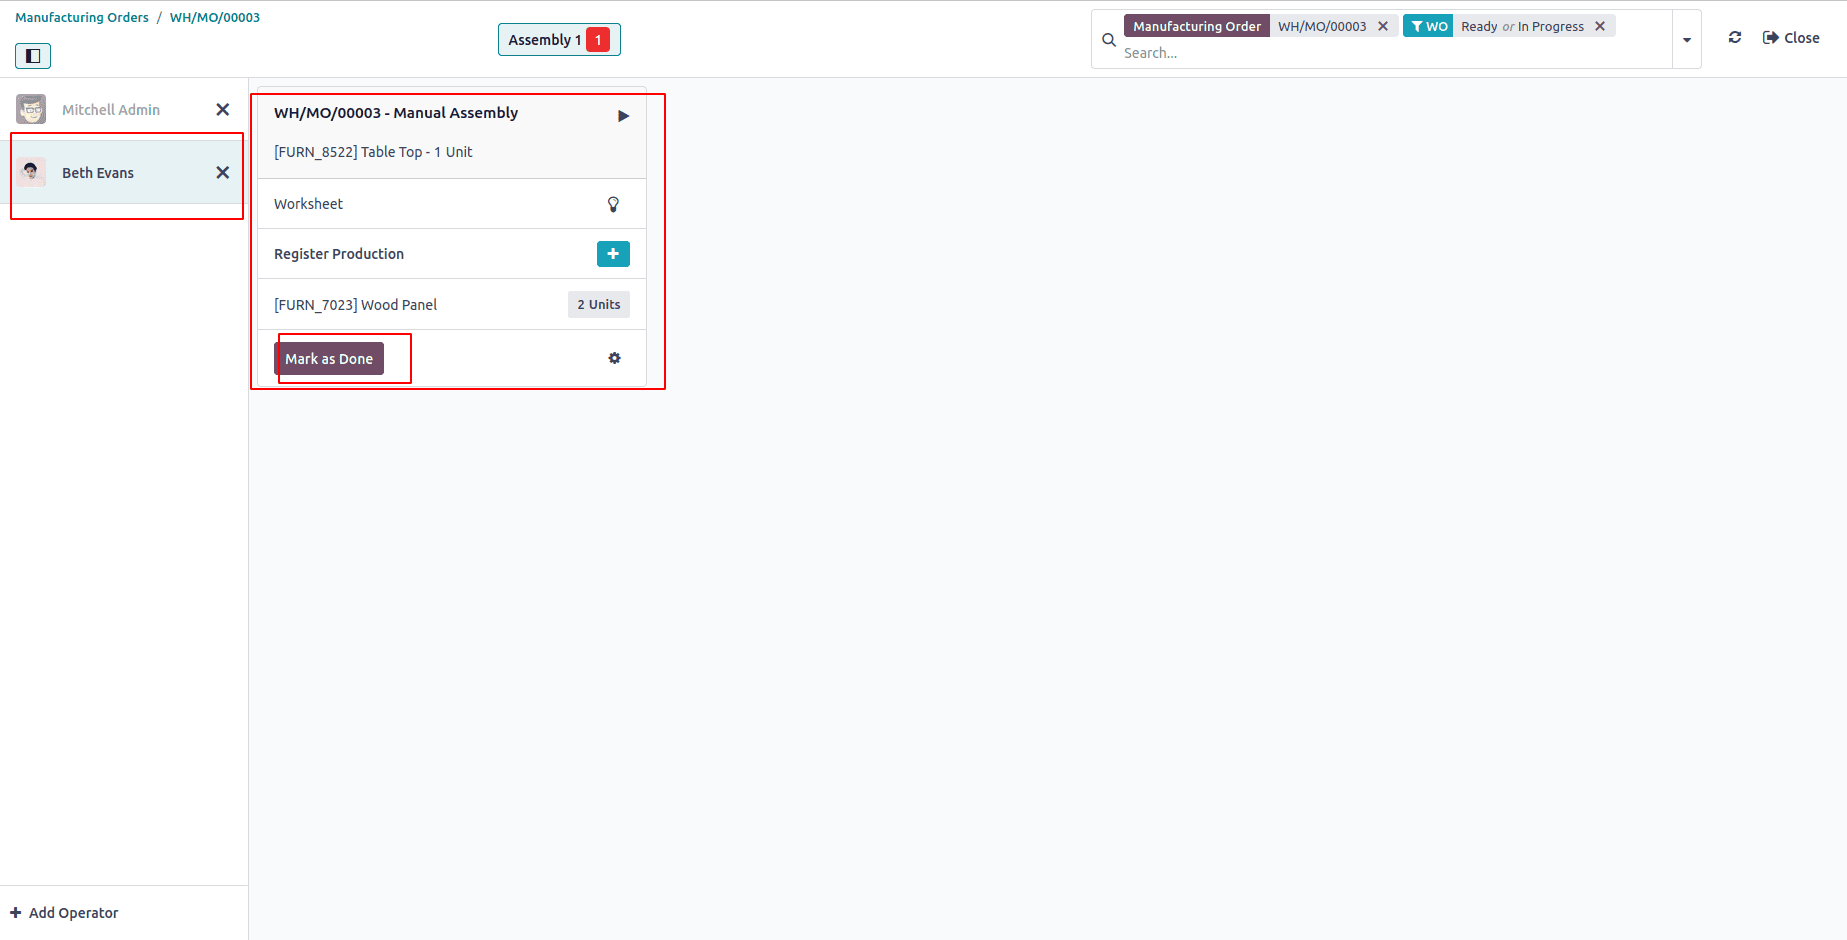
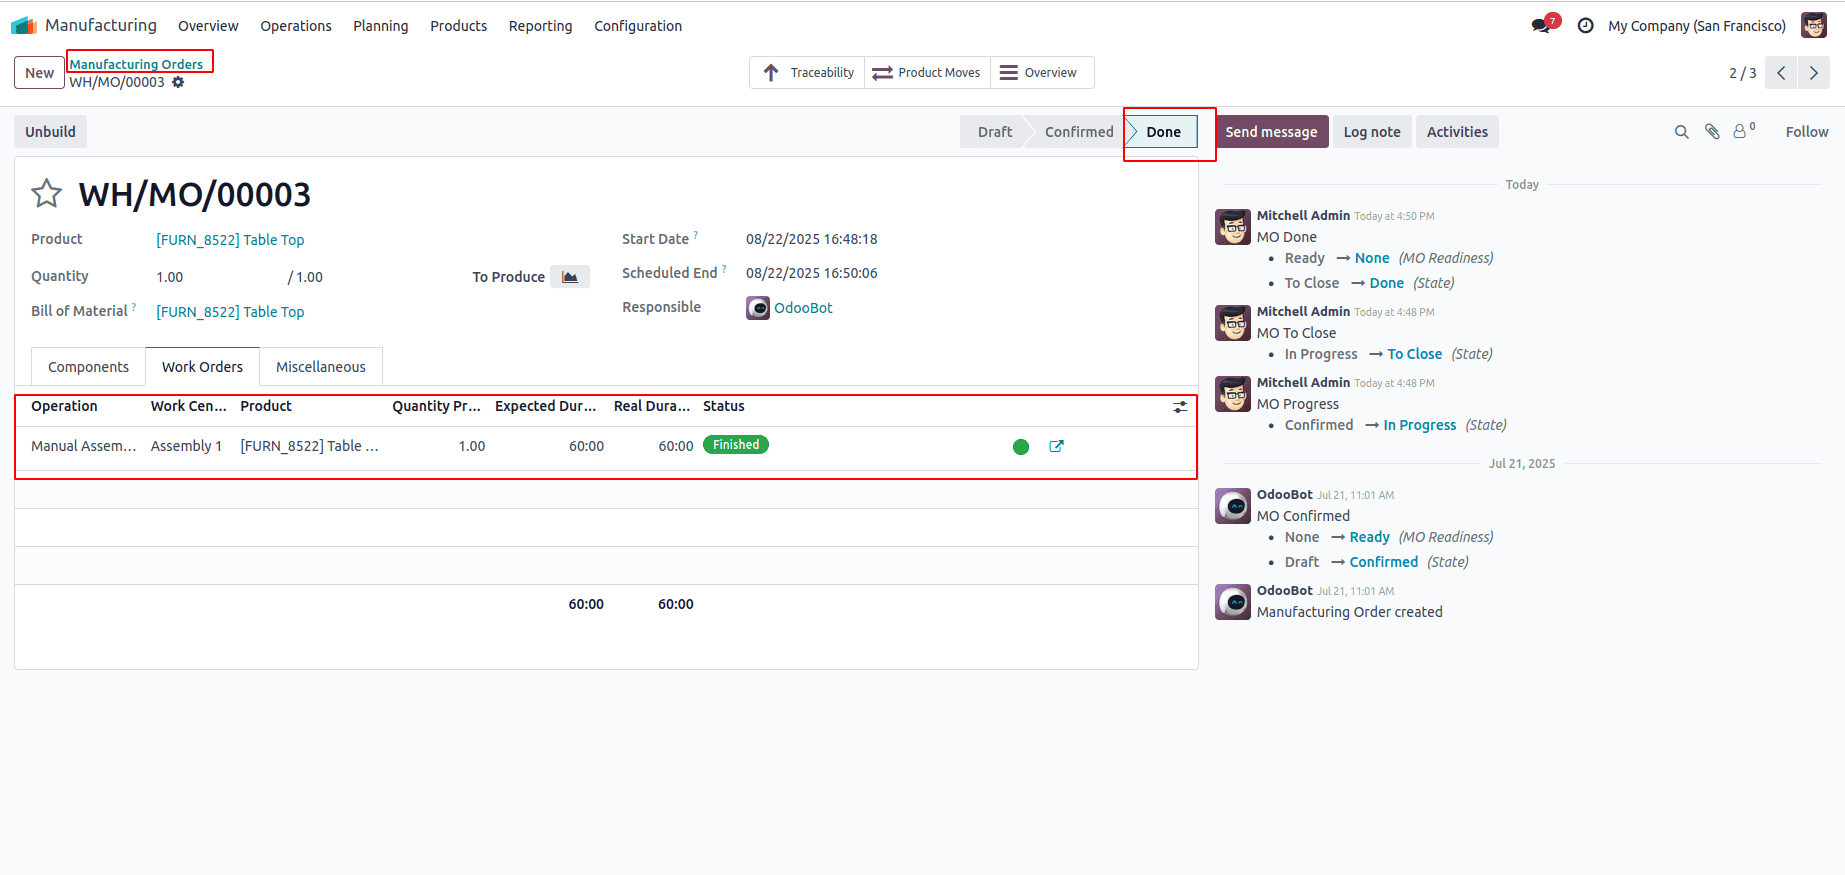
Once the task is completed, click Mark as Done to finish the production process. After completion, the Manufacturing Order will display a smart tab labeled Cost Analysis, which provides a breakdown of the total cost for that order.
Efficient employee allocation is key to streamlining manufacturing operations. With Odoo 18, businesses can easily assign employees to specific Work Centers, monitor their activities in real-time, and track production costs with accuracy. By linking employees directly to Work Orders and requiring secure logins, companies ensure accountability while gaining better visibility into resource utilization. The integrated Cost Analysis feature further helps management evaluate performance and expenses, leading to improved decision-making and productivity.
To read more about How to configure work centers in Odoo 18, refer to our blog How to configure work centers in Odoo 18.