Setting up company departments in Odoo 19 is a crucial step for businesses aiming to streamline operations and maintain a clear organizational structure. Departments act as the backbone of your company, allowing you to assign responsibilities, manage workflows, and monitor performance effectively. Odoo 19 offers a user-friendly interface and flexible configuration options, making it easier for managers to create, edit, and organize departments according to business needs. Whether you run a small startup or a large enterprise, defining departments in Odoo helps in optimizing resource allocation, tracking employee roles, and improving communication across teams. By leveraging Odoo’s robust HR and management modules, companies can ensure that all departmental processes are aligned with overall business objectives. This blog offers a step-by-step walkthrough for setting up departments, helping your organization run efficiently from day one.
To set up company departments in Odoo 19, navigate to the Recruitment module from Odoo 19.
Create a new Department:
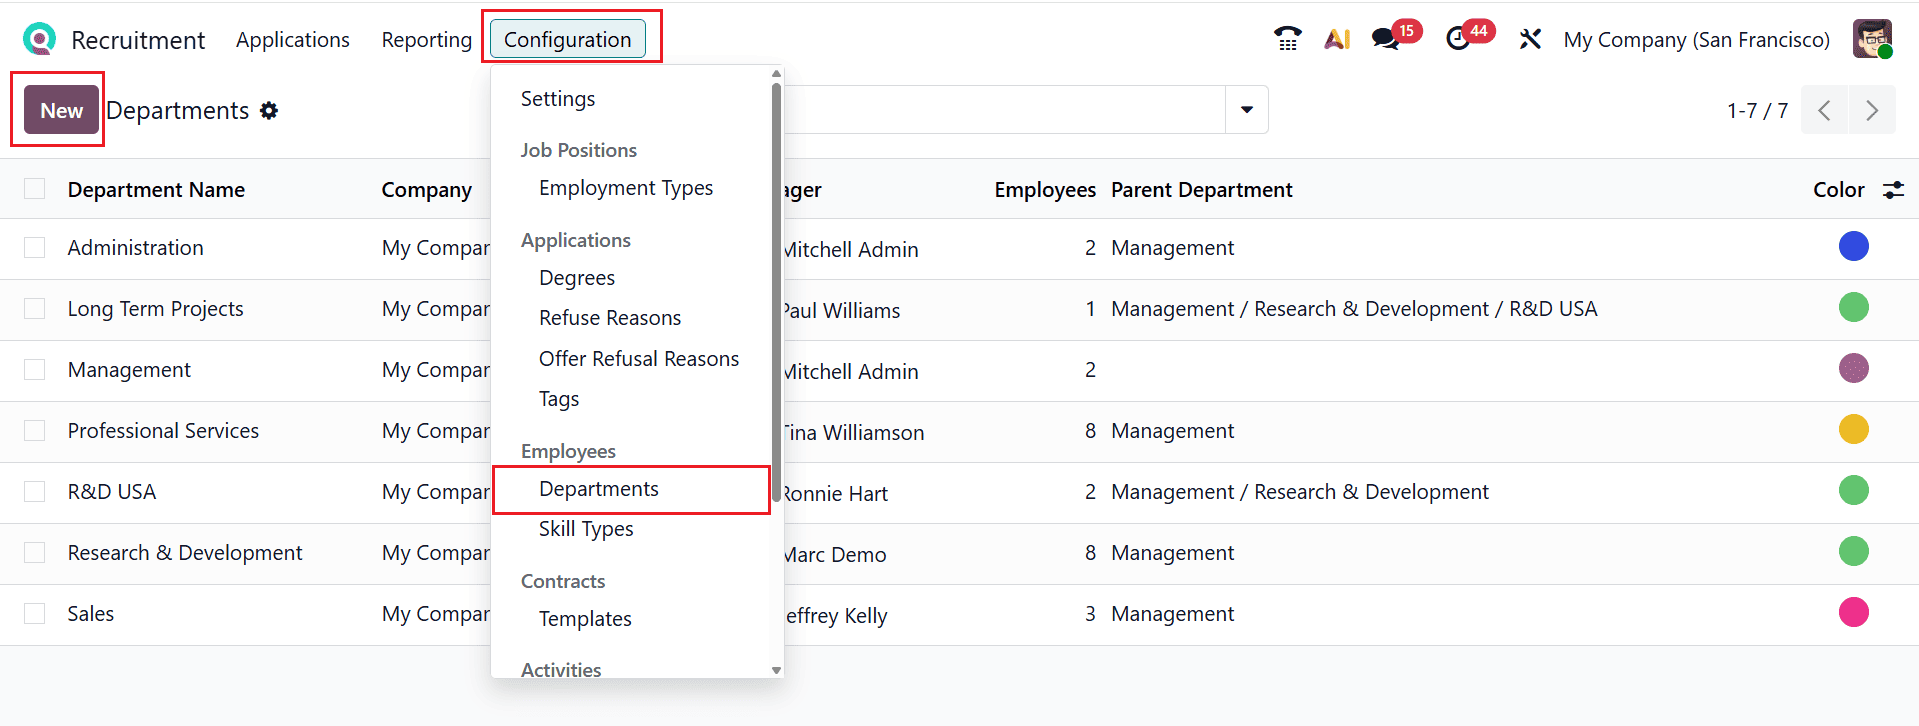
To set up a new department, navigate to Configuration > Departments. Click the New button.
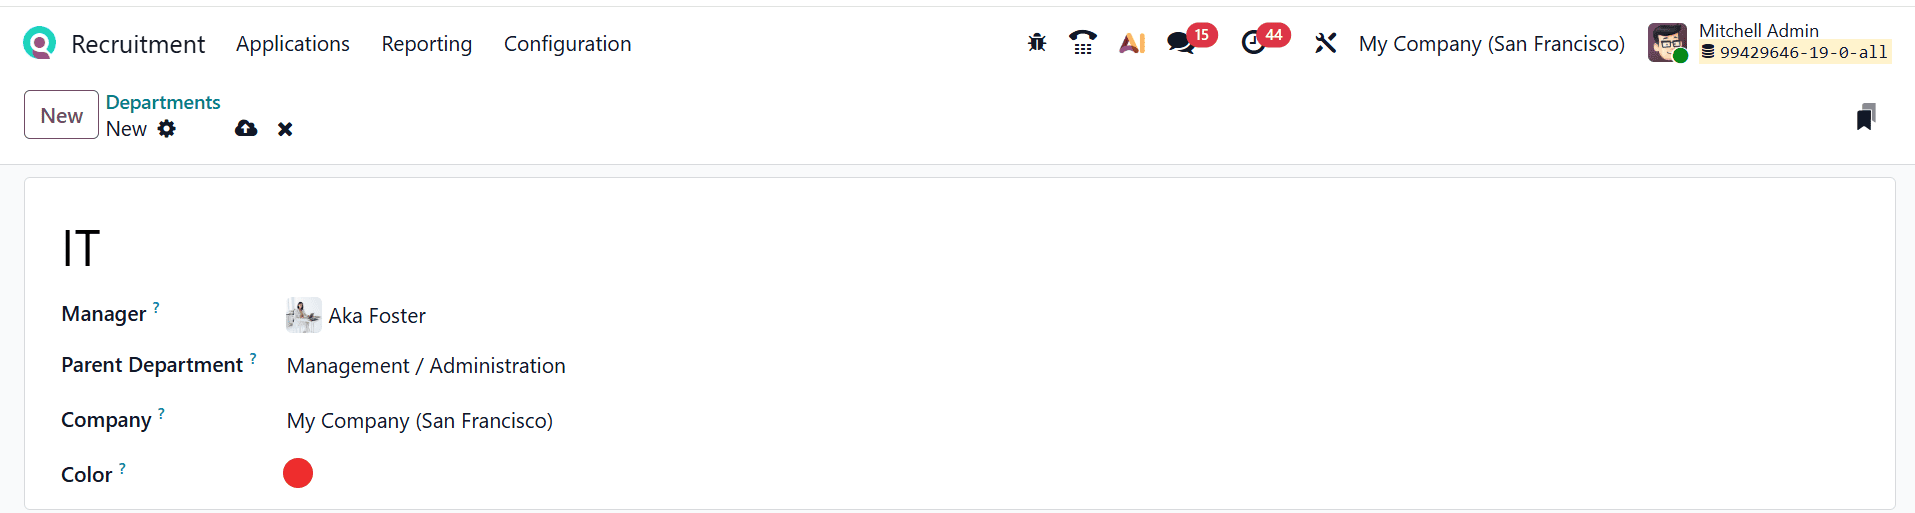
Then, enter a title for the department and add the following details such as Manager, Parent Department, Company, and Color as shown below:
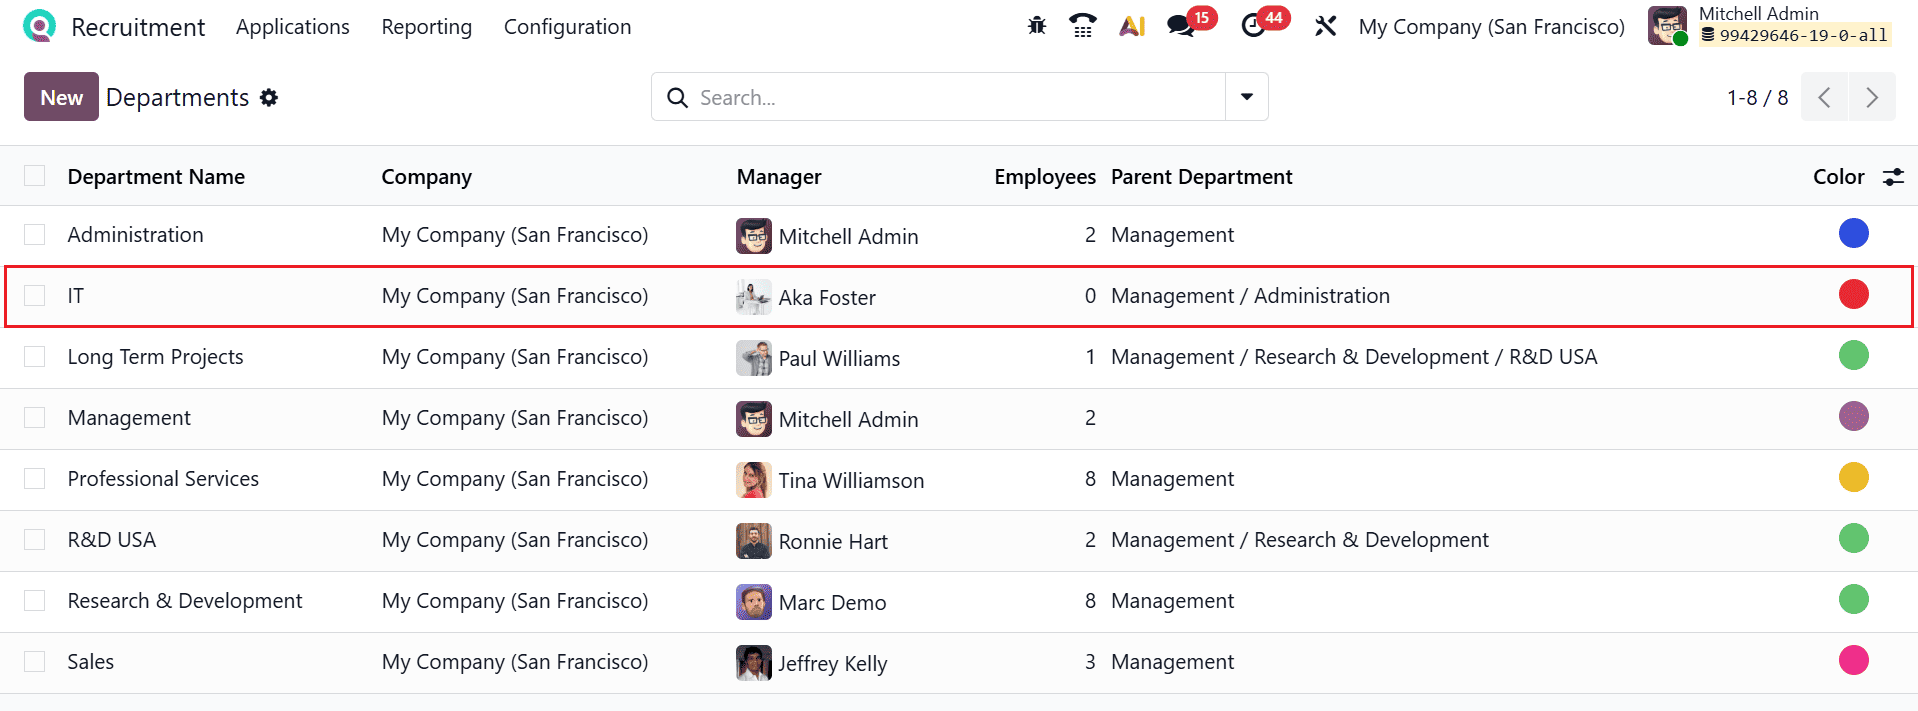
Here, you can see the newly created department under the Department option.
Add an employee to the newly created department:
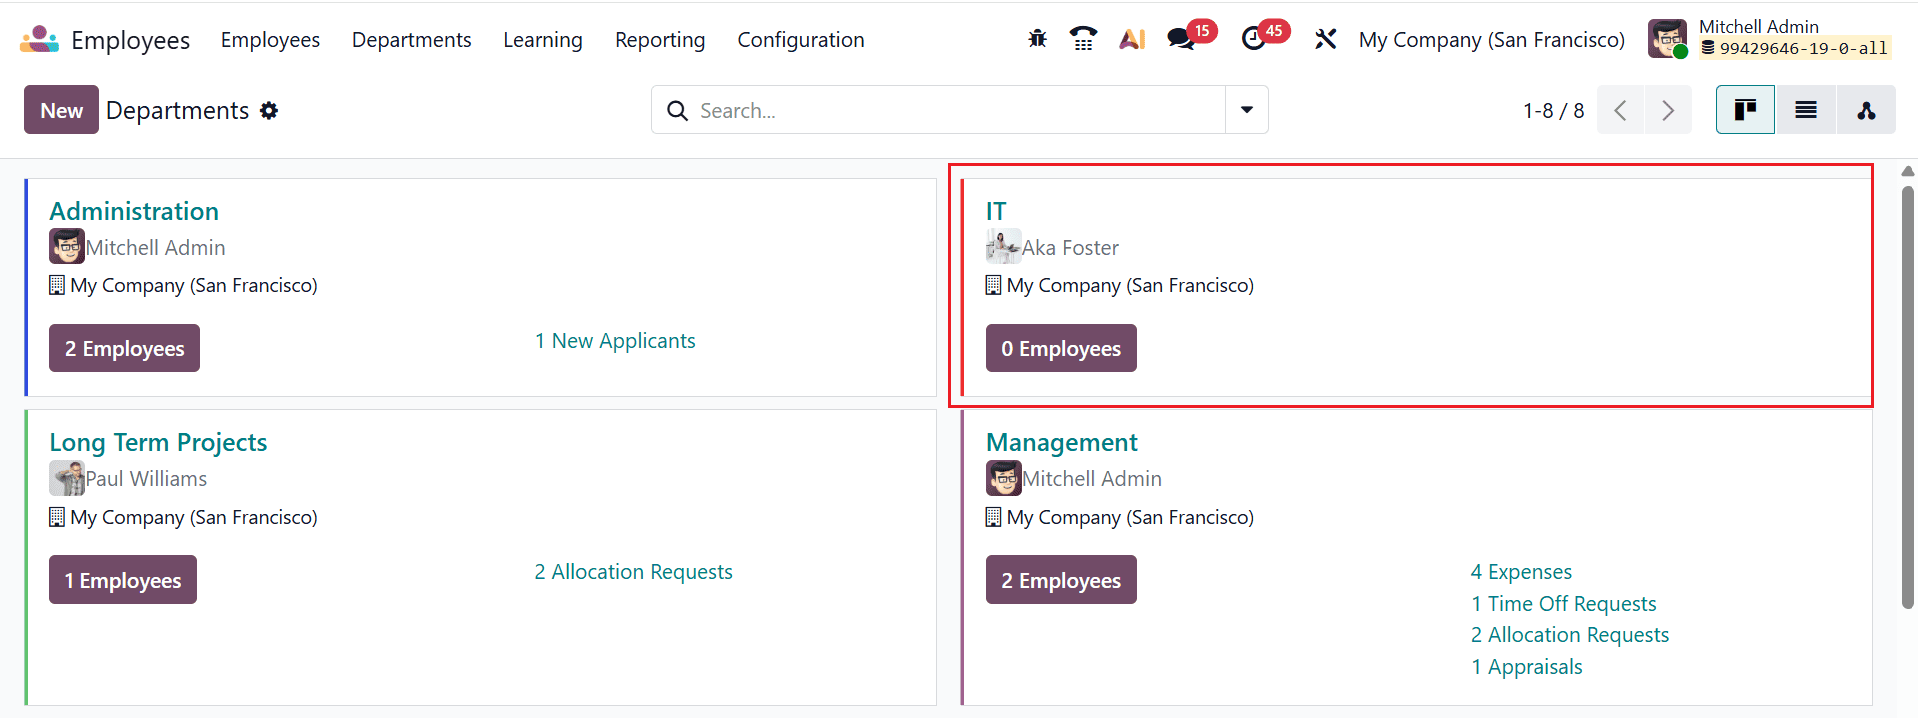
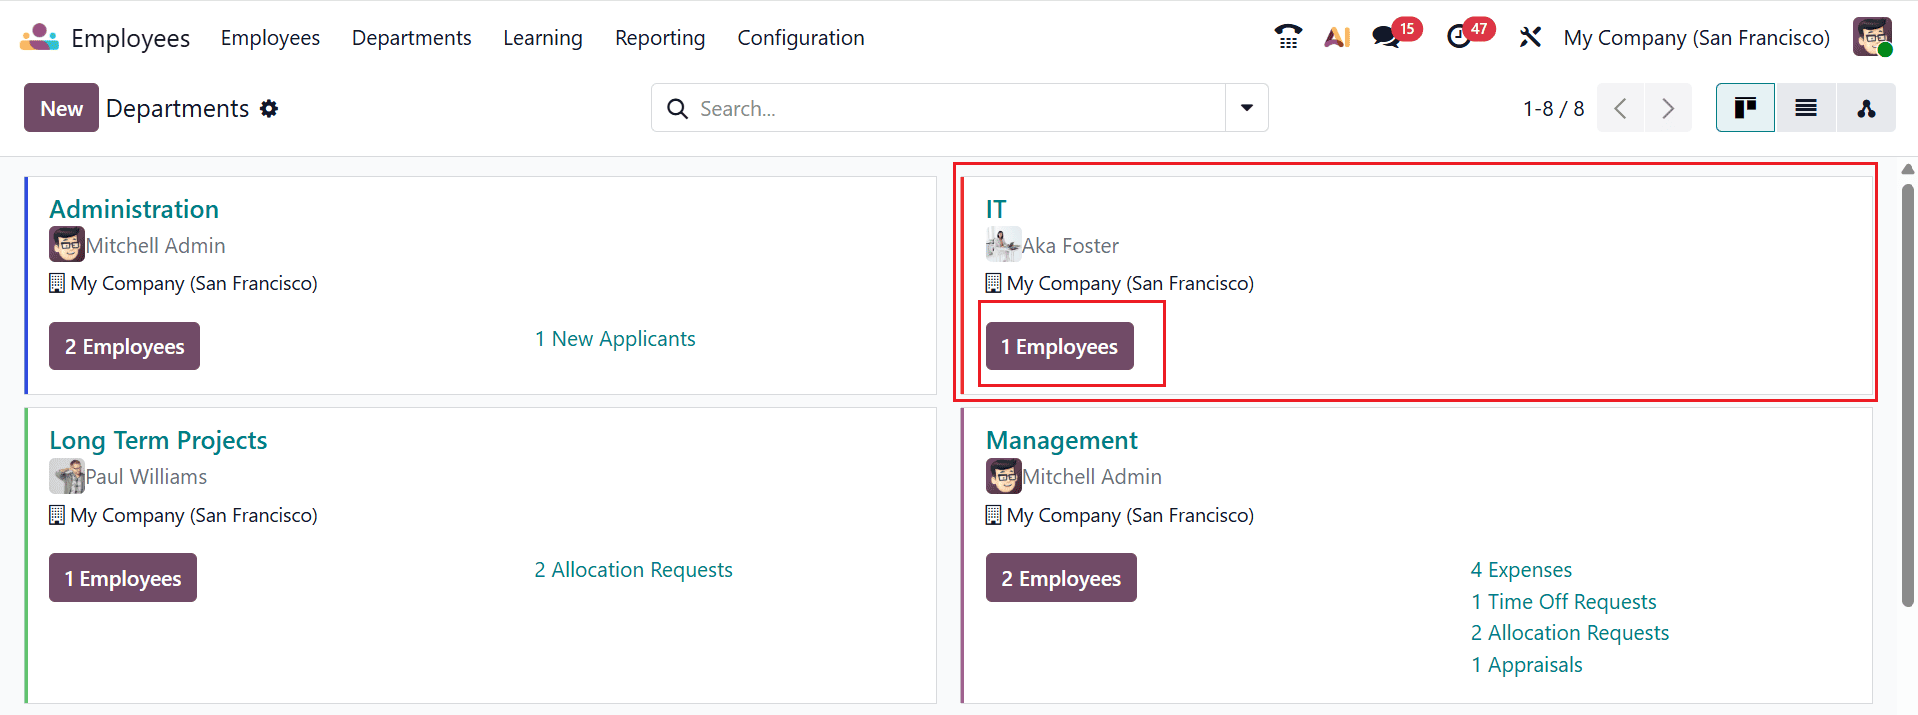
After creating a new department, go to the Employee module dashboard to add employees to it. The newly created department will appear under the Department menu with no employees assigned. Click on the department to begin adding employees.
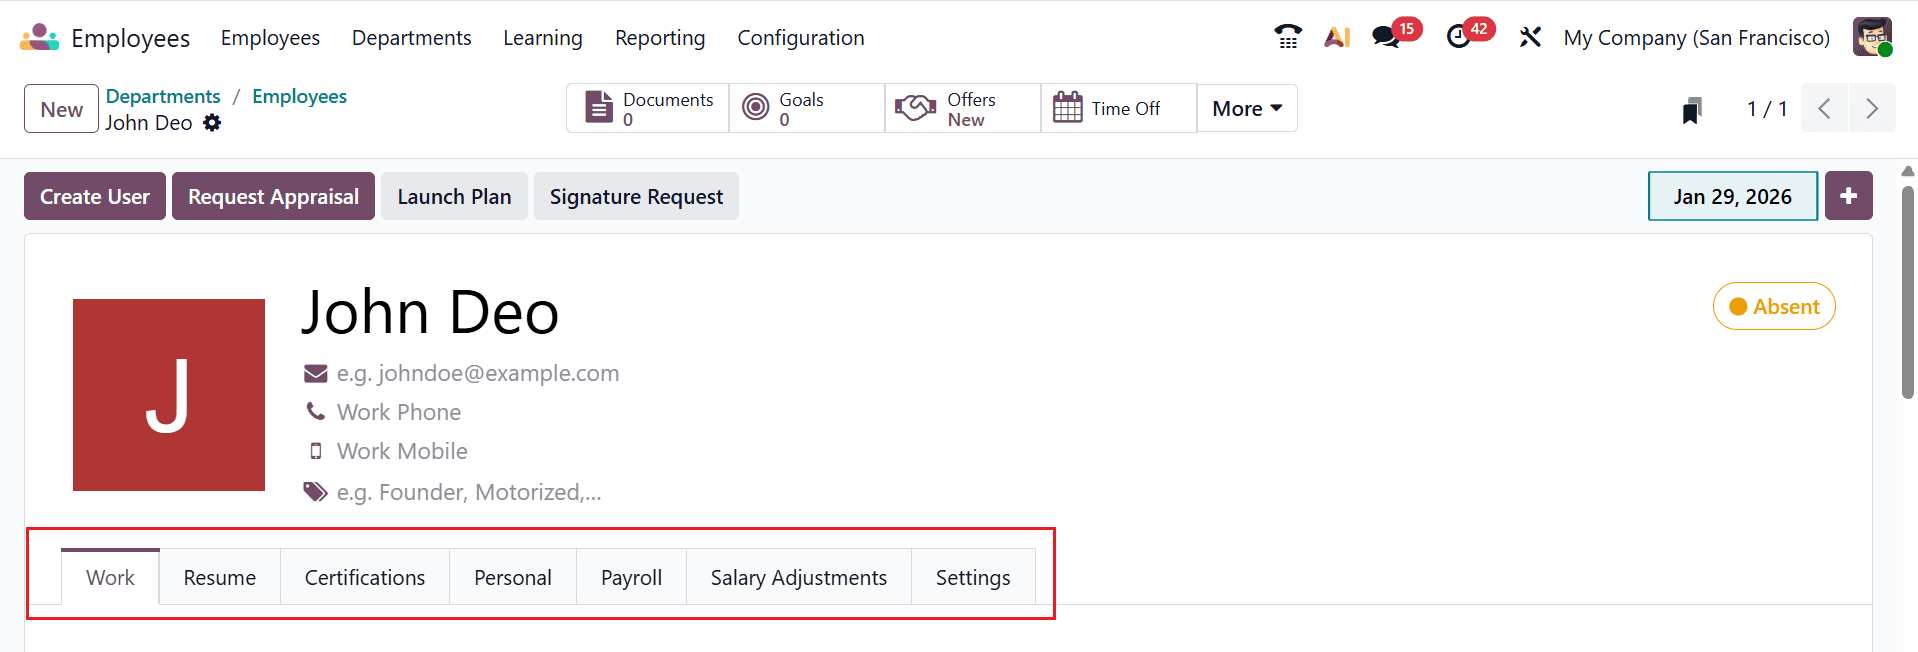
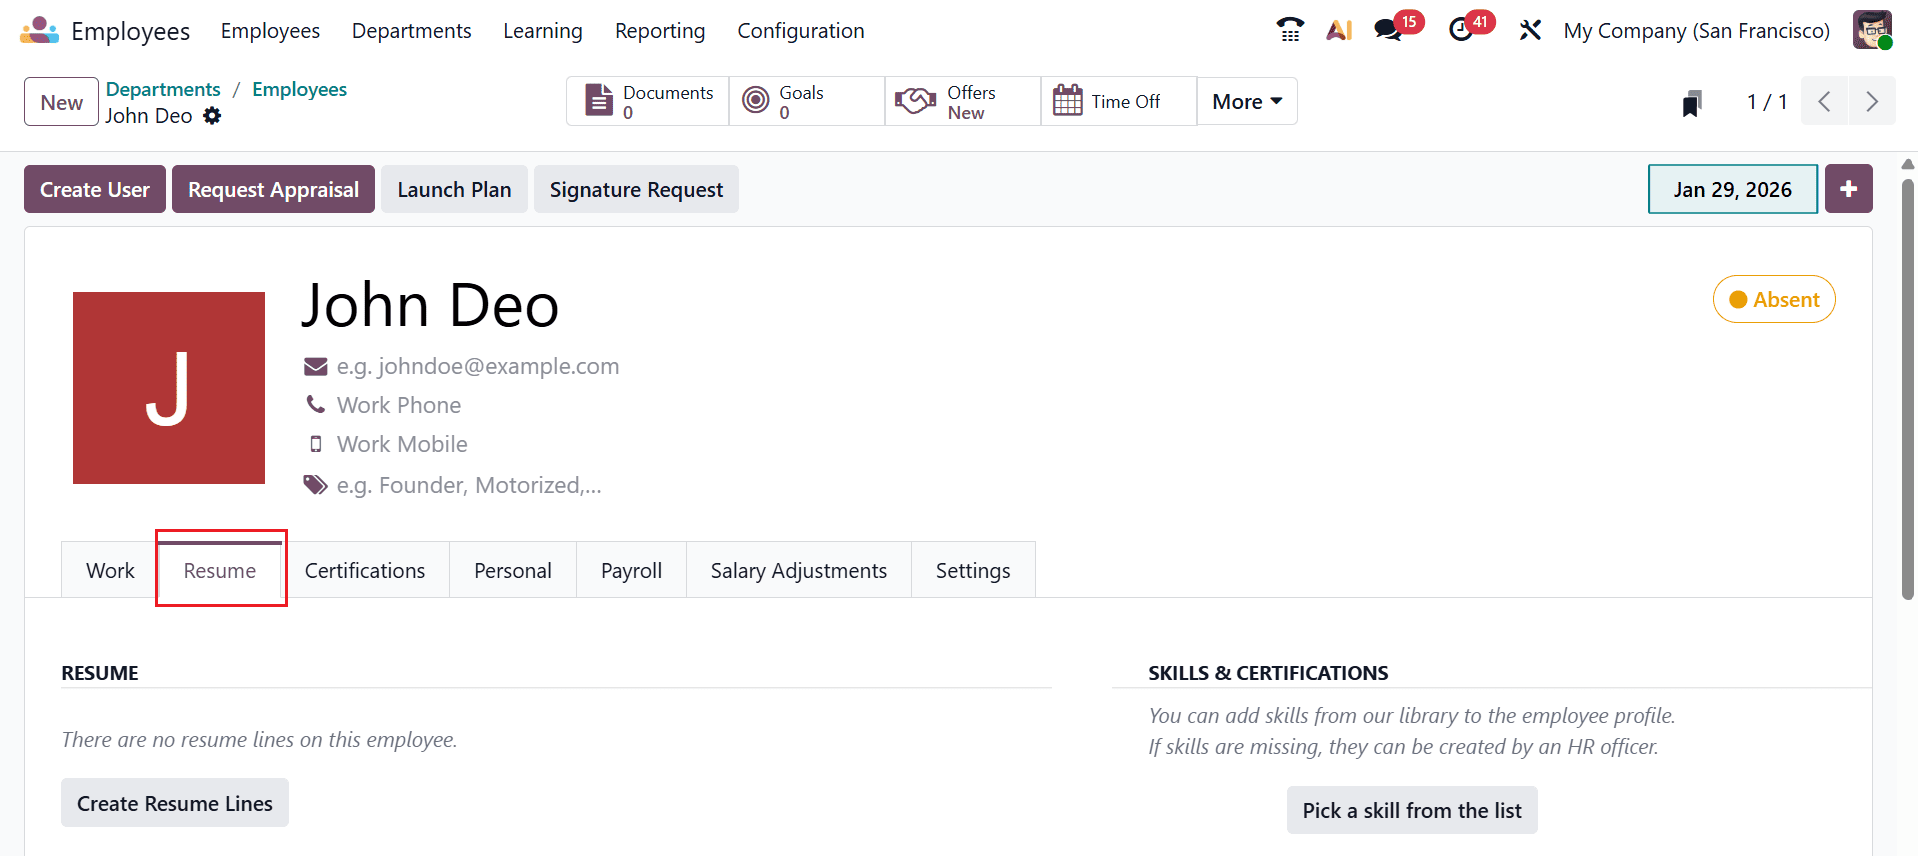
First, enter the employee’s details, including Name, Work Email, Work Phone, Work Mobile, and Tags. Here, you can see seven tabs: Work, Resume, Certifications, Personal, Payroll, Salary Adjustments, and Settings.
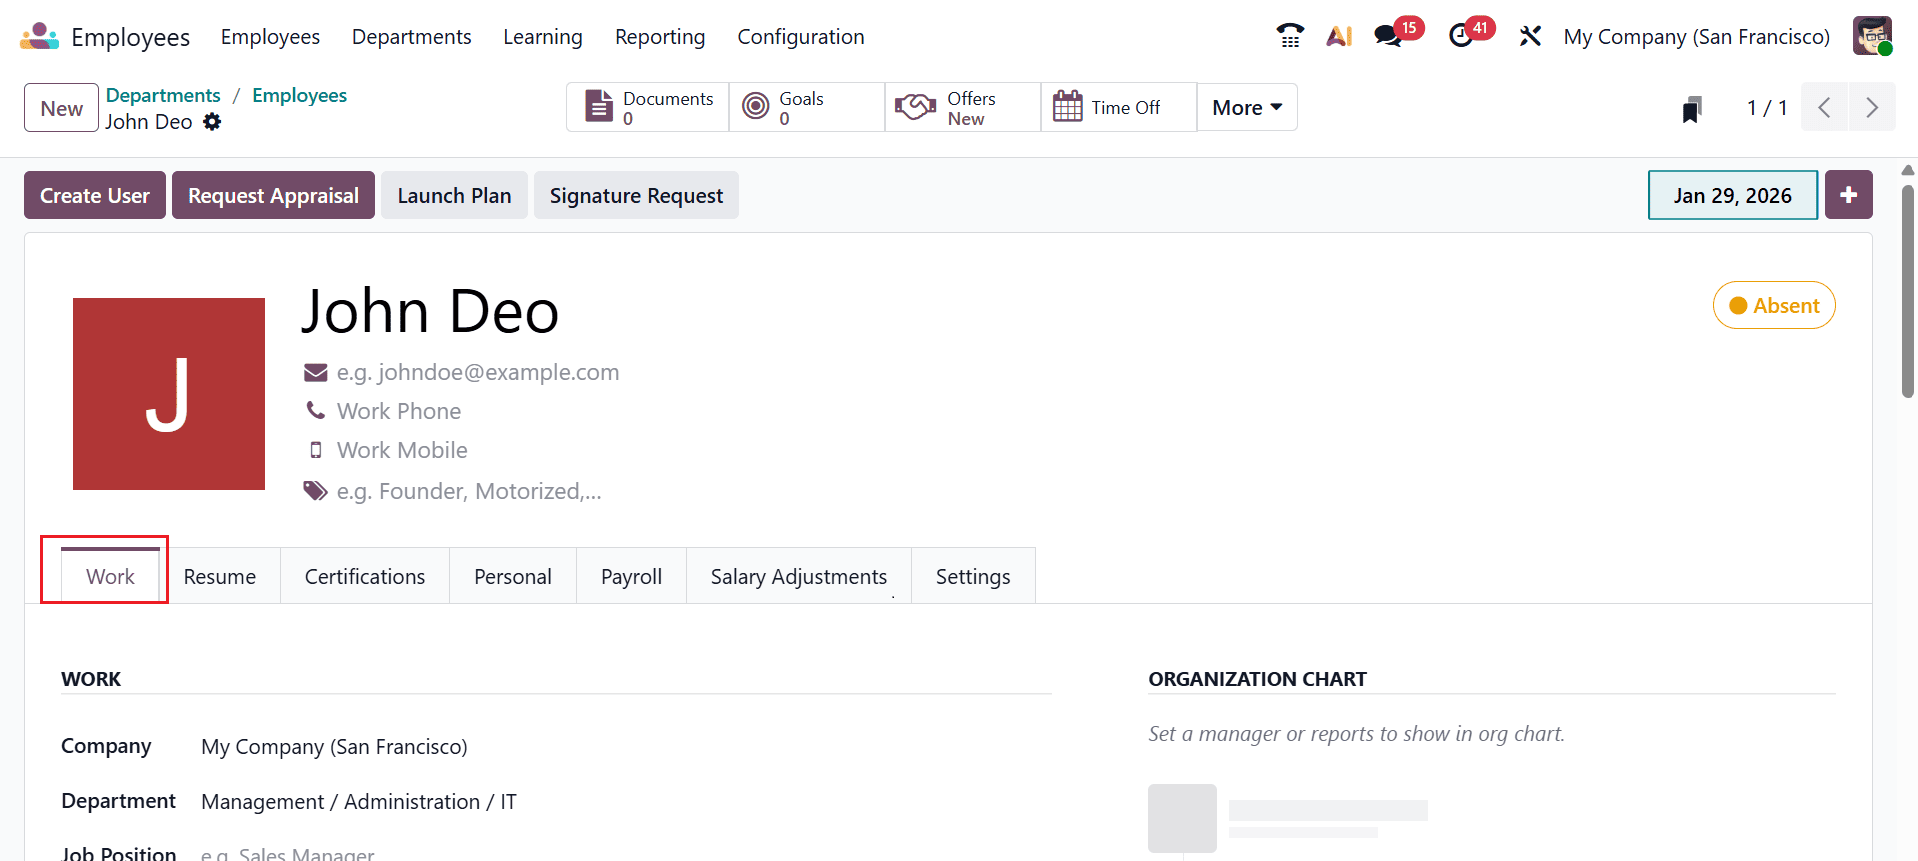
Under the Work tab, you can add the job-related details such as Work, Organization Chart, Location, Usual Work Location, and Note.
In the Work section, provide details including company, department, job position, job title, and manager.
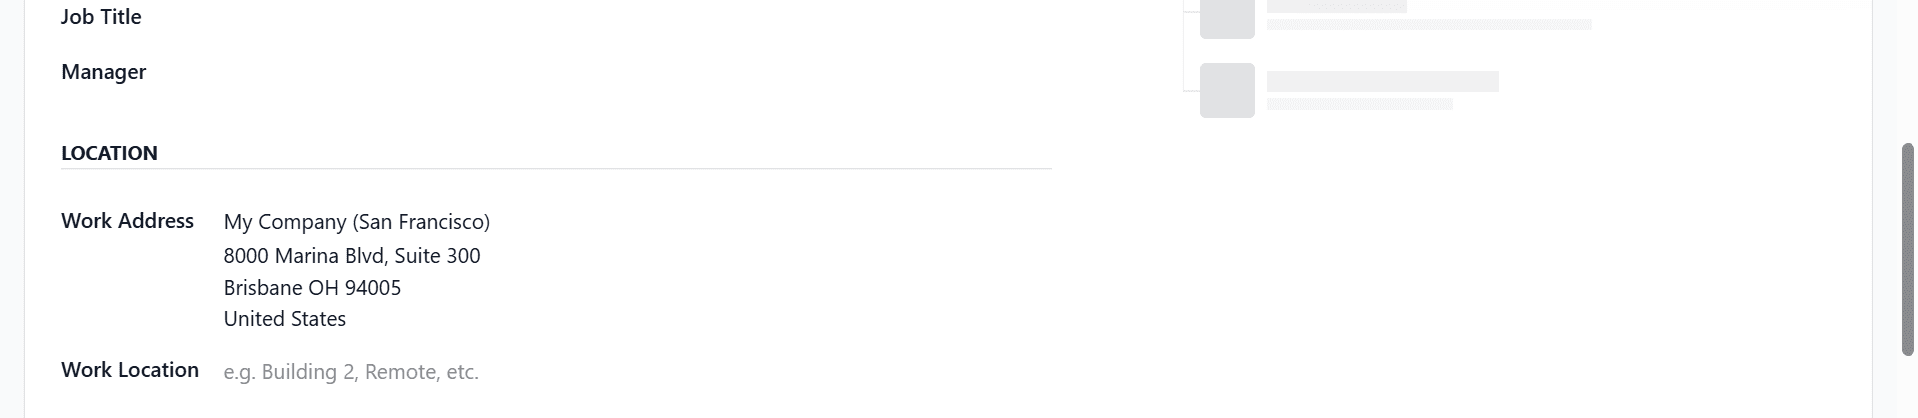
Use the Location section to enter the work address and work location.
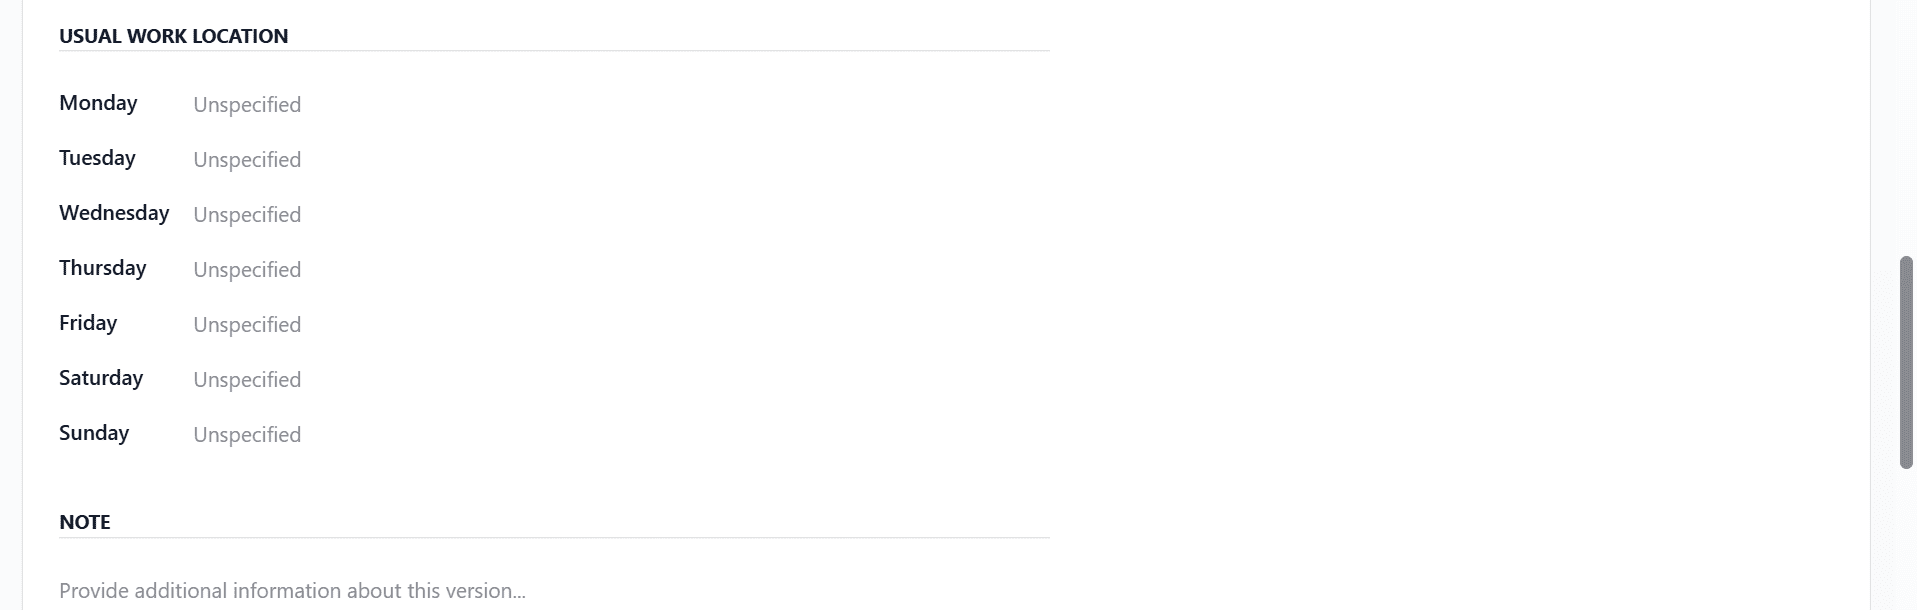
Under the Usual Work Location section, you can add an employee’s work location for each day. You can also add additional information under the Note section.
The Resume tab allows you to enter information about your resume, skills, and certifications.
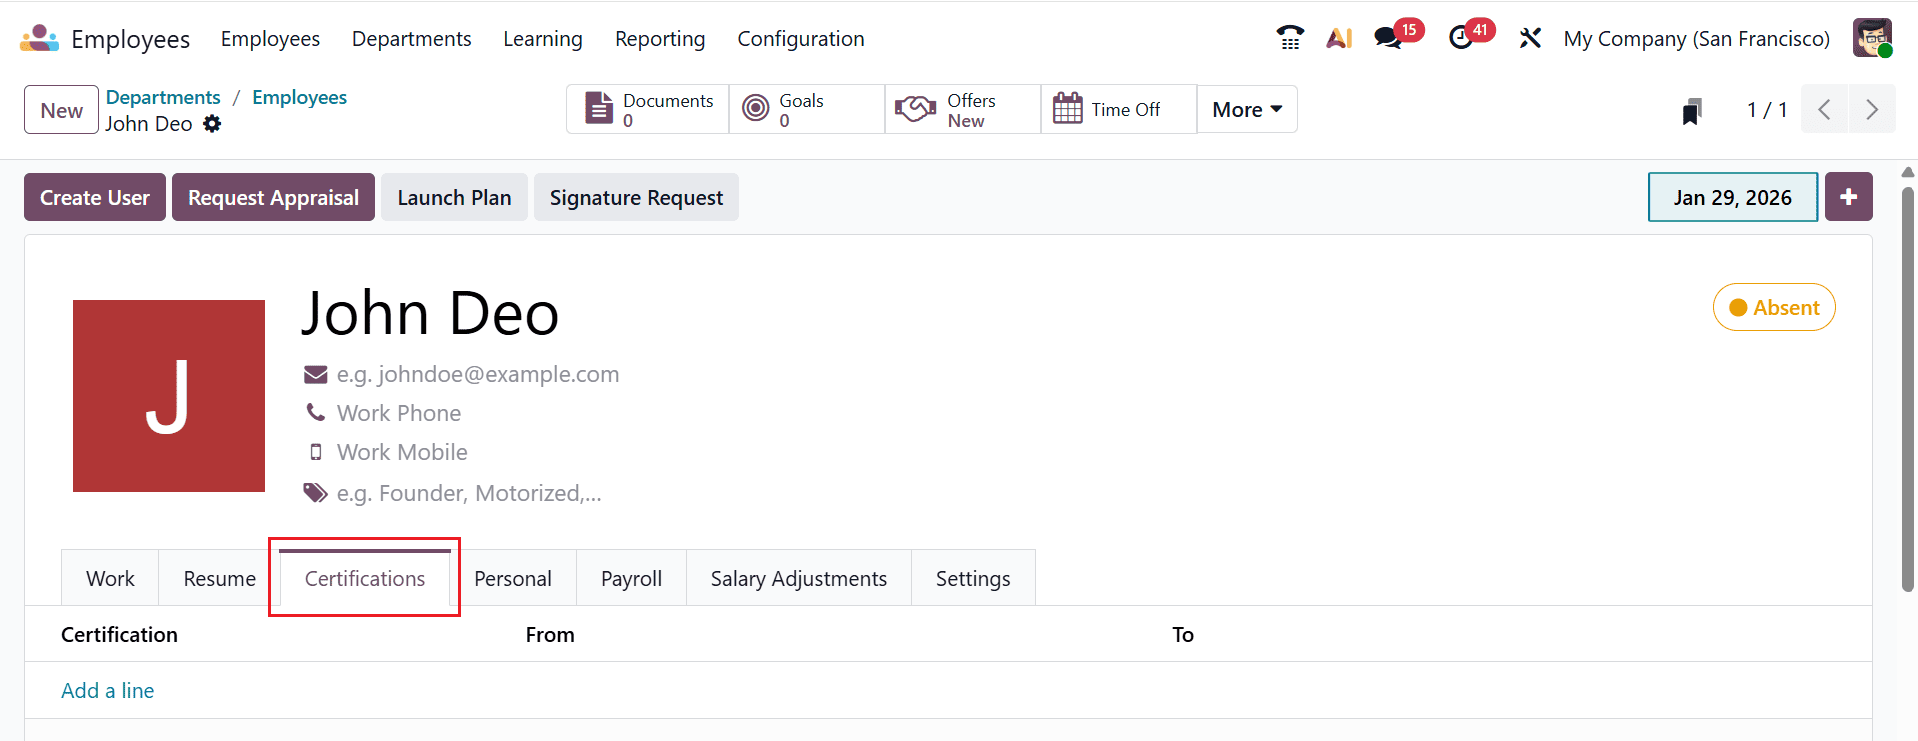
Under the Certifications tab, click on the Add a line button to add certifications and their validity.
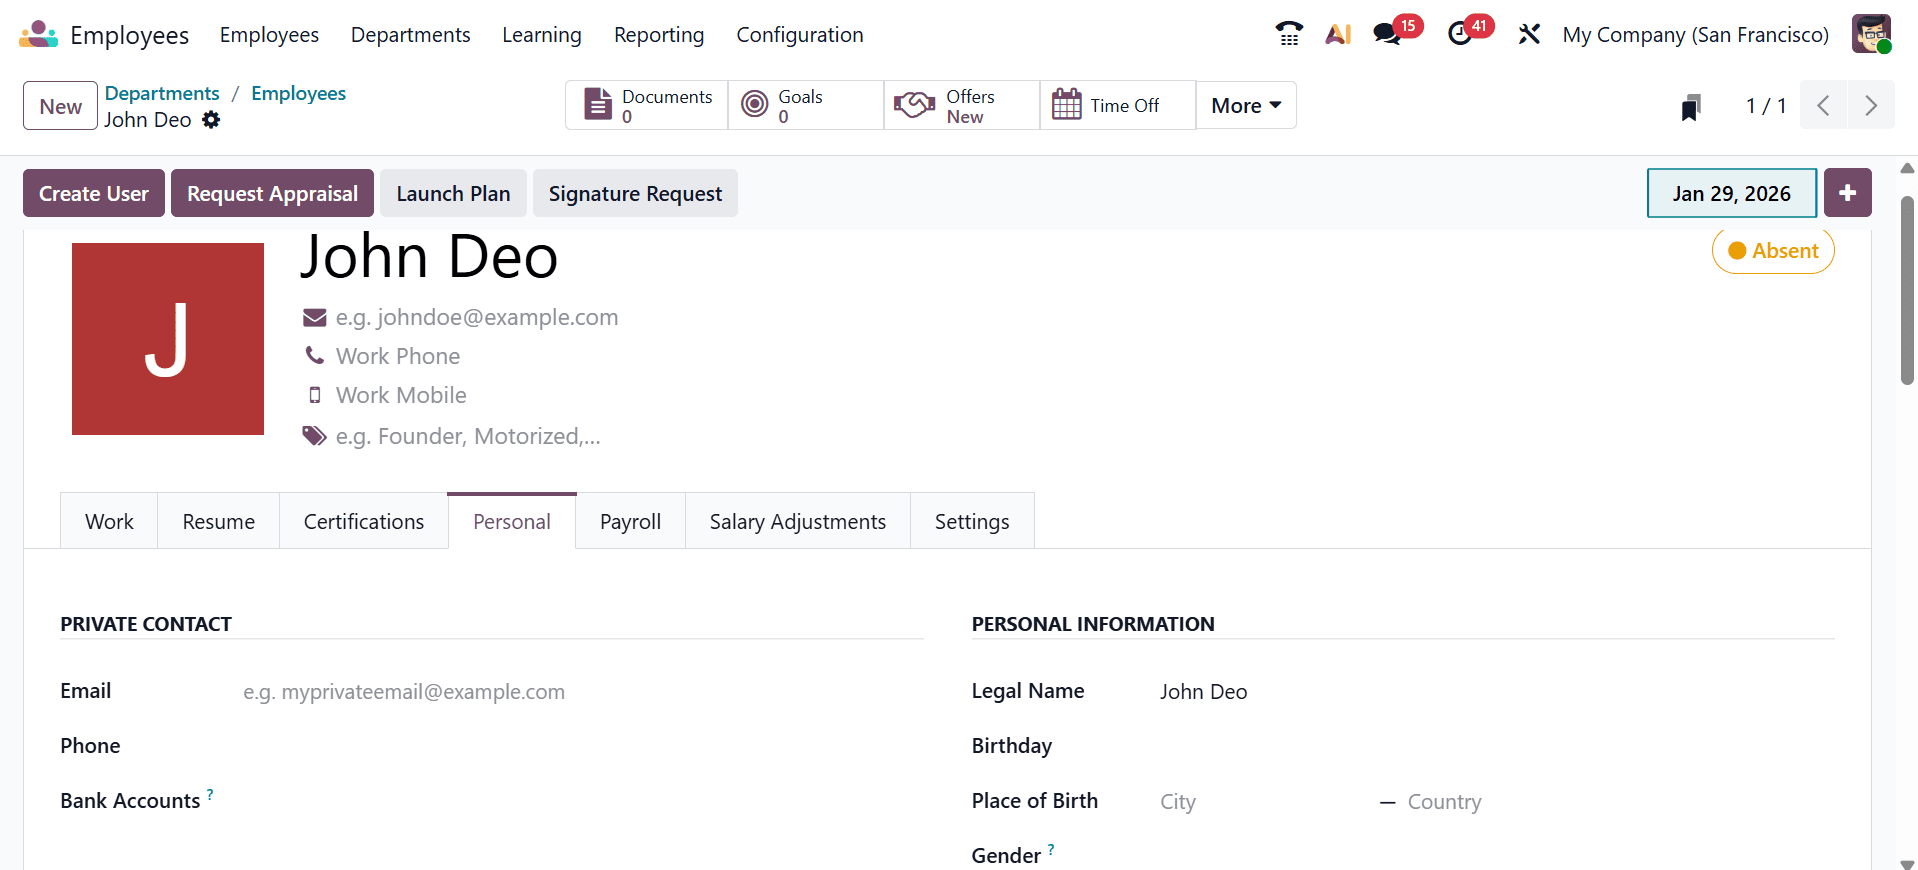
Under the Personal tab, you can see nine sections to add personal details, such as Private Contact, Personal Information, Emergency Contact, Visa & Work Permit, Citizenship, Location, Family, Education, and Documents.
The Private Contact section allows you to enter personal details, including email, phone, and bank account information. Under the Personal Information section, add the details such as Legal Name, Birthday, Place of Birth, Gender, and Payslip Language.
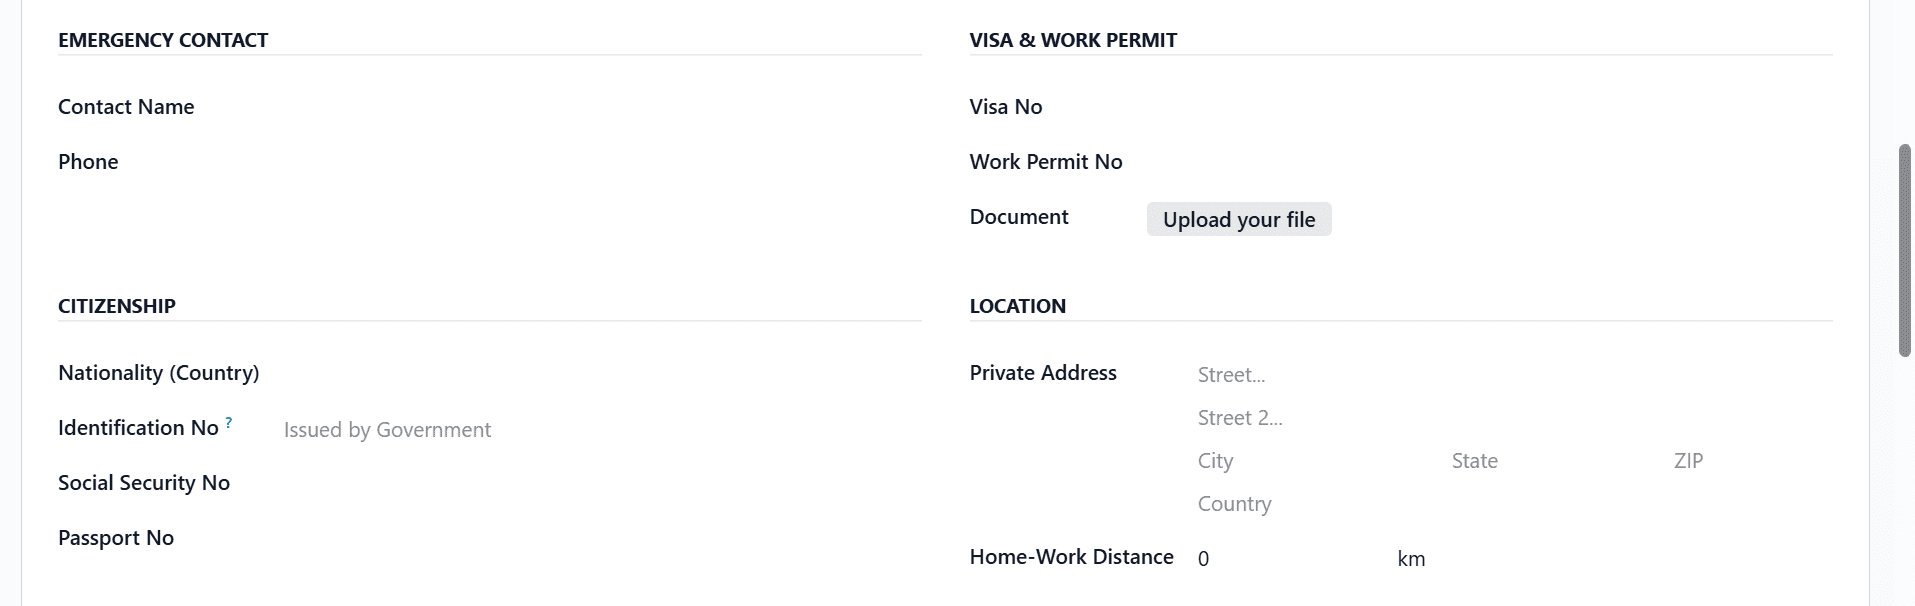
You can add the Emergency Contact Name and Phone Number of the employee. Under the Visa & Work Permit section, add the details such as Visa No, Work Permit No, and Document. Add the Nationality No, Identification No, Social Security No, and Passport No under the Citizenship section. You can also add the details of the location, such as Private Address and House-Work Distance.
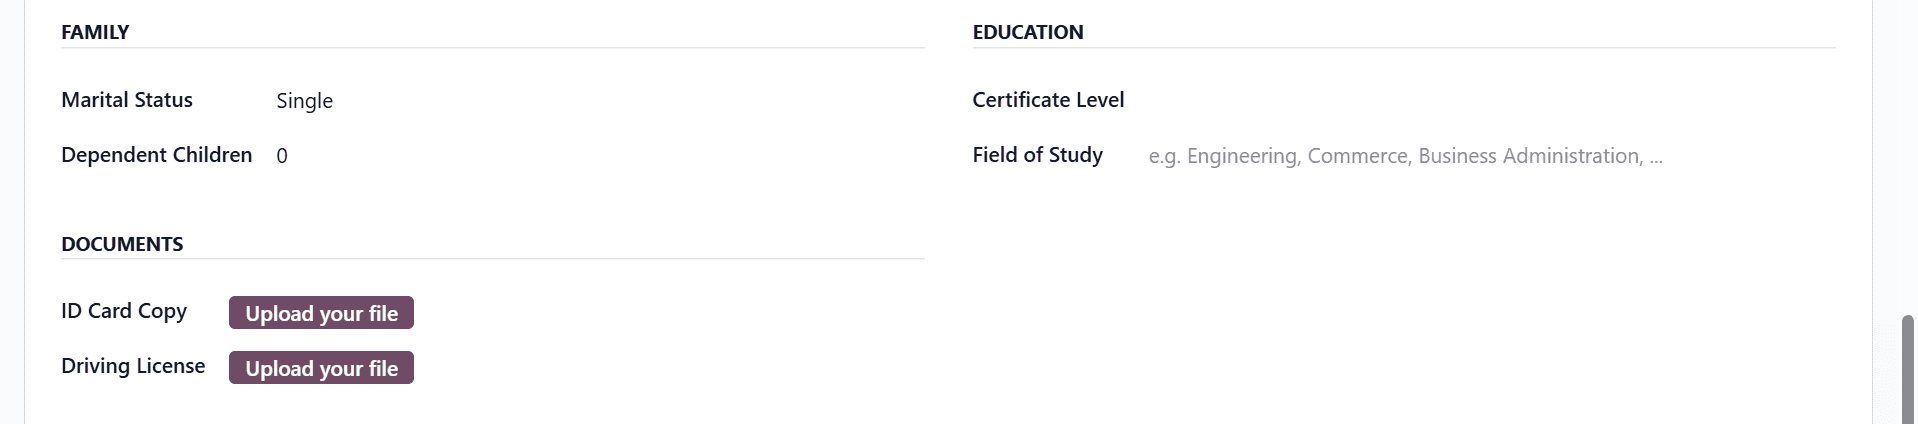
Under the Family section, add the Marital Status and number of Dependent Children. Add the Certification Level and Field of Study under the Education section. Documents, including an ID card copy and a driving license, can also be uploaded.
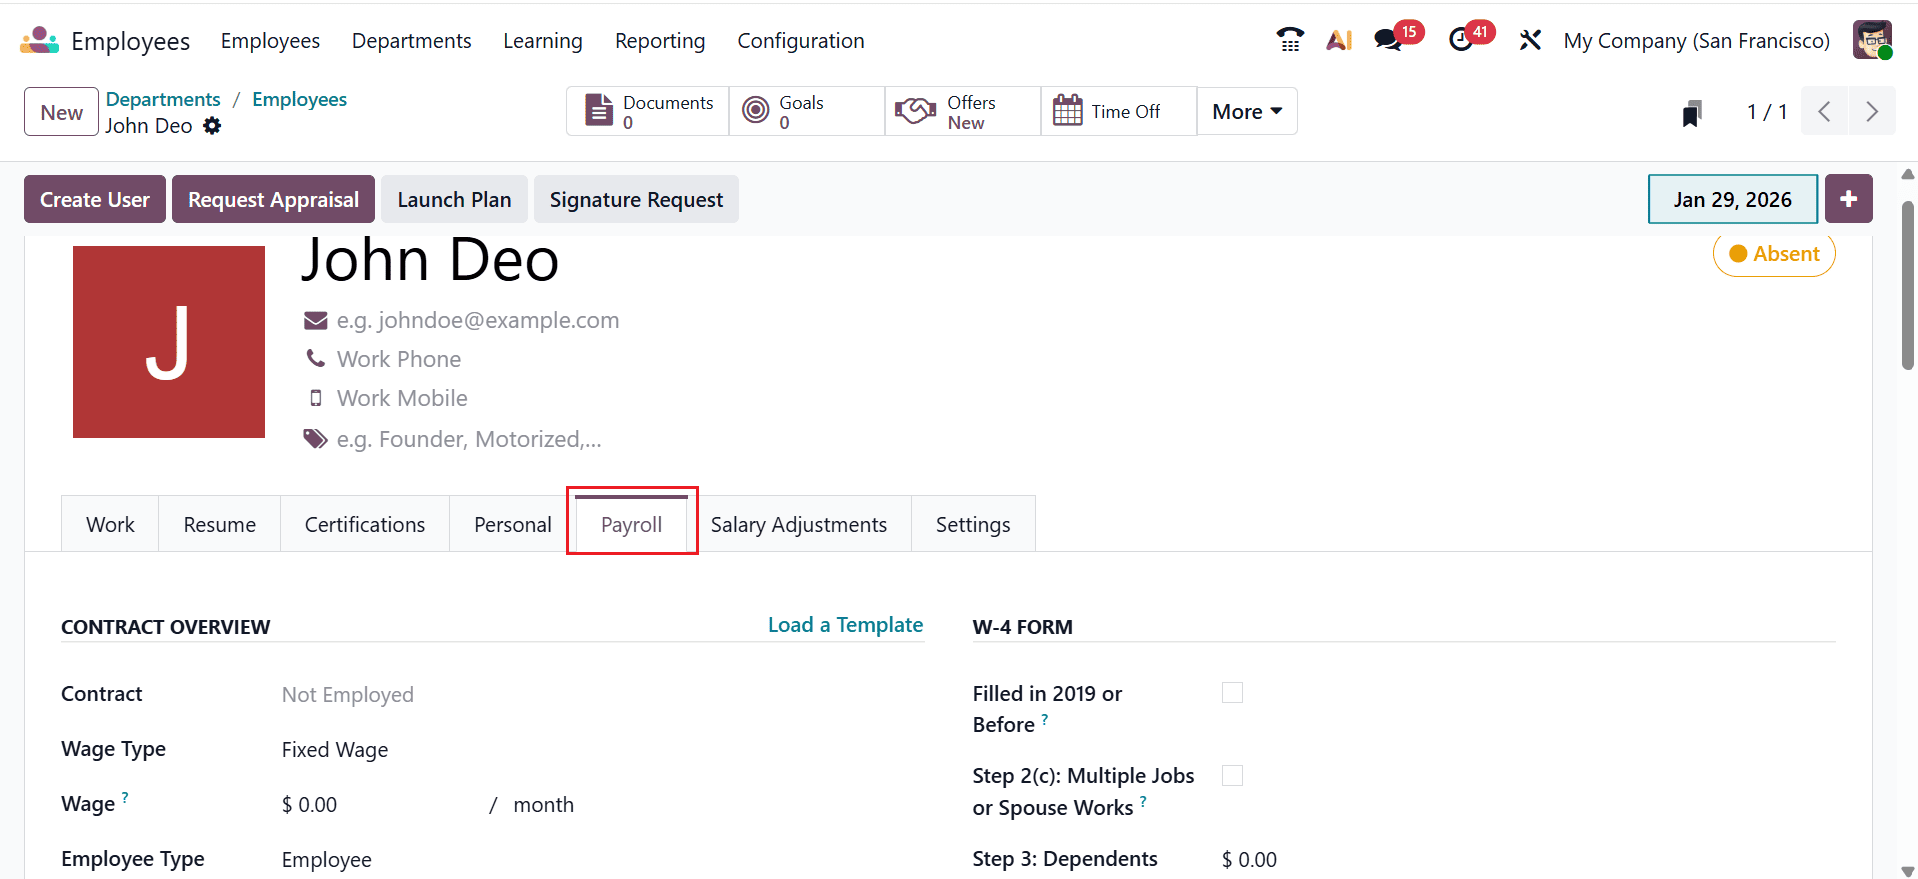
Under the Payroll tab, you can see ten sections to add payroll details, such as Contract Overview, W-4 Form, Employer Costs, Schedule, W-2 Form, State Filing, Retirement Plans, Health Benefits, Post-Tax Deductions, and Other Benefits.
The Contract Overview section provides a summary of the employee’s key contract details. It helps HR quickly review the main employment terms at a glance. The W-4 Form captures the employee’s U.S. federal tax-withholding information. These details are utilized to ensure the precise calculation of payroll tax deductions.
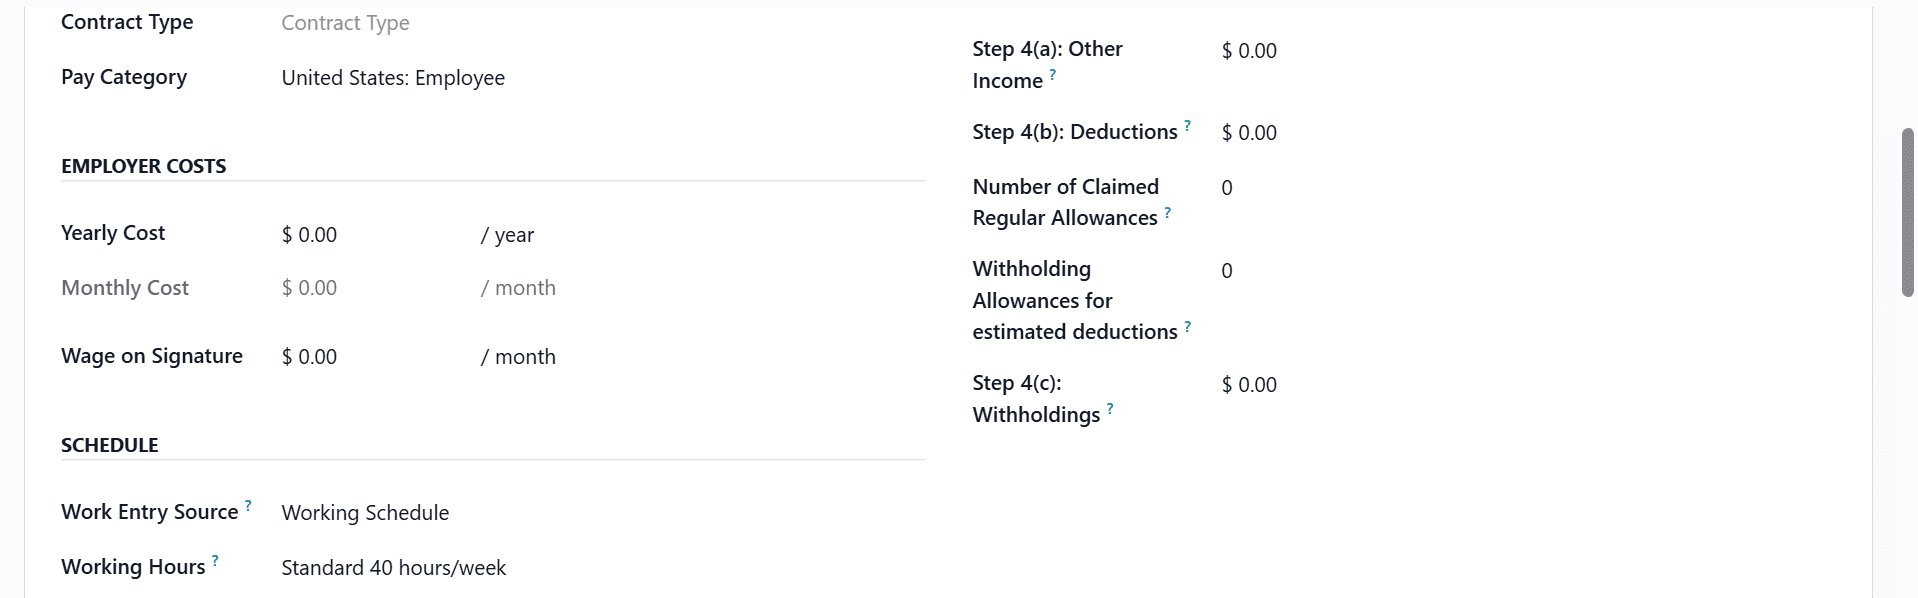
The Employer Costs defines the employee’s working hours and attendance pattern. This schedule is used for planning, attendance, and time tracking. The Schedule section defines the employee’s working hours and attendance pattern. This schedule is used for planning, attendance, and time tracking.
The W-2 Form is section provides an year-end tax reporting to employees and tax authorities. The State Filing section records state-specific tax withholding and filing information. This ensures payroll complies with applicable state tax regulations. The Retirement Plans section manages employee and employer contributions to retirement programs. The Health Benefits section defines the employee’s health insurance coverage and the employer’s contributions.
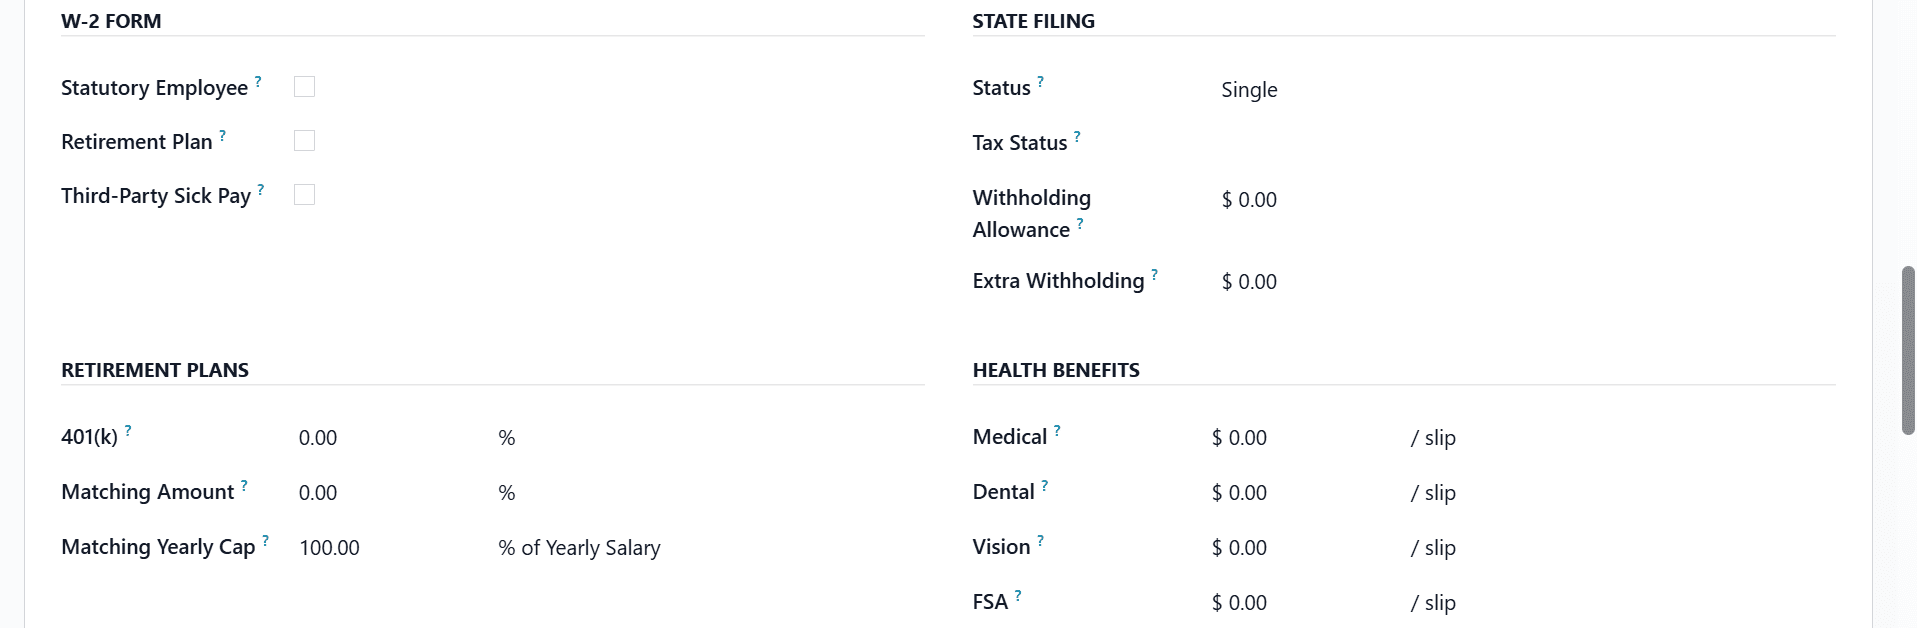
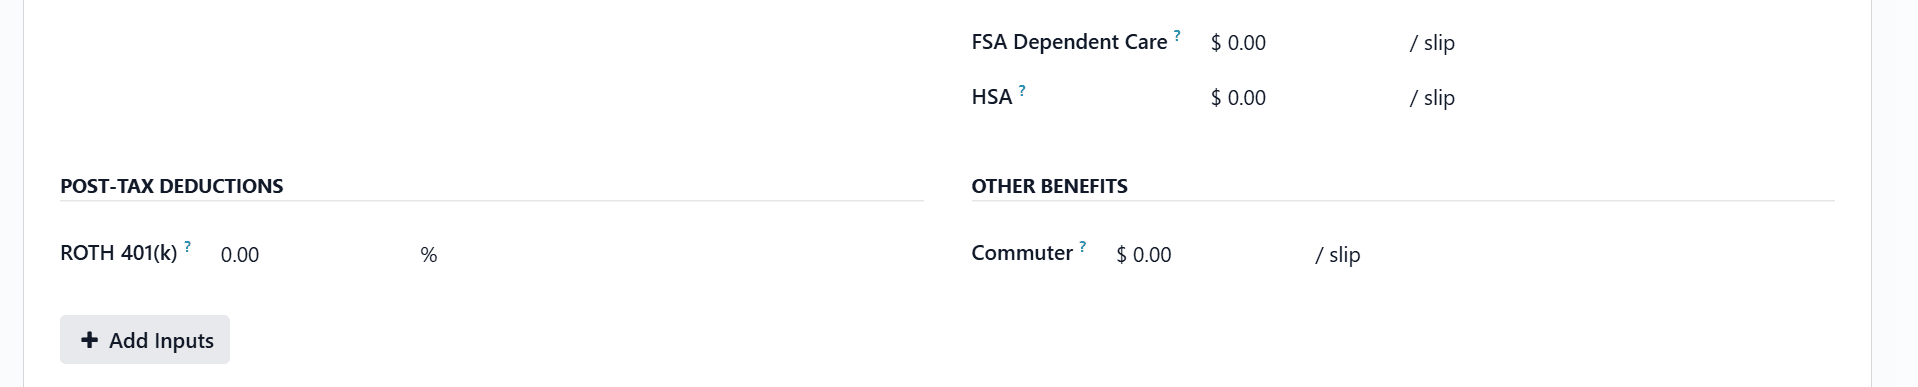
The Post-Tax Deductions include all deductions that are made after tax calculations. Under the Other-Benefits section, you can add additional employee perks beyond salary and standard benefits
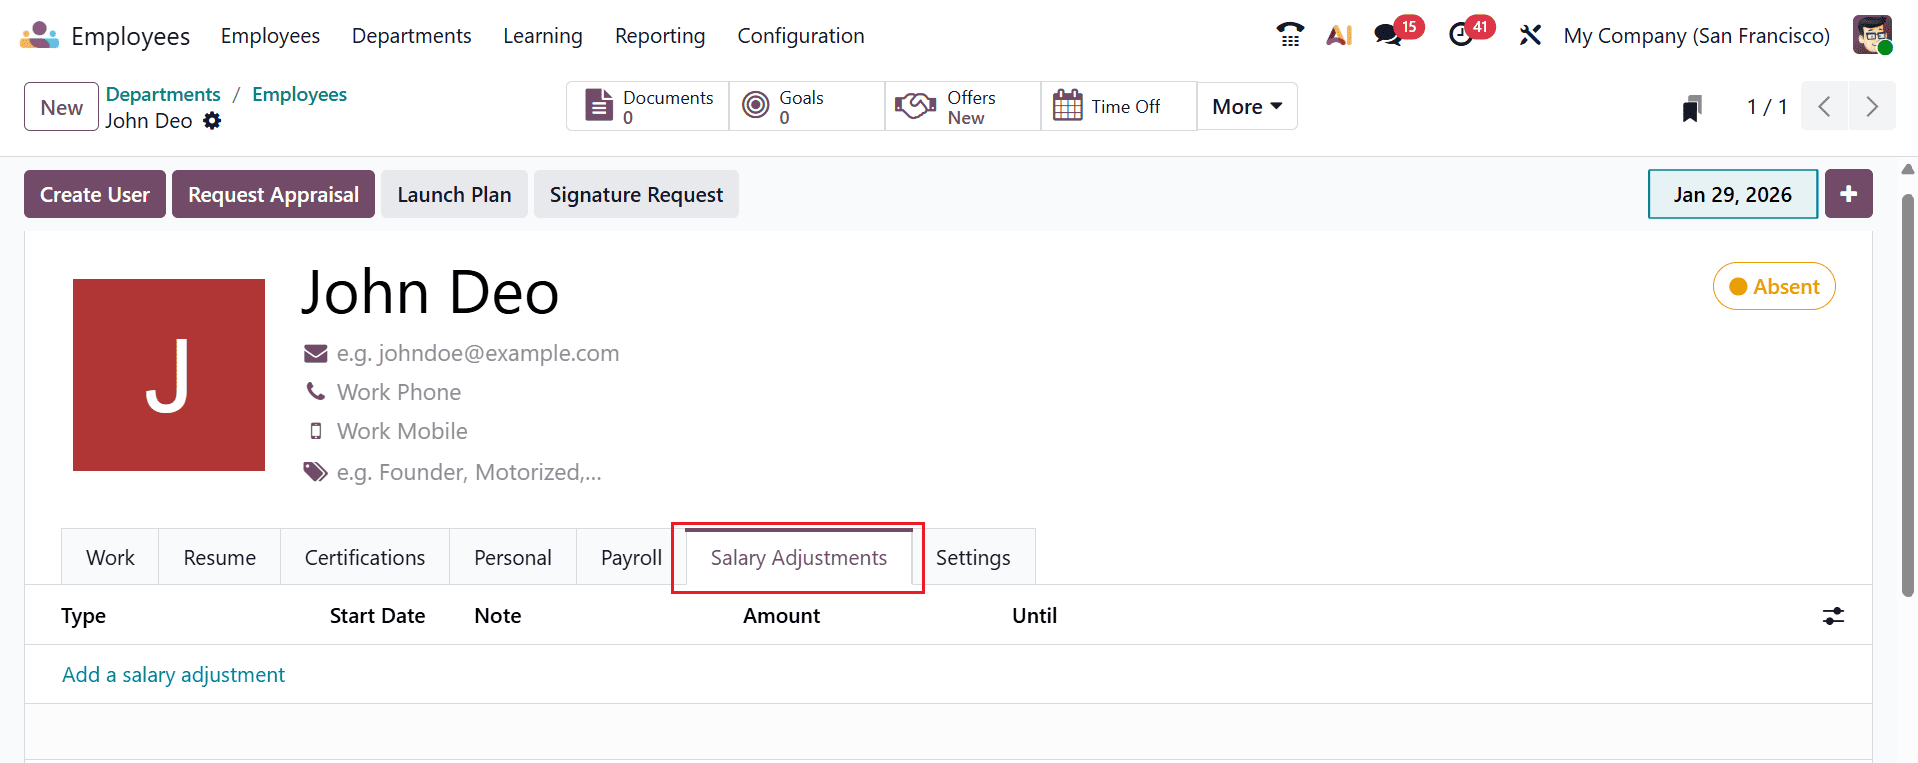
Under the Salary Adjustments field, click on the Add a salary adjustment button to add details for the salary adjustments to manage temporary or permanent changes to an employee’s pay.
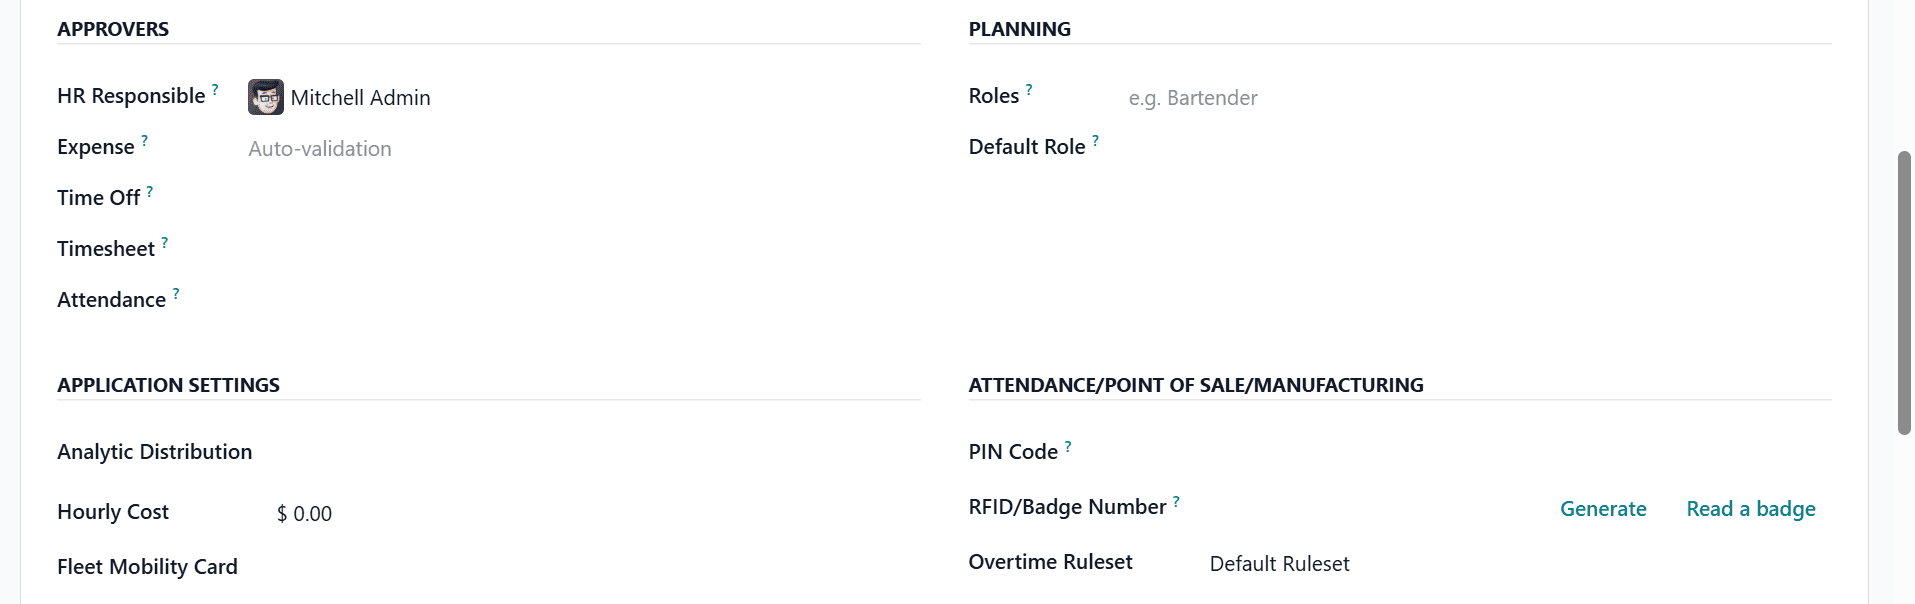
Under the Settings tab, six configuration sections are available: User, Appraisal, Approvers, Planning, Application Settings, and Attendance/Point of Sale/Manufacturing. From this tab, you can also assign a user to the resource to manage access permissions. You can also add Next Appraisal Date based on the appraisal plan’s date.
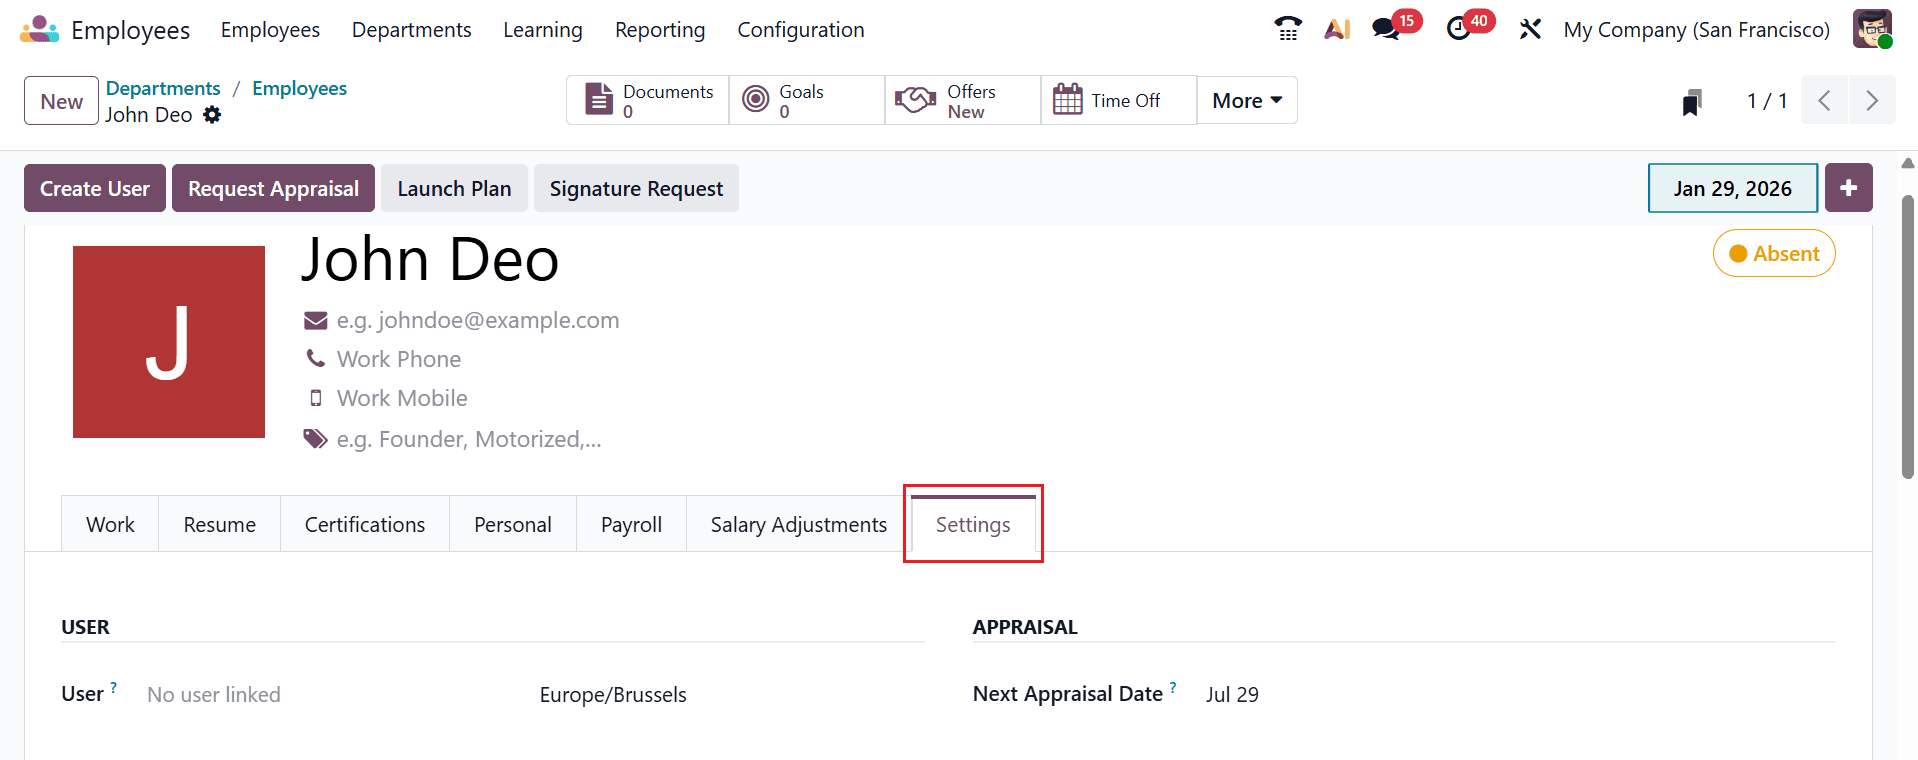
The Approvers section defines the managers or responsible users who must review and approve requests. In the Planning section, you can add the roles of the employee. Under the Application Settings, you can add the details such as Analytic Settings, Hourly Cost, and Fleet Mobility Card. Under the Attendace/Point of Sale/Manufacturing section, you can add the details sch as PIN Code, RFID/Badge Number, and Overtime Ruleset.
After saving the details, go back to the Department dashboard, where you can see that the new employee has been added to the newly created department.
Configuring company departments in Odoo 19 is a strategic step toward improving overall business efficiency. Properly structured departments enable clear reporting lines, efficient task delegation, and better monitoring of team performance. Odoo 19 simplifies this process with intuitive tools that allow you to create, categorize, and manage departments seamlessly. Once departments are set up, organizations can integrate them with HR, payroll, and project management modules, creating a holistic system for operational oversight. This setup ensures that employees understand their roles and responsibilities while management can access actionable insights for decision-making. Additionally, as businesses grow, Odoo allows for easy restructuring of departments, making it a scalable solution. By investing time in properly configuring departments, companies can improve productivity, enhance collaboration, and maintain a transparent organizational hierarchy, ultimately contributing to smoother day-to-day operations and long-term success.
To read more about How to Configure Departments for a Company in Odoo 18, refer to our blog How to Configure Departments for a Company in Odoo 18.