One of the most important features of Odoo is email configuration. Using the outgoing mail server in Odoo, we can send/receive emails within Odoo itself without using any external email services. For this, we have to configure Odoo’s mail server successfully.
In this blog, we are going to discuss how to configure outgoing and incoming mail servers in Odoo 16
For this, first of all, we have to go to the Settings menu. Only administrators have access to the settings, so please make sure that we log in as administrators to configure the mail server.
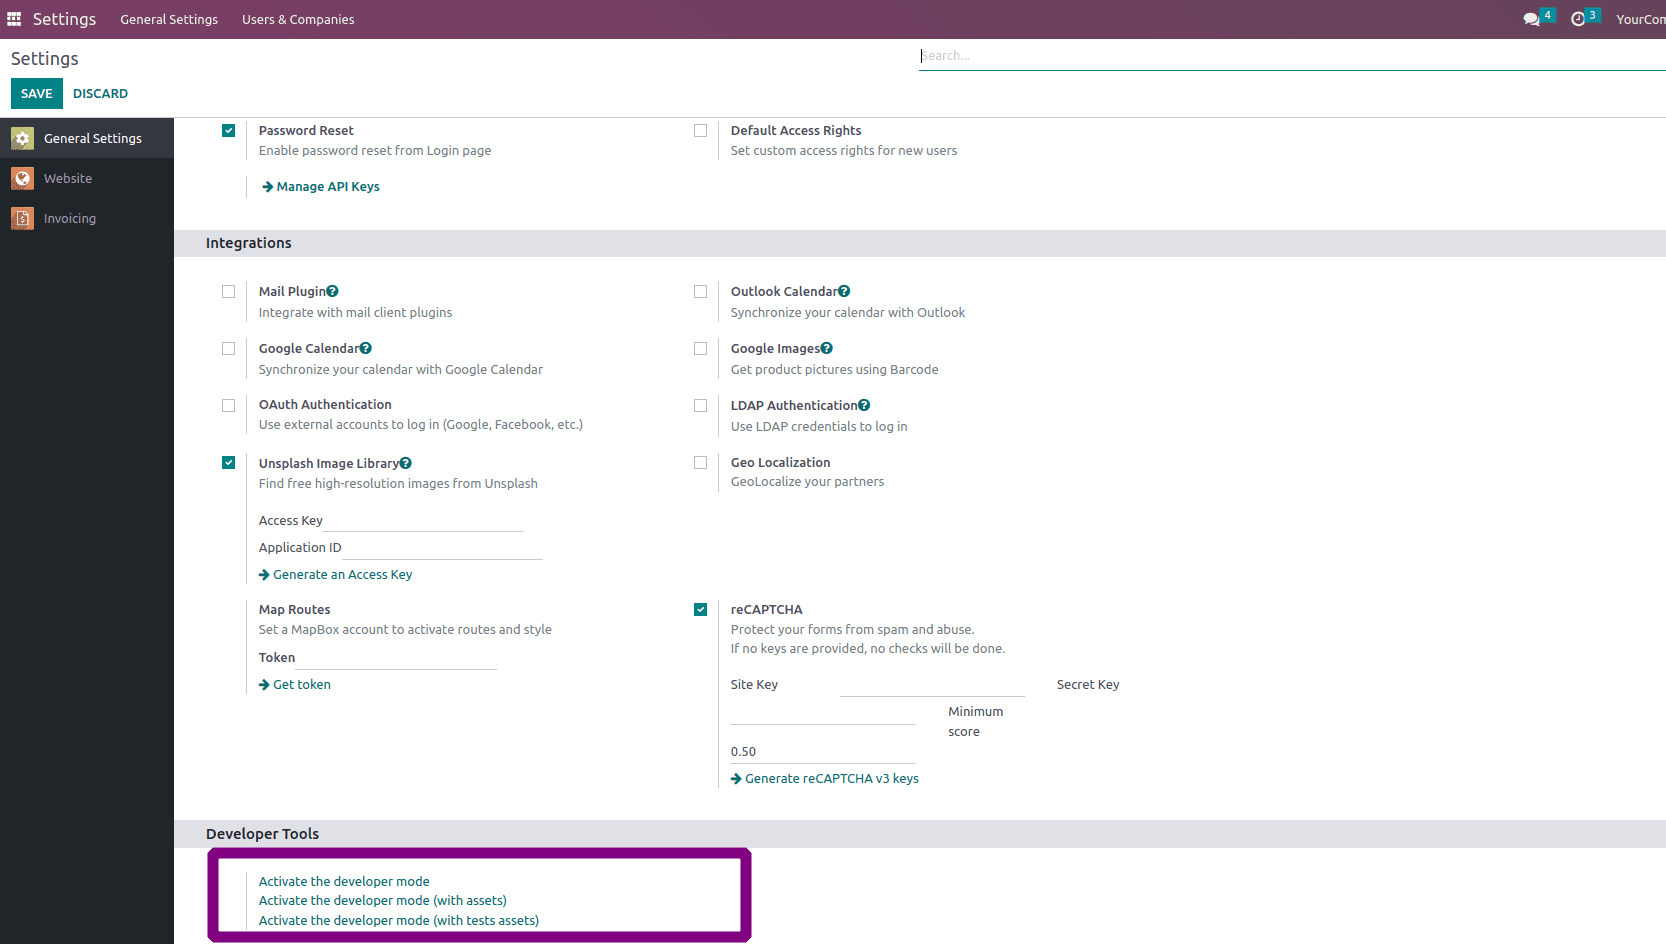
We have to activate the developer mode in order to view the Technical view under Settings, as shown in the screenshot below.
Go to Settings - Technical - Email
The available email features in Odoo 16 are shown in the following screenshot.
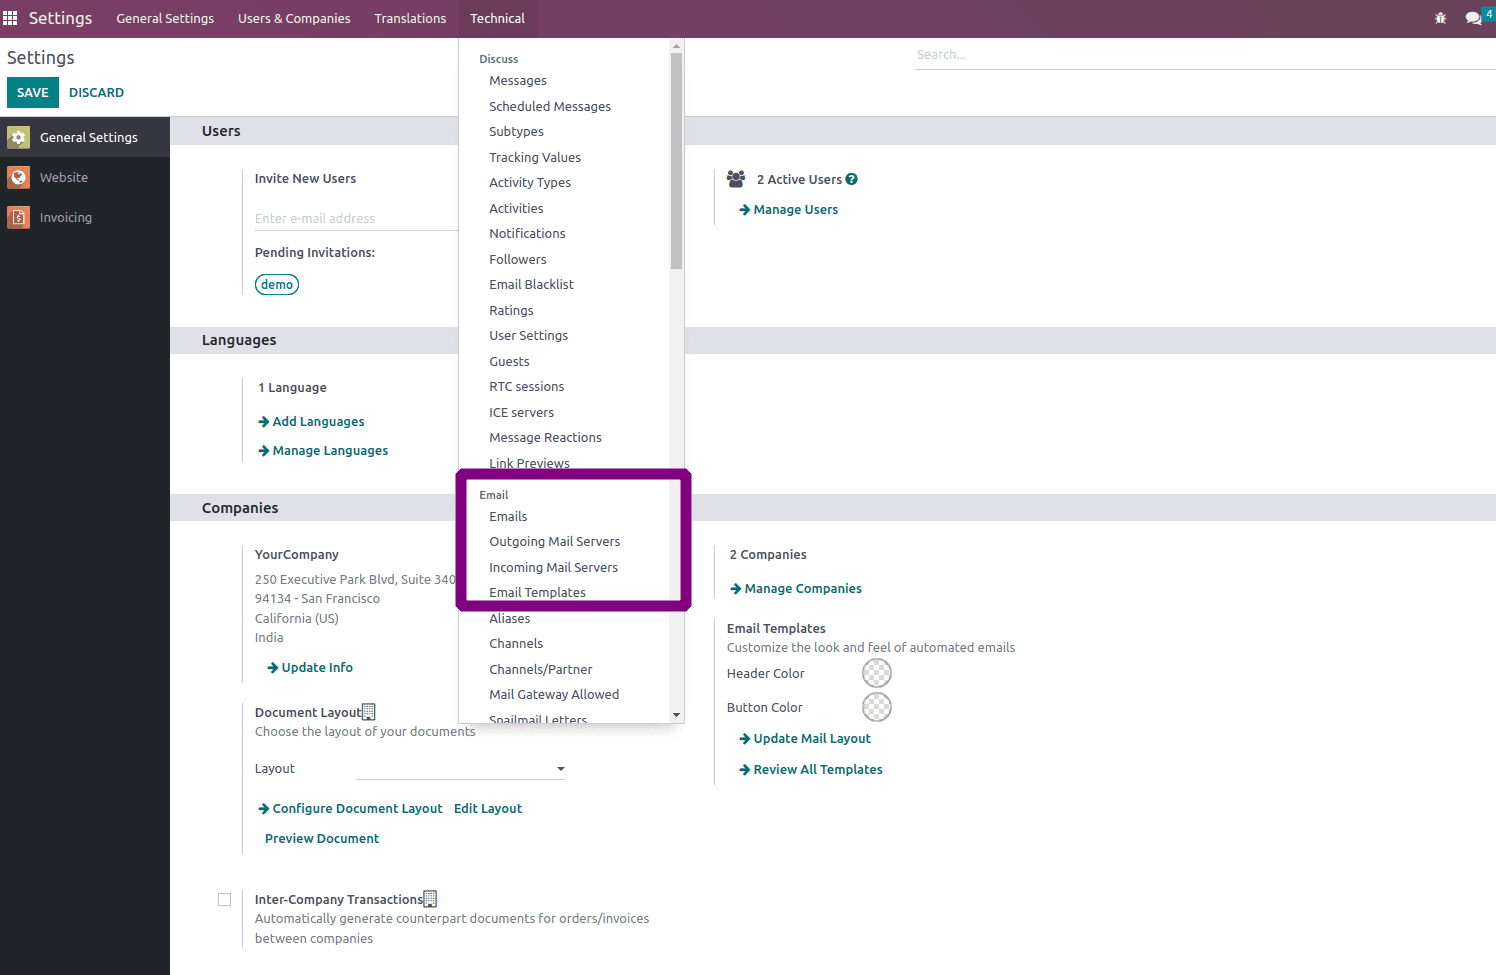
Among this sub-menus in the above screenshot, click on Outgoing Mail Servers for configuring it. Then the Outgoing Mail Server’s List view will be opened.

When we click on the create button, the form view will appear, and here we can add the details for configuring an outgoing mail server, as shown in the image below.

The field values have to be given as shown in the above screenshot
Name: Name of the outgoing mail server (we can give any names)
Authenticate With: User Name
SMTP Server: smtp.gmail.com
SMTP Port: The port of your SMTP server, here it is 465
Connection Encryption: SSL/TLS
Username: Your Email Id
Password: Password of your Email Id
Priority: The lowest number we give the priority will be higher.
After adding all the required details in the outgoing mail server form view, click on the Test connection button on the left top. If all the details we entered are correct, then it will show a Connection Successful message, as shown in the top right corner of the above image.
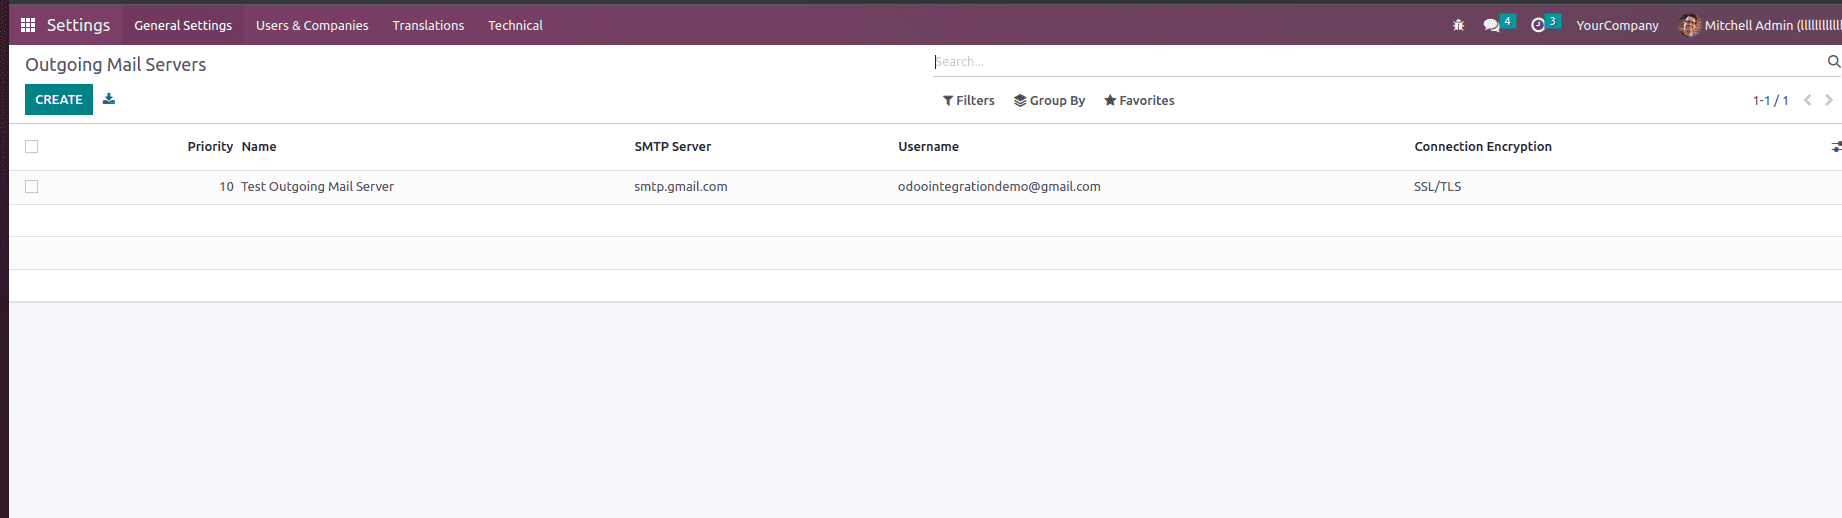
The created outgoing mail server will be listed as shown in the above screenshot.
Next, let’s see how to configure an incoming mail server in Odoo 16.
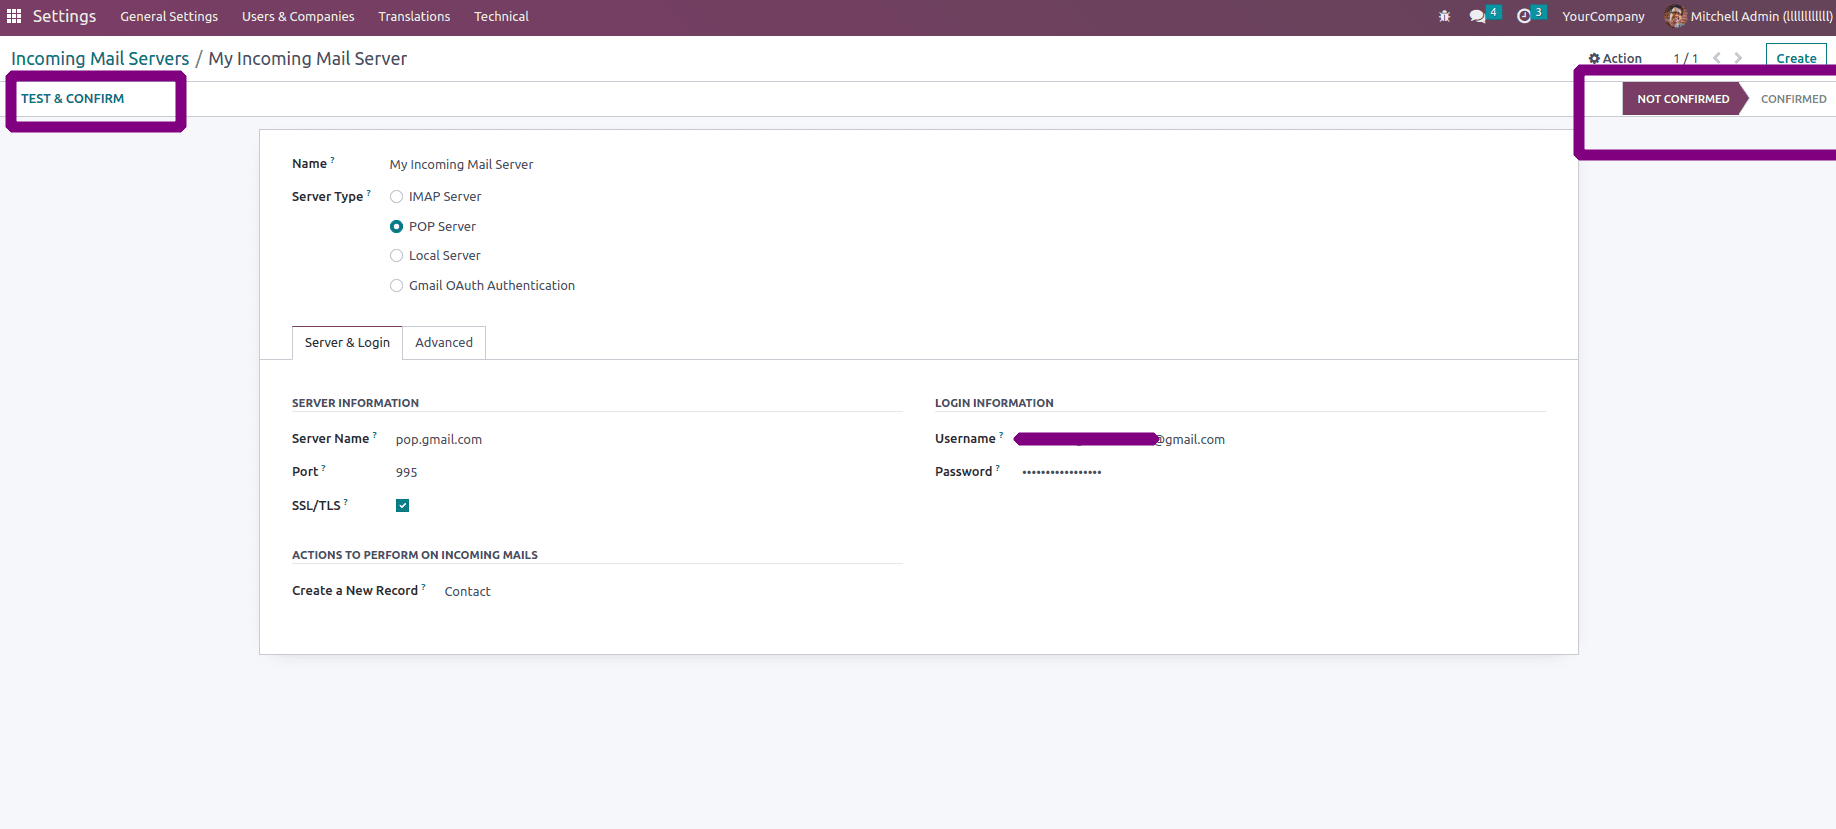
For this, go to Settings - Technical - Email -Incoming Mail Servers.
The Incoming Mail Server’s form view will appear when we click on the create button.
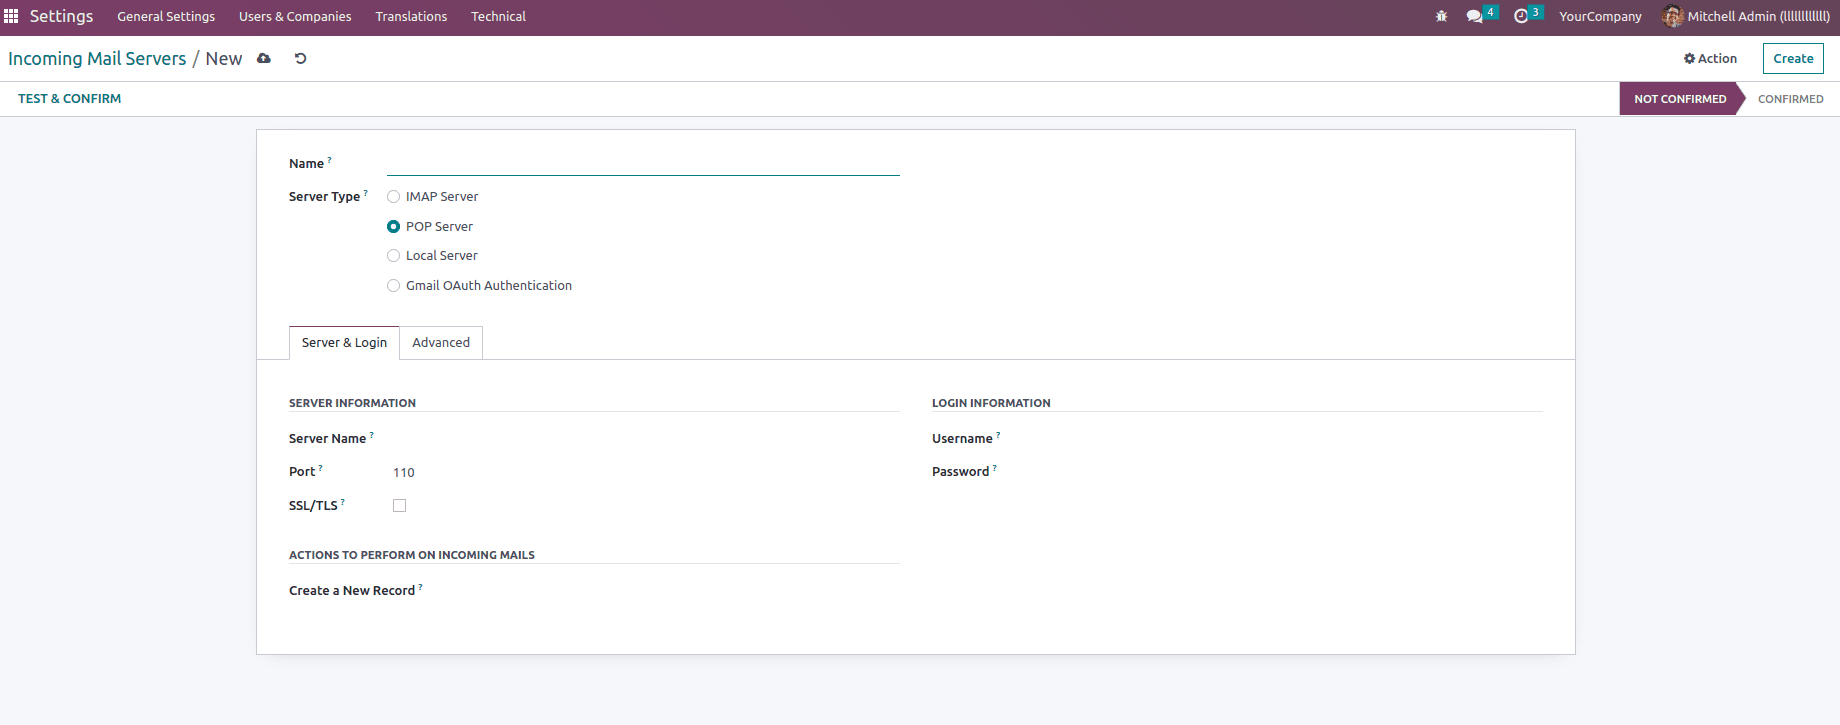
Add the necessary details, as shown in the image below, to configure the Incoming Mail Server.
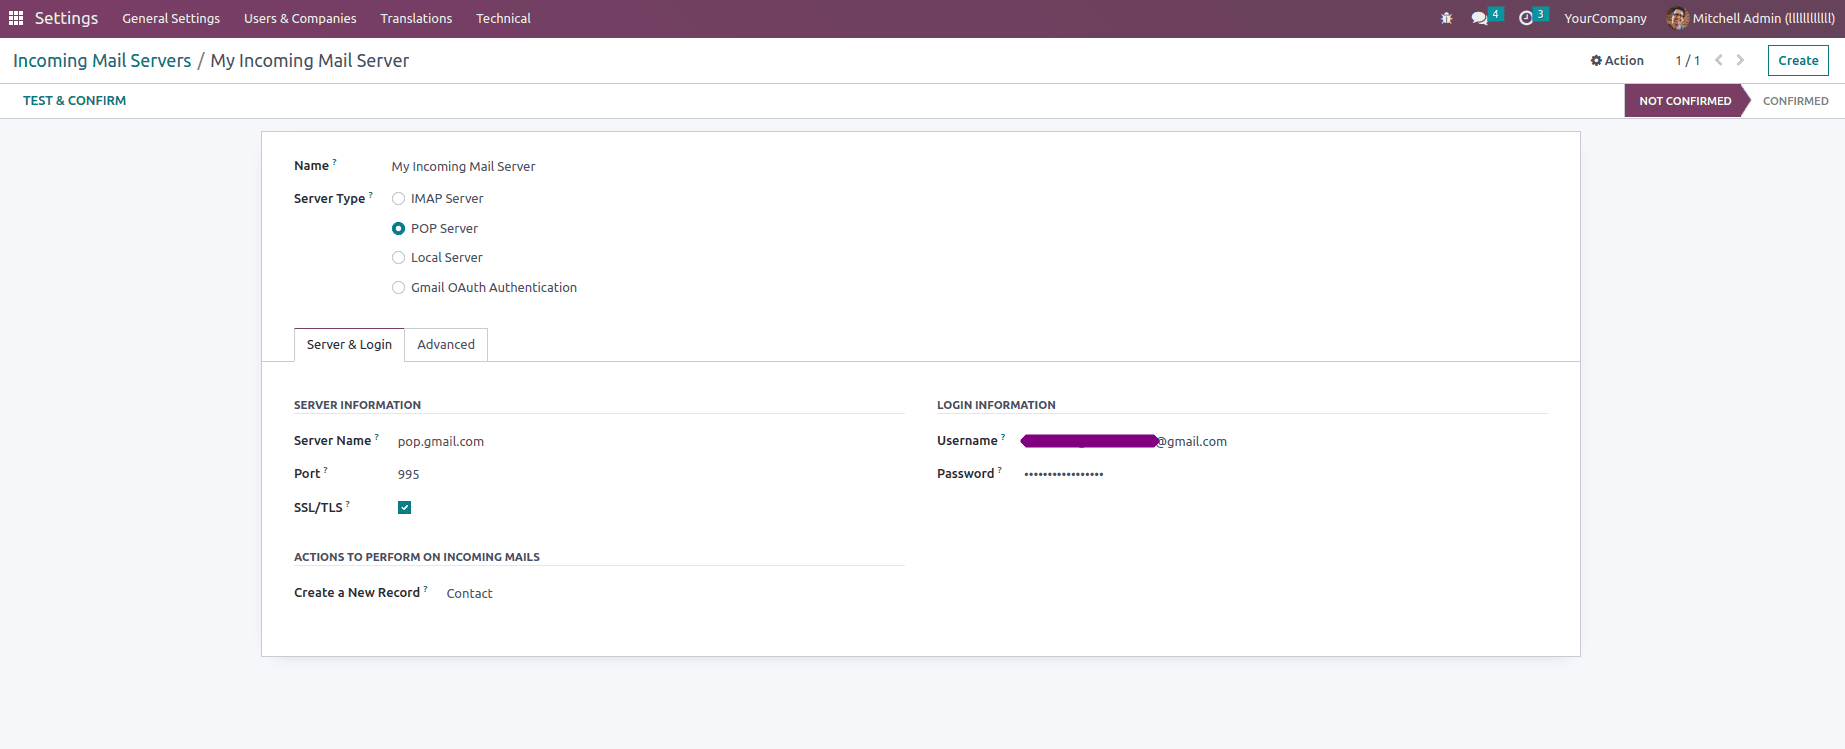
Server Type: We can choose any of the options available here, but POP is the most used server type, which is used for getting various emails from the server to a client.
Server Name: This is the name of the server. Here we used gmail server, so we should give pop.gmail.com
Port: The port of the server (995).
SSL/TLS: Check this field for encrypting the messages.
Username: Your e-mail id
Password: The password of your email id.
Under the ACTIONS TO PERFORM ON INCOMING MAILS, we can select the model for creating a new record.
After entering all the necessary information, click on the Test & Confirm button in the top left corner. Once the connection is successful, the status in the top right corner will be changed to CONFIRMED from NOT CONFIRMED as shown in the screenshot below.